10 tips on getting the best out of your Canon camera
From saving battery life to increasing your burst depth, use these tips to up your game
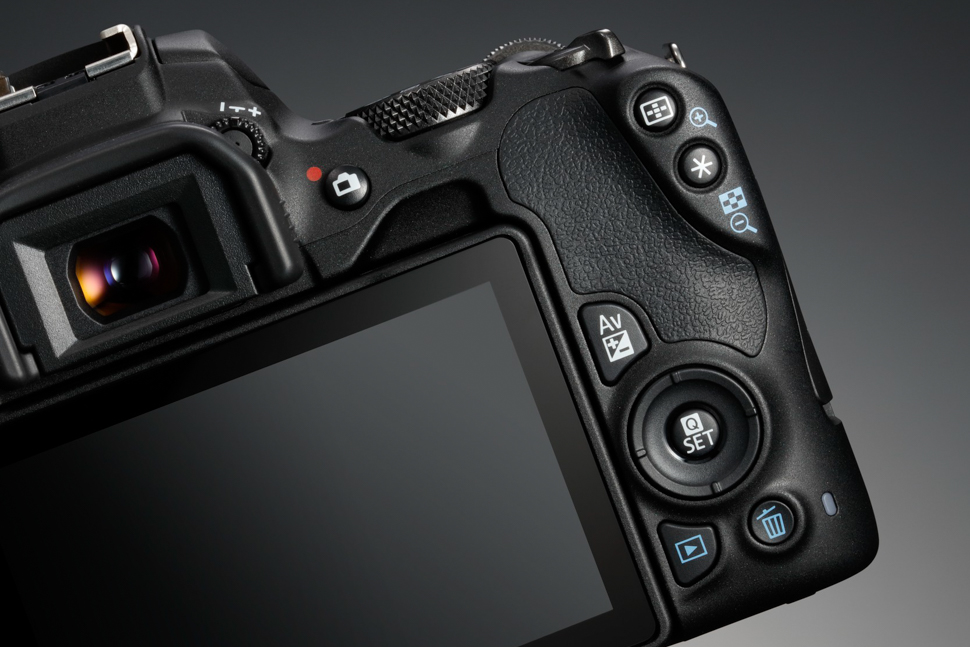
Canon’s compact and interchangeable-lens cameras are packed with so many useful options that there’s a good chance you may overlook some of them. Here are ten tips to get the most out of your camera.
1. Understand the Auto Lighting Optimizer

Ever captured an image to find the main subject a little darker than you expected? This is often the case when shooting against bright backgrounds – and Canon has a quick fix in the form of its Auto Lighting Optimizer (ALO).
ALO is available in almost all of Canon’s current interchangeable-lens cameras and most compacts, and it’s available in three strengths. It works by selectively brightening shadows and taming highlights so that you end up with good exposure across different parts of the scene, and it’s particularly useful when your scene has a high contrast or when shooting against backlighting.
It’s a useful alternative to exposure compensation as it only affects the areas it deems necessary of adjustment, rather than affecting exposure across the whole image (which, in a backlit situation, may force highlight detail to be lost).
If you forgot to turn this on when you captured the image, you may be able to call on it in either in-camera Raw processing or through Canon's Digital Photo Professional program (or both).
2. Increase your burst depth with smaller Raw sizes
Canon’s single- and double-digit EOS DSLRs offer small Raw (S-RAW) and medium Raw (M-RAW) formats alongside the standard option, and it’s worth considering the types of situations where these may be a more suitable choice.
While both come at the expense of final image size, it’s likely that a good proportion of the images you shoot in a Raw format do not need to be shot at the camera’s highest resolution – and you’ll fit more on your memory card by selecting one of these too.
Not only that, but switching to a smaller option may improve your burst depth too, so it’s worth considering if you regularly shoot any kind of action. You’ll be able to check the extent to which this is the case by looking at the figure in parenthesis as you select different Raw options, or alternatively in the lower right-hand corner of the viewfinder or top-plate LCD while shooting.
3. Make use of Canon’s Infobank
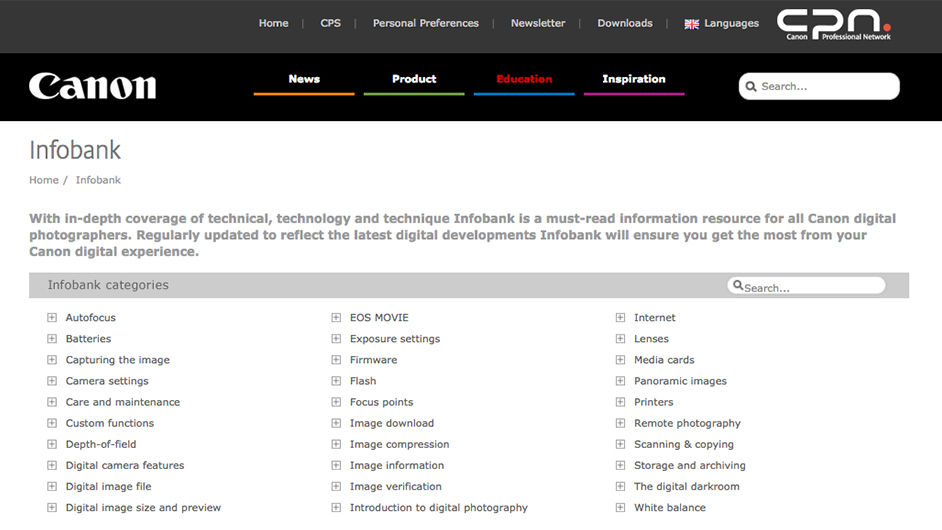
Don’t know which colour space you should be using? Or what the difference is between lossy and lossless compression? Whether you want to learn about a specific function or swot up on techy concepts, you should head over to the Infobank on Canon’s European website.
A fantastic resource for photographers, Infobank explains many key terms in a thorough but easy-to-understand manner, with before and after shots and animated diagrams to help you understand everything more easily.
A significant proportion of the site is also dedicated to lenses, from basic concepts to what all the technology inside them does, so it’s well worth a look if you're considering a new optic.
4. Save battery life with the Eco mode
The Eco mode has been a feature in Canon’s PowerShot and IXUS compact cameras for the last few years, and it’s worth enabling if you only have one battery for your camera.
When this is turned on, it saves battery life by darkening the screen after two seconds of the camera not being used, and turns the screen off after ten seconds of inactivity. Furthermore, if you go for three whole minutes without anything happening, it will even turn the camera off completely.
5. Make your own Picture Style

Canon's Picture Styles cover a range of different treatments, from Standard and Landscape through to Monochrome. You may like to alter these as you shoot or simply process all your Raw files later on, but don't overlook the option to define your own Picture Styles.
After all, you can't argue with the convenience of having a ready-to-use JPEG straight from the camera, particularly if you're on holiday or travelling and you know you won't be near a computer anytime soon.
Many recent models offer three custom Picture Style slots, with complete control over things like contrast, sharpness, saturation and colour tone. Those who prefer to shoot monochromatically are also gifted with colour filters and toning options in addition to the standard parameters.
So, whether you need something that will boost the saturation of skies and foliage, or you need a high-contrast black-and-white option for more atmospheric captures, give it a spin to see what's possible.
6. Activate Flicker detection under fluorescent light
Photographers who work under fluorescent lighting may have witnessed the odd frame sporting an strange exposure, despite lighting conditions staying the same. This, according to Canon, is often down to the flickering of fluorescent lights, which isn’t visible to the naked eye but can cause problems with metering.
The company’s solution to this is Flicker detection, which was first included in the EOS 7D Mark II but was subsequently incorporated into DSLRs released since, such as the EOS 5DS and EOS 750D.
This works by analysing when peak illumination occurs and only taking the image at that point, delaying the shutter very slightly if it needs to do so. It flashes a warning in the viewfinder when flicker is detected and can be used in both single-shot or burst-shooting modes, so even if you’re capturing a long sequences of images it should help ensure exposure stays consistent throughout.
Read more: The complete guide to Canon's lens terms
7. Know which formatting mode to use
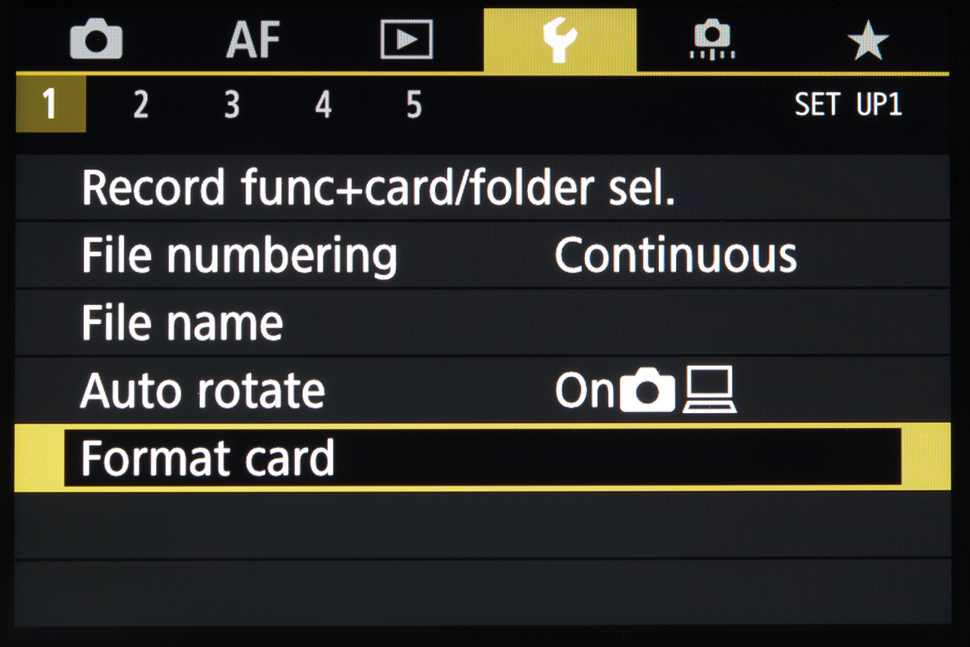
Canon offers two types of card formatting on many of its cameras: standard formatting and Low level formatting. Most people will probably use the former option most of the time as it’s set as the default setting, but when should you opt for Low level formatting instead?
Canon recommends Low level formatting when the card seems to be recording information slowly, or when images take a while to show up on the screen, or even when you get a card error message.
As it essentially wipes the card more thoroughly than the standard method it takes a little longer than the default option, but Canon cites this as a good choice when you don’t want information to be retrievable by standard means, such as if you decide to sell your card.
Of course, there’s always a chance someone could still retrieve information however the card is formatted, so if you want to be completely sure, it’s best to destroy the card.
8. Re-arrange your Quick Control screen
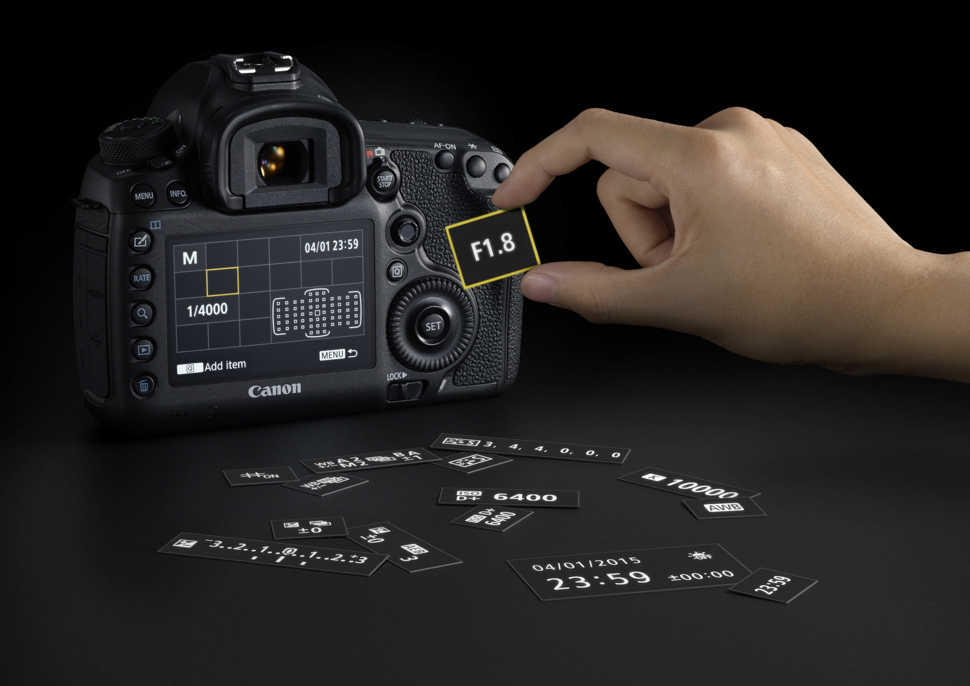
Some of Canon's most recent models allow you to re-arrange the options within the Quick Control screen, pictured above. This is great if you find that there are many options you don't tend to use and would prefer other things in their place. You can even change the size of some so that they are more prominent.
9. Forgot to turn on your Lens aberration correction? Don’t worry
Lens aberration correction, which has featured in Canon’s DSLRs since 2009, aims to fix two optical issues: peripheral illumination (vignetting) and chromatic aberration.
So long as the camera has the information of that lens stored in its firmware, it can instantly apply these corrections whenever you take a shot, tailoring them for the aperture and focal length you use.
It’s useful to keep this on so that you have instantly corrected images, but you may forget to enable one or both of these corrections, such as when using a new lens. Don’t worry – if you have in-camera Raw processing, or you use Canon’s Digital Professional Photo software program for editing, you can instantly enable these corrections here.
Of course, such corrections are also possible with other programs such as DxO Optics Pro and Adobe’s Lightroom and Camera Raw programs. So long as they have the profiles for the particular lens you're using, these can shave time off your processing.
10. Check for firmware updates
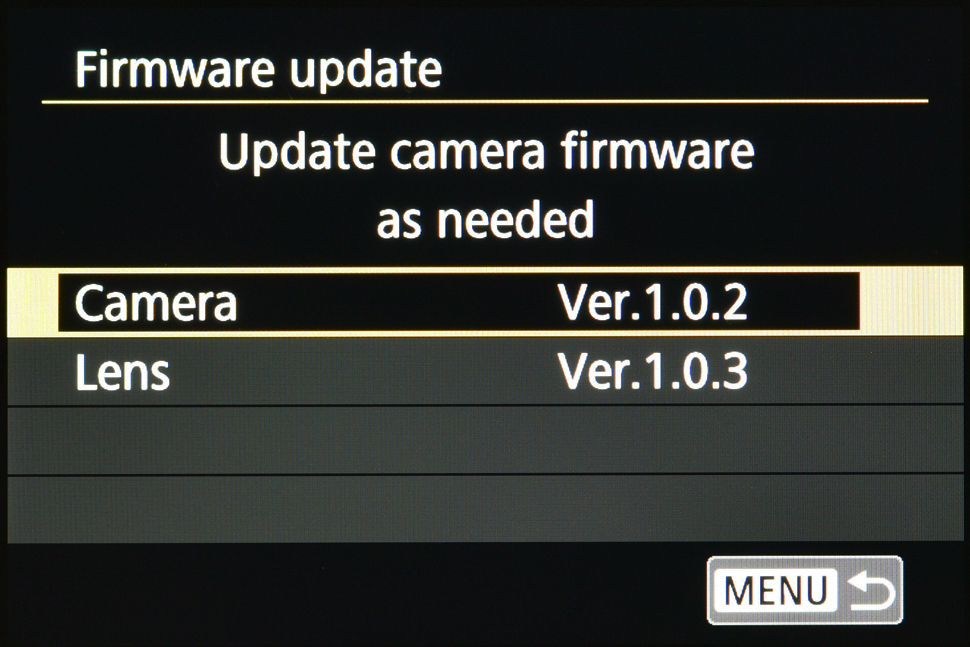
It's quite possible that Canon updated your camera's firmware since you bought it. The purpose of this might have been to iron out small bugs or even to add new features, so it's worth checking the company's website to see if there is an update available for your model. They're completely free and take just a few minutes to install.
To see if there's an update available for your camera, find the product page on Canon's website and click Support. You should now be presented with a handful of options, one of which will be named Firmware. If there is an update it will be available to download here, and instructions will be provided alongside.
Incidentally, this Support section is also where you can download software and a manual for your camera. The latter is usually in a PDF format, so it's a useful thing to stash on your phone or tablet for when you're out and about.
Read more: Canon EOS 6D Mark II vs EOS 7D Mark II
Get the Digital Camera World Newsletter
The best camera deals, reviews, product advice, and unmissable photography news, direct to your inbox!
The former editor of Digital Camera World, "Matt G" has spent the bulk of his career working in or reporting on the photographic industry. For two and a half years he worked in the trade side of the business with Jessops and Wex, serving as content marketing manager for the latter.
Switching streams he also spent five years as a journalist, where he served as technical writer and technical editor for What Digital Camera before joining DCW, taking on assignments as a freelance writer and photographer in his own right. He currently works for SmartFrame, a specialist in image-streaming technology and protection.

