20 golden rules of photography (and when to break them)
Take great shots every time by following our simple rules of photography – but know when to break them too!
When you take the step up to an interchangeable-lens mirrorless camera or DSLR there’s a big learning curve ahead of you. A photo can be exposed and composed in a thousand different ways, and some takes on the same subject will be far more successful than others. In many ways, what makes a good shot is subjective – but there are also some hard and fast rules you need to follow that go a long way to making a winning shot. We’ve compiled 20 golden rules here. Follow these classic lores of photograph, and we guarantee you’ll improve your photographic hit rate.
We’ll start with camera settings; the rules you need to follow before you even lift your camera to your eye. Then there’s focusing: the critical rules that govern what parts of your image need to be sharp, and what you can get away with being blurred. Next up is composition – what you need to include in the frame, and just as importantly, what you should leave out.
And finally, we’ll look at the rules of how to read and react to light; it’s this, more than anything, that can make or break a photo. But rules are made to be broken – so we’ll tell you when you can ignore the golden rules, too!
1: Shoot at ‘one over focal length’
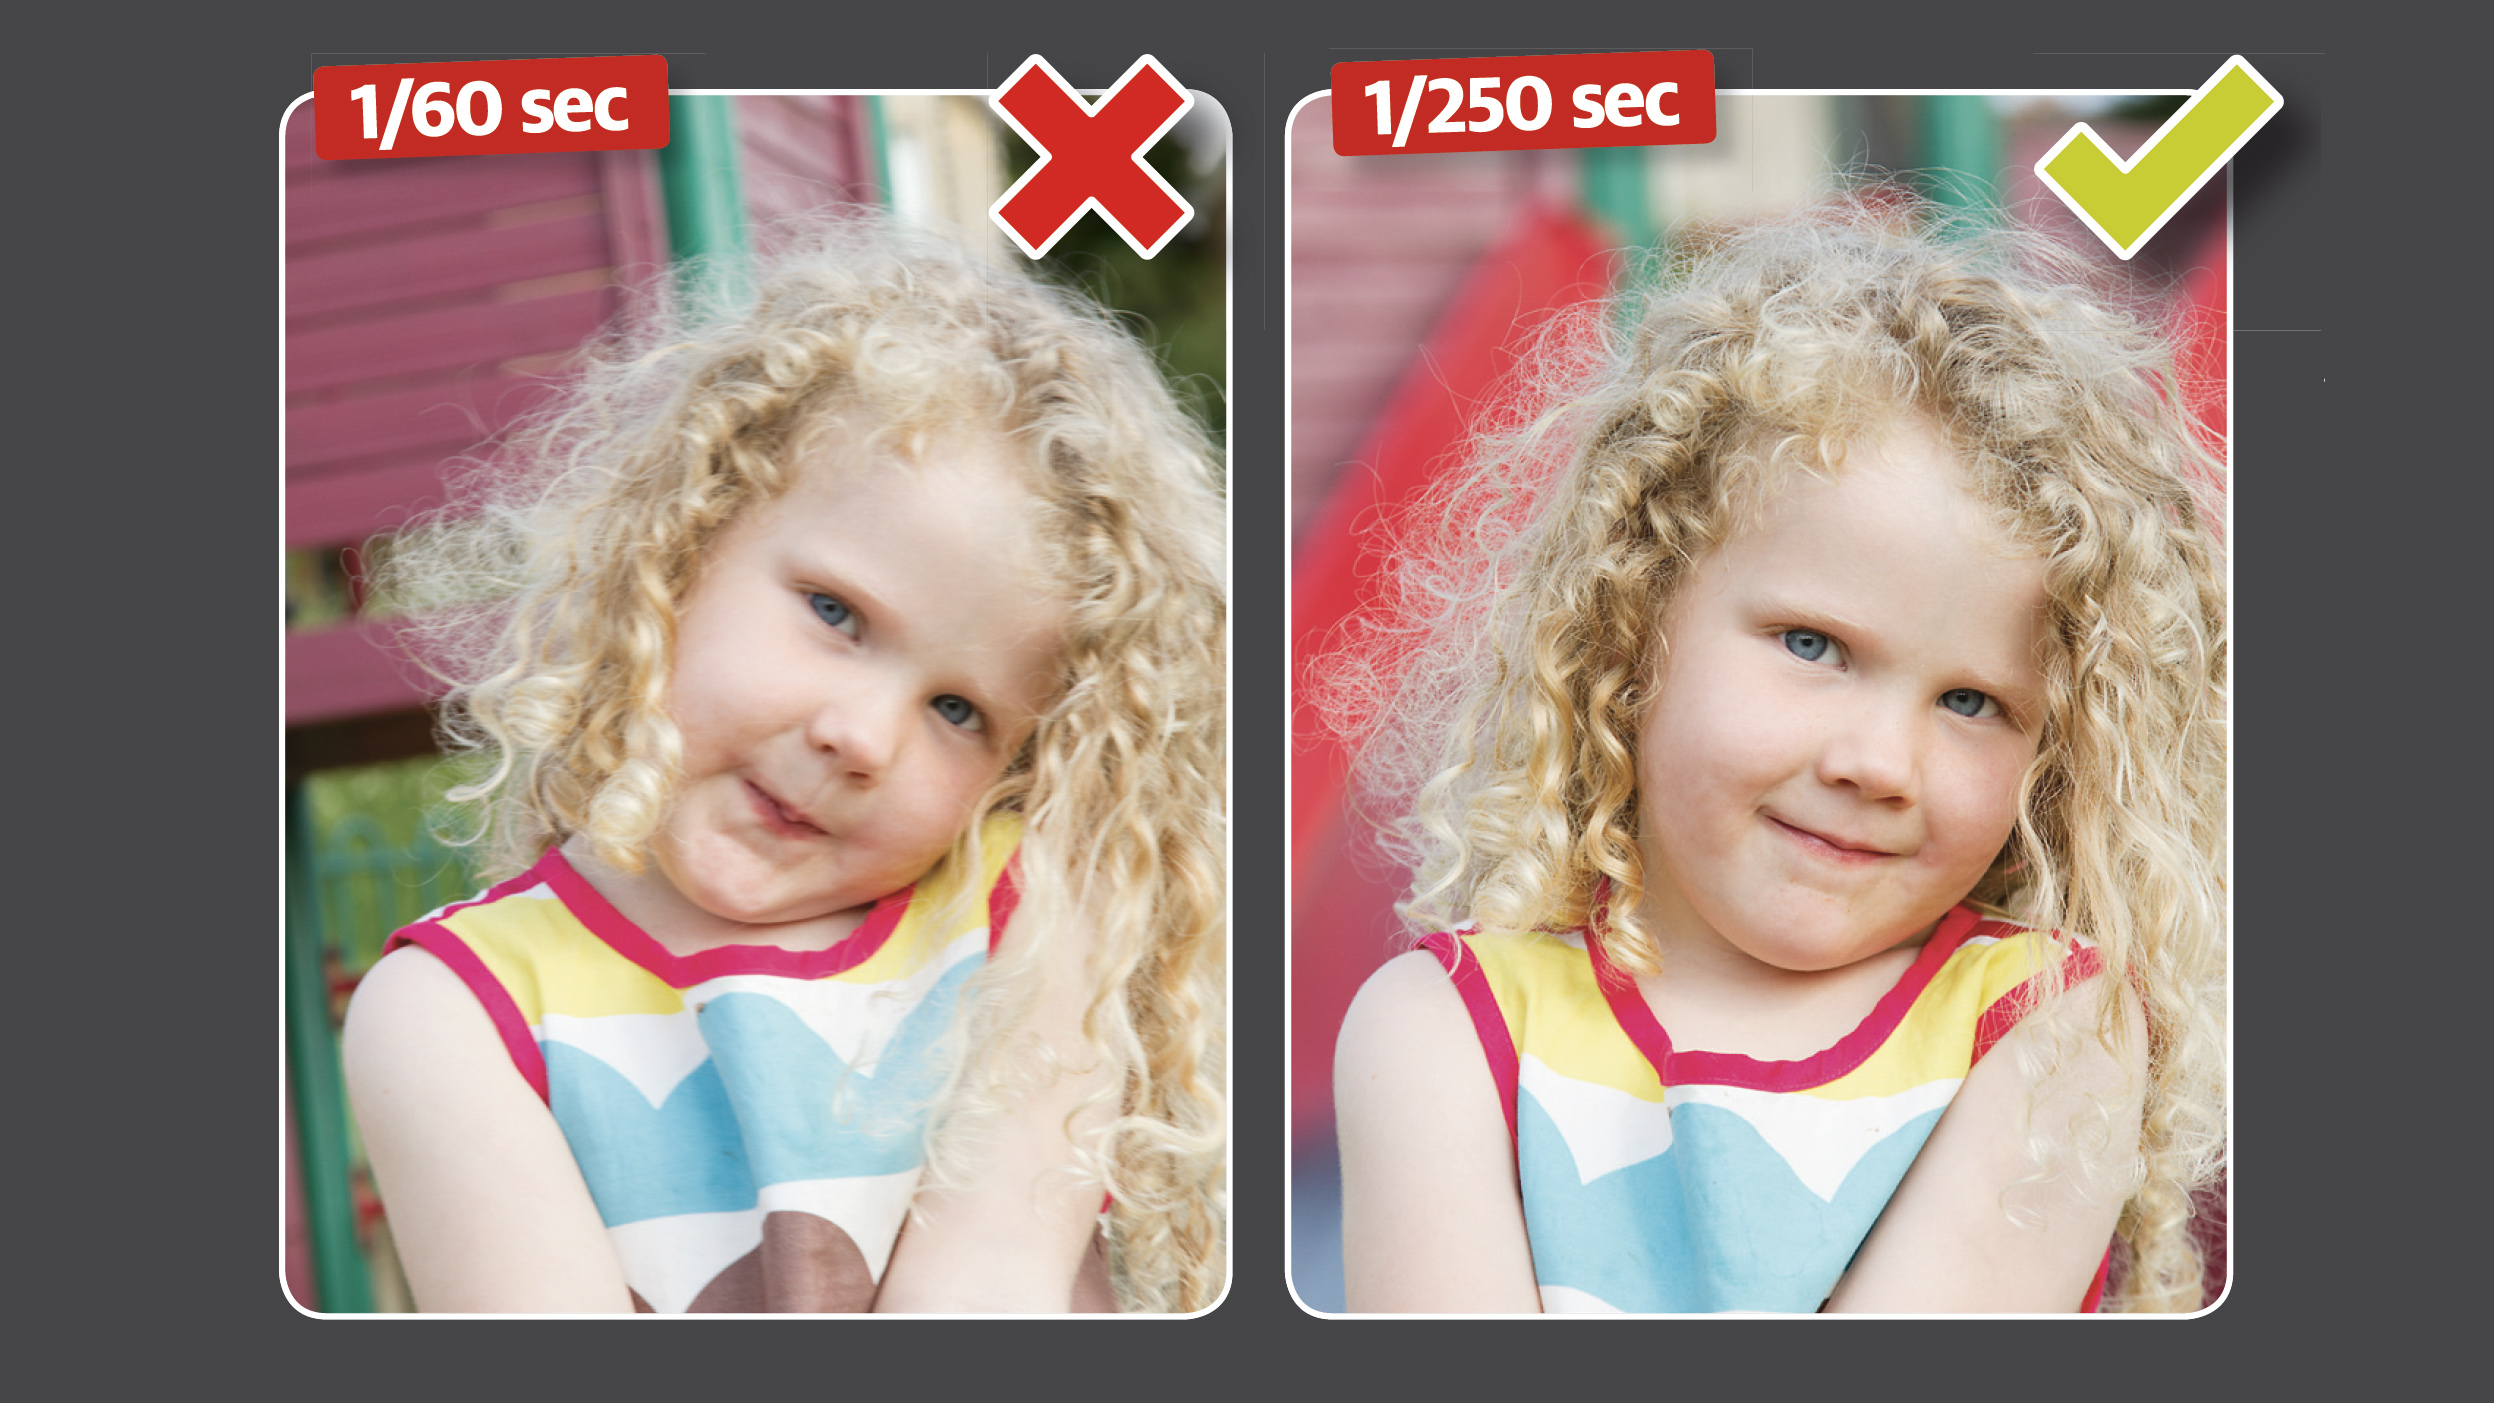
Camera shake is a sure way to spoil a shot. It’s caused by involuntary movement as you take a photo handheld, and the cure is to shoot at a shutter speed fast enough to make this movement imperceptible. However, the longer the focal length, the faster your shutter speed will need to be. A safe margin is to match your shutter speed to your lens’s effective focal length. So a 300mm lens requires 1/300 sec or faster – but on a camera with a ‘crop sensor’, such as a 550D, 60D or 7D, you’ll need to multiply the focal length by 1.6x, giving a shutter speed of at least 1/500 sec.
Break the rules! A lens or camera with built-in image stabilization compensates for camera shake, enabling you to shoot at slower shutter speeds than would otherwise be possible.
2: Only ever shoot in Raw
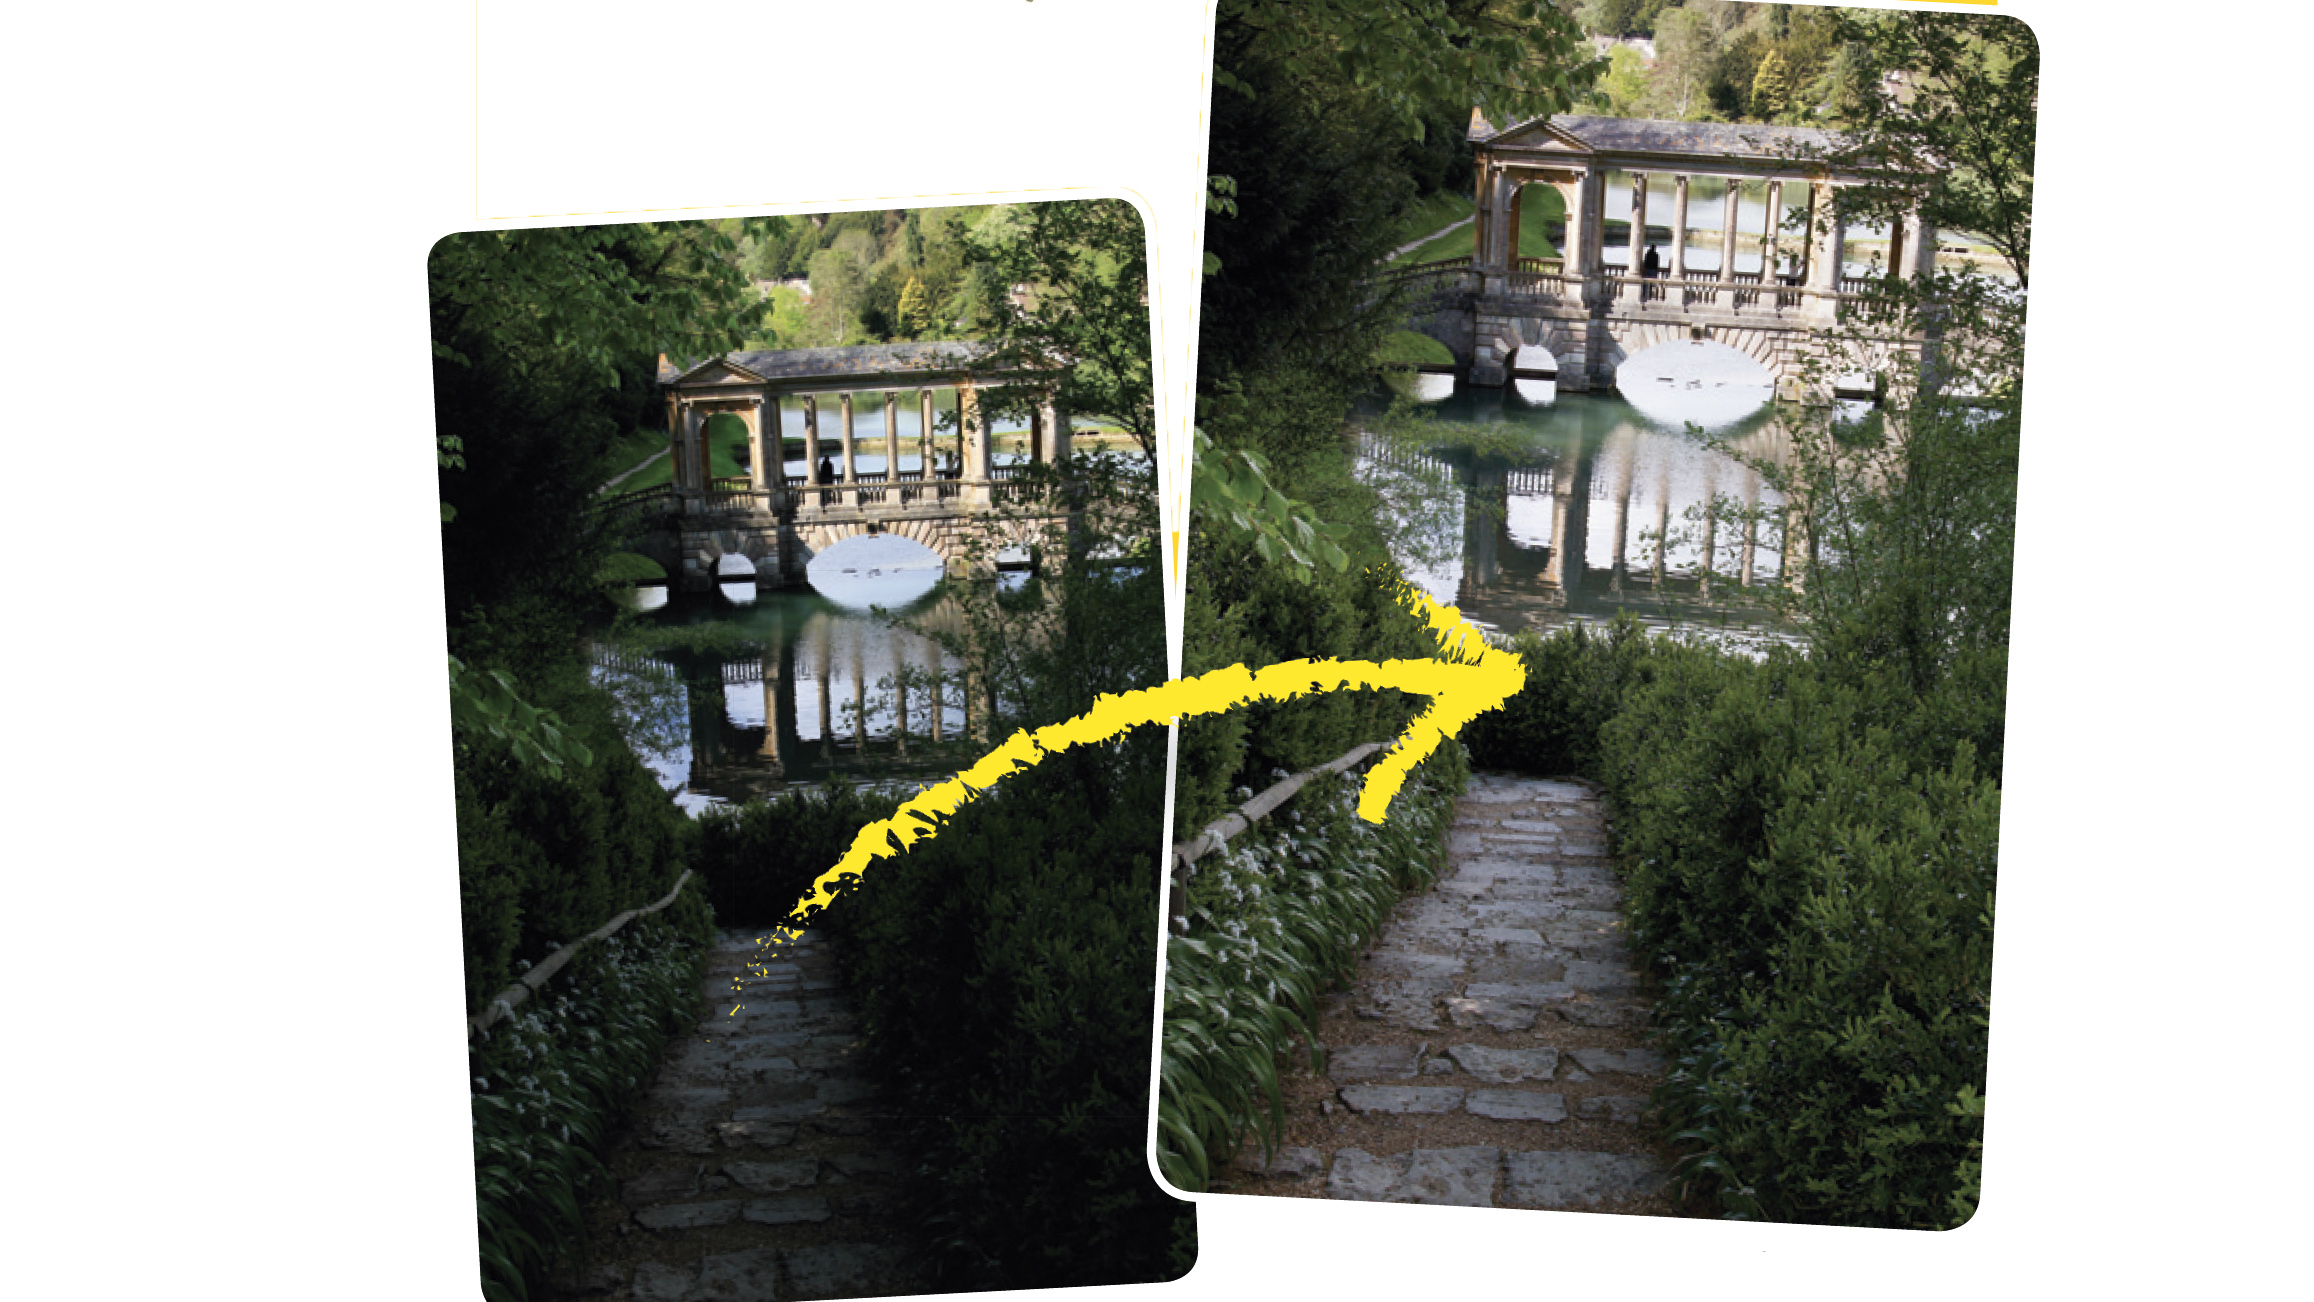
Your camera can shoot Raw or JPEG images. JPEGs come out of the camera in a semi-processed state, and usually look superior to Raw files straight out of the camera; however, you’ve got very little leeway if your shot needs fixing. Raw files are far more flexible, as they contain data that’s discarded by JPEGs, enabling you to salvage incorrectly exposed shots, or get much more tonal detail out of correctly exposed images.
Break the rules! For some types of photography – notably sports, where hundreds of rapid-fire frames are taken in a shoot – it can become impossible to shoot Raw files, so JPEGs are best.
3: Always use Aperture Priority!
It’s common to think that it’s best to use Aperture Priority exposure mode for situations where depth of field is critical, and Shutter Priority when shutter speed is key. However, for many photographers Aperture Priority is their go-to mode 90% of the time, as changing the aperture also selects a matching shutter speed – widen the aperture to shoot faster, close it down to shoot slower. You have a much more limited range of apertures than you do shutter speeds; a lens might only go between f/4 and f/22 – a five-stop range – whereas shutter speeds have a much broader range of between 1/4000 sec and 30 secs, or 17 stops. So, if you use shutter priority mode, it’s more likely that the corresponding aperture will be out of range.
Break the rules!
Some specialist techniques, such as panning, demand a precise shutter speed, and sometimes nothing beats using shutter priority. Similarly, in some situations (such as when using studio flash), manual exposure can be the best option.
4 Expose to the right

Check your histogram regularly when shooting, and apply exposure compensation (typically you would press the +/- button and scroll the thumbwheel) to keep as much of the graph to the right as possible. But as your camera's sensor records more detail in shadows than in highlights, enabling you to get the most out of your images at the editing stage, be careful not to go too far and bunch pixels up at the right edge of the graph – these ‘clipped’ highlights hold no detail.
Break the rules!
If your subject is predominantly dark, or ‘low key’, exposing to the right creates a dull wash of midtones. Be subjective!
5: Shoot at ISO100
In addition to aperture and shutter speed, you can alter the exposure by changing the ISO setting. In effect, this amplifies the amount of light that strikes the sensor, and so by increasing the ISO you can shoot at faster shutter speeds than the light conditions would otherwise allow. However, the more you increase ISO, the more digital ‘noise’ creeps into the image, so it’s always best to shoot at ISO100 – or as low an ISO as you can get away with.
Break the rules! It’s better to have a grainier shot than a blurred one, and besides, the latest cameras are very good at controlling noise at high ISOs.
6 Focus on the eyes in portraits

The eyes truly are the window to the soul when it comes to portrait photography, and it’s absolutely vital that they’re pin-sharp; if they’re the slightest bit fuzzy, then the viewer won’t be able to connect with the subject, and your image will lack impact. The tighter your framing, and the shallower your depth of field, the more critical the point of focus is. It’s best to manually select single AF points, and select a focus point that sits over an eye; using multiple AF points means the camera will focus on whatever’s closest, so you may end up with a pin-sharp nose instead! Use one of the off-center focus points (if your composition demands it), rather than using the central point and recomposing, because even the movement of swinging the camera a few degrees can be enough to change what’s in focus when you’re shooting with a shallow depth of field (with a wide aperture like f/4). If you’re shooting at three-quarters to your subject, rather than taking a front-on portrait, make sure that the closest eye to the viewer is sharp.
Break the rules! For full-length portraits, in which the eyes are less prominent, focusing on the head is fine!
7: Narrow for landscapes, shallow for portraits

The aperture you select determines how much of your scene will be in focus. Landscapes require as much of the scene to be in sharp focus as possible, so use a narrow aperture (but not too narrow – an optical anomaly called diffraction comes into play at small apertures; around f/16 is a good compromise). But when you have a subject you want your viewer to focus on, such as a portrait or action shot, then a wide aperture (f/1.4 to f/4) will lift them from their background so all the viewer’s attention is on them!
Break the rules! Most lenses are at their optimum sharpness in the f/8-f/11 range, so if a completely sharp shot is the priority, shoot at mid-range apertures.
8: Focus a third into the scene
When you’re shooting landscapes, you want as much of the scene as possible in focus, from ‘infinity’ (the point beyond which everything looks sharp) to the closest possible point to the camera. Using a narrow aperture and a wide-angle lens increases your depth of field, meaning that a larger area in front of and behind your focus point is in focus. But this ratio isn’t spread evenly; it’s split one-third in front of your focus point and two-thirds behind it. You can get bogged down calculating ‘hyperfocal distance’ to work out the optimum distance to focus on, but a more practical way is to focus on something about a third of the way up from the bottom of the frame.
Break the rules! If you use Live View, you can zoom in to 10x and check very precisely what’s in focus in particular parts of the scene!
9: Multiple AF points for movement

If you’re shooting a moving subject, select multiple autofocus points (in conjunction with continuous autofocus and burst mode) so that your camera can track your subject as it moves through the scene. If you’re shooting something static, then use to a single AF point and switch to One Shot AF mode.
Break the rules! If you know the exact point your subject will move through, prefocus on it, switch to manual focus (so the camera won’t refocus) and wait for your subject to enter the frame. A useful trick, say, for photographing a garden bird on a feeder.
10: Keep things simple

Cluttered compositions rarely make great pictures. The skill of the photographer is in finding a camera angle and shooting postion that allows you to simplify the scene, so you have just enough elements in the frame - and not too many. It is not just about zooming in, though, try moving around the subjects - or getting down lower or higher - to get a composition that is not too busy.
Break the rules: Sometimes it is the chaos of the scene that actually makes the picture - a documentary approach that shows the whole picture, warts and all.
11: Follow the Rule of thirds
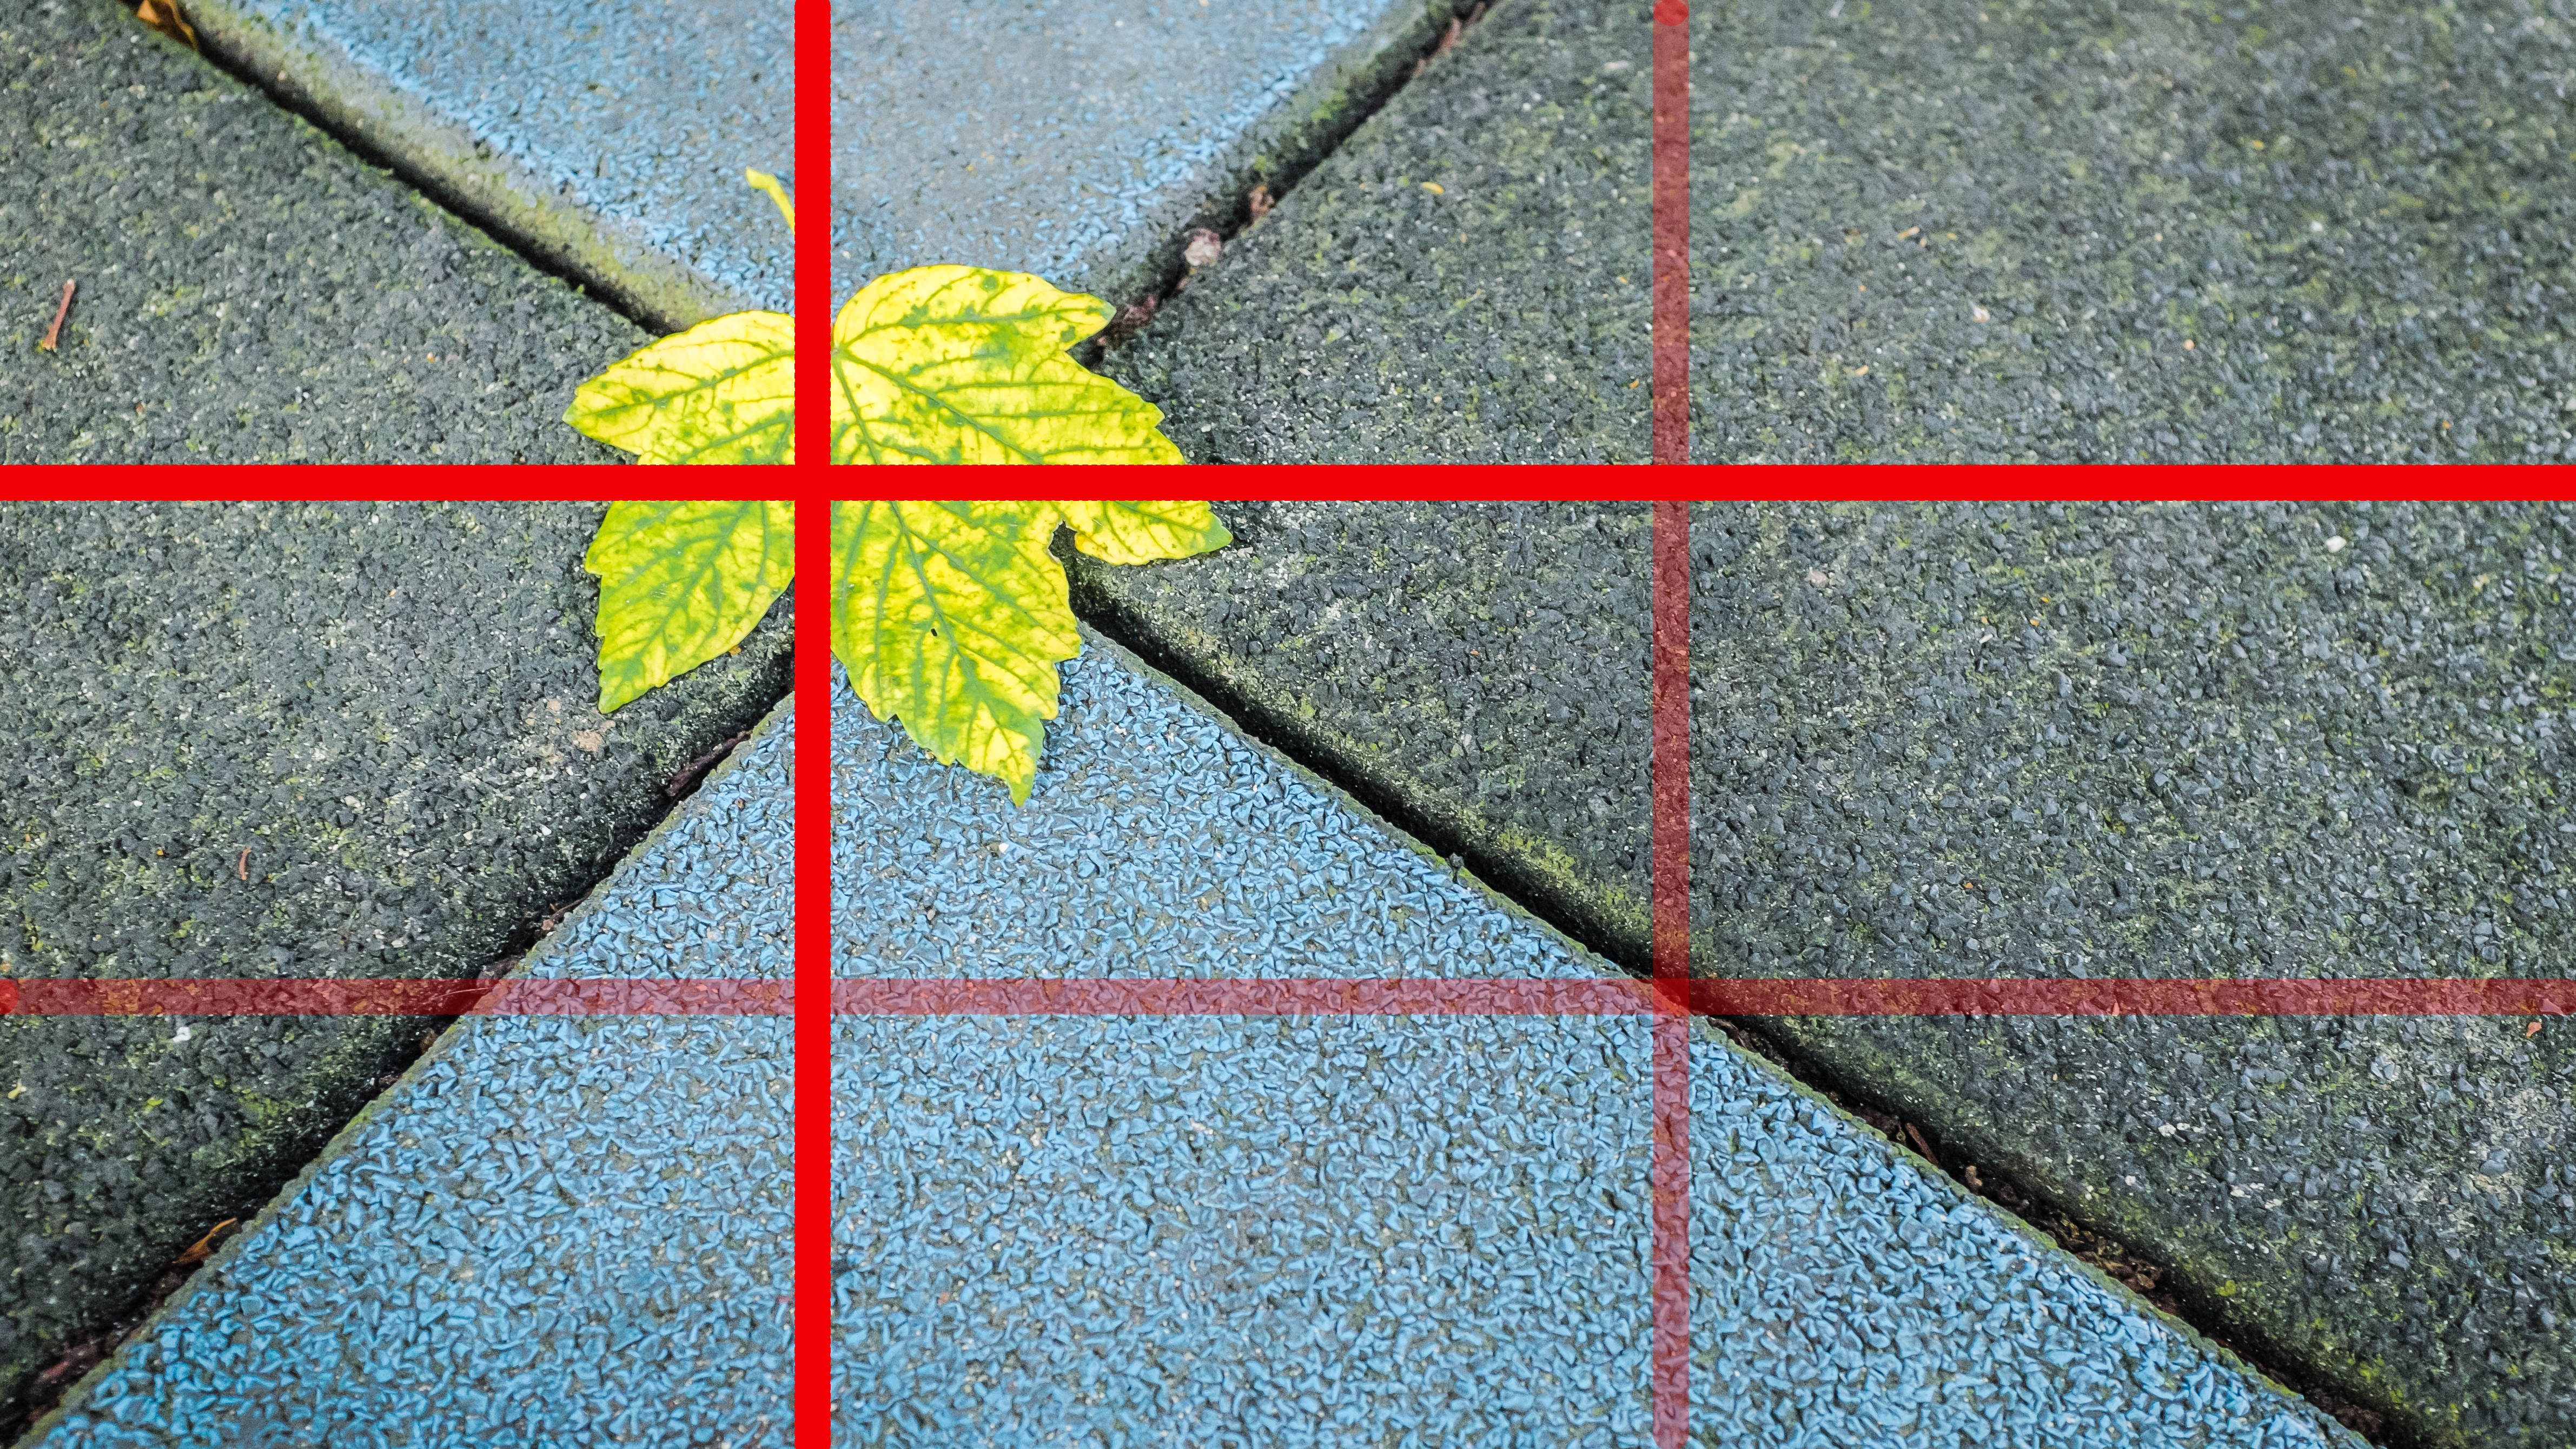
Many beginners plonk the subject in the middle of the frame, but this usually results in a rather dull composition. By instead dividing the image with imaginary lines a third into the image from the top, bottom and sides, and placing crucial elements along these lines, or at their intersections, you’ll almost always get a more satisfying result. For landscapes, place the horizon either along the top or bottom third of the frame and try to position important landmarks a third in from the side; for portraits or action shots, place the subject to the side, with space for your subject to ‘move into’. Break the rules! Images with reflections usually look better with a central horizon, and symmetrical architecture also looks better when it’s centered.
12: Get down to eye level

When shooting anything smaller than you – be it animals or children – you’ll get a much more engaging portrait if you get down to their level. Not only will it give you a more natural perspective, you won’t have the boring foreground in sharp focus, and you’ll be able to include a creatively blurred backdrop.
Break the rules! Shooting from above, with your subject looking up, produces large alluring ey
13: Don’t forget the background

It’s all too easy to concentrate so much on your subject that you don’t pay attention to what’s surrounding them, and this can spoil many a good shot. Avoid busy backgrounds, and make sure your subject is far enough from their background that you can blur them out when using a wide aperture. Almost as important is to avoid ‘dead space’, such as empty foregrounds or too much space around subjects; instead, compose your shot so that there’s something of interest throughout the frame, and around your subject.
Break the rules! Empty space isn’t necessarily ‘dead’ space; used carefully, it can give your subject room to breathe.
14: Include leading lines
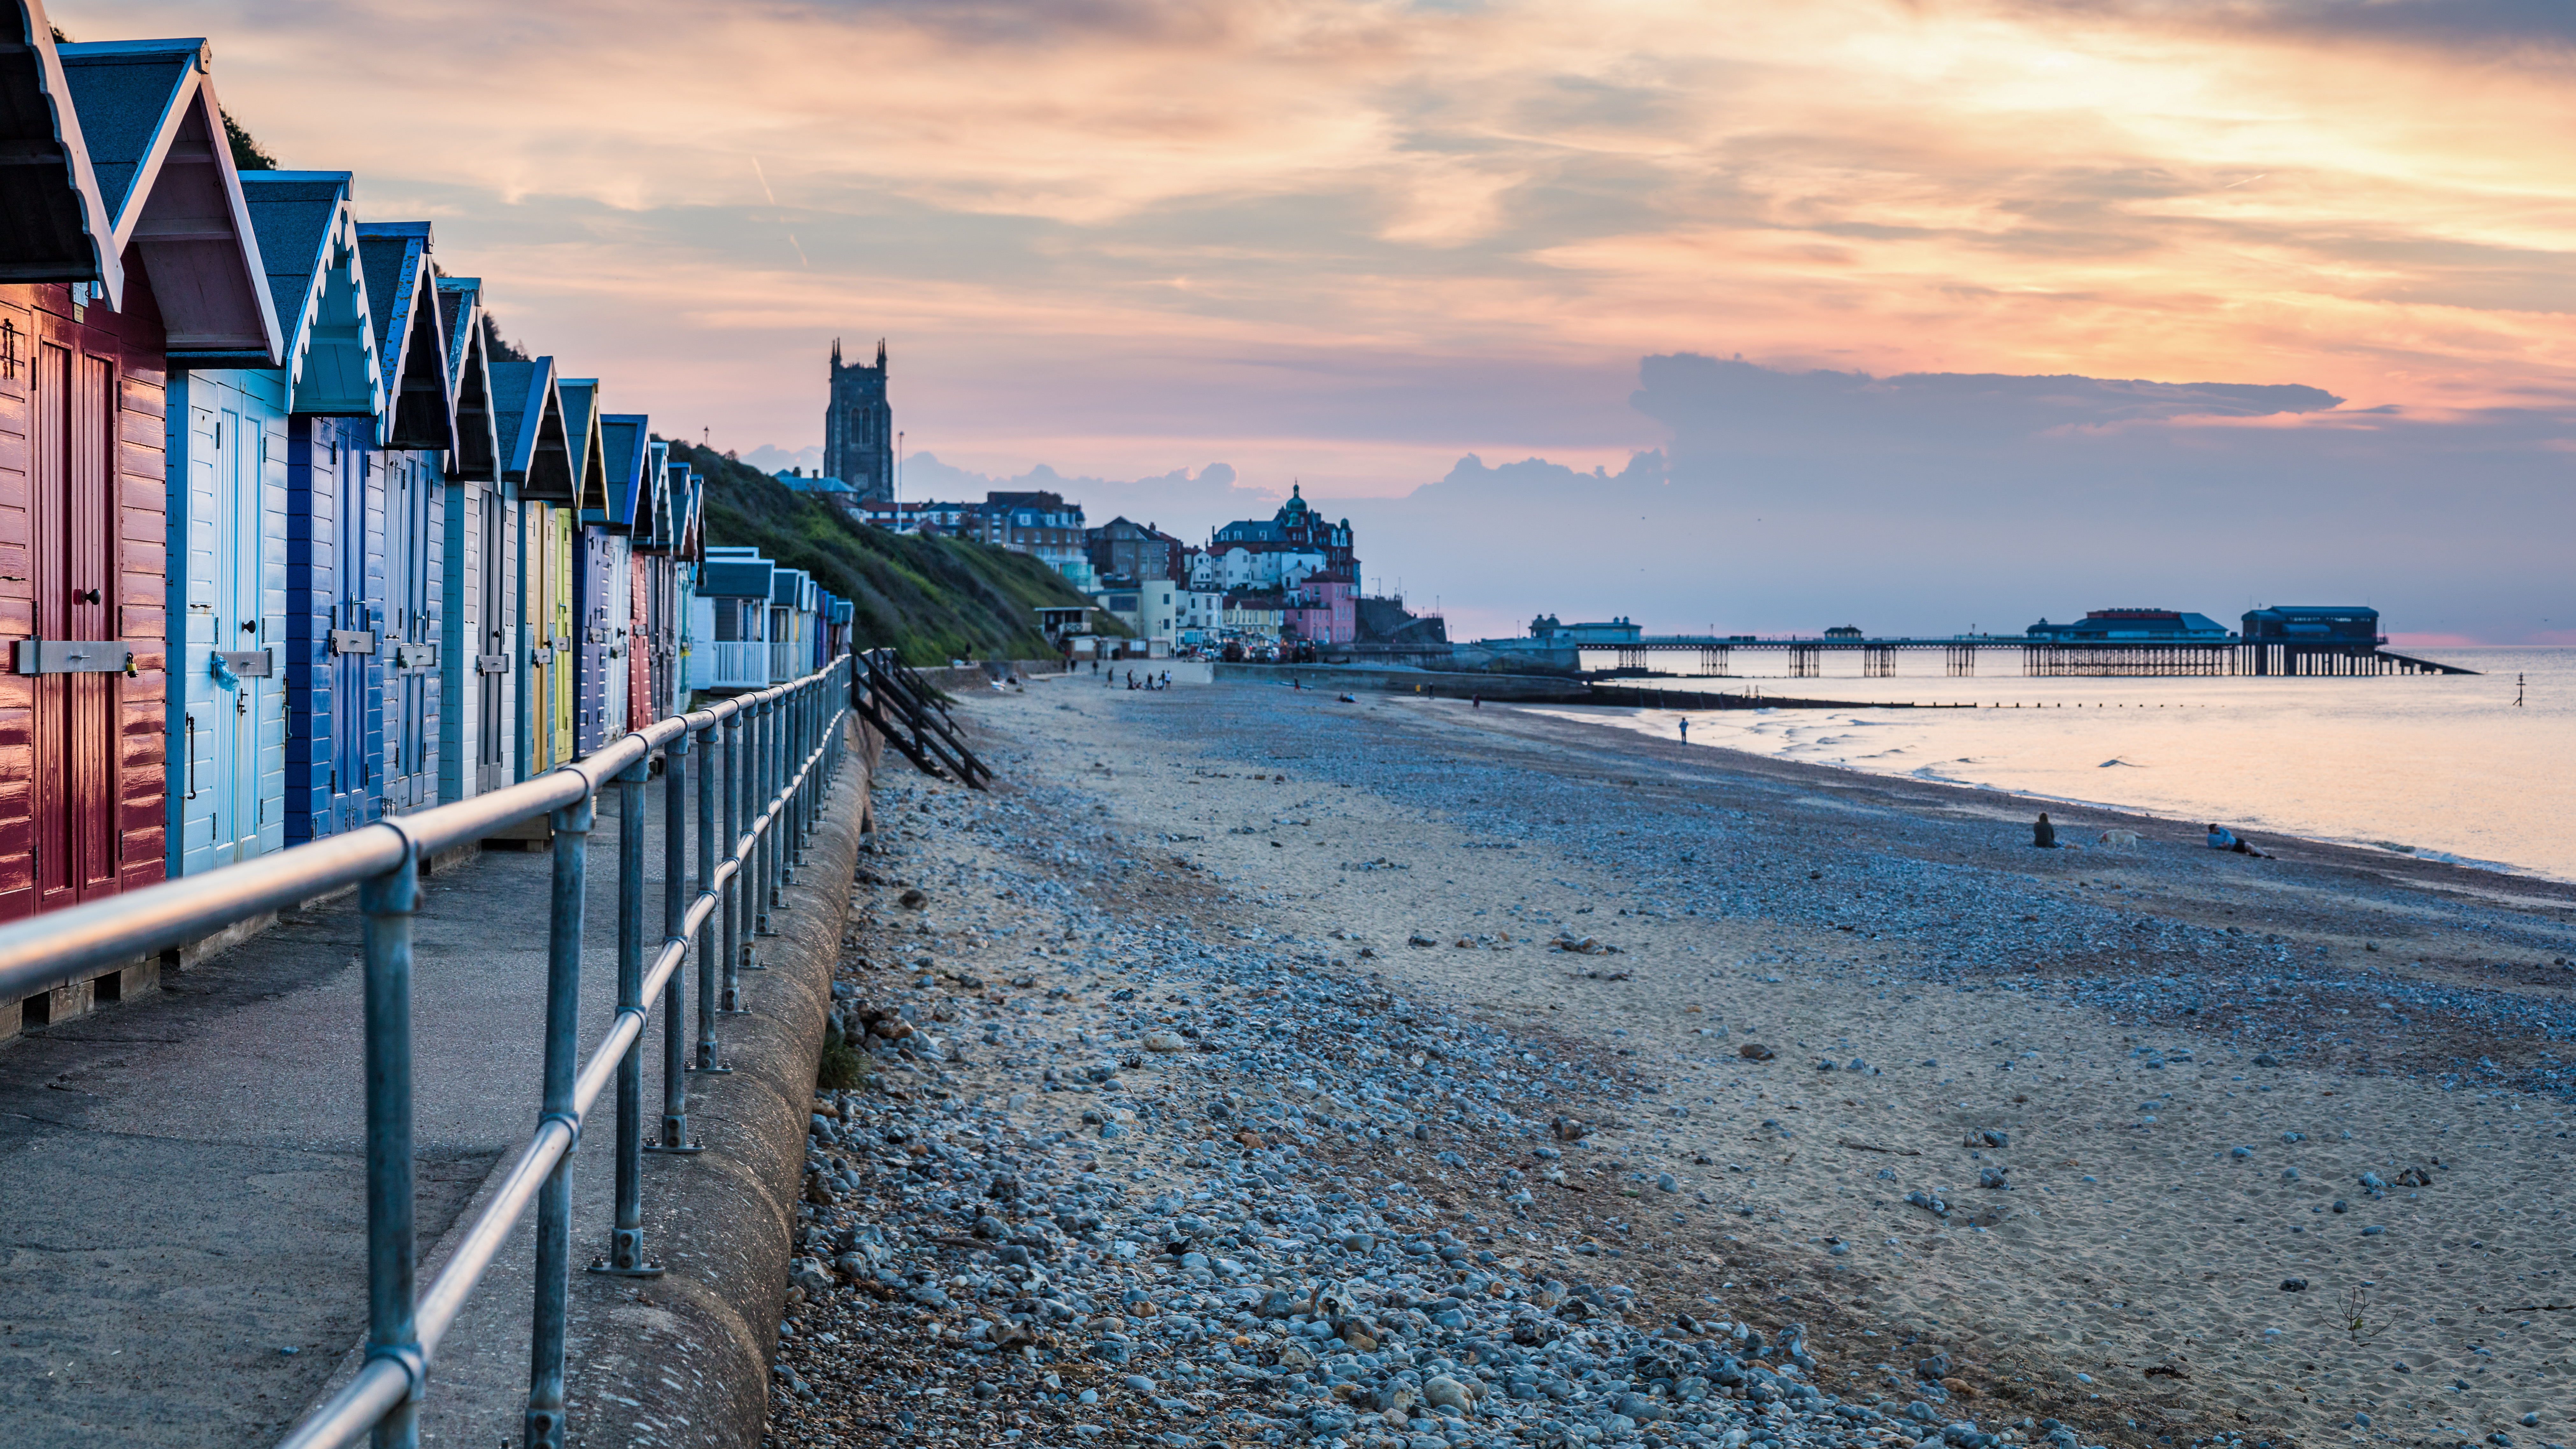
Draw viewers into your images with lines, curves or other shapes that lead them in from the edges of the frame to your subject. Lines leading diagonally from the corners can be particularly effective. Hedges and fences, roads and paths, and objects such as driftwood can all be used to great effect.
Break the rules! Be careful not to use ill-positioned lines that have the opposite of your intended effect, and lead the viewer out of the image instead.
15: Don’t forget the foreground

When you come upon a breathtaking vista it’s tempting to point the camera into the distance and snap away, only to find your shots lack something. Tilting the camera downwards a little, or shooting from a lower perspective, to include something of interest in the foreground improves landscapes shots immeasurably, as it helps to place the viewer in the frame, and adds a sense of scale and perspective.
Break the rules! Shoot from a high angle with a telephoto lens to compress perspective and bring distant landmarks closer to fill the frame – that way, you don’t need foreground interest.
16: Balance the sky
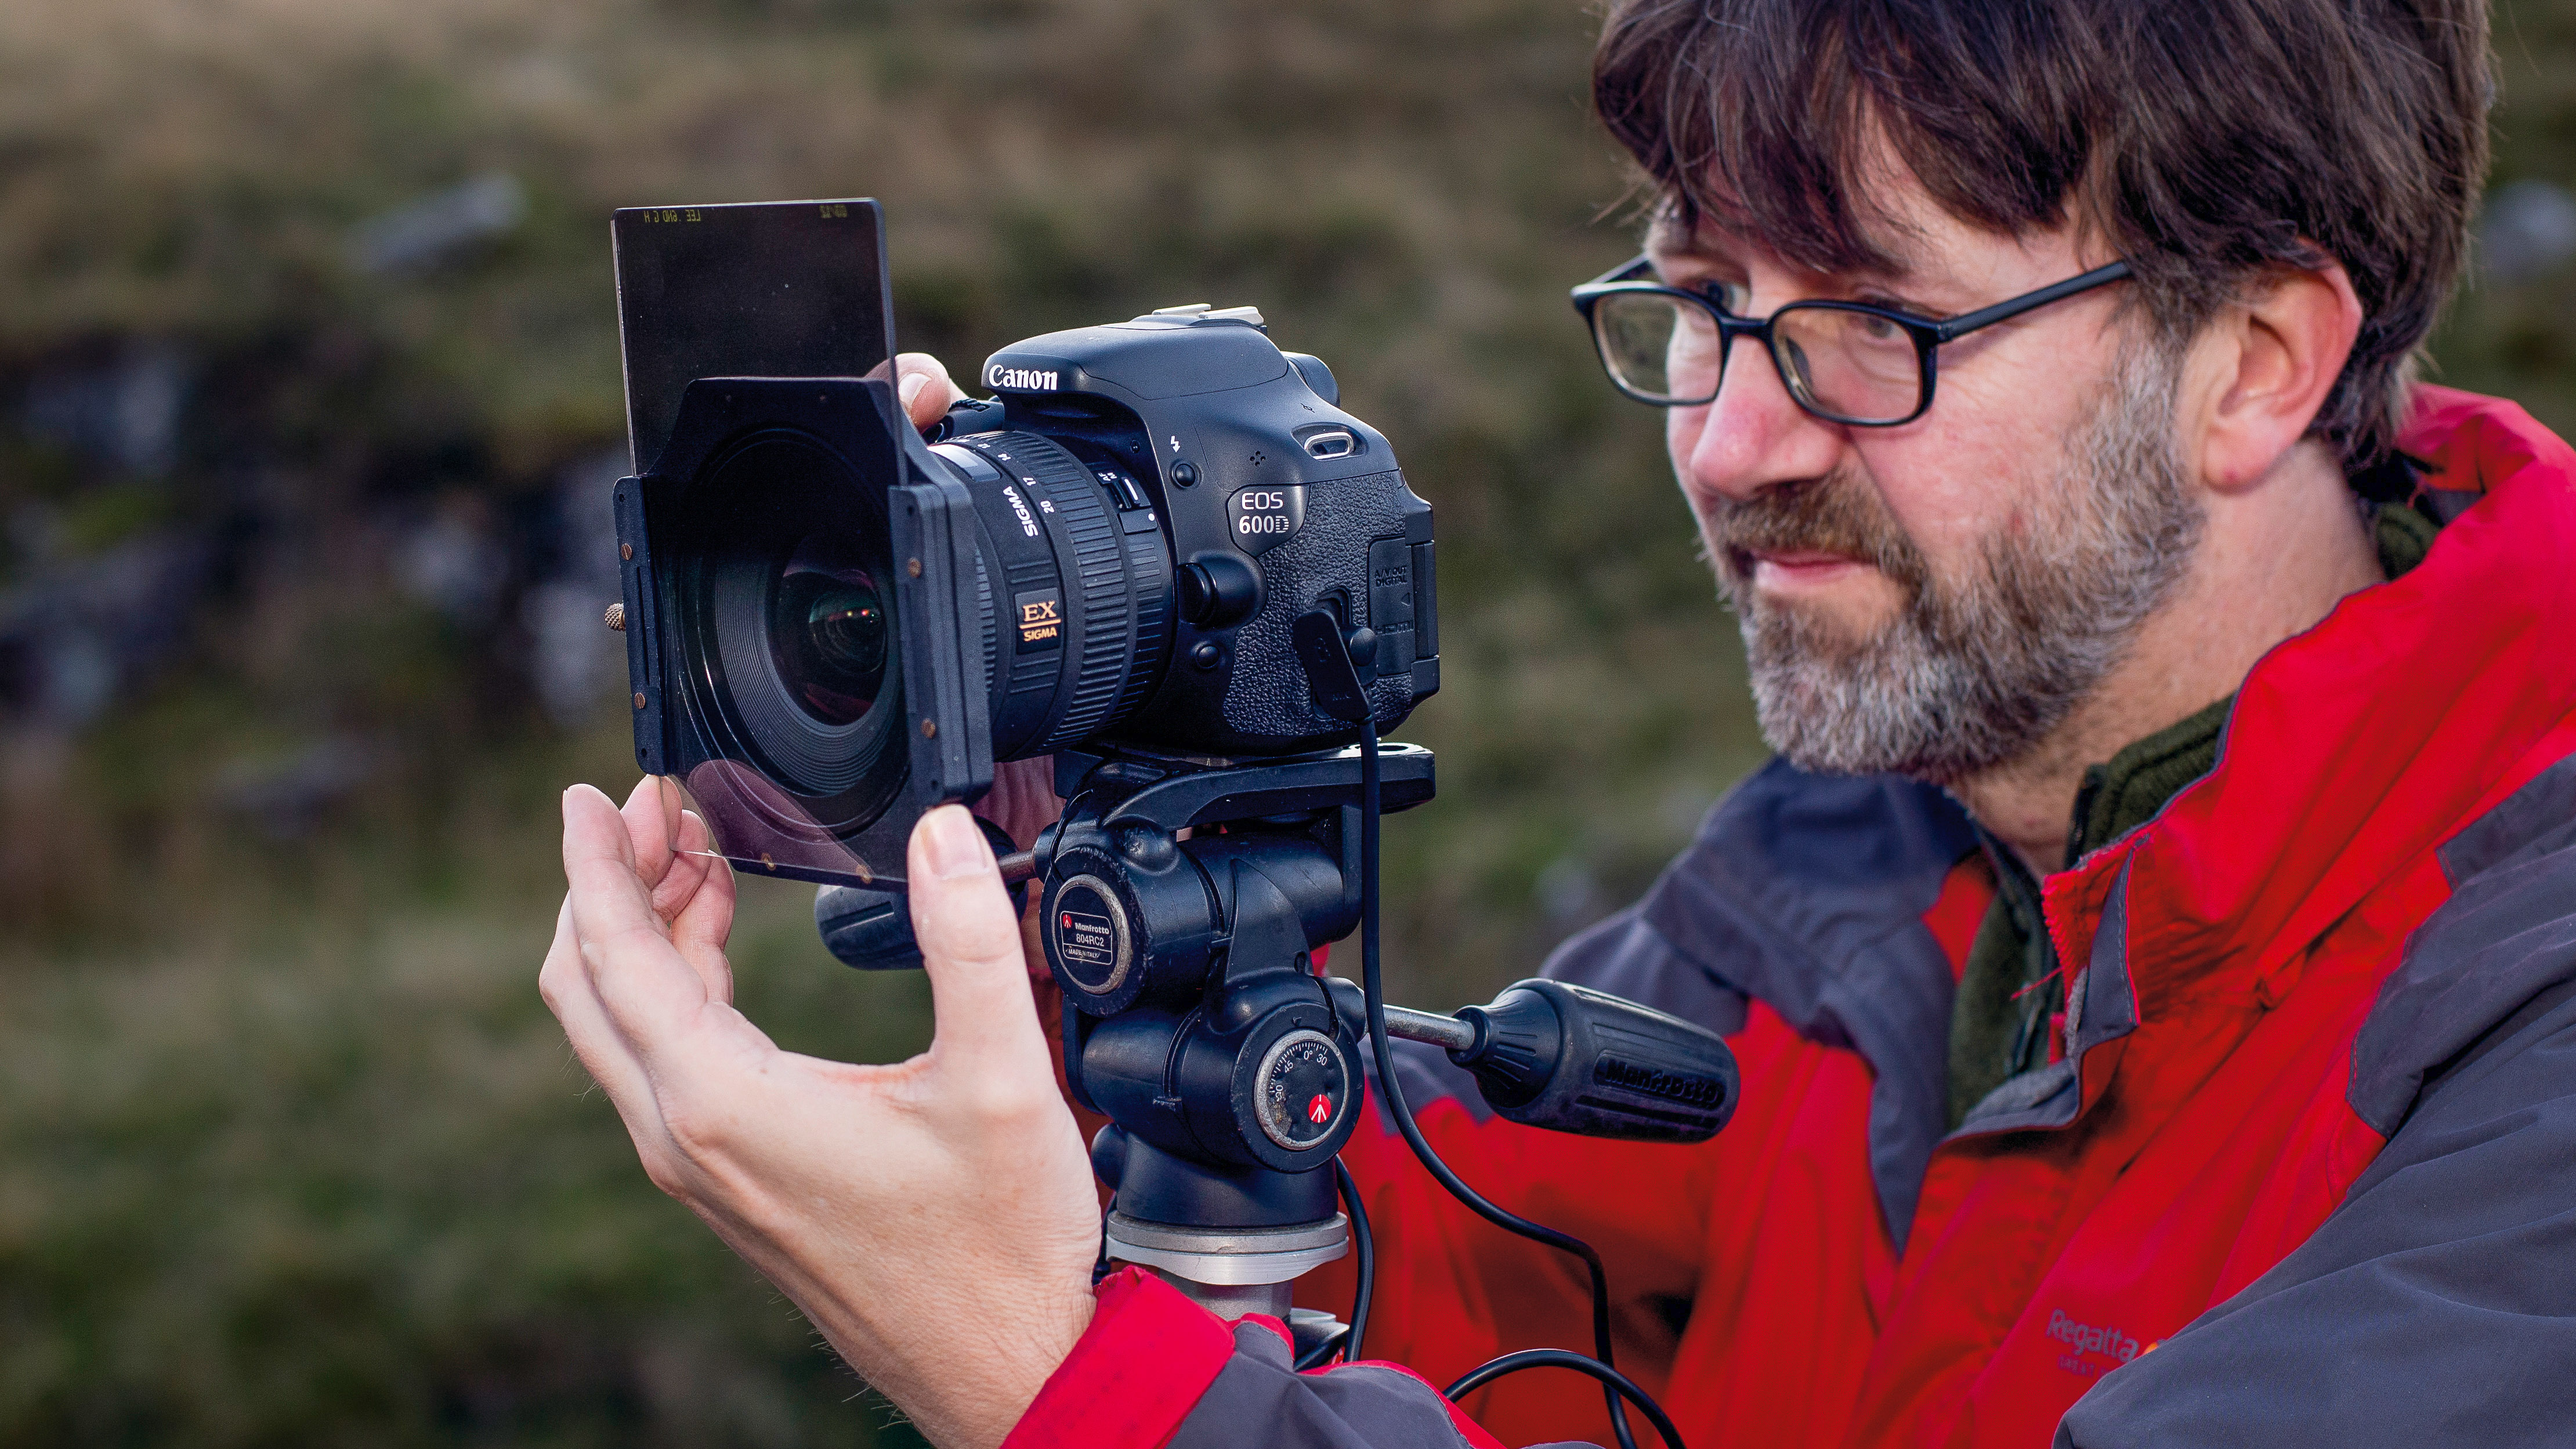
Most of the time the sky is much brighter than the landscape, so if you’re serious about landscape photography then a set of graduated neutral density filters (ND grads) is a must. Semi-opaque at one end and clear at the other, these can be precisely positioned in front of your lens so the graduation from light to dark meets at the horizon, enabling you to expose for both sky and foreground.
Break the rules! Take two shots of the same scene; expose one for the landscape and the other for the sky, then blend the images together using layers and masks in Photoshop
17: Slow down water

With photography it’s often a battle to get a fast enough shutter speed to capture your subject without blur or camera shake, but with landscapes, it’s often desirable to use blur creatively in a scene. Freeze a waterfall and you completely lose the sense of movement and drama; but shoot it at a slower shutter speed and it turns into an indistinct blur that speaks volumes about the ferocity of the fall. The problem is that, even in dull light and when you’re shooting at a narrow aperture, you’re unlikely to be able to reach a slow enough shutter speed. An ND filter reduces the amount of light reaching your sensor without affecting the colors; used in conjunction with a tripod it will enable you to achieve exposures several seconds – or even minutes – long.
Break the rules! A watery splash, such as when a rally car hits water, looks infinitely better frozen!
18: Keep the sun over your shoulder

Shoot with the sun behind you and you can be confident that your scene is going to be well lit, without presenting you with exposure problems such as backlit subjects framed by bright skies. However, it’s best if the sun isn’t directly behind you, but over one shoulder; this will introduce an element of side lighting, which will create shadows and give your subject or scene some depth and texture.
Break the rules! Shoot into the sunset and reduce the exposure by a couple of stops to create atmospheric silhouettes.
19: Get your timing right
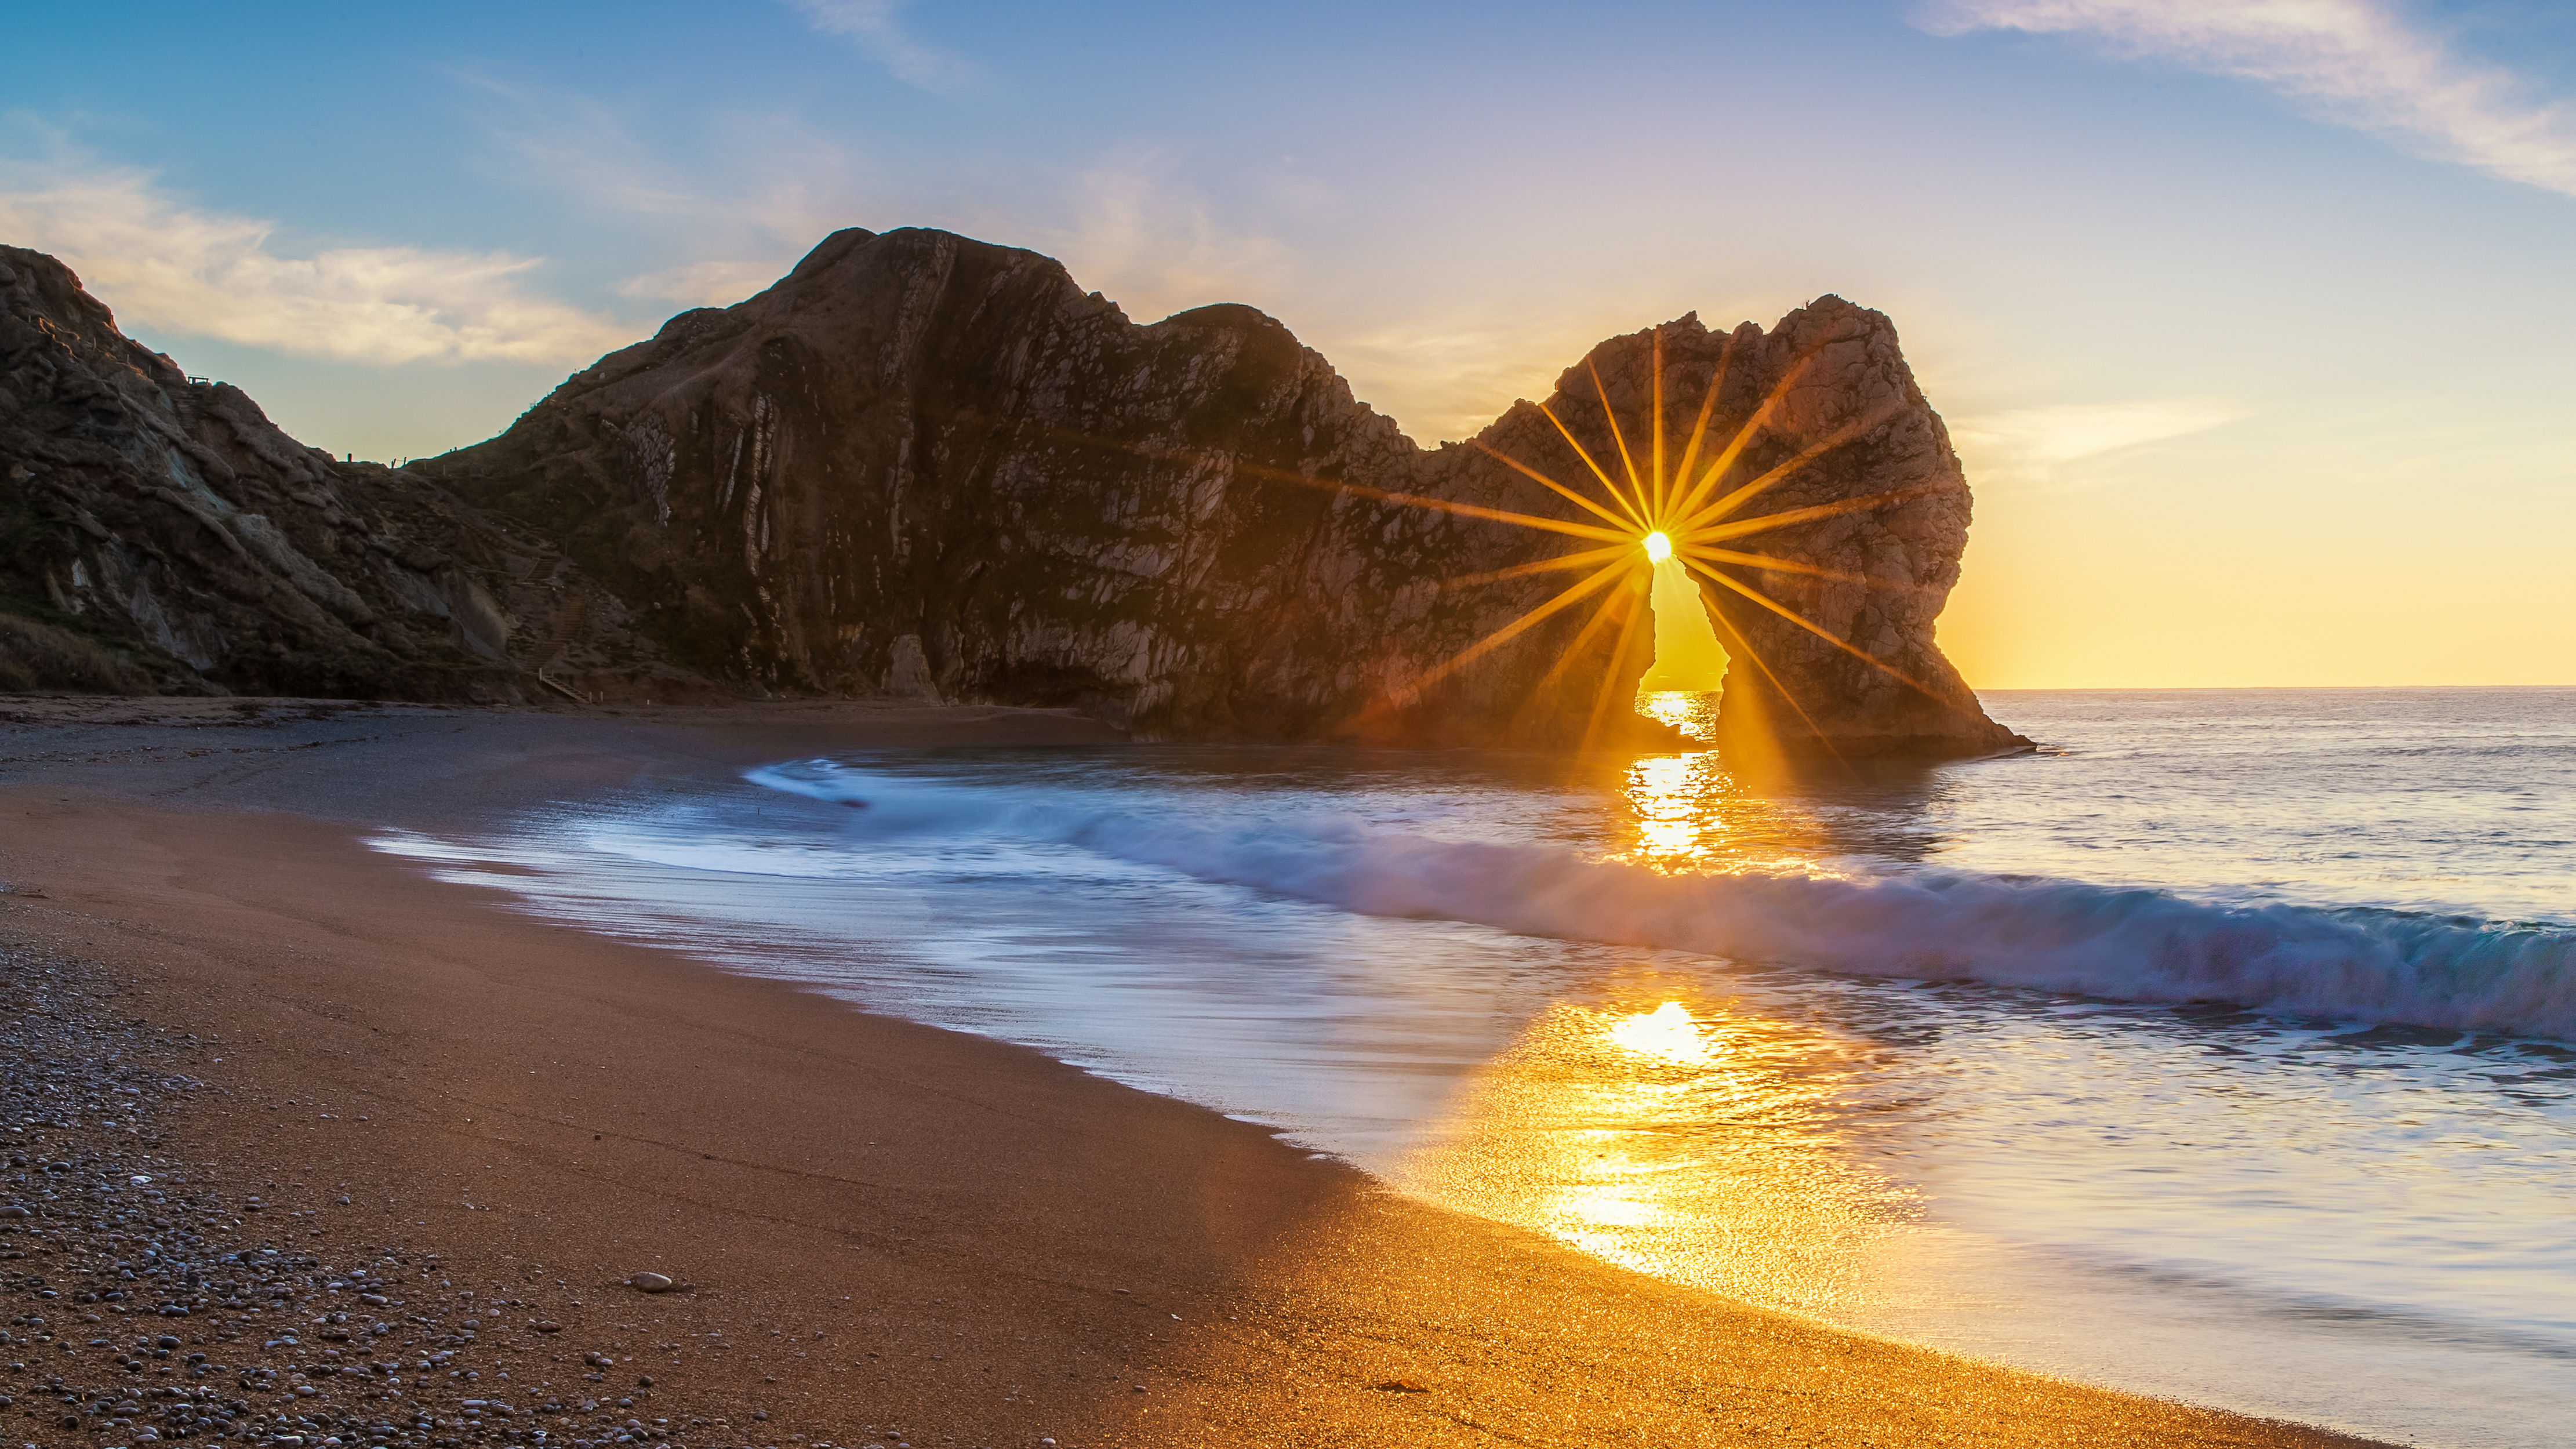
Finding a photogenic scene is only half the story. When you shoot it can determine whether it’s going to be a so-so shot or a stunner. Wait for a break in the clouds so your subject is lit by sunlight; a pier will look better surrounded by sea rather than mud and seaweed; a ray of dawn light shining through a rock arch may only happen for a couple of days a year. Check the tides (try www.tideschart.com), and the position of sunrise and sunset (use Photo Ephemeris) before you set out.
Break the rules! Sometimes bad weather can help to enhance a scene – stormy skies and moody clouds can add drama. But take a brolly!
20: Shoot at the golden hours
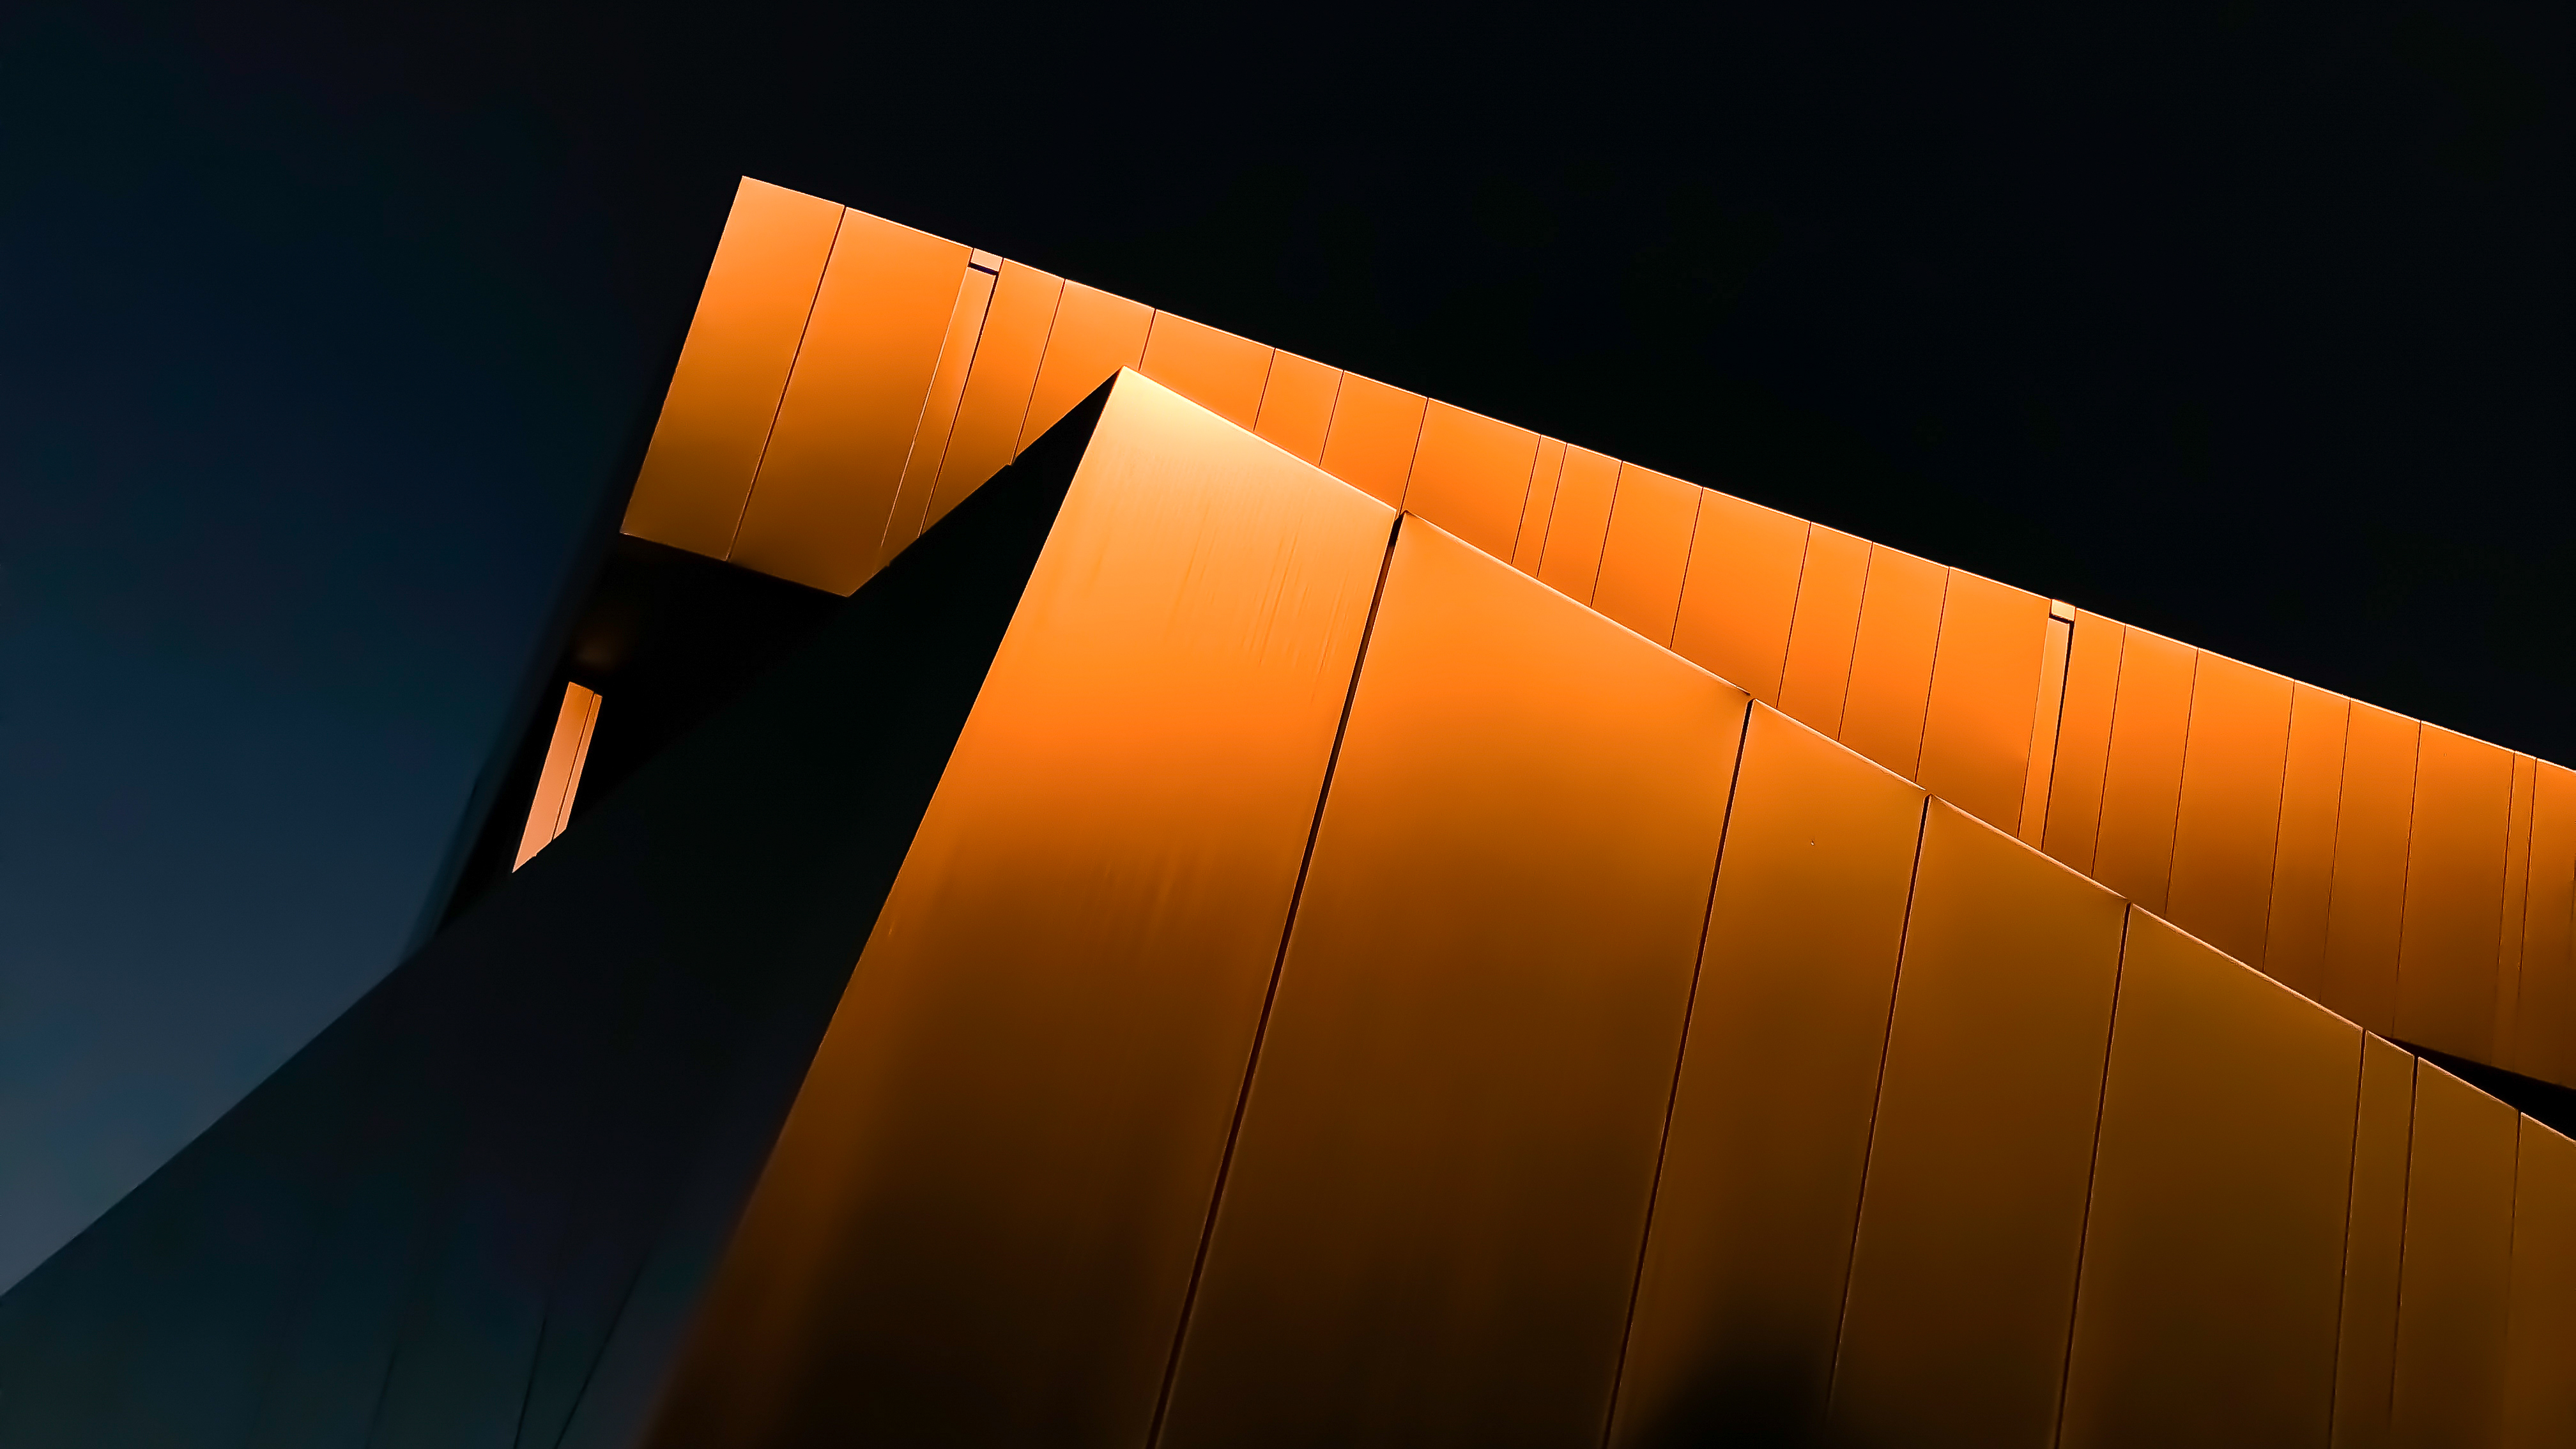
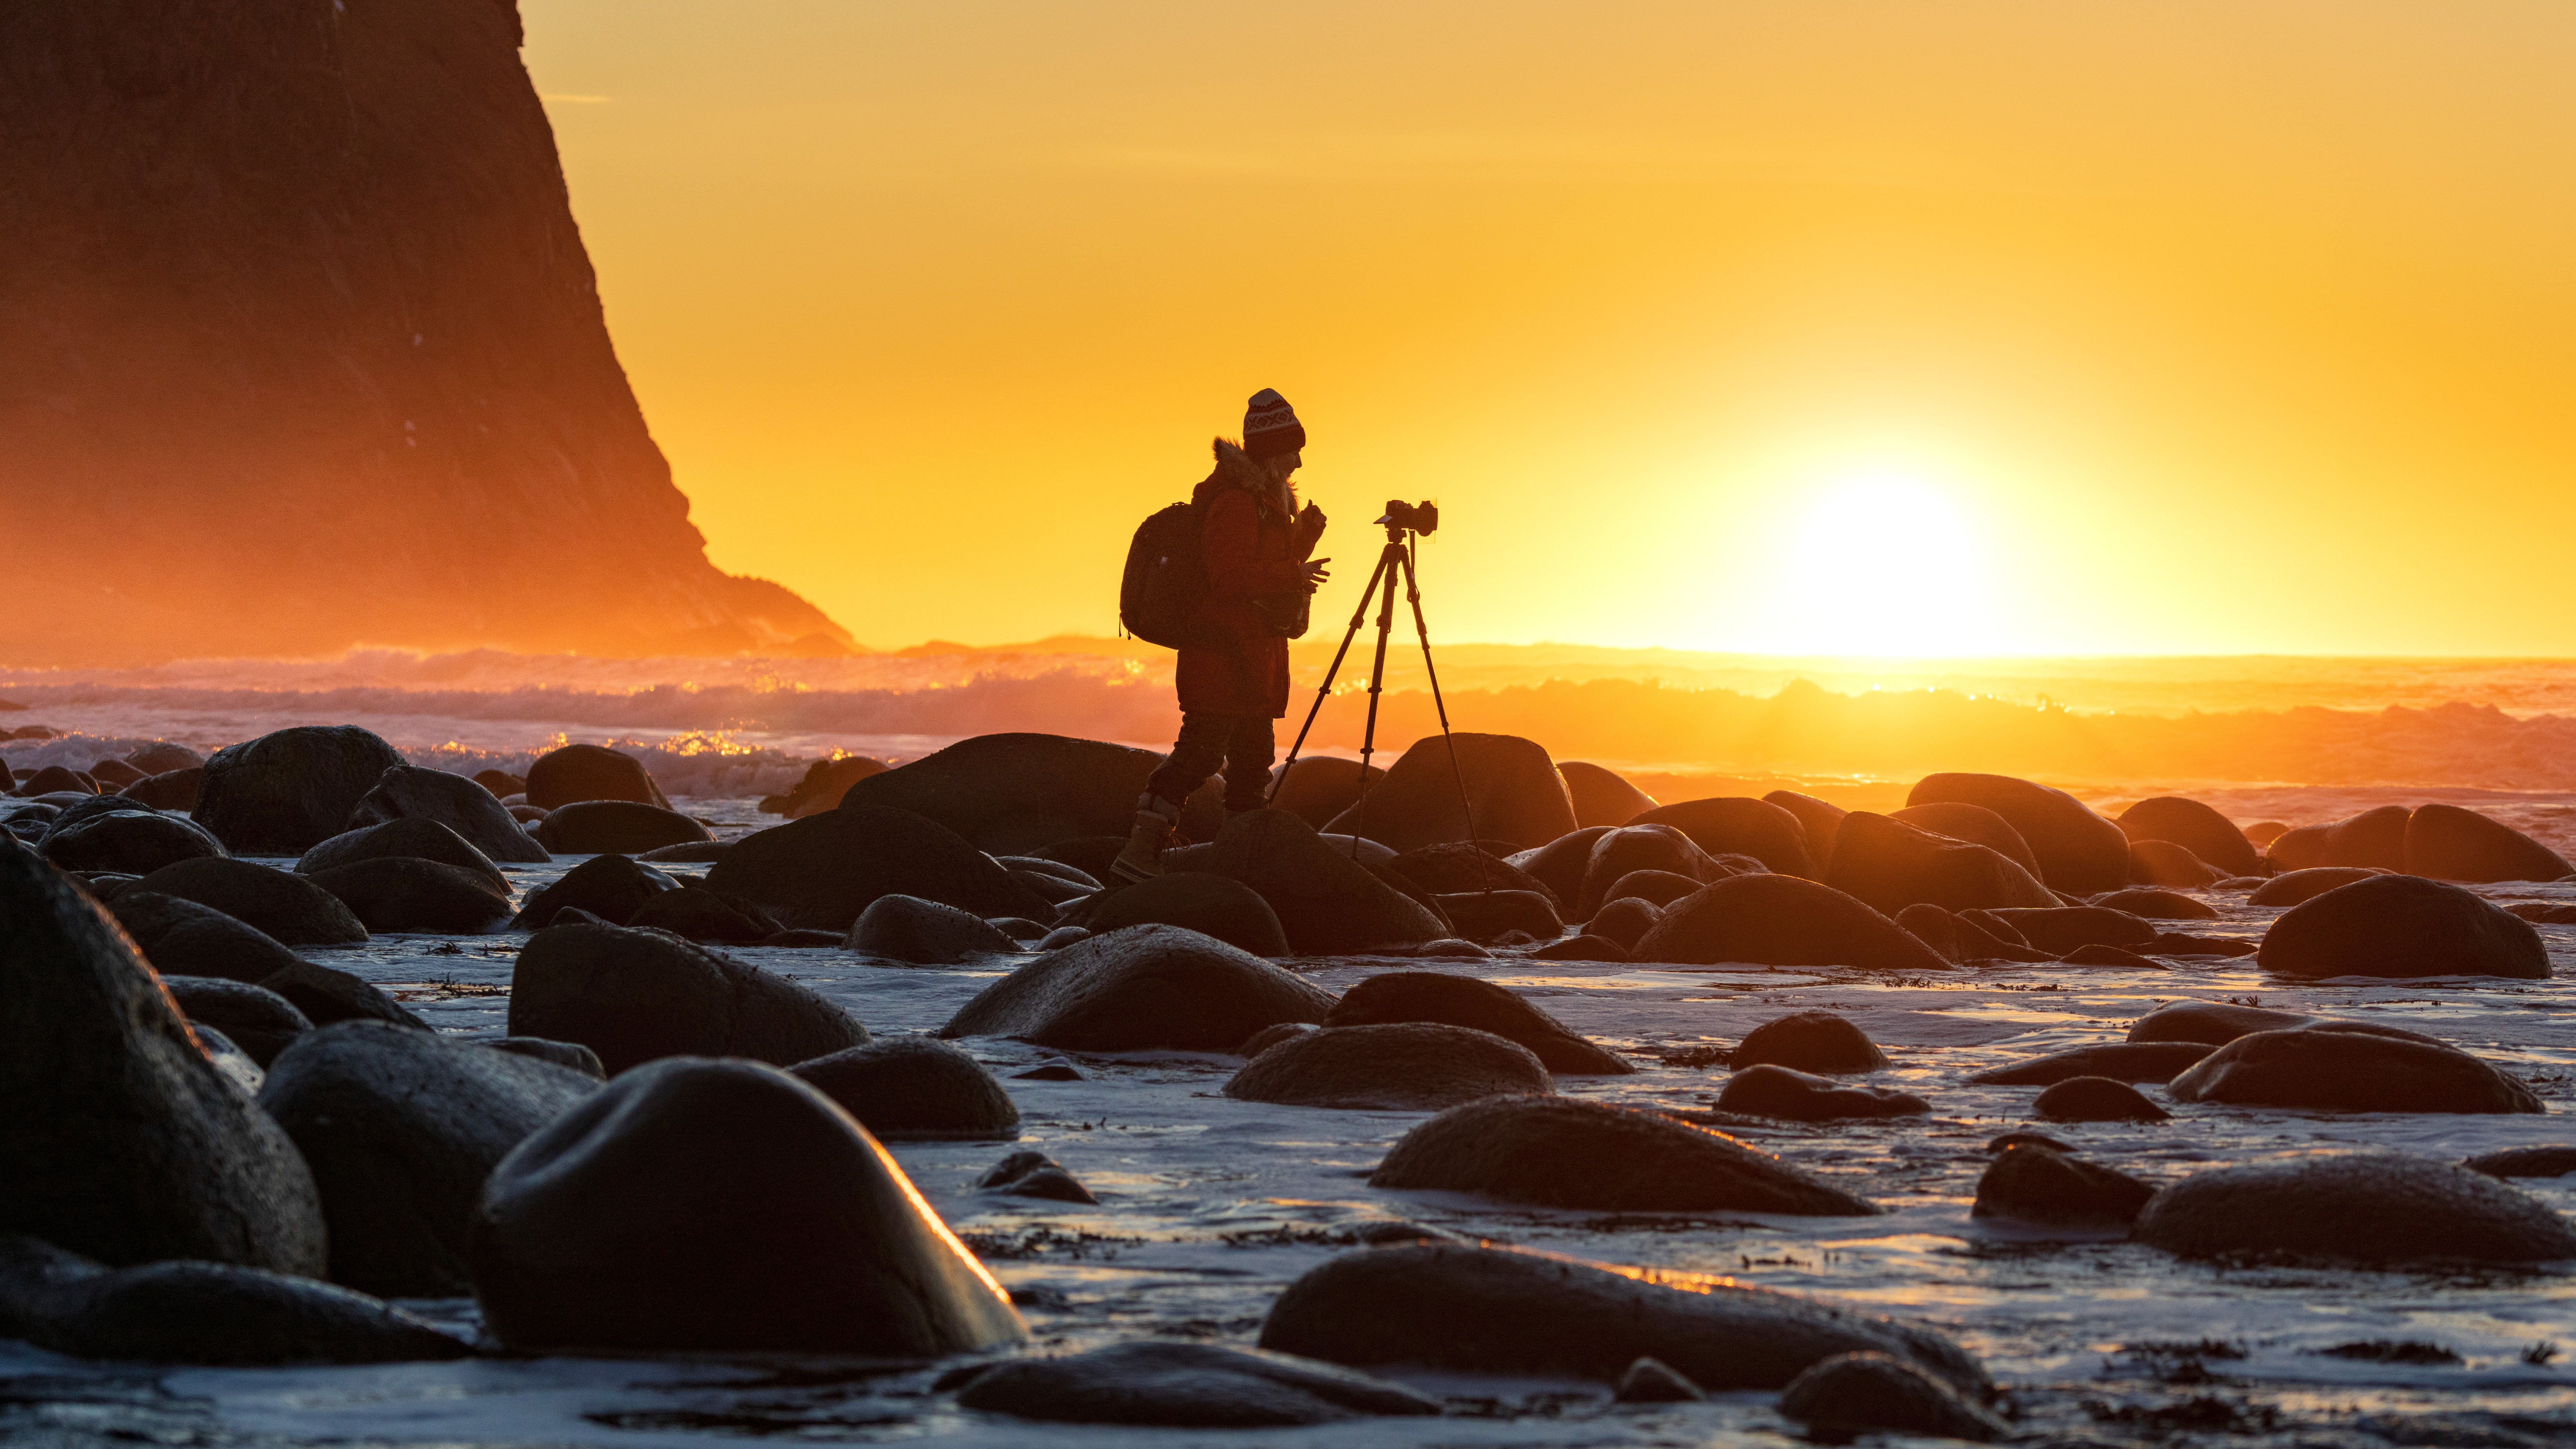
Avoid shooting in the middle of a sunny day. The bright, overhead light produces harsh, ugly shadows and portraits end up with squinting subjects, while sweeping landscapes look flat and featureless. Shooting at the extremes of the day, around dawn and dusk, will give you beautiful golden light that is low in the sky, giving your subjects a lovely golden glow.
Break the rules! Carry a reflector to bounce light back onto your subjects, and you can shoot portraits and still lifes whenever you like, even on overcast days.
- 10 photo editing mistakes (and how to avoid them)
- Common wildlife photography mistakes (and how to avoid them)
- 8 composition mistakes photographers make
- 8 portrait photography mistakes (and how to avoid them)
- 10 wedding photography mistakes every beginner will make
- 7 common landscape photography mistakes (and how to avoid them)
Get the Digital Camera World Newsletter
The best camera deals, reviews, product advice, and unmissable photography news, direct to your inbox!
Claire is a professional photographer and writer, and lives by the the sea with her two young children, husband and cat in the southwest of the UK.
After graduating from The Bournemouth Arts Institute with a first-class degree in photography, Claire worked for a number of years in the publishing industry, including as Technique Editor for Digital Camera magazine.
She loves anything and everything to do with photography, from creating magazine articles to photographing ballerinas on the beach and newborn babies (but not at the same time). She mainly shoots with digital DSLRs, but does dust off her beloved Hasselblad medium-format film camera once in a while…
- Chris George
- Adam WaringGuides Editor
