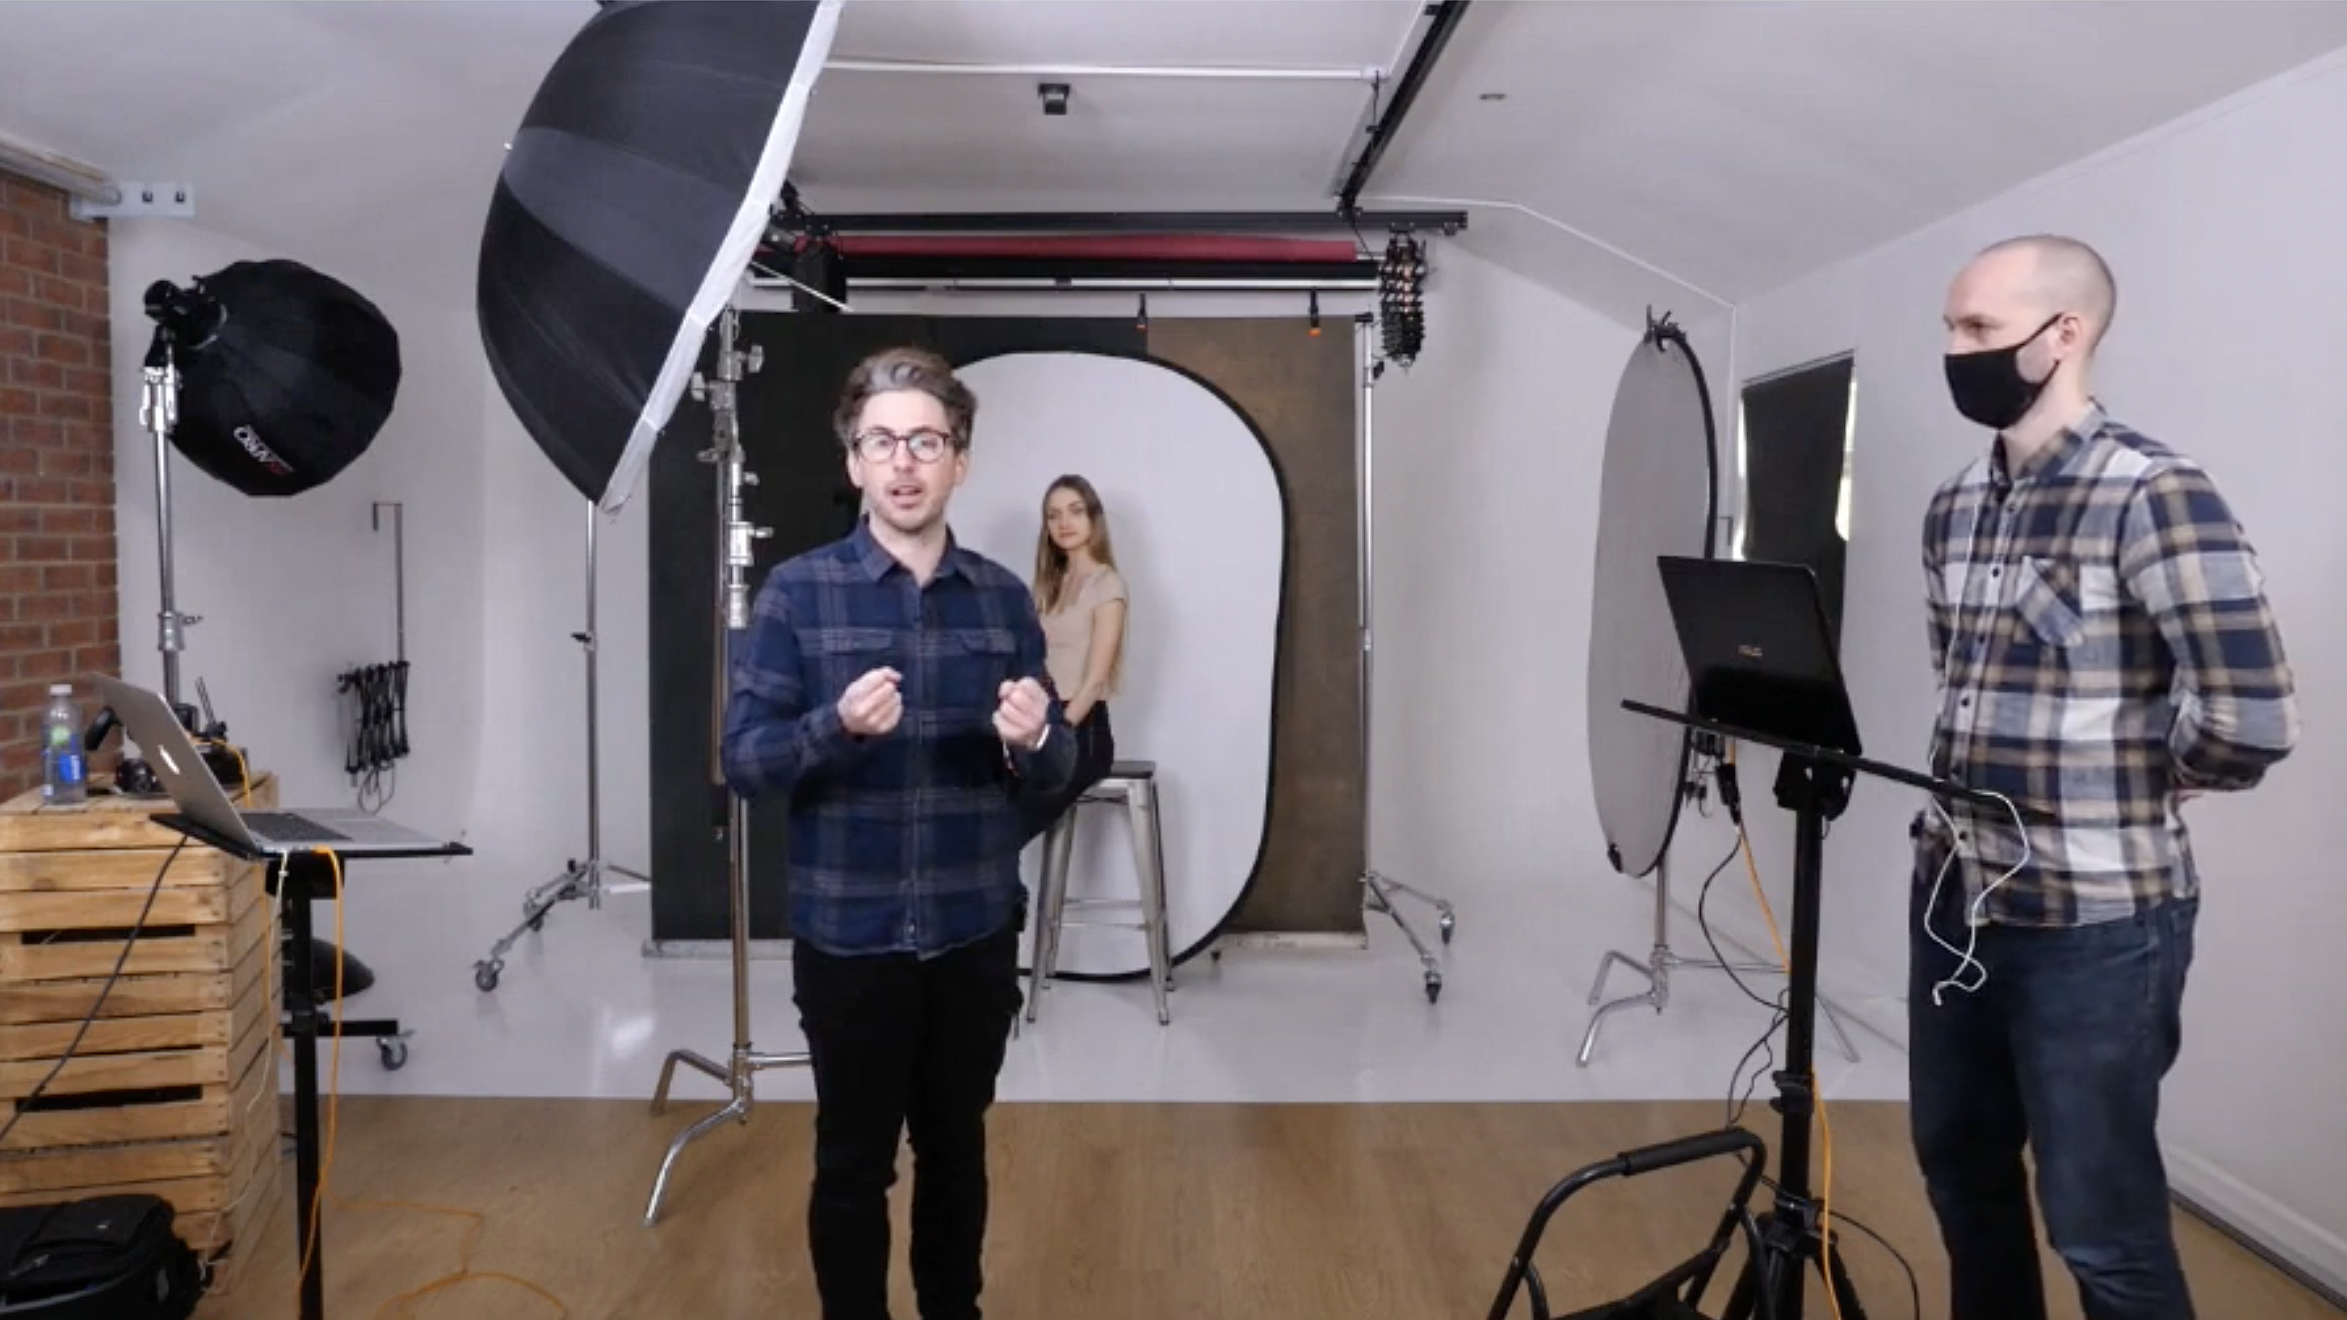
During The Photography Show: Spring Shoots, professional portrait photographer Tommy Reynolds took to the stage for a live demonstration on how to use fill light in five different situations.
When shooting portraits you have a 'key' light, which does the bulk of the lighting but can produce harsh shadows. In this case you may want to introduce a 'fill' light, so called because it fills in the shadows and decreases the contrast.
• Read more: Best photography lighting kits
Using his Pixapro equipment, Reynolds runs through five setups you can do at home or in a studio even with basic lighting kit: Rembrandt, high key, clamshell, high fashion and gels. He explained that he finds modifiers like snoots, softboxes, umbrellas and beauty dishes to be much more important than the flash itself, so even a couple of off-camera flashguns would work well if you're in a pinch.
His demonstration is currently available to view for free here, along with a host of other talks, sessions and presentations from The Photography Show: Spring Shoots.
If you weren't able to catch all of the brilliant content at The Photography Show Spring Shoots event, fear not! Lots of the content from over the weekend is now available to view and rewatch, so be sure to check it out here.
Watch The Photography Show sessions on demand
1. Rembrandt
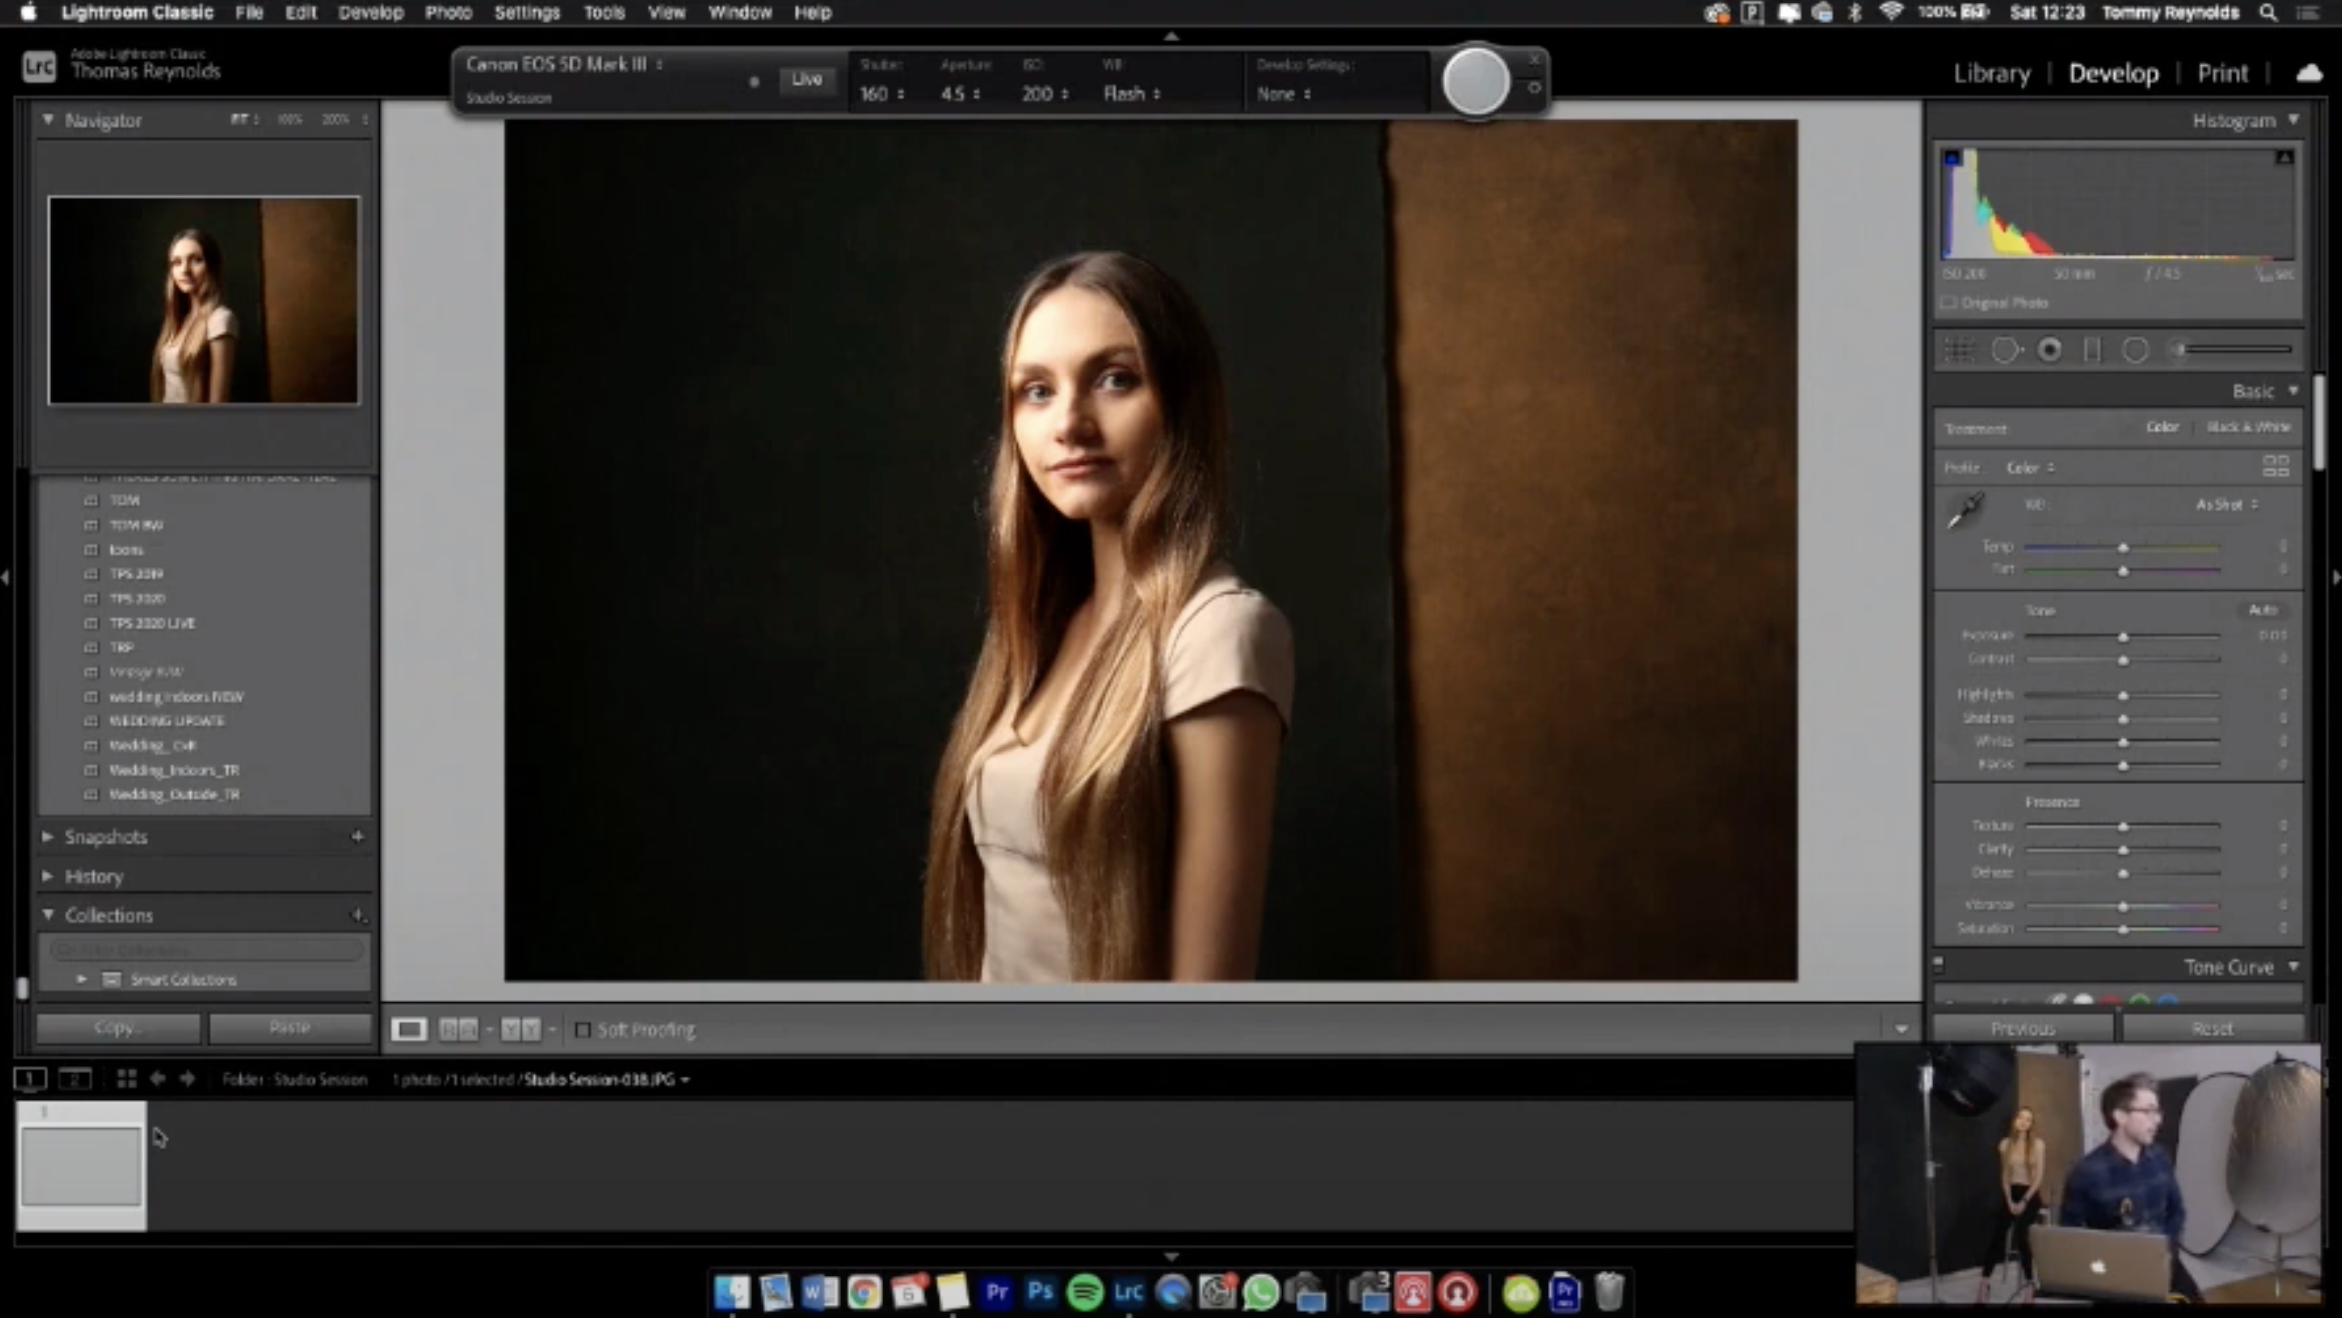
(Camera settings: 1/160 sec, f/4.5, ISO200)
Tommy used a large 60cm ricebowl-shaped softbox on his Pixapro Citi300 Pro flash head, aiming down at 45º on his model to create a Rembrandt lighting pattern, and demonstrated how a reflector could be used to soften the shadows on the far side of the face.
2. High key
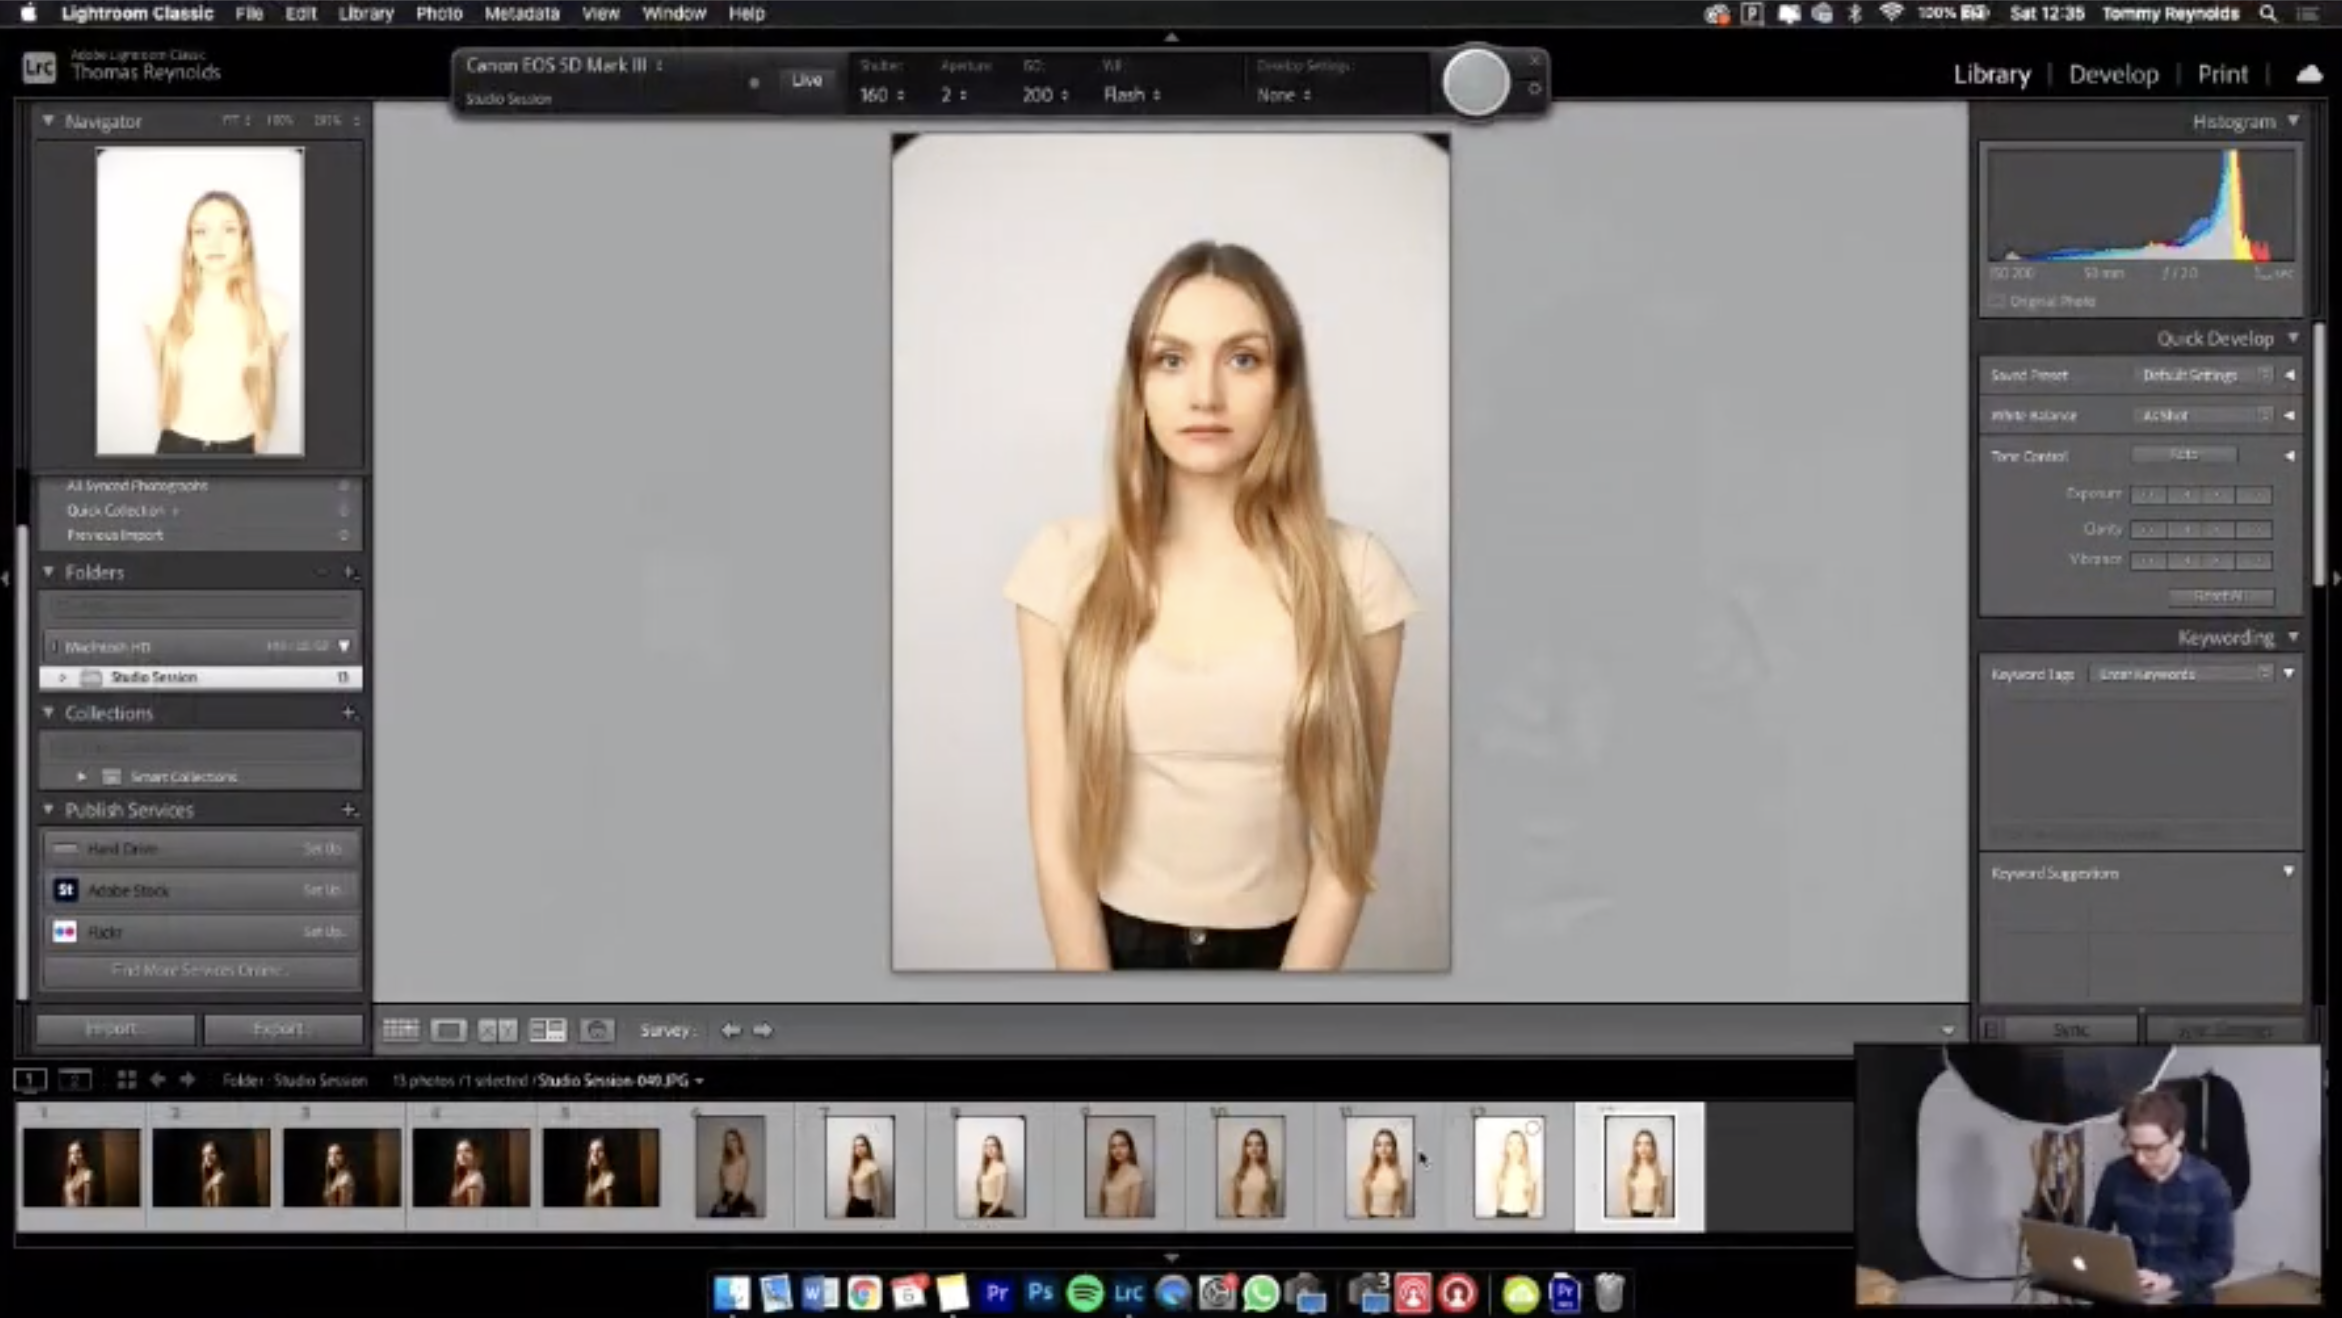
(Camera settings: 1/160 sec, f/2, ISO200)
To create a high-key lighting setup Tommy used a Pixapro Pika200 flash with large 140cm umbrella attached, mounted on a stand and pointing down at his model at 45º. This time for fill light Tommy used a Rico400 ring flash to fill in the shadows.
3. Clamshell
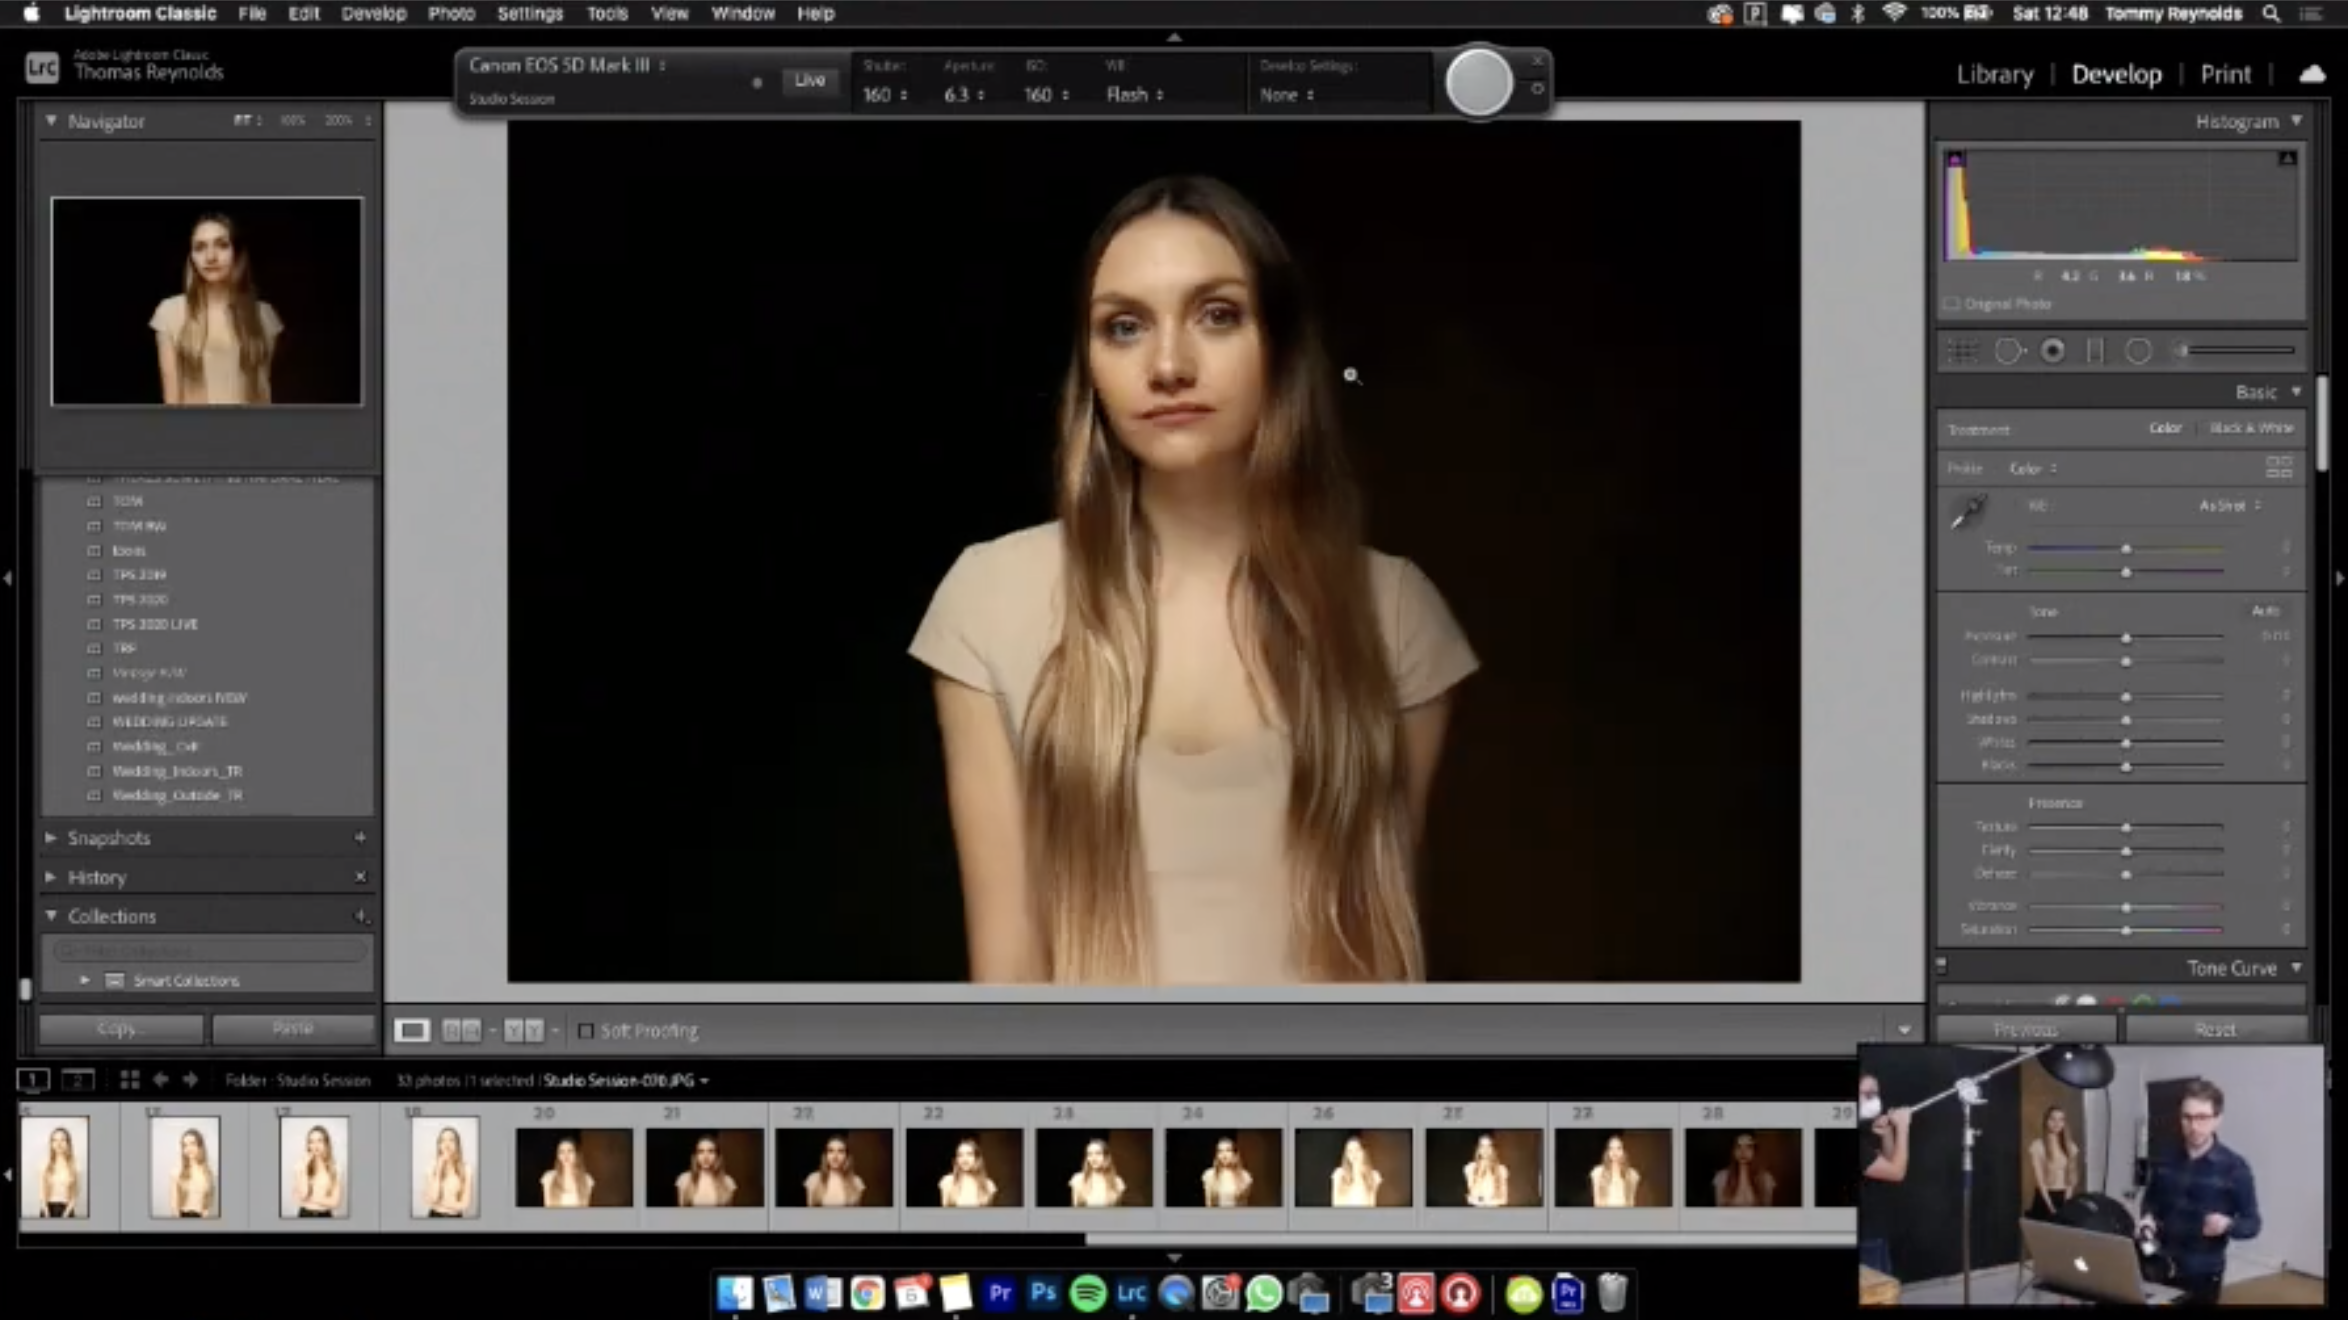
(Camera settings: 1/160 sec, f/6.3, ISO160)
To create clamshell, lighting Tommy positioned two flashes directly in front of the model – one pointing down at 45º with a beauty dish and grid attached, and the other flash on the floor pointing up at 45º with a 60cm ricebowl softbox attached. A darker background was used this time to create contrast increase separation between the model and the backdrop.
• Best backdrops for photography
4. High fashion
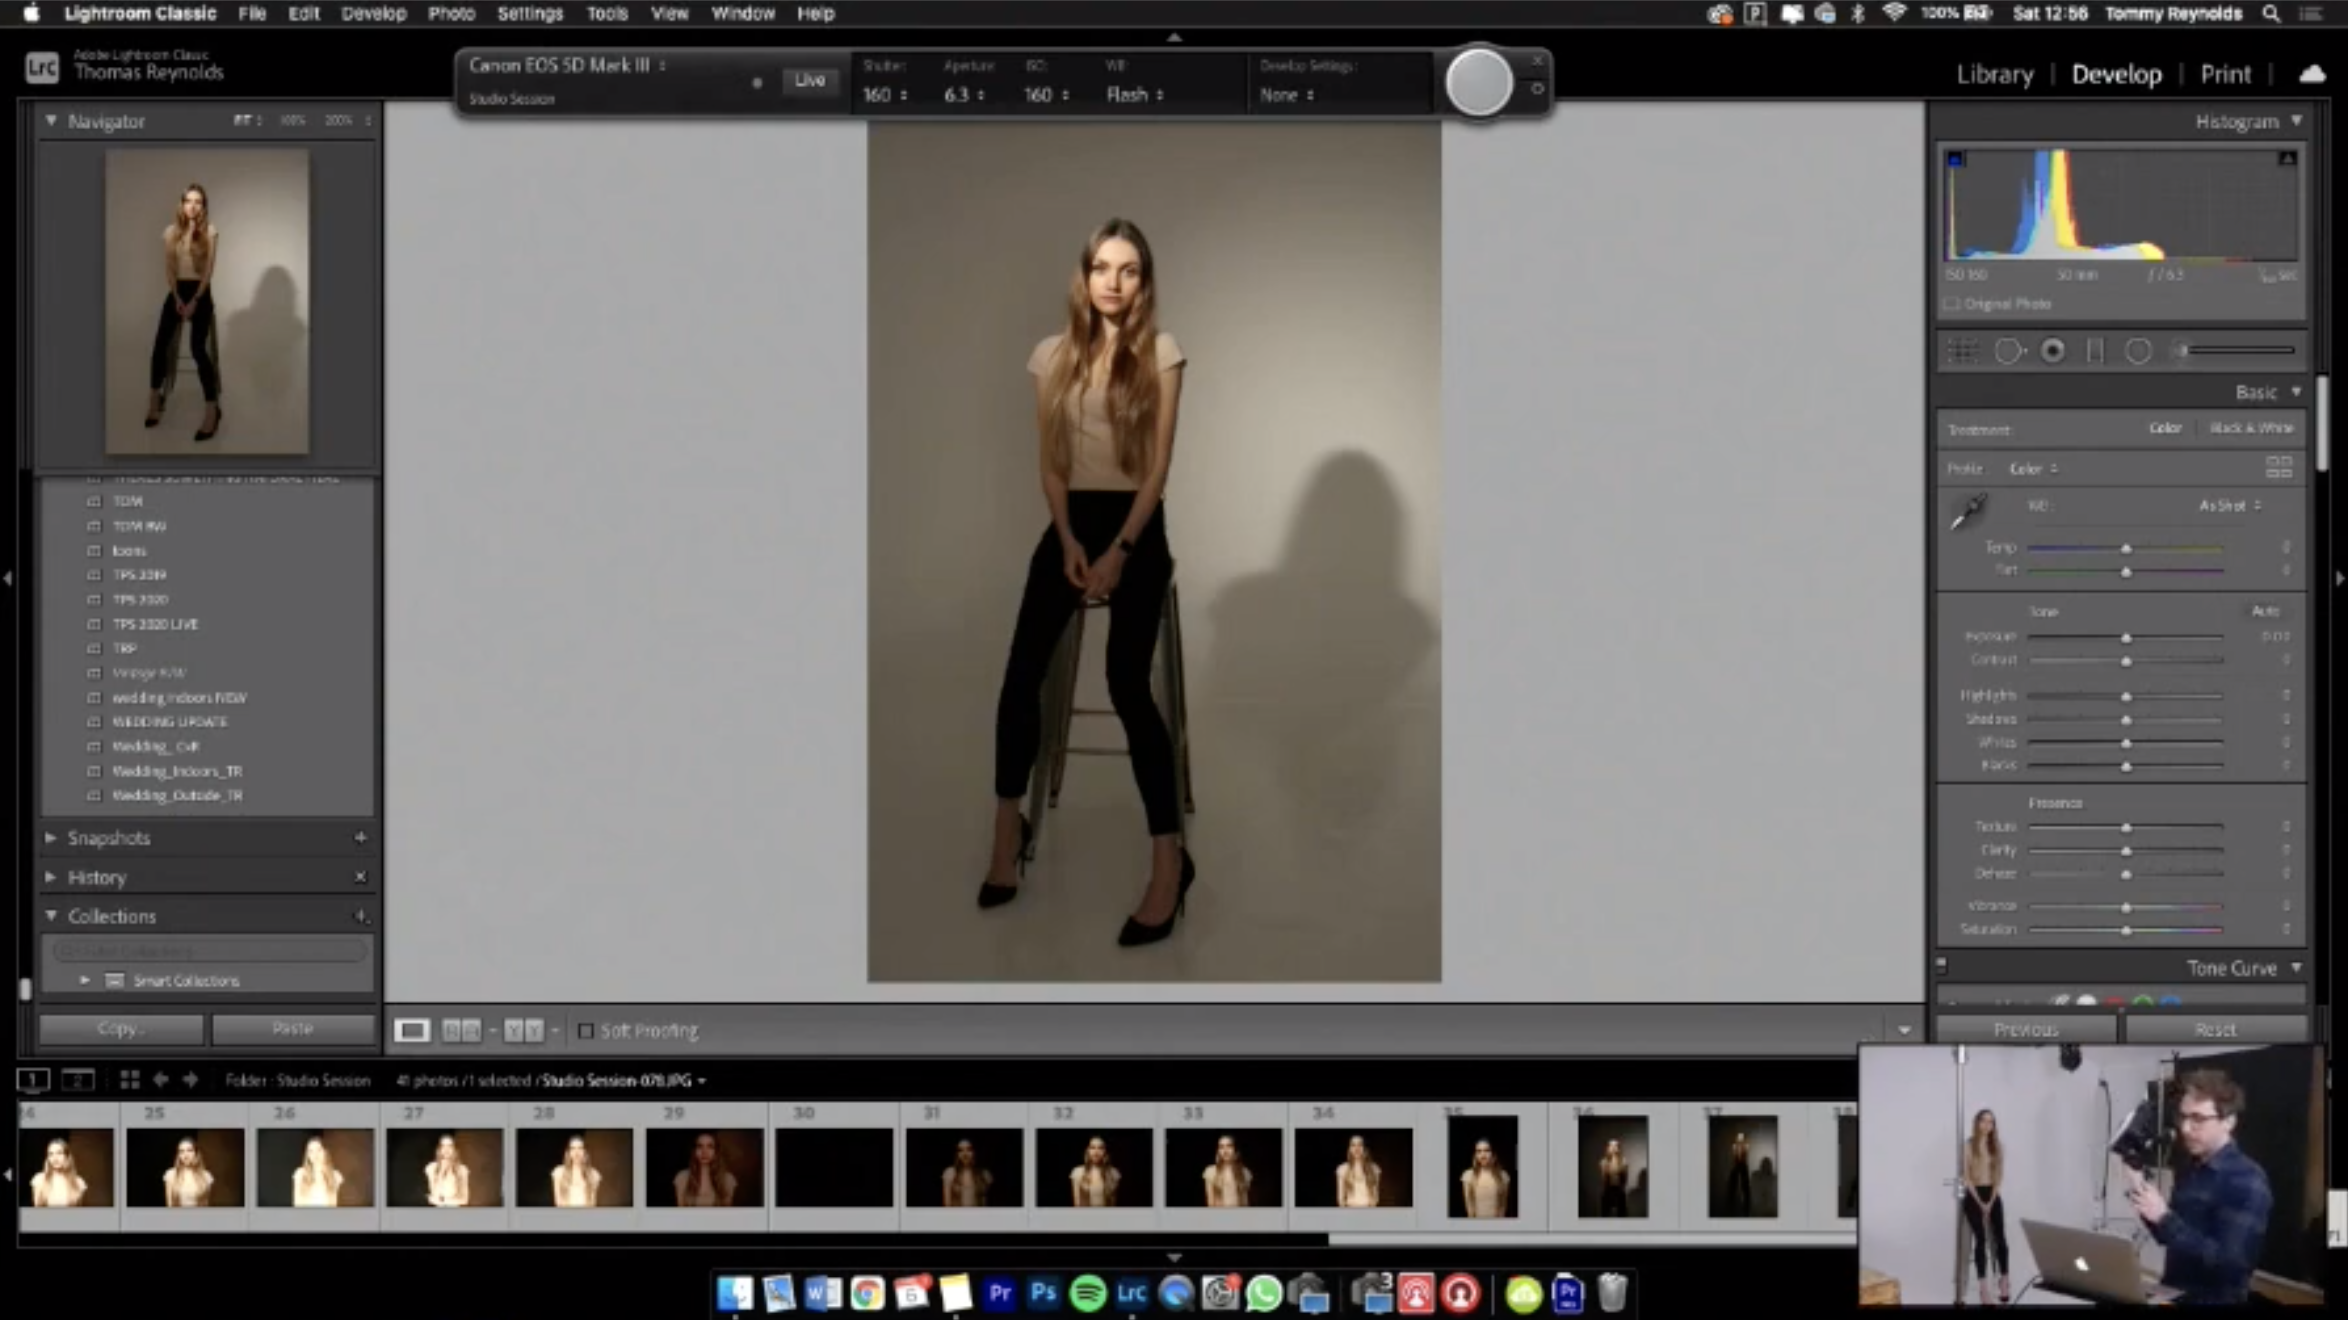
(Camera settings: 1/160 sec, f/6.3, ISO160)
Tommy aimed for a dramatic painterly high fashion look with his next setup, positioning a flash directly behind him with a large umbrella attached to it, then set up a separate key light with a 7-inch scoop attached aiming down at the model from above.
5. Using gels
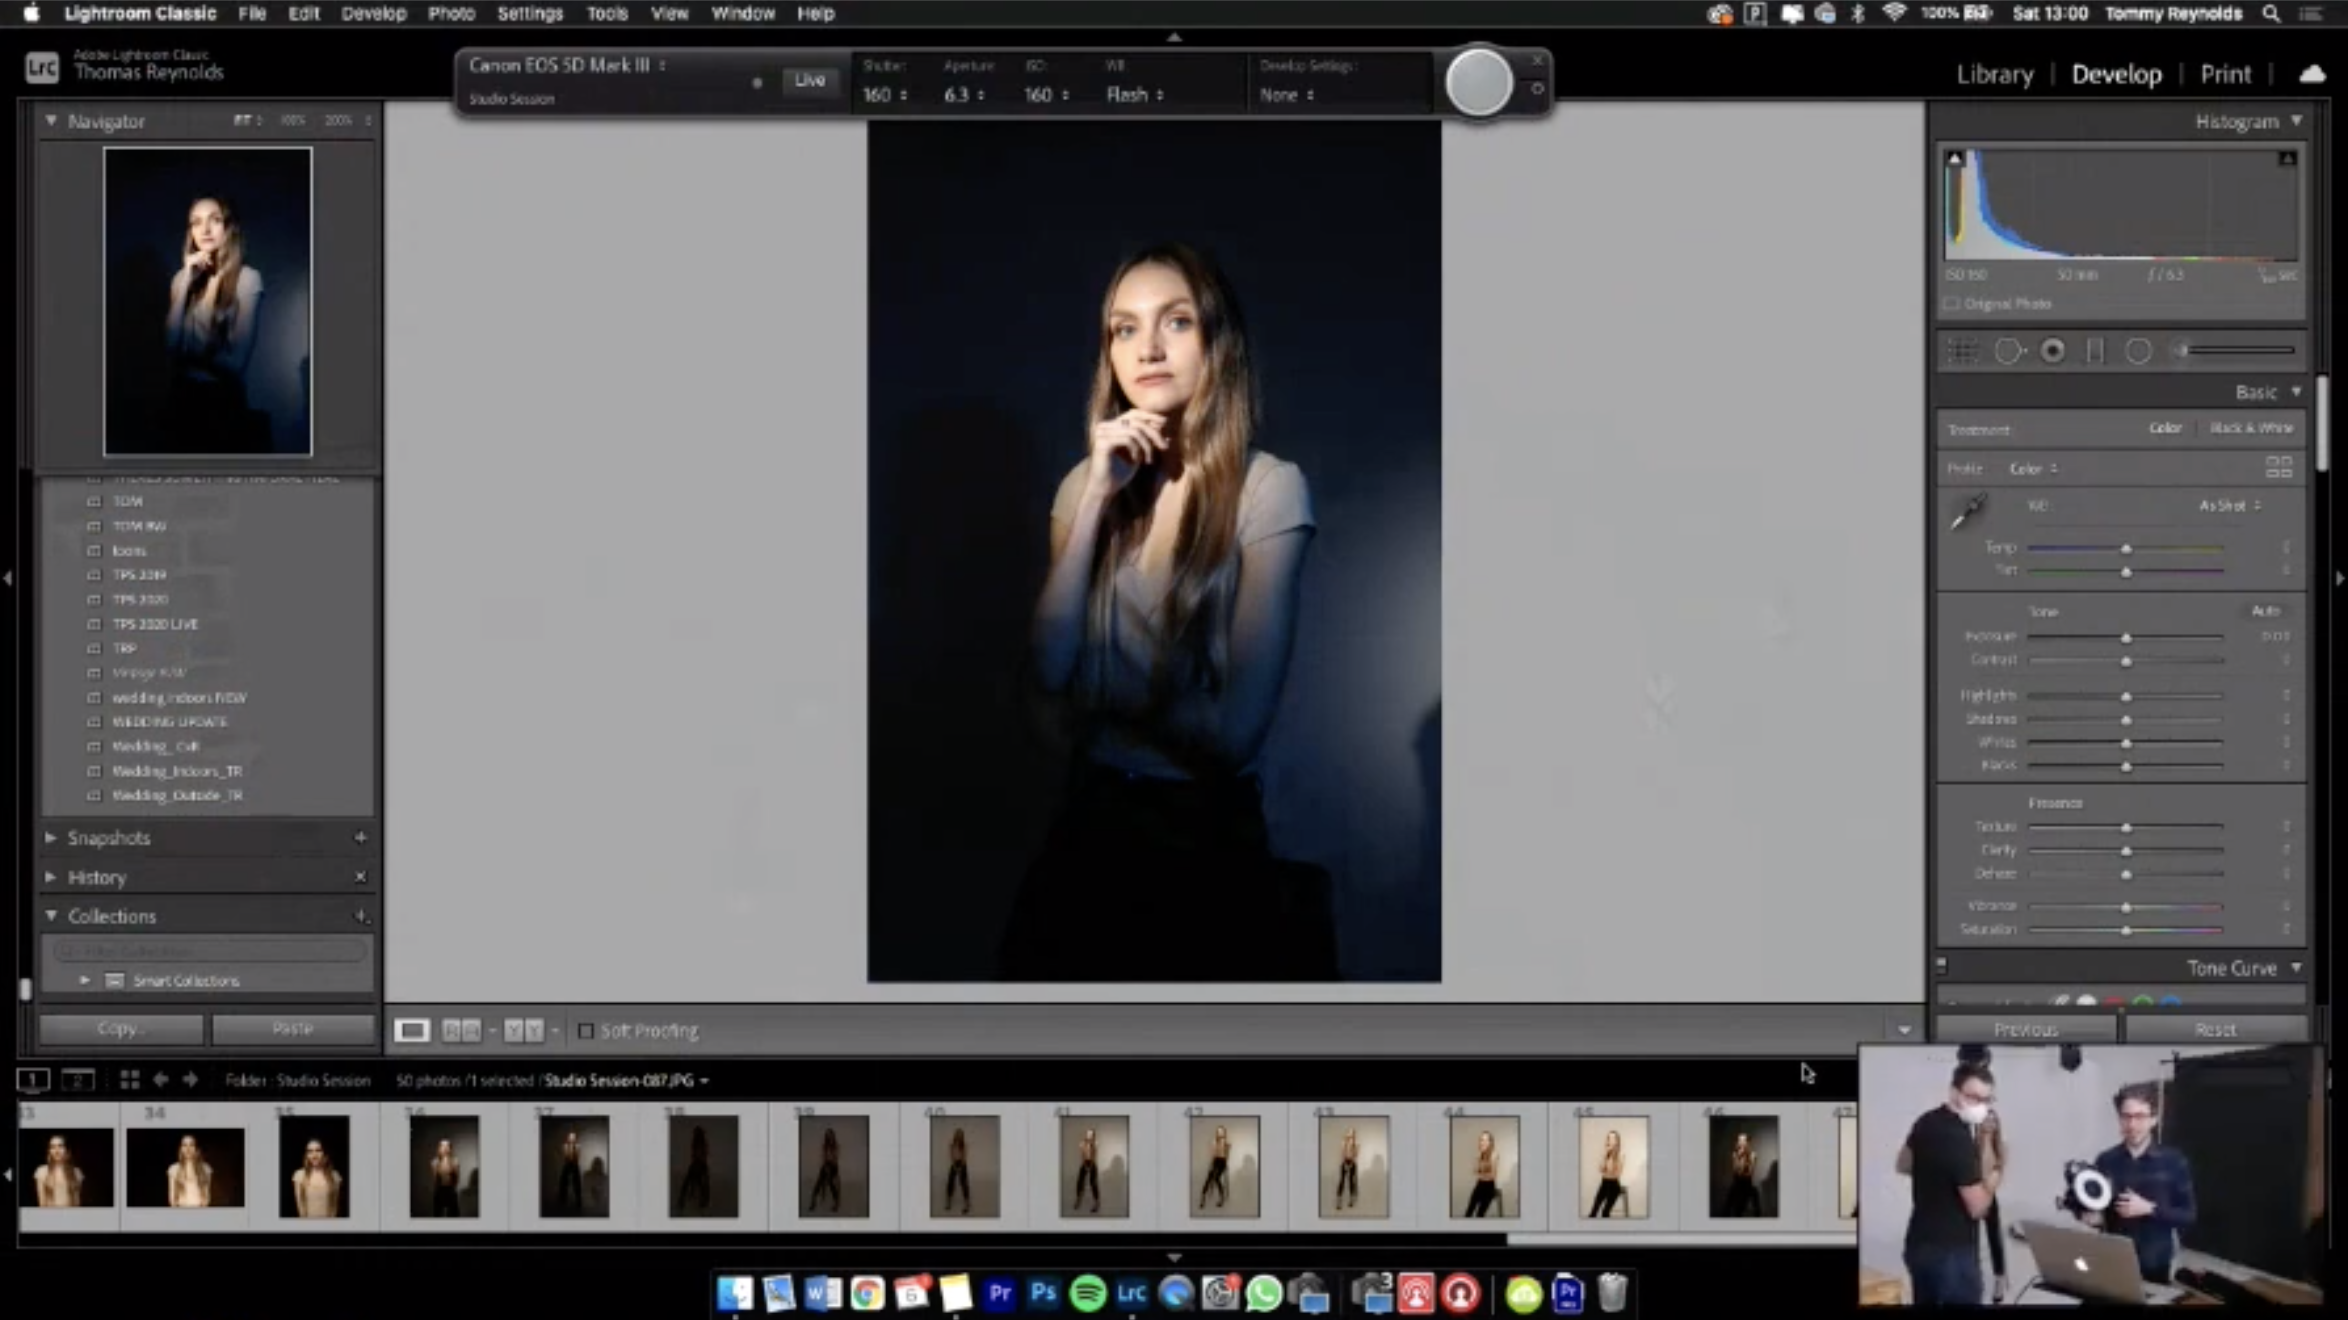
(Camera settings: 1/160 sec, f/6.3, ISO160)
Tommy kept the same key light in place on the left of the model, with the scoop still attached, but swapped out his key light for another high-angled flash on the right-hand side to fill in the shadows. He added a snoot modifier to the front of his fill light and also added a blue colored gel to make it look more interesting.
Read more
Best mirrorless cameras
Best portrait lens
Best wide angle lens
Best standard zoom lenses
Get the Digital Camera World Newsletter
The best camera deals, reviews, product advice, and unmissable photography news, direct to your inbox!
Deputy Editor on PhotoPlus: The Canon Magazine, Dan also brings his technical wizardry and editing skills to Digital Camera World. He has been writing about all aspects of photography for over 10 years, having previously served as technical writer and technical editor for Practical Photography magazine, as well as Photoshop editor on Digital Photo.
Dan is an Adobe-certified Photoshop guru, making him officially a beast at post-processing – so he’s the perfect person to share tips and tricks both in-camera and in post. Able to shoot all genres, Dan provides news, techniques and tutorials on everything from portraits and landscapes to macro and wildlife, helping photographers get the most out of their cameras, lenses, filters, lighting, tripods, and, of course, editing software.
