5-minute photo tips: Use Auto HDR and save your exposure struggles!
How to use Auto HDR to blend three exposures in-camera to avoid extra work in post-processing

Improves: Color / contrast
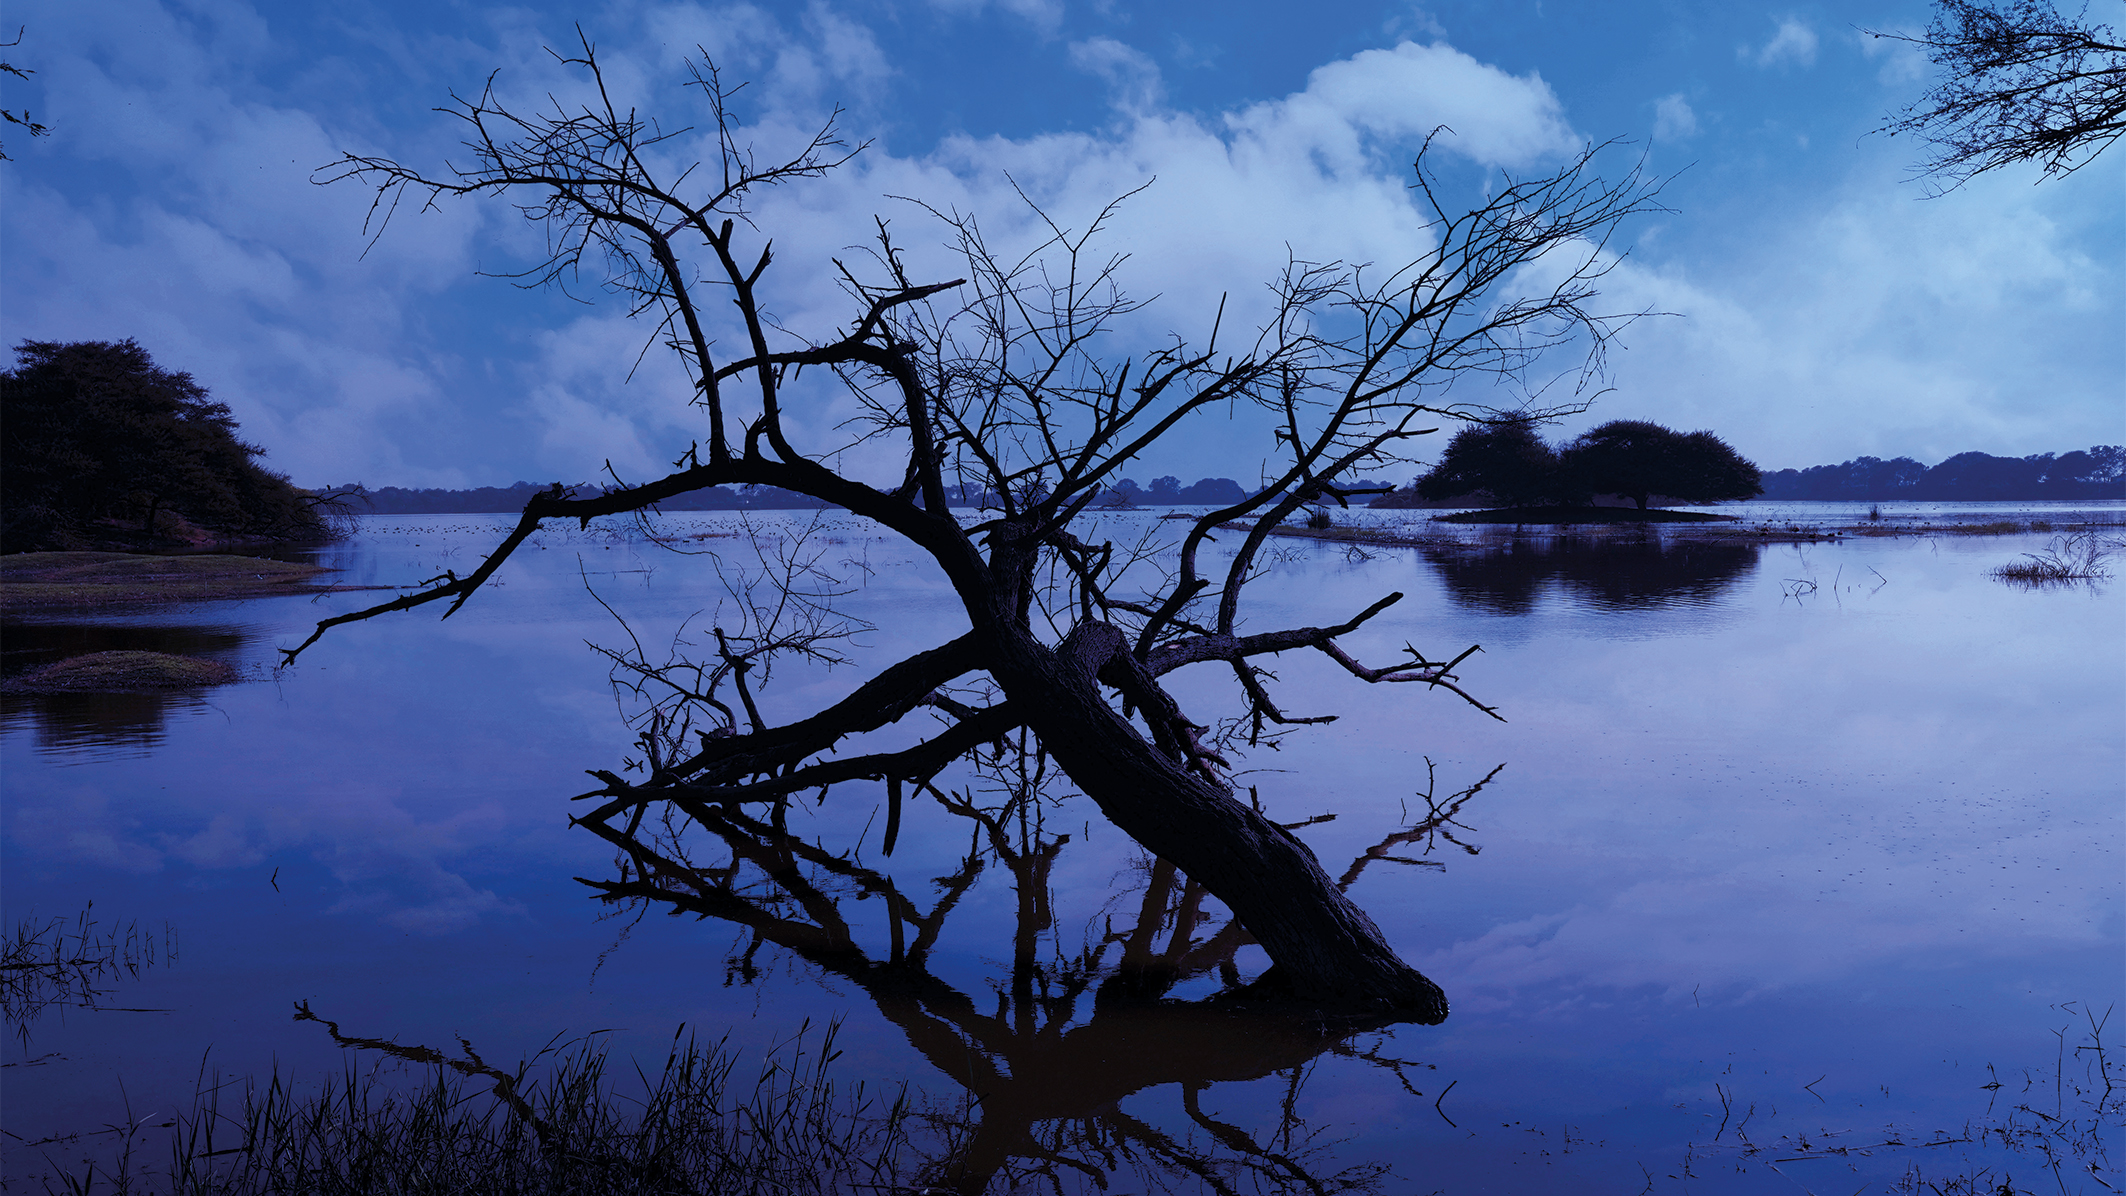
Capturing the intricate details of a high-contrast scene with one exposure can be a daunting challenge, as it is bound to either overexpose bright areas or underexpose dark ones.
Here we can use the HDR technique, which solves the issue by taking multiple frames with different exposure stops. These usually are merged in post-processing to showcase the different bright image elements to perfection.
This method is handheld-proof, just make sure to select a faster shutter speed to achieve clear results. Nevertheless, it’s always a good idea to seek additional support in the scene.
To simplify the shooting process and save time in editing, in-camera functions enable the shooting of the exposure handheld while merging images directly on the go – automatically after you press the shutter!
Tutorial
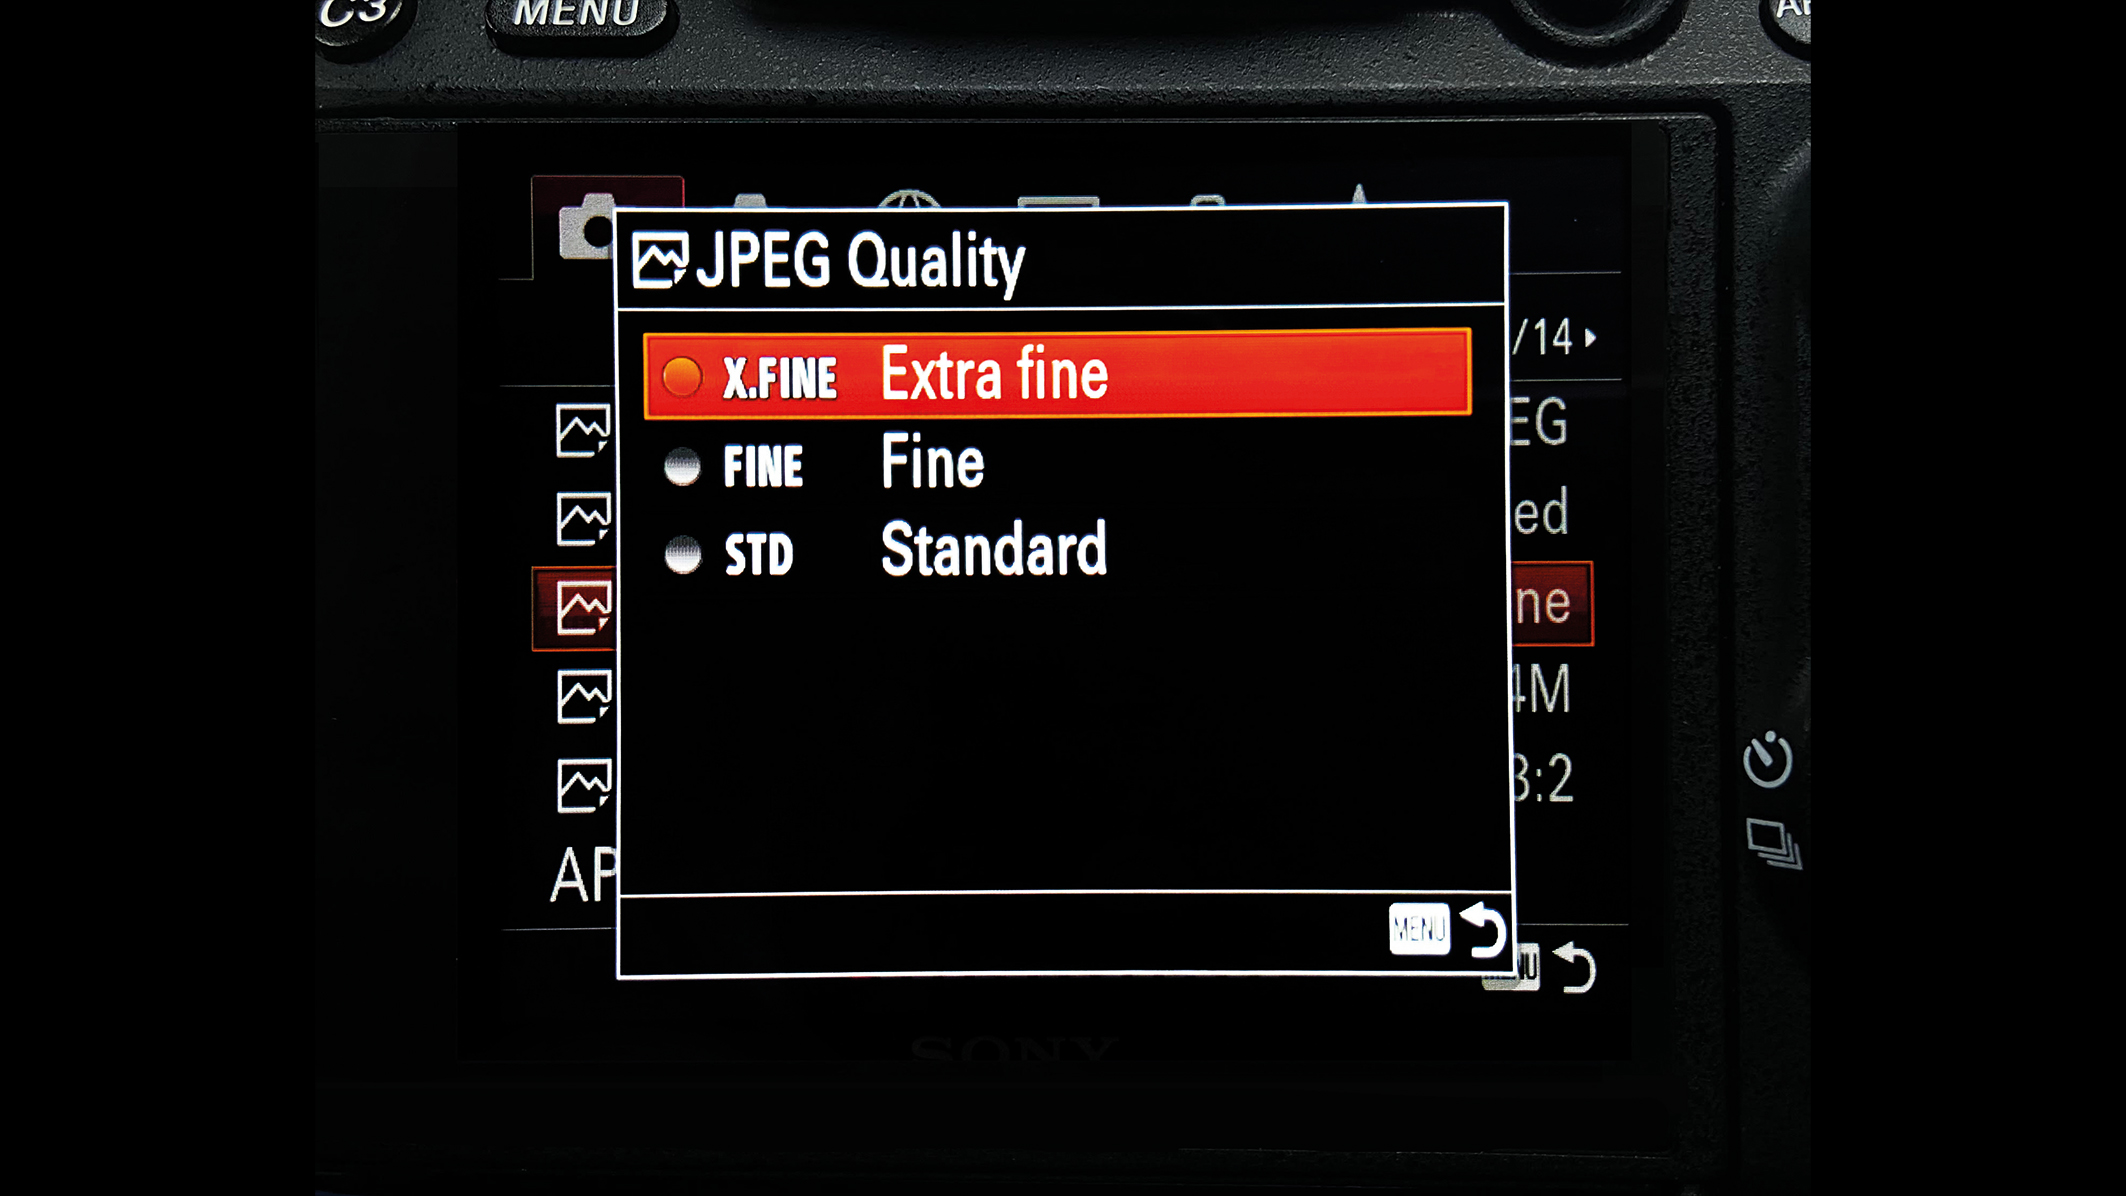
1. Select JPEG
It is usually recommended to shoot in RAW, but in this case, it is not necessary as the dynamic range optimization is already done in-camera. Before capturing the scene, make sure to set the JPEG quality and image size settings to maximum.
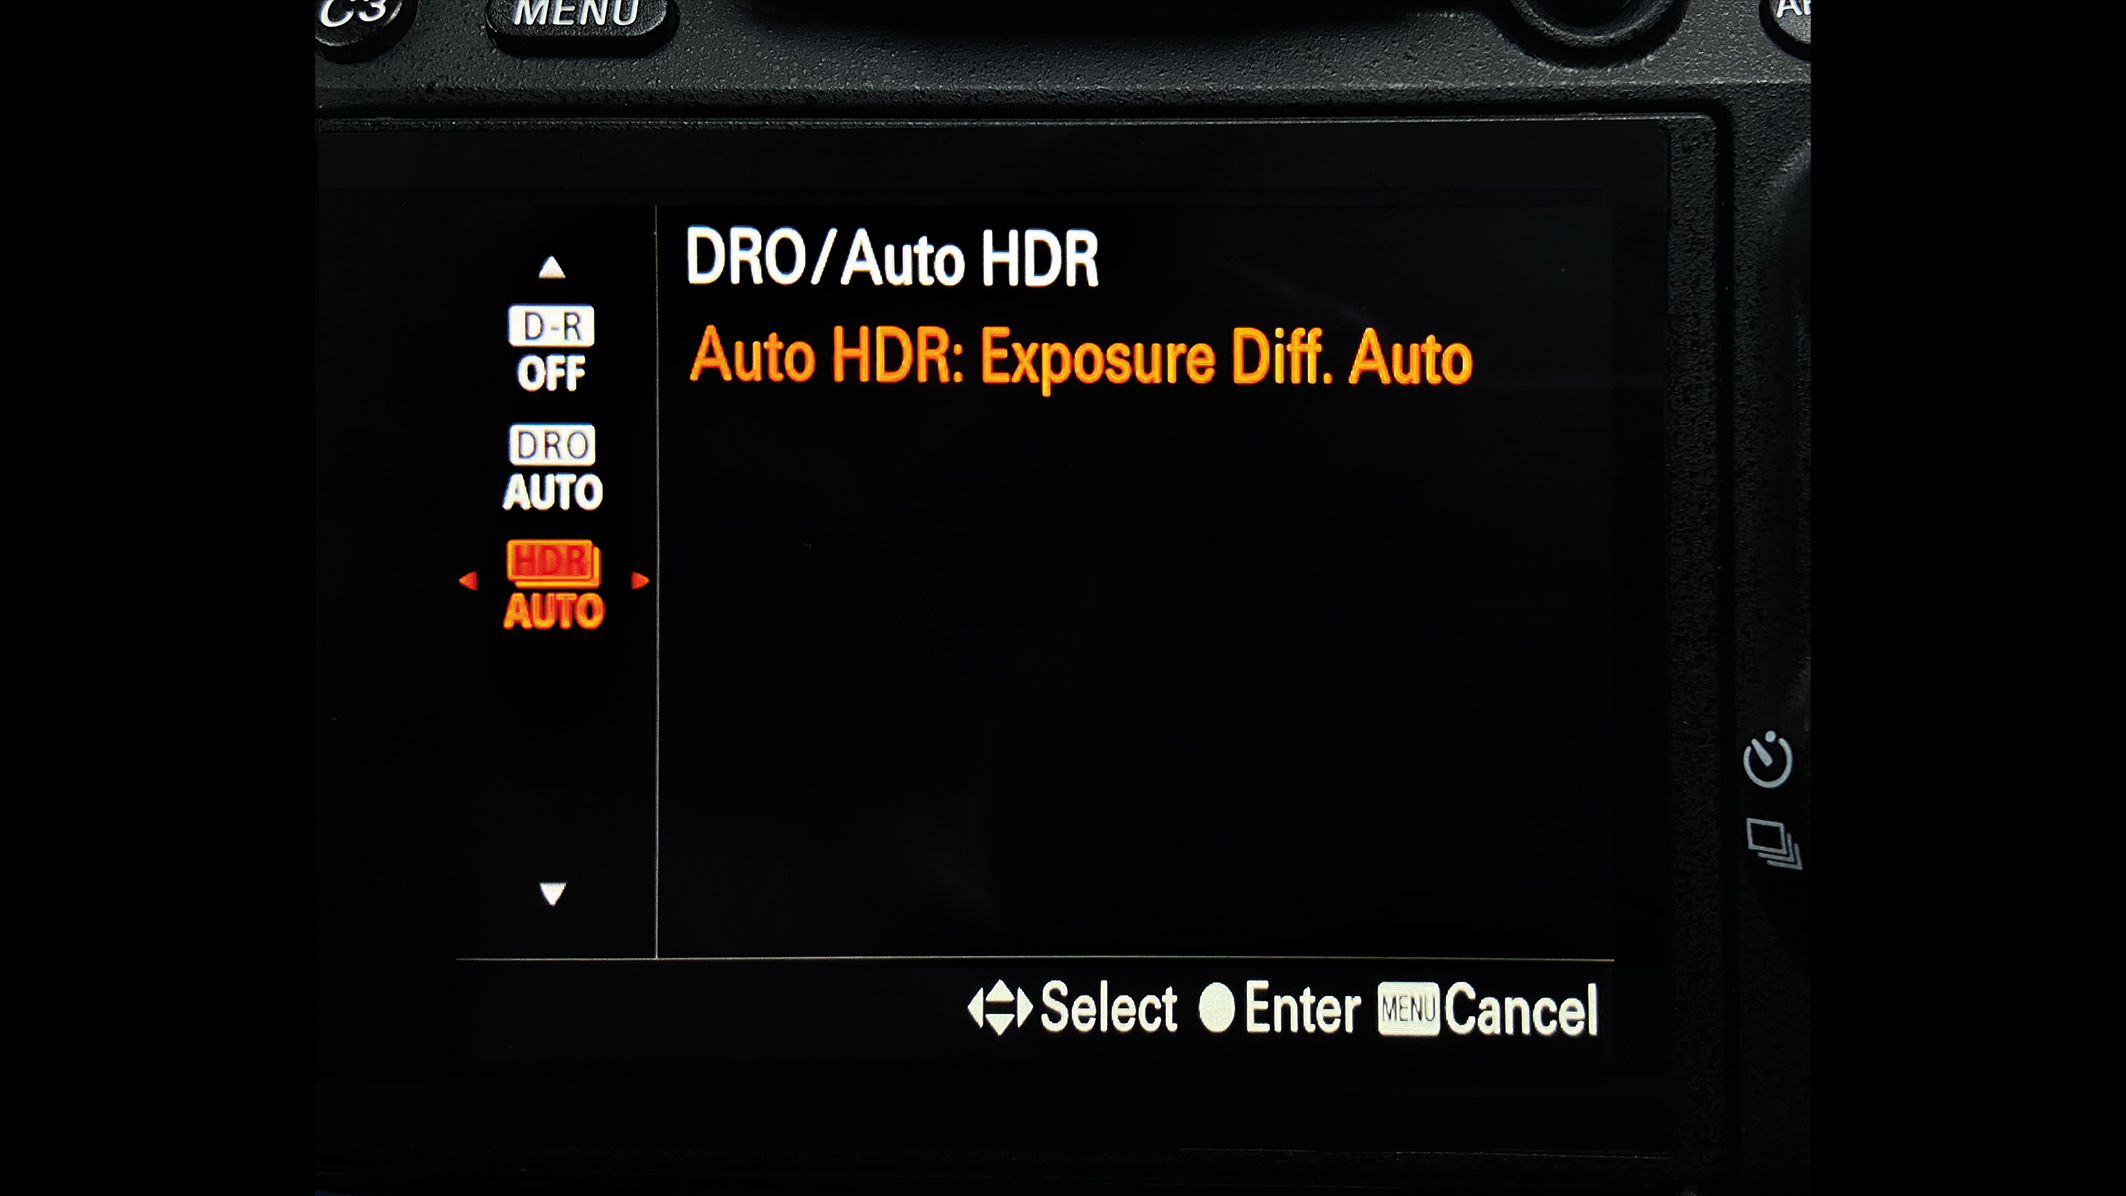
2. Enable Auto HDR
By selecting Auto HDR, the camera automatically shoots in burst mode. This means you will have to press down the shutter longer than usual to fire all frames in a row (don’t forget to stay in position until the camera captures all frames), then it will combine all exposures taken into a single shot.
This article originally appeared in Digital Photographer, a monthly magazine, and the kitbag essential for pros, enthusiasts, and amateurs alike!
Inside, you'll find practical guides, shooting tips, and techniques from working photographers, plus all the latest industry news.
Check out our What is HDR photography? explainer for more on the process, and you can also take a look at the best HDR software if you prefer the post-production method.
The best camera deals, reviews, product advice, and unmissable photography news, direct to your inbox!

Kim is a photographer, editor and writer with work published internationally. She holds a Master's degree in Photography and Media and was formerly Technique Editor at Digital Photographer, focusing on the art and science of photography. Blending technical expertise with visual insight, Kim explores photography's time-honored yet ever-evolving role in culture. Through her features, tutorials, and gear reviews, she aims to encourage readers to explore the medium more deeply and embrace its full creative potential.


