5 studio portrait tips: How to get the best out of a studio photography session
Studio portraiture can be daunting – here's how to get the best out of photographing your subject
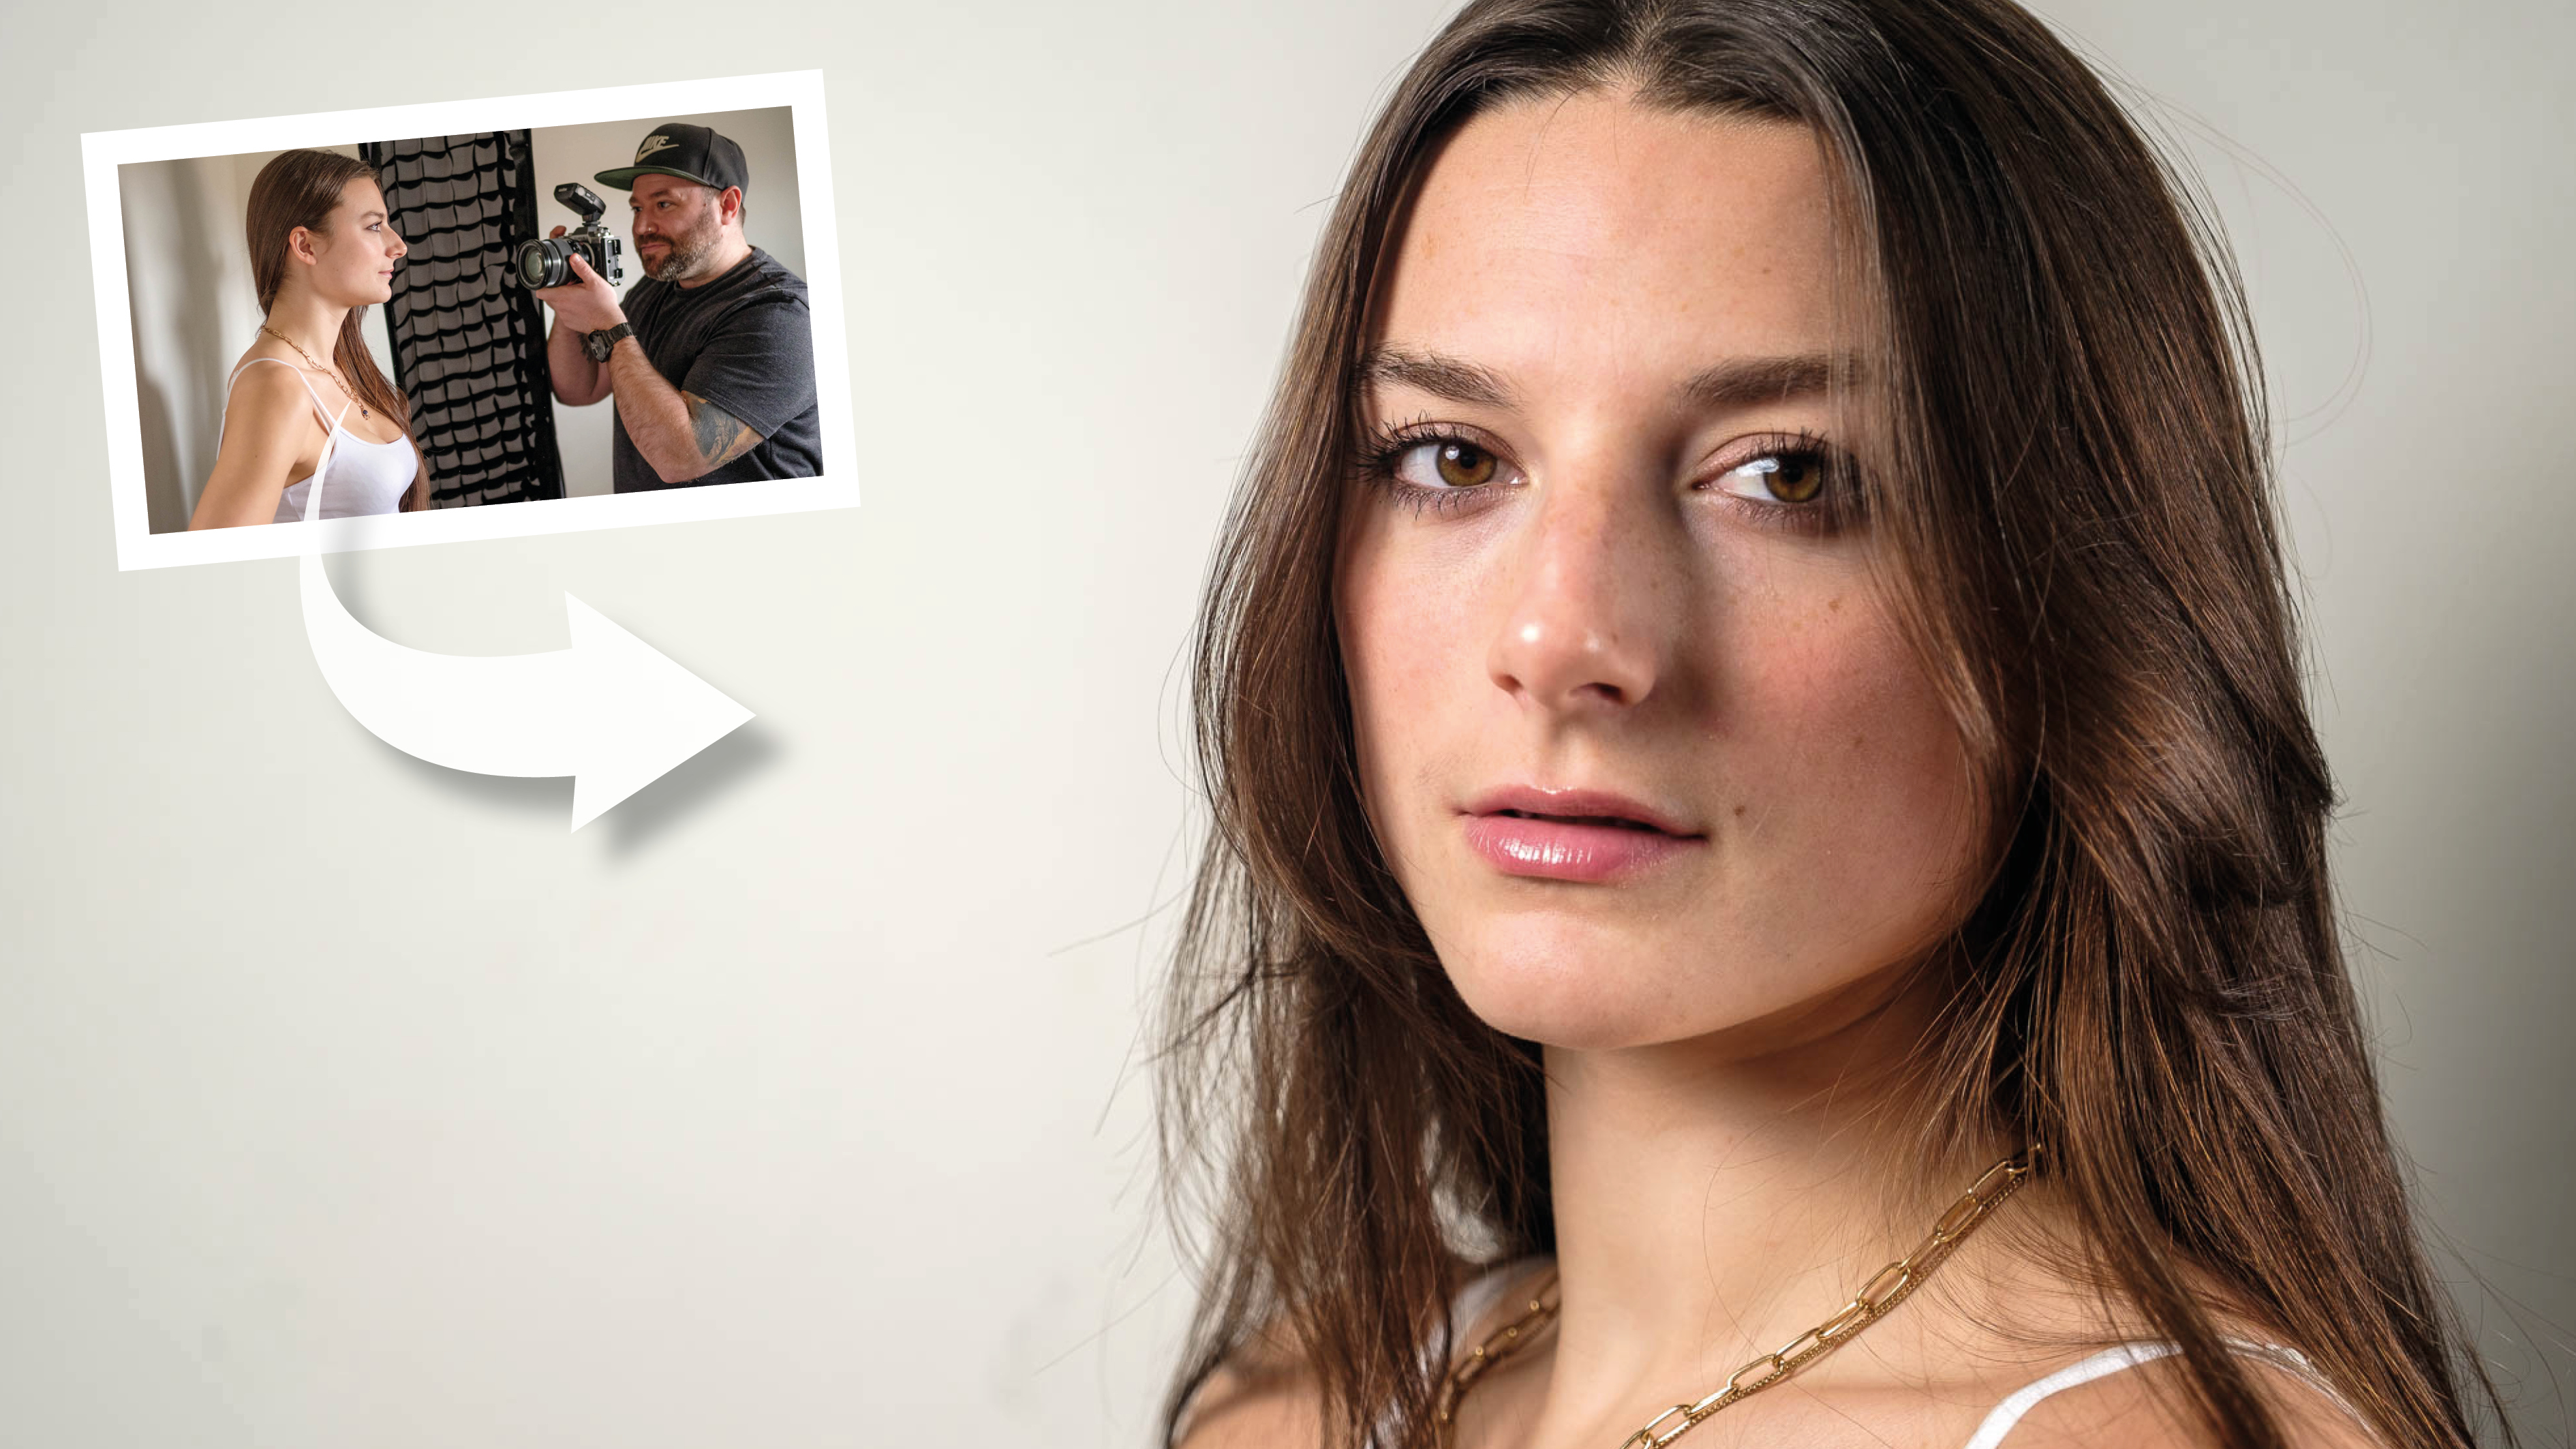
Shooting a studio portrait can be a little daunting when you first attempt it. Some shoots are more challenging than others, of course, but when it’s just you
and a model with minimal props, you have to get the posing right.
Every model will have their own style of posing, and as the photographer you will need to help as much as you can. Seeing angles through your viewfinder, you’ll be in the best position to judge – sometimes just a slight twist of the waist or bend of the arm can make the difference between an elegant shot or an awkward one.
• These are the best cameras for taking portraits
We’re going to take a look at some of the basics – the wacky Vogue poses can wait until another day. Once you become confident working with a model, you can get a little more creative.
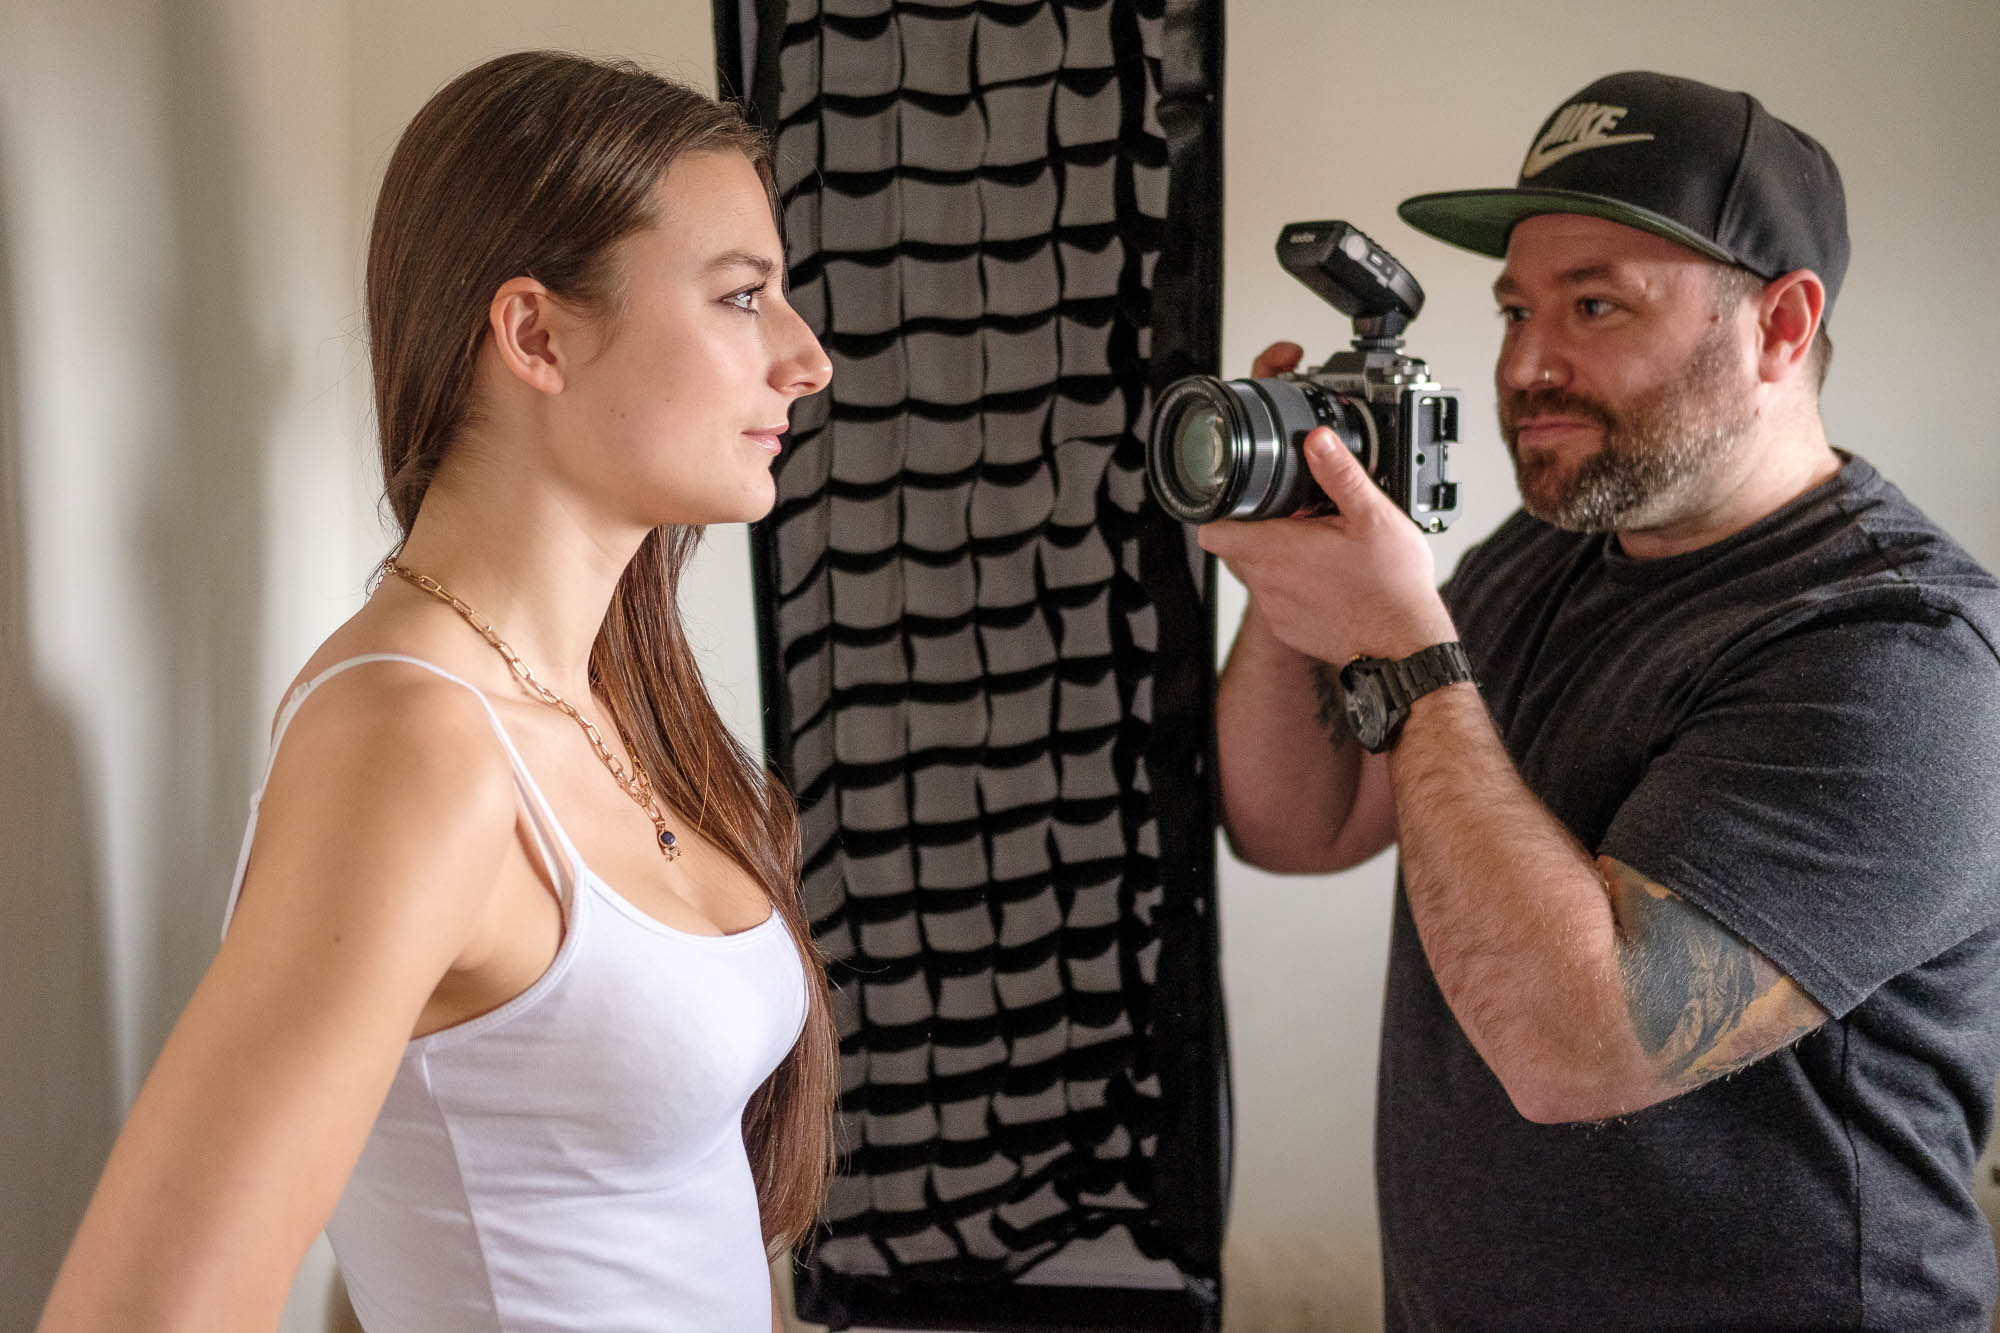
Of course, you don’t want to lock your model into a pre-defined set of poses; it’s best to let them bring their own energy and ideas. Just be there to make sure that everyone is represented in the best light possible.
I always say, “If you look bad, I look bad, and I really don’t want that to happen.” Set up two simple lights to the left and right with softboxes, and we’ll start shooting portraits…
5 top tips for better shots in the studio
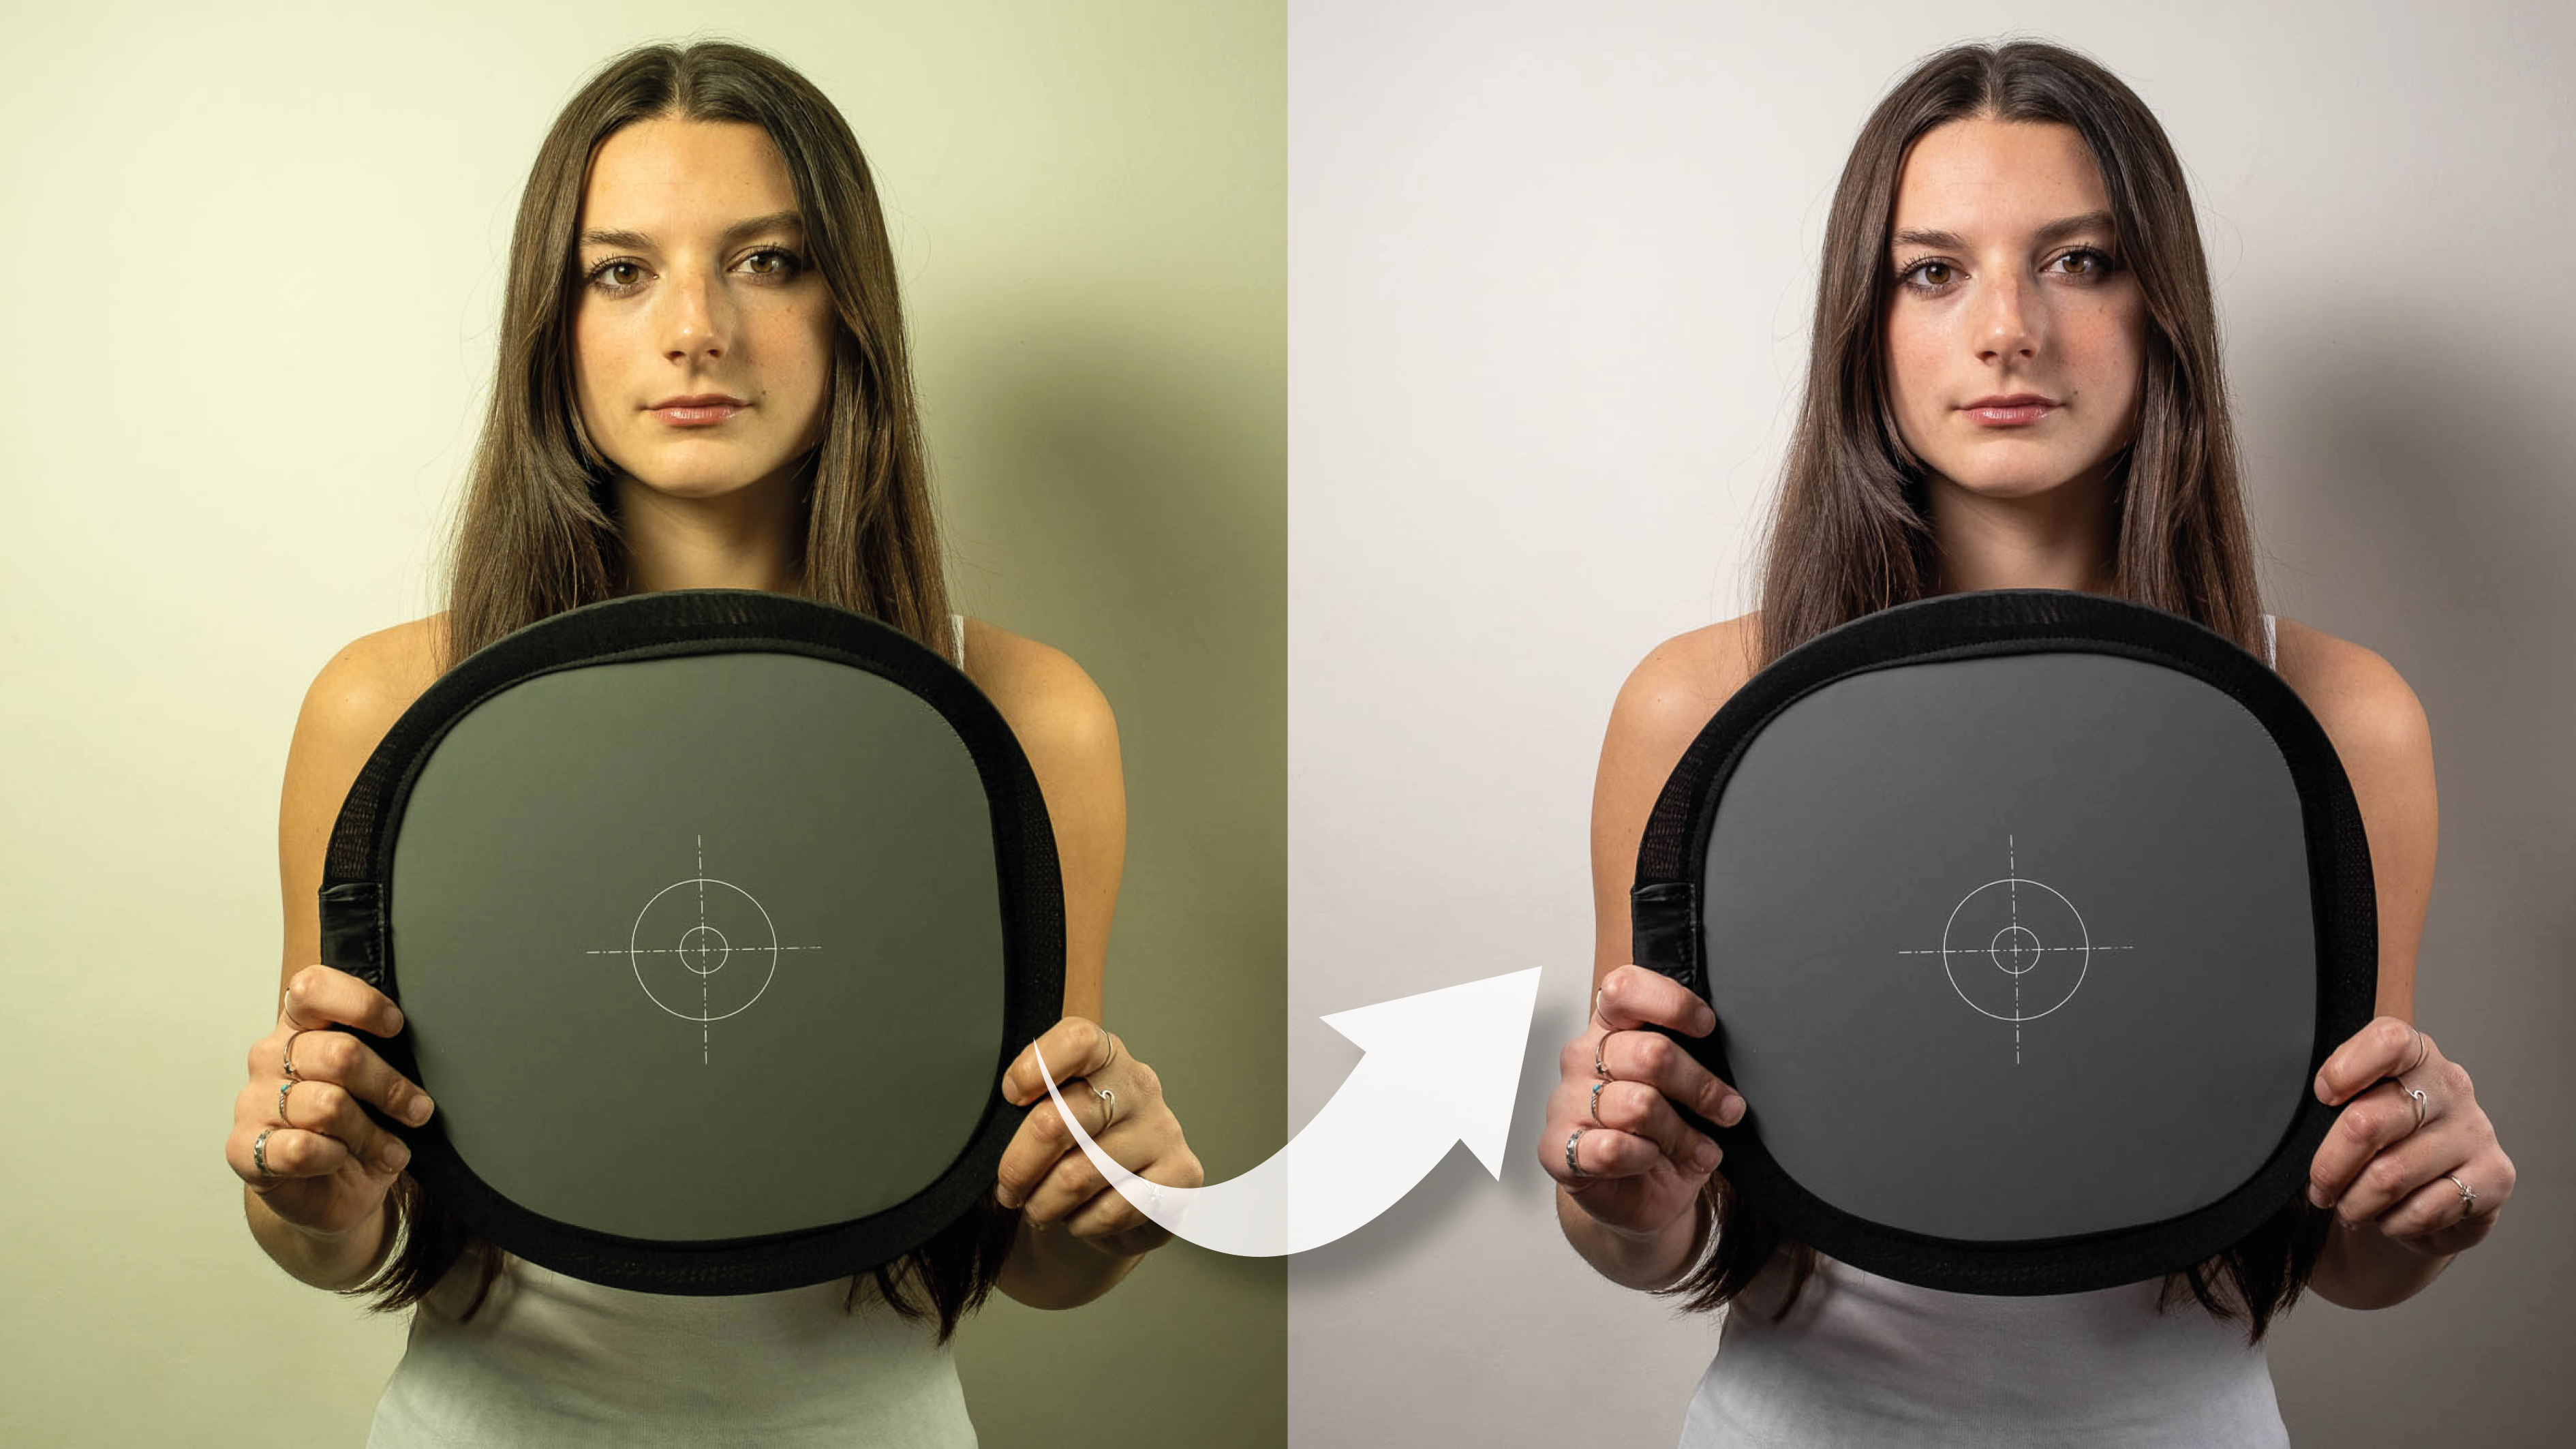
1) Set the correct white balance
Use an 18% grey card to adjust for your studio space’s lighting conditions. For my first shot, Ria is holding a grey card to give me the best reference point for color. (Averaging the light in an average scene produces an 18% grey tone, a value that camera meters use to get a ‘proper’ exposure.)
• What is white balance? When to change the WB settings on your camera
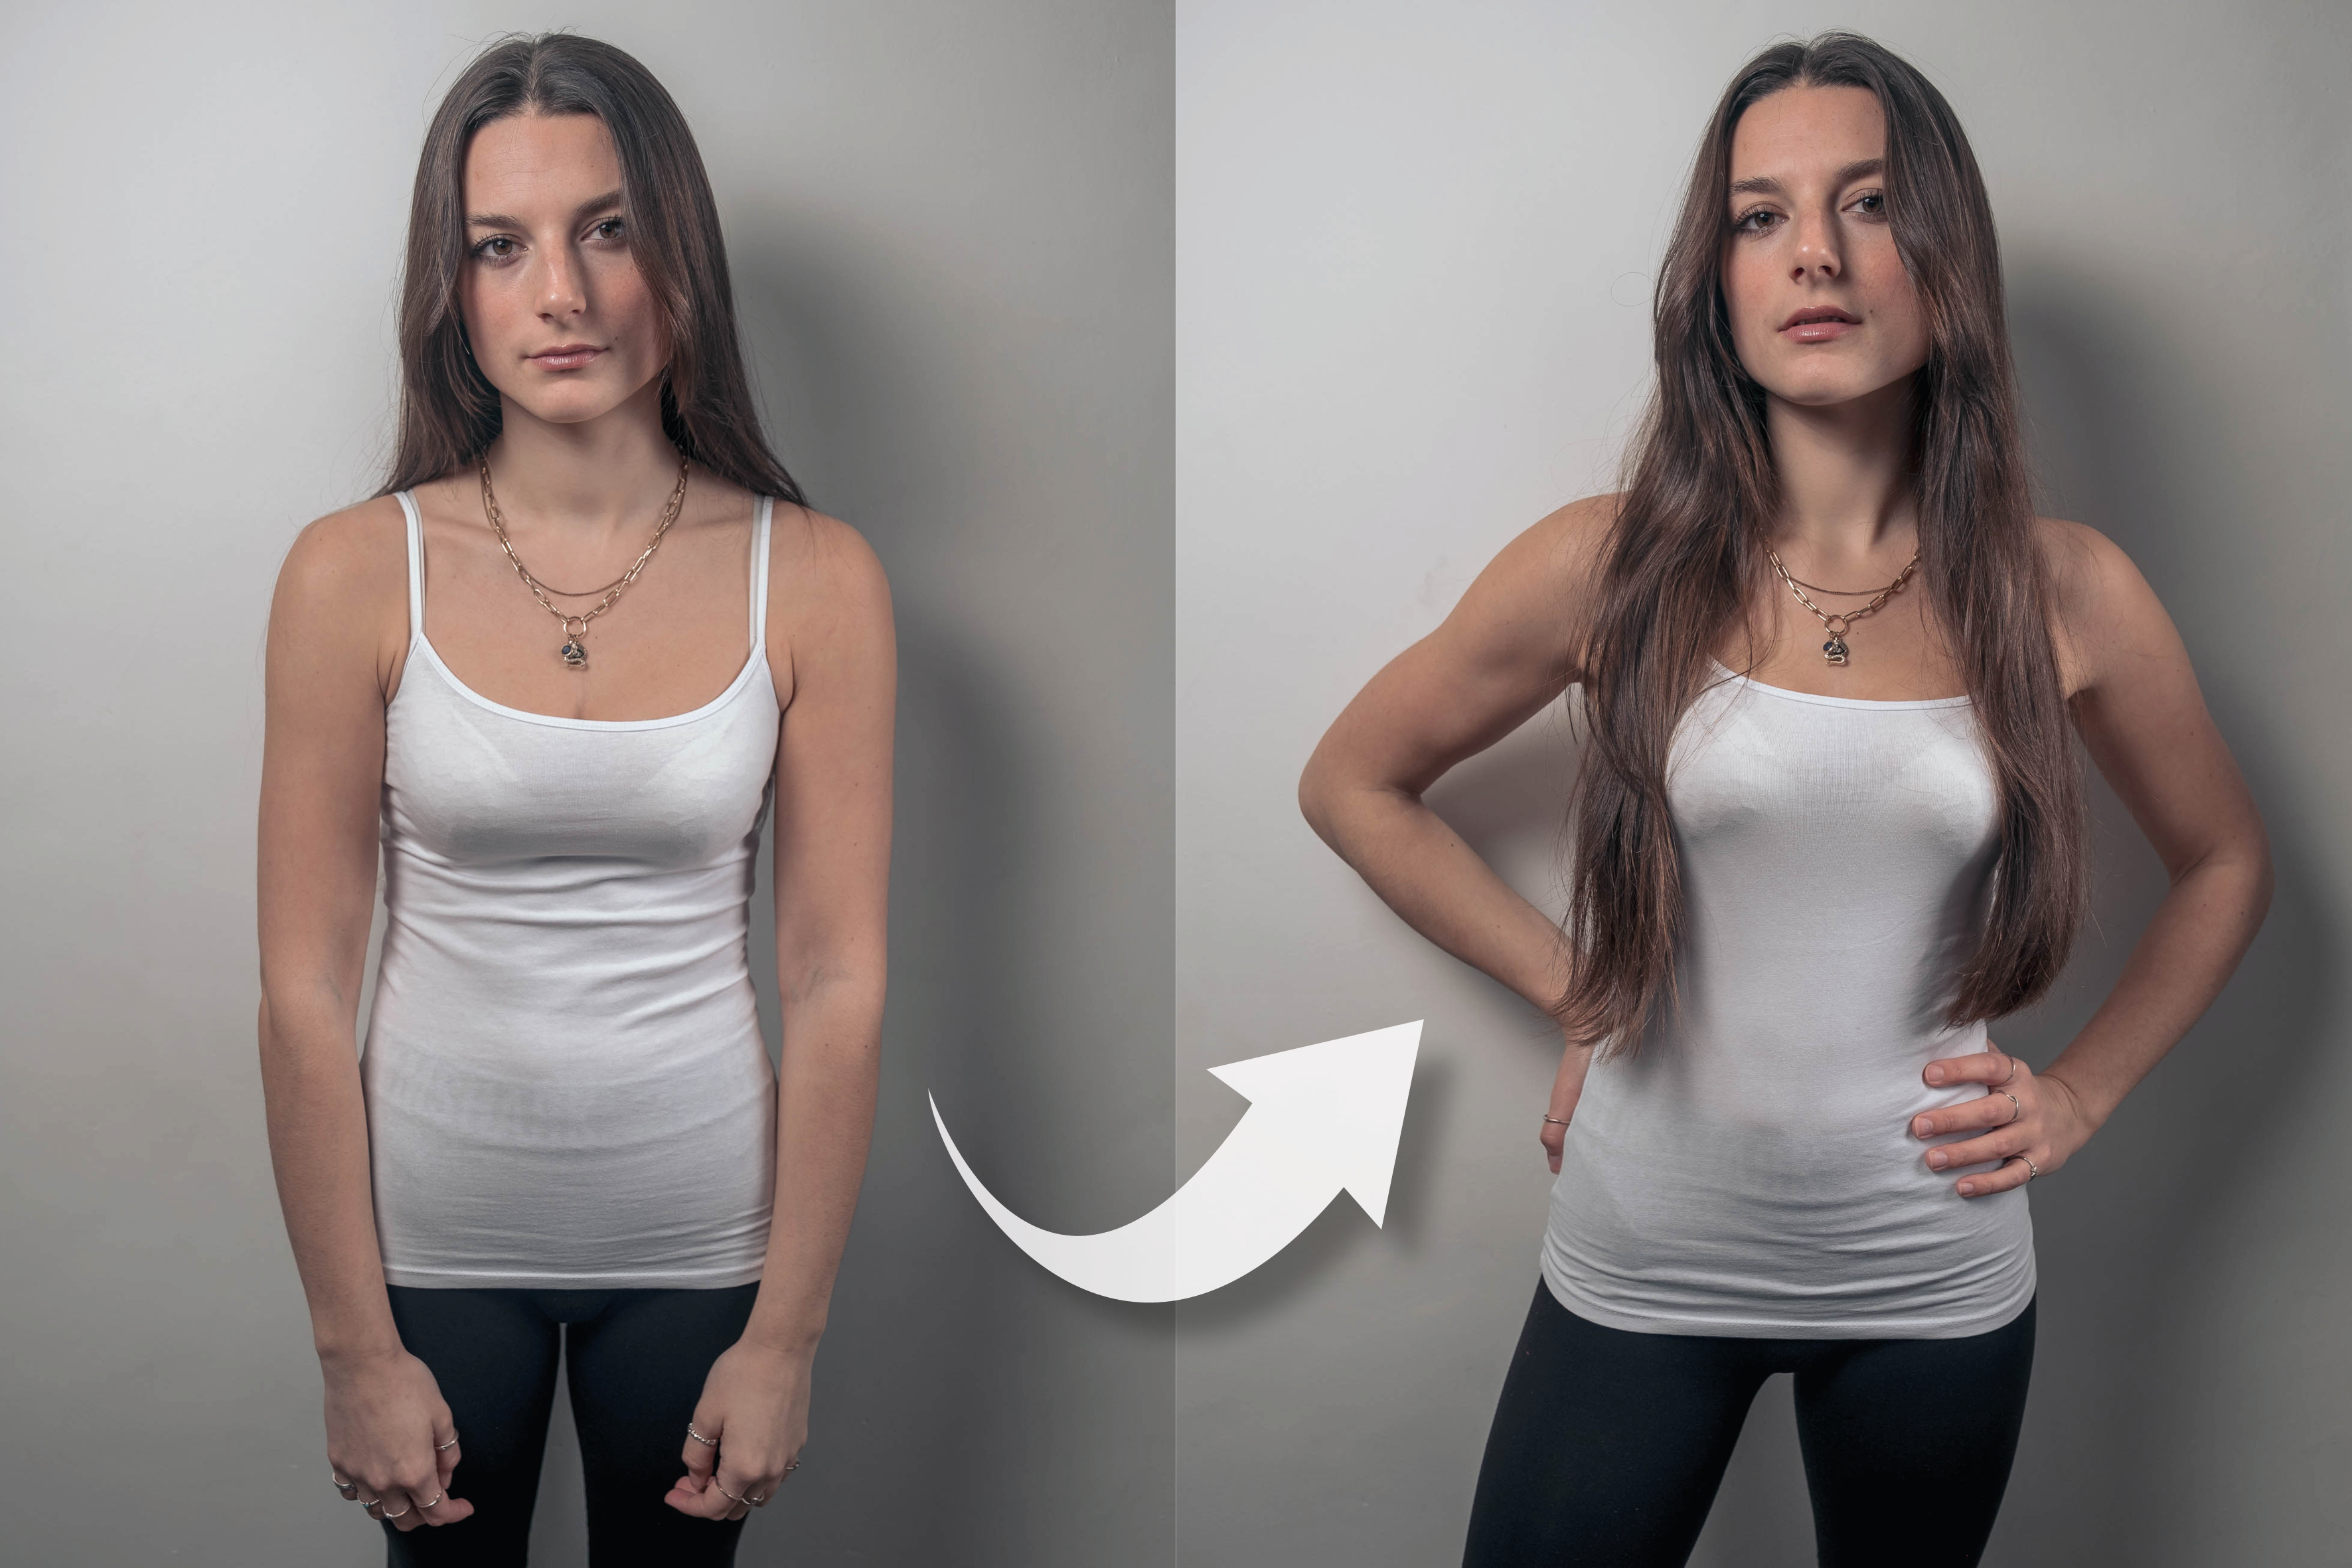
2) Shift the weight
At the start of the shoot, Ria is standing face-on to me with her feet side-by-side and her weight distributed equally. I then asked her to stand with her feet slightly wider apart, and to shift her weight onto her left leg. Although she’s still standing face-on, this has already created a subtle S-curve in her body. Next, I simply asked Ria to raise her head a little and put her hands on her hips – these three subtle changes make a huge difference to her pose.
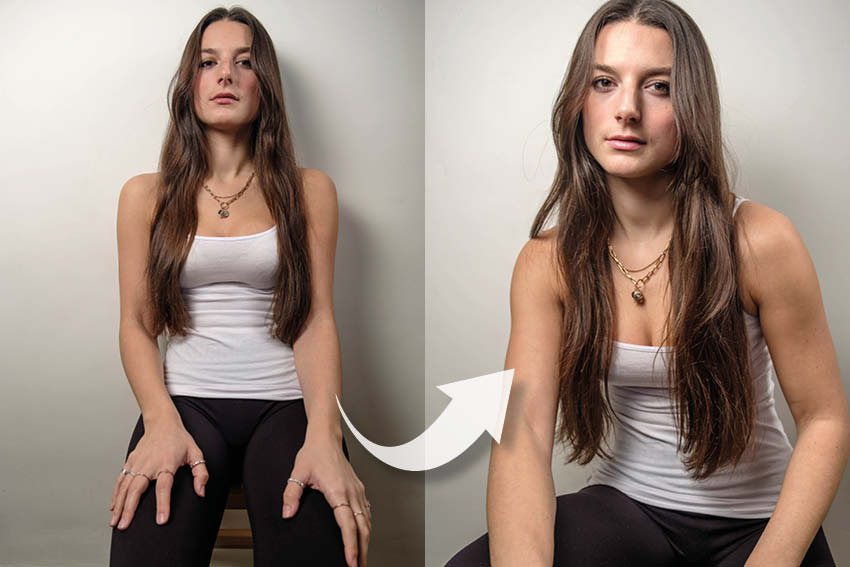
03 Don’t get too comfortable
For a slightly different shot, try bringing in a stool. If you ask your model to sit down as they would to be comfortable, you’ll find they will tend to lean back and have nowhere to place their hands naturally. So I asked Ria to move forward and perch on the edge of the stool. This brings everything forward and instantly creates a far better shot – a slight twist of the waist will make the model less flat-on.
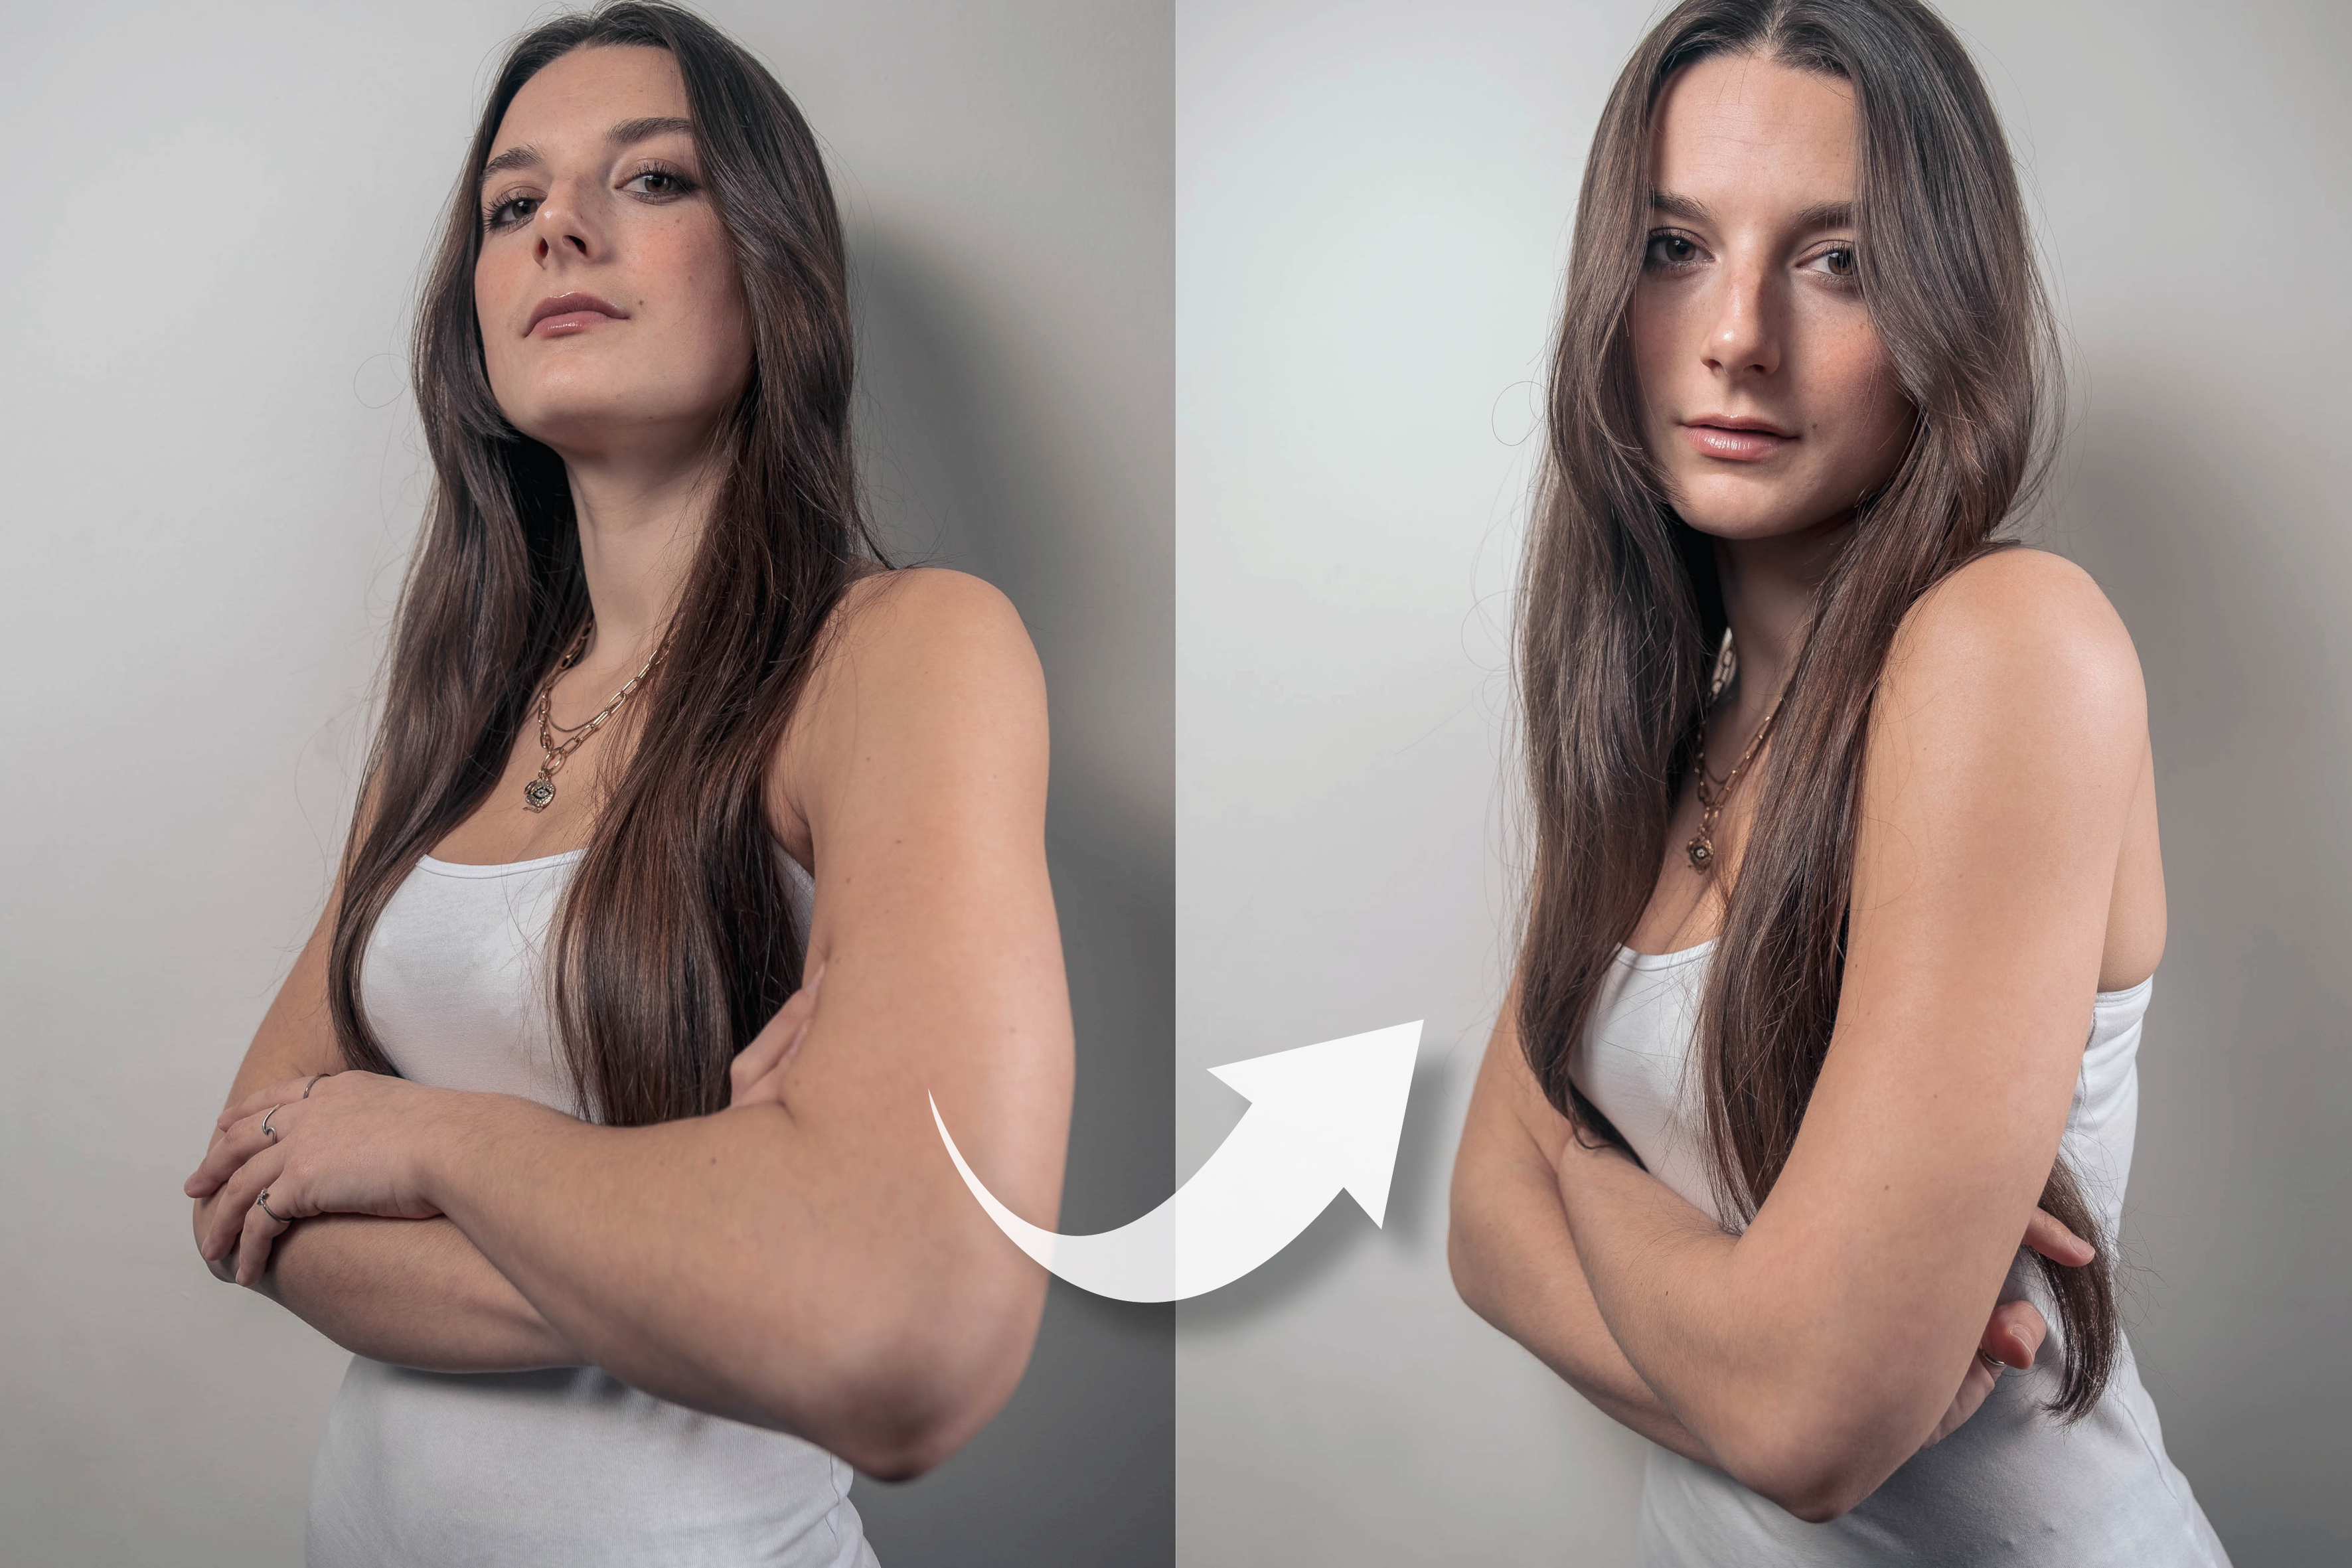
04 Arms crossed
While not overly elegant, this is a simple pose. As seen above, though (left), it’s easy to get crossed-arms poses wrong – Ria’s arms have become the closest point to the camera, and ultimately the biggest. So I asked Ria to bring her arms in tight, which automatically brought her chin in, too. It’s a far better pose all round.
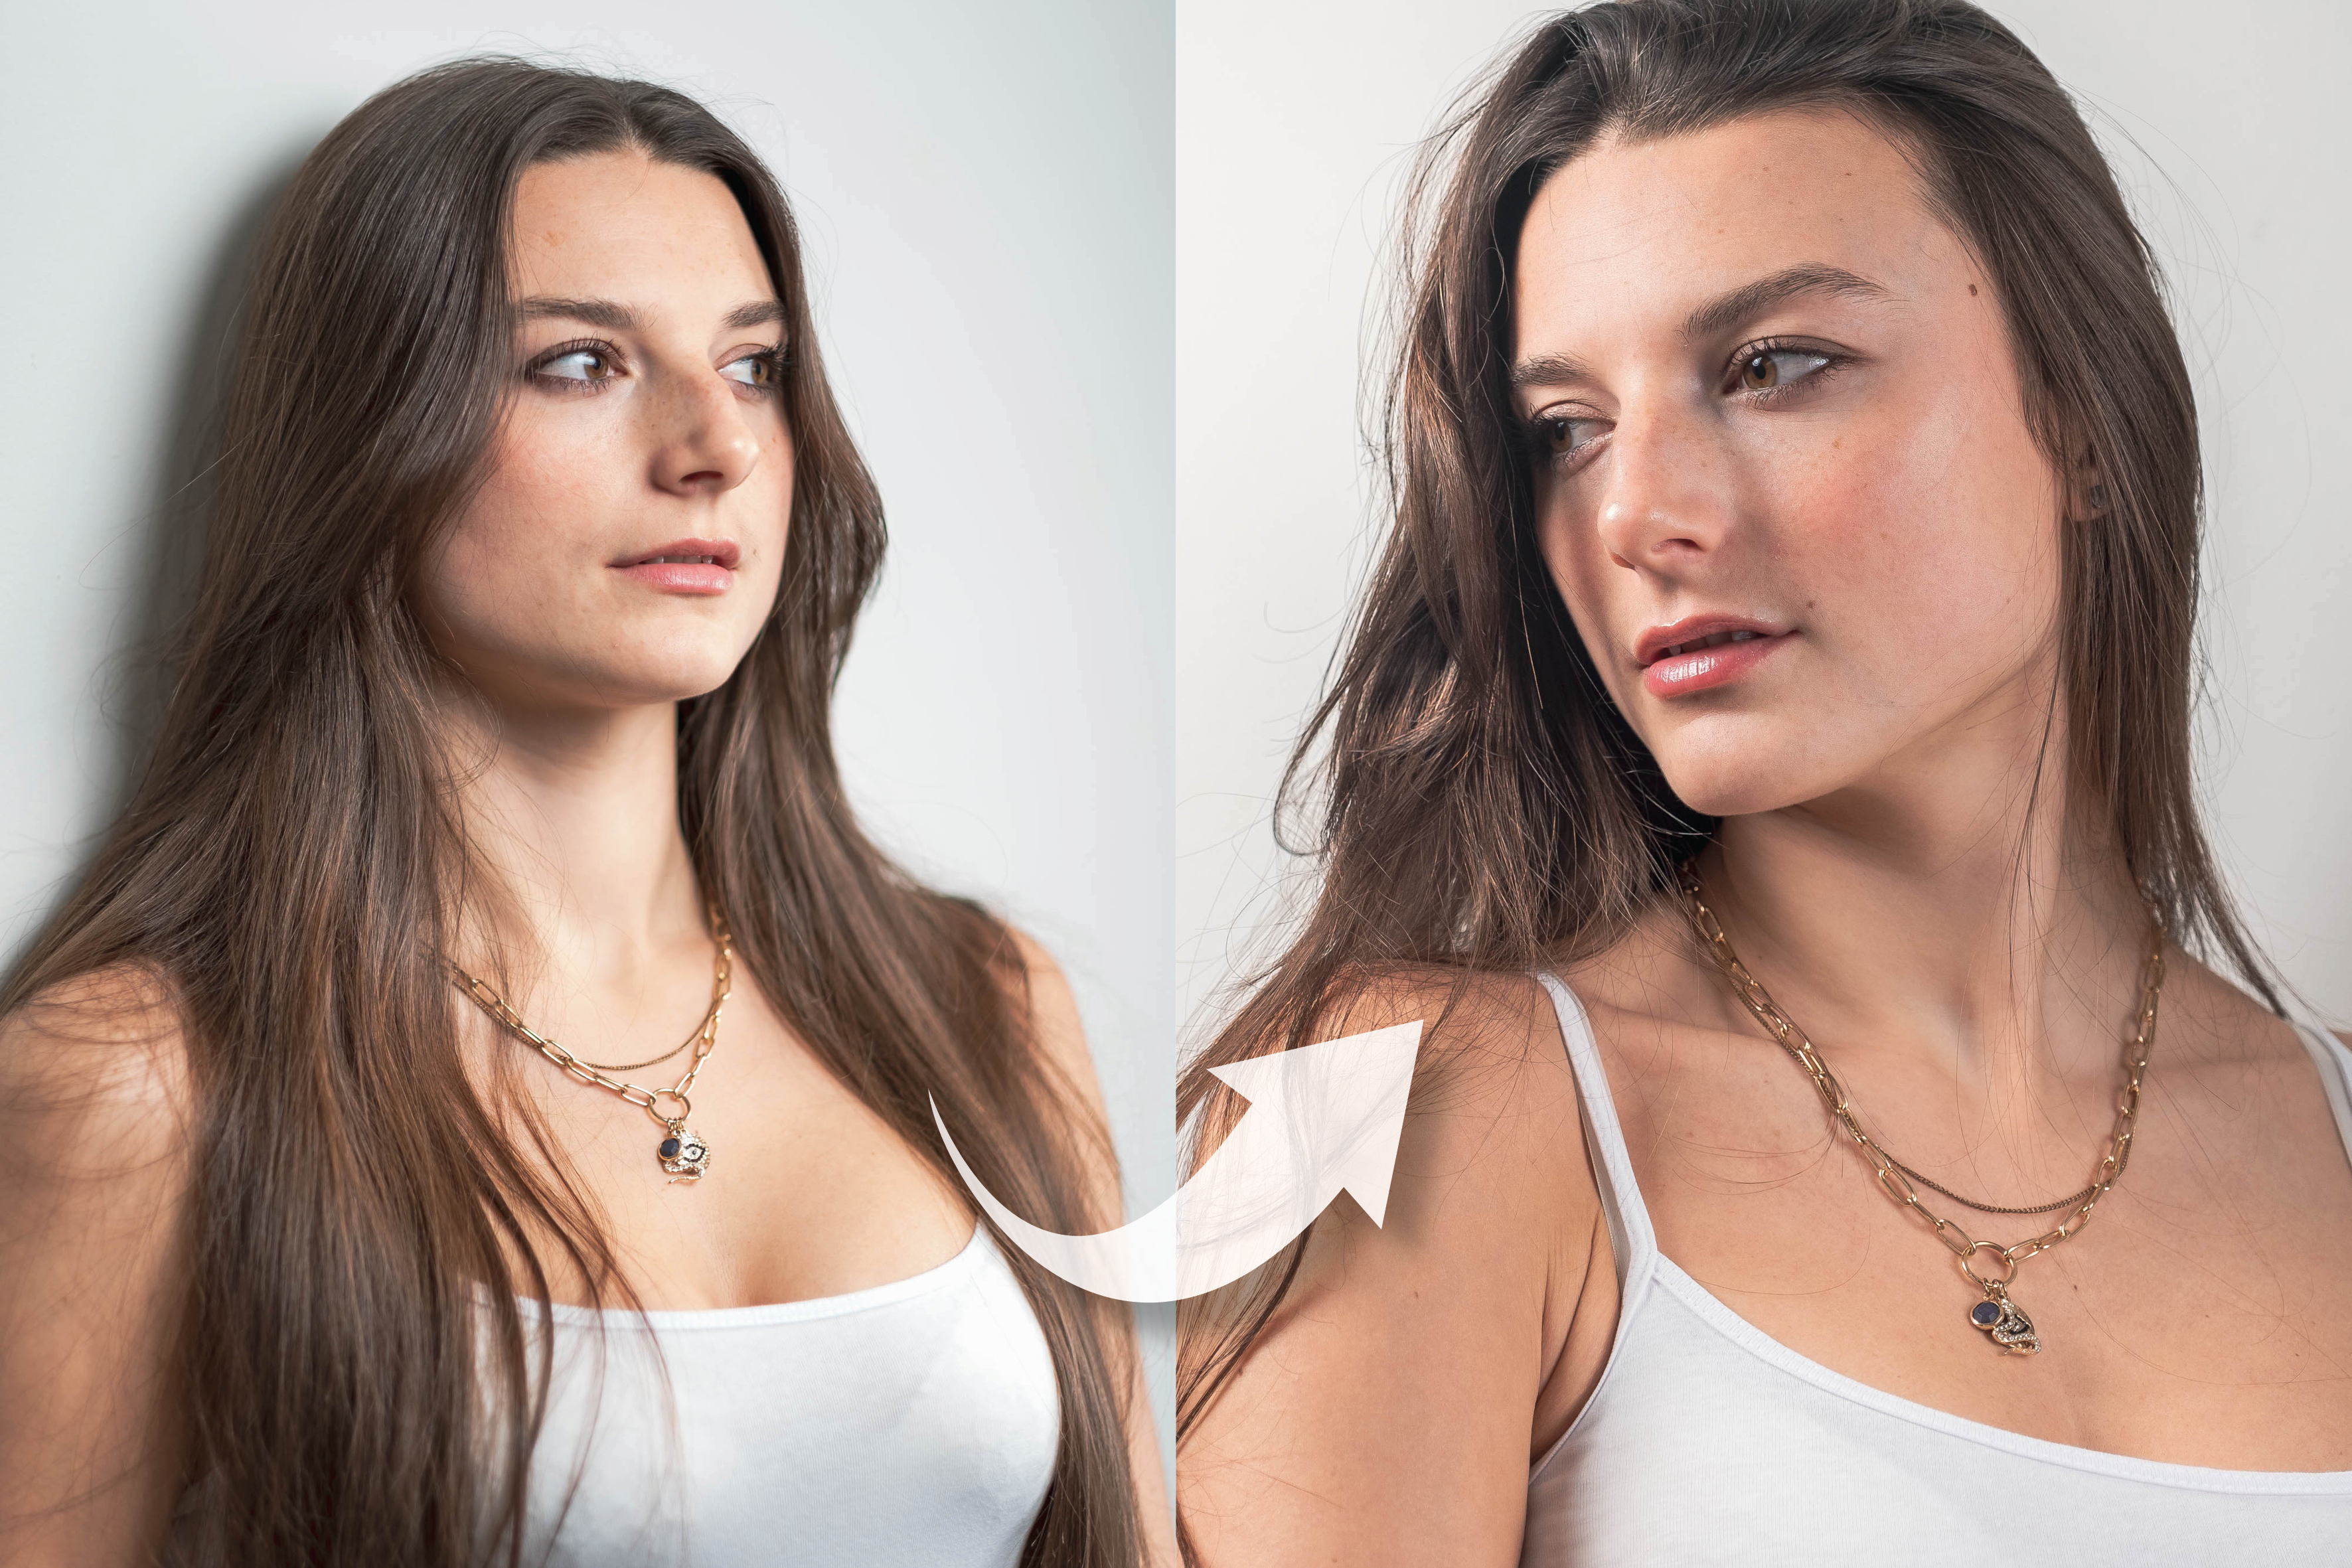
05 See both sides of the story
Everyone has a ‘good side’ and while some of us have two good sides, one might be more photogenic than the other. This isn’t always obvious to the naked eye, so it’s a good idea to shoot both sides of your model. Often, hair will fall to one side better than the other, allowing you to see more of the model’s face, or produce a more flattering angle.
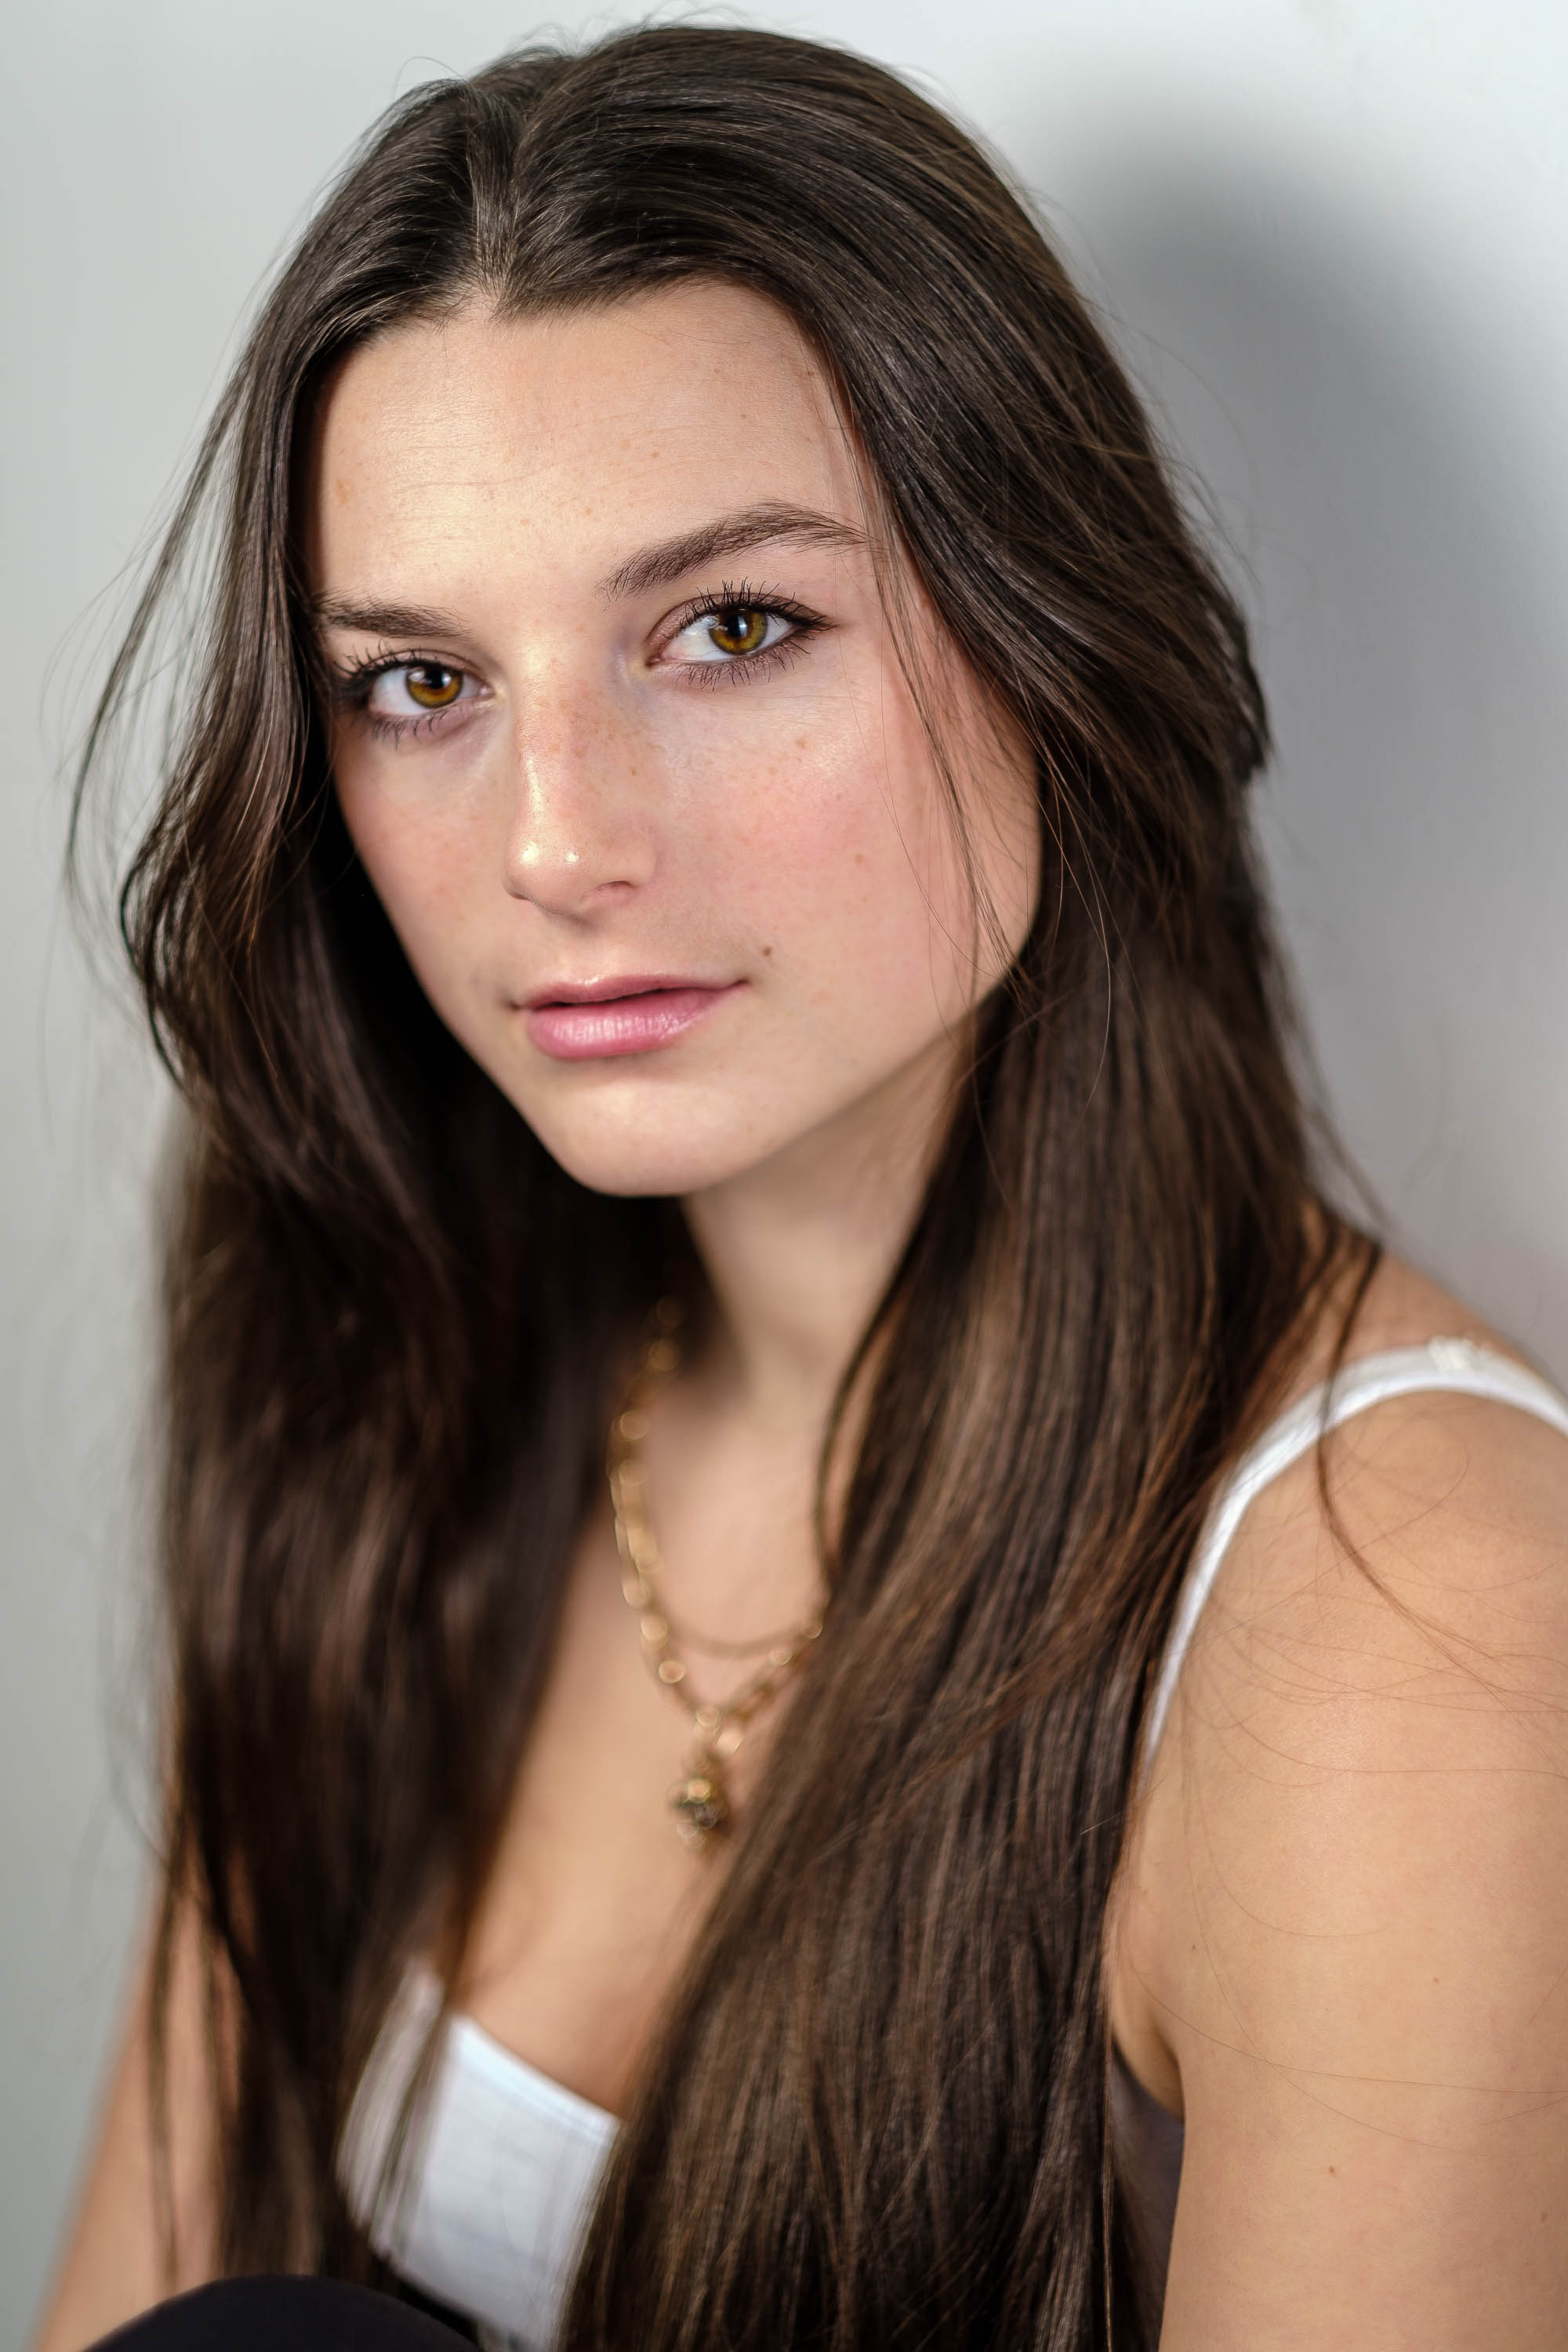
Model: @Ria Williams
Read more:
Best lenses for portraits
Best photography lighting kits
Best light stands
Get the Digital Camera World Newsletter
The best camera deals, reviews, product advice, and unmissable photography news, direct to your inbox!
Alistair is the Features Editor of Digital Camera magazine, and has worked as a professional photographer and video producer.
