5 tips for choosing and using… polarizing filters
Landscape photographers will ultimately need one, so here are 5 tips for choosing and using polarizing filters
Watch the video: 5 tips for choosing and using… polarizing filters
If you’re an aspiring landscape photographer, or you want to immerse yourself further in this genre, then sooner or later you will be needing one of these: a polarizing filter.
It will give your skies some extra punch, plus help to reduce the glare and reflections on shiny surfaces. Polarizing filters work by filtering out polarized light – that’s the light waves that travel in a single plane, rather than in all directions.
So here are five tips for choosing and using a polarizing filter…
1. Square or round?
If you already own a filter holder system, for example one made by Lee Filters, then you’ll already have a polarizer in the set.
If not, then we'd suggest that a circular polarizer is the way to go. These have an added advantage: since you’re screwing the filter tightly to the lens thread, there’s no chance of light leaking in.
2. Size matters
Choose a polarizing filter that fits the size of your lens filter thread. The Hoya Circular Polarizer comes in many different sizes to suit your lens, like this 72mm or 82mm – and more sizes are available, including 62mm and 67mm.
If your lenses vary in diameter, you can get step-up rings that enable you to attach your filter to any lens. These can also help reduce vignetting, which we'll come back to in a moment…

3. Check the effect
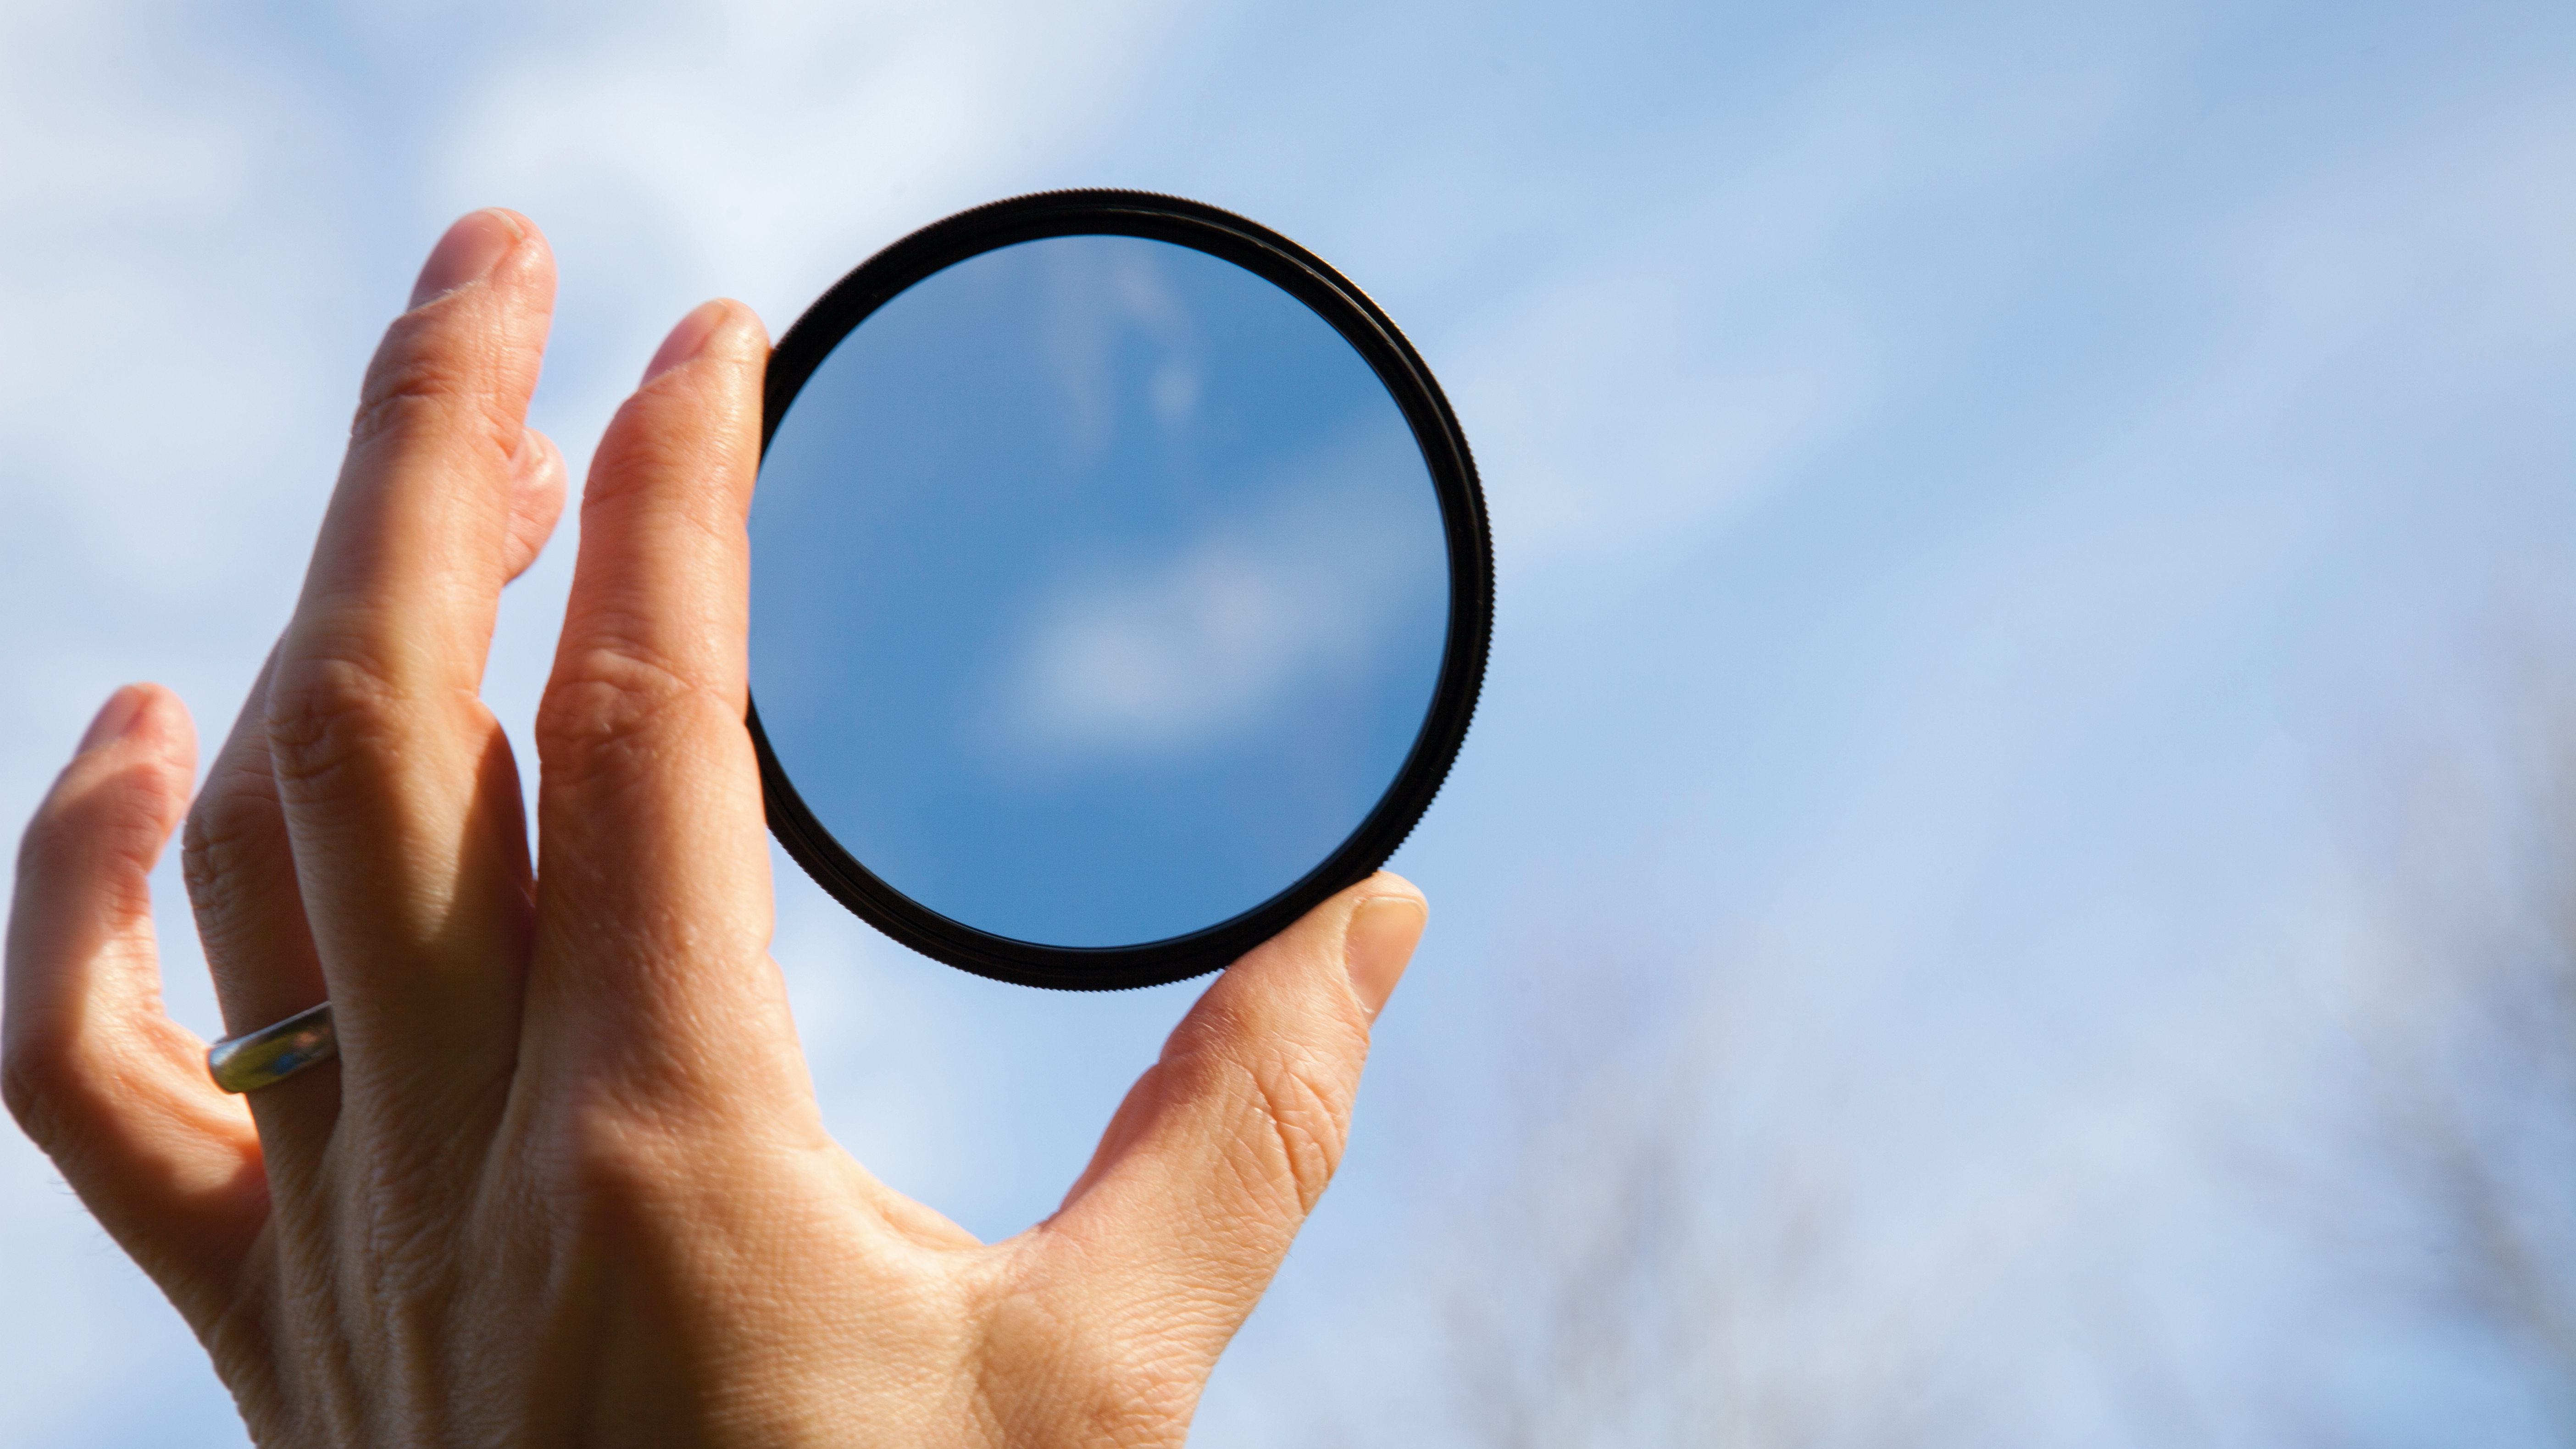
It’s hard to predict how a polarizer will affect a given scene. You can preview the effect by holding the filter up to the sky, but it’s easier to just look through the camera’s viewfinder as you rotate the filter when it’s attached to the lens. You can also use live view for this process.
Polarizing filters work best if you shoot at 90 degrees to the sun – that means keeping the sun to one side of you, to get the bluest skies possible. Top tip: don’t look straight at the sun through the viewfinder while searching for its position!
Fine-tune the scene if necessary, by rotating the front ring of the filter to maximize the intensity of the polarizing effect.
4. Exposure adjustments
As a circular polarizer will reduce the amount of light that enters the lens, keep an eye on your exposure. If you’d rather the camera did this for you, then use one of the semi-automatic exposure modes like program, aperture priority, shutter priority or full auto.
5. Watch out for vignetting
Circular polarizers can cause vignetting – where the corners of the image are darkened – especially on wide-angle lenses, or on the wider-angle end of a zoom. Polarizers with slimmer frames will help, but these will cost more than standard ones.
Read more:
The best polarizing filters: top circular polarizers for photographers
Use a polarizing filter to get stunning skies in your landscape photography
How to use polarizing filters for colorful cross-polarization effects
Get the Digital Camera World Newsletter
The best camera deals, reviews, product advice, and unmissable photography news, direct to your inbox!

Niall is the editor of Digital Camera Magazine, and has been shooting on interchangeable lens cameras for over 20 years, and on various point-and-shoot models for years before that.
Working alongside professional photographers for many years as a jobbing journalist gave Niall the curiosity to also start working on the other side of the lens. These days his favored shooting subjects include wildlife, travel and street photography, and he also enjoys dabbling with studio still life.
On the site you will see him writing photographer profiles, asking questions for Q&As and interviews, reporting on the latest and most noteworthy photography competitions, and sharing his knowledge on website building.
