6 ways to invigorate your photography skills – it's time to experiment!
Build up your creative toolbox with new skills and techniques to have fun and embrace the joy of photography
More COVID photography projects
• Home photography projects
• Photo projects to try indoors
• Photography tips, tutorials and videos
Useful home photography kit
• Best tripods
• Best lighting kits
• Best reflectors
• Best macro lenses
The best way to build up your creative toolbox is to experiment with new techniques, ideas and approaches. No doubt you’ll fall in love with some techniques and fail to see what all the fuss about is with others.
Either way, experimenting is a vital part of the creative process. Whether you’re messing around with pinhole cameras, 3D imaging or enjoying the delights of multiple exposures, your experiments will all serve to help you better understand the art, craft and science of photography.
It’s also good to get into the habit of asking yourself, “What would it look like if I did this?” The chances are that there will be a lot of failures, but occasionally you will discover something awesome that works brilliantly and also gives you something to build on.
6 photography techniques to try
Once you’ve mastered a technique the real art is knowing when and when not to use it. All too often photographers will use a technique, just for the sake of it, because it’s kind of cool, or gets lots of likes on social media. Those aren’t good reasons...
The best approach is to call on your repertoire of techniques and skills and make a technical, creative response that’s appropriate to your vision of the situation.
01 Slo-mo mojo
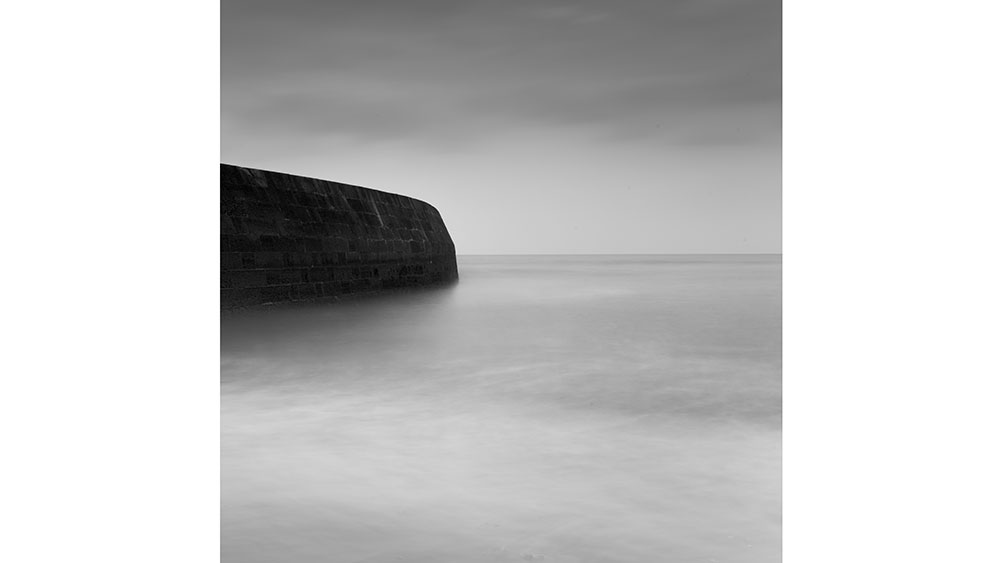
Using slow shutter speeds to capture milky water and silky clouds is an ever-popular technique. It’s a fiddly process to master, and there are lots of elements to get right (or wrong).
First, you’ll need a sturdy tripod and remote triggers. You’ll also need neutral-density filters, and you’ll have to calculate the extended exposure time. All of this can be plagued by wind vibration, shutter shake and myriad other frustrations. However, once you’ve nailed it, it does look cool and renders the world and captures time in a distinctly photographic way.
You should show restraint: Use slow-shutter techniques when it’s appropriate for your vision, not every time you see moving water!
Remember, you don’t always have to keep the camera steady: for an impressionistic effect, try using a slow shutter speed while hand-holding your camera or while panning.
• Best tripods for photography
• Best remote triggers
02 Pinhole photography
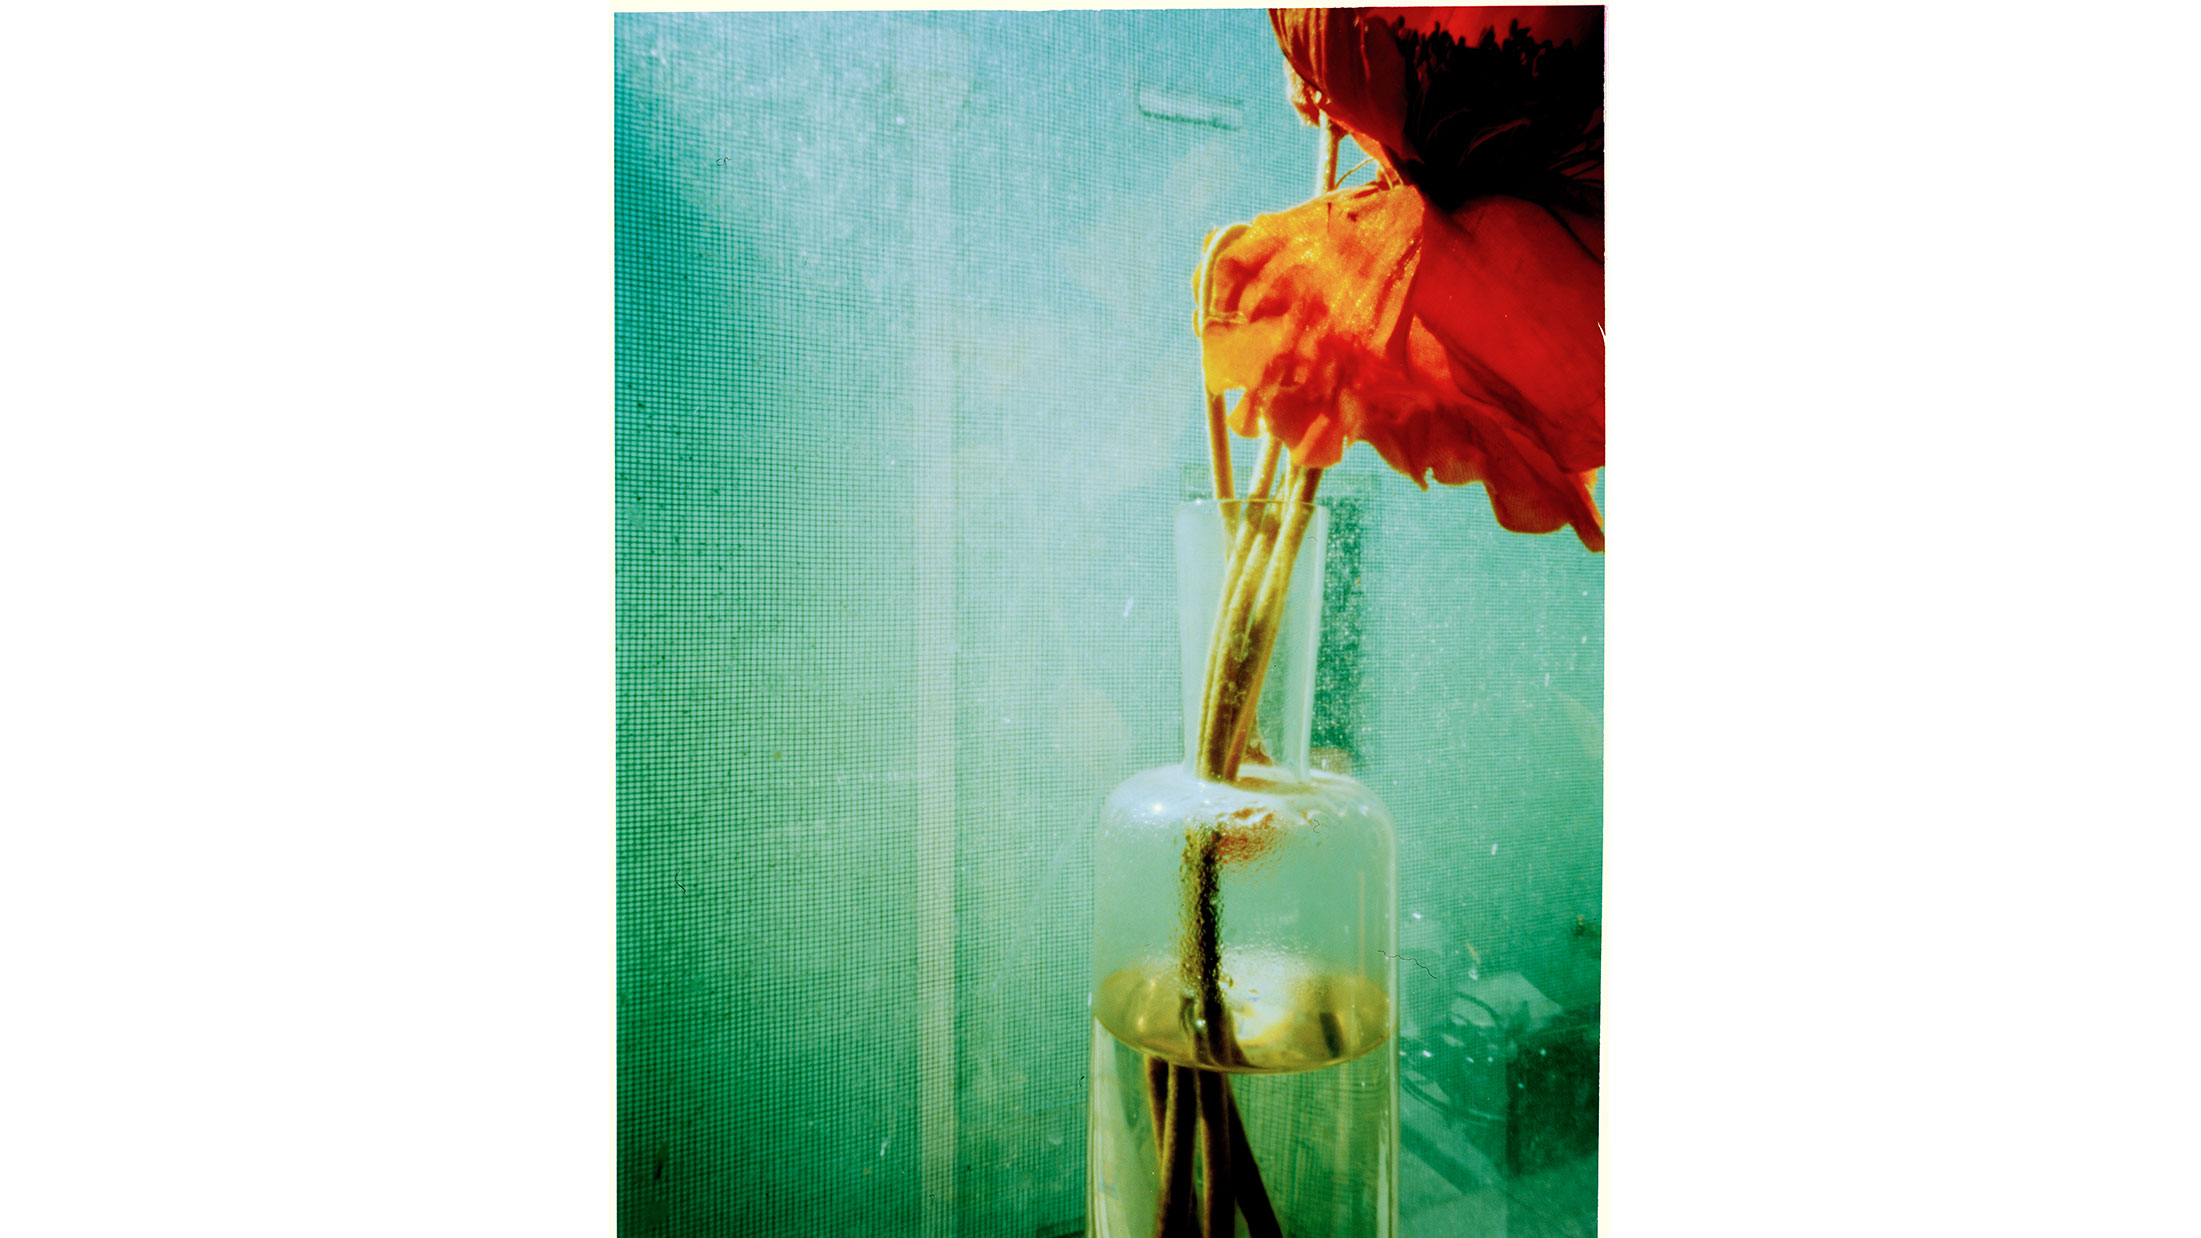
It is possible to take a photograph without a lens, and it’s great fun using just a very small pinhole! There are many ways to enjoy this process: some photo-sensitive paper and an old tin can is a cheap and effective method; you can convert your digital camera’s body cap; or you can purchase specialist hand-made pinhole cameras. Not only is it fun and creative, but it will also help you understand some basic principles of photography.
• Pinhole photography: make your own pinhole camera
Consider using a slow shutter: a pinhole is typically very small, so exposure times will be very long – you’ll need to keep your camera steady.
Pinhole photography is slow and simple, there's a little bit of trial and error involved. Don’t rush it: have fun and enjoy the process. Think about the composition: It will be a challenge with a film-based pinhole camera to frame your image, as there’s no viewfinder.
03 On-camera flash
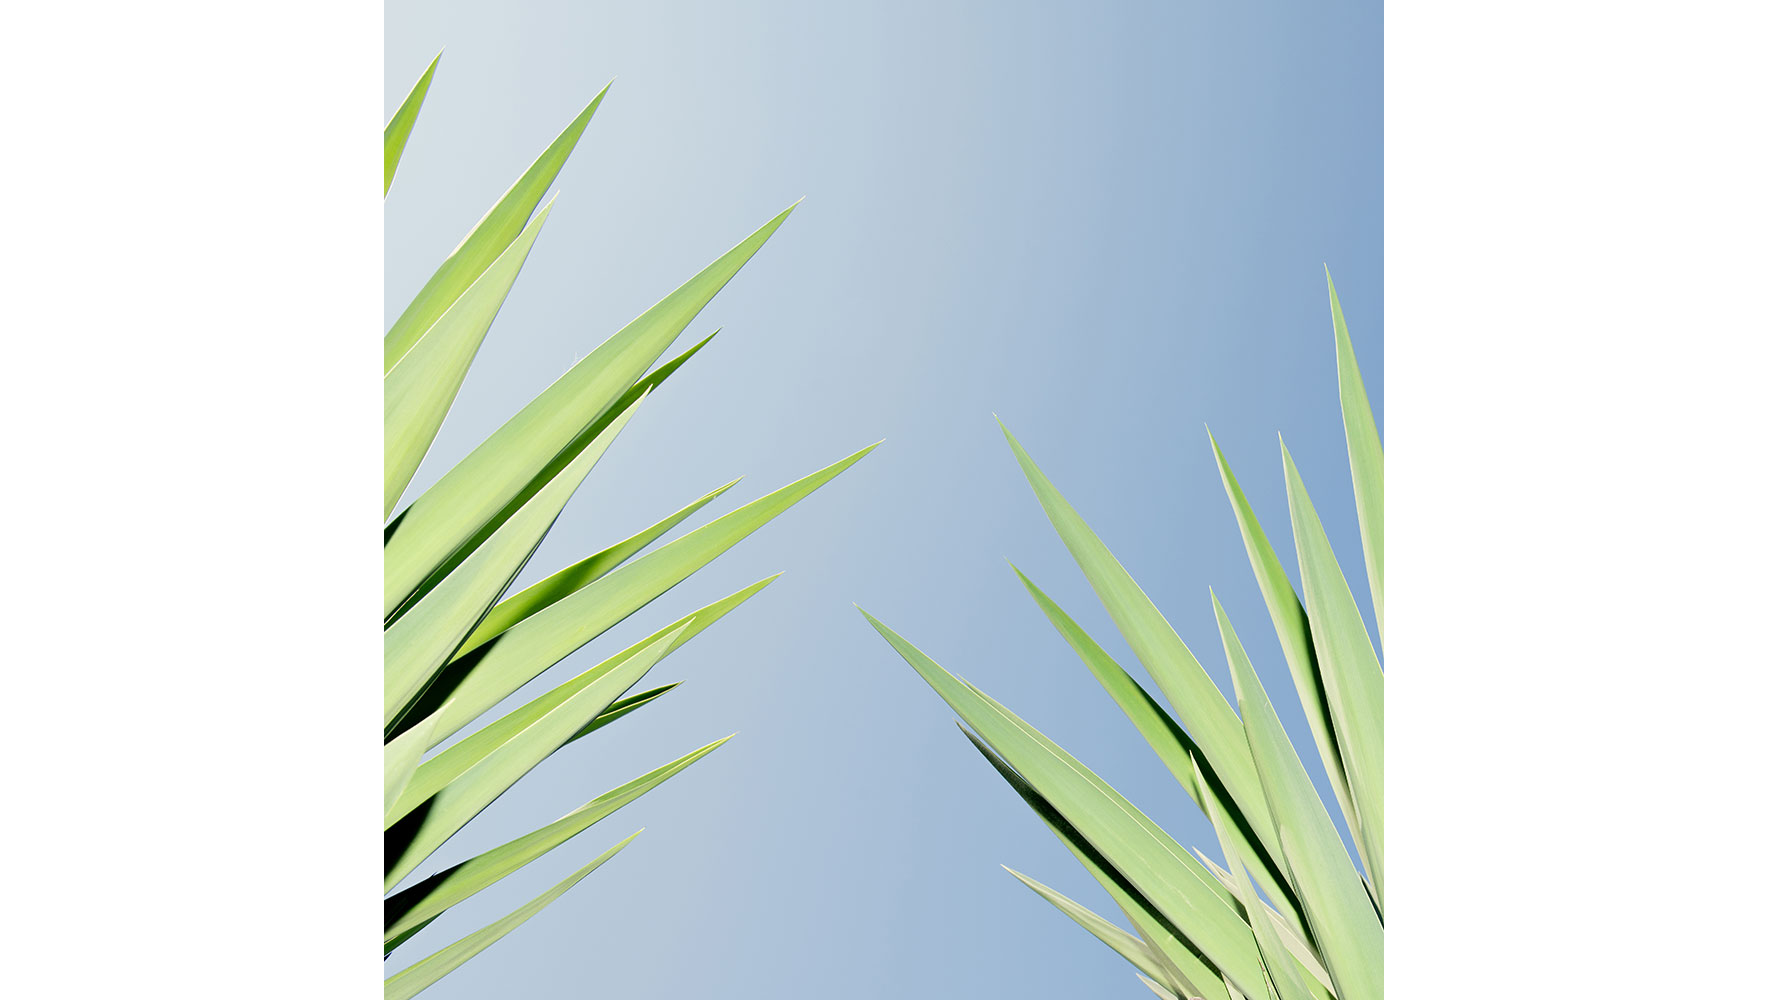
On-camera flash has been used in this shot and it wouldn’t typically be considered an ‘appropriate’ way to photograph in the landscape. However, in the spirit of experimentation, it’s good to ask yourself: “Why not? And what would it look like if I used flash?”
Remember that the flash helps define the crisp, graphic shape of the leaves, and the hard shadow emphasizes their sharpness. Experiment with flash power settings to get the right balance between foreground and background.
04 3D anaglyph
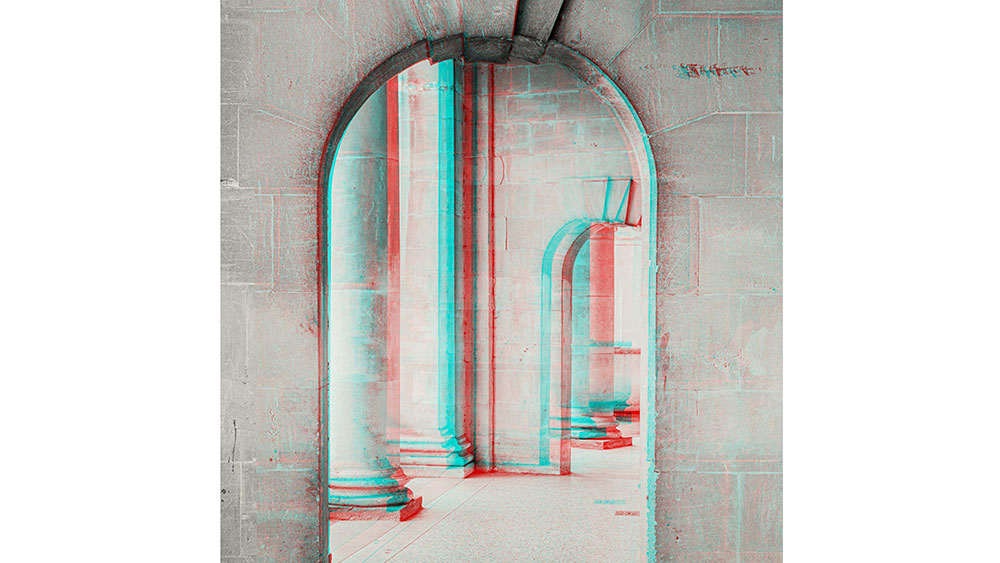
Why not add another dimension to your photography? Simply take two consecutive photos, moving your camera a centimeter or so to the left or right between shots. Merge the images as layers in one Photoshop file, and change the Layer Style Blending options to create the red/cyan offset look. Put on some red / cyan 3D glasses, and… bingo!
05 Multiple exposure
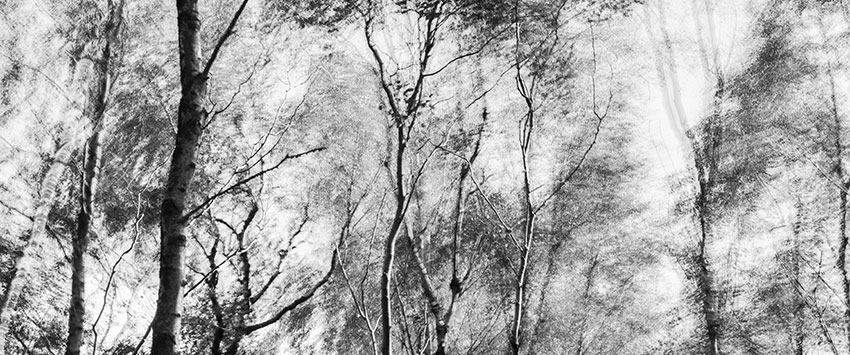
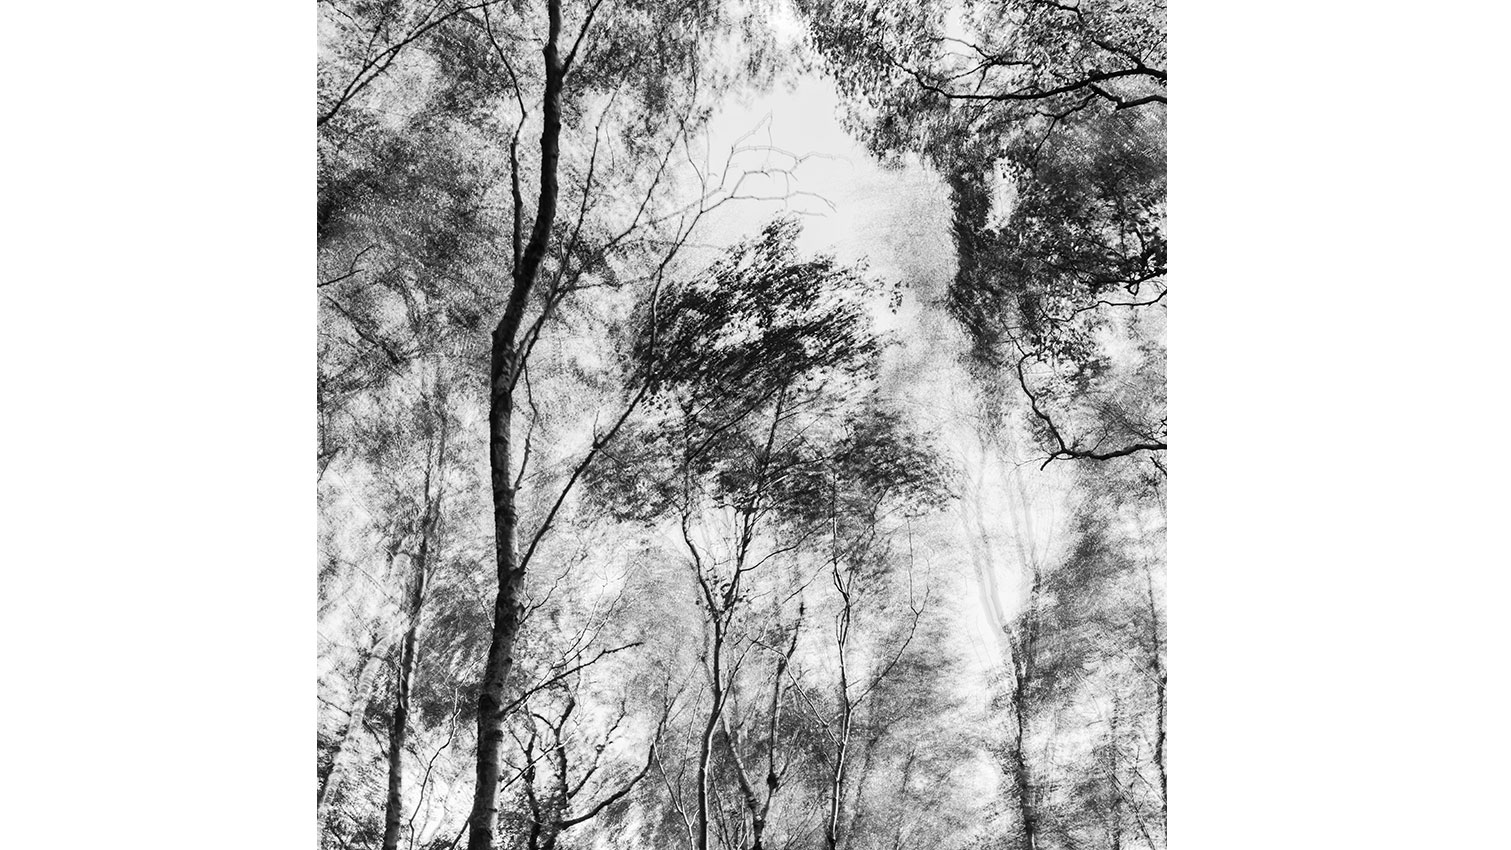
Most digital cameras will allow you to shoot multiple exposures in-camera; some will restrict you to just two images, while others offer many more. Either way, the layering of images on top of one another is great fun. Here, 10 images of trees were stacked together in-camera using multiple exposures, in an attempt to capture the energy of the wind.
A top tip is to start by just layering two images, so you have a good sense of how the images blend.
• Multiple exposure: Shoot a double exposure in-camera
• How to create a double exposure in Photoshop Elements
06 Abstract composition
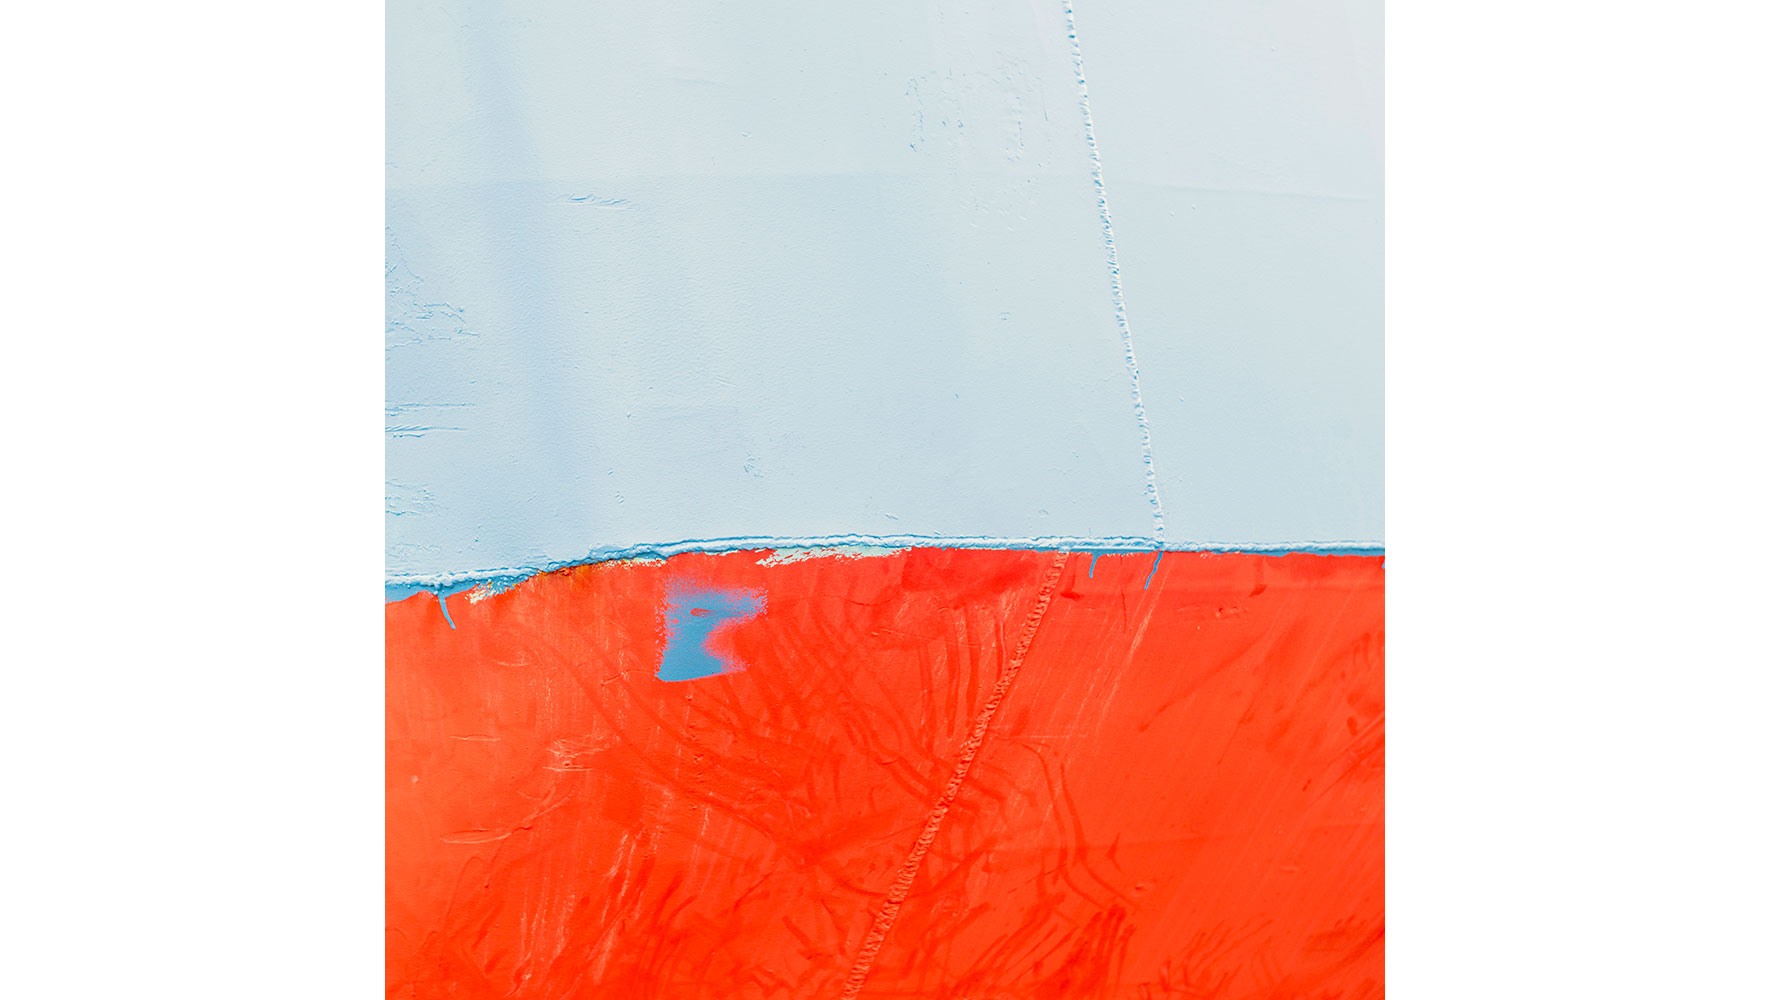
Creating an image that is non-representative of a specific place, object or person is a great way to flex your creative muscles and hone your eye. Colors, tones, shapes and textures can all be used to great effect; while not specifically representative, they may serve well to evoke a mood or emotion. This image is of the side of a ship... but it’s not about the ship – it’s about color and shape.
When you're looking at a scene, try to isolate parts of it so it’s not obviously clear what it is you’re looking at.
Read more:
The best camera for beginners: perfect cameras for learning photography
The best photography lighting kits: for studio, location and video
The best point and shoot camera
Best backdrops for photography: collapsible backgrounds for the home studio
Get the Digital Camera World Newsletter
The best camera deals, reviews, product advice, and unmissable photography news, direct to your inbox!
Benedict Brain is a UK based photographer, journalist and artist. He graduated with a degree in photography from the Derby School of Art in 1991 (now University of Derby), where he was tutored and inspired by photographers John Blakemore and Olivier Richon, amongst others. He is an Associate of the Royal Photographic Society and also sits on the society’s Distinctions Advisory Panel.
Until July 2018 Benedict was editor of Britain’s best-selling consumer photography magazine, Digital Camera Magazine. As a journalist he met and interviewed some of the world’s greatest photographers and produced articles on a wide range of photography related topics, presented technique videos, wrote in-depth features, curated and edited best-in-class content for a range of titles including; Amateur Photographer, PhotoPlus, N-Photo, Professional Photography and Practical Photoshop. He currently writes a regular column, The Art of Seeing, for Digital Camera magazine.
