8 portrait photography mistakes (and how to avoid them)
Improve your portraits by avoiding these common photographic mistakes

Whether you like to photograph wildlife or the open landscape, the chances are you’ve been a portrait photographer at some point. People, after all, are the most commonly photographed subject (though in the social media age, cats may be giving us a run for our money). Whether it’s a holiday photo, family snap or a more considered documentary image, if there’s a person in the frame, it’s also a portrait.
We all know, though, that people photos can be tricky to get right. There are the technical challenges of exposing for skin tones, the compositional challenges of posing someone and the ongoing challenge of photographing people who have strong ideas about how they do and don’t want to appear. What’s more, many people are also simply not very comfortable in front of a camera. To help you improve your people pictures, below are the most common mistakes photographers make when shooting portraits and how you can avoid them.
1: Out-of-focus eyes

Great portraiture is almost always about the eyes. They’re the focal point your viewers are looking for, so as a general rule the eyes in a portrait should be sharp. This is even more important if you’re shooting with your aperture wide open to create a shallow depth of field. Portrait photographers use shallow depth of field to direct the viewer’s attention towards the eyes, and if they’re not sharp the viewer will move on. Think about it: have you ever seen a great portrait where the model’s nose was in focus and her eyes were soft?
Autofocus has improved by leaps and bounds in recent years, but your AF can still sometimes miss the mark. If your subject isn’t moving, the best way to ensure sharp eyes is to take control and focus manually.
If your subject is moving, use your camera’s Eye AF function, if it has one. Many models now do. Alternatively, take control and set the AF point manually.
Once you’ve set up your shot, it’s worth using your camera’s magnifying the view in your live view screen. Zoom in on your subject’s eyes to make sure they are pin sharp.
2: Shooting from the wrong height
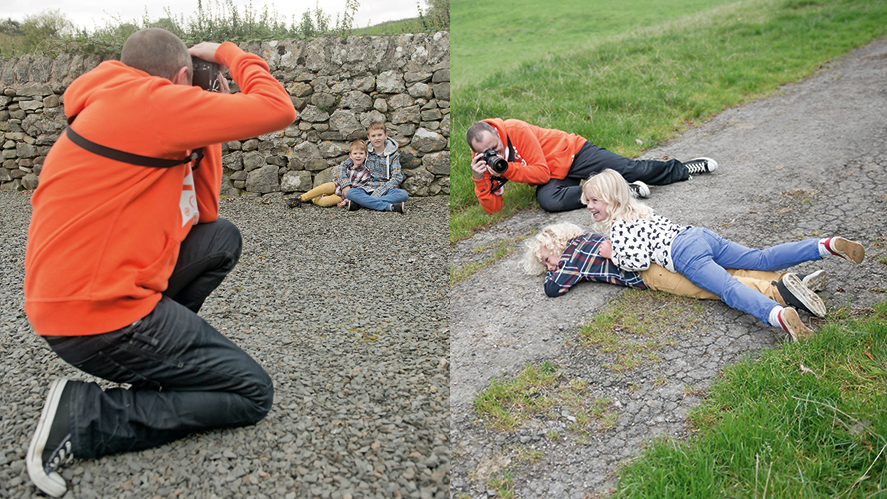
What do we mean by shooting from the ‘wrong height’? With portraits, for the viewer to establish a connection with the subject it’s best to photograph your model at eye level. However, too often we shoot children, for instance, from our own height, looking down. With children, in particular, try kneeling down or even lying with your elbows on the floor. On the other hand, if you want to emphasize how small they are, try shooting from above your eye level.
The best camera deals, reviews, product advice, and unmissable photography news, direct to your inbox!
One general rule of portrait photography is never to shoot from below your subject’s eye level. The reason for this is that it can exaggerate double chins or capture unflattering up-nostril views.
As another general rule: subjects typically look best when photographed from slightly above their eye level, with the person looking up to the camera. This emphasizes their eyes and slims the face.
3: Too much detail
All you landscape photographers out there reading this might think this sounds like sacrilege, but in portrait photography this is a thing! While you want your subject’s eyes to be sharp and you want to capture the fine detail around them, such as eyelashes, you don’t want so much detail as to emphasize any flaws in their skin. People paying for their portrait to be taken don’t want an image that will emphasize their crow’s feet!
We’d always recommend shooting raw files, where you have the flexibility in post-production to edit out these flaws. But if you’re shooting JPEGs, use a Natural or Neutral color setting rather than your camera’s Standard or Vibrant mode, which may saturate colors, especially red and draw attention to spots and pimples.
If you do capture blemishes such as these, spend some time retouching the image to remove them. But be careful with how much sharpening you apply to the image (both in-camera or post-capture). It’s better to sharpen selectively when processing an image, targeting the eyes and hair while leaving the skin unsharpened.
Like anything, moderation is the key when it comes to retouching. Don’t get carried away and give your subject skin that looks plastic!
4: Being too far away
By far the most common mistake new portrait photographers make is simply standing too far away from their subject. When there are huge areas of empty space around your subject, the image has less impact. Vast skies or large swathes of land in the foreground make your subject seem lost. With a portrait, in most cases you want to frame in tightly around their head and shoulders. Full-length portraits can work, but they typically need a bit more consideration and time than most people give them.
Now, while we say that you should frame in tight on the head and shoulders, you don’t want to go overboard and end make shooting a passport photo either. There’s a balance to be struck.
5: Too much depth of field
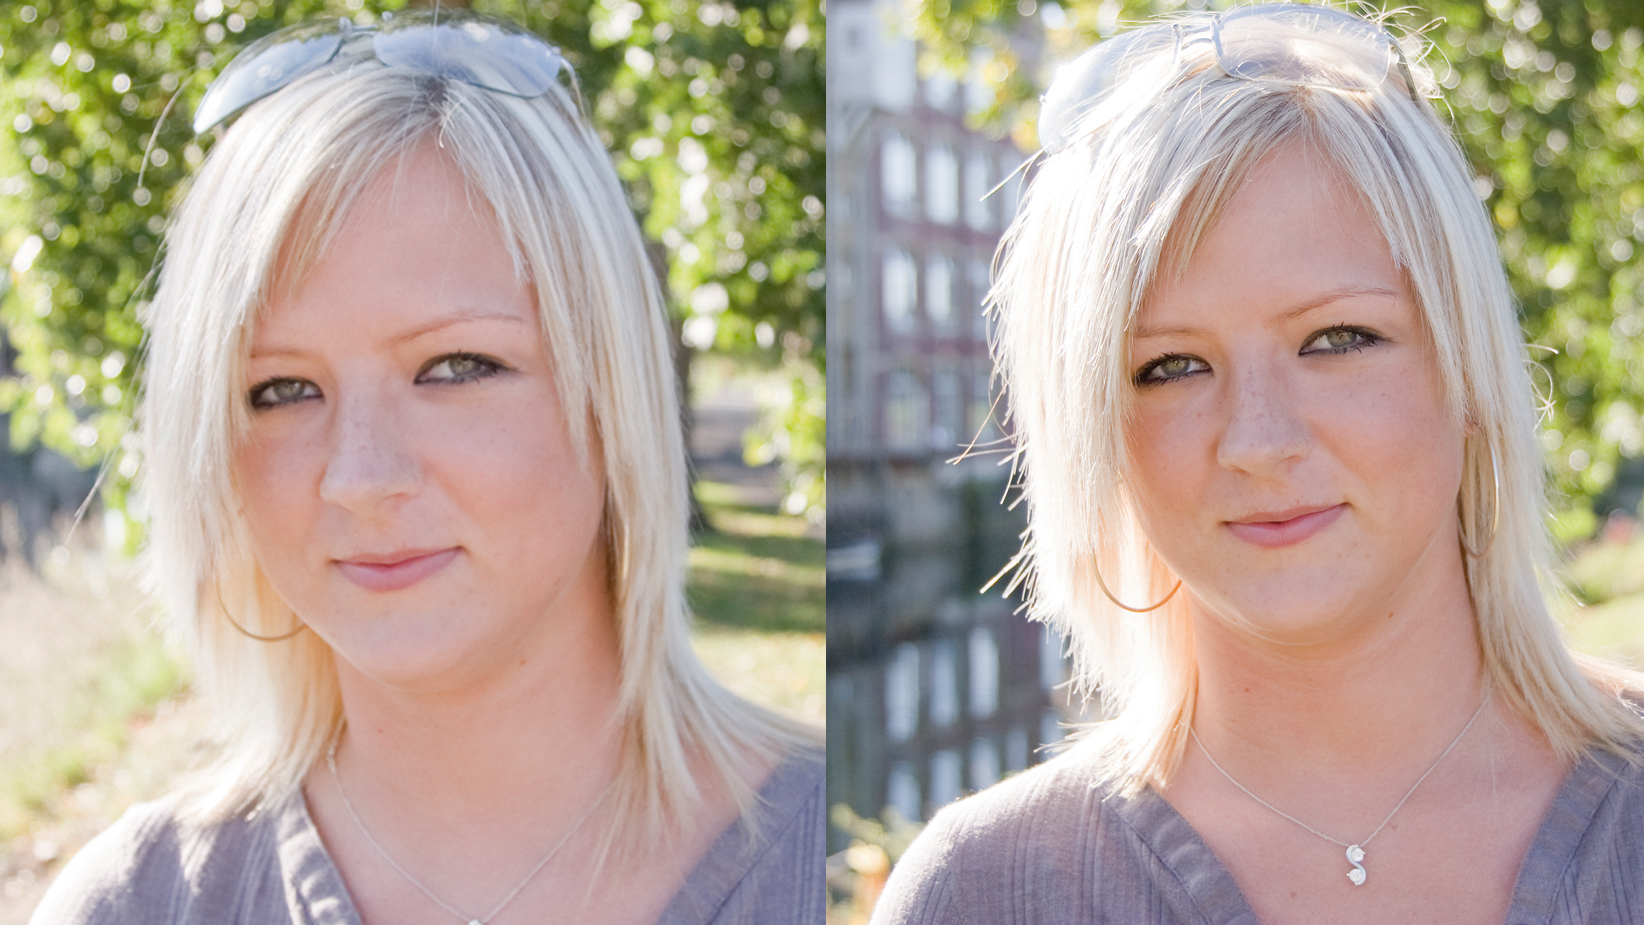
This is another one that might come as a shock to all those landscape photographers out there. While using a small aperture to create extended depth of field makes for a wonderful, detail-rich landscape image, in a portrait it can cause a distraction. In a portrait, you want your background to be smooth and inoffensive. If your background is busy or cluttered, it will distract from your subject. This is why shooting at a wider aperture (smaller f number) will create a shallow depth of field effect and smooth over any detail and clutter in your background, helping your subject stand out. Even if the background isn’t heavily blurred, restricting the depth of field a little separates your subject from the surroundings giving them greater dominance in the shot.
If you find that the background isn’t as blurred as you would like, ask your subject to step forward, increasing the distance between them and it. You could also switch to a longer focal length lens as this will result in less depth of field at the same aperture, although you will have to move further away from your subject to maintain the same composition.
6: Lampposts in people’s heads
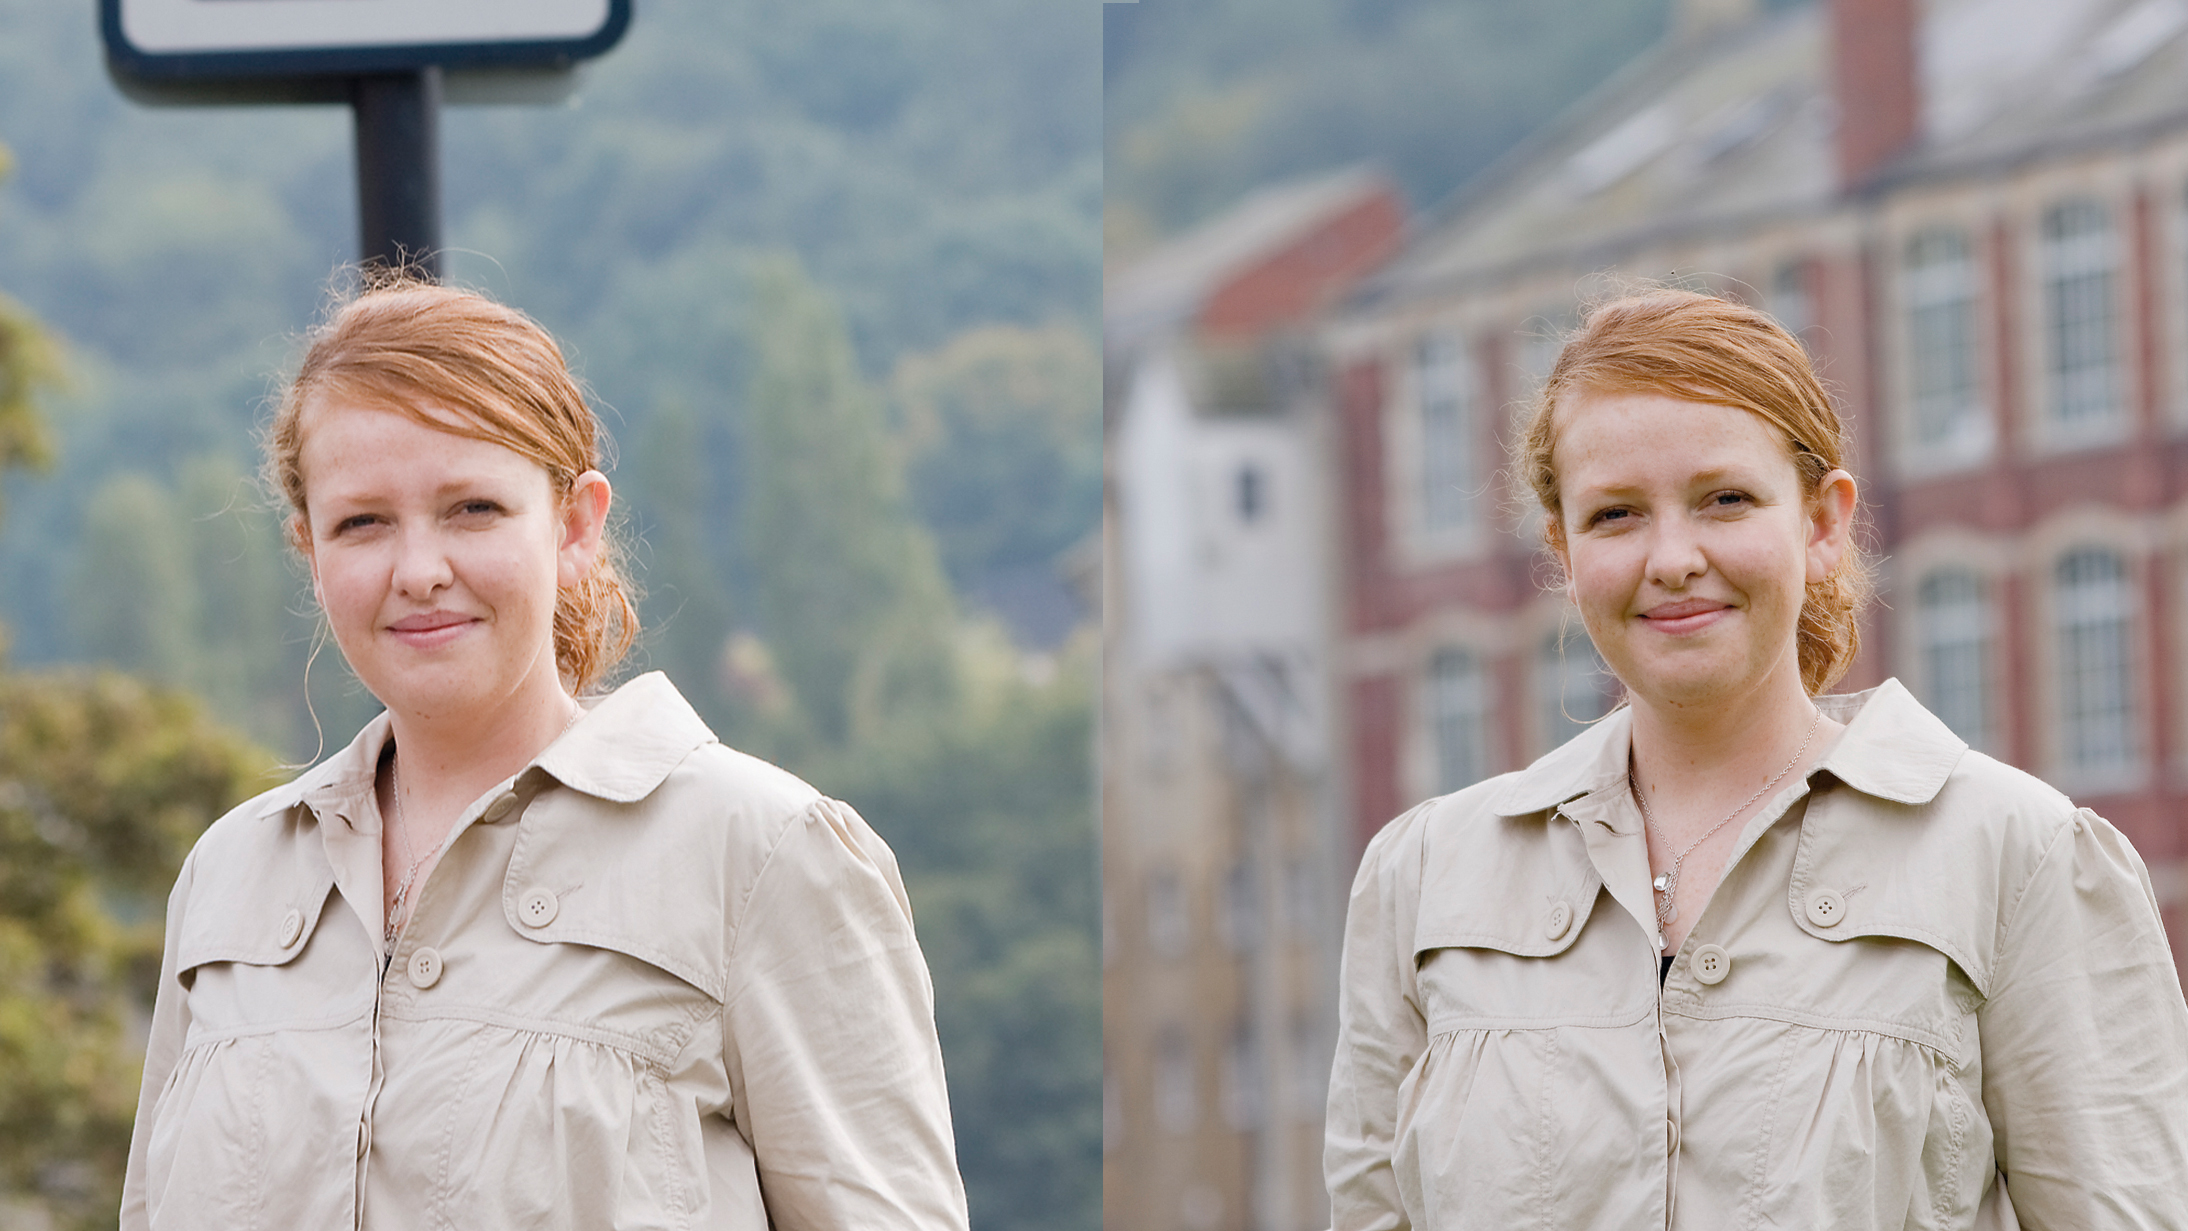
One of the all-time classic portrait photography mistakes is to not paying enough attention to what’s in your background when framing your shot and then not noticing that a lamppost or flagpole is sticking out of the top of your subject’s head. It’s a common error, and thankfully easy to rectify. Either move your subject slightly to one side, or move the camera position enough so that you get a cleaner background.
7 Shooting ultra wide
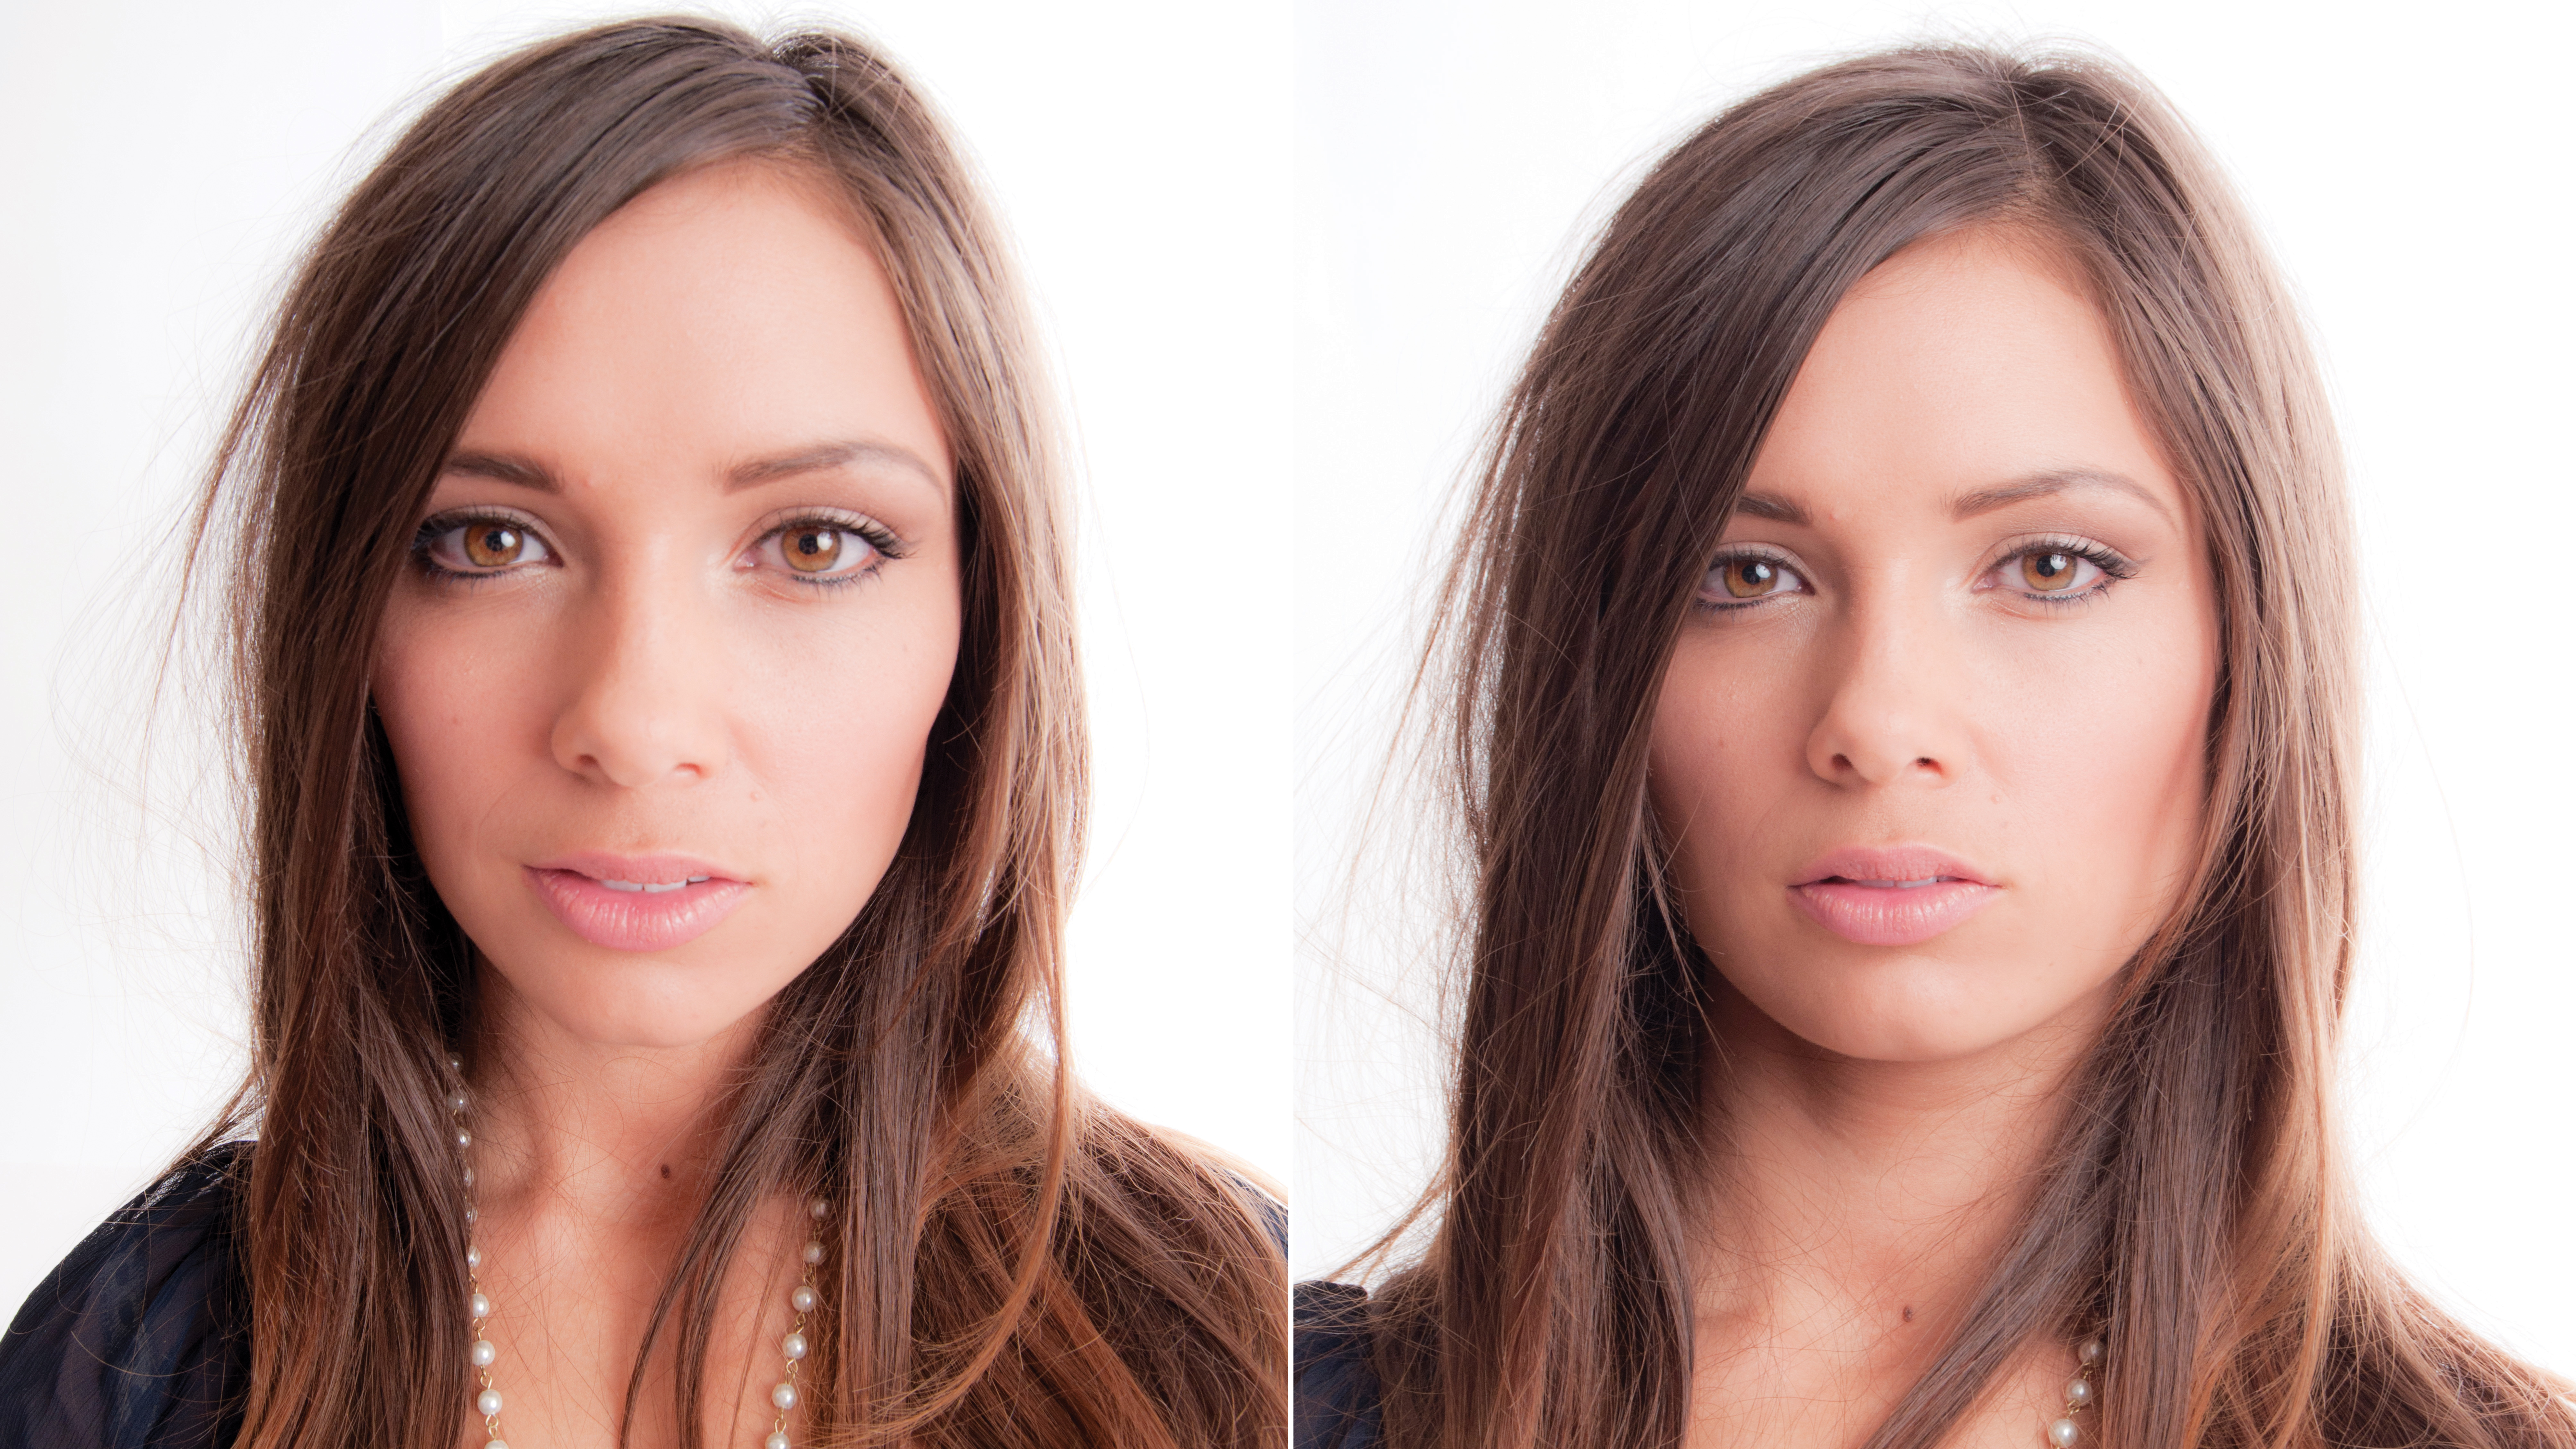
Wide-angle lenses can produce some fun effects when you’re shooting urban landscapes, but mount one for a portrait and your human subjects might look a little strange. Wide-angle lenses make close subjects look much bigger than those that are further away, so when you’re shooting a portrait this might mean your subject has a large nose on a small face with tiny eyes.
For a more flattering result, try shooting with a longer lens from a little farther away. This will help keep your subject facial features in proportion. Using a longer lens has the added benefit of restricting depth of field so the background is blurred and smoothed over, helping your subject stand out in the frame.
8: Not enough depth of field
Yes, in No. 5 we said that you don’t want too much depth of field, but at the same time you don’t want your depth of field to be too shallow. It’s all about moderation. Restricting depth of field is a hallmark of portraiture, but if you shoot wide open with an 85mm f/1.8 lens, for example, the depth of field will likely be so shallow that only your subject’s eyes are in focus. Other areas of their face, such as the ears and mouth, will be soft. Sometimes this can work, if you’re focusing on your subject’s weathered eyes, for example, but most times you will want their whole face to be in focus. Consider closing down the aperture a little so that you still get nice shallow depth of field effects, but your subject’s face isn’t soft.


