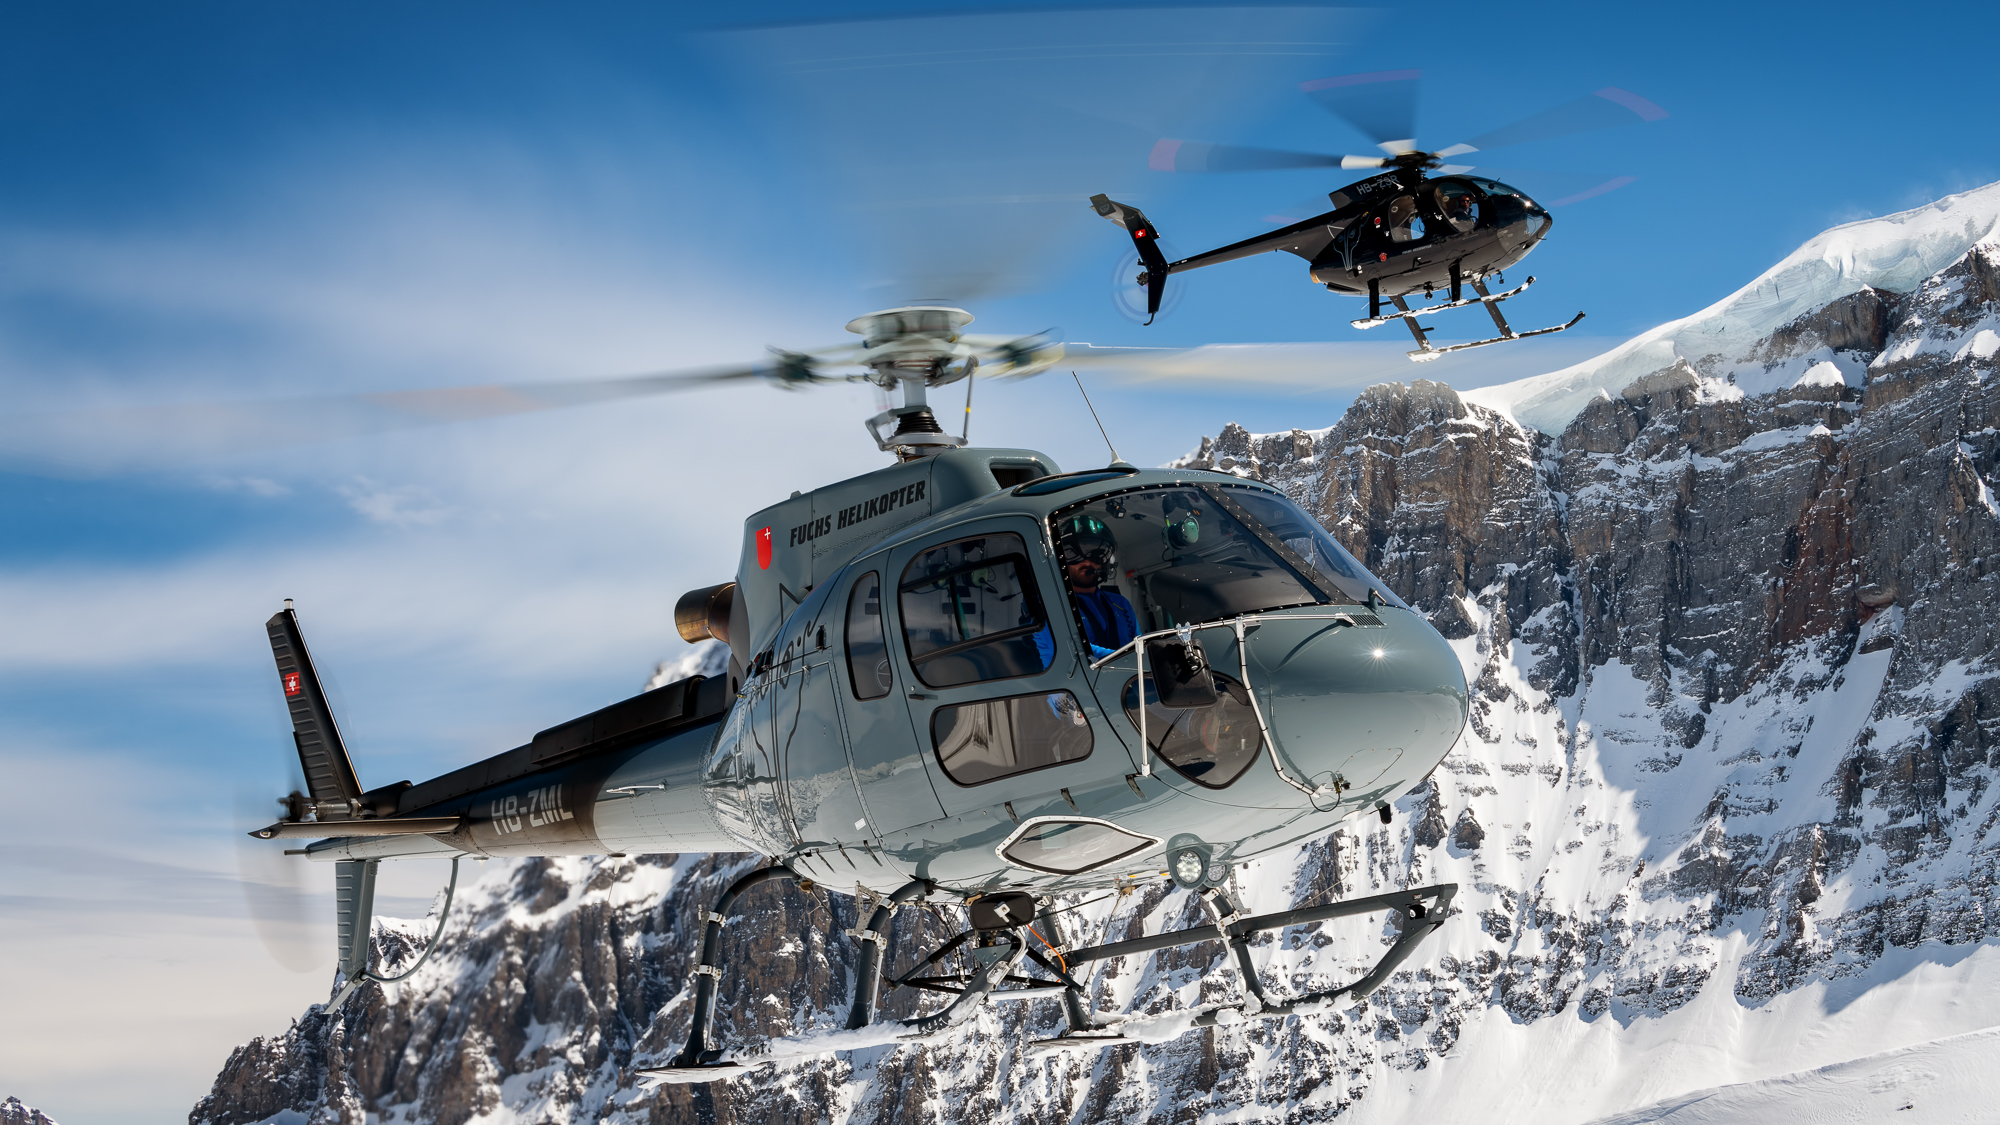
Having got the bug for aviation after a visit to the now-famous Mach Loop back in 2008, I decided that’s what I wanted to do. Somewhat easier said than done, though!
After leaving college, I managed to secure a freelance position shooting for a large track day company in the UK: it enabled me to pursue aviation as a hobby, eventually progressing into a career.
After a lot of hard work, covering my own travel, advice from peers in the industry, and some luck, I was given my first break for the magazine that I now work for, Vertical.
That was back in 2013; since then I have travelled across the world, photographing civilian, parapublic and military helicopter operators in a variety of roles. The rush of opening the door in-flight to shoot another aircraft in formation will never get old!
See more of Lloyd's work on his website or his Instagram.
In an effort to keep pushing myself and to improve my shooting style, I have ventured into shooting video for the magazine. Having started towards the tail end of 2018, I would like to think that my video work has come on a lot, but the experience has also changed the way in which I shoot photos.
It is the more cinematic-type images that really stand out; I’m not sure that change would have happened were it not for getting tangled up in video.
I'll usually venture out with my Nikon D850 as my main body with a 70-200mm lens, and also my Nikon D810 as a backup with a 24-70mm. Although I'm mainly using the long end of the 200mm while up in the air, the 24-70mm can enable me to get some decent shots from ground level.
Lloyd’s guide to shooting aerial photography
01 Give a sense of scale
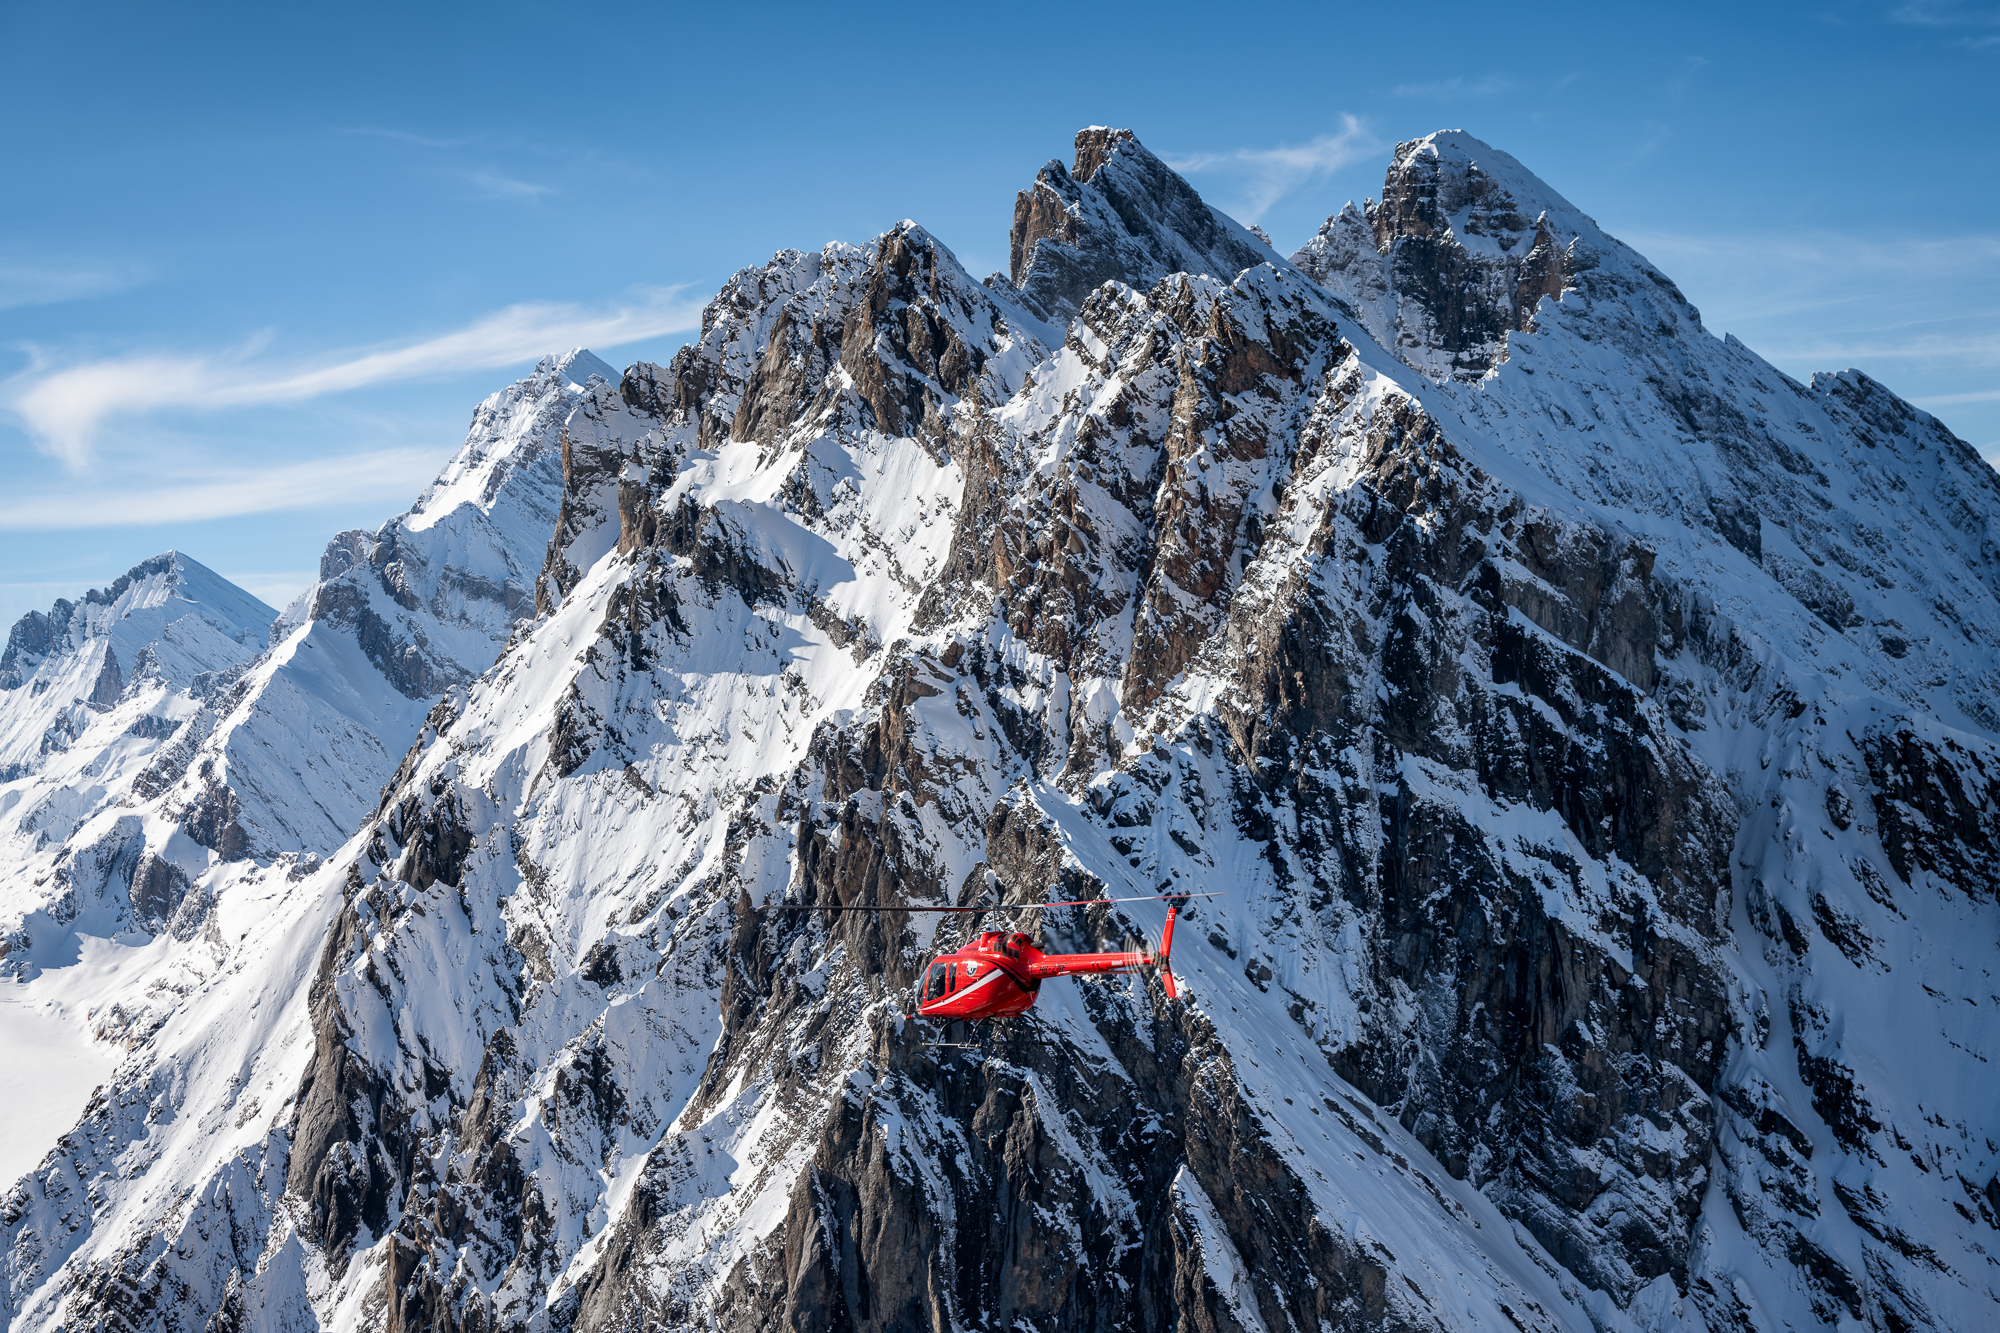
I have been spoilt with backdrops. From the towering and imposing Swiss Alps to the skyline of London, being able to incorporate these is a fantastic way to give a sense of scale to the environment the aircraft is operating in. Of course it is easier when you have towering mountains to use, but even featuring people near to the aircraft while on the ground can help.
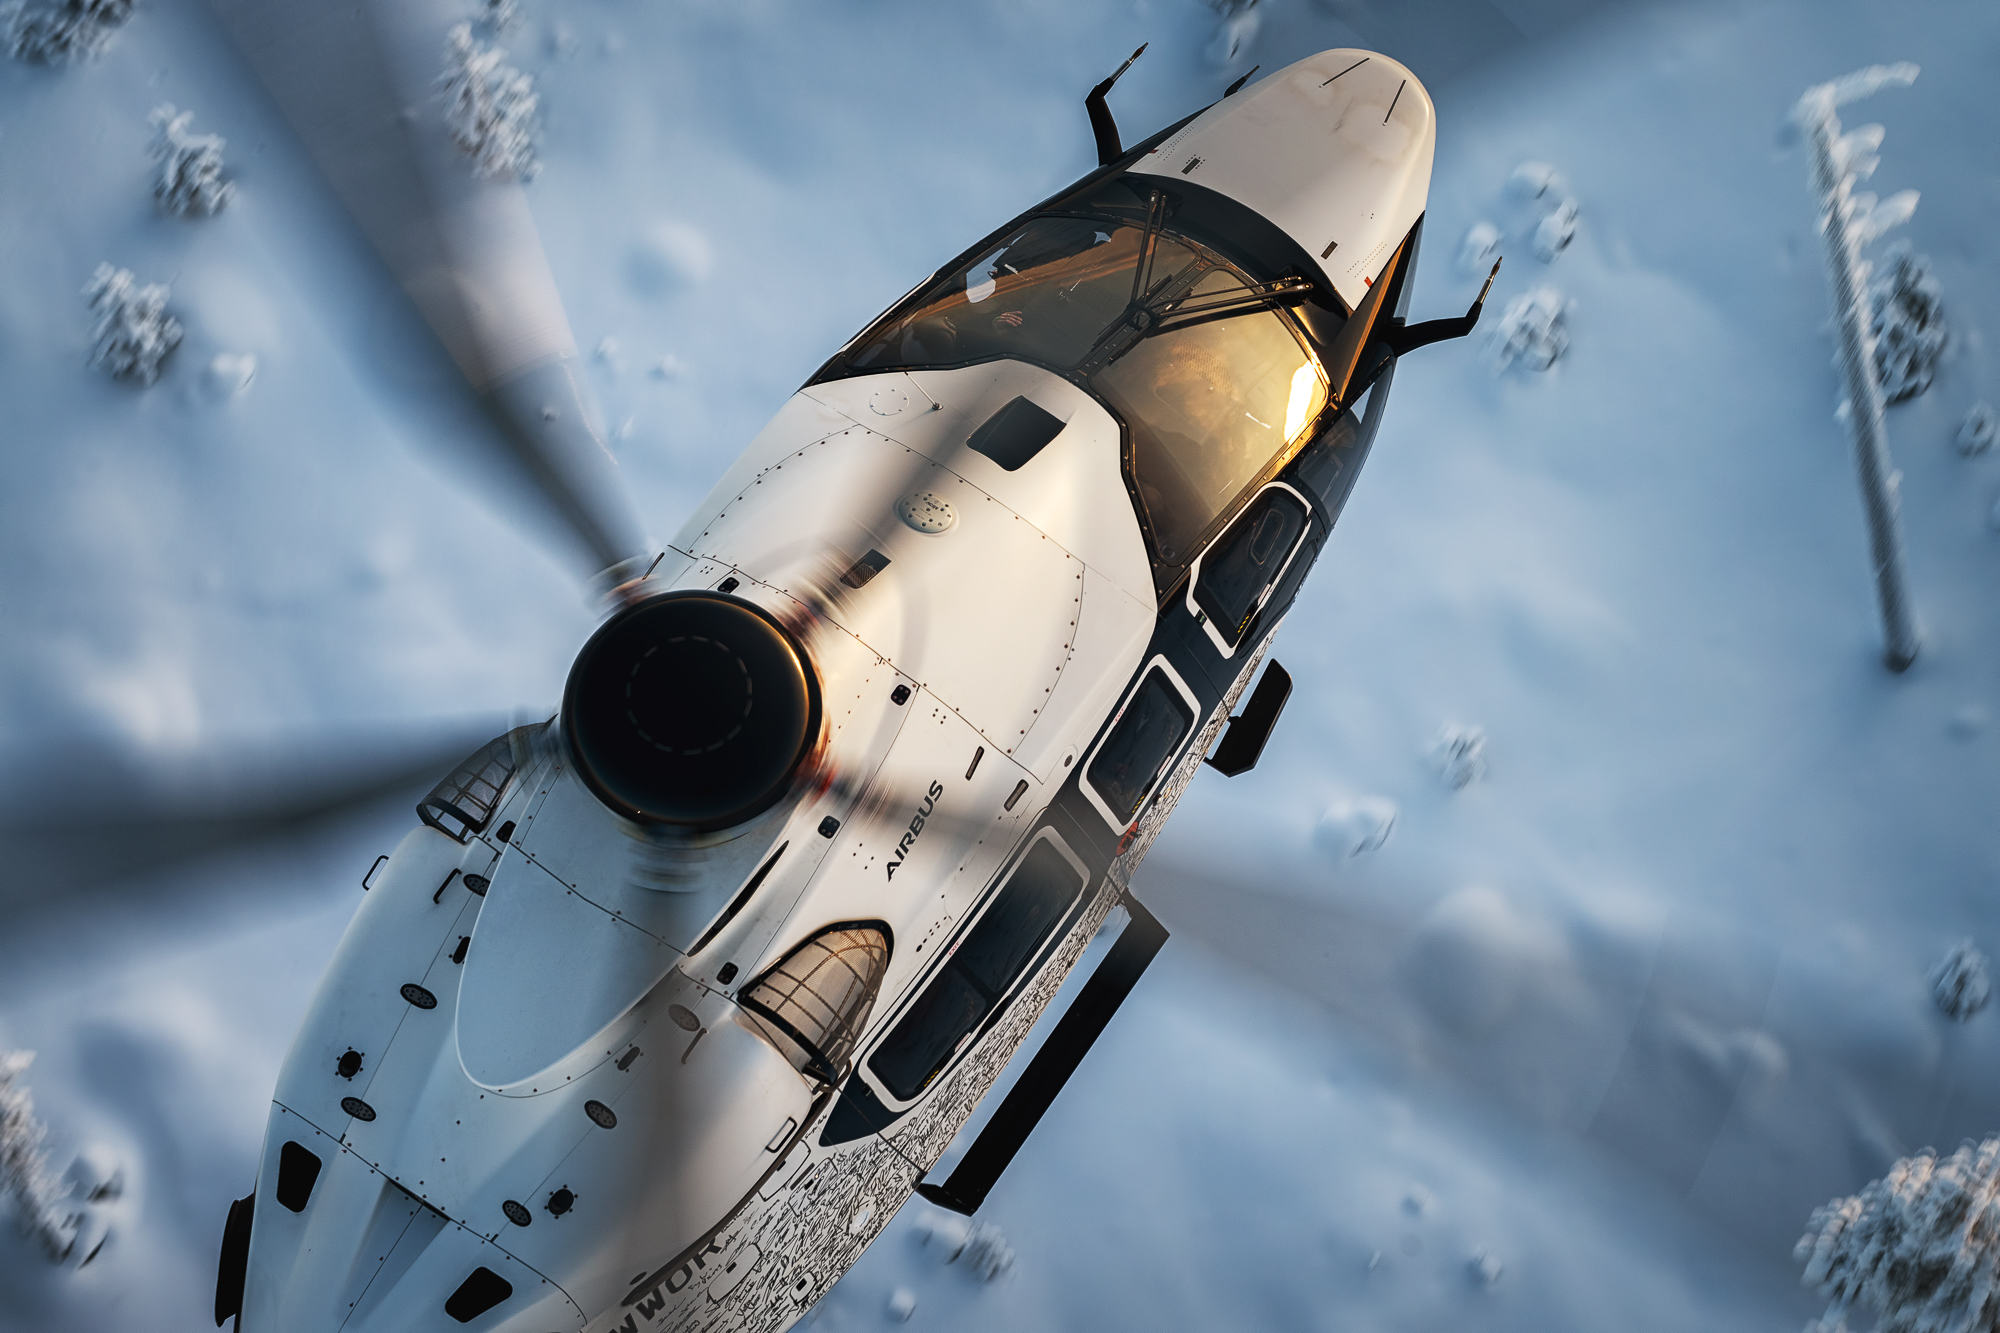
02 Find unique angles
Finding new angles is what keeps work fresh. In the air, the key to doing this is first making sure everything is safe and well-briefed between the crews. On the ground, it’s best to experiment with depth of field, tight crops and trying to incorporate some motion if the aircraft is in flight.
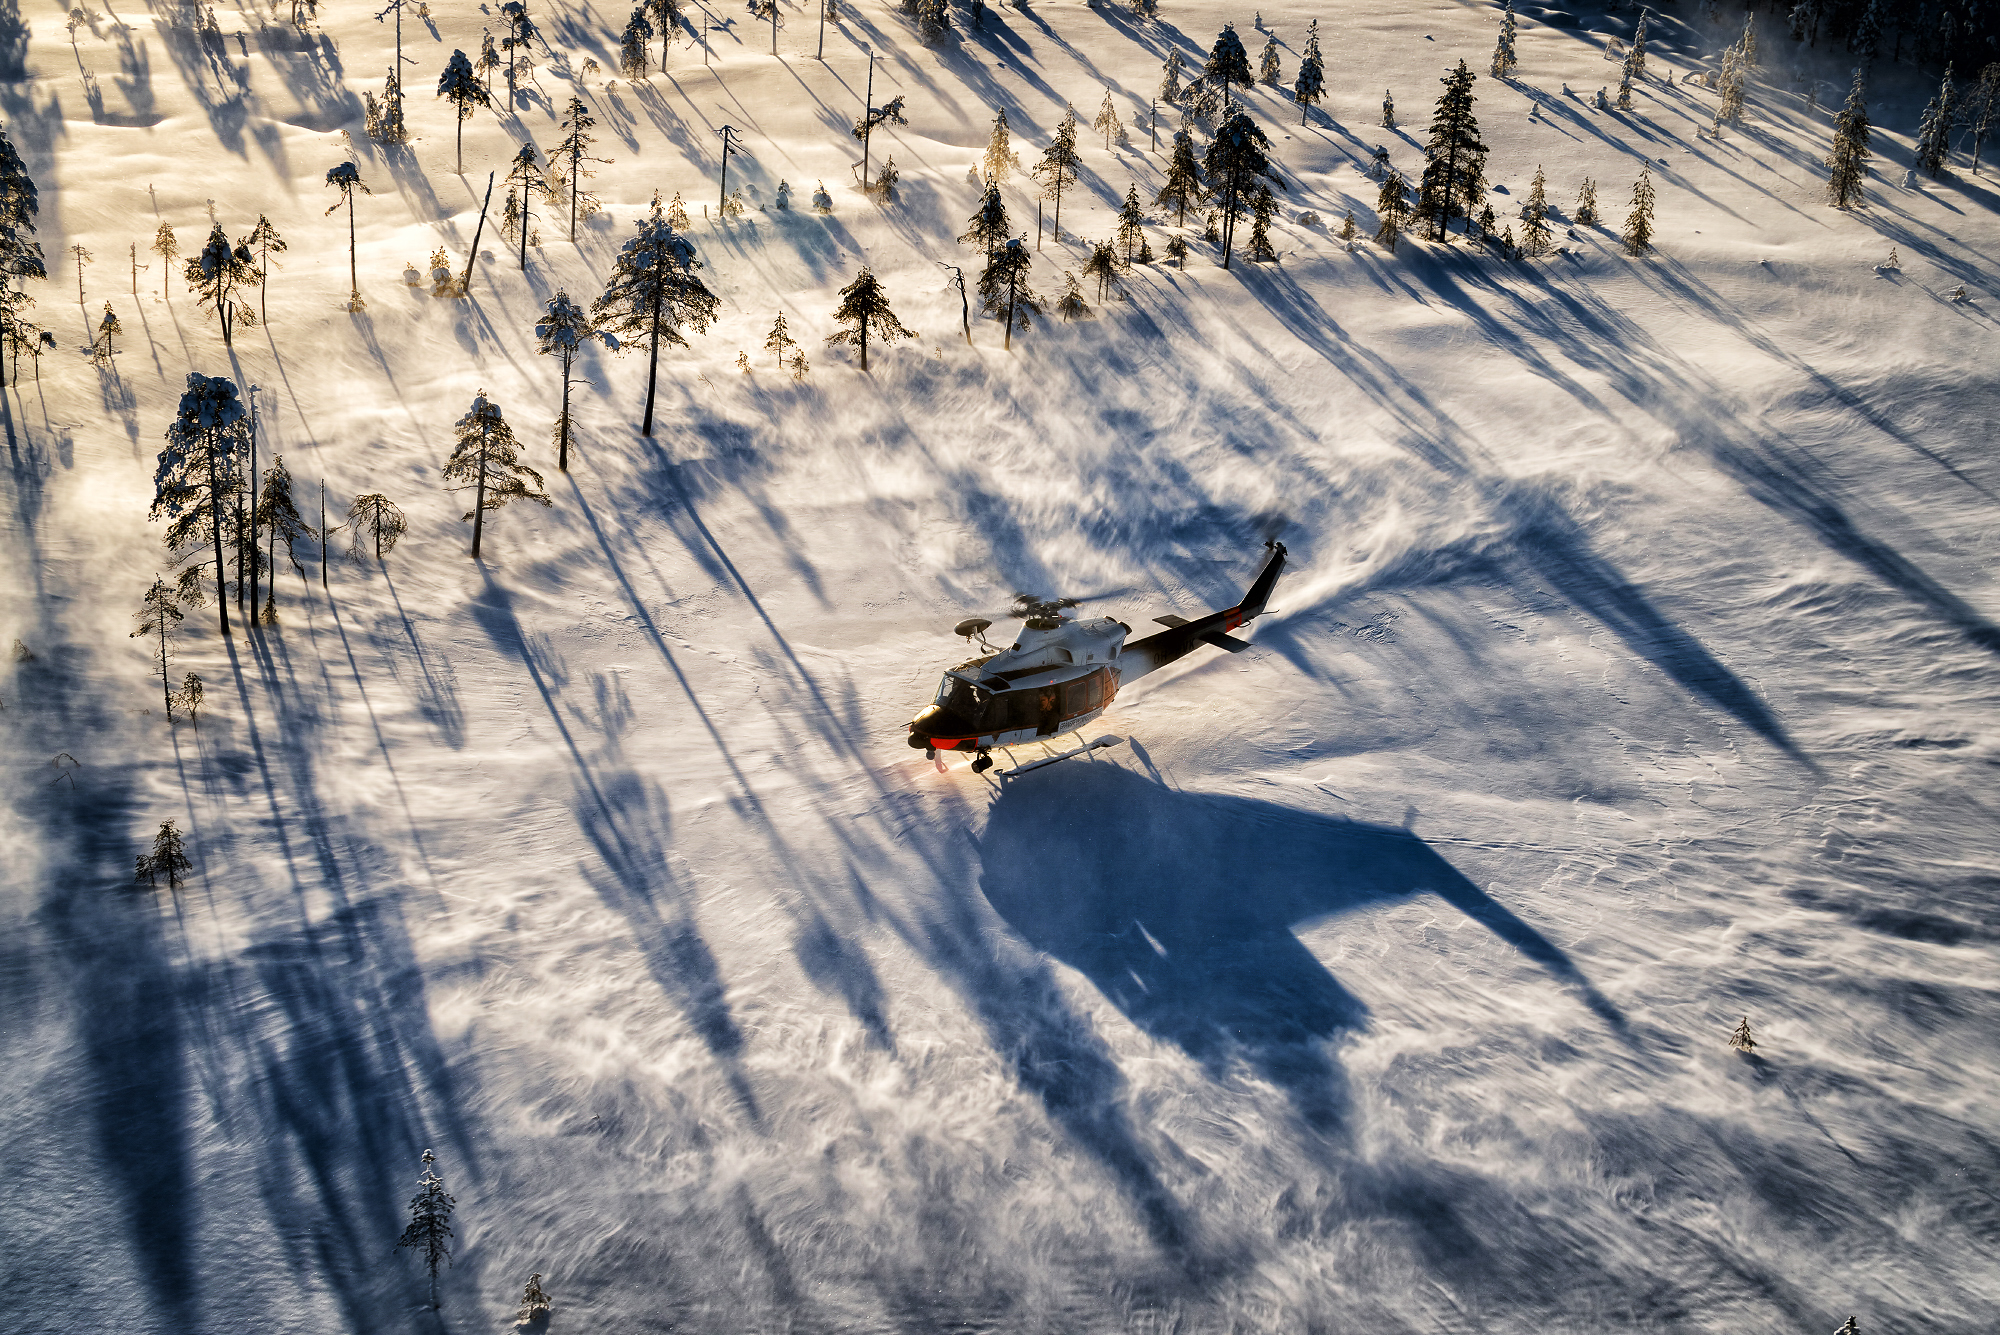
03 Shoot landings and take-off
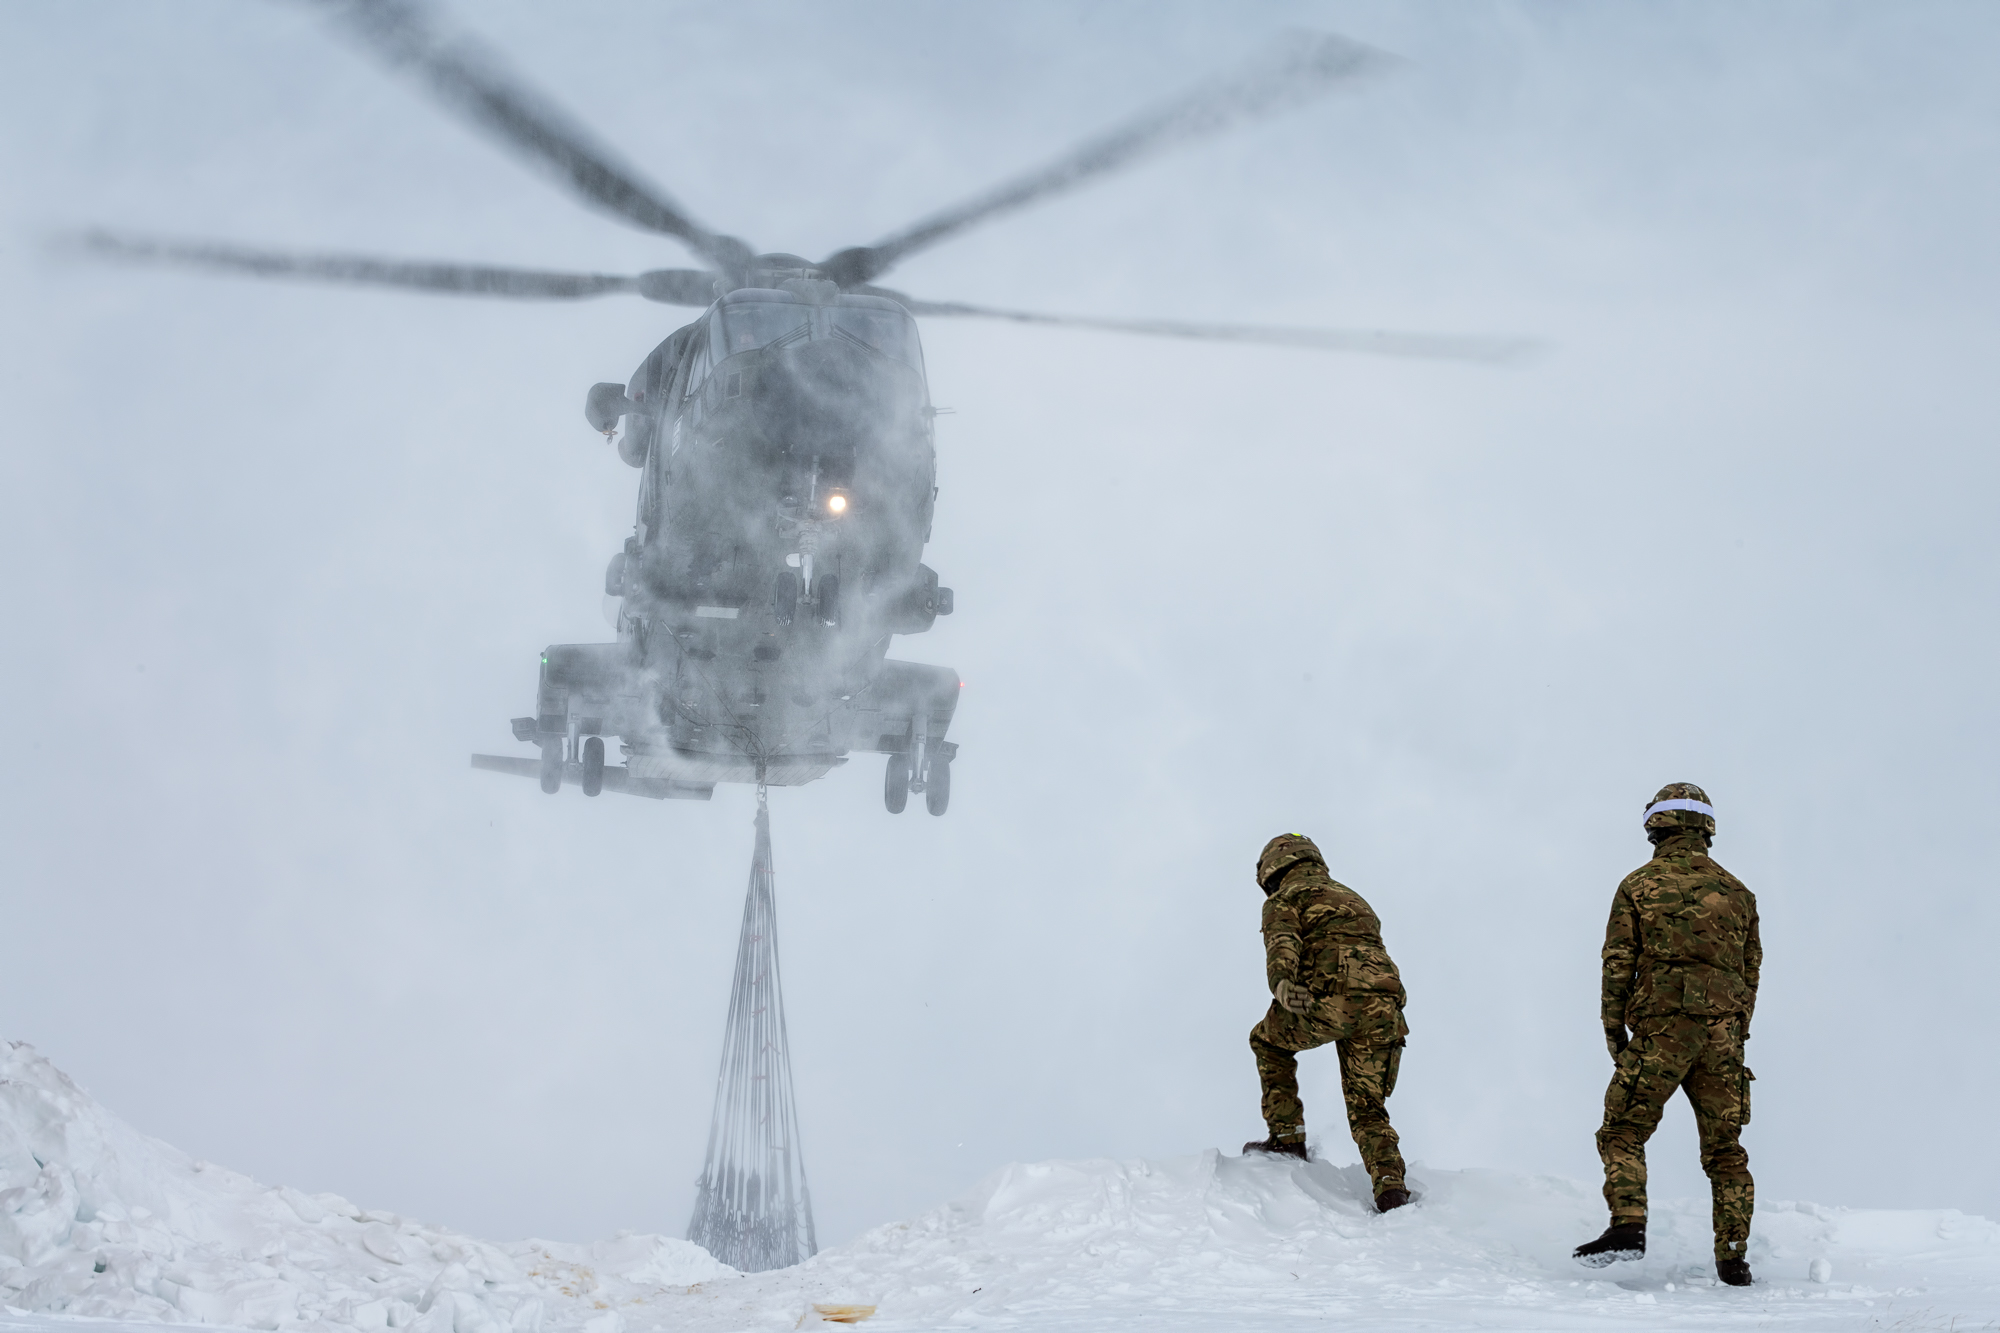
These moments can often produce the most dramatic photos, especially if you are restricted to being on the ground for the shoot. The rotor wash from the aircraft typically kicks up any dust or snow, and is a great way of showing some sort
of motion in your images. A head-on three-quarter angle works well.
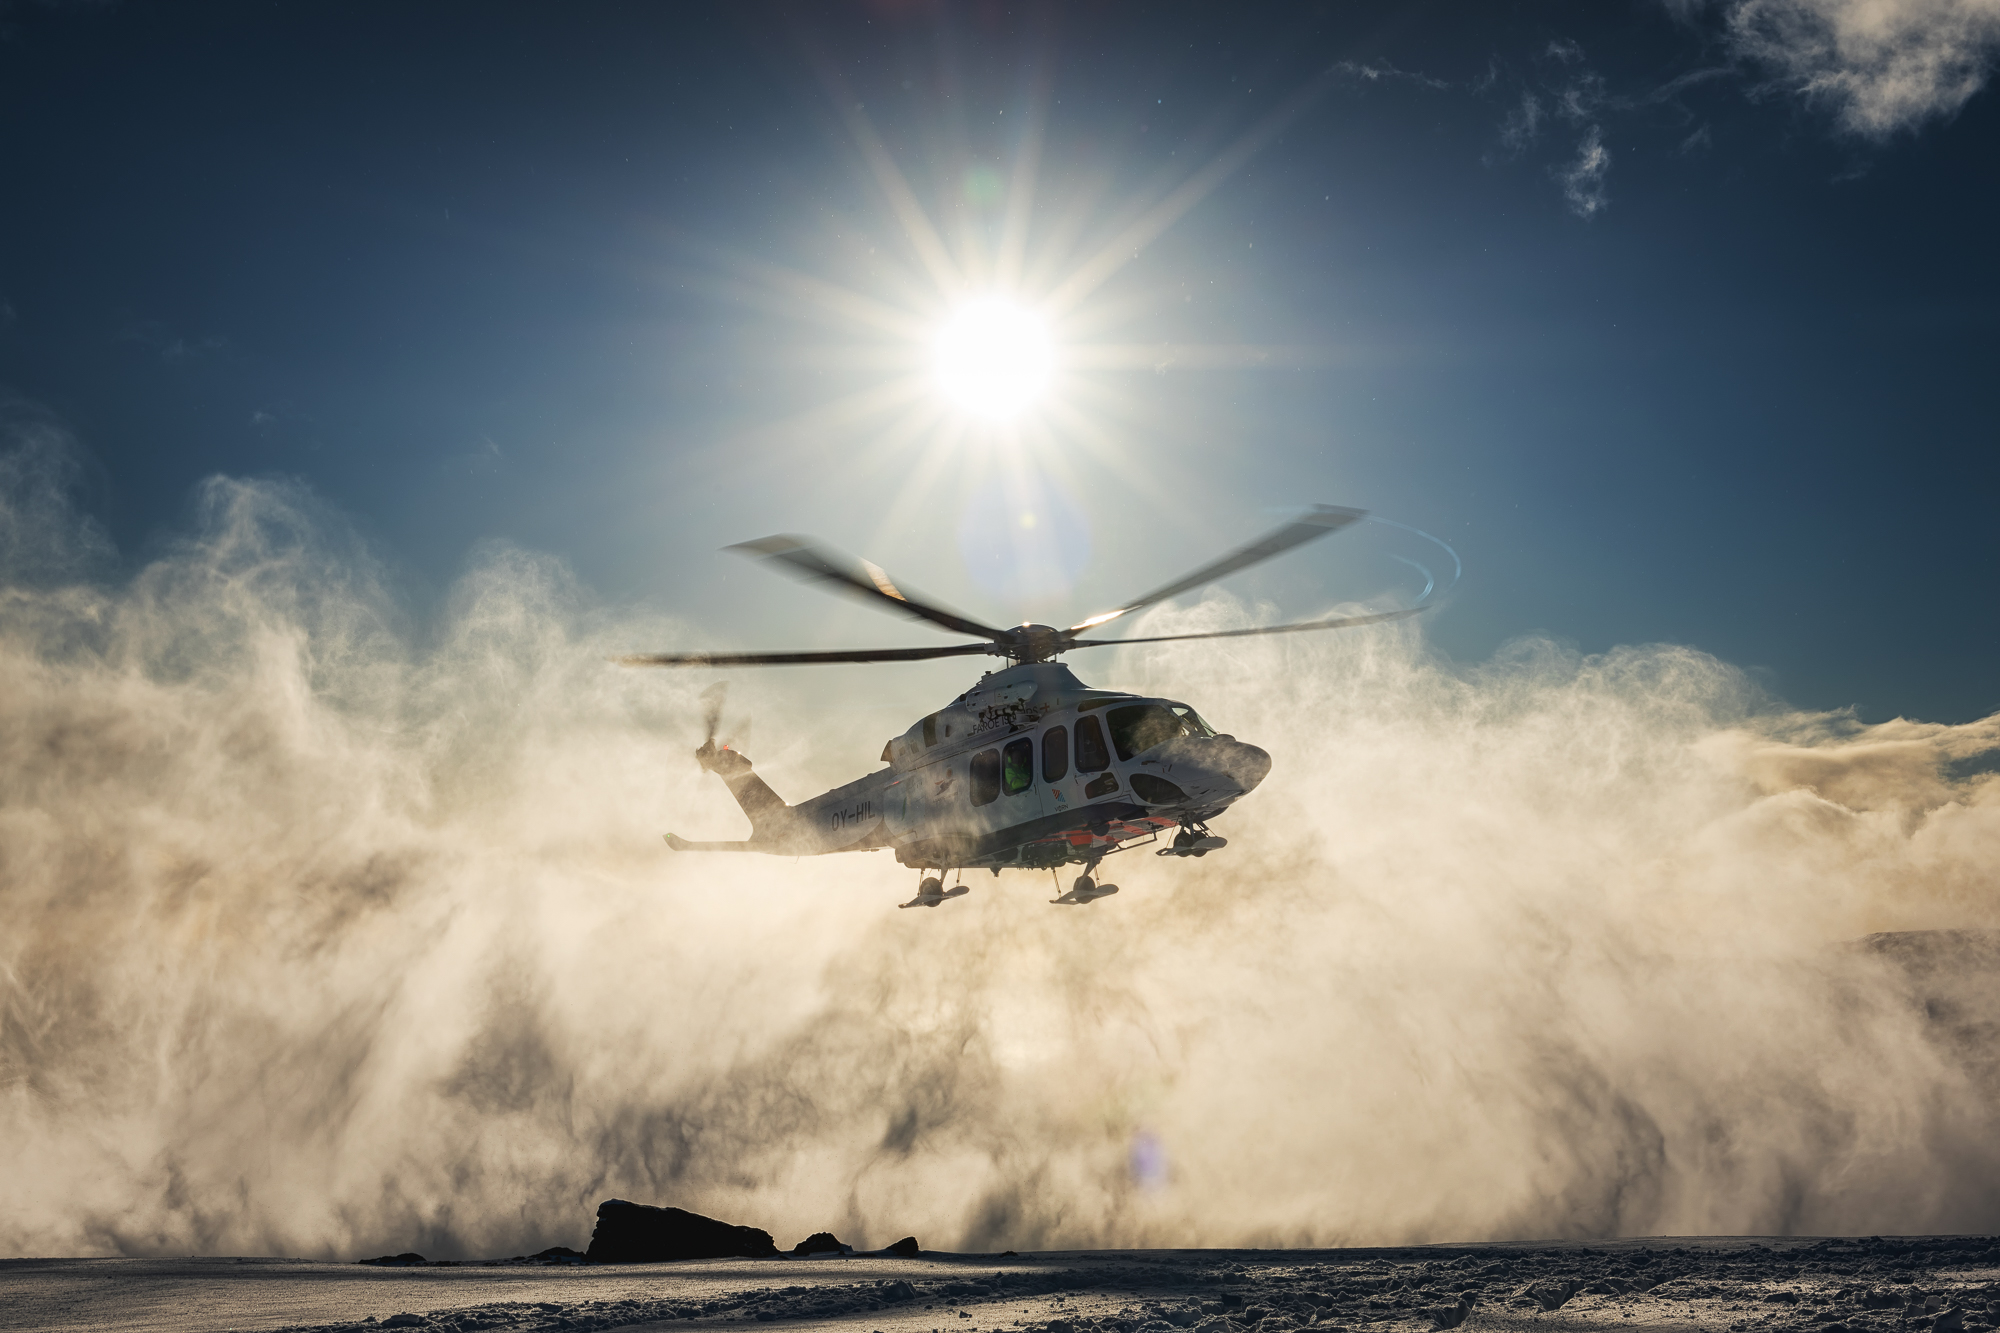
04 Capture atmosphere
Using the environment is key for this. If the aircraft is operating in snowy or dusty conditions, then you know during the landing or take-off phase that you will get some really unique patterns from snow or dust being kicked into the air from the rotor wash. The best photos typically come just before the aircraft is engulfed in a ‘whiteout’ or a ‘brownout’.
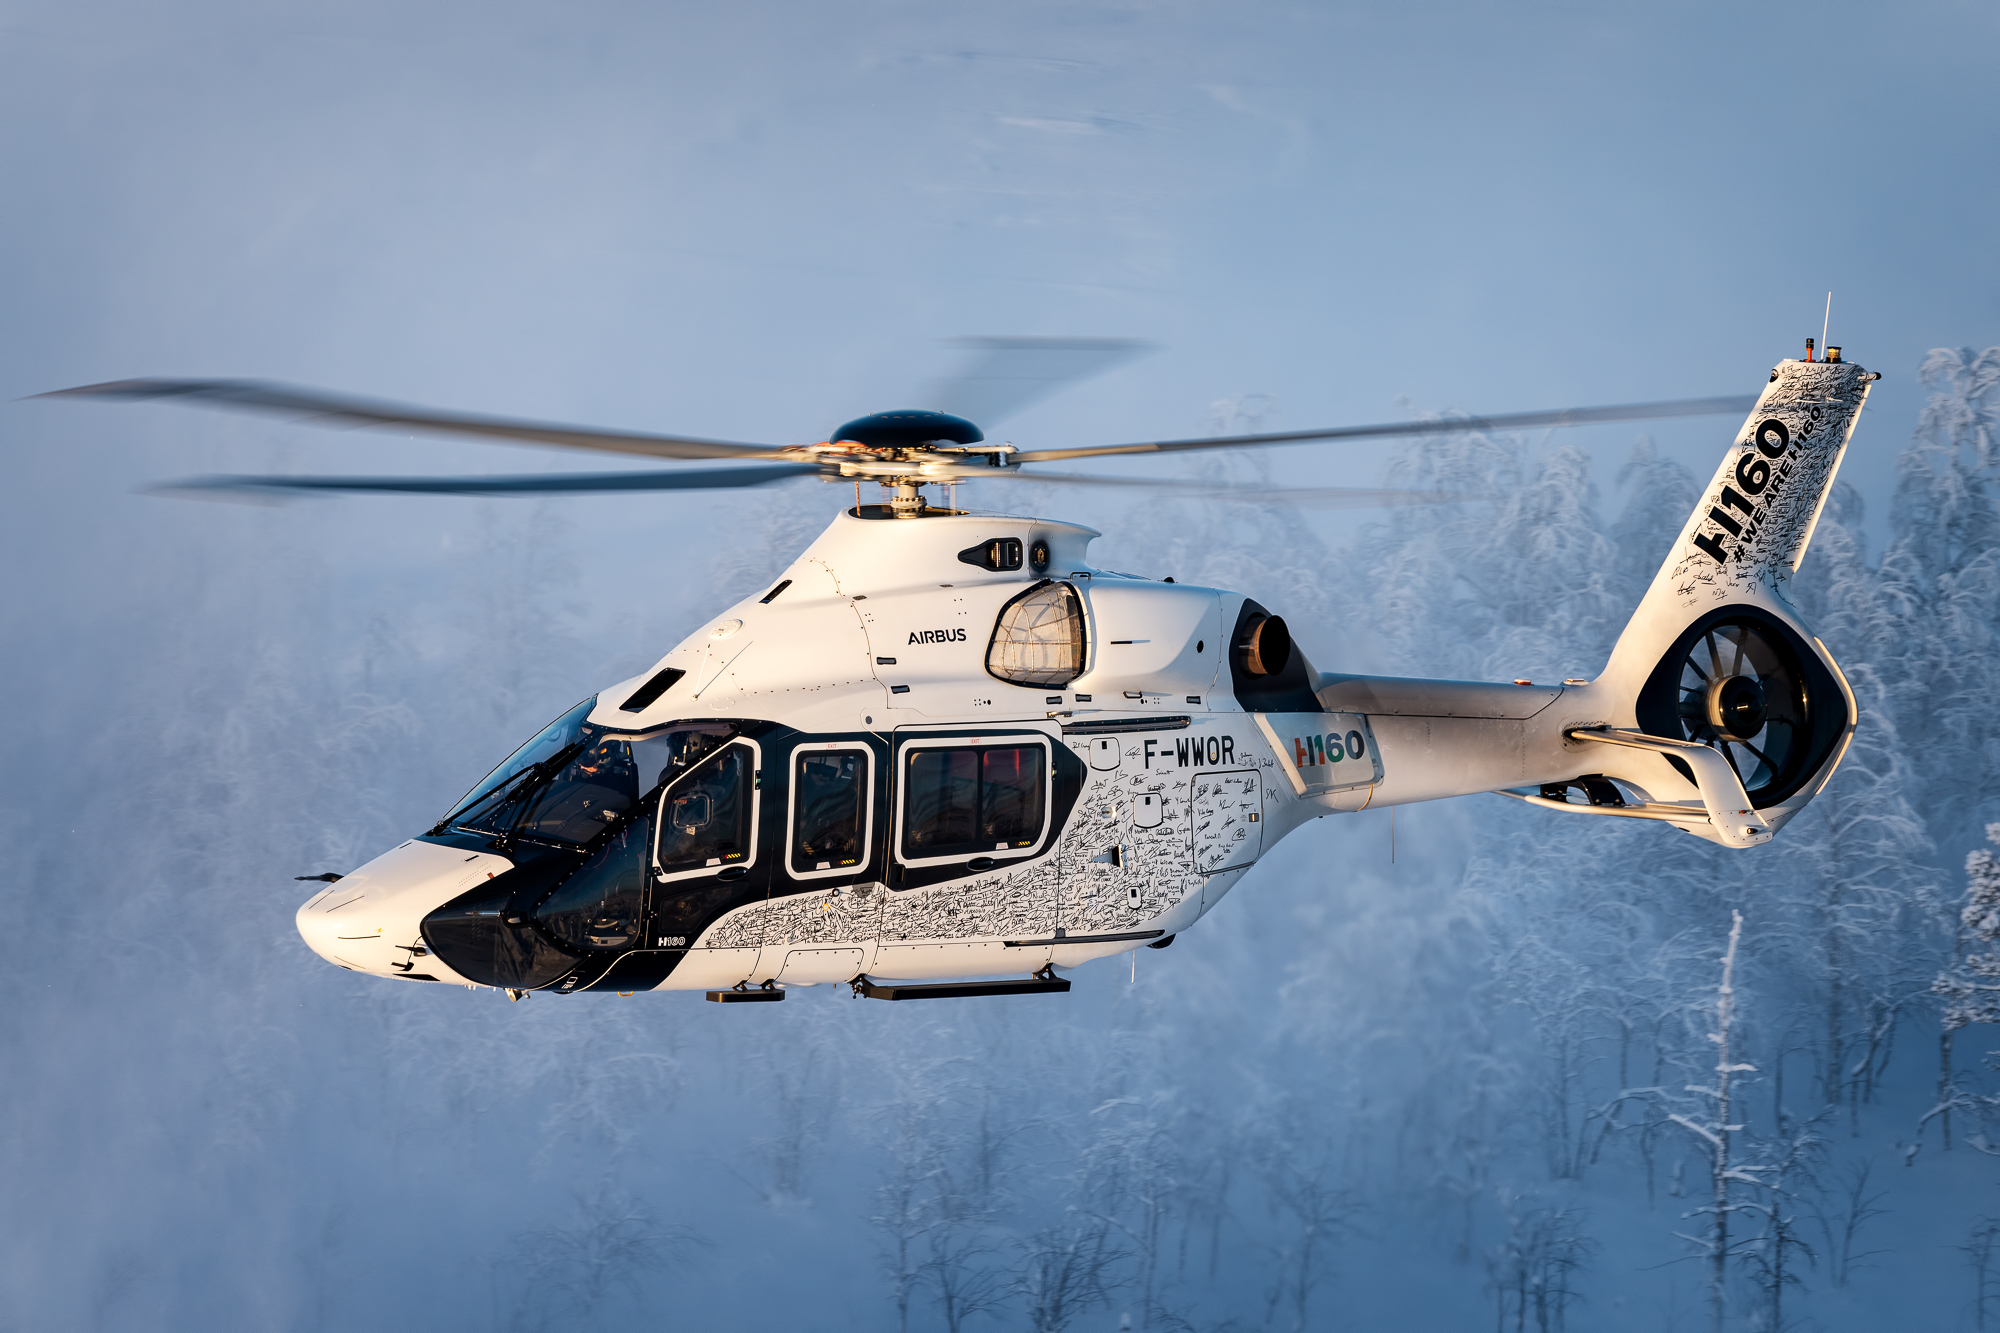
05 Aim to achieve crisp shots
When you’re on the ground, it’s certainly easier to get sharp shots: when you’re in the air, you are battling against the vibrations of the aircraft and the buffeting from the wind, due to the open door or ramp. Turning image stabilization on is essential, but so is positioning your body to try to soak up some of the vibrations.
Read more:
Best 70-200mm lenses
Best standard zoom lenses
Best Nikon cameras
Best cameras for video
Get the Digital Camera World Newsletter
The best camera deals, reviews, product advice, and unmissable photography news, direct to your inbox!
Digital Camera World is one of the leading authorities on camera and photography news, reviews, techniques, tutorials, comparisons, deals and industry analysis. The site doesn't just specialize in cameras, but all aspects of photography, videography and imaging – including camera phones, gimbals, lenses, lighting, editing software, filters, tripods, laptops, printers, photo books, desks, binoculars and more.
Whether you're using, looking to buy or trying to get the most out of a compact camera, action camera, camera drone, cinema camera, beginner camera or professional camera, Digital Camera World has a roster of experts with combined experience of over 100 years when it comes to cameras, photography and imaging.

