Fall photography: 8 tips for amazing shots this autumn
We make capturing awesome fall photography easy with our essential tips for shooting autumn landscape photos
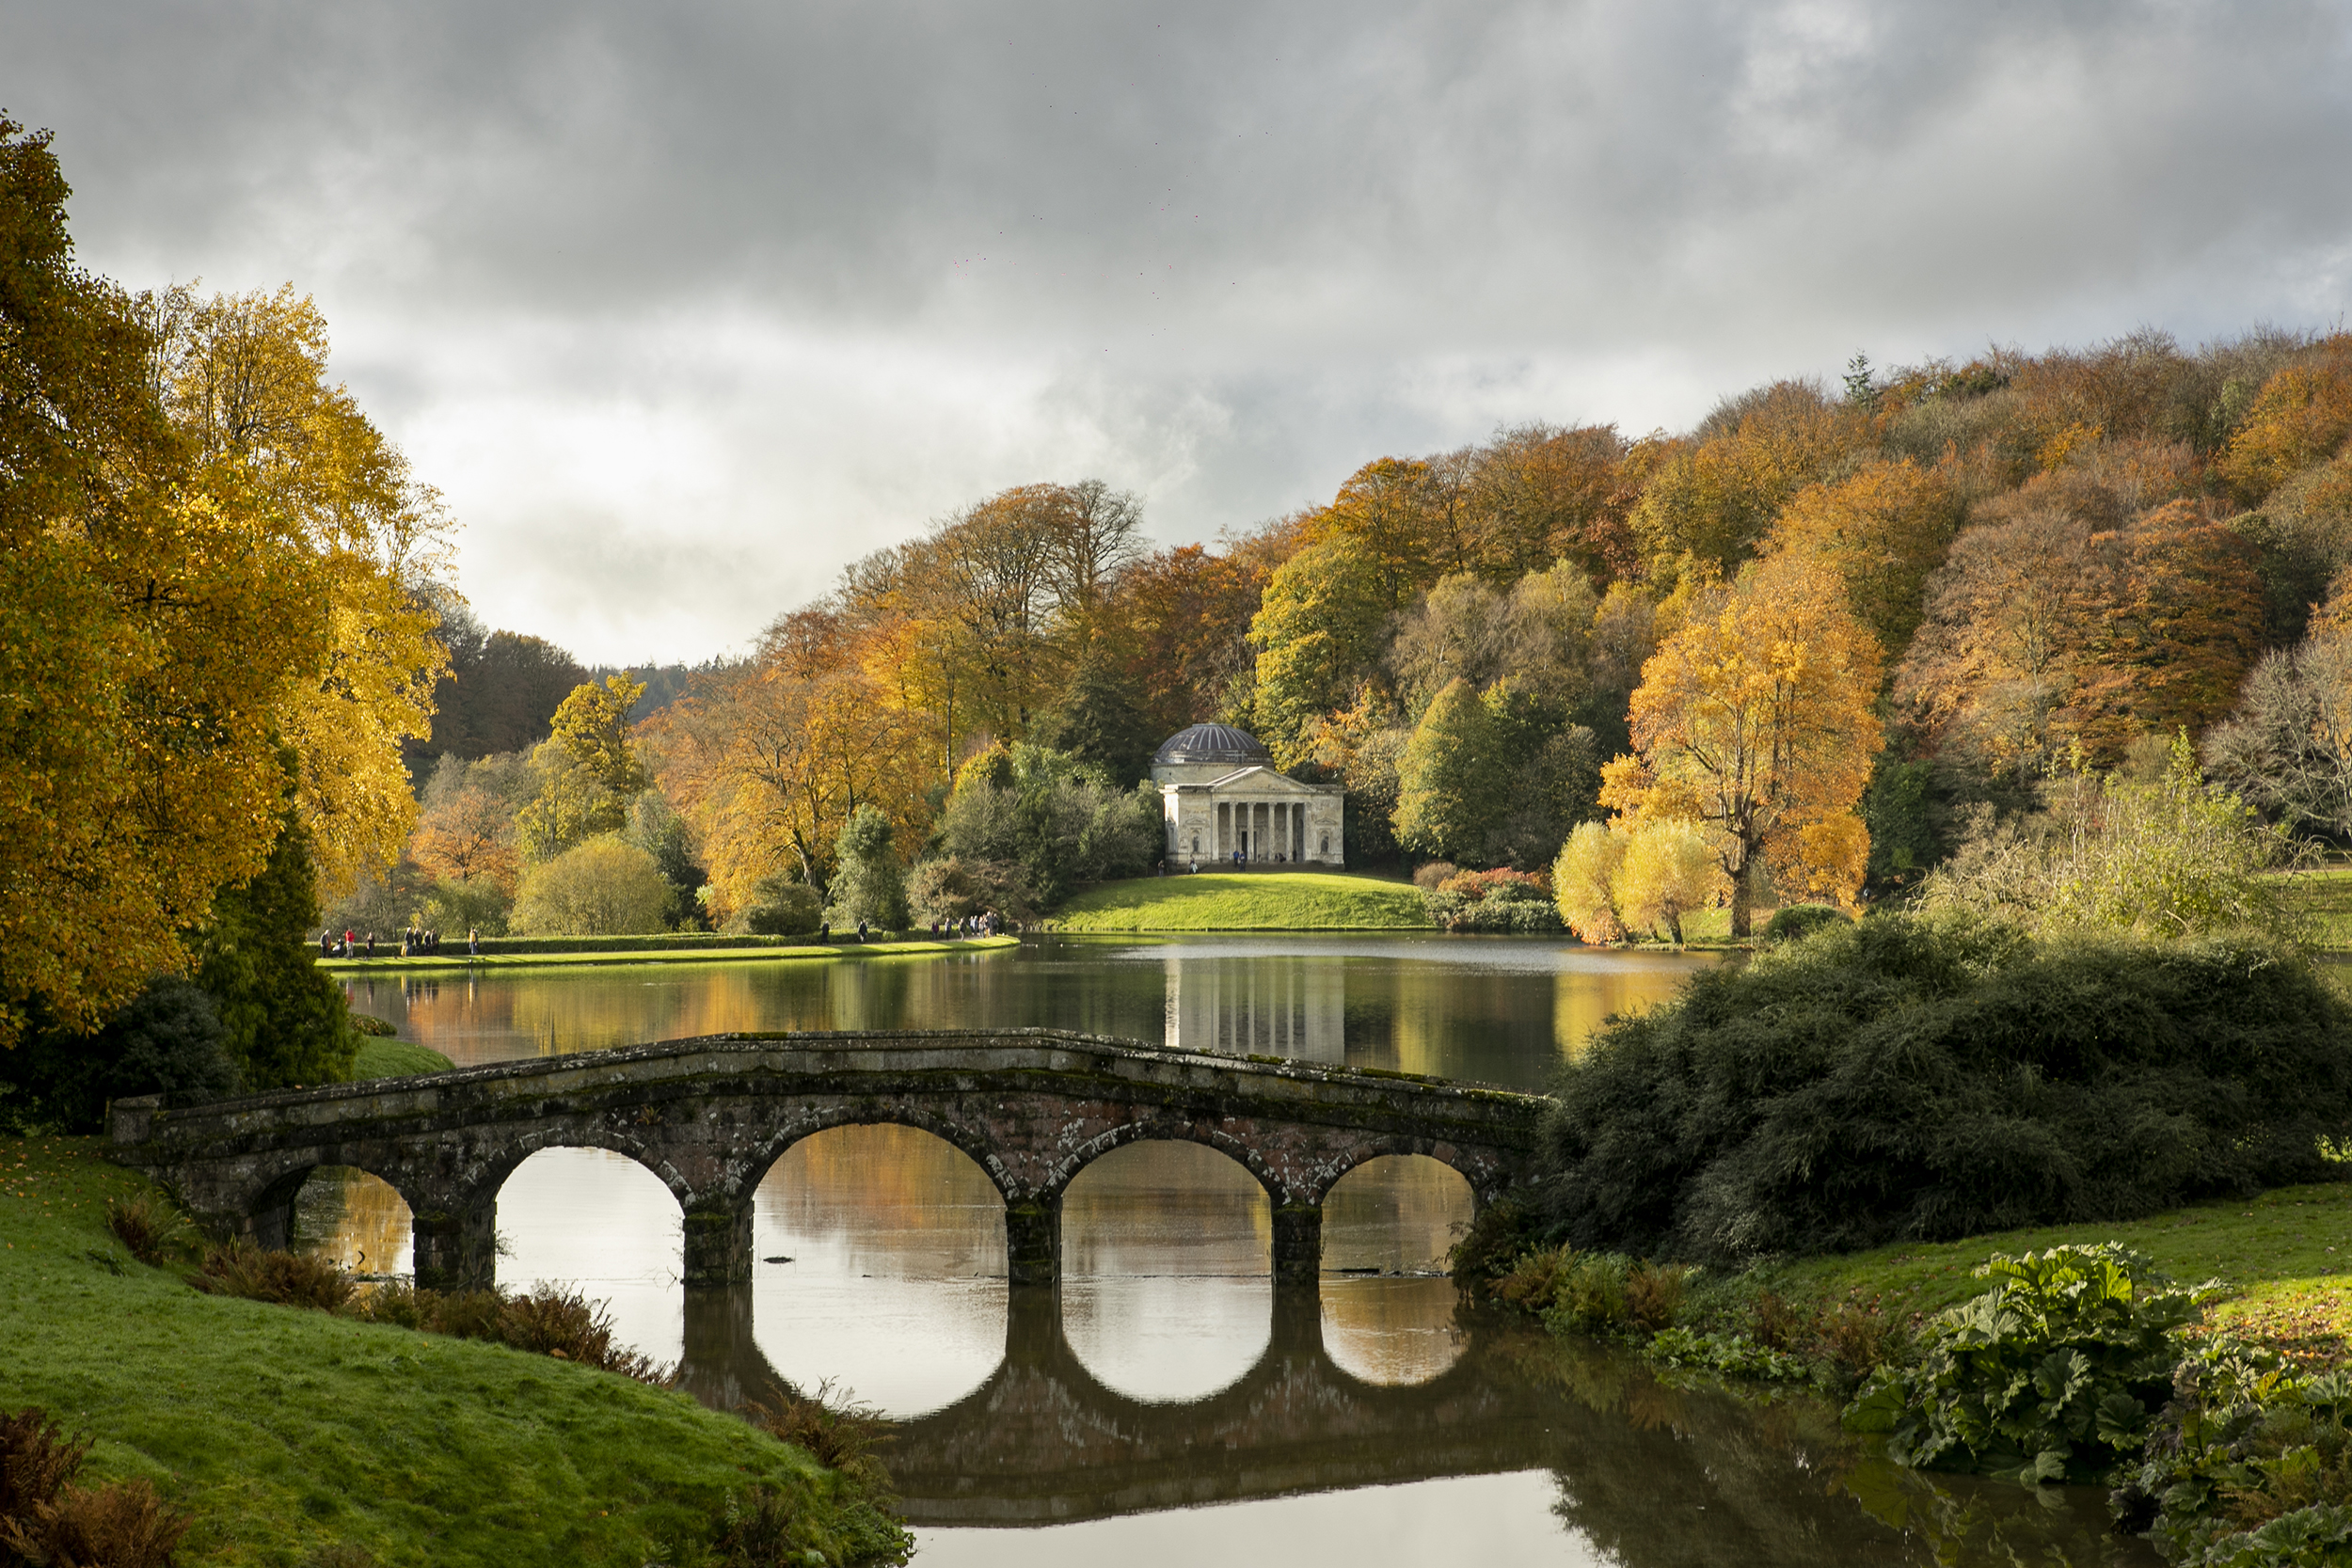
The approach of fall is one of the most amazing times of year for photographing landscapes, which is why we've pulled together eight of our best photography tips for capturing autumnal landscapes and awesome fall photography.
There’s something truly magical about how scenes with trees and foliage are transformed into seas of red and golden hues. To help you make the most of this particularly beautiful and photogenic time of year, we’ve collated some essential camera and photography tips to ensure you capture the abundance of color and texture in your chosen vista…
• Read more: Locations for photographers:
the best places for photography around the world
1. Scout your location
No doubt you have some beautiful forests, parks or countryside near you with trees that are turning golden and ripe for photography. In the UK many National Trust places are blessed with lovely scenery full of trees - we shot at Stourhead in Wiltshire, one of the most photogenic spots of them all. Search online for ‘the best fall locations near me’ and once you’ve picked a spot – check social media to see if the places have posted recent photos to see if the colors are in full bloom to avoid wasted trips. Searching for the location hashtag on Instagram and going to the 'Recent' tab is usually your best bet.
2. Use a tripod for sharp shots
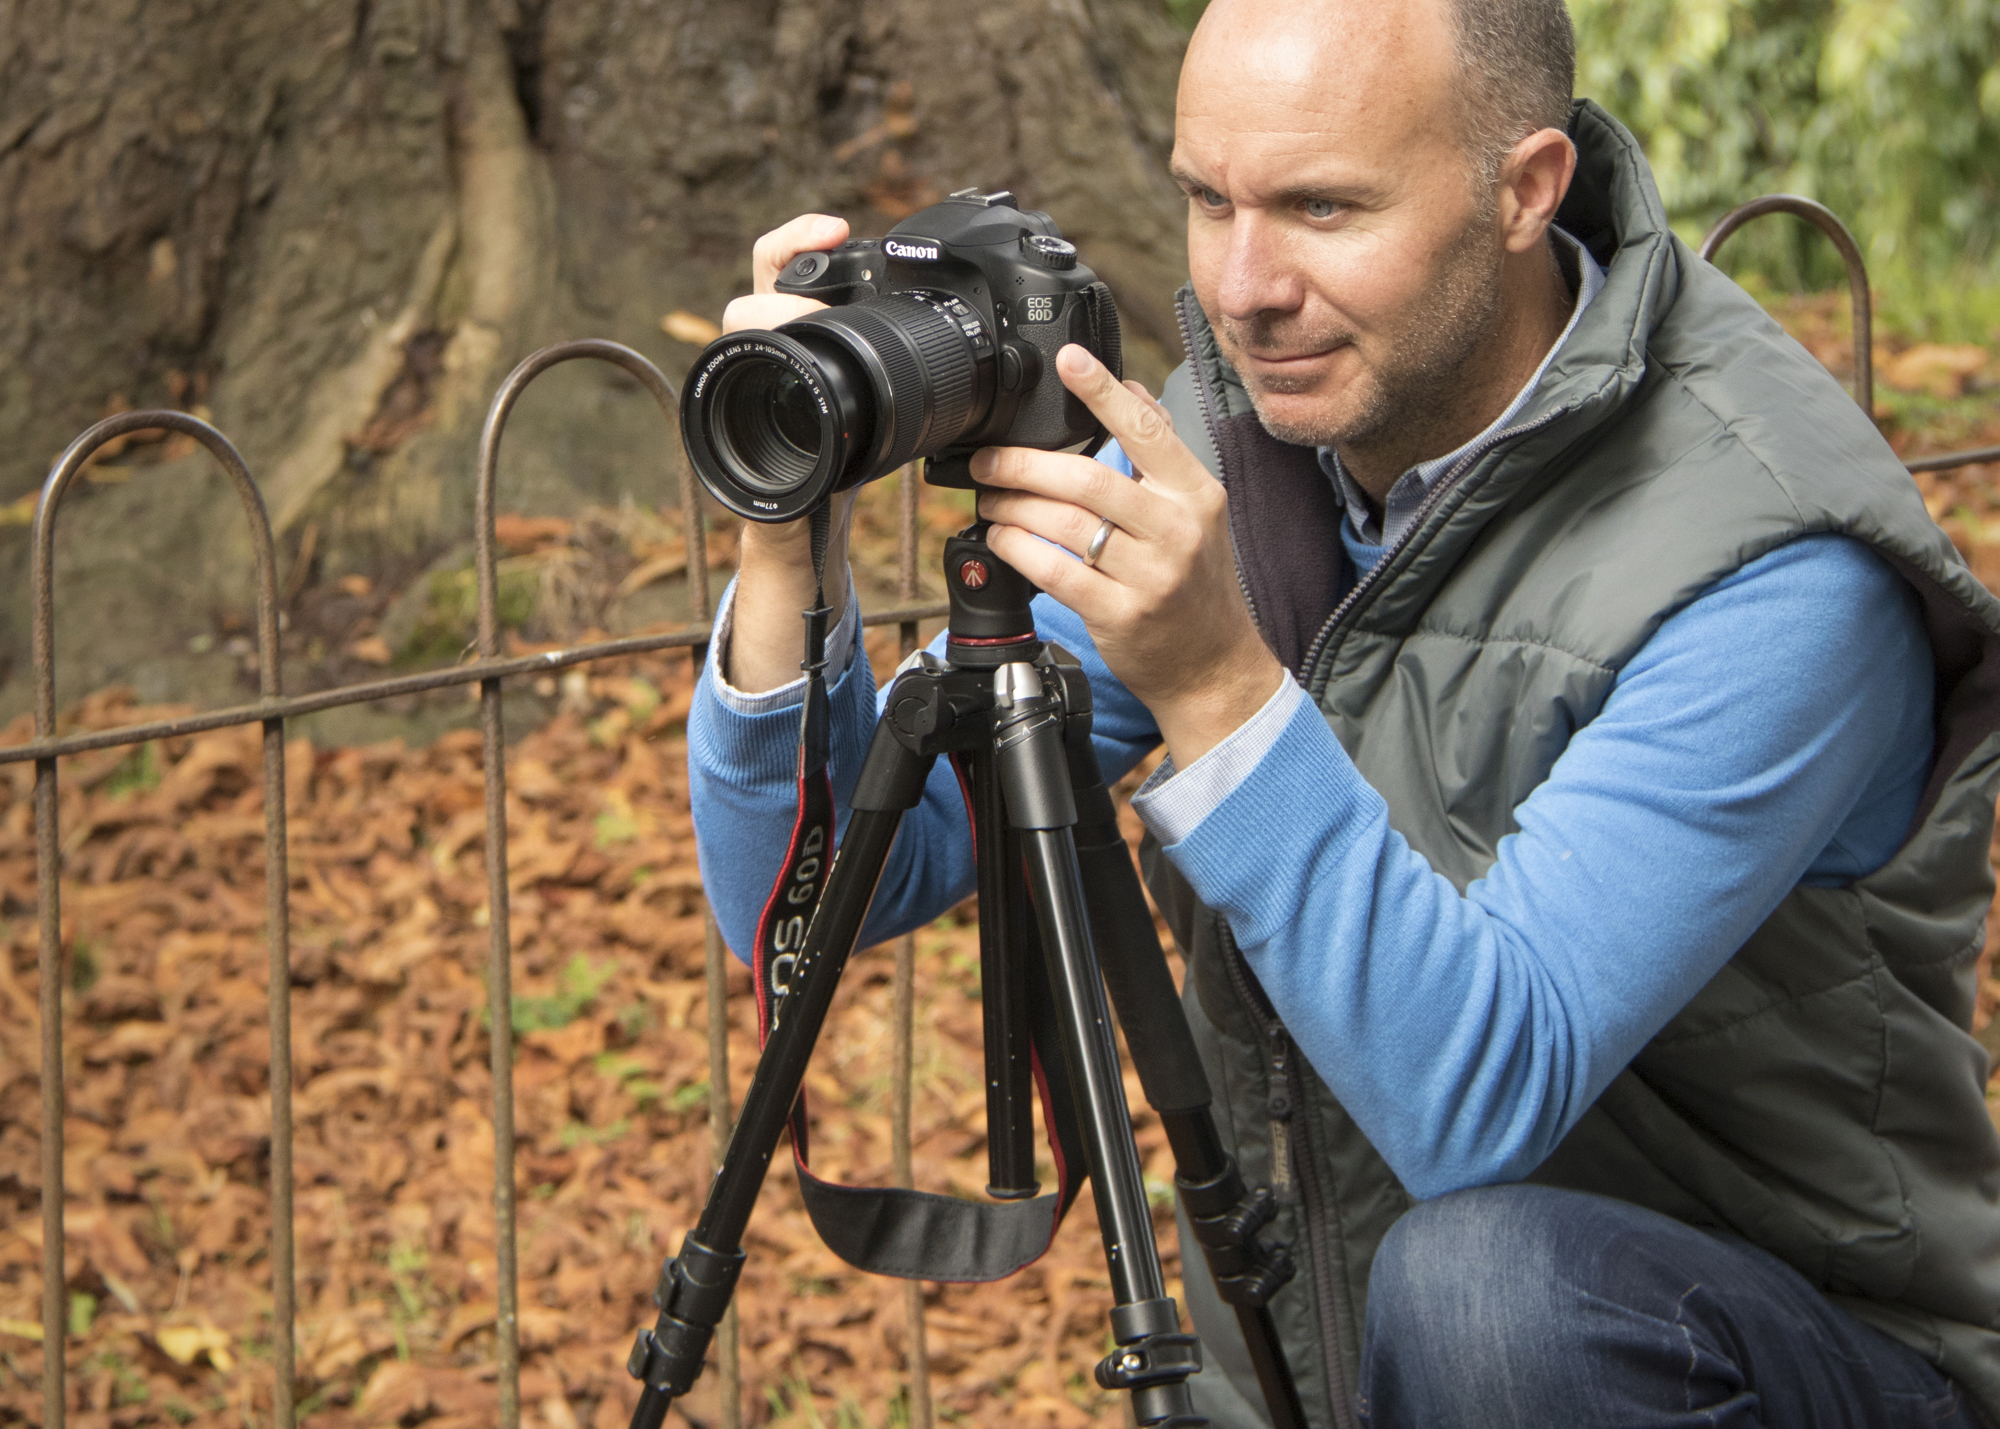
Using a tripod not only keeps your camera still for sharp shots, it makes it easier to adjust your composition for better results. This is also ideal when you need to stop down for extra depth of field, and a tripod’s essential if you intend to extend exposures using an ND filter to capture blur in moving water or clouds.
3. Warm up white balance
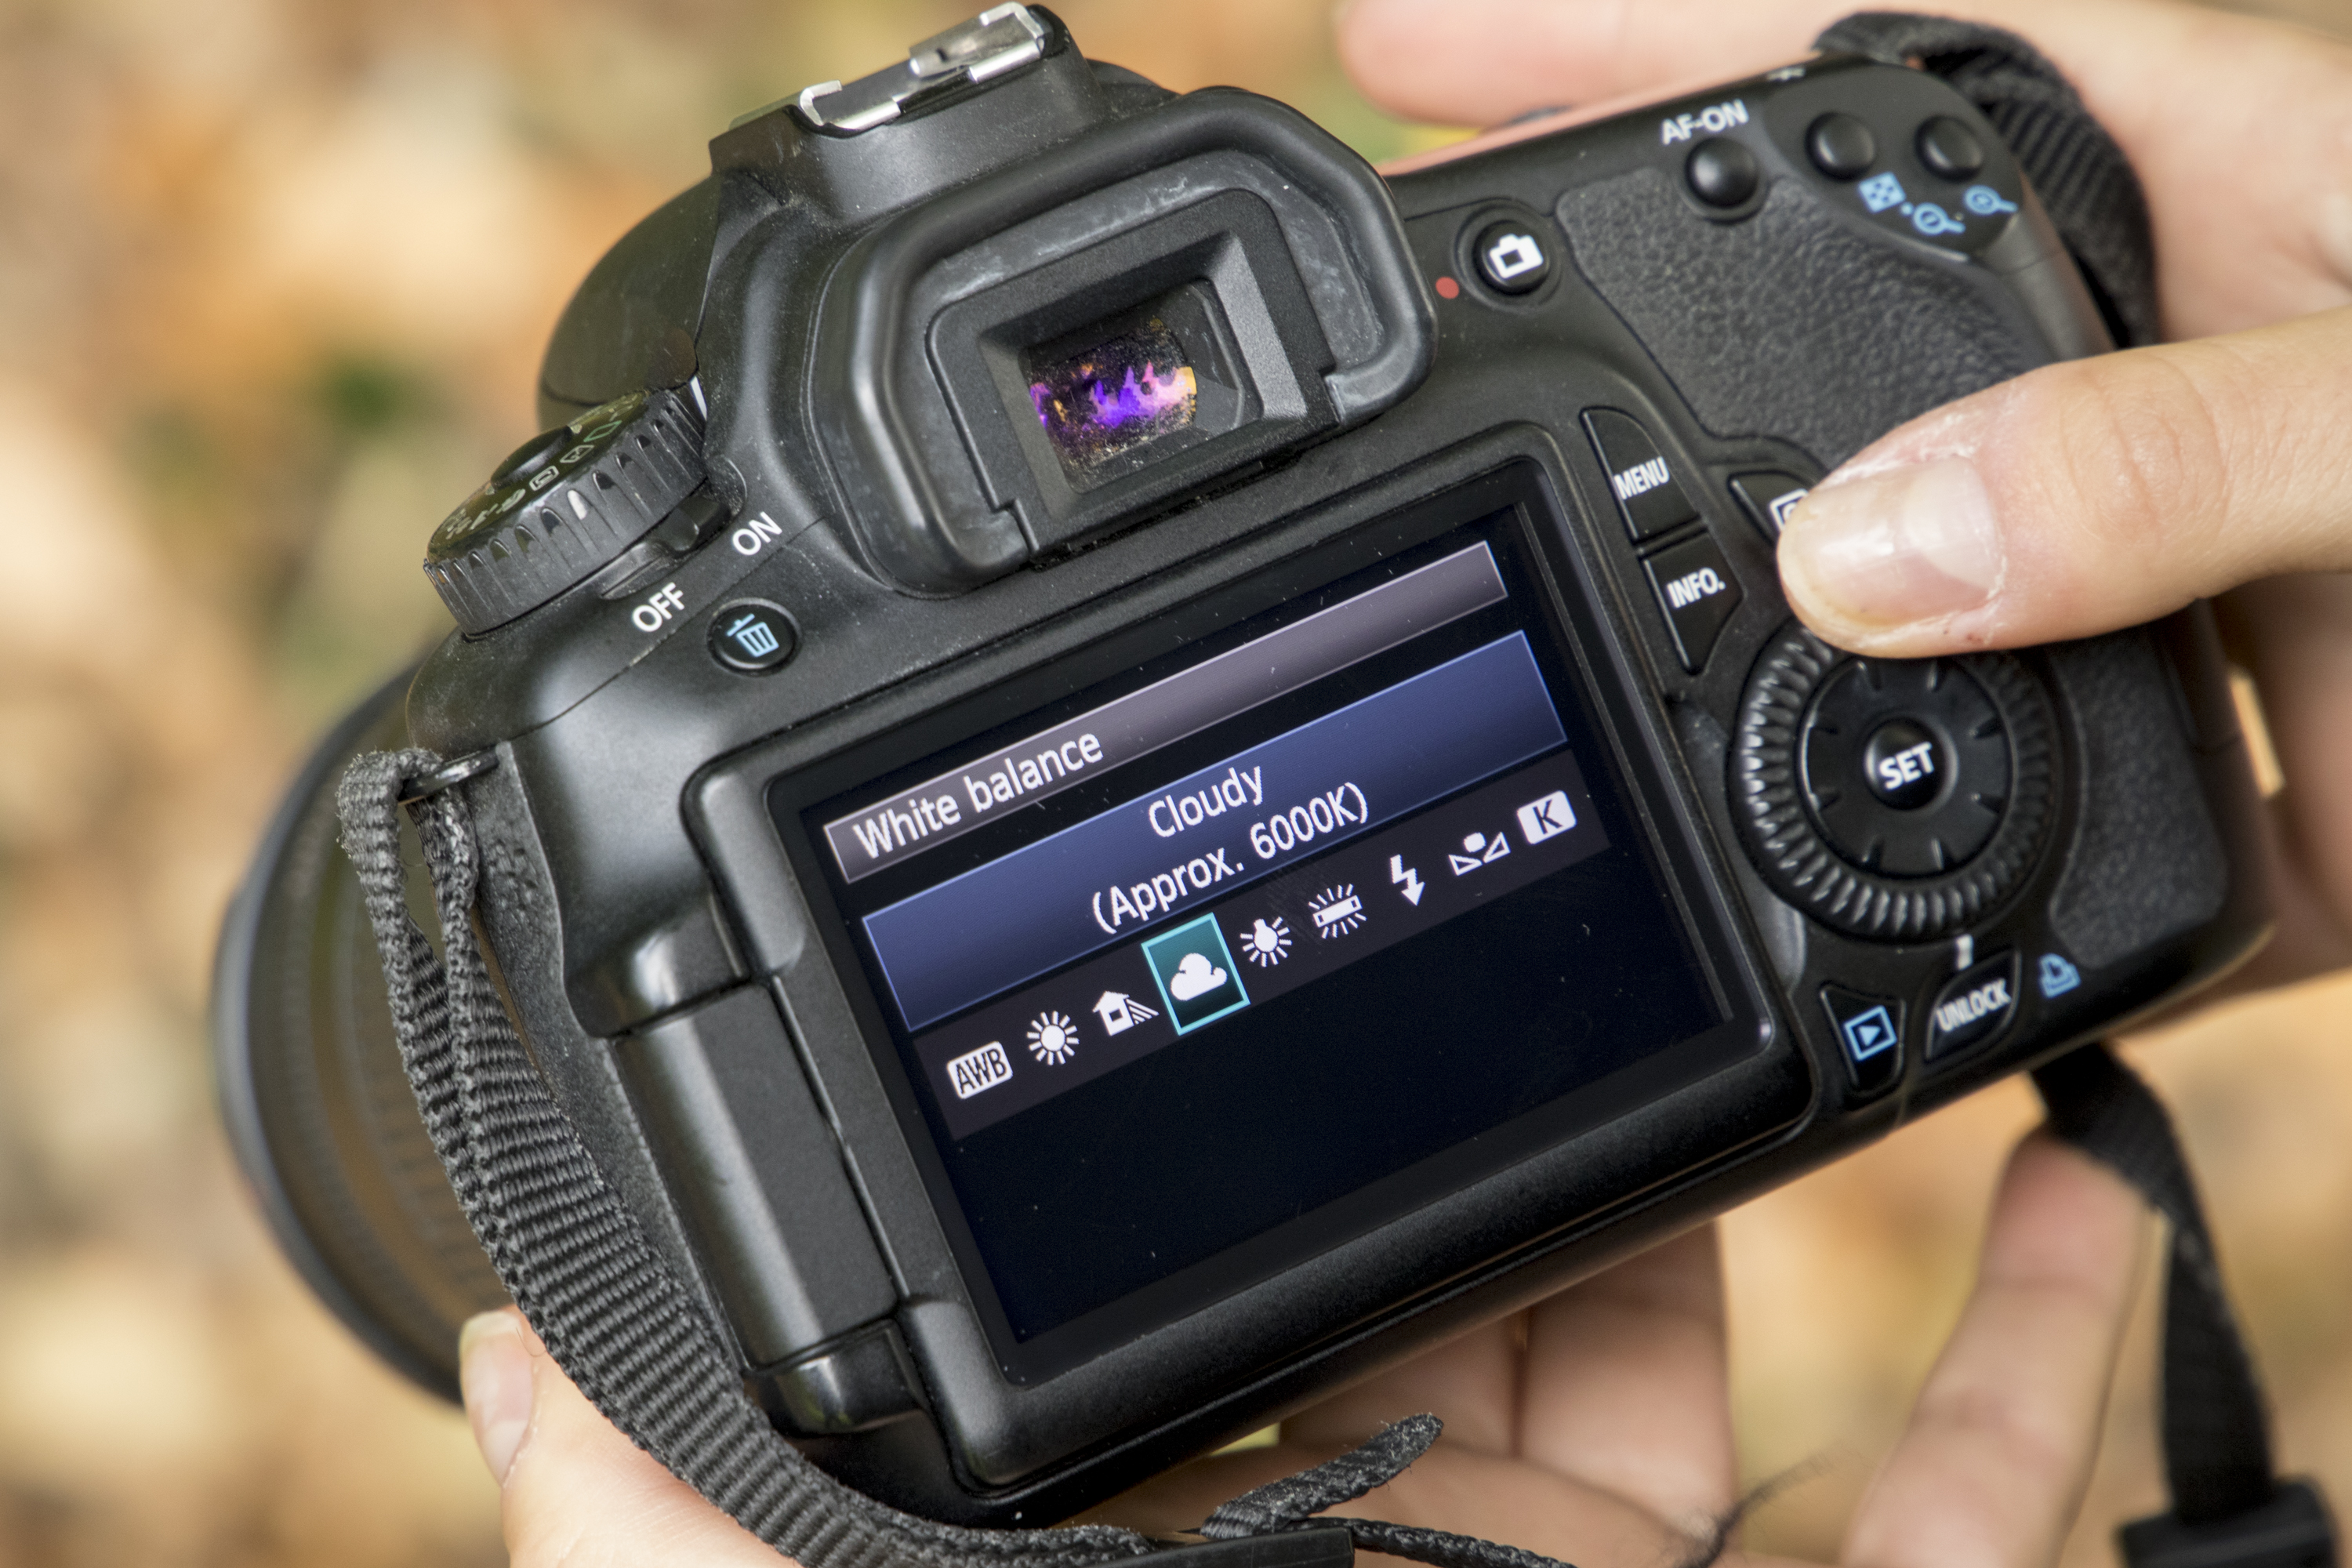
Auto White Balance won’t produce the most vibrant results during the fall season, so make the most of the colorful foliage by selecting the appropriate White Balance setting on your camera. Set it to Cloudy for warmer, richer and vibrant results.
Read more: 16 essential landscape photography tips
4. Wait for light
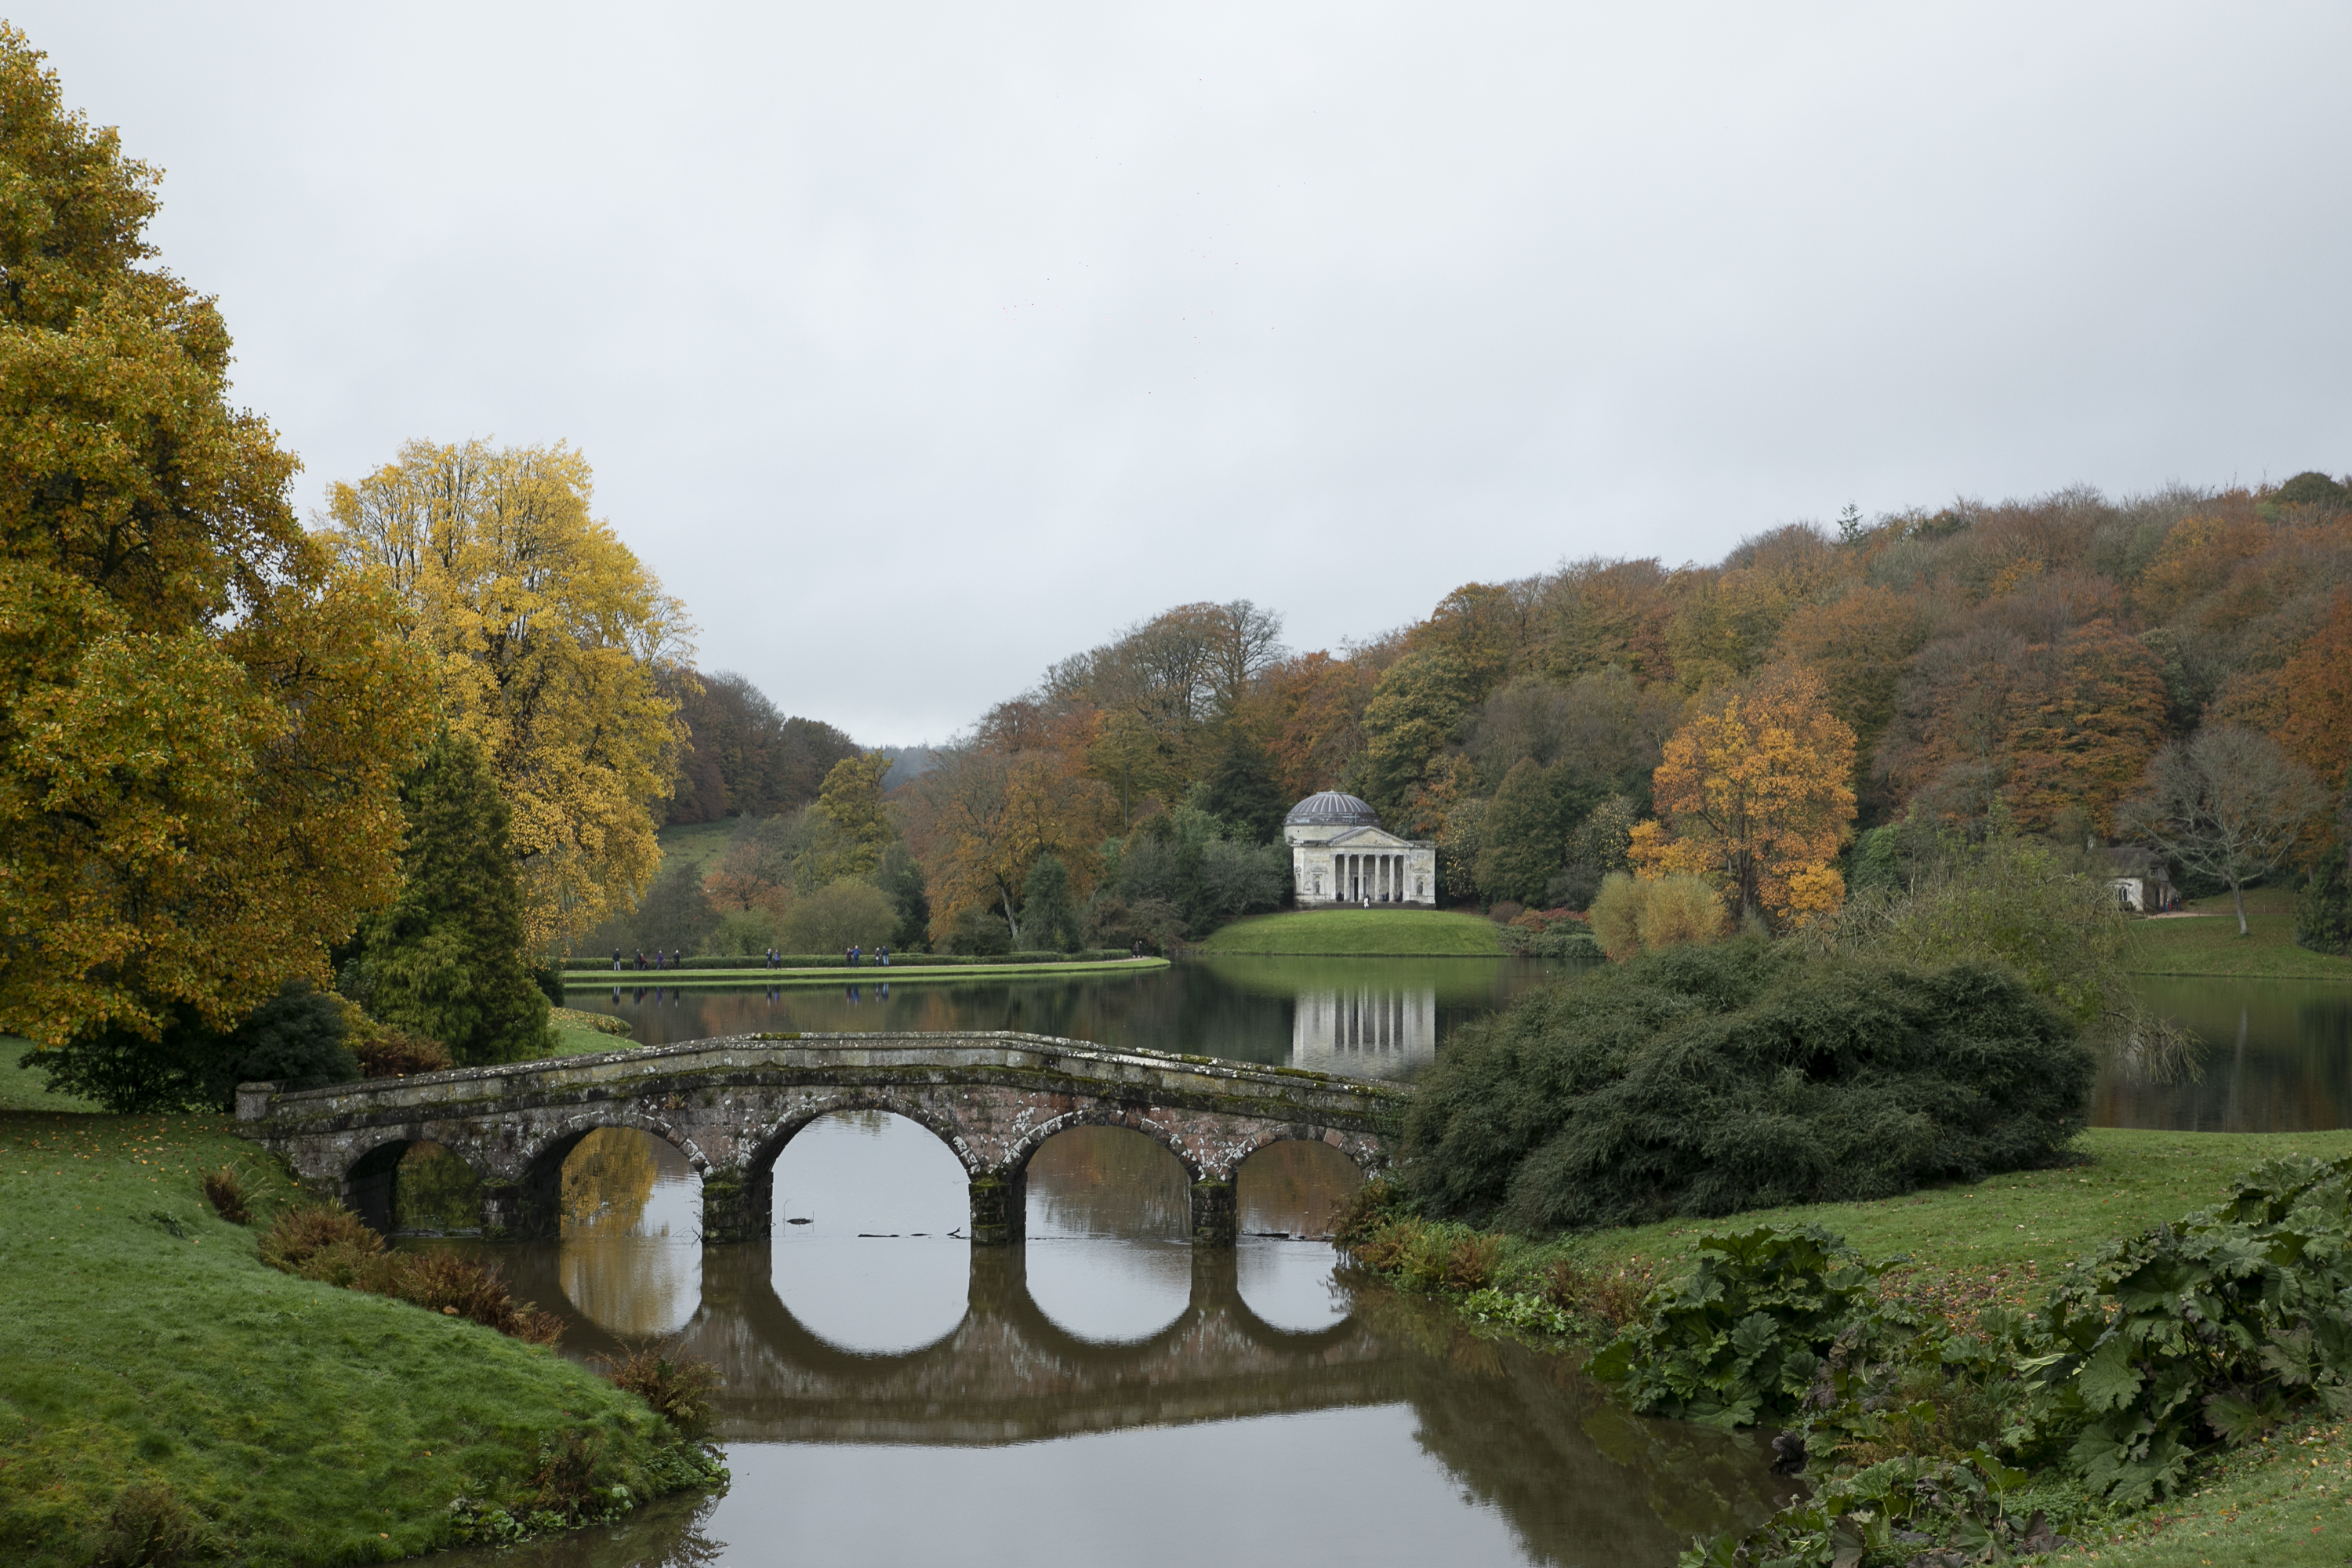
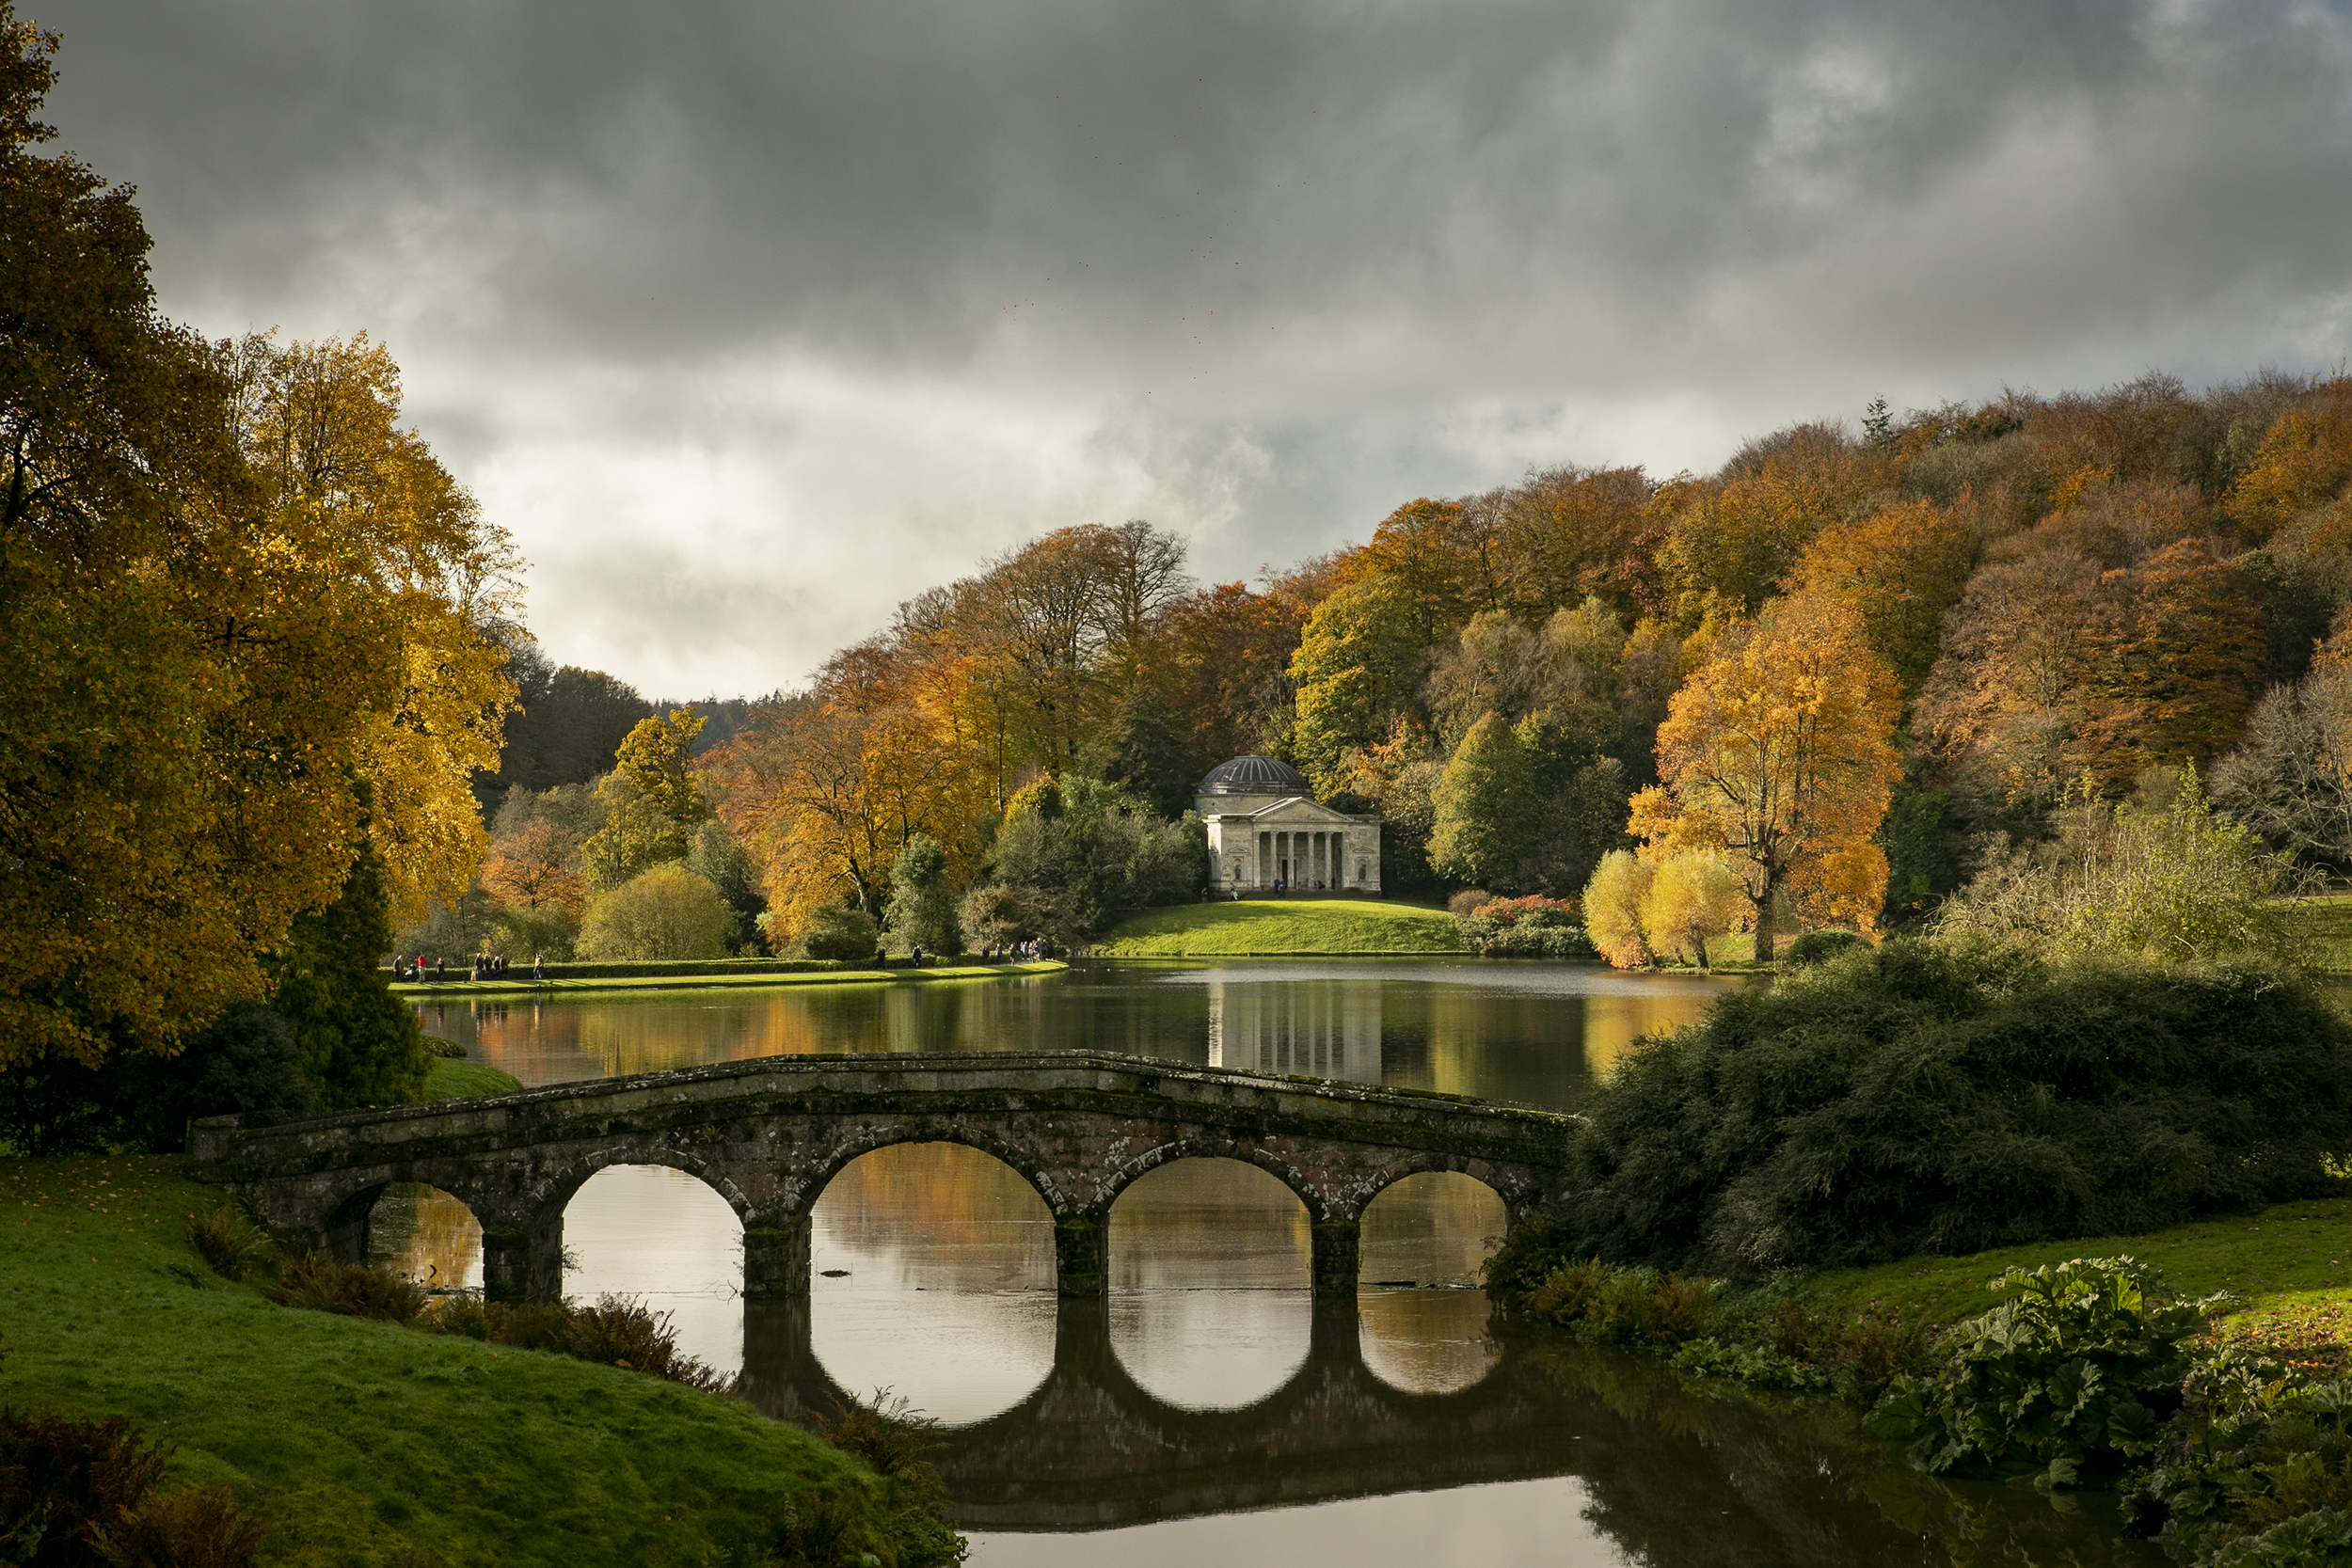
For the best results you'll want to shoot on a sunny day, as a bit of sunlight will work wonders to lift your Autumn scenes to bring out the detail and colors in the leaves. You don’t have to be up early or stay out late either during this season, as the midday sun can really makes colors pop. Don’t worry if the sky isn’t bright blue - make the most of grey clouds in Photoshop to add a little drama.
5. Set your aperture
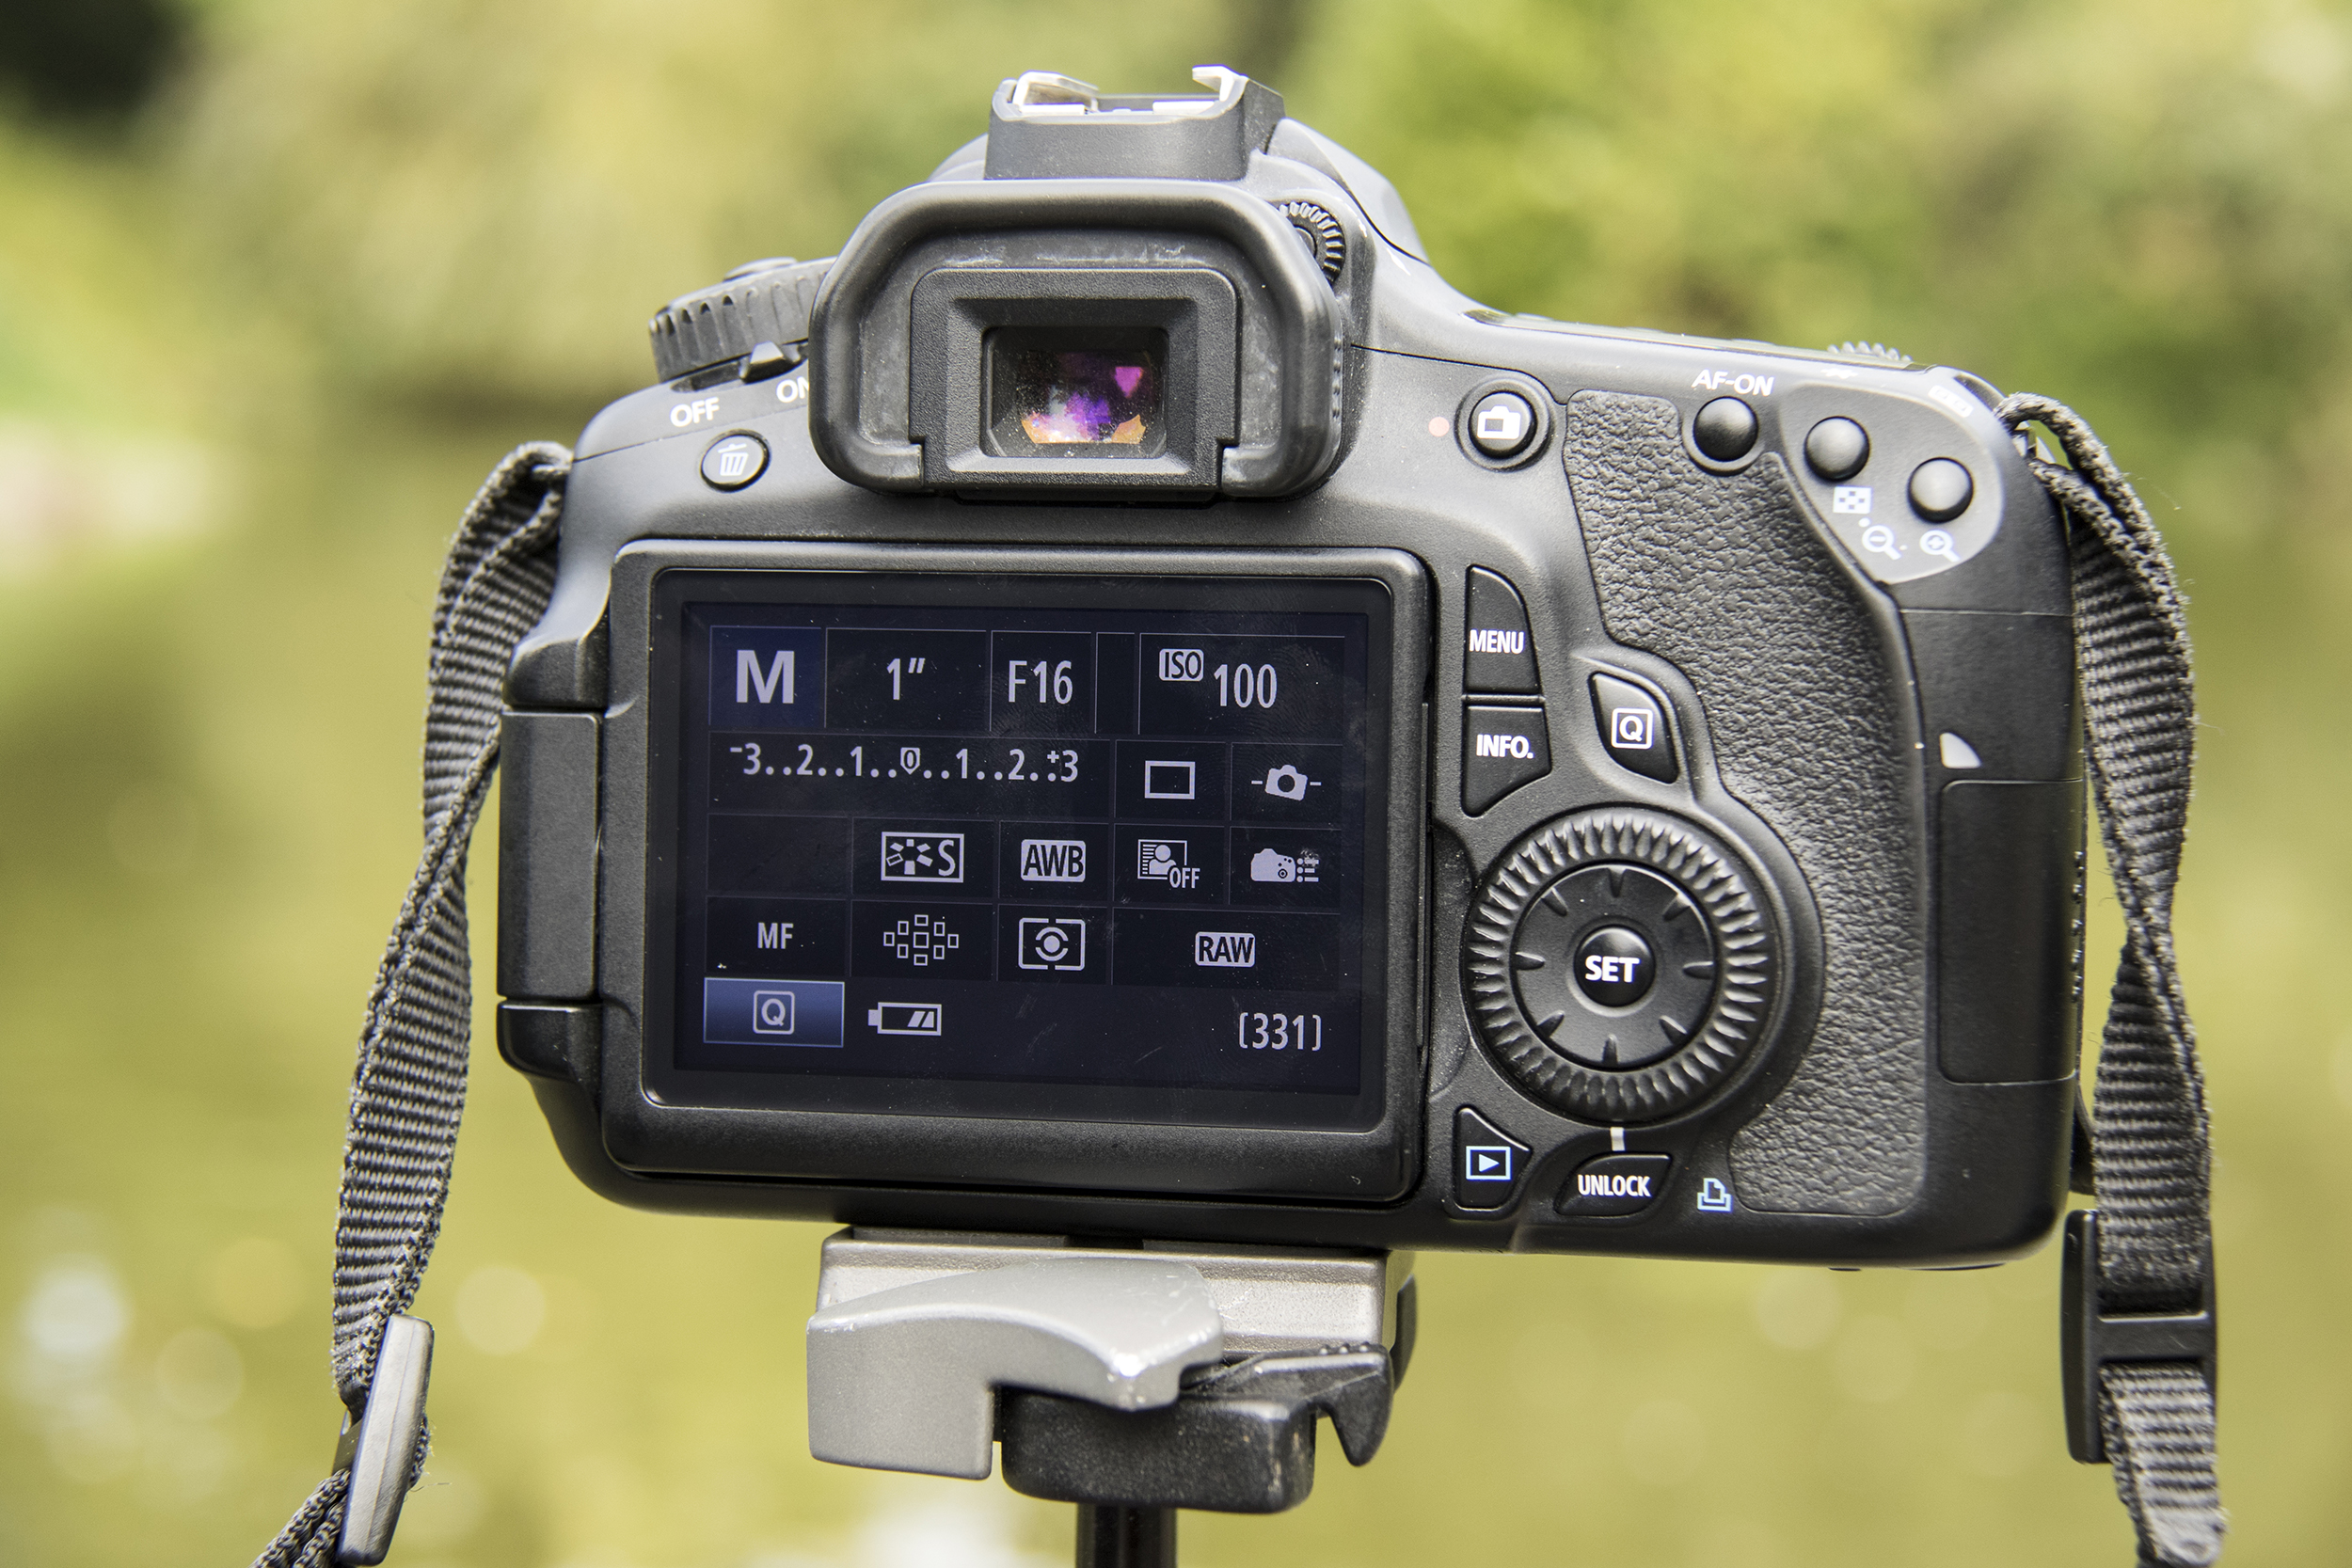
You may have been told that f/22 is the way to go for landscapes but this isn’t the case. Those small apertures will introduce diffraction and soften the image, especially at the corners, so instead shoot at mid-range aperture of f/11 to f/16 for good depth of field so the whole scene is sharp from your foreground to horizon, and from edge to edge of your frame. Shoot in Manual mode and with an appropriate aperture and an ISO of 100.
6. Go wide for interesting results
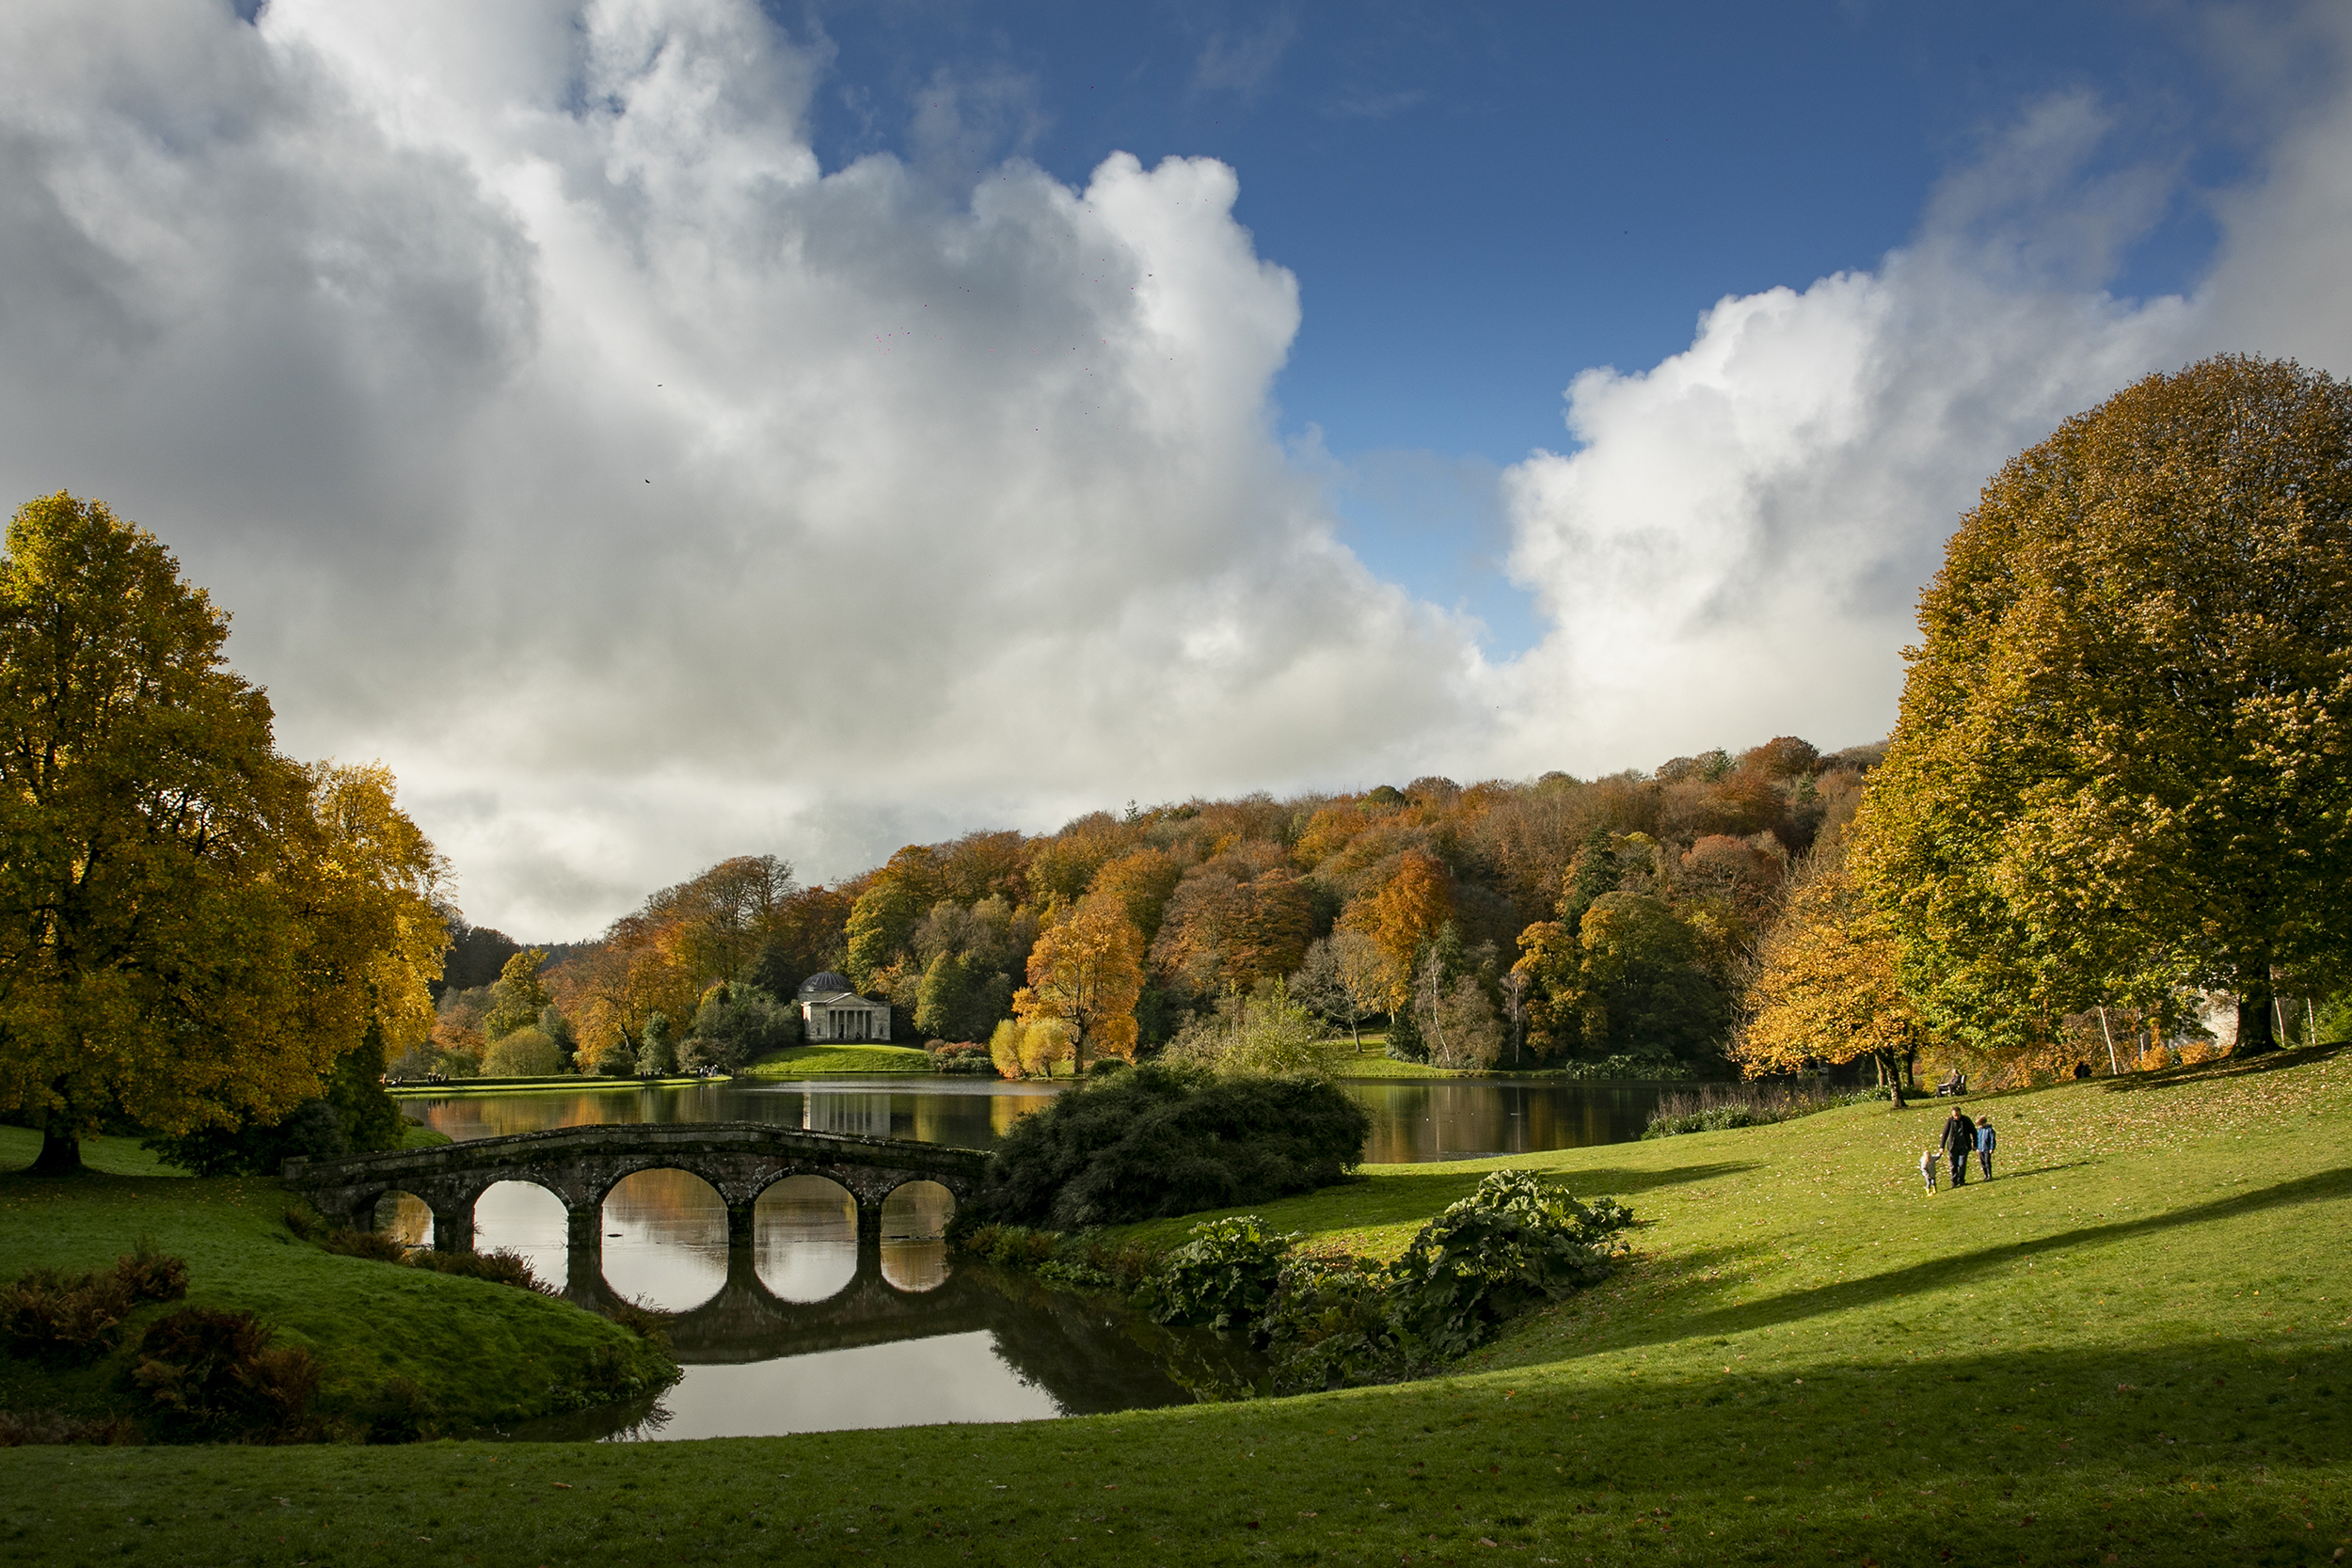
To capture large scenes you’ll need to use a wide-angle lens. We used a 24-105mm lens here at 35mm for a wider perspective of Stourhead, and to include a rare moment of blue sky. On full-frame cameras the go-to wide-angle landscape lens is a 16-35mm, but on crop-sensor cameras, an ultra-wide-angle lens is needed for a similar angle of view, such as 10-18mm. As your focal length decreases, depth of field increases - which is why wide-angles will make sure your landscape images will be sharp from front to back.
7. Keep an eye out for reflections
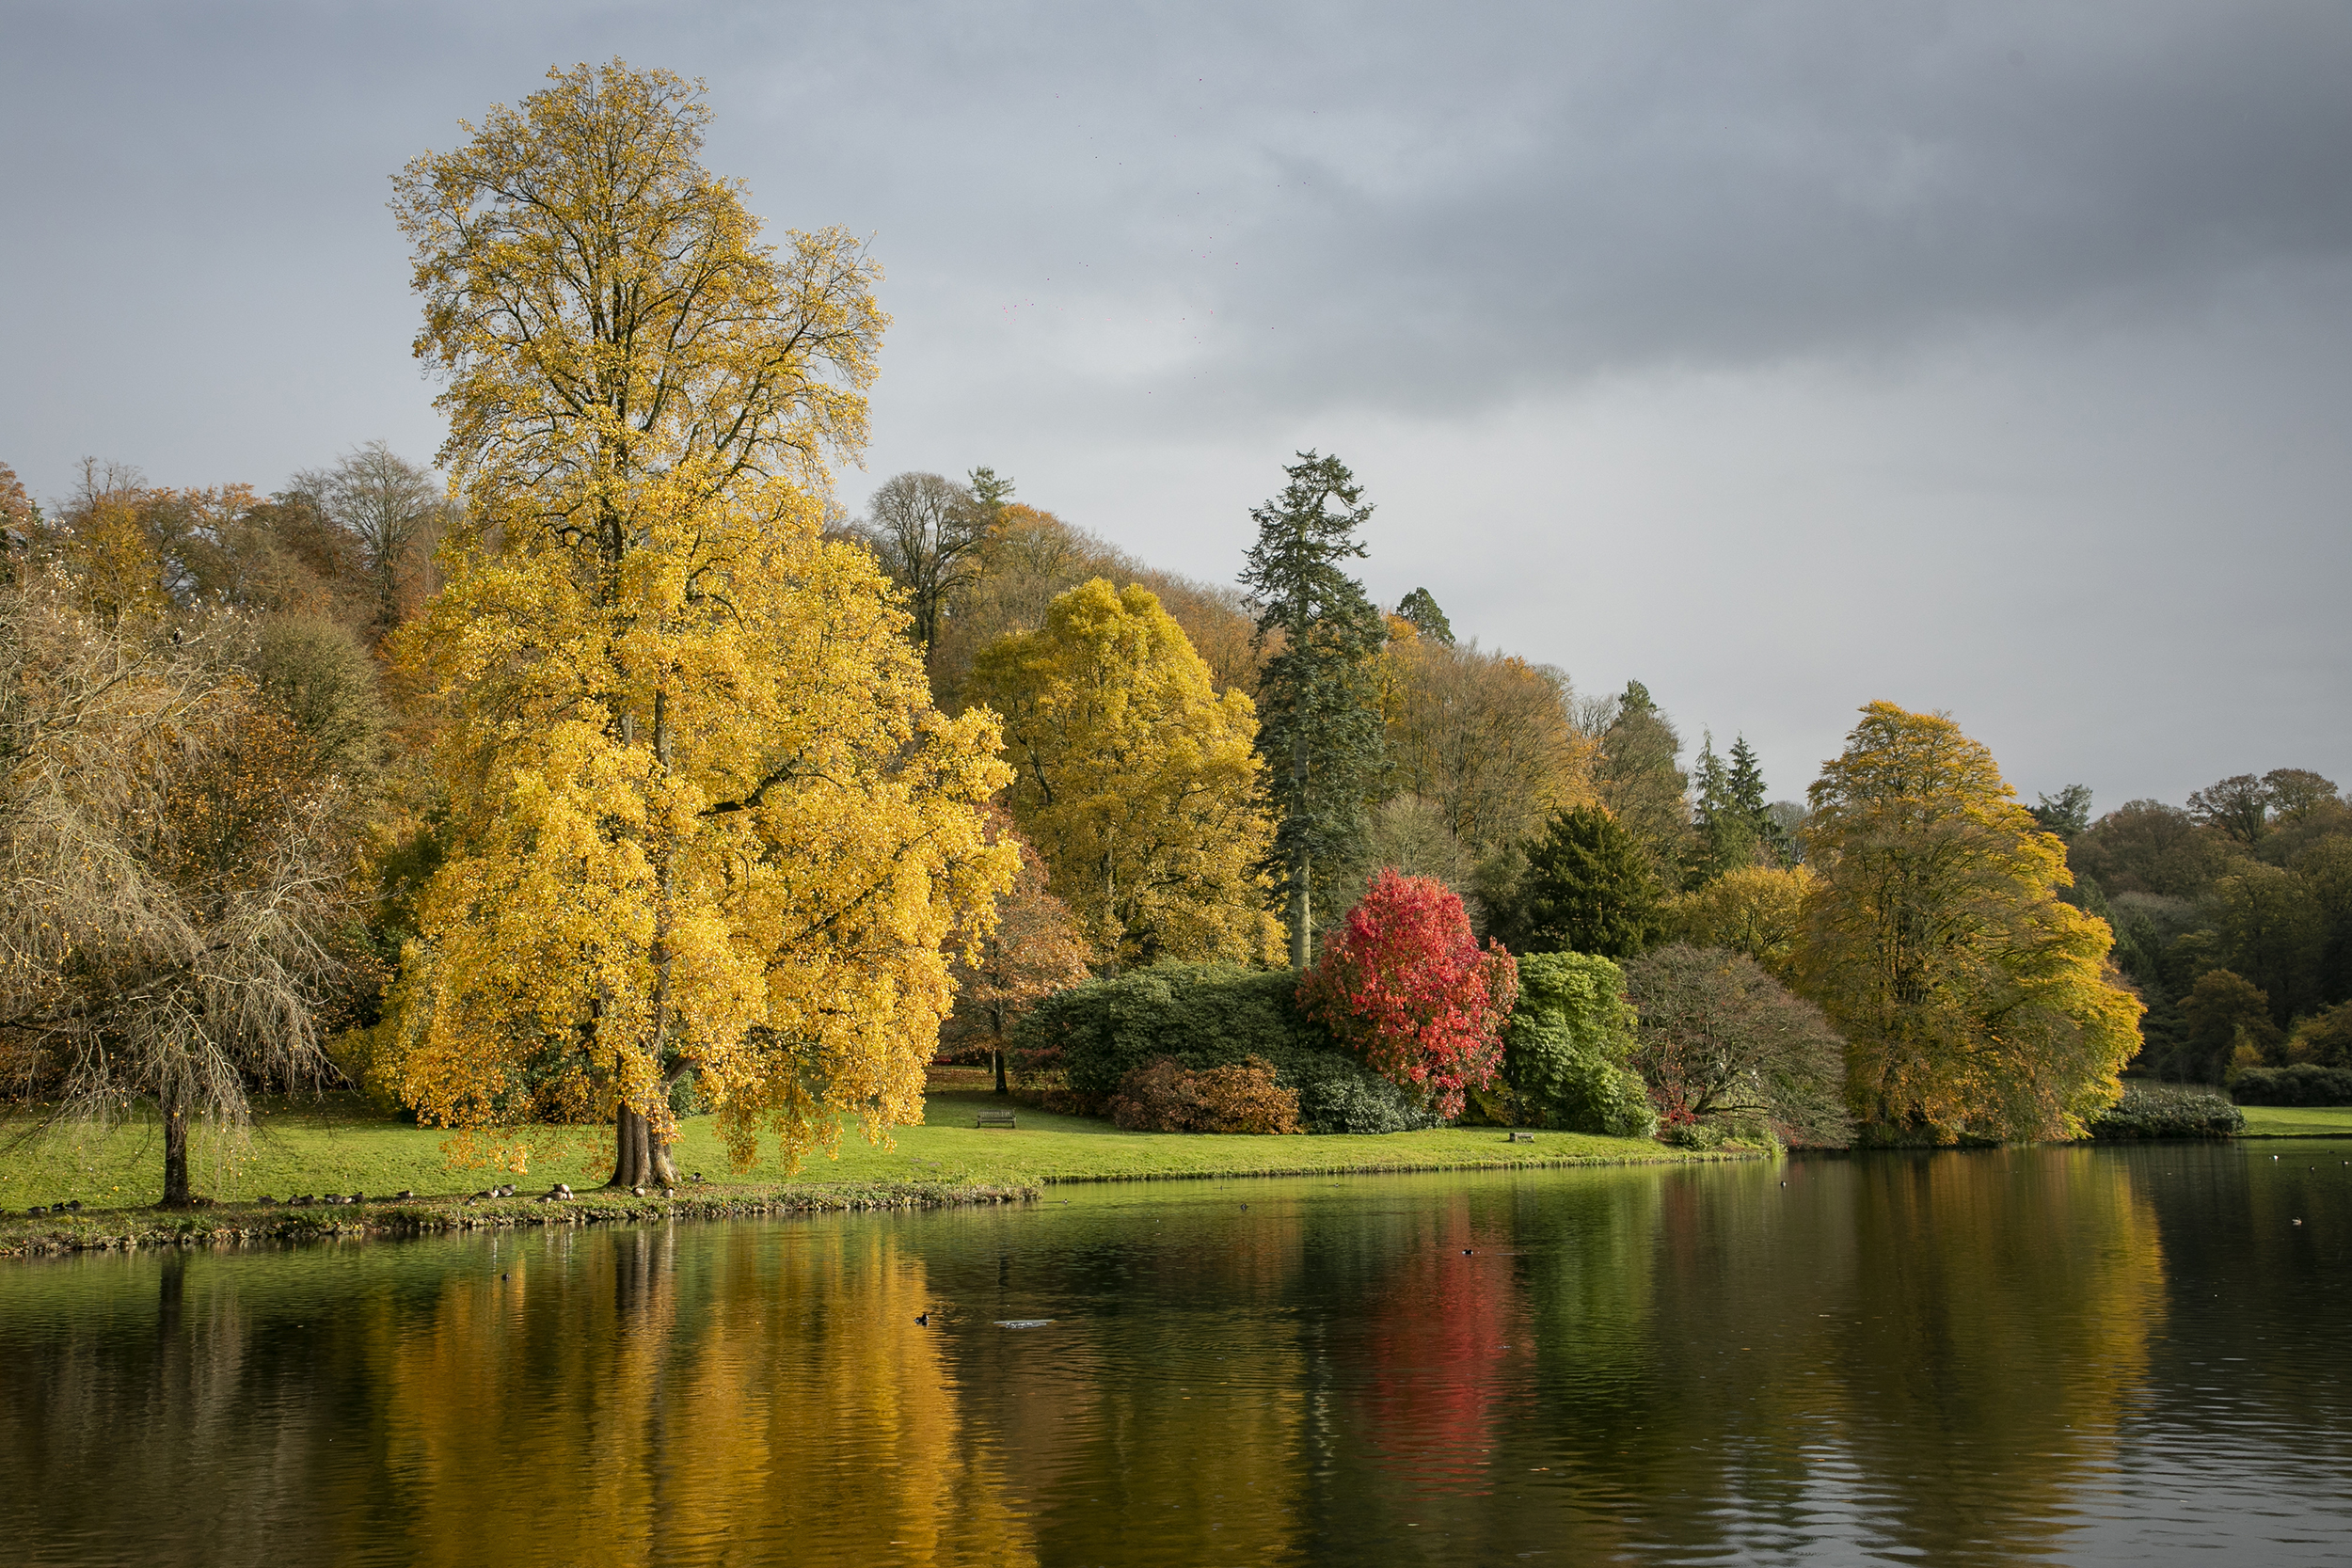
Include still water for reflections to double the color! The large lake at our location was perfect for this. Smoother water equals better reflections – so you want a nice still day, and ideally a sheltered lakes that’s protected from any wind. However, you can use a long shutter speed to smooth out water, so you might want to bring an ND filter along as well. The brighter the sunlight the brighter the scene and reflection, and shooting with your back to sun ensure the whole scene is evenly lit, without too many shadows.
8. Experiment with zooming in
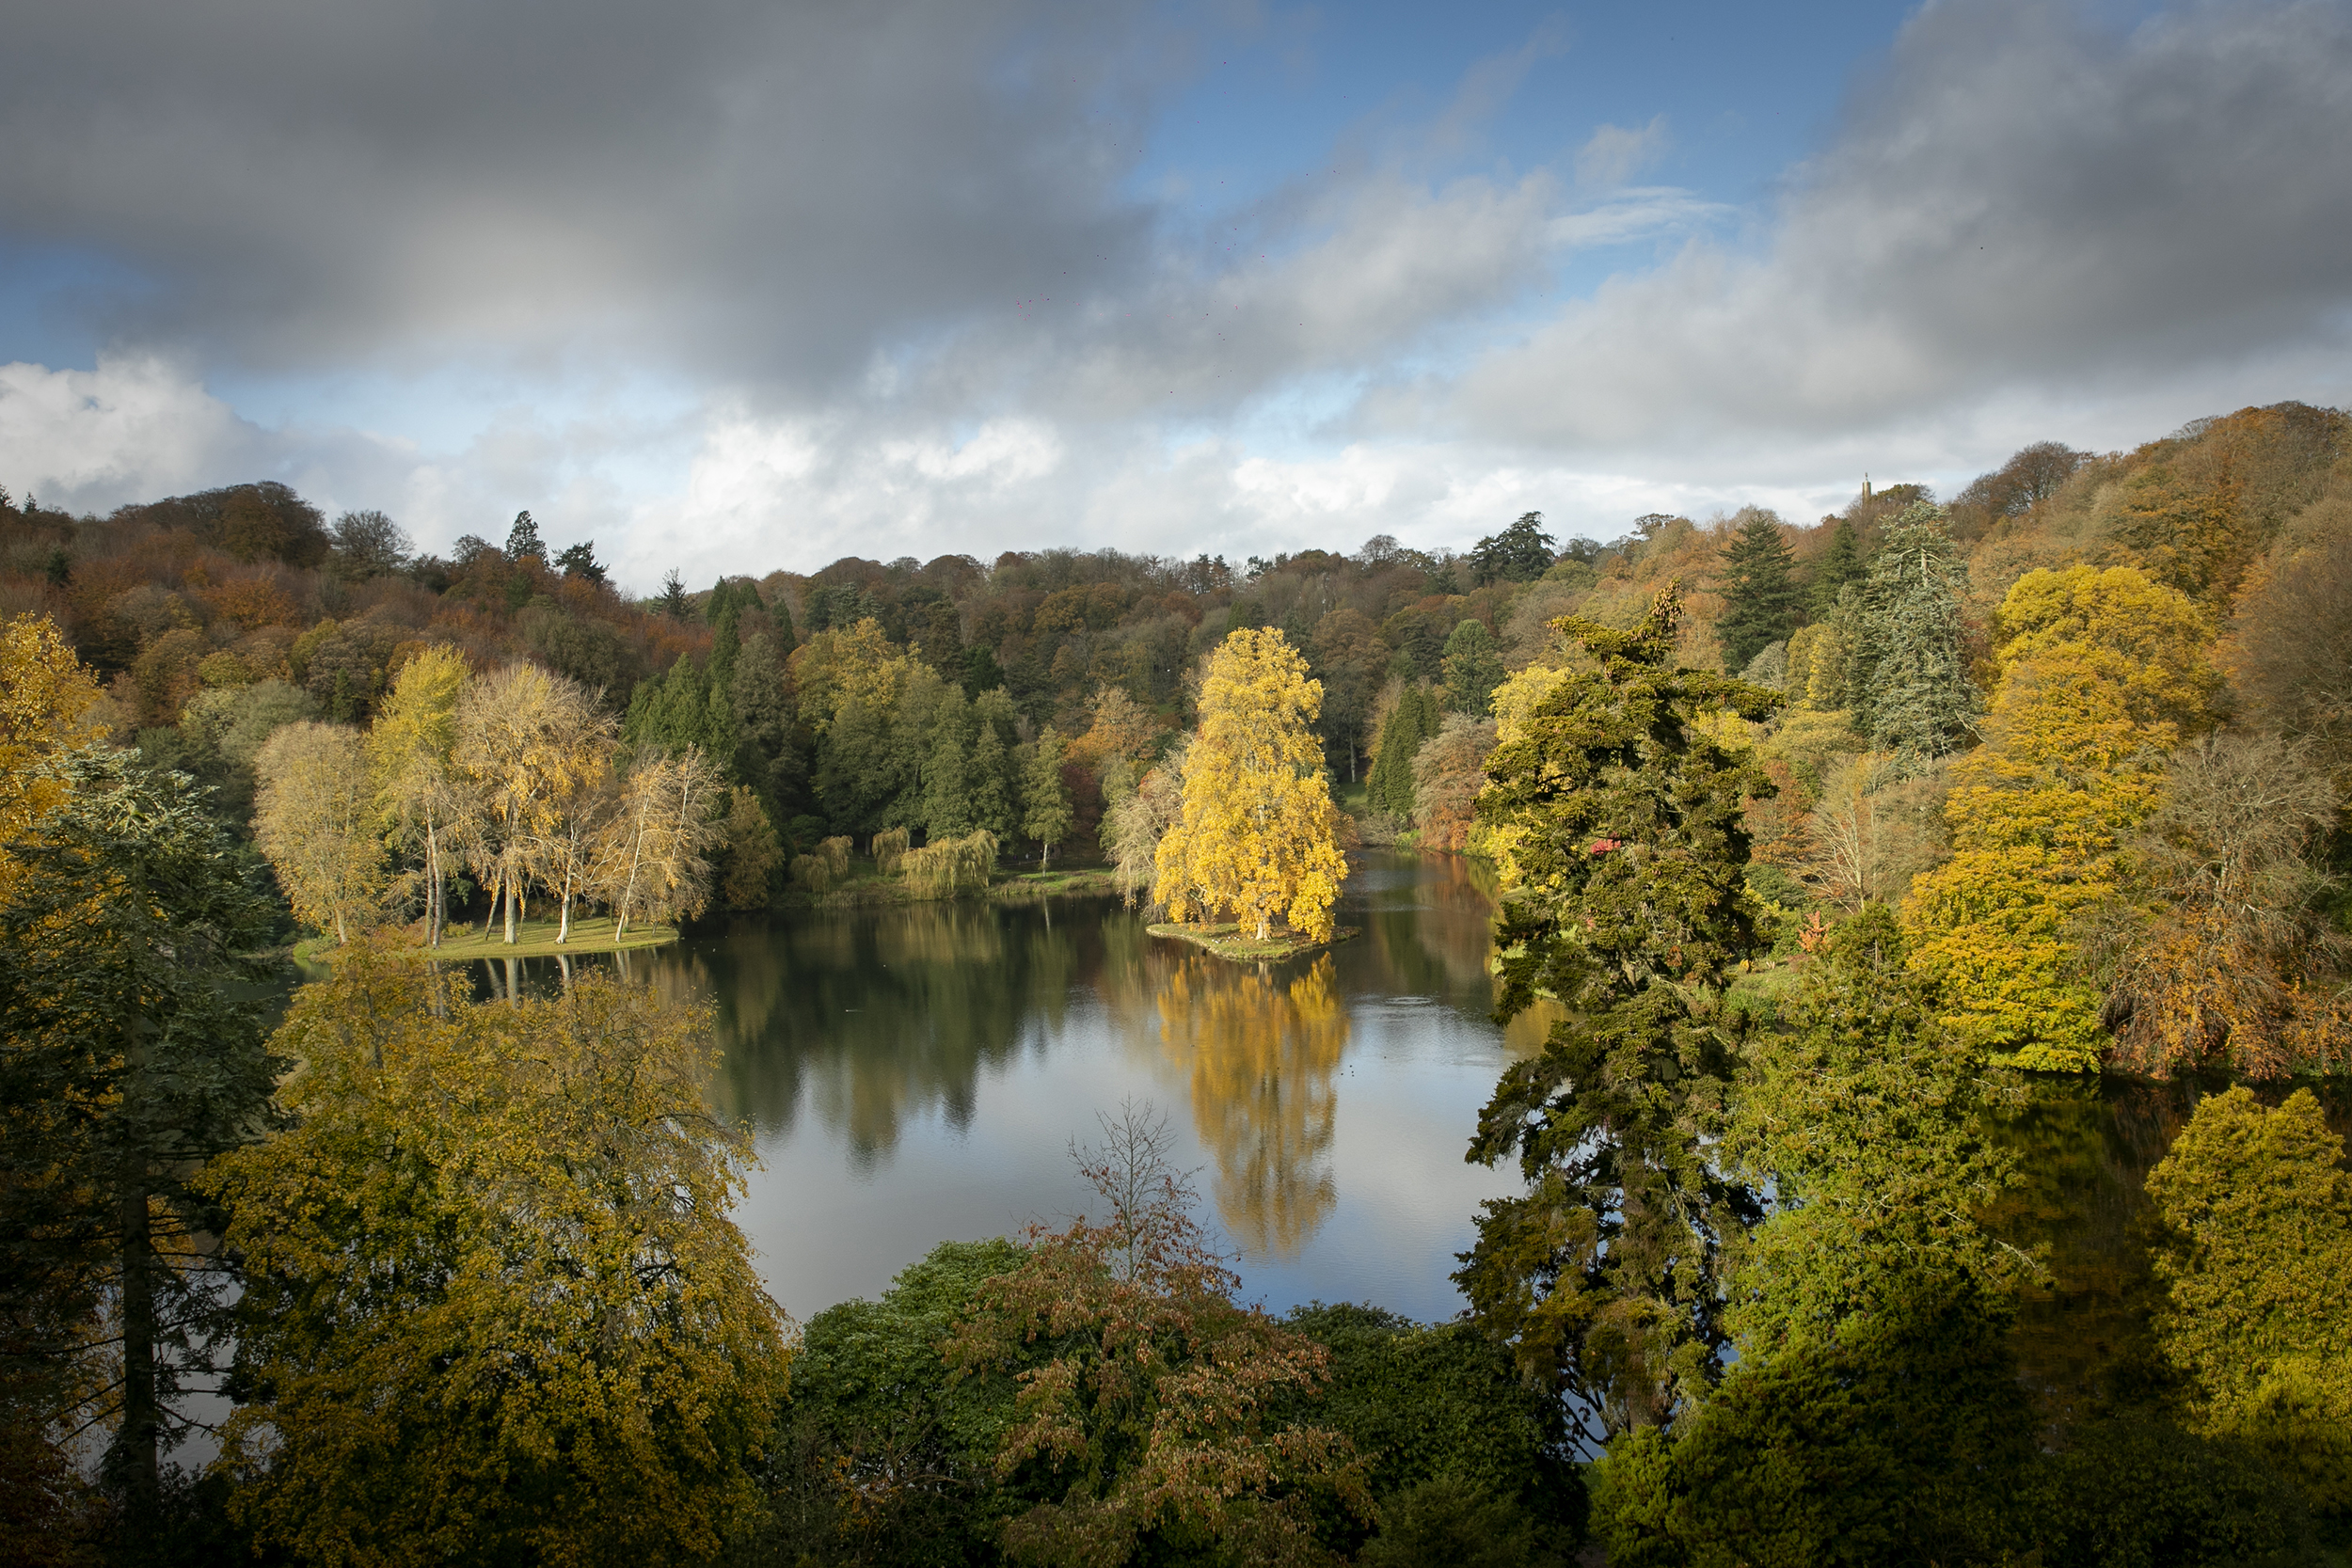
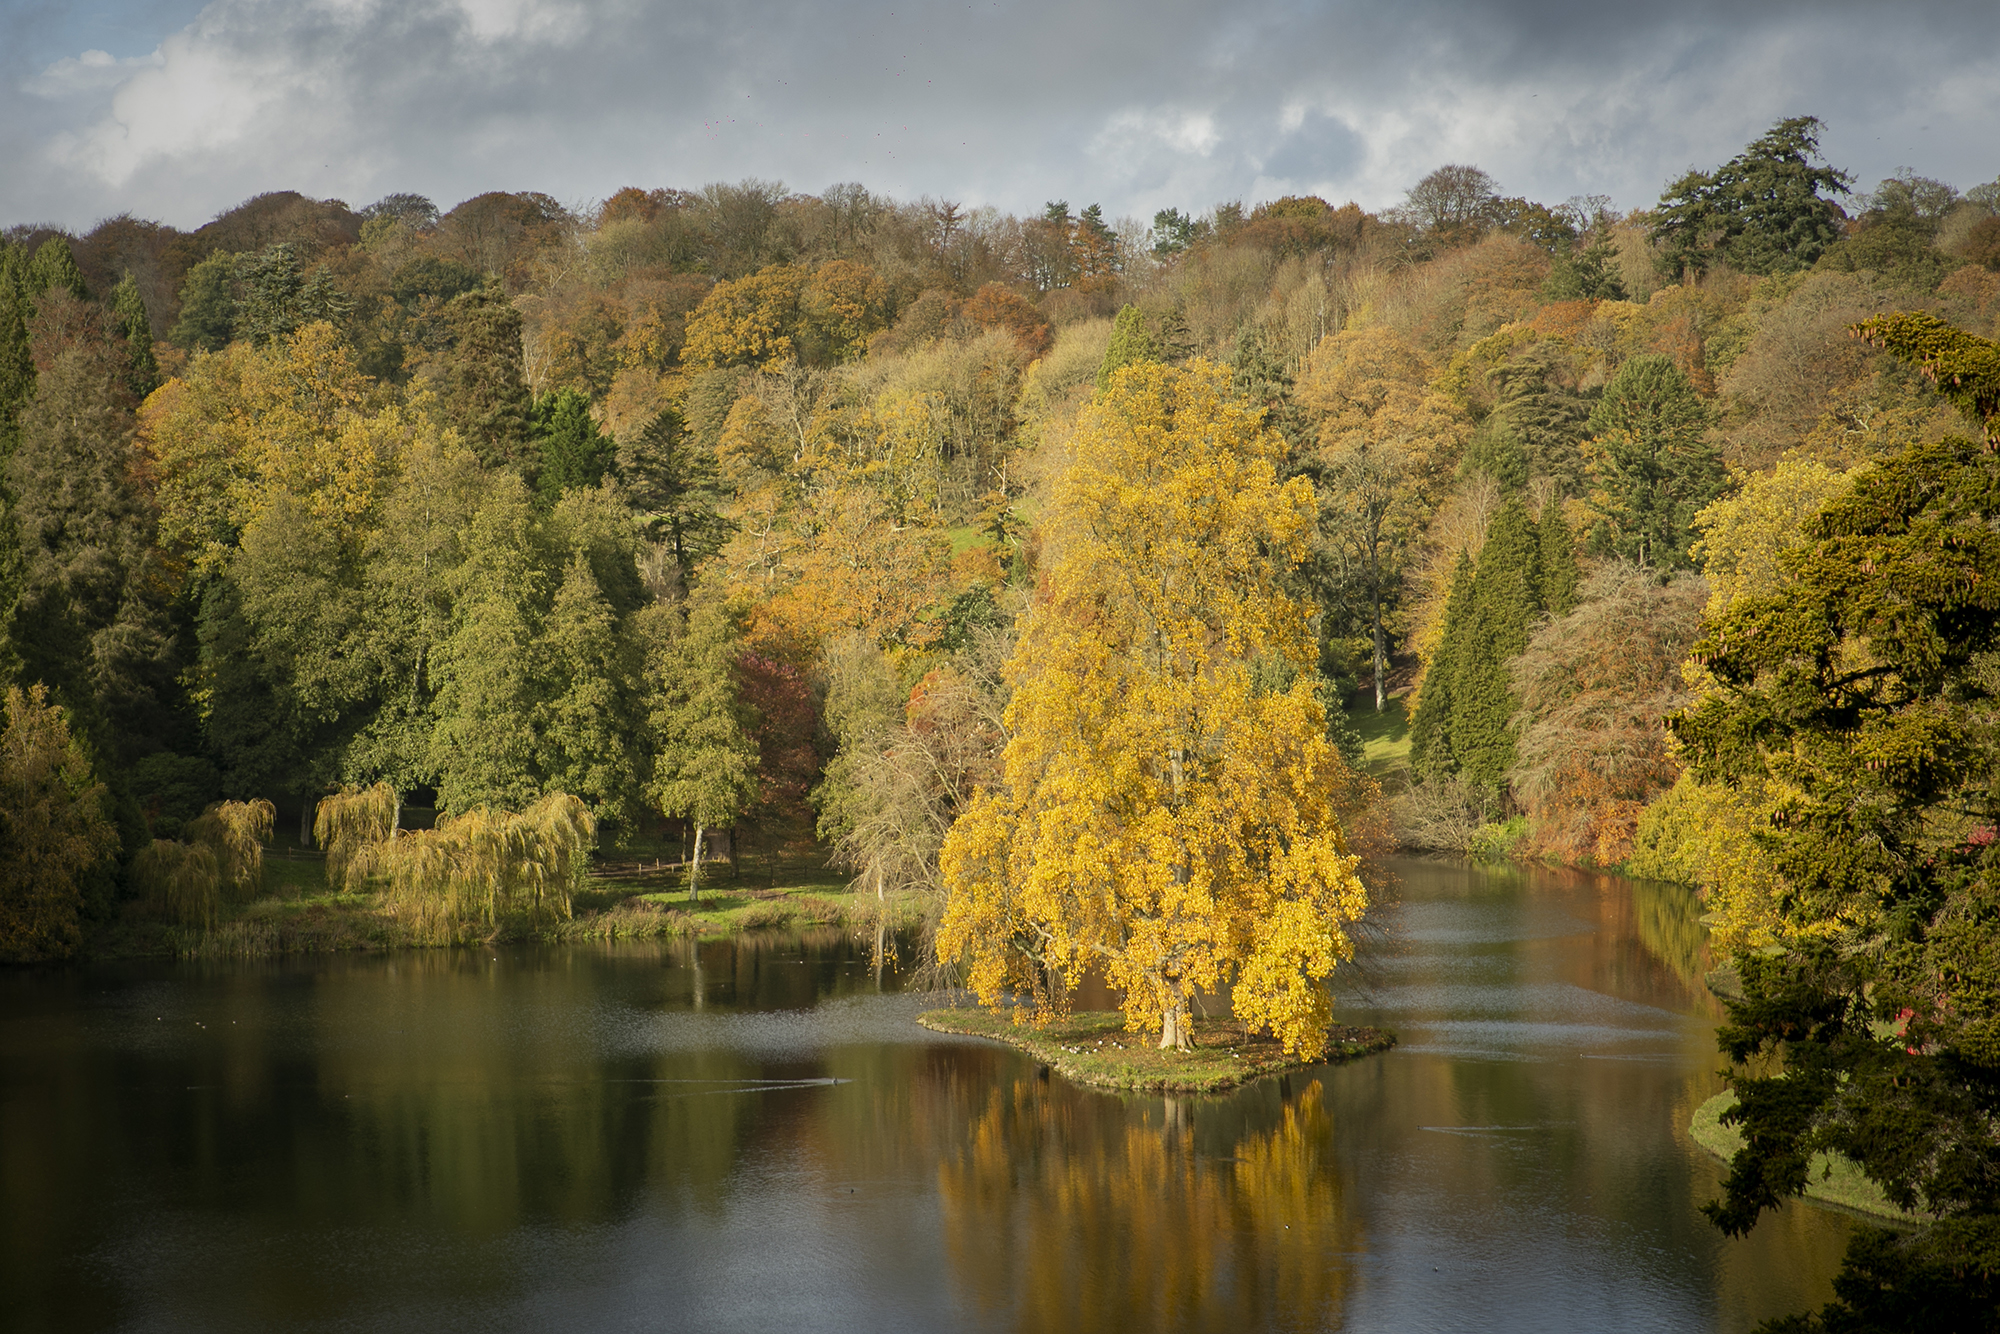
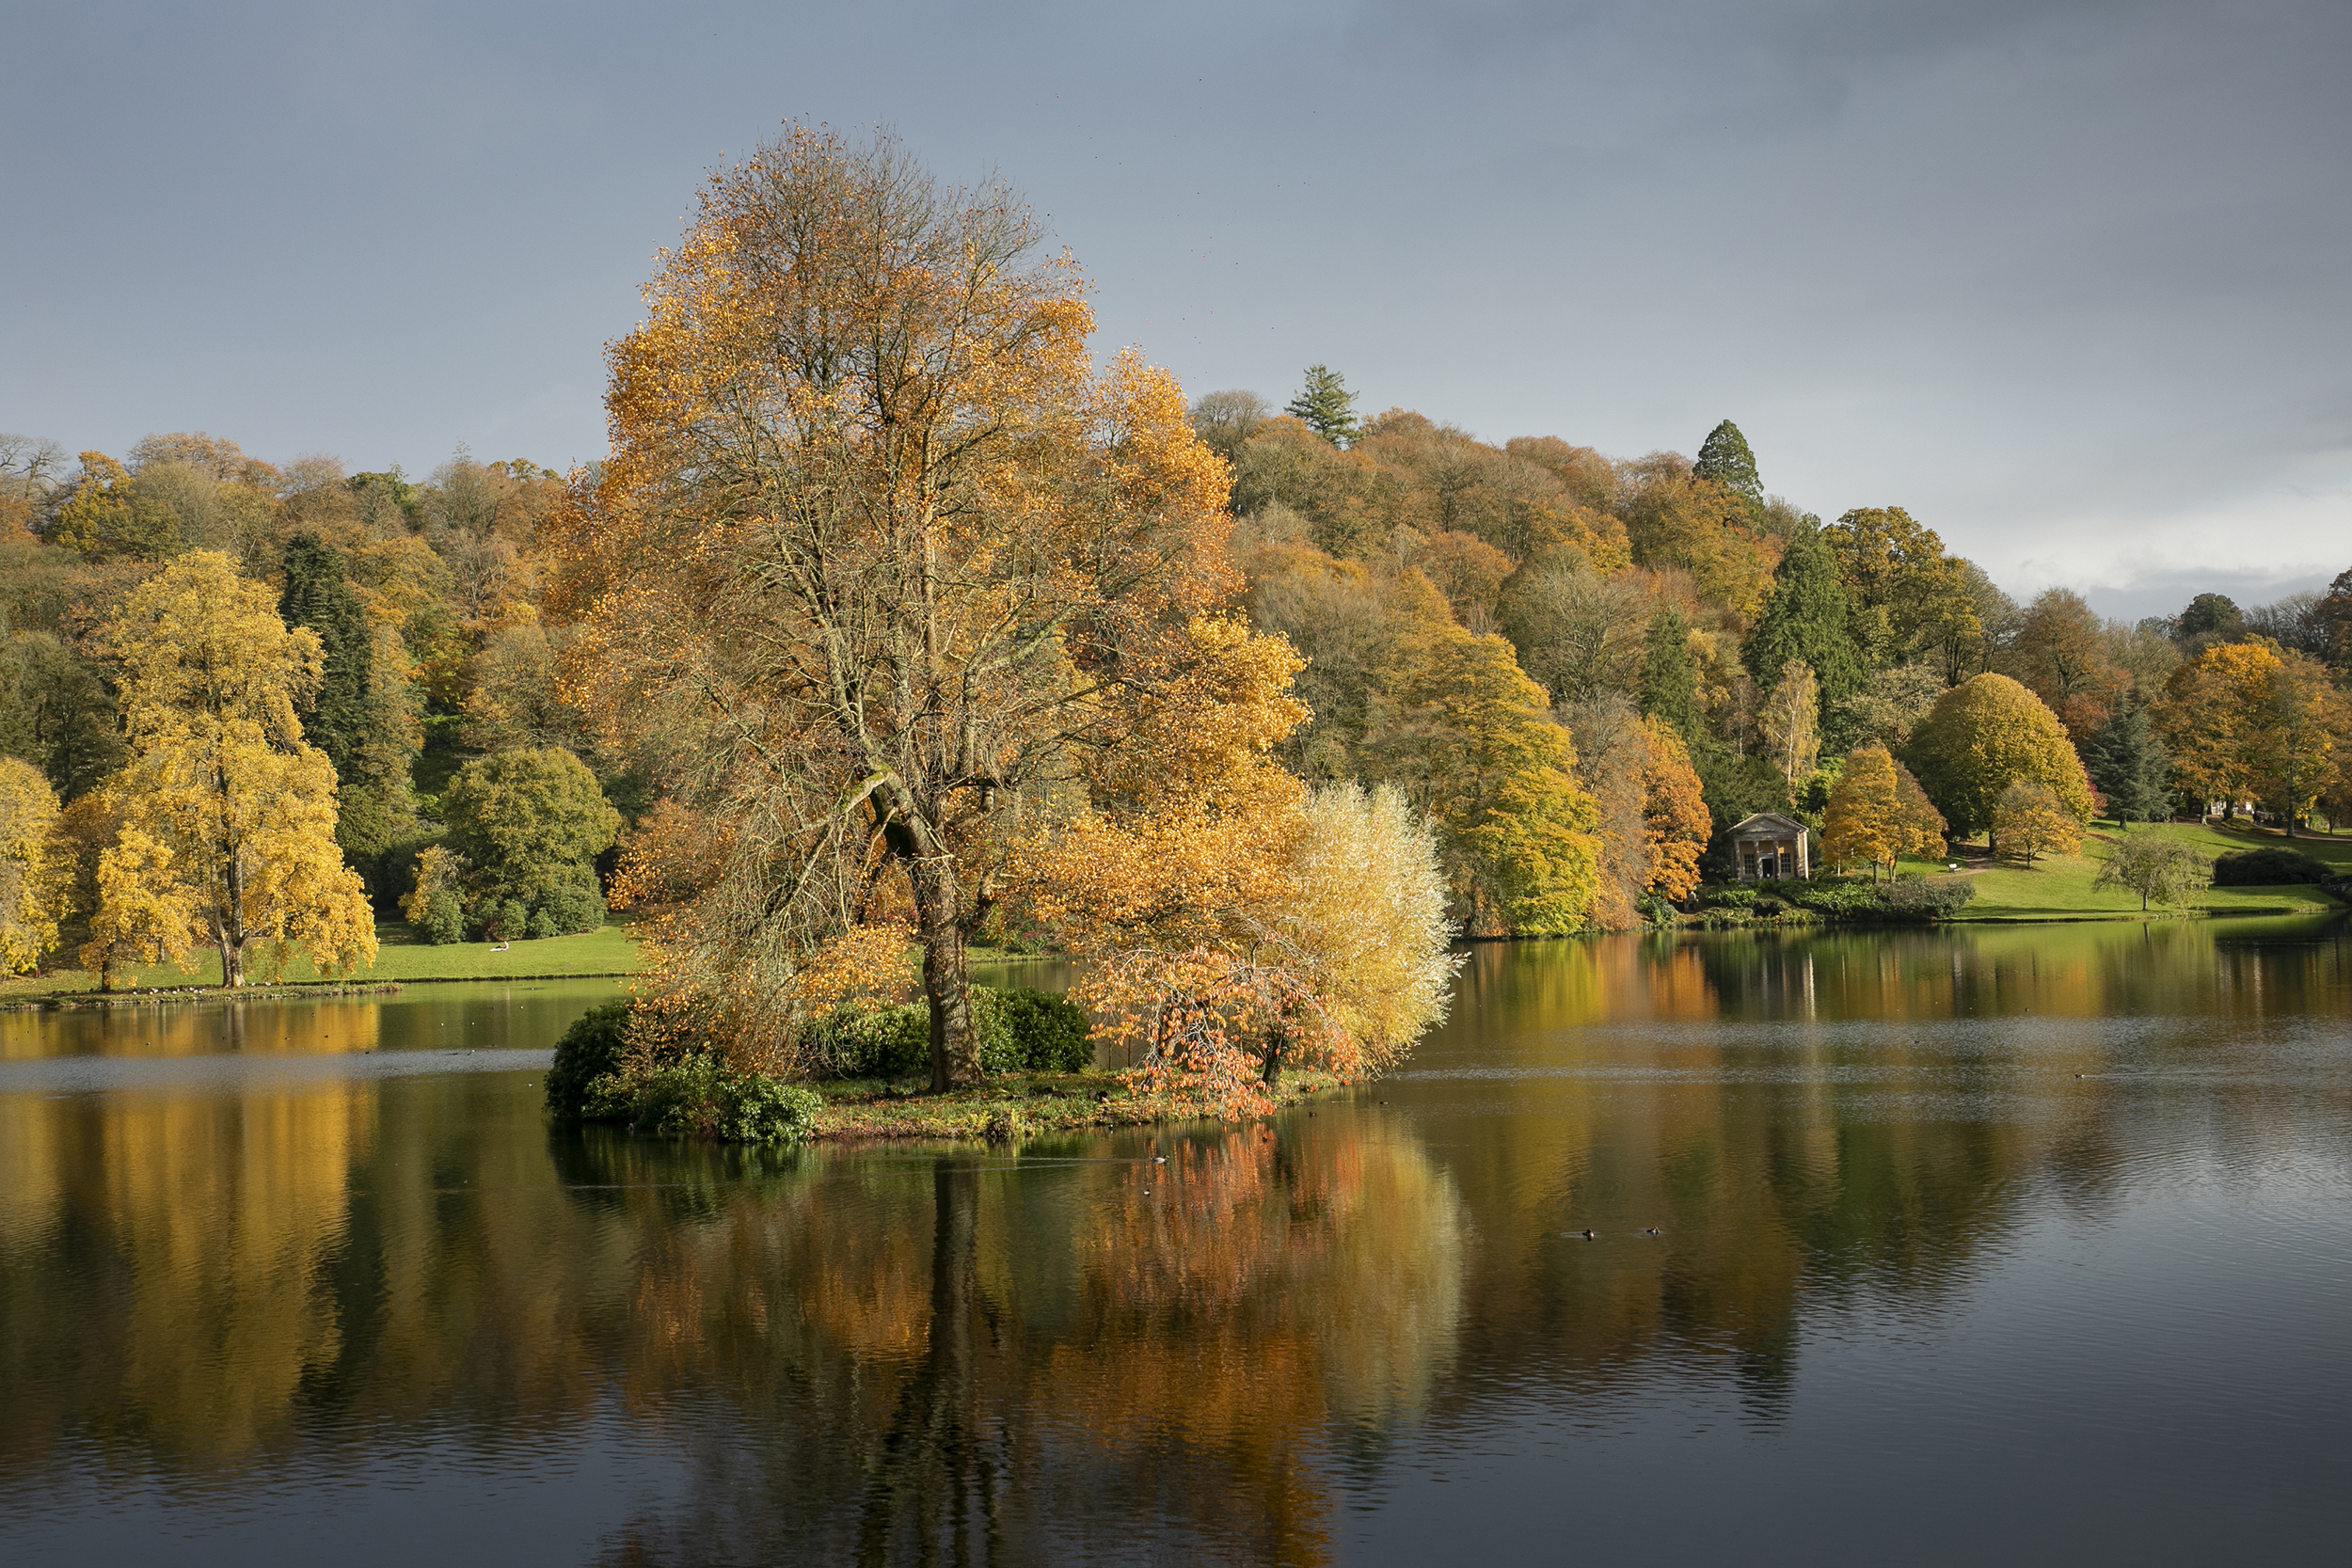
Wide-angle lenses can be very useful if you have pretty foreground elements in your scene. However, zooming in with a telephoto can help you to fill the frame with more detail and focus on certain elements in the scene. We used an 85mm focal length for this shot on our 24-105mm lens. A narrower focal length, such as 200mm, will help compress scenes even further.
Read more
Best travel tripods in 2020: tripods designed for lightness and portability
Best wide-angle lenses for Nikon cameras in 2019: for DSLRS and Nikon Z
Best ND grad filter kits
The best camera deals, reviews, product advice, and unmissable photography news, direct to your inbox!
The editor of PhotoPlus: The Canon Magazine, Peter 14 years of experience as both a journalist and professional photographer. He is a hands-on photographer with a passion and expertise for sharing his practical shooting skills. Equally adept at turning his hand to portraits, landscape, sports and wildlife, he has a fantastic knowledge of camera technique and principles. As you'd expect of the editor of a Canon publication, Peter is a devout Canon user and can often be found reeling off shots with his EOS 5D Mark IV DSLR.

