Bird photography: tips to get great shots of birds in flight
Shooting birds of prey in flight is a great test for both you and your camera. Here are our best bird photography tips…
Watch the video: bird photography tips
Forget sports – if you want a real test in action photography, try getting a great shot of a bird in flight. Unlike at a stadium or race circuit, you have to track down your feathered subject in the first place, then try to freeze its movements against a distracting background. This is a true challenge for both you as the photographer and for your camera.
How close you can get will depend on the species, but with almost all birds you will want to get the longest lens that you can sensibly afford – and due to the crop factor, you will need a bigger focal length with full-frame cameras than you will with Micro Four Thirds or APS-C systems.
• Read more: Photography tips
Location is probably just as important as the equipment and settings that you use. We chose to shoot Red Kites as they can be found reliably if you go to the right spot in the UK. However, finding the birds is not enough; you also need a good vantage point to shoot from, to see them in flight.
You want to avoid shots of the birds feeding on the ground, or against a bland, featureless white cloudscape. To avoid a silhouette, your best bet is to get up on a hill, so that you can shoot these big birds as they ride the thermals – and so that, as they dip, you can frame them against fields or trees.
To avoid these backgrounds becoming distracting you need to use your lens wide open, minimizing the depth of field. This is a bonus, as you will need to use a fast shutter speed (we recommend using 1/2000 sec).
However, the disadvantage of the narrow band of depth of field is that your focusing will need to be even more accurate. A smooth panning technique is needed to track the birds, along with the choice of the right AF settings…
01 Location! Location! Location!
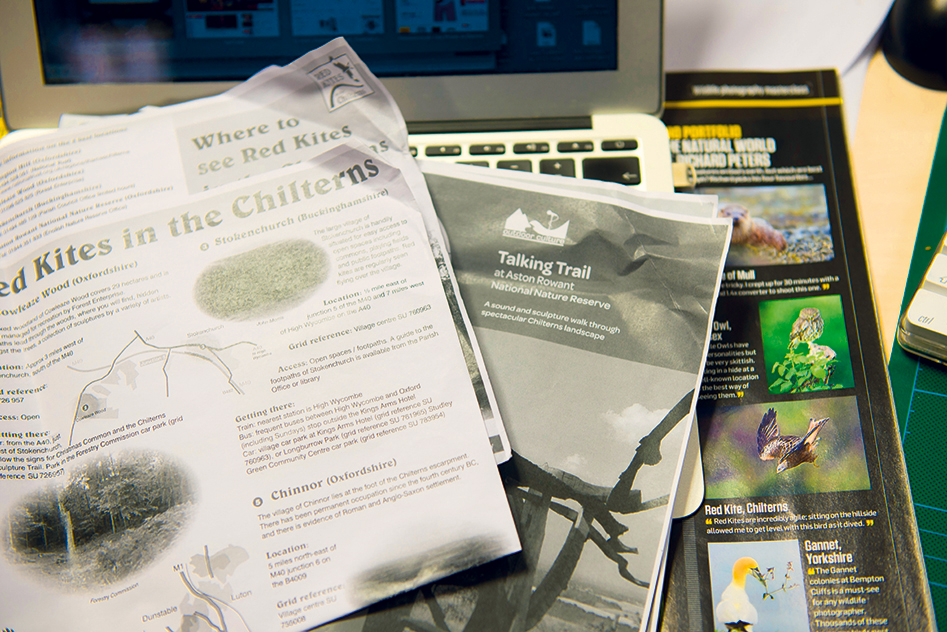
You may chance upon an owl flying over your head, but to maximize your chance of getting a good shot you need to find a location where your chosen species is seen regularly. Spend some time on Google researching locations, and find out where other photographers have had success.
02 Big is best
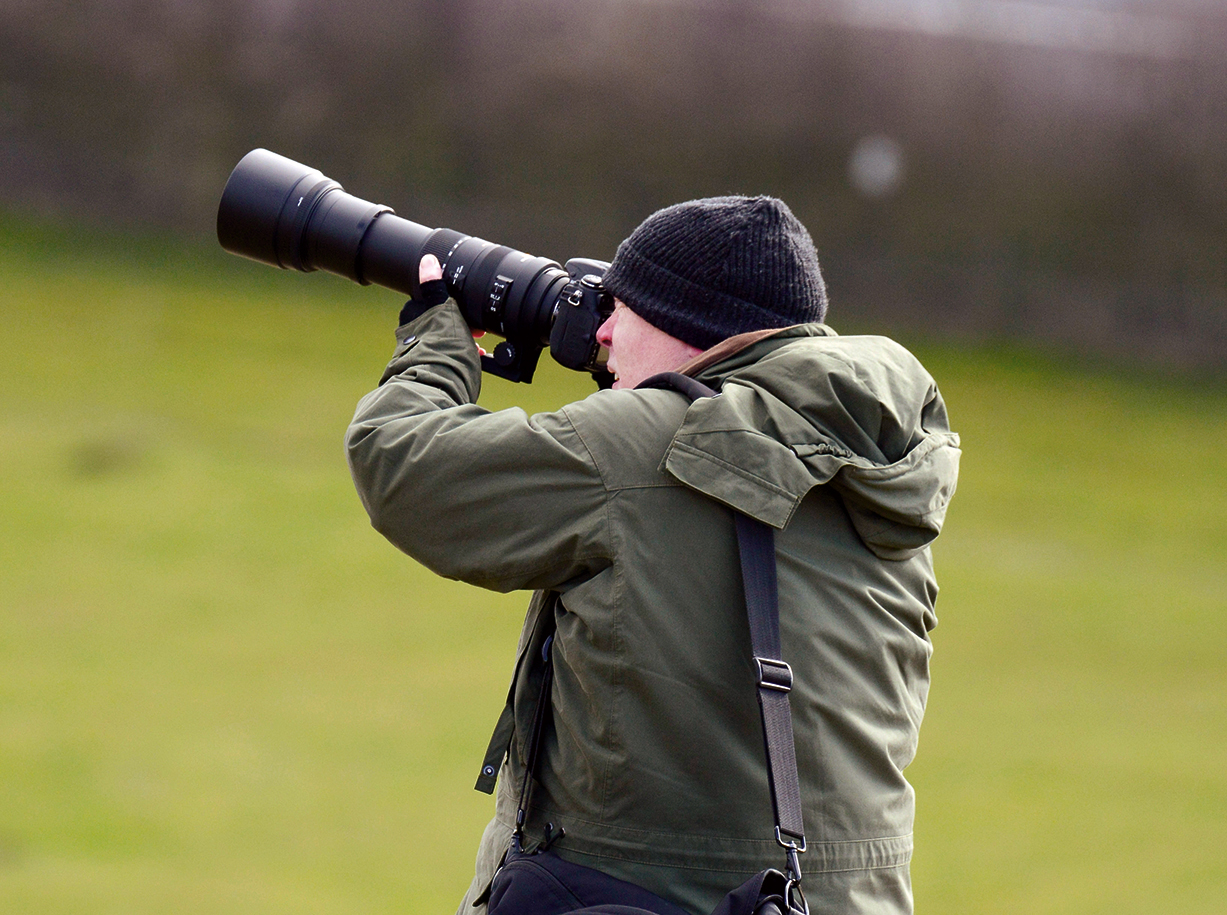
You need a long lens. Even though Red Kites have a five-foot wingspan, they will be some way from you when they fly past. A lens with an effective focal length of 600mm is ideal. We used a Sigma 150-500mm, set to 500mm, on a DX Nikon D300s – but check out the best lenses for bird photography.
03 The need for speed
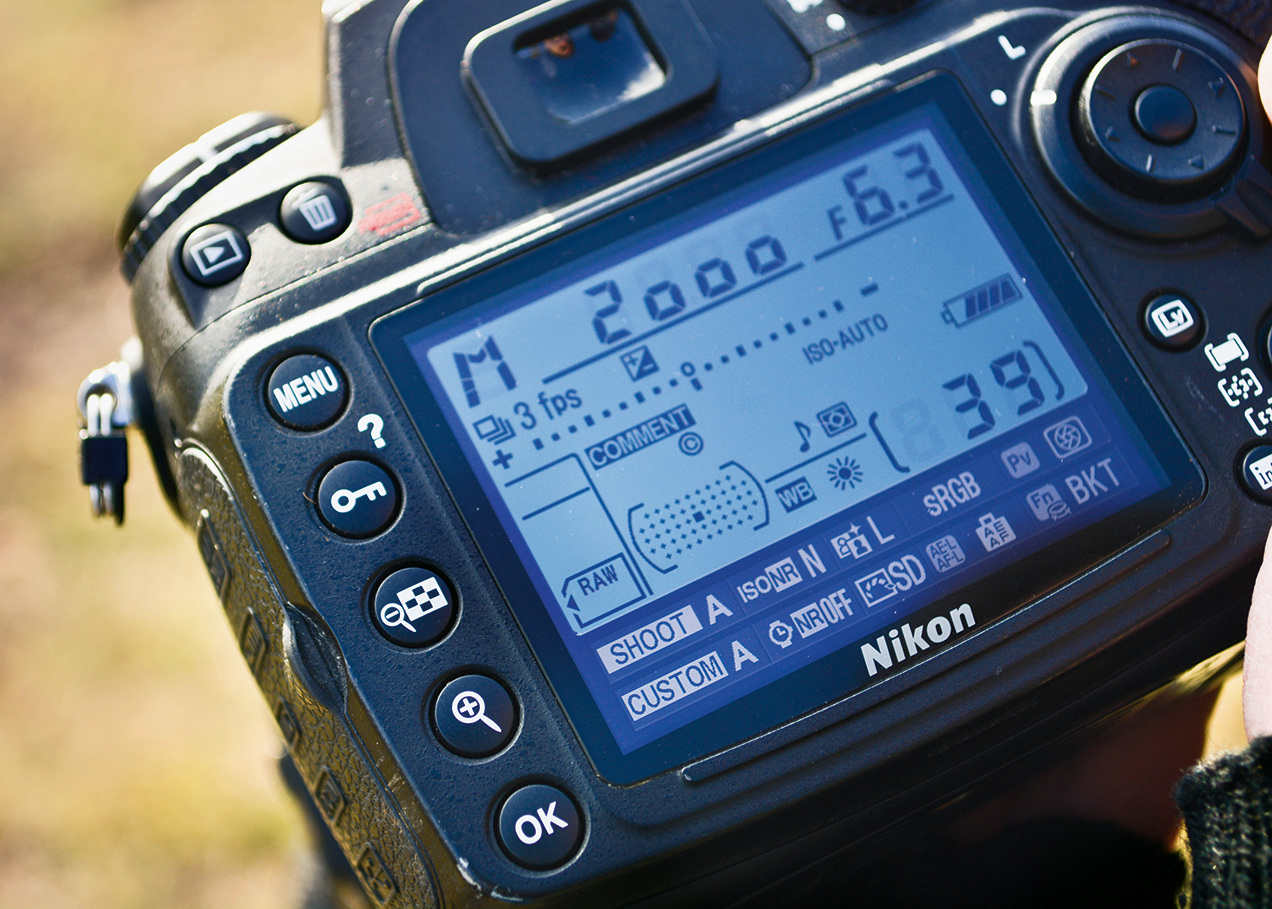
The long lens and the fast-moving subject means that you need to use a fast shutter speed, however dull the day – a speed of 1/2000 sec is the bare minimum. Similarly, to ensure that the background is as blurred as possible, you should use your lens wide open (that’s f/6.3 on our Sigma 150-500mm).
04 Manual exposure with Auto ISO
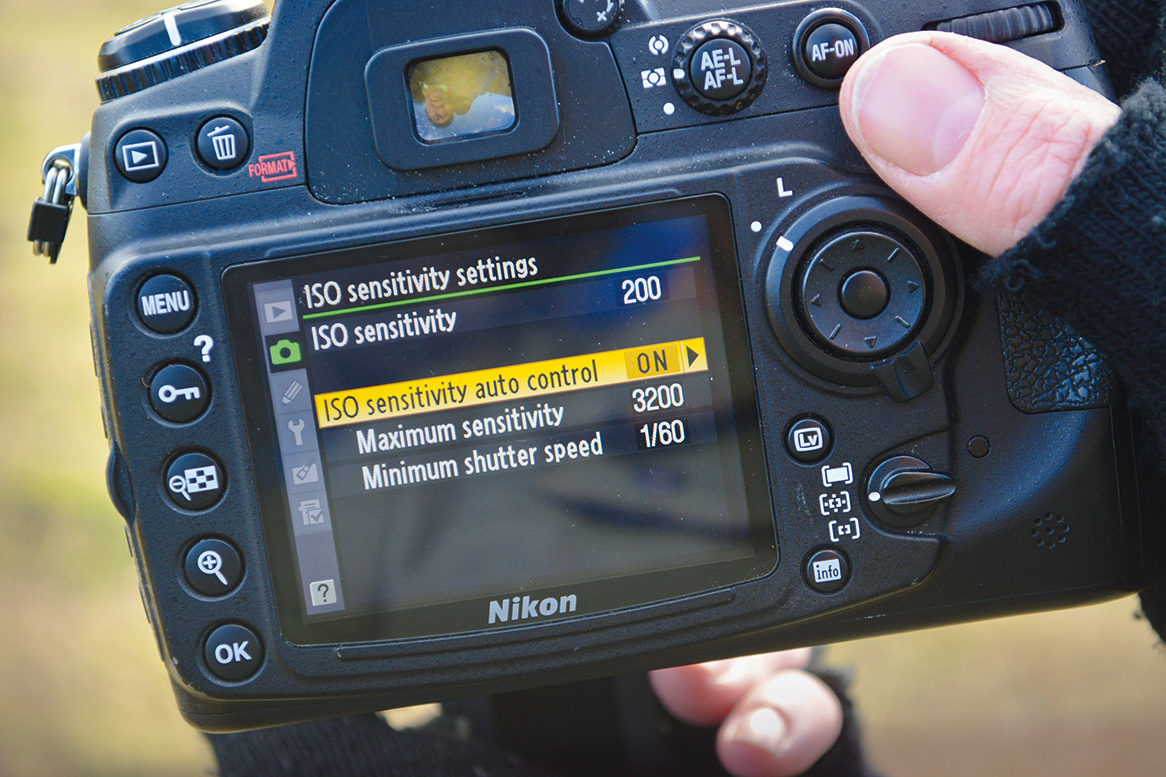
Set both the aperture and shutter speed in Manual mode, and then set the ISO to automatic. This means that you get the precise settings you need even if the lighting changes suddenly, and the camera adjusts the sensor sensitivity so you don’t have to worry about under- or over-exposure.
05 Locking in on the prey
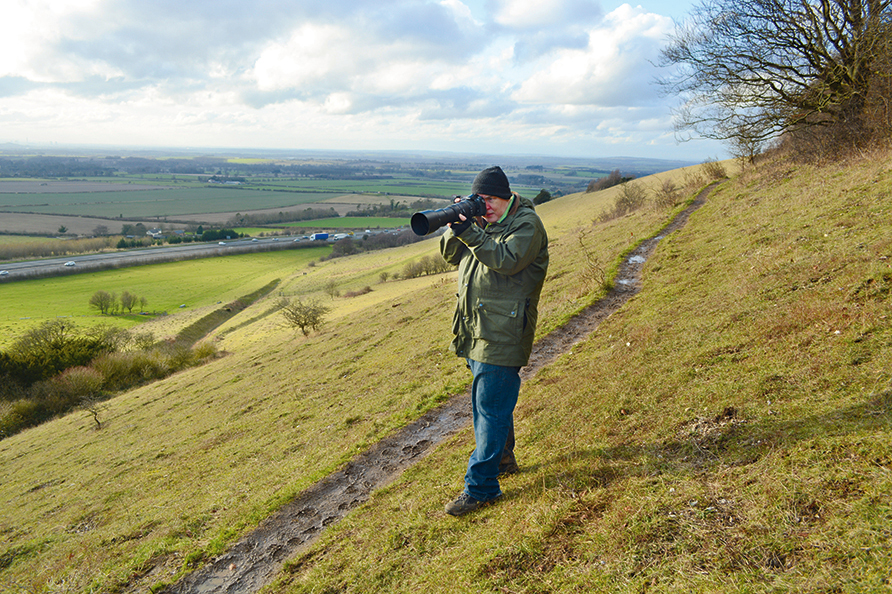
You need to master the panning technique. You can’t rely on a bird just entering the frame, so a tripod is not a great help. Track the bird smoothly across the sky, and wait for it to get closer and turn to the light. Ideally you want it front- or side-lit, to show the color and detail of the plumage.
06 Dynamic focusing
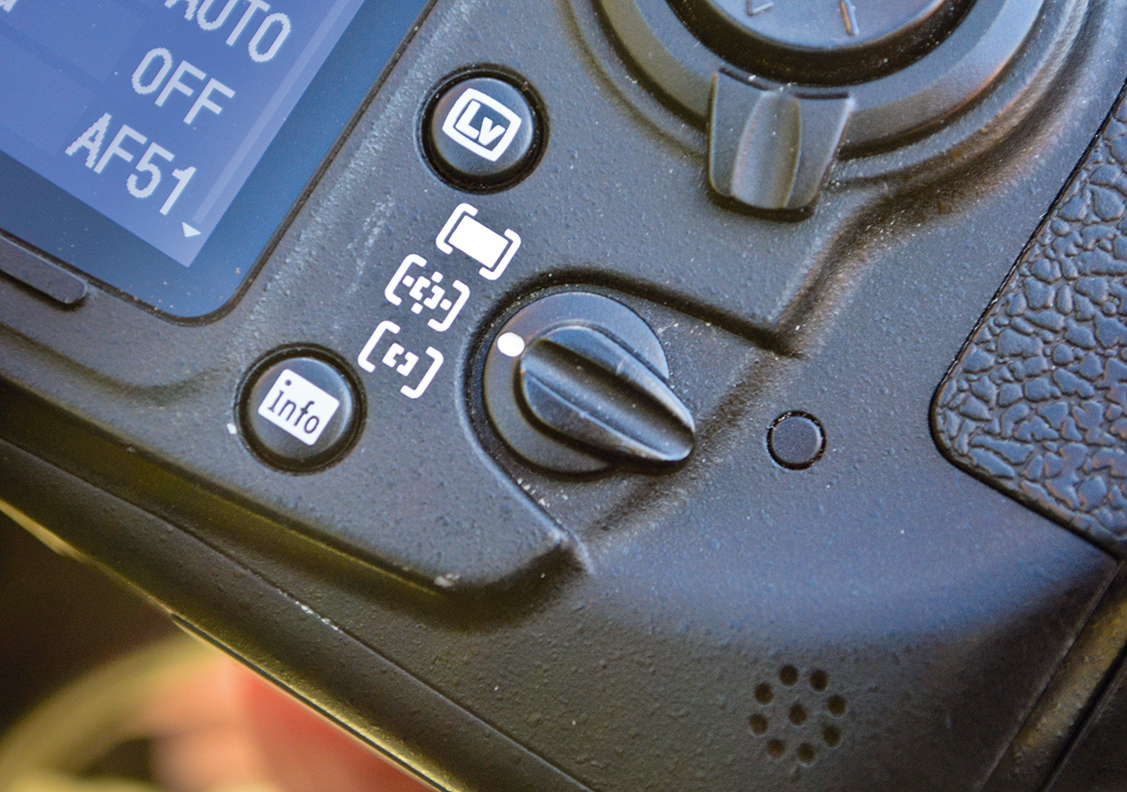
Kites move quickly, so you need to make sure that the autofocus can keep up! This unpredictability is the perfect scenario for a function like Nikon’s Dynamic Area AF or Canon's AF Point Expansion. Use the central AF point, and try to keep this over the bird as you pan – if you can’t keep up, the camera will switch to another AF point automatically.
More videos:
Photography tips and techniques videos
Zoo photography tips: how to get great pictures of animals
The best 150-600mm lenses in 2019
Get the Digital Camera World Newsletter
The best camera deals, reviews, product advice, and unmissable photography news, direct to your inbox!
Chris George has worked on Digital Camera World since its launch in 2017. He has been writing about photography, mobile phones, video making and technology for over 30 years – and has edited numerous magazines including PhotoPlus, N-Photo, Digital Camera, Video Camera, and Professional Photography.
His first serious camera was the iconic Olympus OM10, with which he won the title of Young Photographer of the Year - long before the advent of autofocus and memory cards. Today he uses a Nikon D800, a Fujifilm X-T1, a Sony A7, and his iPhone 15 Pro Max.
He has written about technology for countless publications and websites including The Sunday Times Magazine, The Daily Telegraph, Dorling Kindersley, What Cellphone, T3 and Techradar.
