Boost your portrait photos with unique star-shaped catchlights
Use any type and shape of lights to create magical reflections in your subject’s eyes
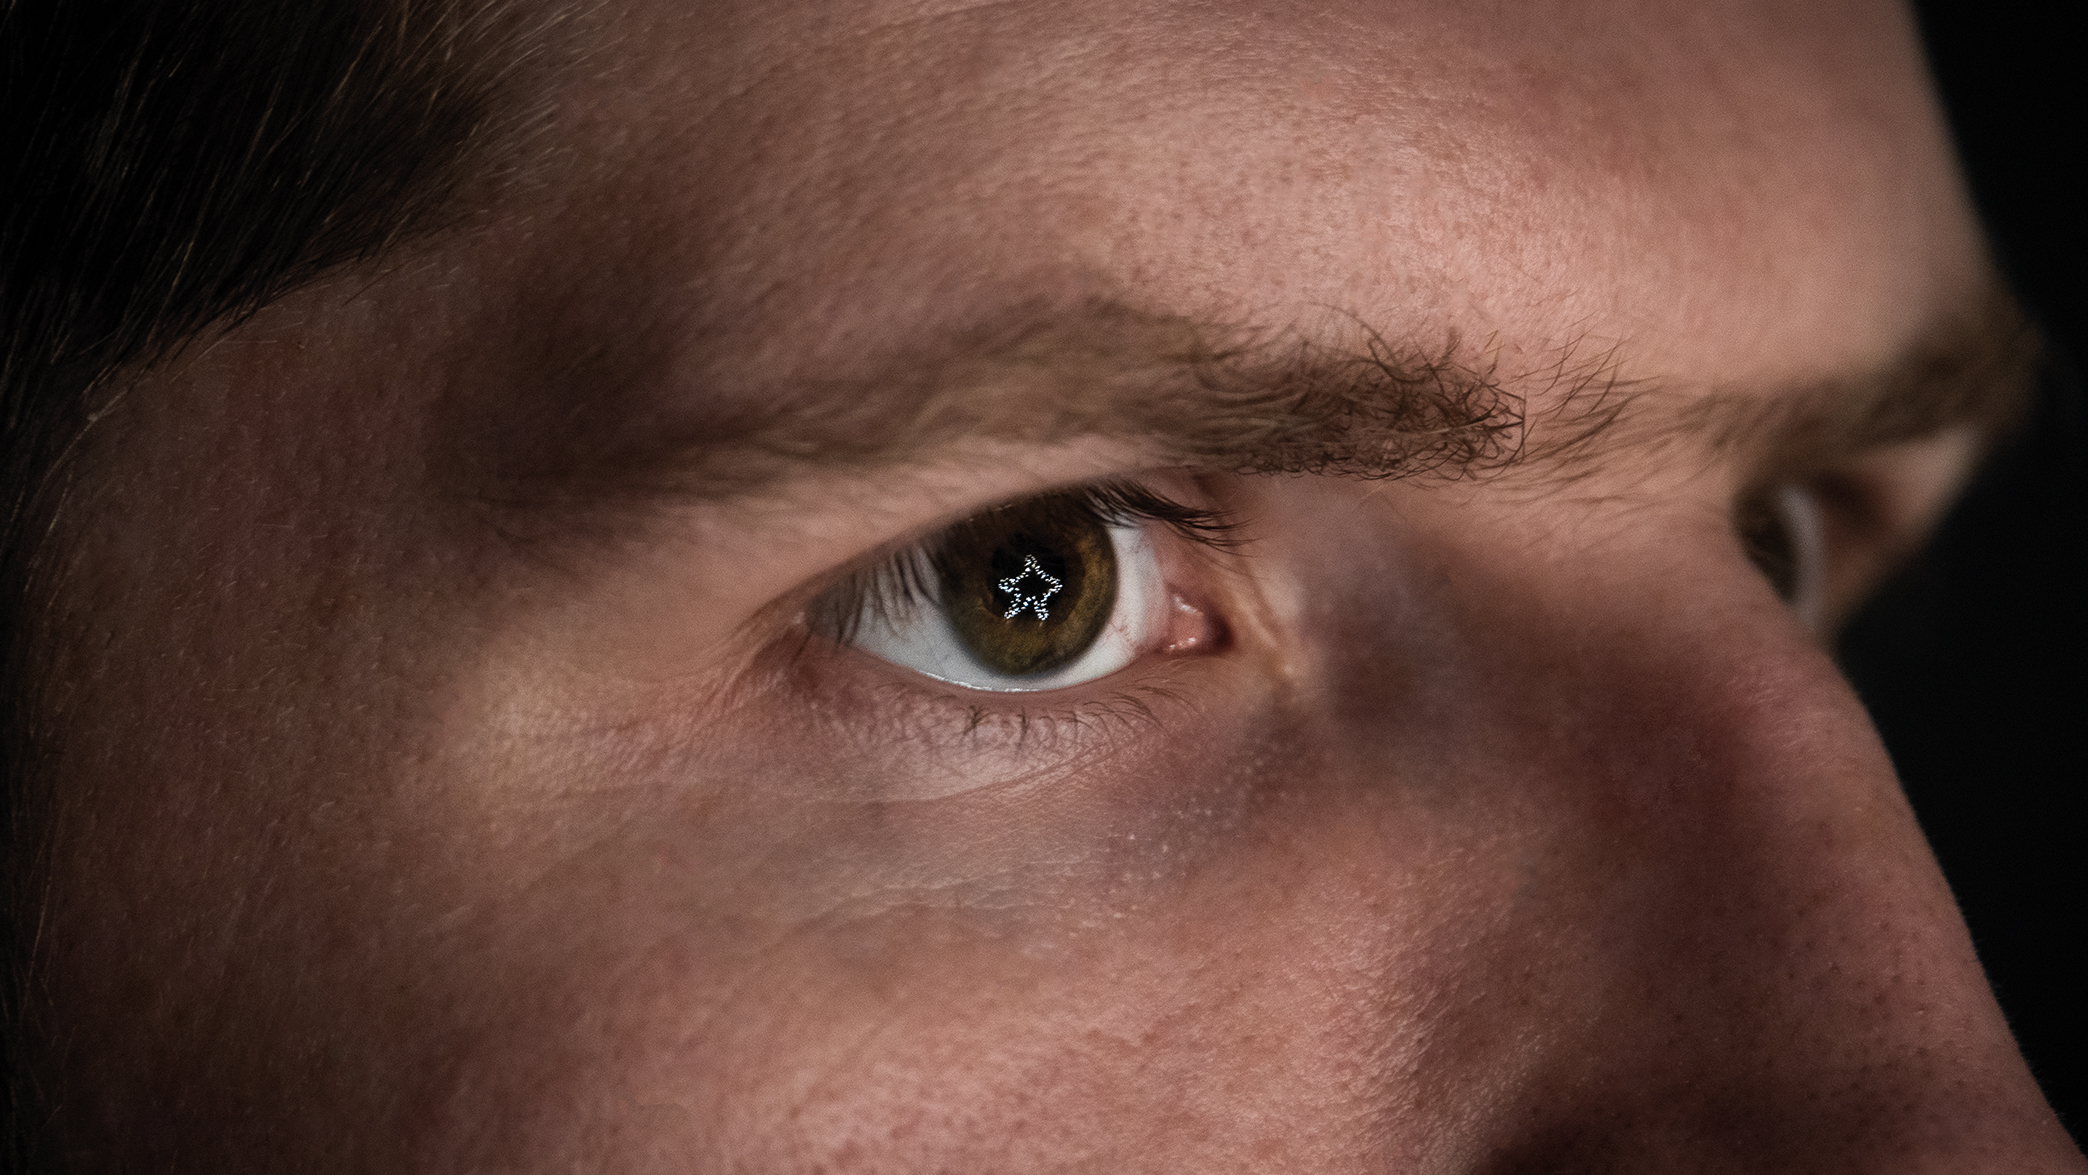
When taking a portrait, it is important to include catchlights. These are reflections of the light source in the subject’s eyes that can add life, depth and a captivating sparkle. They make your subject look more vibrant and engaging and can turn a mundane portrait into an eye-catching one.
The shape and intensity of catchlights can vary depending on the shooting environment. When shooting in a studio, the most effective way to create catchlights is to direct a light source towards your subject. This can be easily accomplished using a softbox or beauty dish to diffuse light for flattering effects. Similarly, when shooting outdoors, the sun creates natural catchlights, even when the weather is overcast. In fact, on overcast days, the clouds act as a natural softbox, creating gentle reflections in your subject’s eyes.
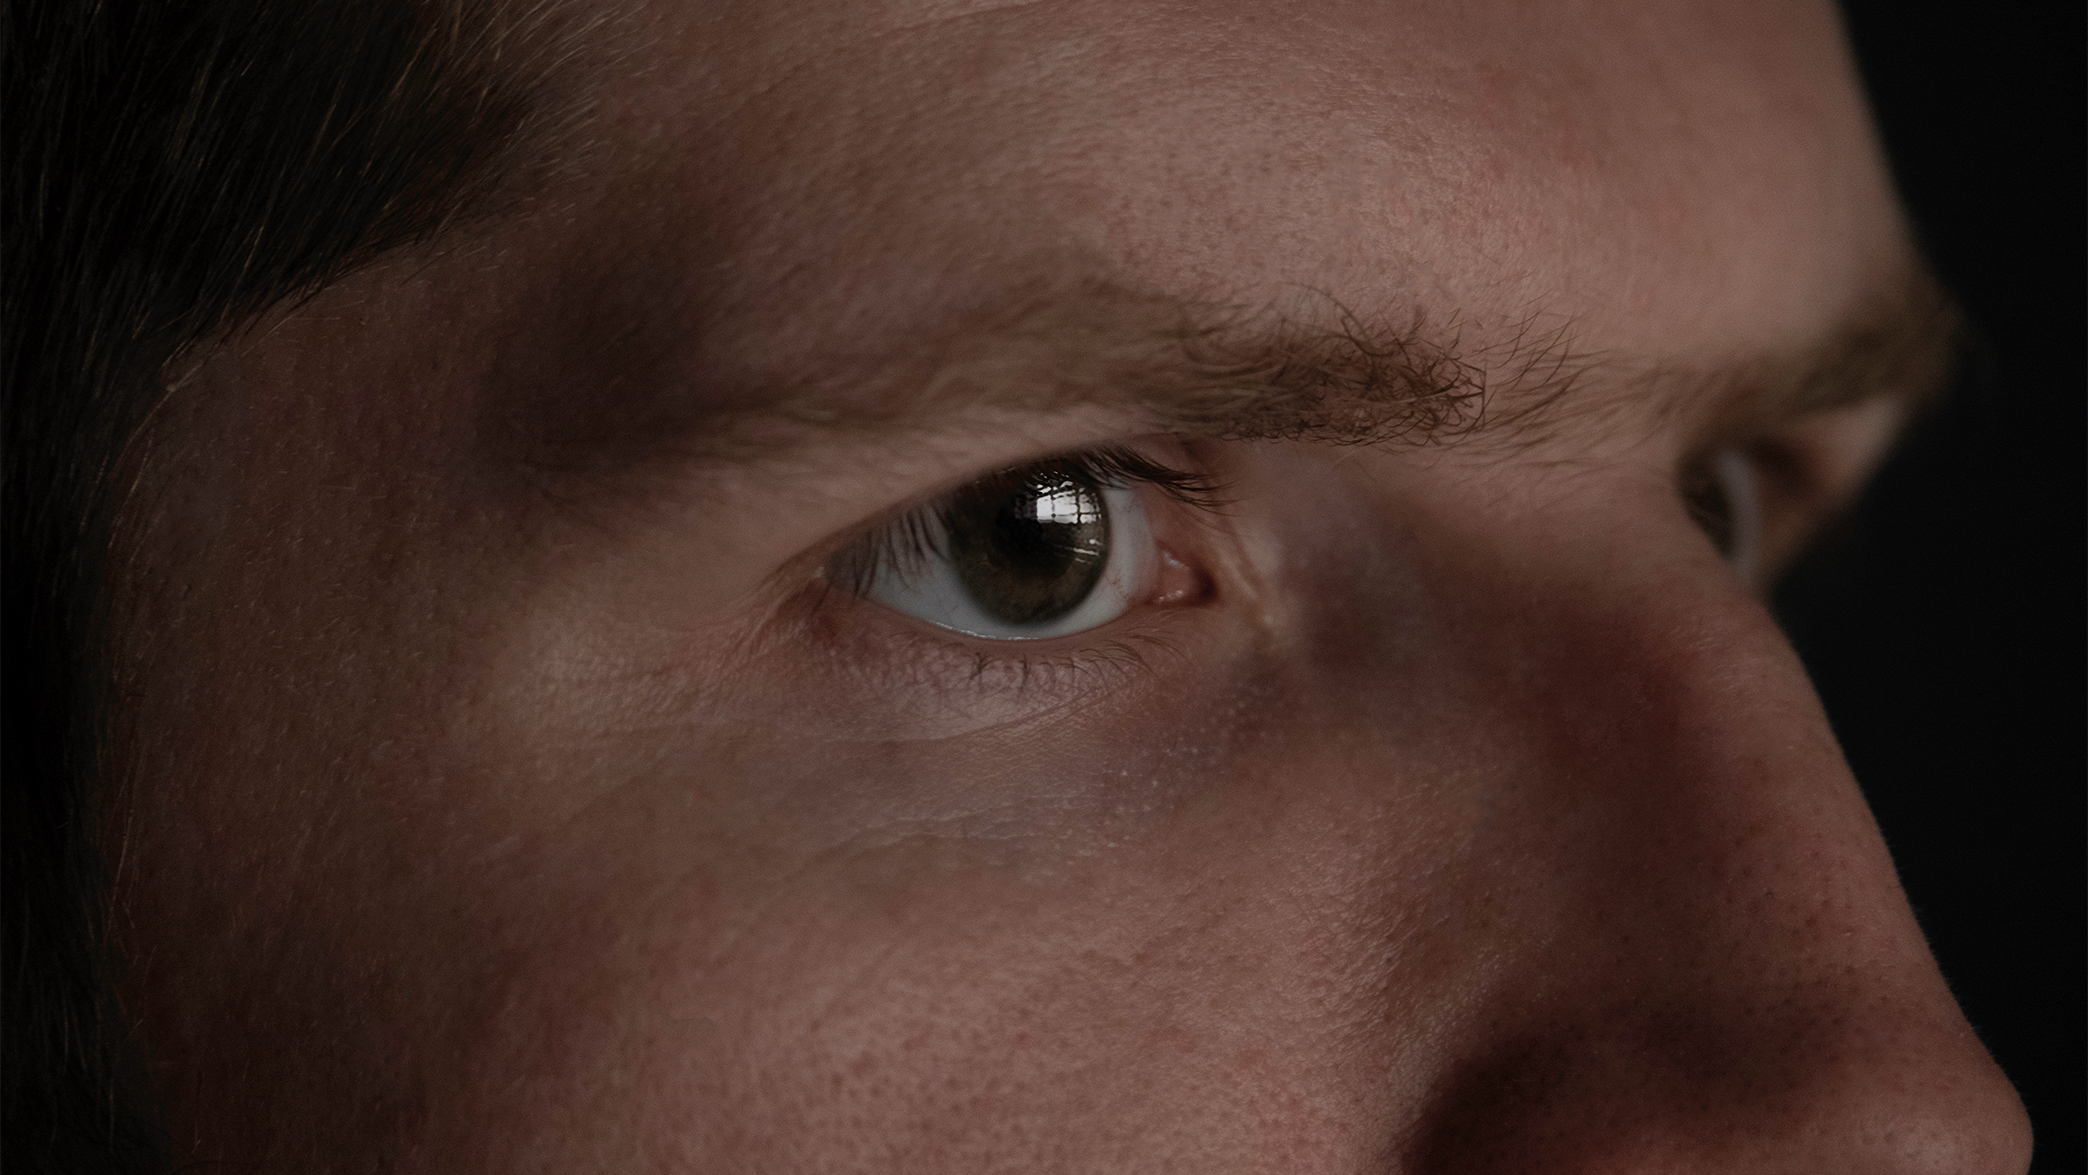
Catchlights are essentially light reflections and so they offer limitless potential to experiment and create unique light shapes to complement the style of your portrait. To create the outline, we need to attach a string of lights to a piece of wood or thick cardboard you may have lying around the home. Stick the lights down with either nails or tape into the desired shape. It’s a quick and cost-effective way of adding a special touch that makes your portraits stand out.
Before and after

Shooting steps
1. Set the scene

Choose a dark or dimly lit room with minimal ambient light as this will help make the reflections stand out more. Gently place the lights in front of your model, ensuring they are not too bright and are evenly distributed.
2. Stay steady
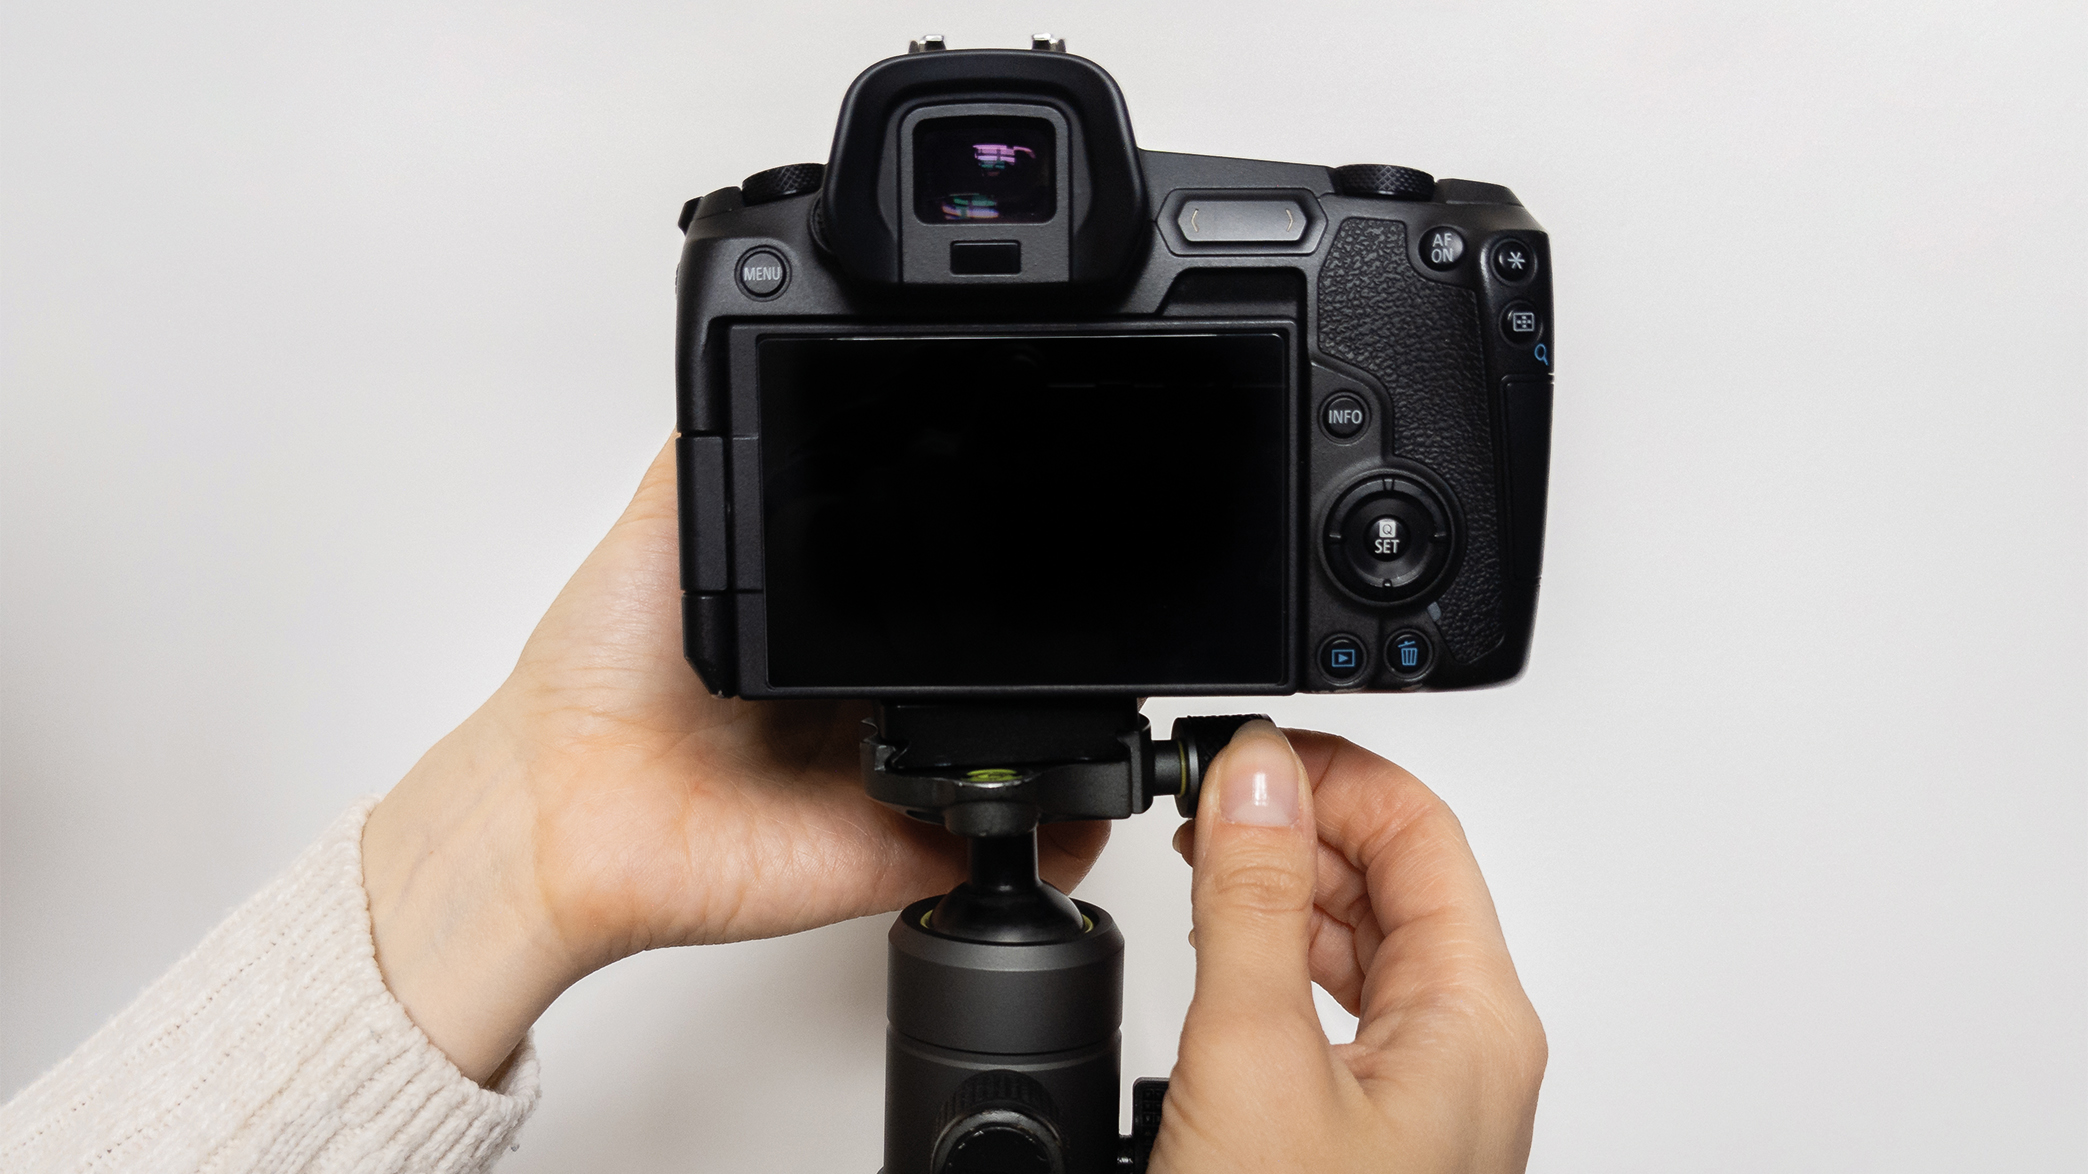
When working in low-light conditions, place your camera on a tripod to keep it steady. This allows you to use longer shutter speeds, where more light can enter the sensor, and also prevents camera shake, resulting in sharp and well-exposed images.
3. Shoot in Manual
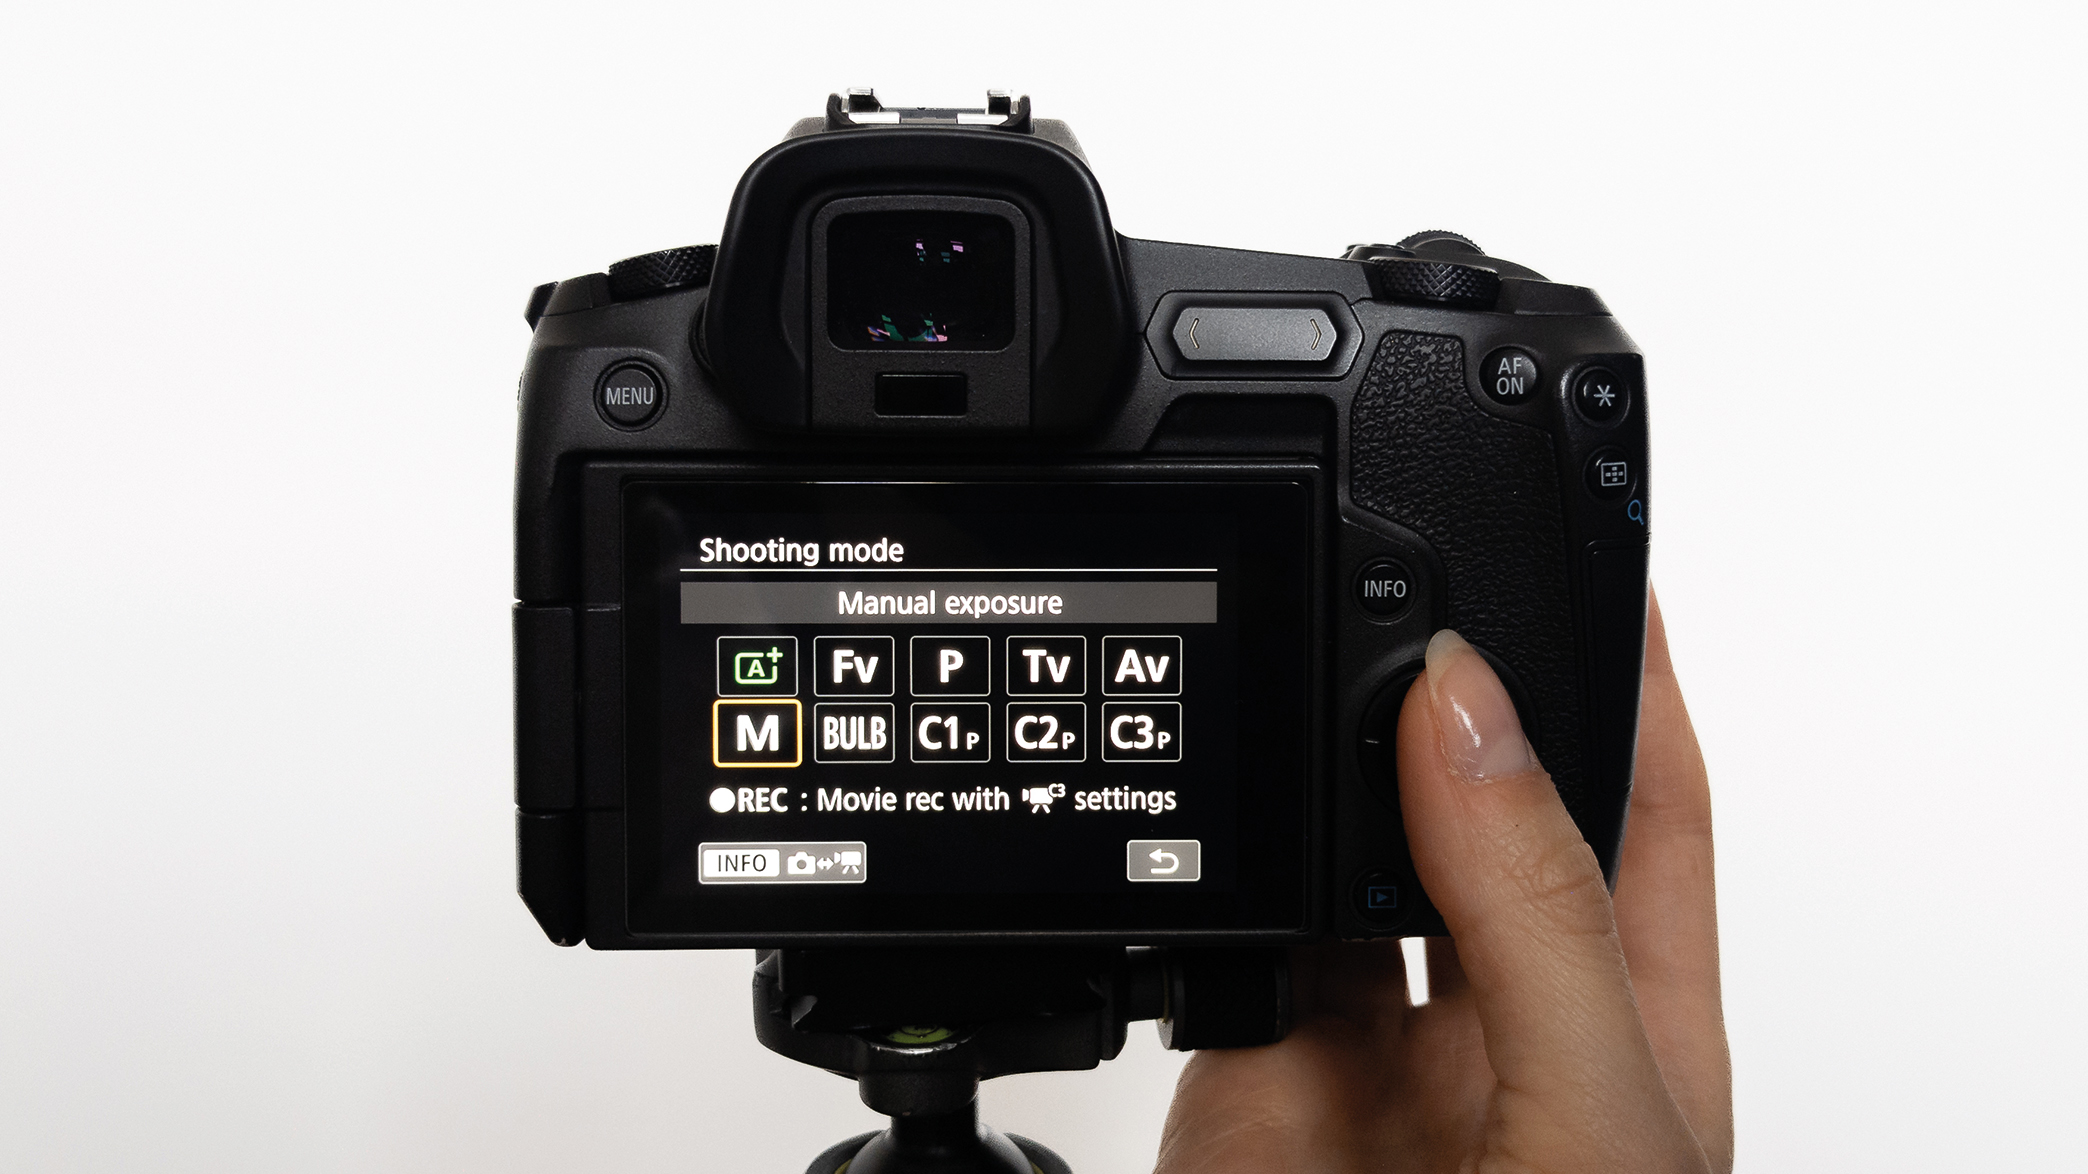
Change to M mode to manually adjust the exposure settings. Use a slow shutter speed, between 1/4 to 1 sec, to allow the light reflection to stand out. Select an open aperture of about f/6.3 to enhance the light and create beautiful bokeh.
4. Select ISO value
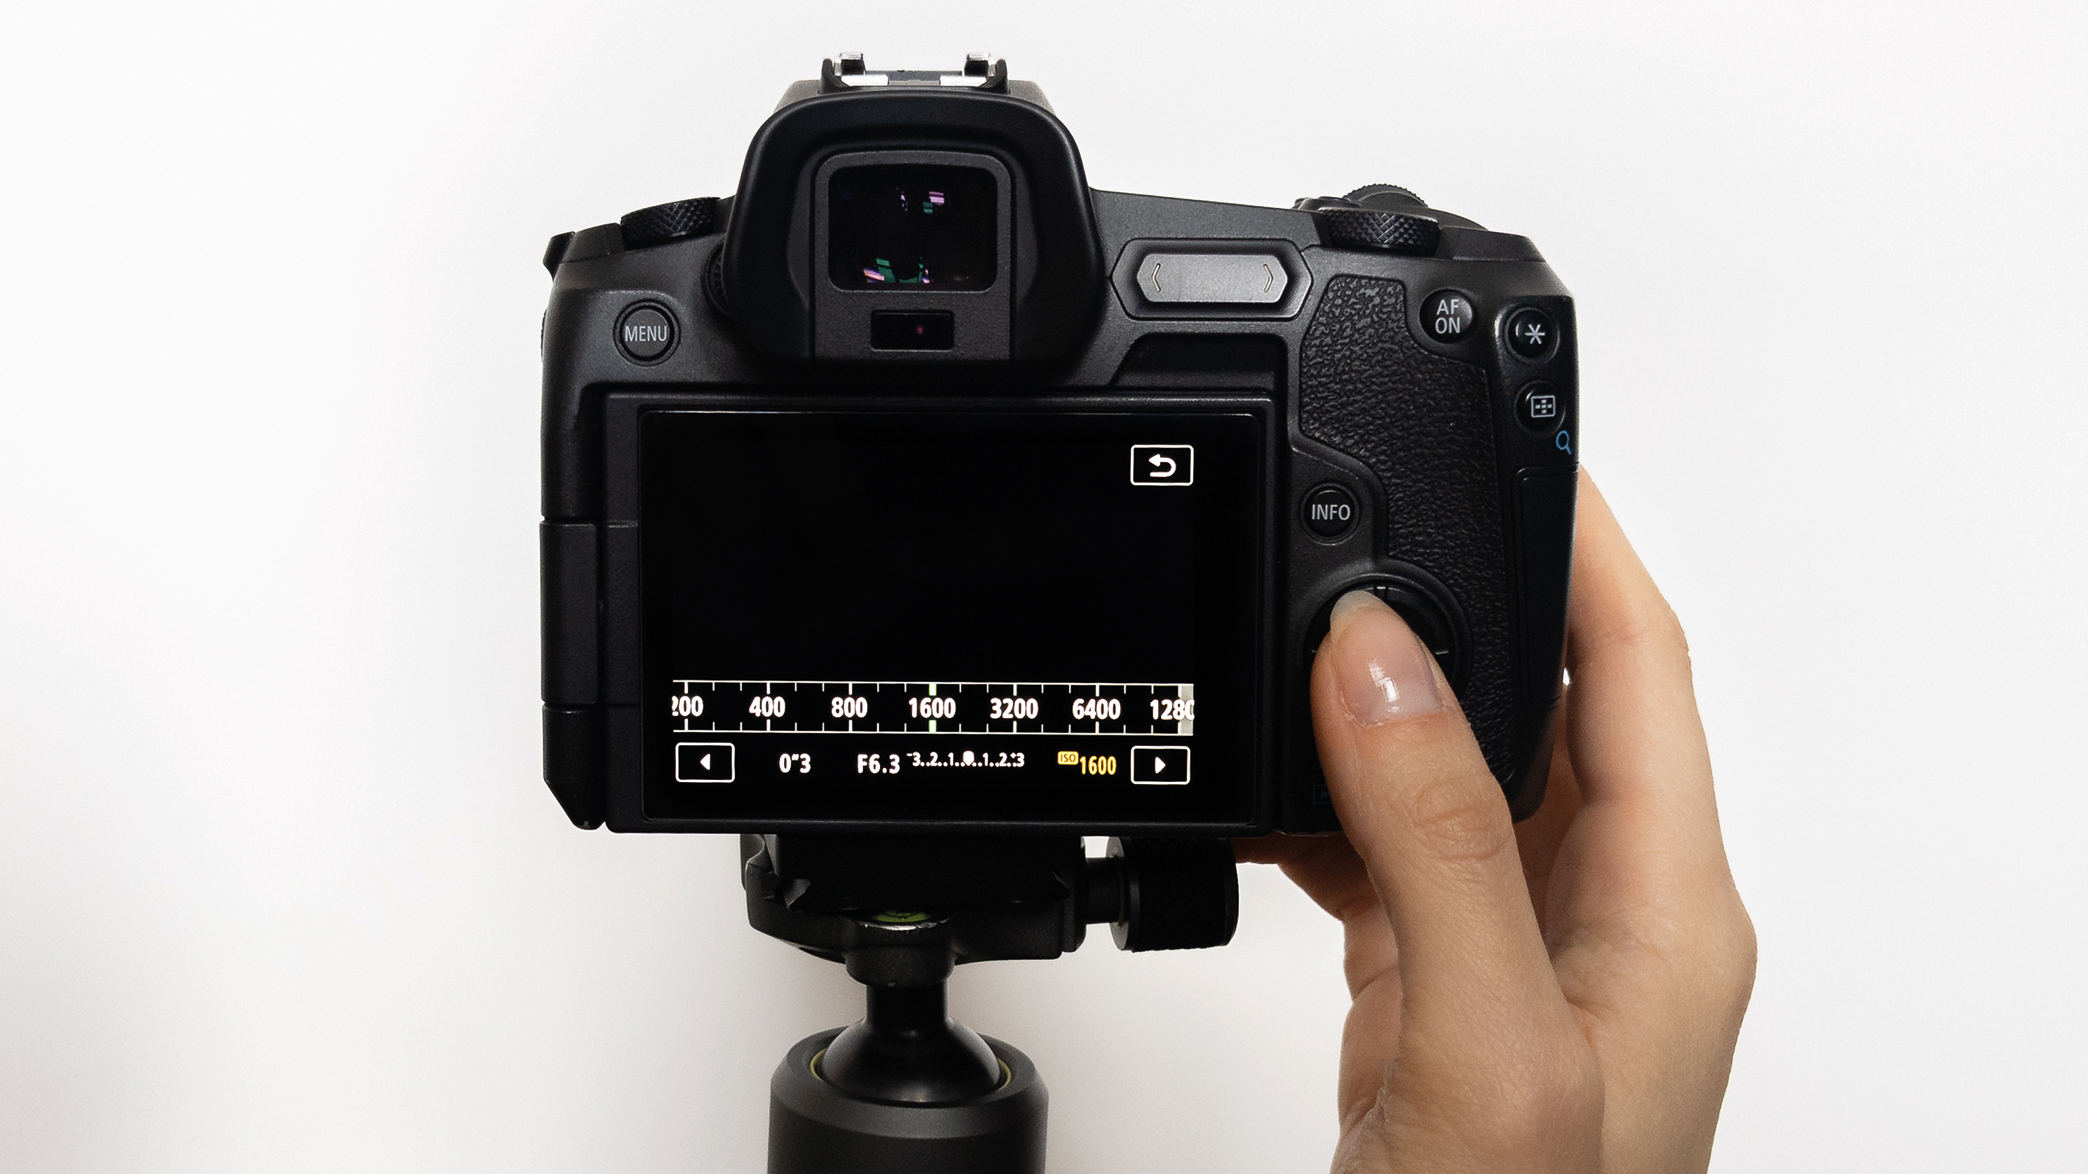
Keep your ISO setting as low as possible to reduce the amount of visible noise in the darker parts of the image. However, if the final result shows significant noise, you can correct it in post-production with the Denoise function in Lightroom.
5. Set the focus
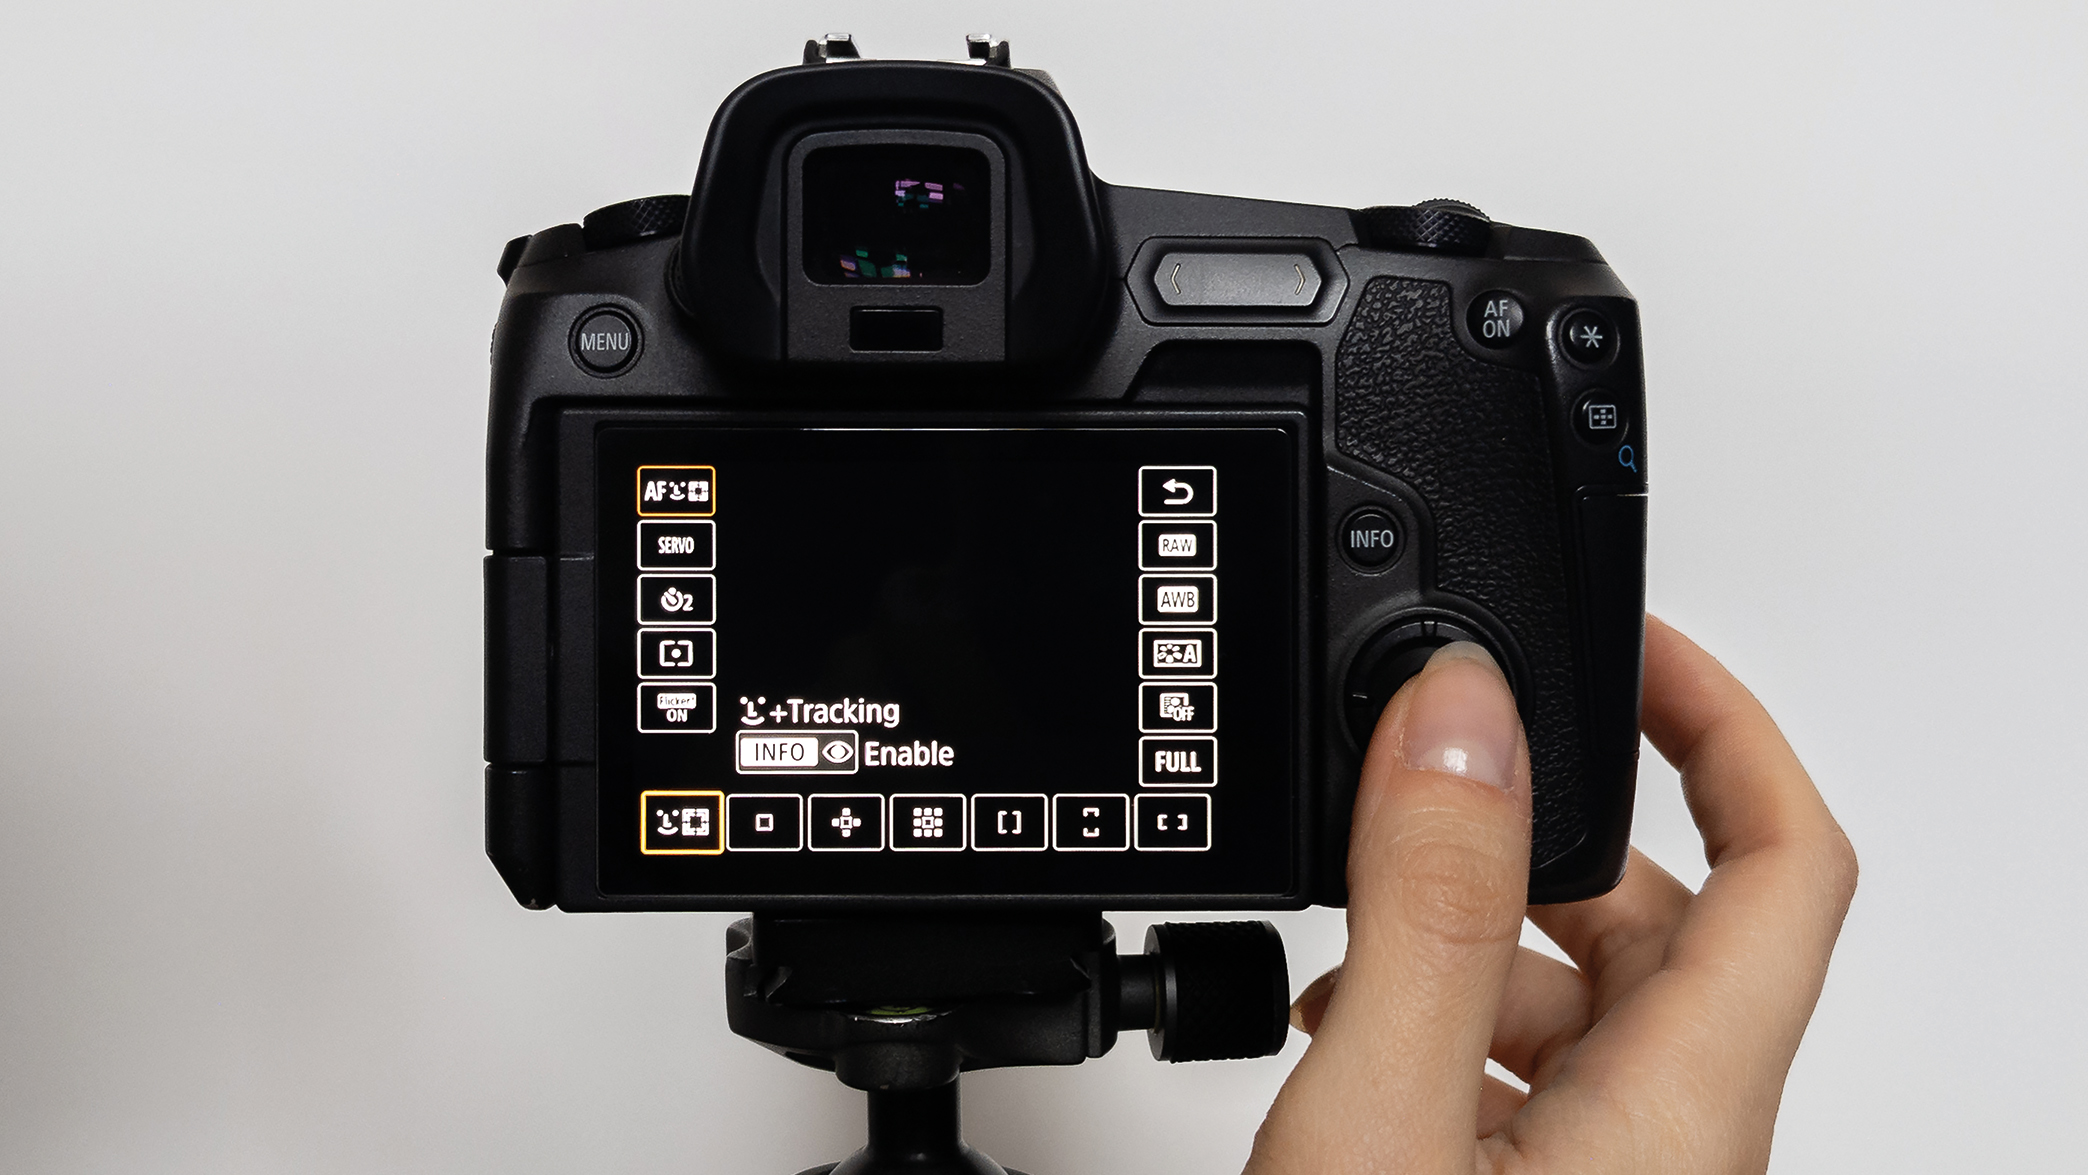
To ensure both the eye and catchlight are sharp, go into your camera menu to bring up the available focus options. The eye-tracking feature on Canon cameras, for example, works well and is a great way of ensuring that the subject’s eyes are in focus.
6. Choose focal length
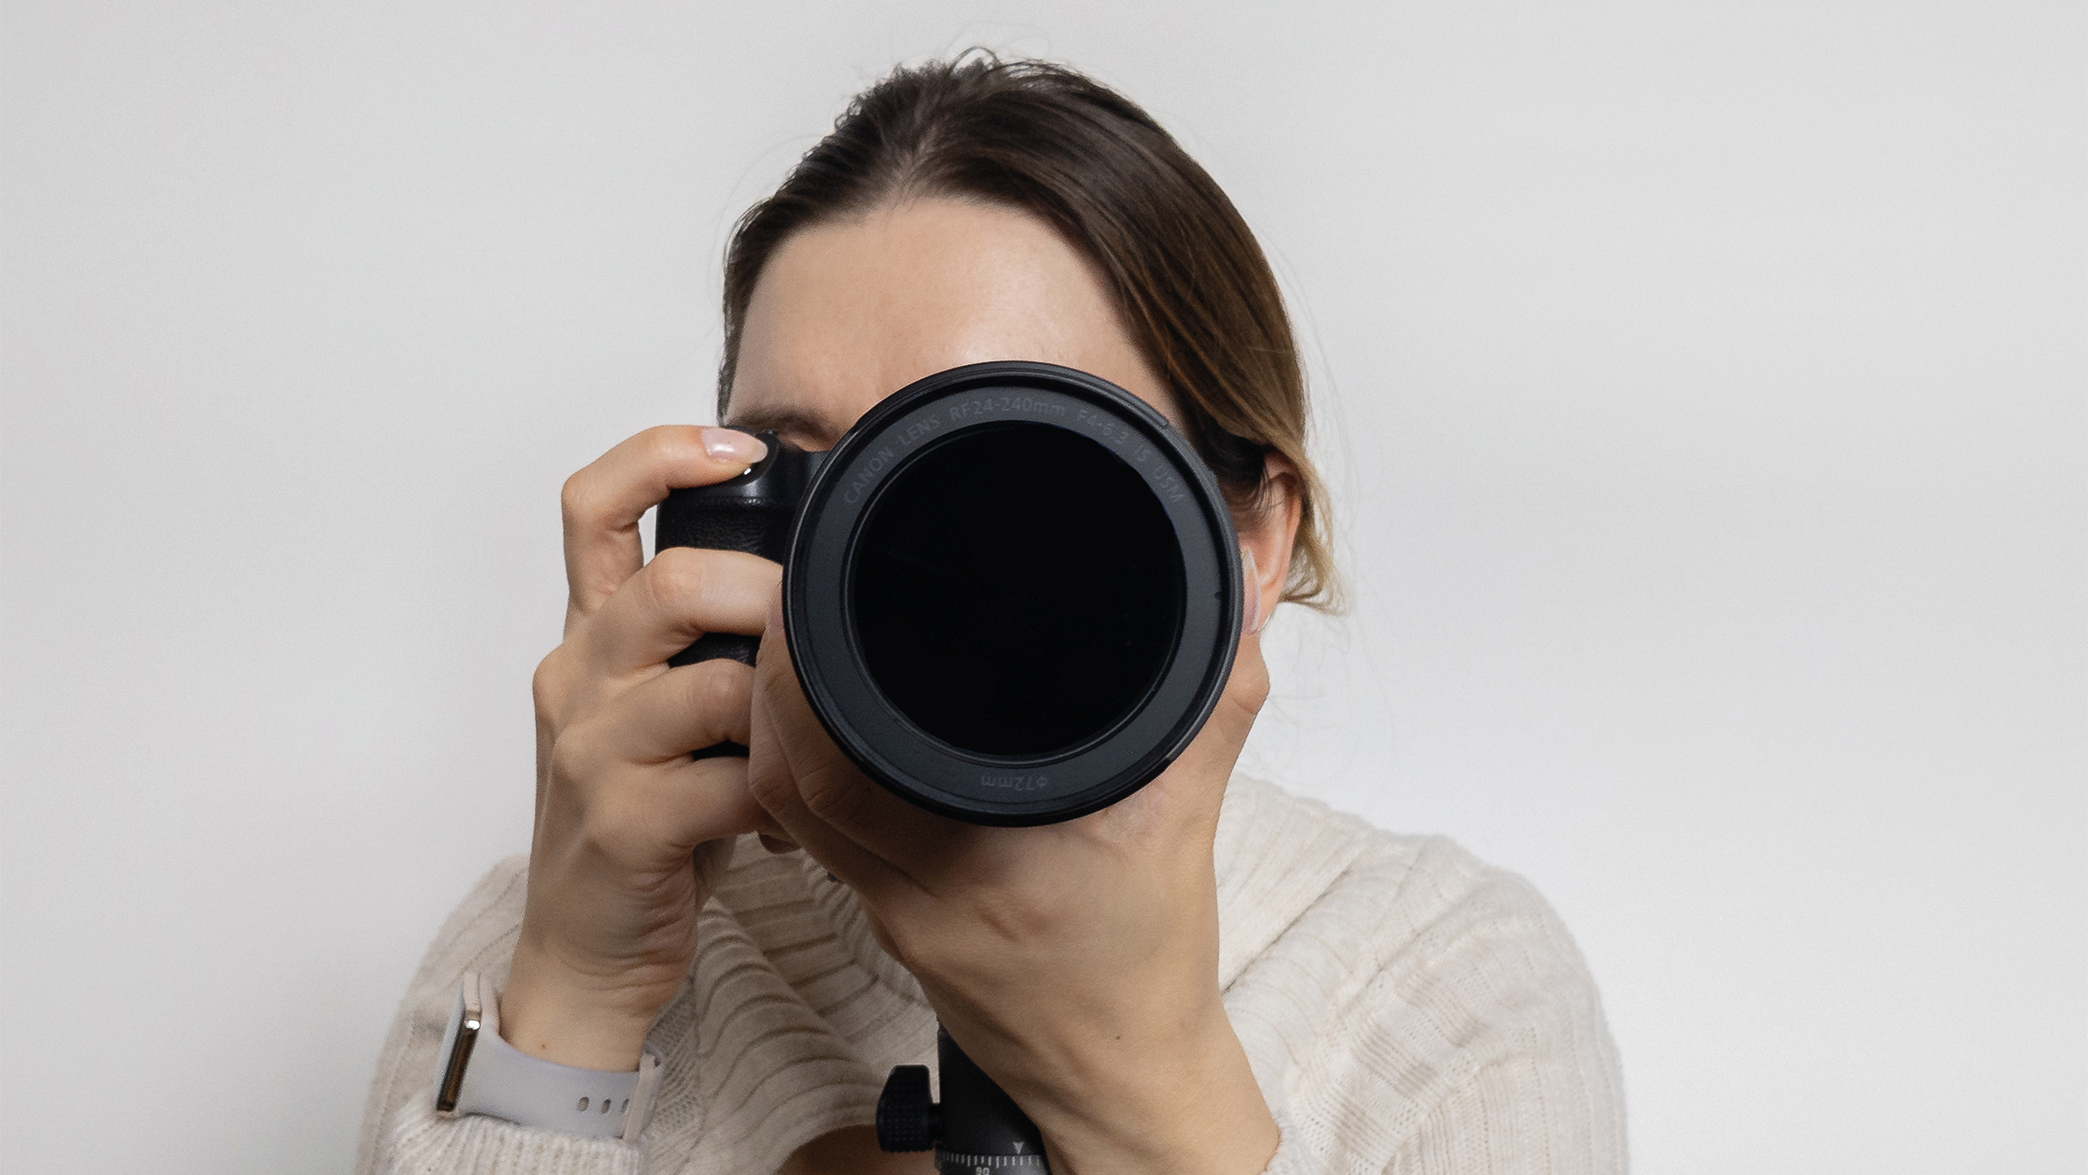
Working with a versatile lens, such as the Canon 24-240mm f/4-6.3 telephoto lens, allows you to rearrange the frame with ease. Work with long focal lengths to achieve an aesthetically pleasing compressed perspective.
More tutorials
- Ditch your tripod – try handheld HDR instead!
- Freeze the motion in your images with this step-by-step tutorial
- Long exposure flash photography can give you mind blowing results
- Street photography: how to remove distracting elements with long exposures
This article originally appeared in Digital Photographer, a monthly magazine, and the kitbag essential for pros, enthusiasts, and amateurs alike!
Inside, you'll find practical guides, shooting tips, and techniques from working photographers, plus all the latest industry news.
Get the Digital Camera World Newsletter
The best camera deals, reviews, product advice, and unmissable photography news, direct to your inbox!

A passionate photographer with an insatiable wanderlust. When not writing tutorials to educate creative and technical techniques, Natalia’s lens is drawn to architectural marvels, landscapes, and wildlife. With her camera as a constant companion, she embarks on journeys, capturing the essence of the beauty of the world’s most stunning places and the wonders of nature.
- Kim BunermannStaff Writer

