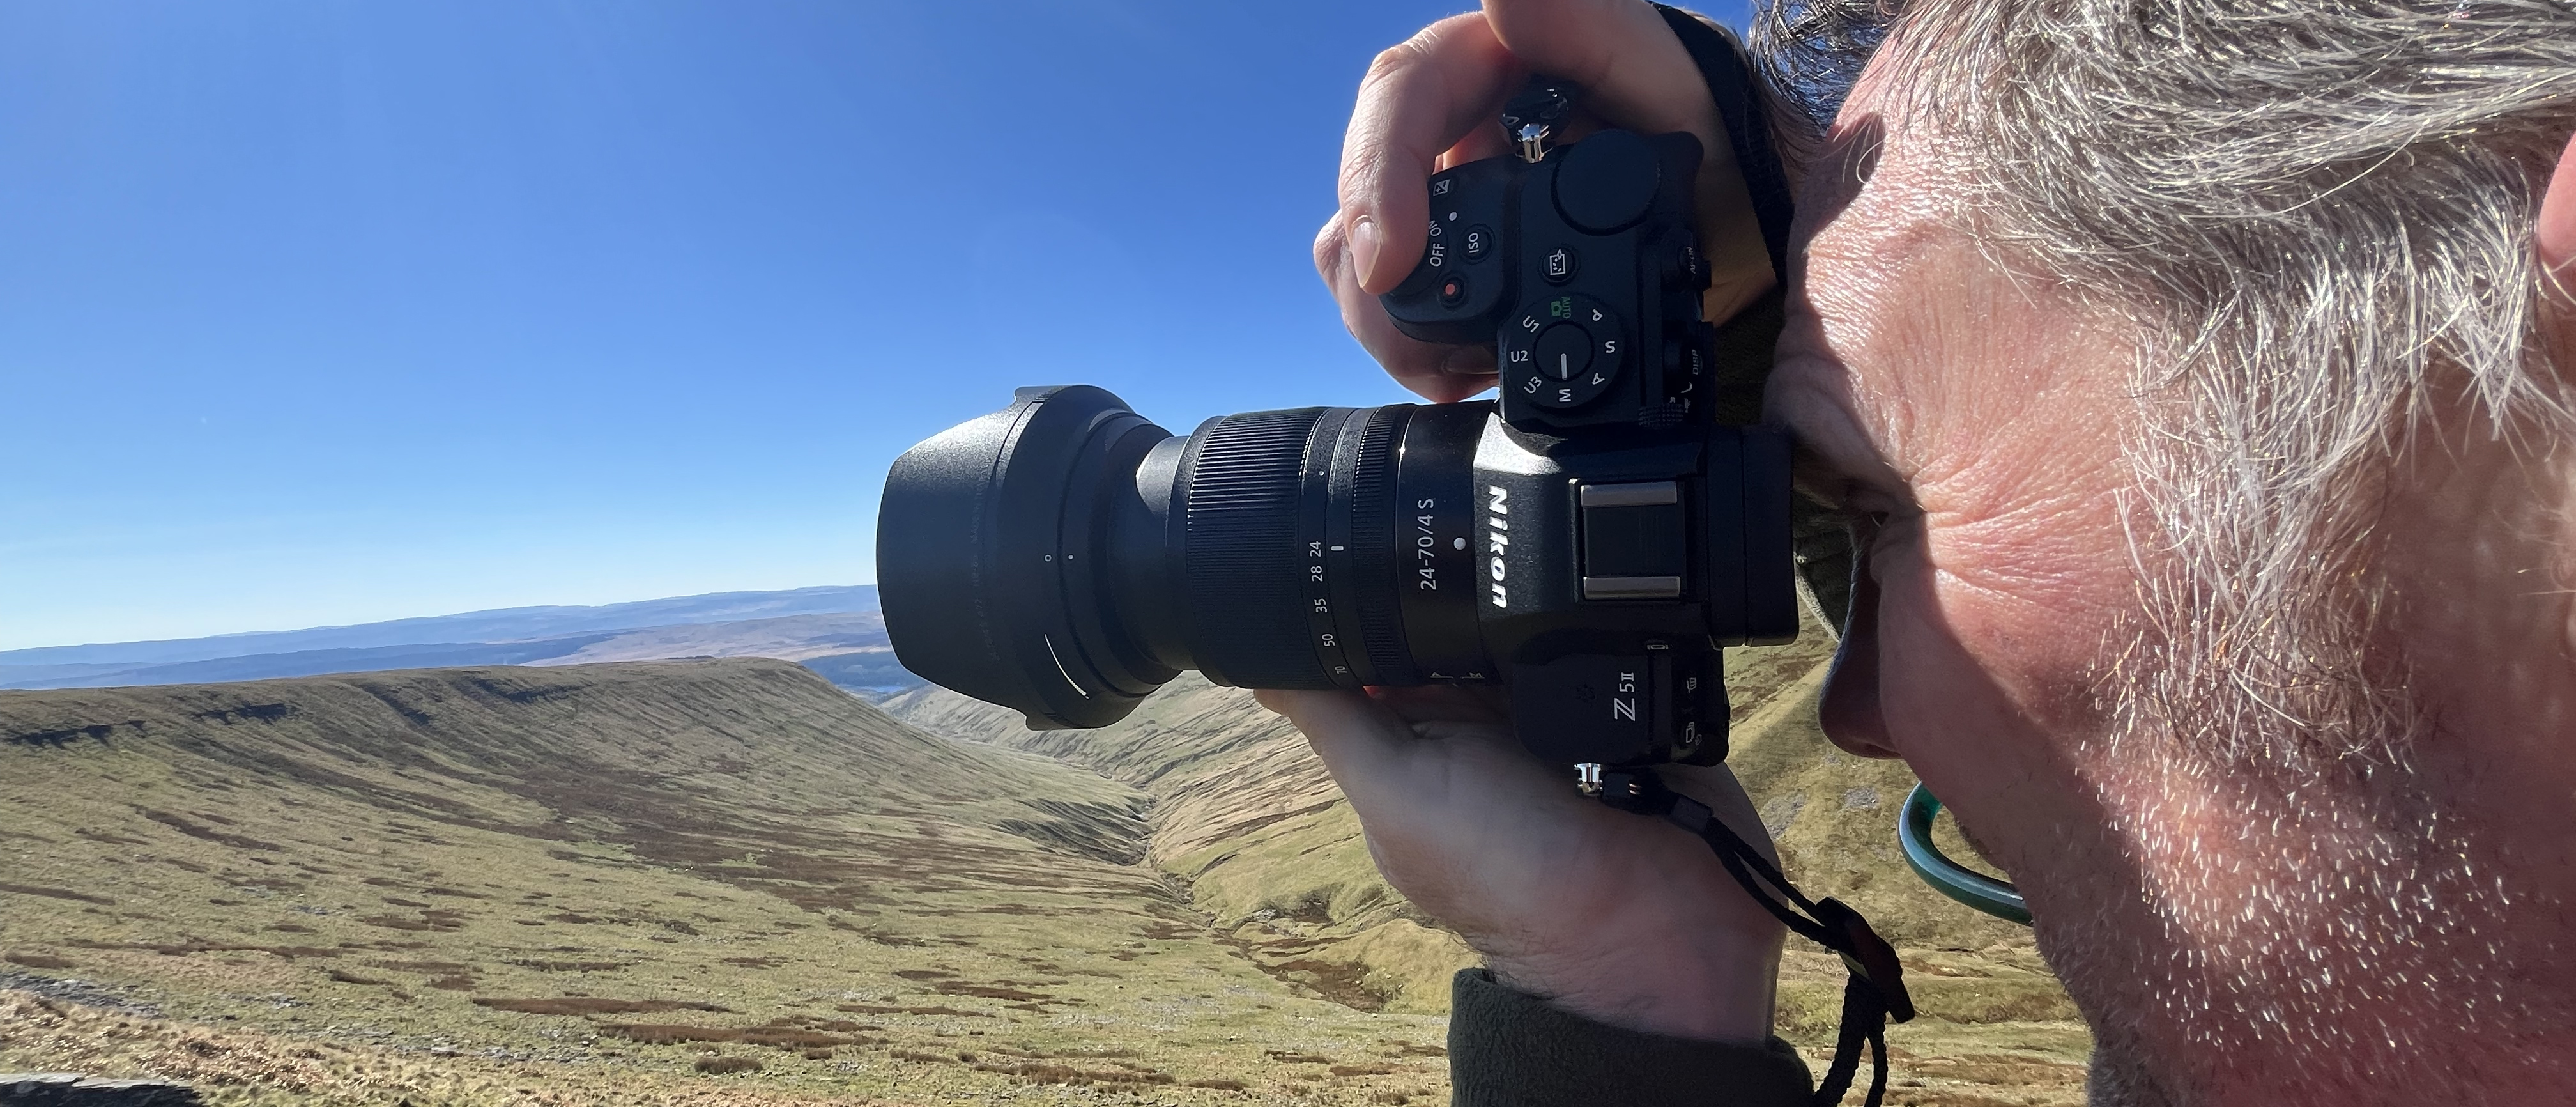
Photo hacks: Build a bean bag and get stable shots without a tripod
Make a sturdy bean bag for steadier shots – a must-have piece of kit for any backyard wildlife photographer
We all know that pros rely on tripods for sharper images, but they aren’t always a good choice. They can be tricky to use in tight spaces or when you need to be flexible with shooting positions – such as when trying to shoot birds in your backyard from a window ledge.
Luckily there’s a great alternative that can save your photos from dreaded camera shake: a simple bean bag. Prop it on your window sill, a fence or car window and it’ll help to steady your shots, even for longer exposures.
Alternatively, you can rest your camera on a beanbag on the ground for added protection when taking low-level shots in the garden or park – it’s a lot easier than getting a tripod down to ground level.
Read more: Photography tips
A bean bag has always been an essential part of any wildlife photographer’s kit – there are some great commercially made ones available from Tamrac, Lenscoat, and Wildlife Watching Supplies. But there’s no need to go out and buy one; it’s really easy to make your own, and you probably have all the things you need lying around the house to whip up your own DIY bag in minutes.
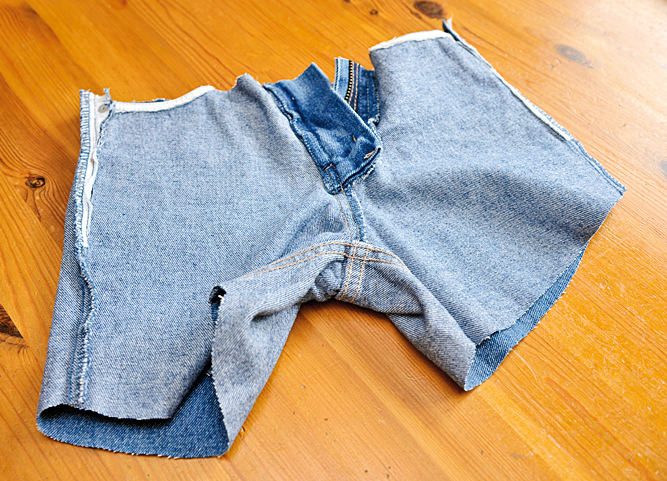
To start with, you’ll need two large rectangles of material. Anything relatively thick is great – we used felt, as it’s easy to cut and sew, but denim or waxed material is great too. (Chop the lower leg off an old pair of trousers and the side seam will be ready-sewn!)
You’ll also need scissors, a needle and thread. If your sewing is a bit rusty, there are lots of easy-to-follow tutorials on YouTube.
When it comes to choosing a filling for your bag, any dried beans and grains will work well. Smaller pulses such as lentils and rice are great, as they’ll make your bag more malleable. Beans can go musty, so never put your bag away while damp.
01 Get stitching

Take your fabric and line up the outside sides facing together. You can use pins to hold everything in place. Sew three of the edges together, half a centimeter in from the edge. We sewed ours by hand with an oversew stitch, but using a sewing machine is even easier.
02 Flip it and fill it
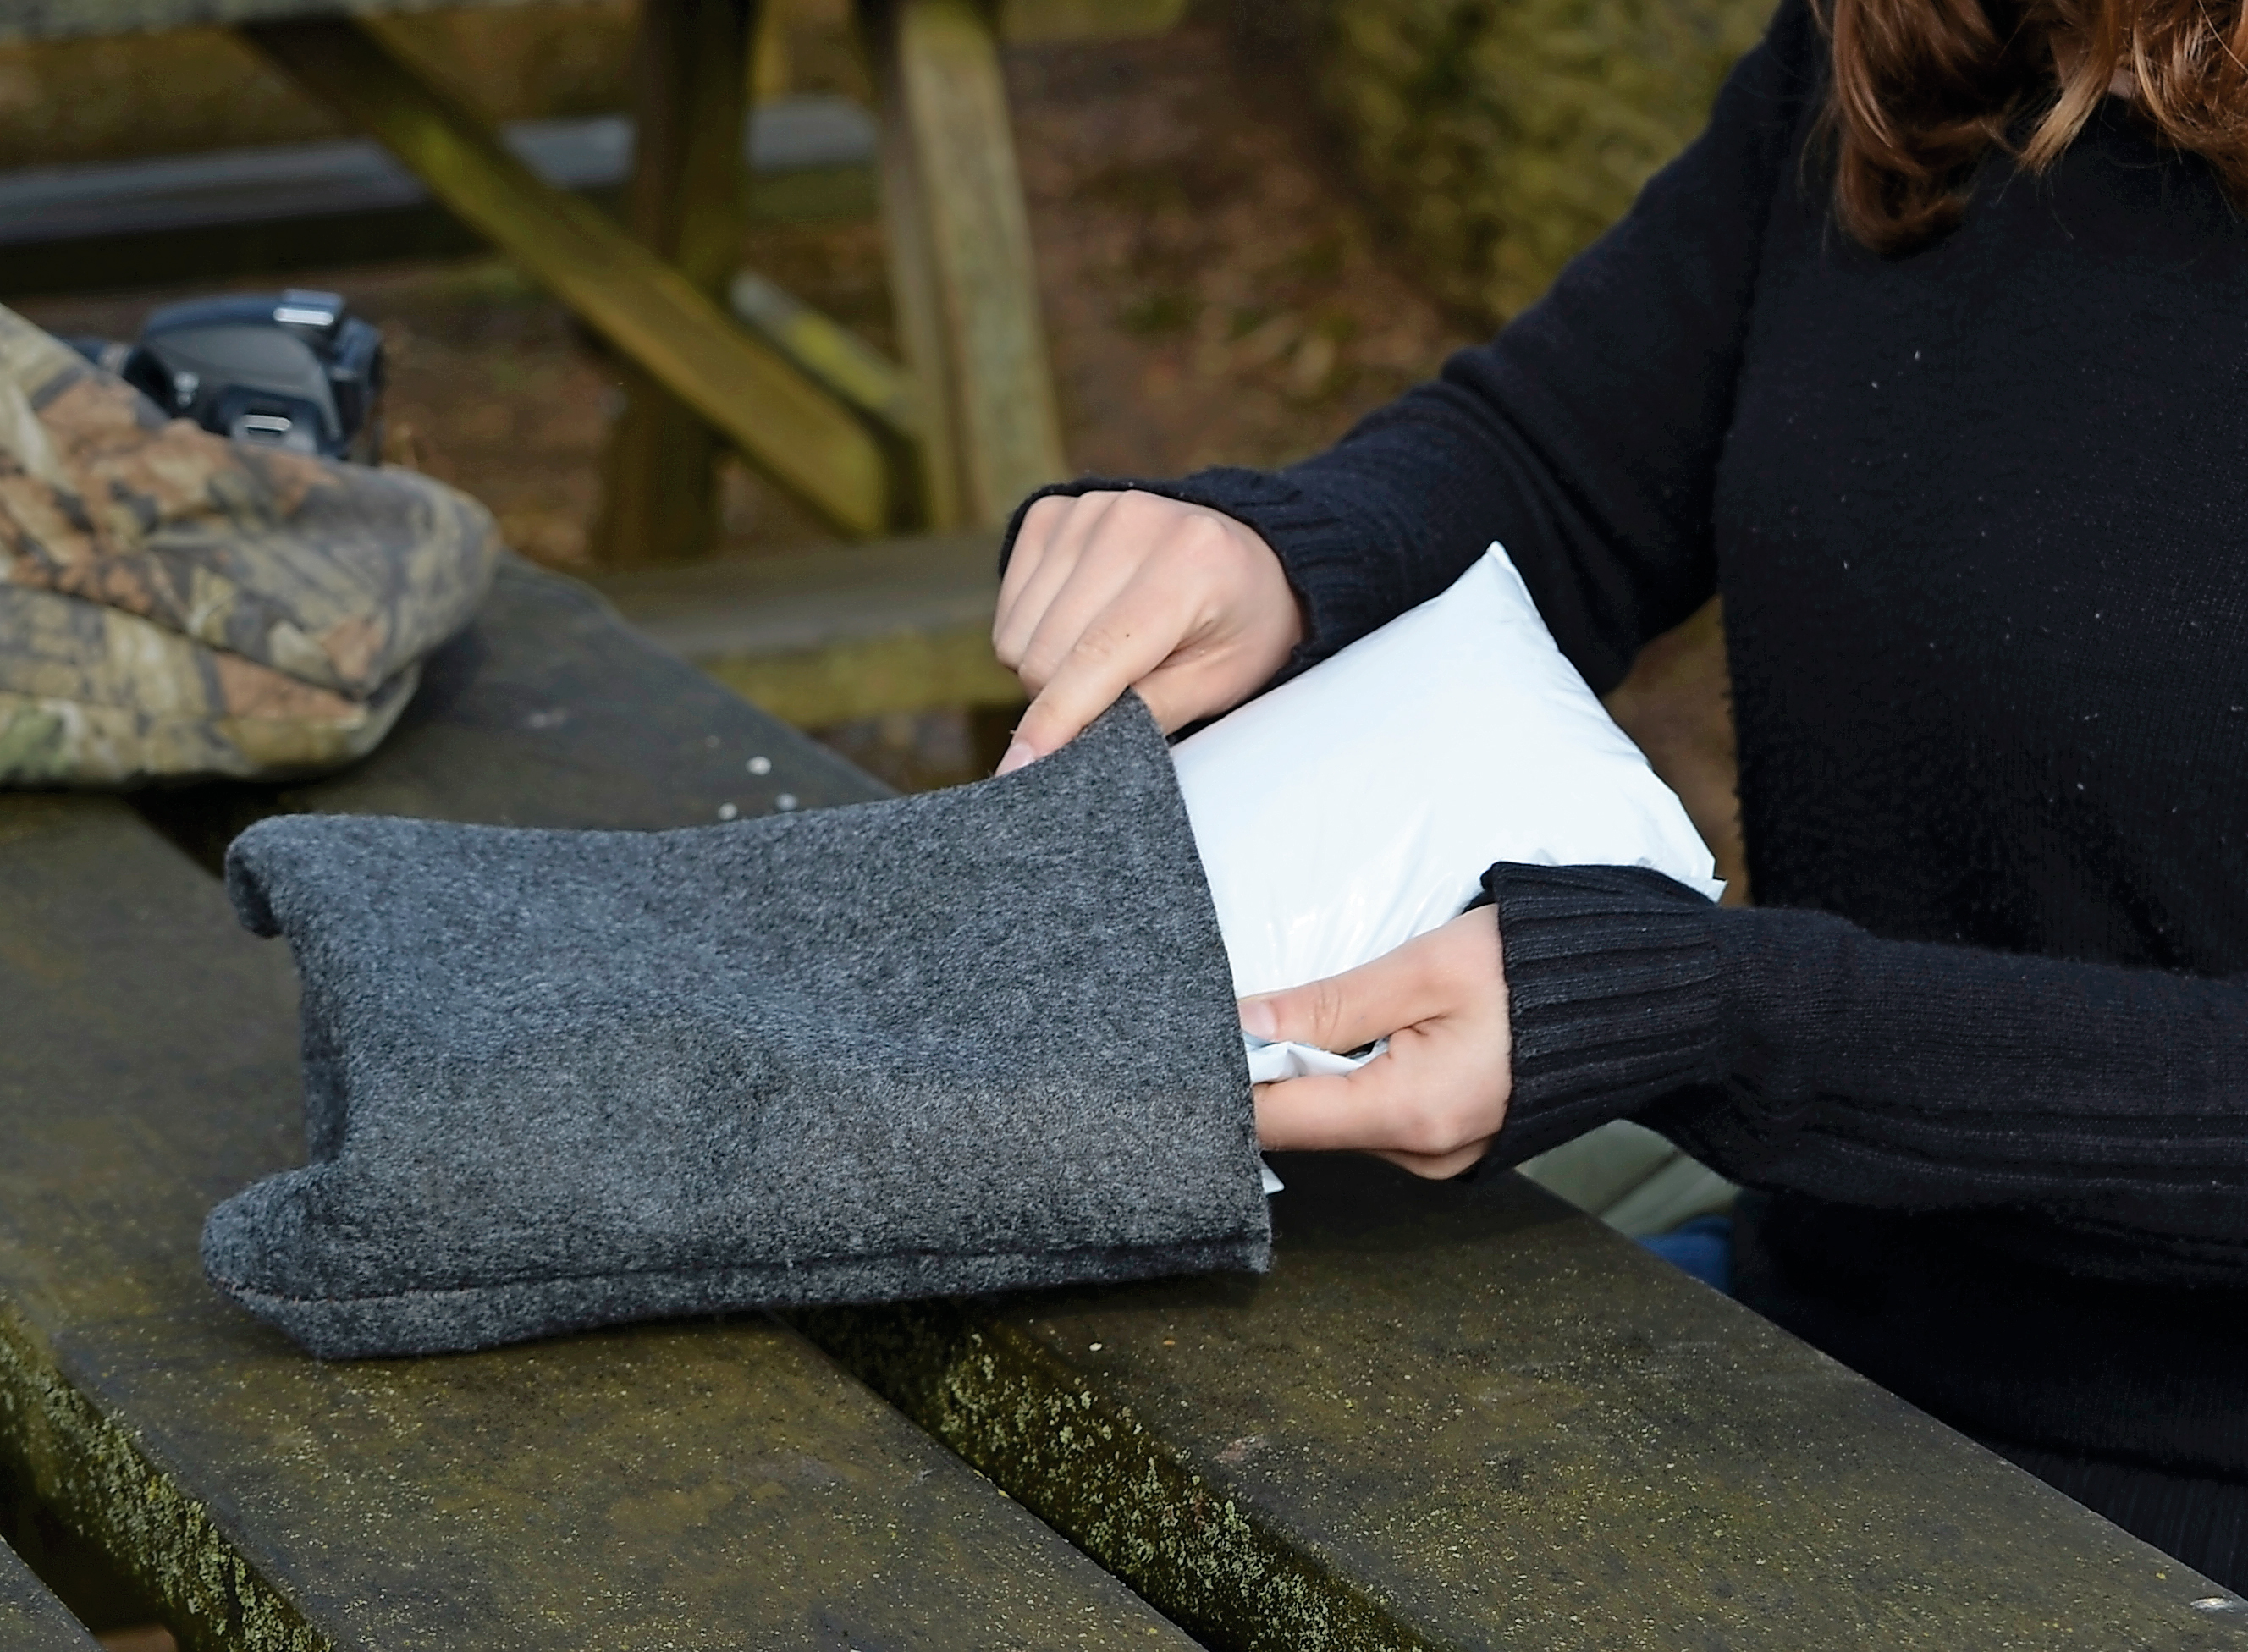
When you’ve sewn up three of the sides, flip the fabric bag out so that the right side is now facing outwards. Take your beans and pour them into a plastic bag, which will help stop them from getting damp, then tie it up and insert it into your bean bag.
03 Test it out
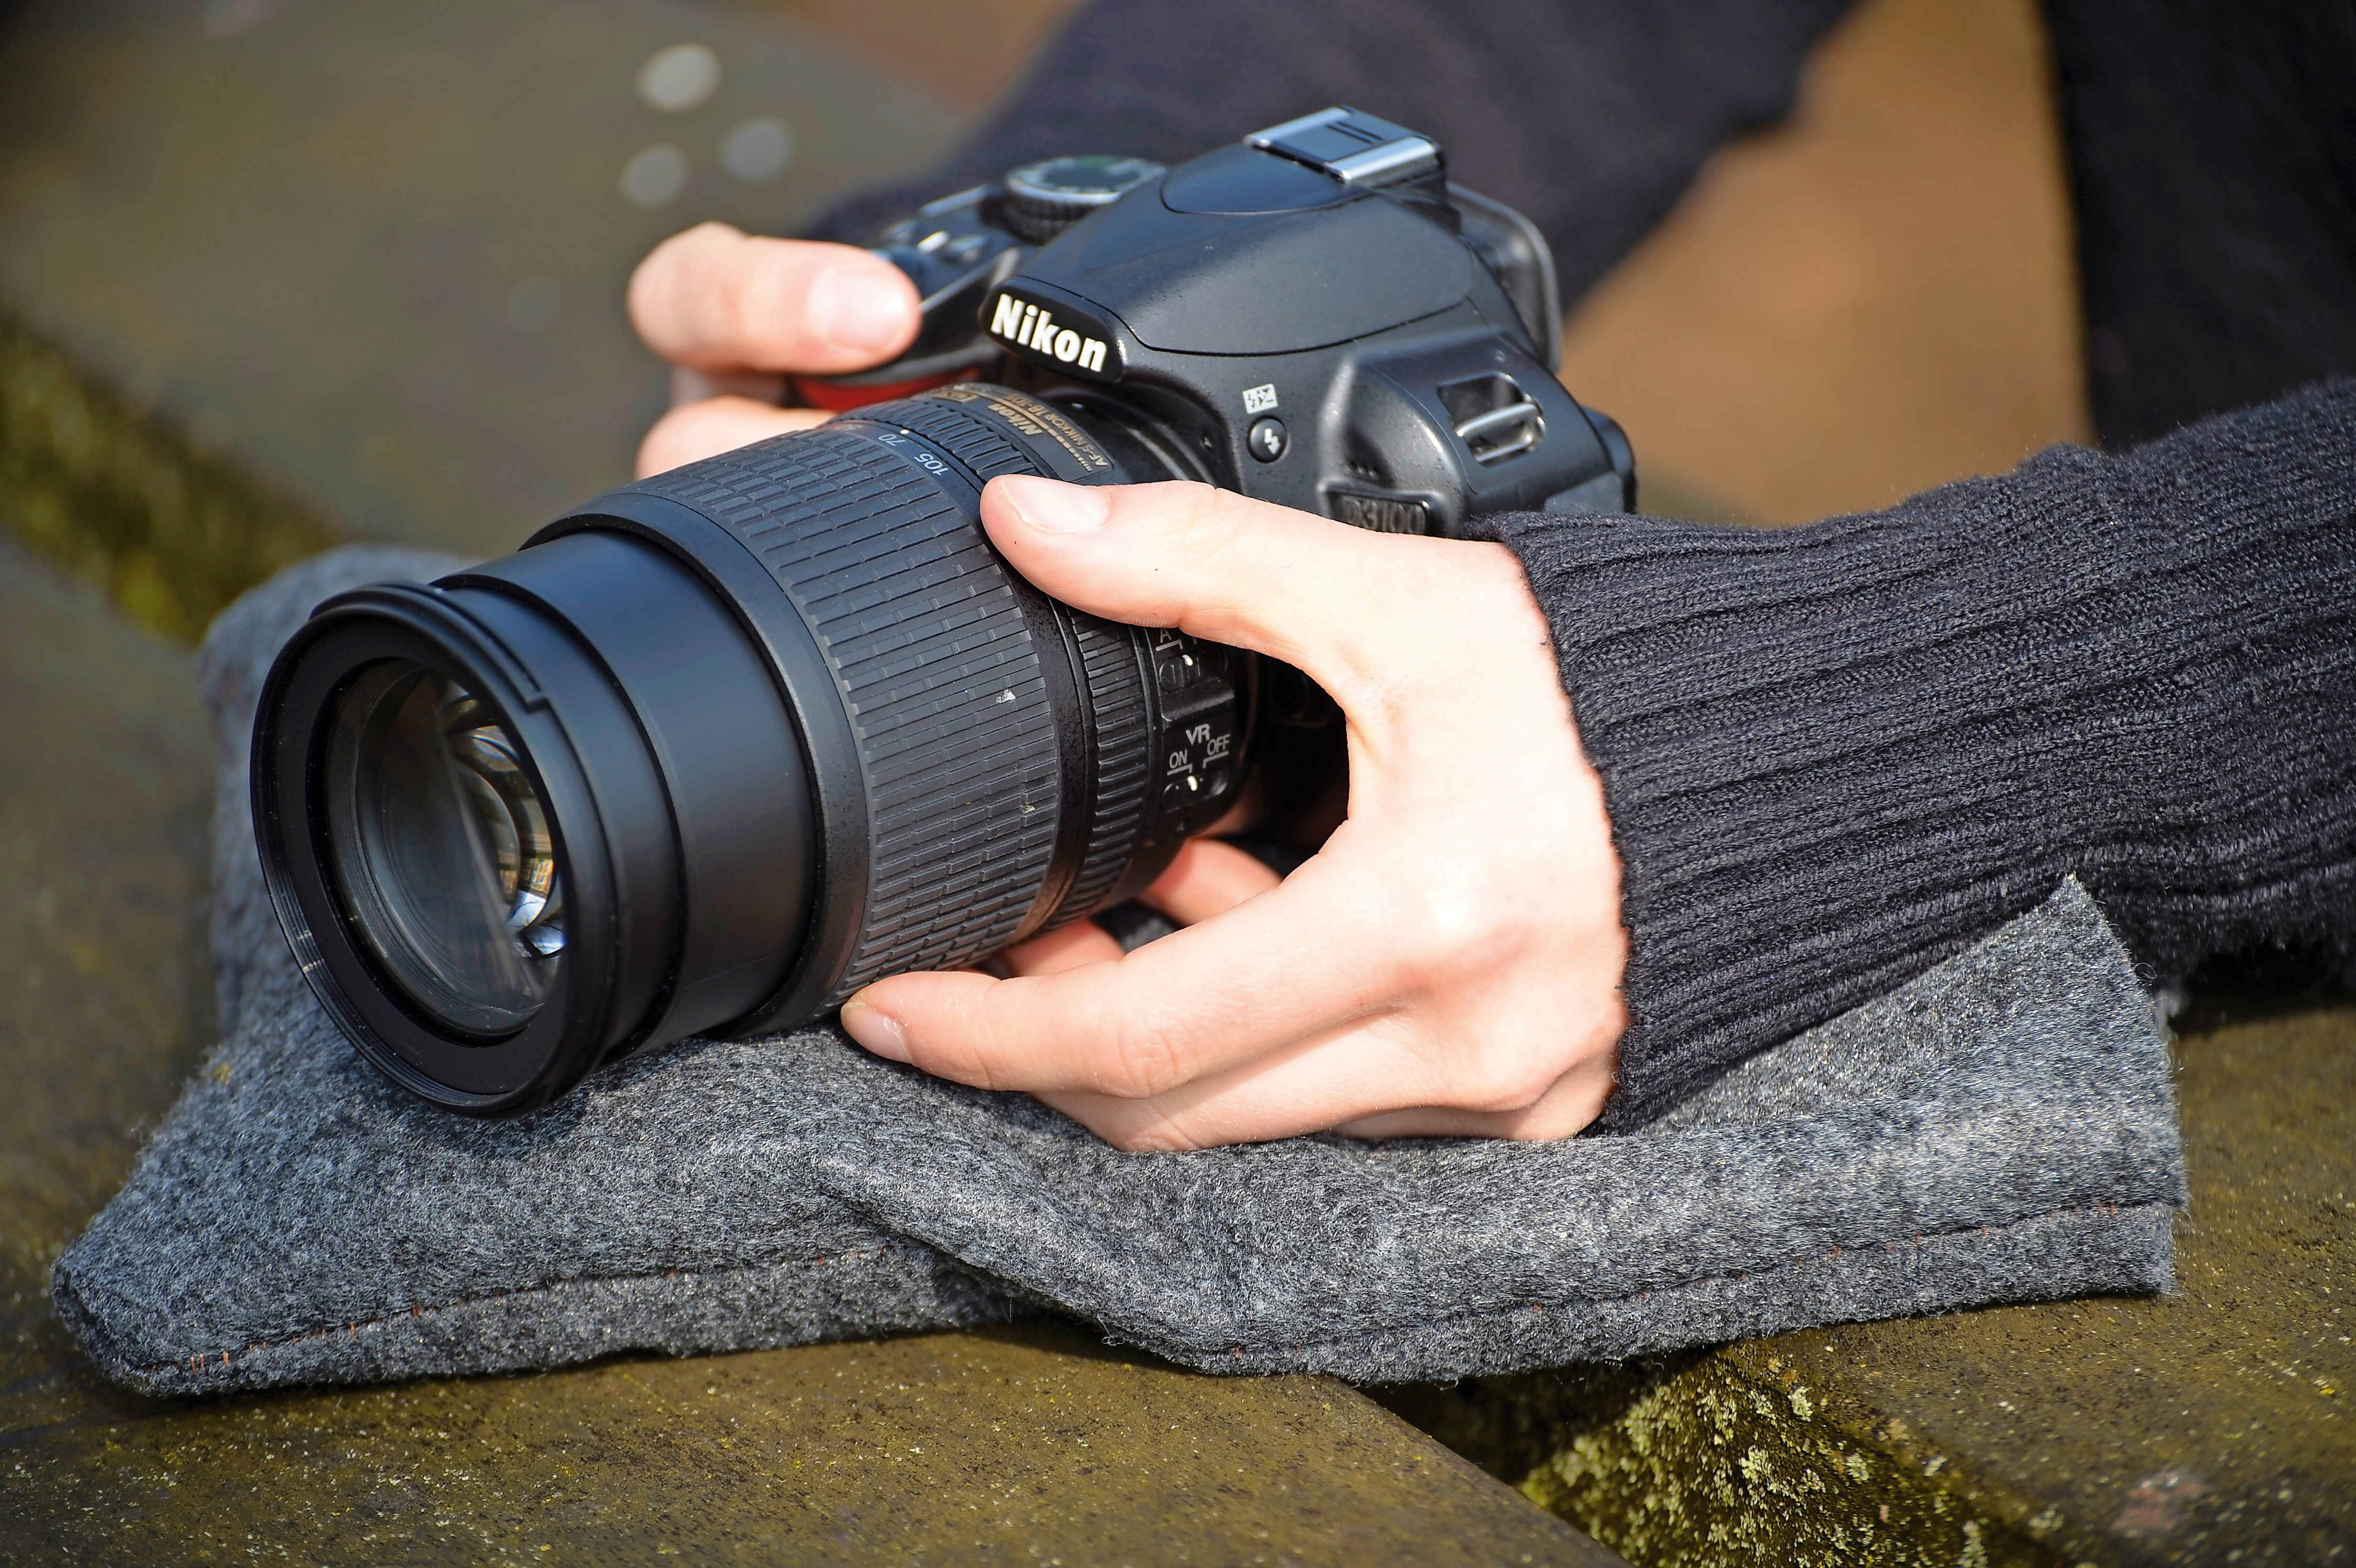
Time to test out your creation. Grab your camera and a long lens and see if it sits nicely on top of the bag – you should be able to nestle it down comfortably enough that it feels well supported. If it’s not quite right, add or take away beans until you’re happy with the final result.
04 Finishing touches
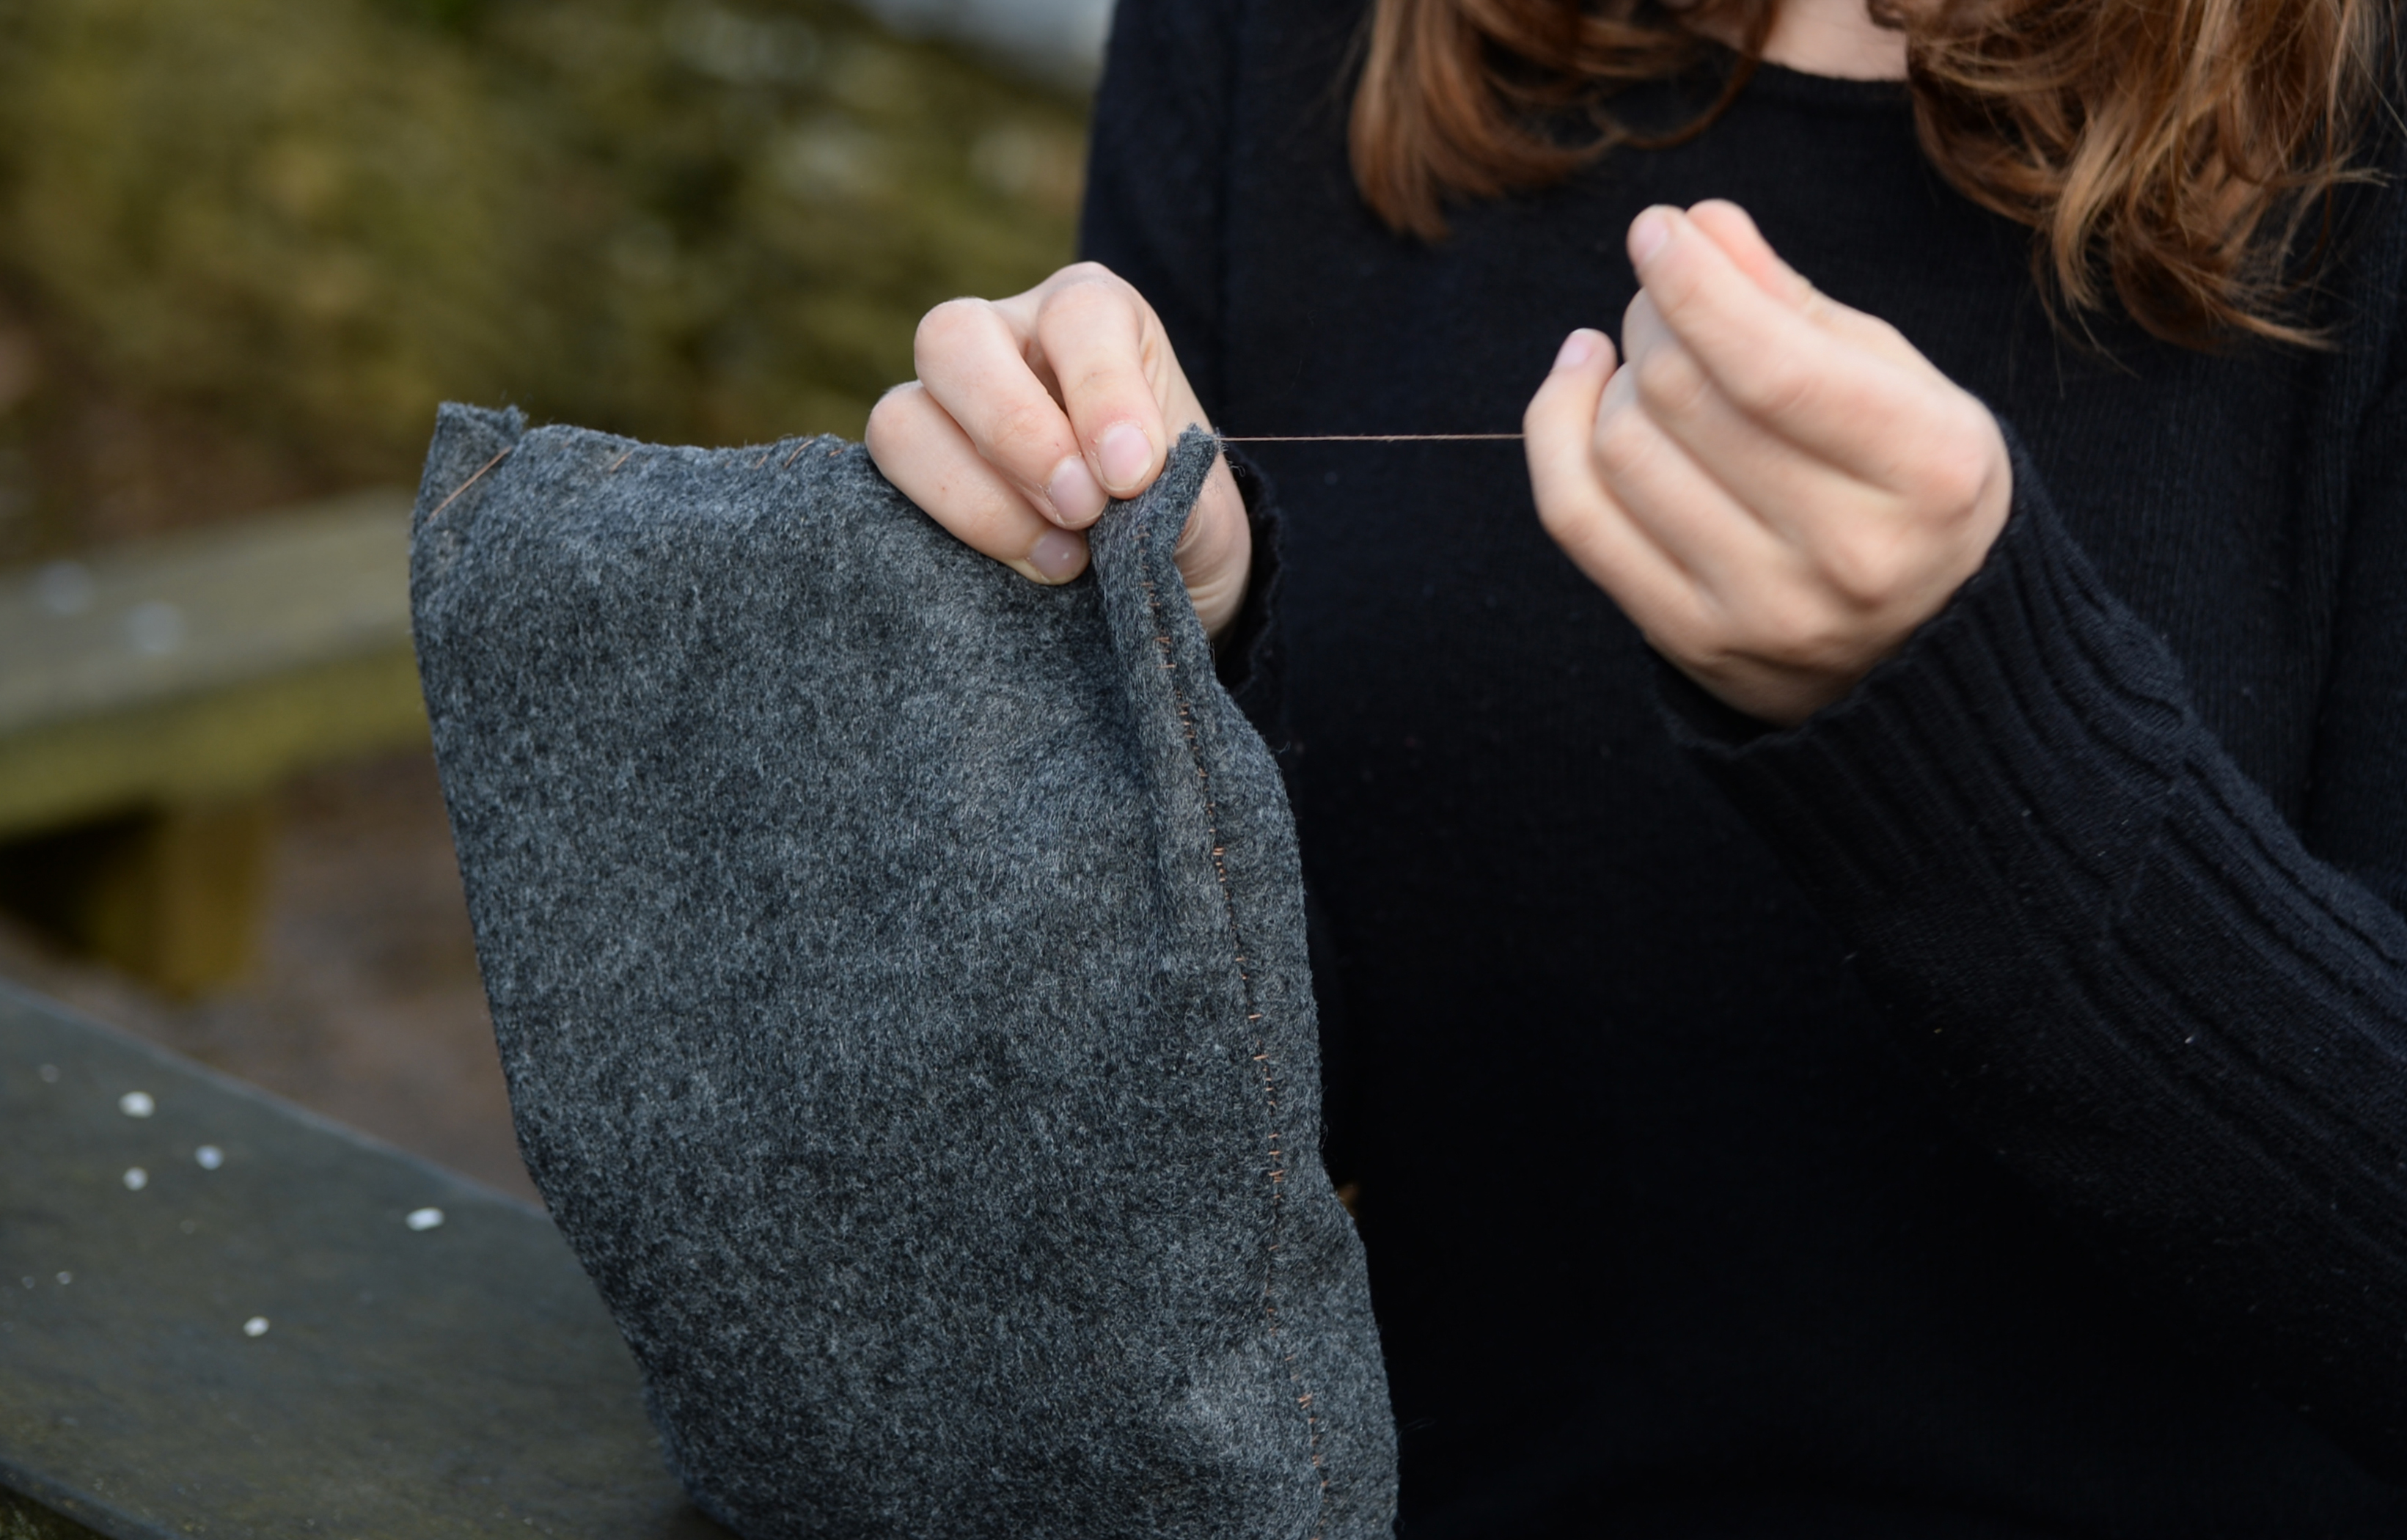
Sew up the final side of the bean bag and you’re all done! Time to head out and see what you can shoot with it. To get even sharper images when using your bag, go completely hands-free by setting the camera’s self timer once it’s nestled safely on the bean bag.
Read more:
Photography tips and techniques videos
Pinhole photography: make your own pinhole camera using a body cap
Photo hack: turn a cardboard box into a speedlight softbox
Get the Digital Camera World Newsletter
The best camera deals, reviews, product advice, and unmissable photography news, direct to your inbox!
