Canon School: Control color with your Canon camera
Part 4: Find out all the key camera settings on your Canon EOS camera to really take control of color in your photos
Part 1 - Autofocus and AF points
Part 2 - Battery life tips
Part 3 - Silent shooting modes
Part 5 - Auto Lighting Optimizer
Part 6 - High-resolution video formats
Part 7 - Canon’s Image Stabilization
Part 8 - Master macro photography
Part 9 - Correcting your exposures
Part 10 - Time-lapses in-camera
Welcome to our new Canon School tutorial series part 4. Discover which Canon camera features enable you to get more vivid, or subtle, results.
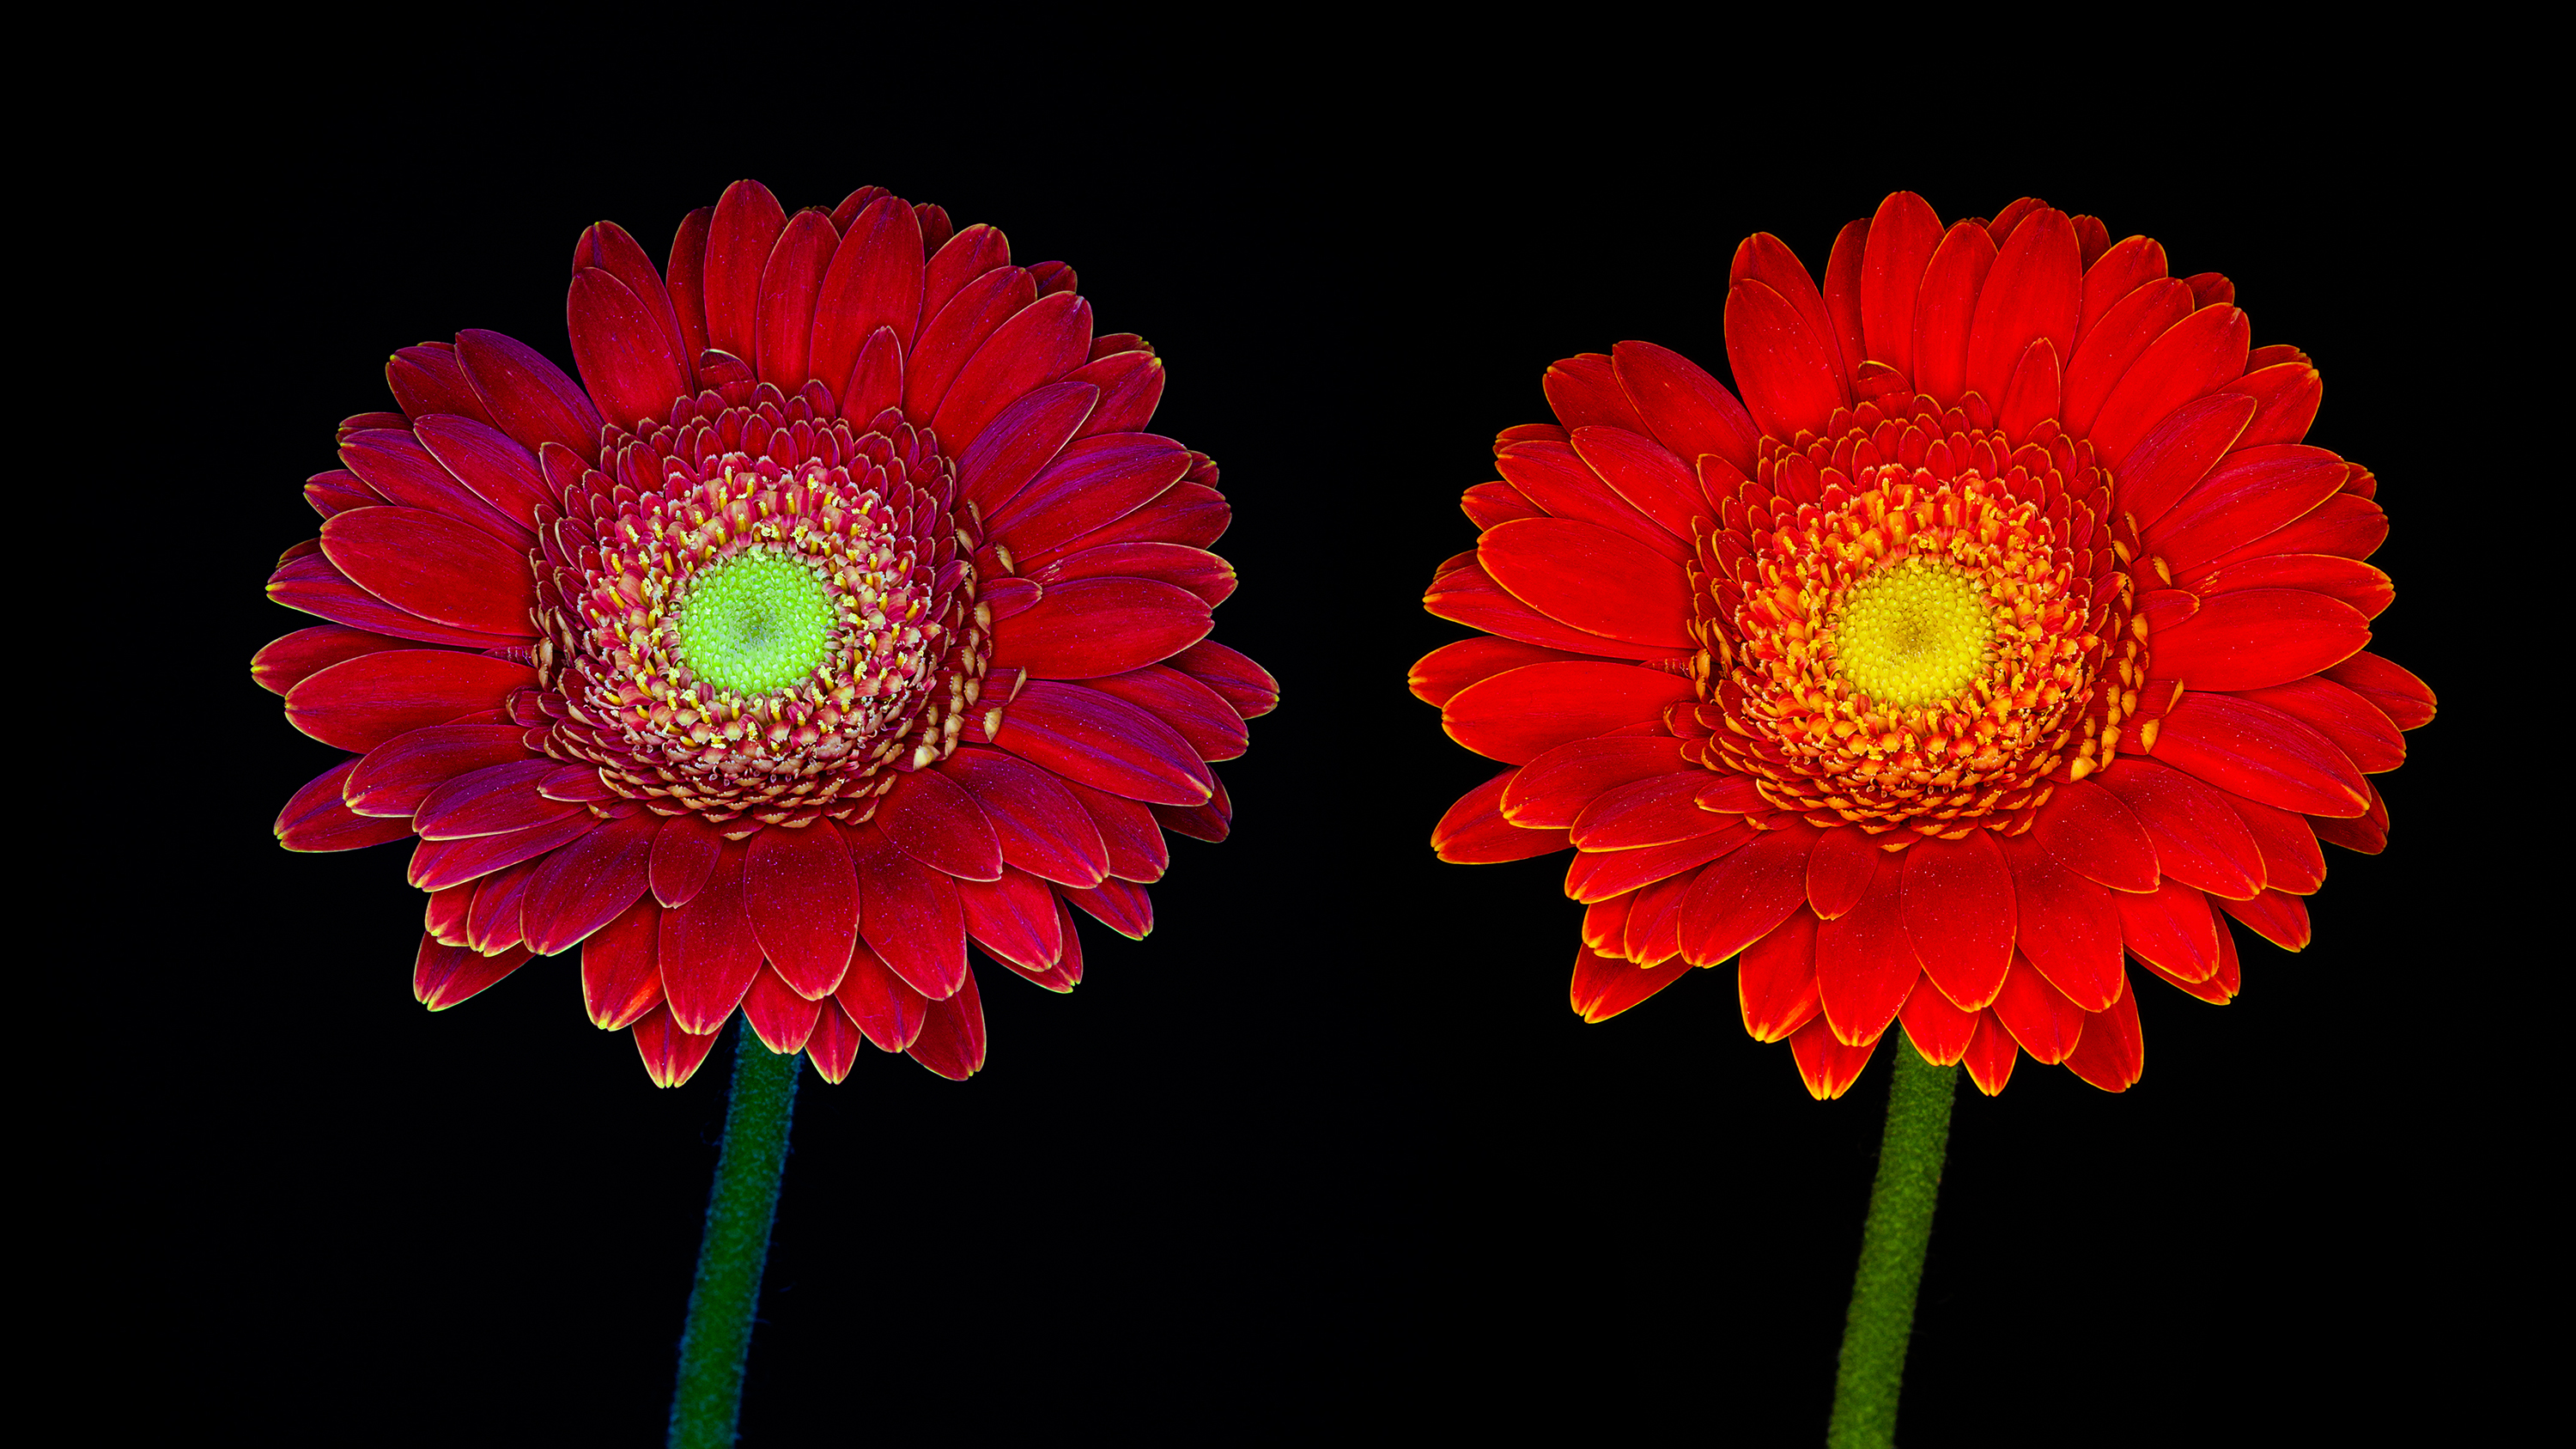
There are a number of different EOS camera functions that give you control over the way in which colors are rendered in your shots. The one that has by far the biggest impact is white balance. If this is incorrectly set, the entire color palette of the image or video you’re shooting will look wrong.
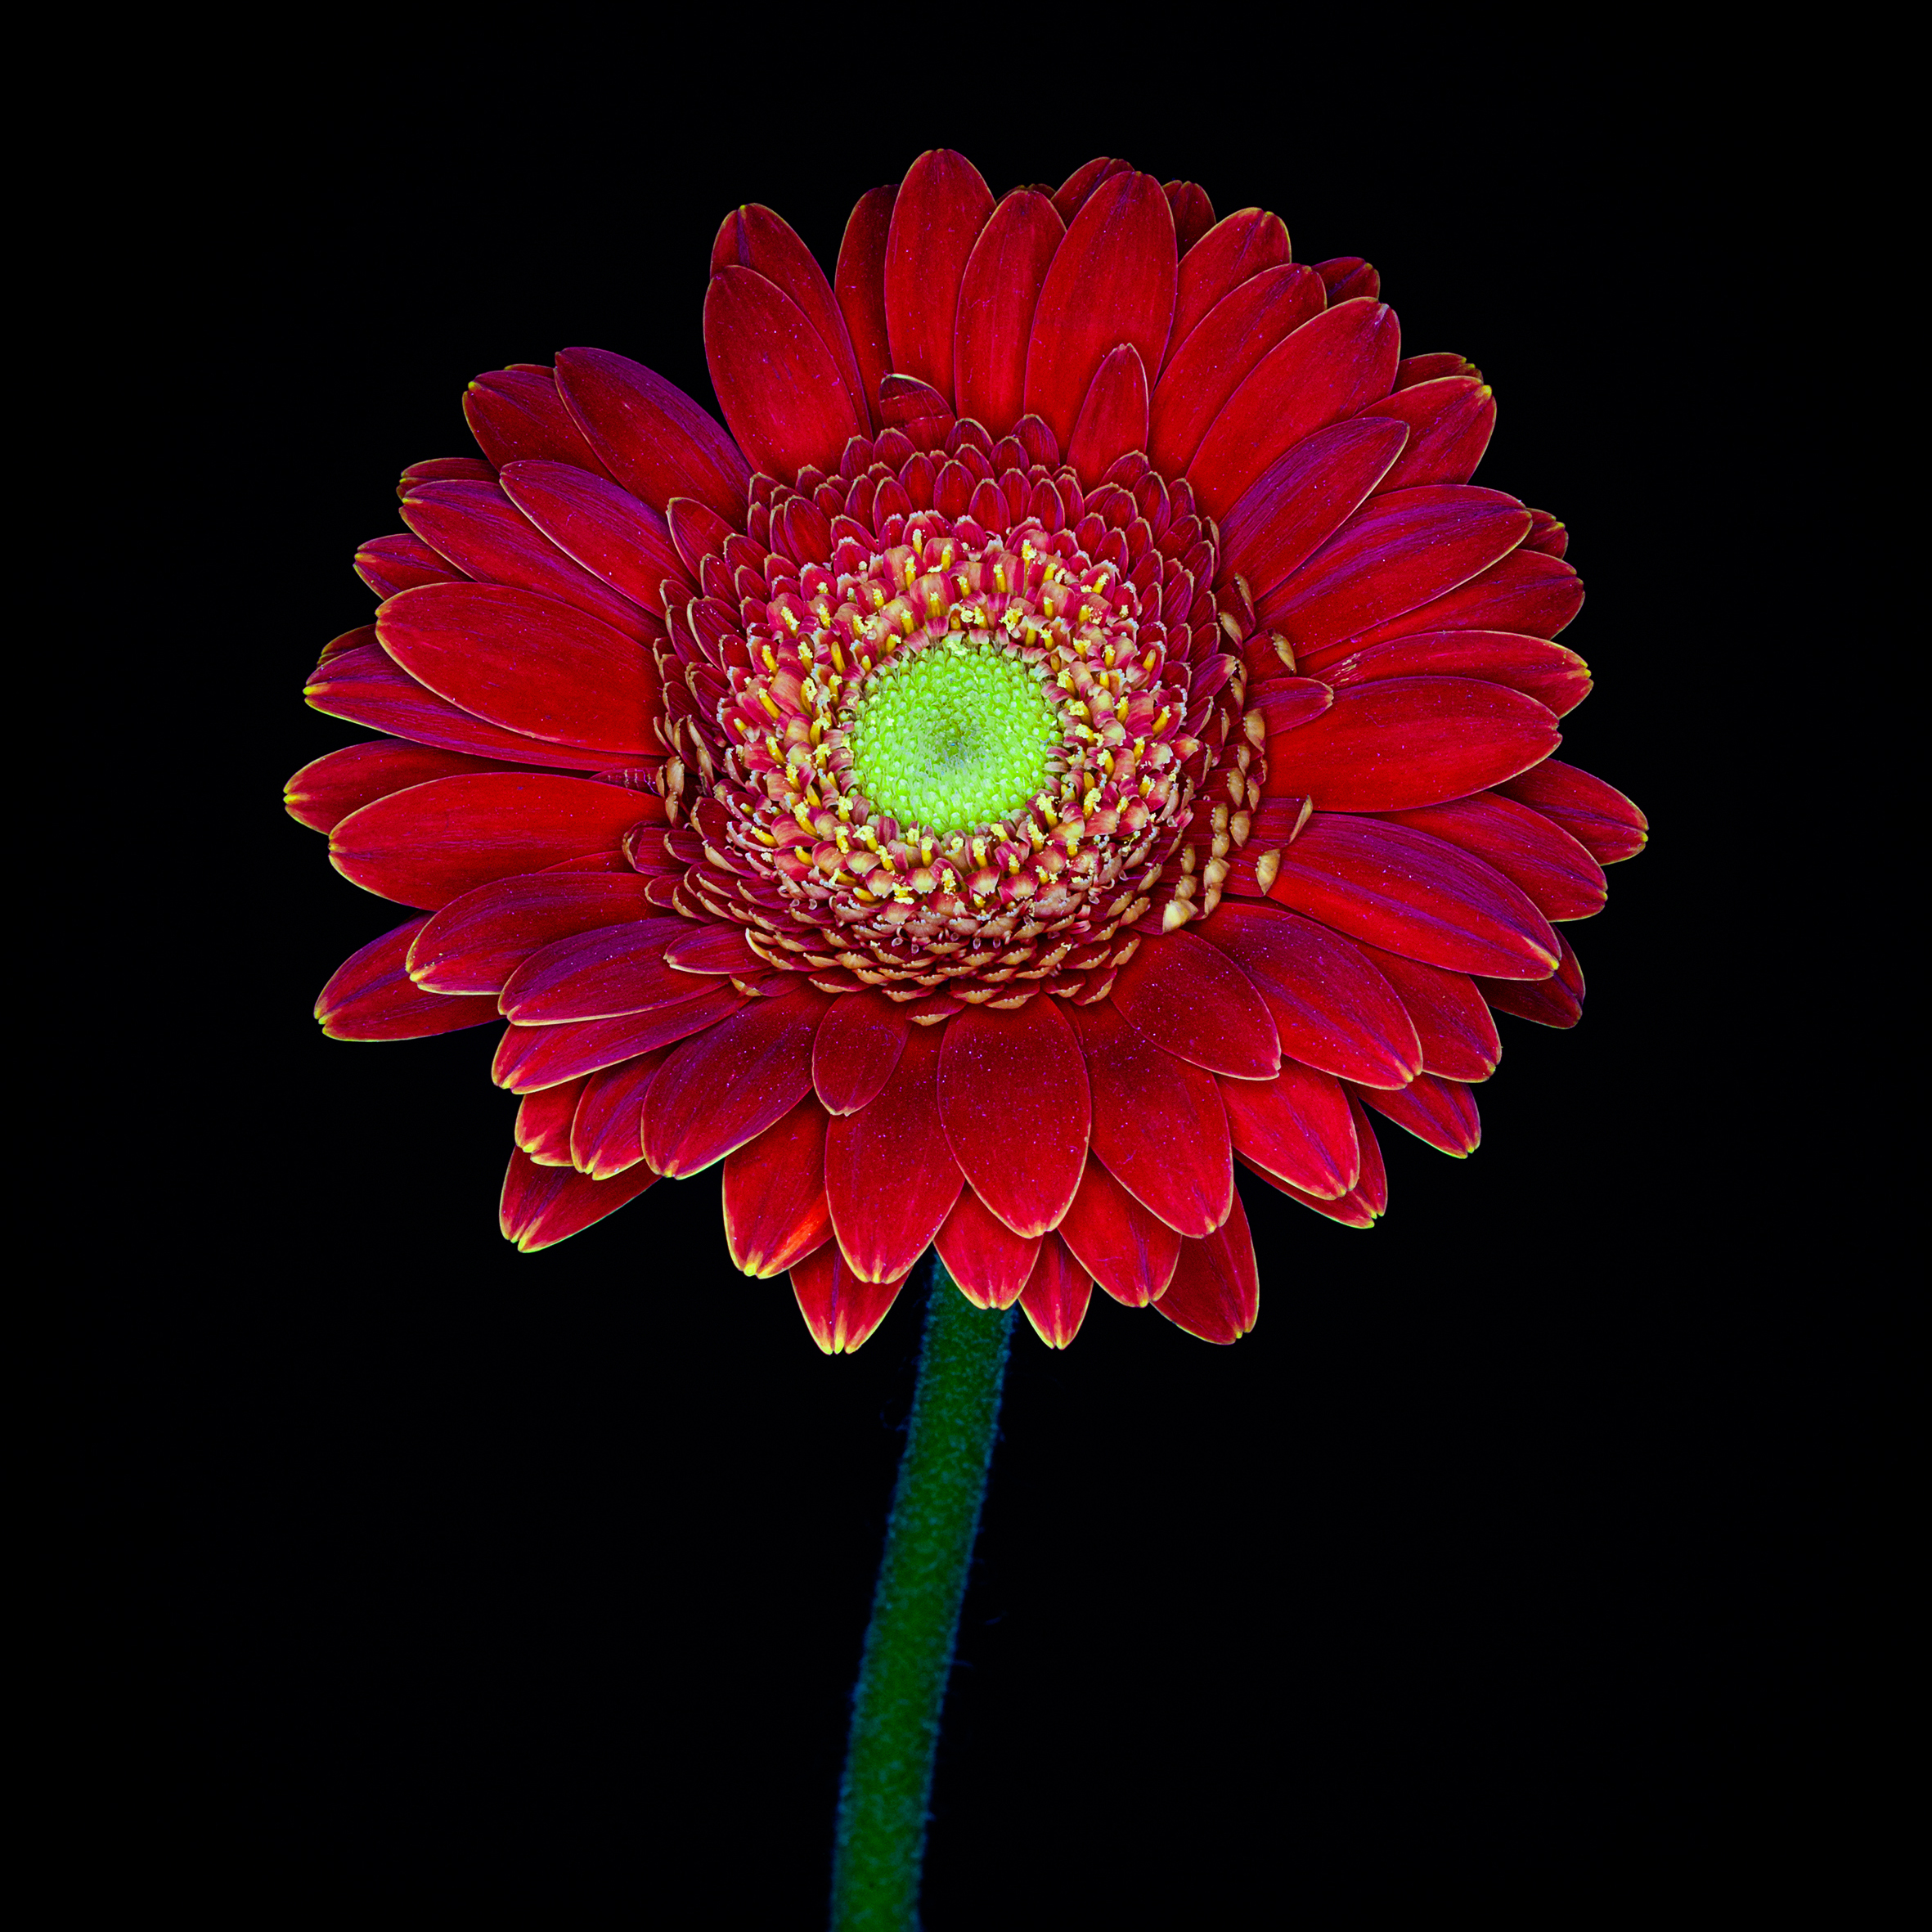
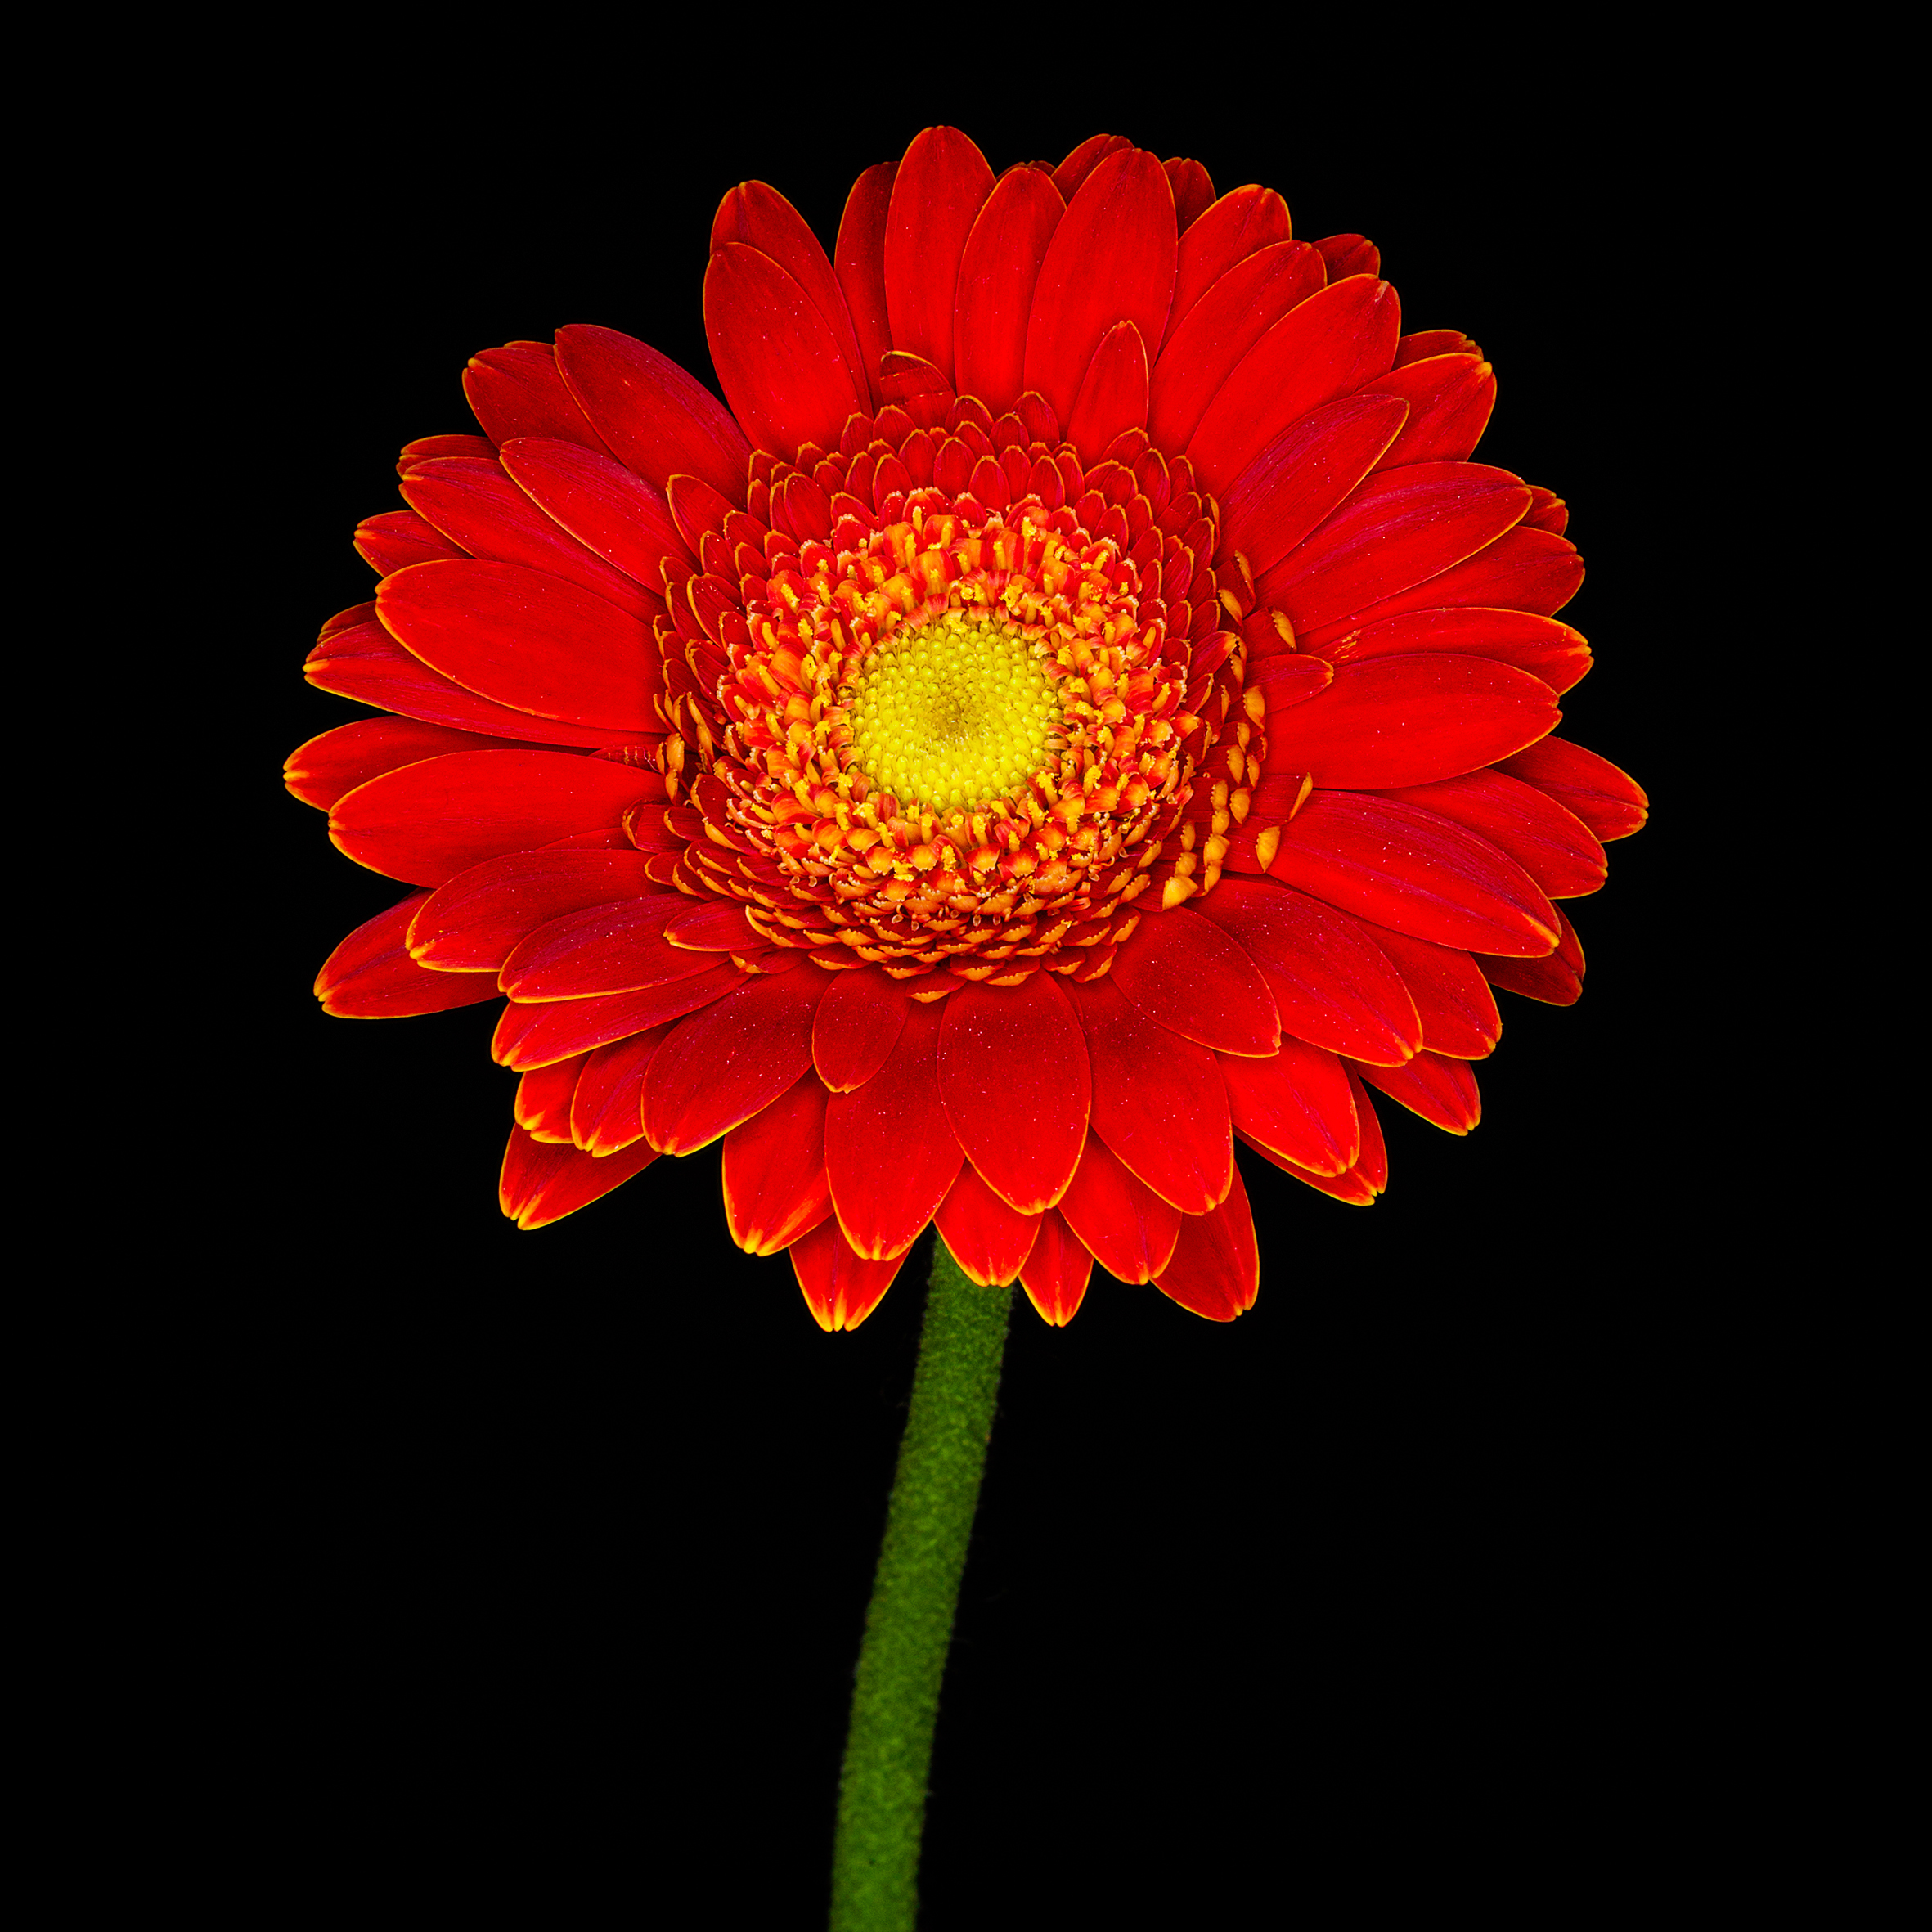
White balance can be used either correctively or creatively. It’s designed to help neutralize color casts so that colors appear natural. If the camera didn’t have a white balance function, then objects would take on the hue and tint of the light source. For instance, a white wall lit by a warm, yellow household bulb would look yellow in a photo. That same white wall, photographed in cool blue shade would then appear blue.
You can leave the camera to try and figure things out for itself, but the Auto white balance setting doesn’t always get things right. Manually setting a preset that matches the light source, or making your own custom white balance setting, can help to correct most color casts.
Read more: The best monitor calibrators
1. White balance
You can use the White Balance functions creatively in your Canon EOS camera by intentionally setting an incorrect white balance to exaggerate a color cast slightly and enhance the mood. To boost a sunset, for example, you can set one of the presets that is designed to warm up an image taken in cool blue light conditions, such as Cloudy or Shade.
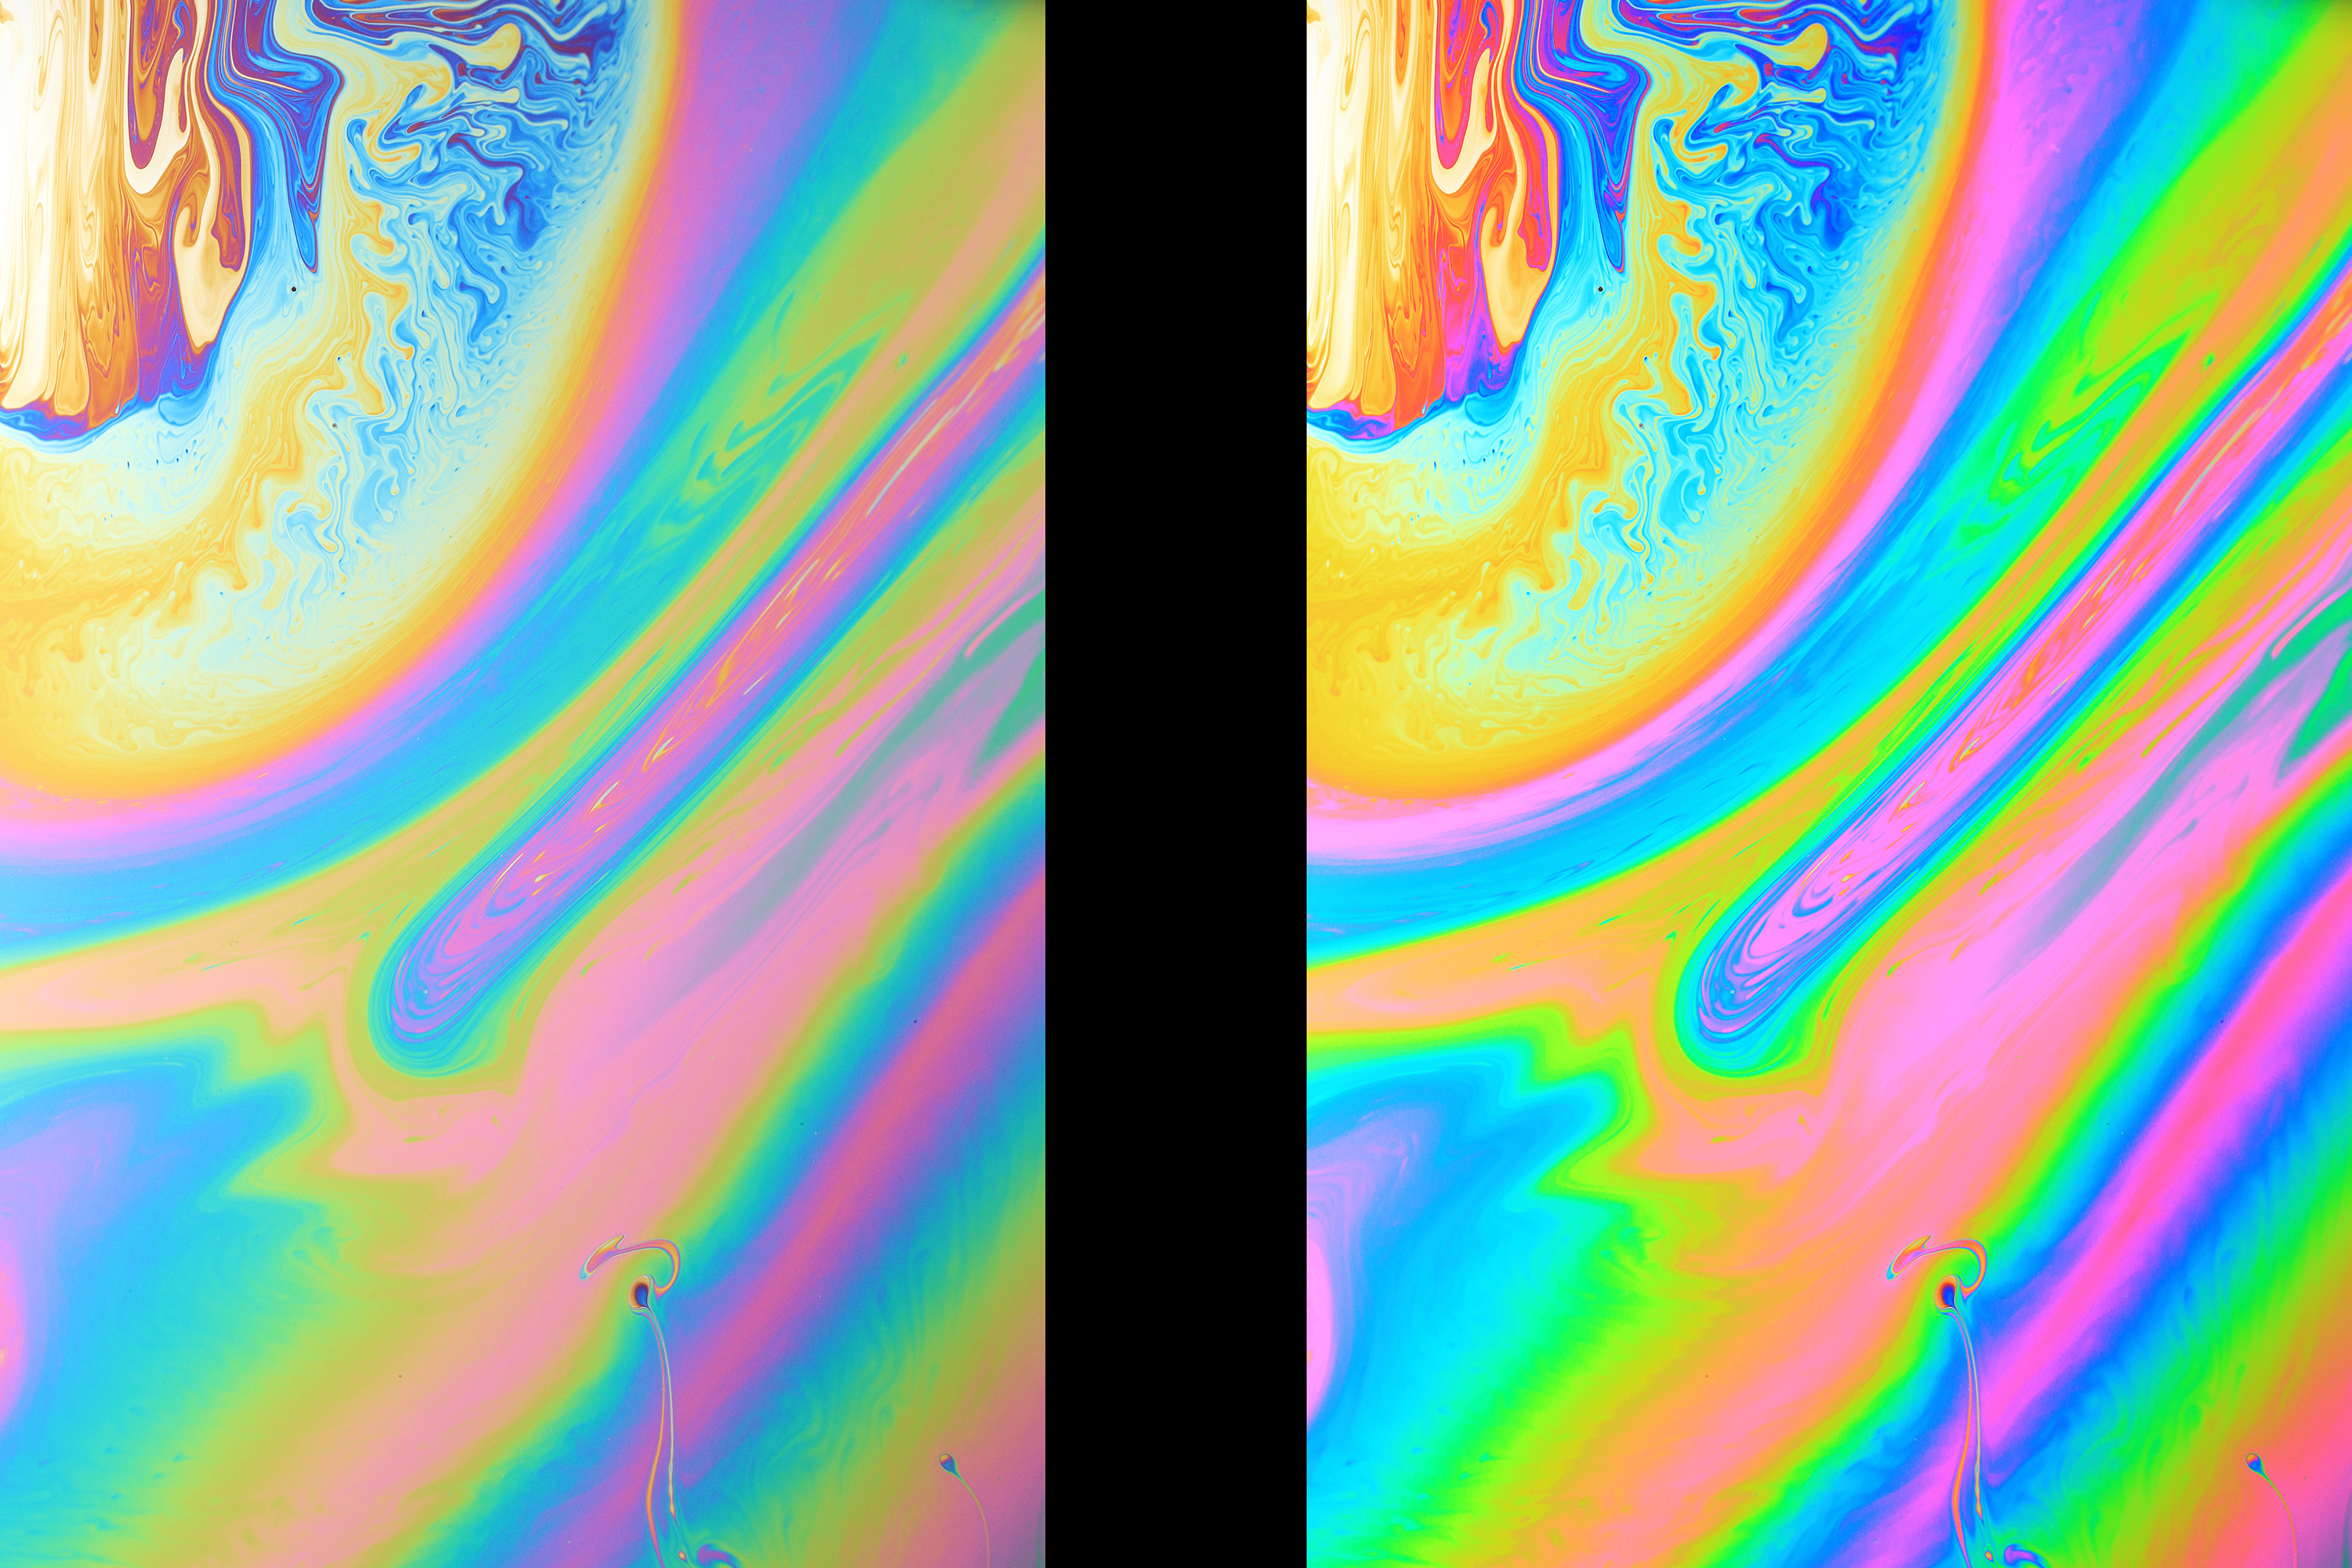
2. Adjusting saturation
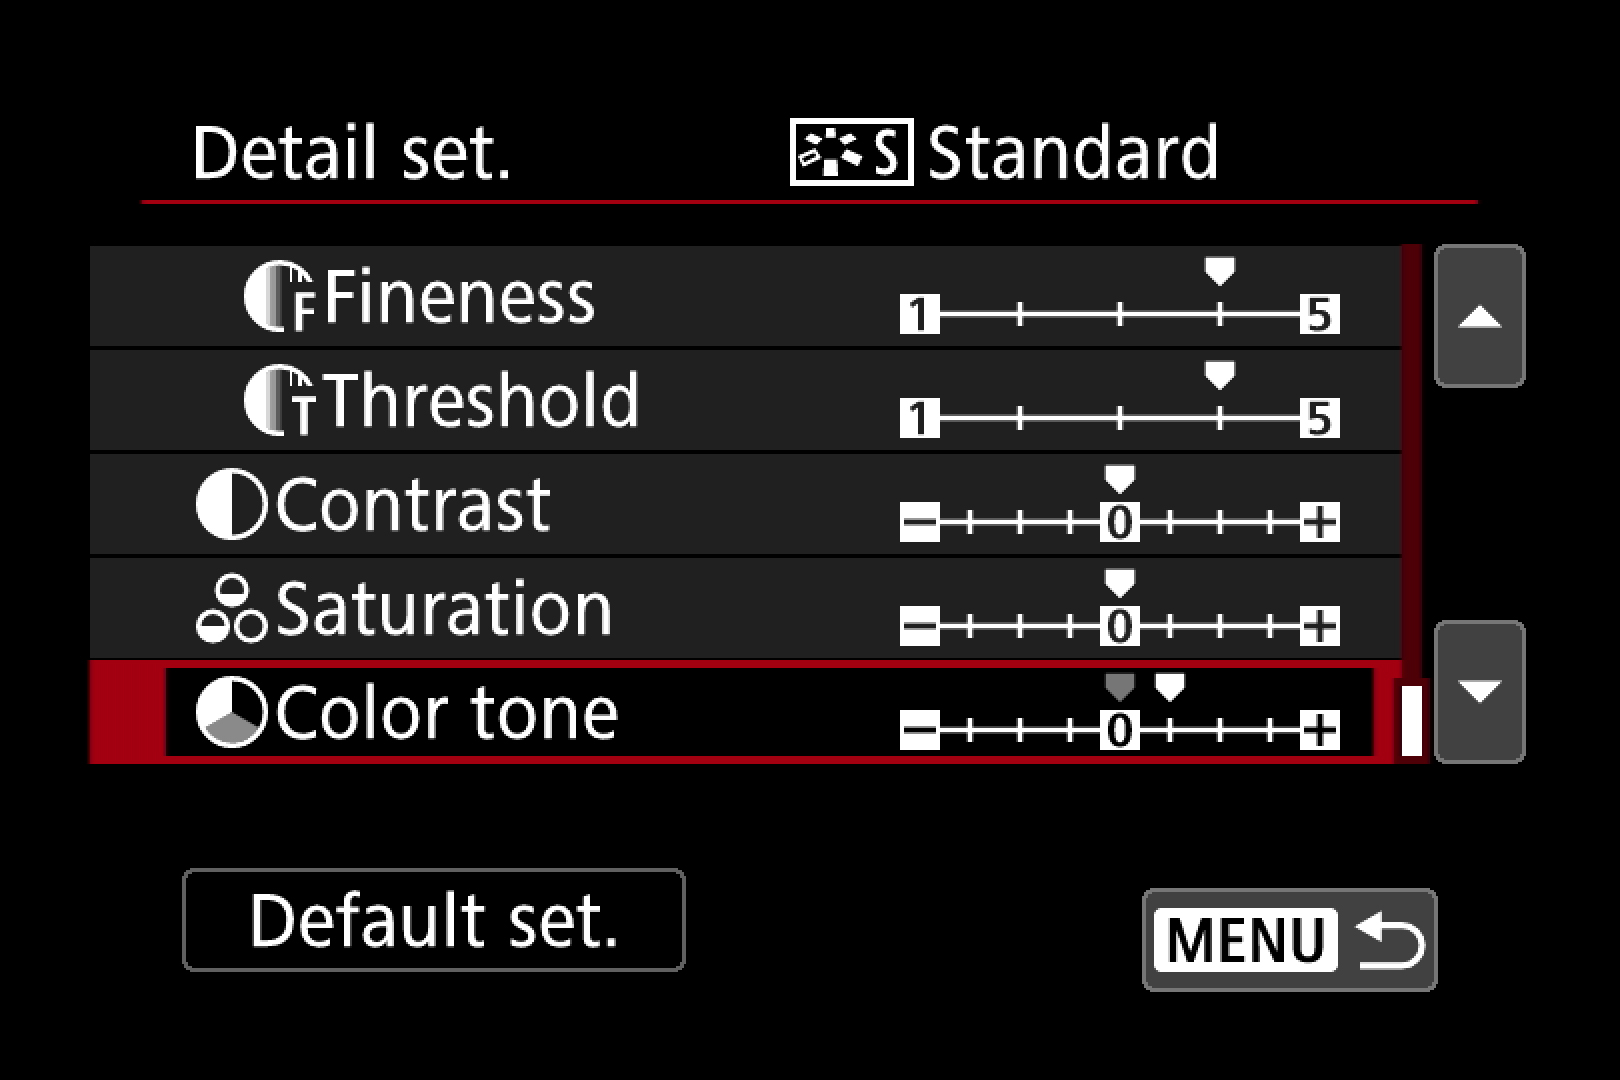
It might seem odd that an EOS camera has no color setting available in the menu. Rather than give you lots of individual picture characteristics to tweak, Canon groups the most used picture correction options together as Picture Style profiles.
Each Picture Style offers a different blend of saturation, sharpness, color tone and contrast, and although some are labelled according to the type of image they might suit you can apply any of them to any image or movie clip.
You are able to alter the colors by adjusting the parameters of a Picture Style. Not only can you adjust the level of saturation for either bolder or subtler results, you can bias the color tone towards red or yellow – although this option is designed to help fine-tune skin tones.
To tweak these parameters, you’ll need to dip into the Picture Style sub-menu, which you can access through the red Shooting menu or the Quick Control screen. The EOS 7D Mark II, 5D Mark IV and 5DS/R also have a button on the left of the body that takes you to the Picture Style menu, but many other cameras allow you to add the function to one of their customizable buttons via the Custom Functions menu.
In addition to modifying Picture Styles, you can register your favourite setups under the three ‘User Def.’ slots.
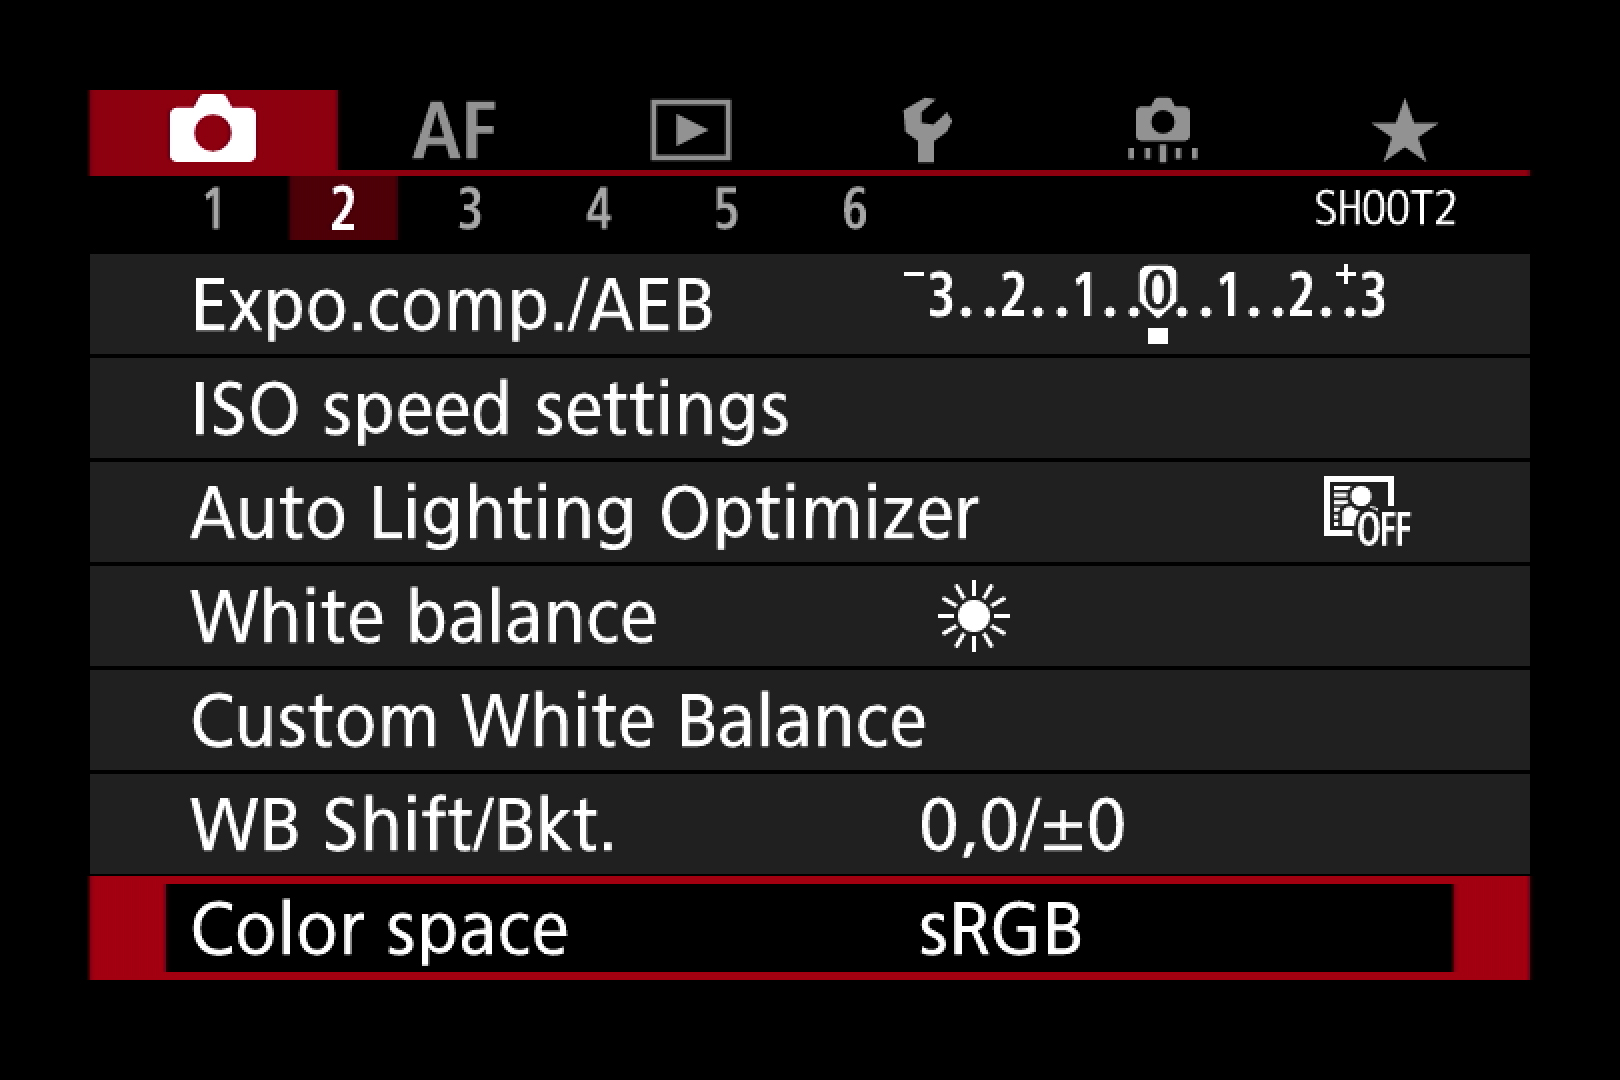
3. Color space
Color space dictates the specific range of colors that can be reproduced, and it’s a way of ensuring that these colors can be presented consistently across different screens, printers, internet browsers, software programs and more. If there wasn’t any consistency, if each of these devices used a different space, then your pictures would look different depending on how it was being viewed.
The most widely used color space is sRGB. This is the color space your images are recorded in by default when you shoot JPEGs, and it’s supported by most devices. EOS cameras also give you the option of switching to Adobe RGB – you can find this option in the red Shooting menu. Adobe RGB is a larger color space, so it gives you a wider range of colors to work with. But bigger doesn’t mean better; not all devices and software can display Adobe RGB files correctly, so pictures can end up looking muddy and flat in an sRGB environment or when printed out.
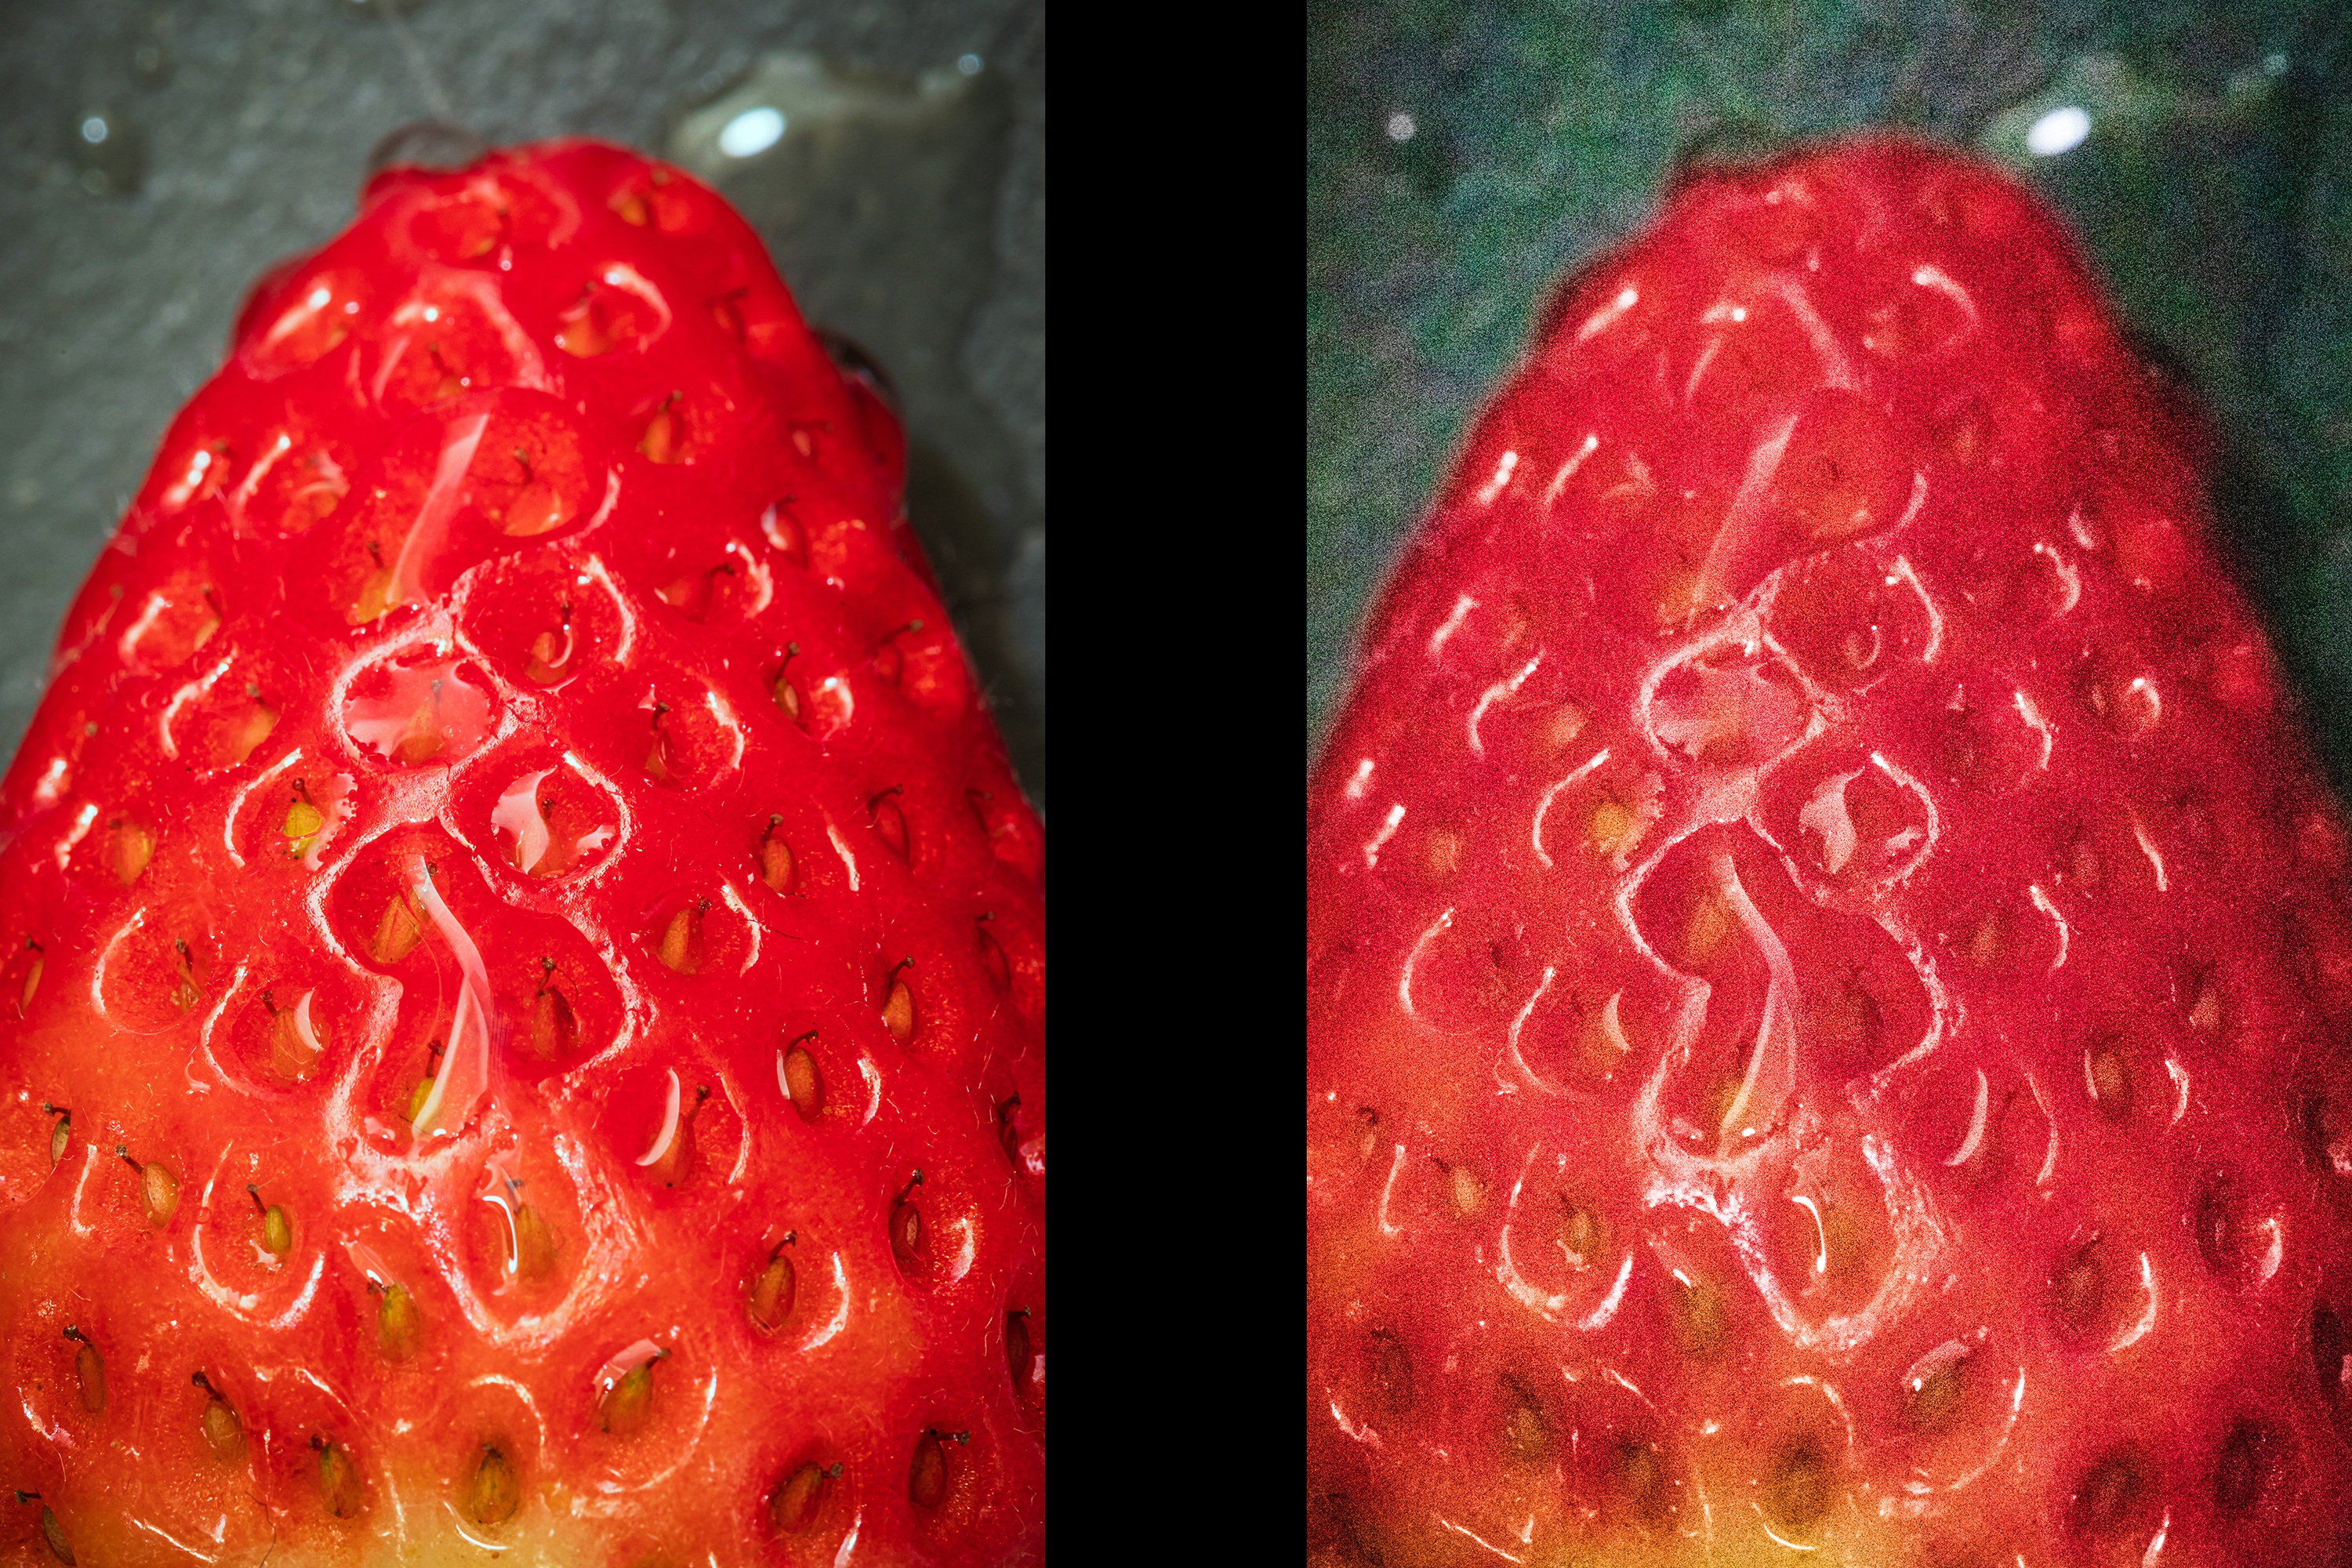
4. How ISO affects color
Picture noise is the well-known trade-off of raising a camera’s ISO setting so that you can take a picture in low light. But did you know that color also suffers as you raise the sensitivity? You’ll be hard-pressed to spot any changes if you stick to relatively low settings, but once you enter the camera’s upper range of ISO sensitivities, colors will become weaker and you’ll eventually see color shifts in the image. To be fair, though, you’re more likely to notice the noise first, but it’s relatively easy to do something about this; correcting colors takes more time.
As always, if you’re shooting a Raw file then you get a bit more headroom for making corrections when you process the image later. But if you’re shooting a JPEG or a movie, then it’s another reason to stick with lower ISO settings as often as you logically can.
PhotoPlus: The Canon Magazine is the world's only monthly newsstand title that's 100% devoted to Canon, so you can be sure the magazine is completely relevant to your system.
Read more:
Canon DPP: Canon Digital Photo Professional tutorials
How to use Canon Digital Photo Professional to correct color casts
Reveal your true colors in Affinity Photo
Best Canon cameras
Canon EF-S 18-135mm f/3.5-5.6 IS USM review
Get the Digital Camera World Newsletter
The best camera deals, reviews, product advice, and unmissable photography news, direct to your inbox!
The editor of PhotoPlus: The Canon Magazine, Peter 14 years of experience as both a journalist and professional photographer. He is a hands-on photographer with a passion and expertise for sharing his practical shooting skills. Equally adept at turning his hand to portraits, landscape, sports and wildlife, he has a fantastic knowledge of camera technique and principles. As you'd expect of the editor of a Canon publication, Peter is a devout Canon user and can often be found reeling off shots with his EOS 5D Mark IV DSLR.


