Capture eye-catching silhouettes and vibrant frames by breaking rules of photography
Go against the grain and remove detail in the shadows as true black pixels enhance the frame with depth and color
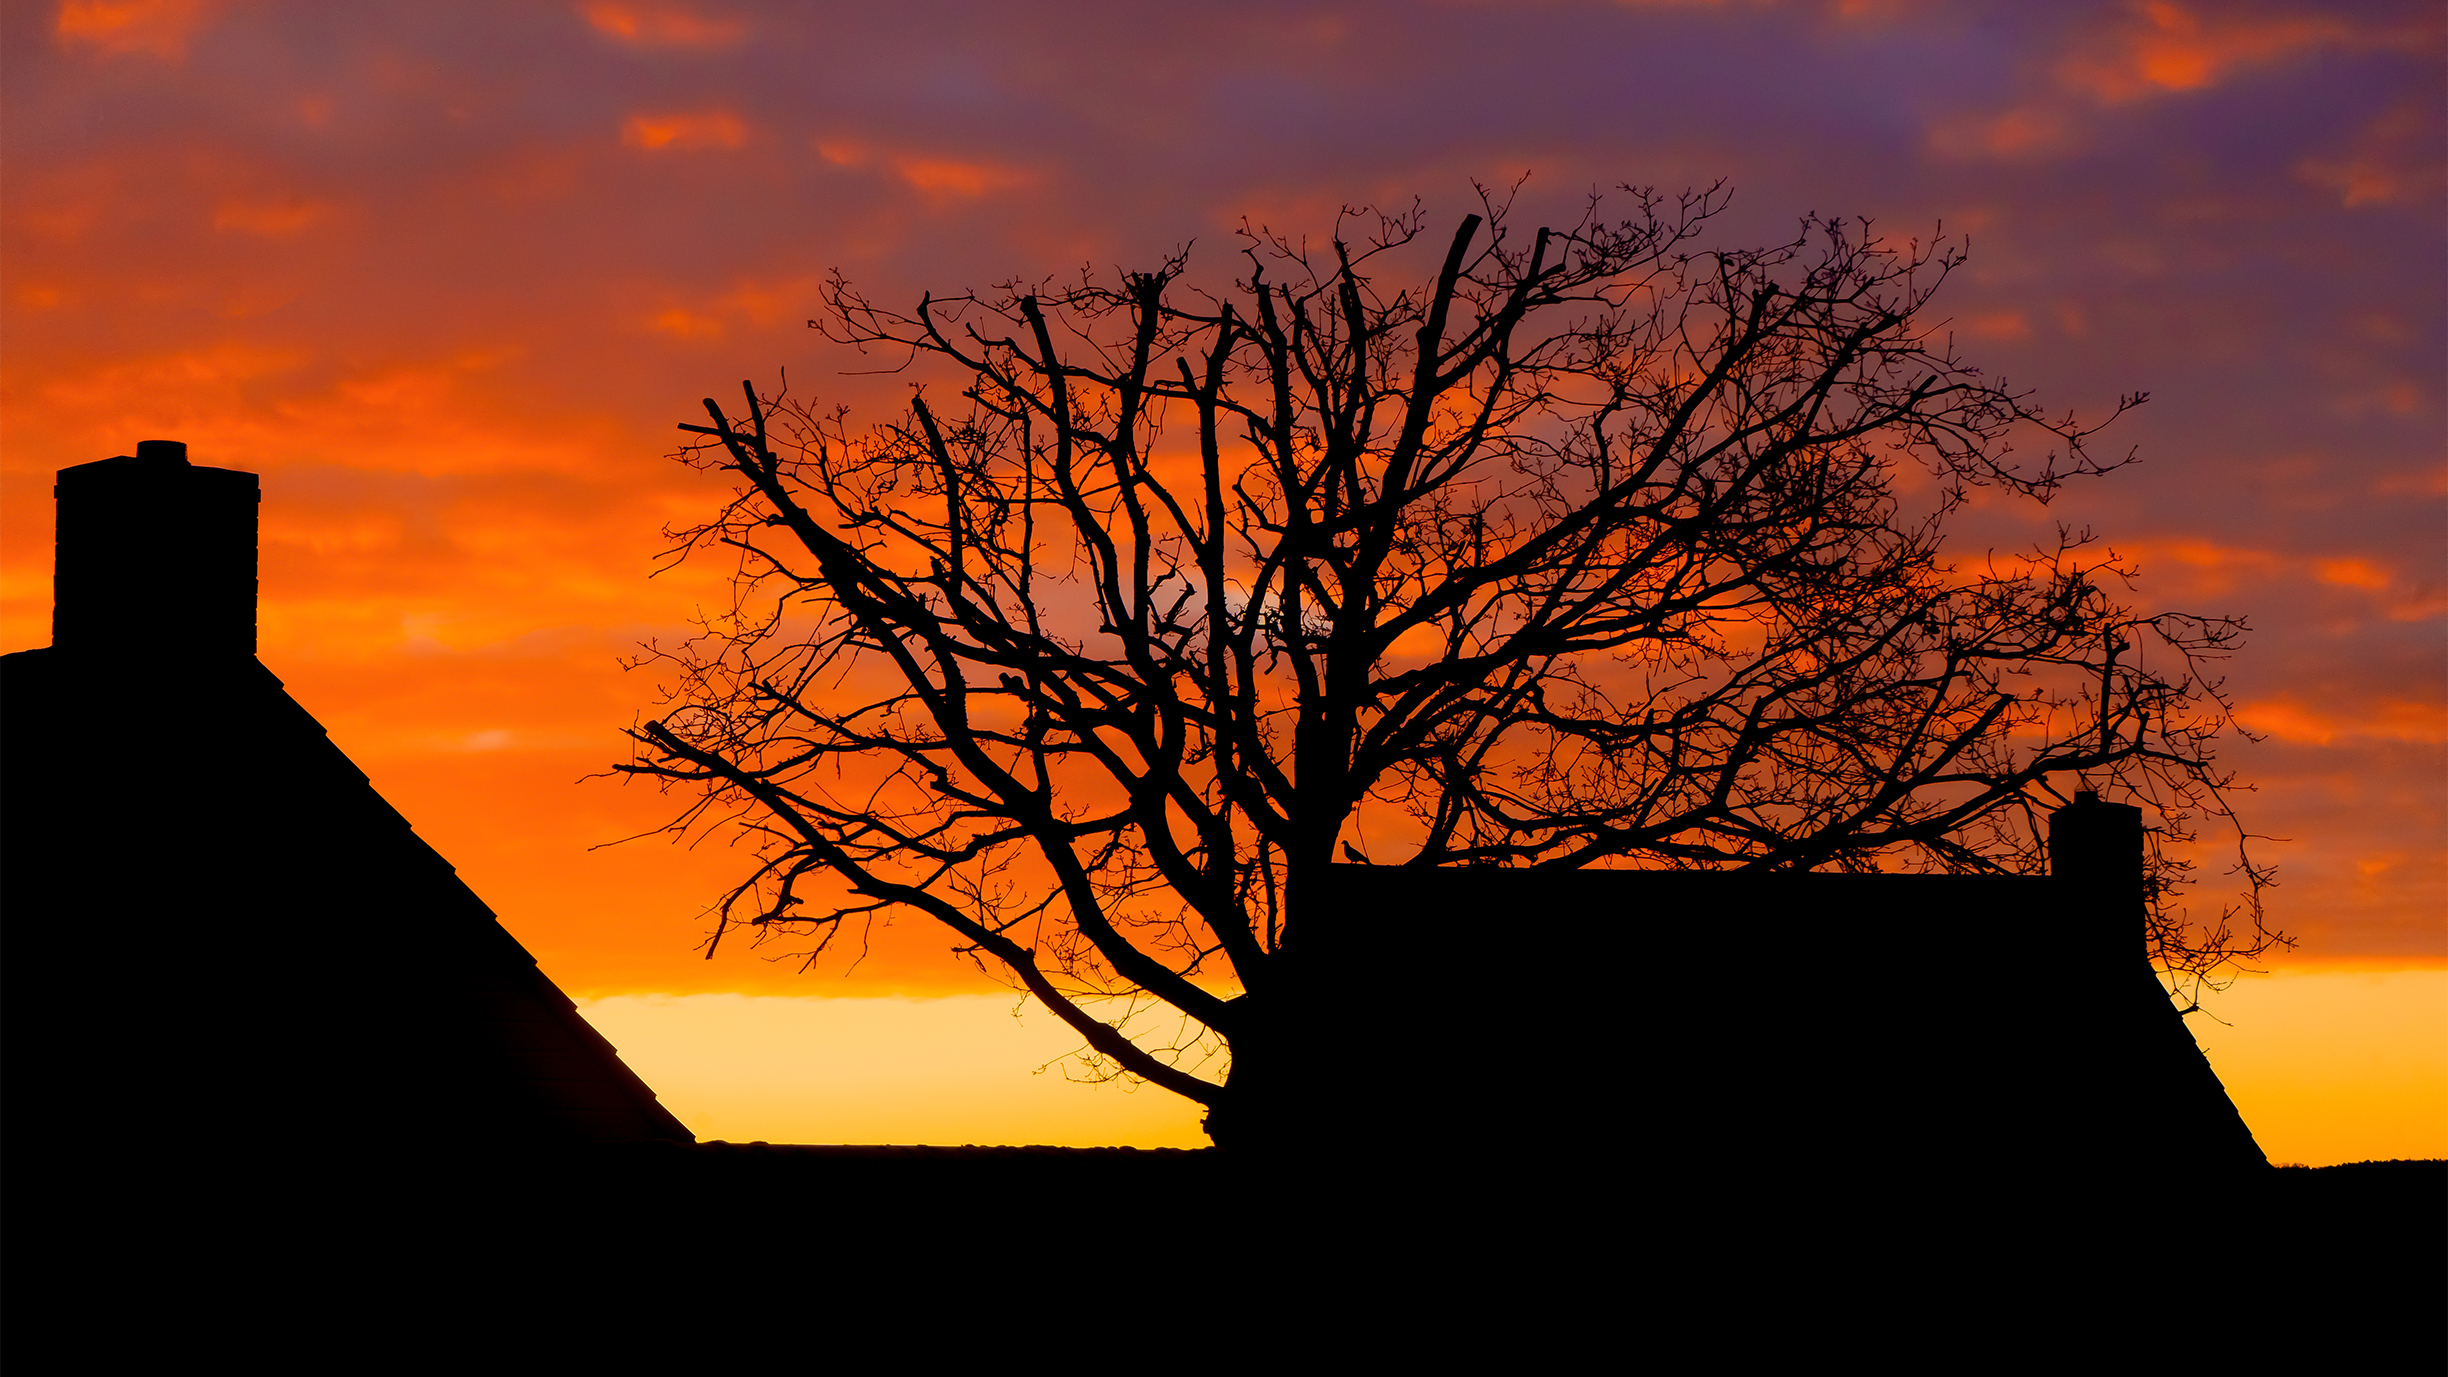
When it comes to scenes with high-contrast lighting, your camera’s sensor struggles to capture the details of both the foreground subject and the background. Despite what one of the commonly taught rules in photography says, intentionally blowing out shadows can benefit your image. Here, you need to go against the grain and remember that not every element of an image needs to contain information.
By exposing the sky, the viewer’s attention is drawn toward its details, without being distracted by the lackluster foreground that adds little and may prove to be a hindrance. Underexposing the subject integrates into the scene, with only the outlines of the houses visible, creating a silhouette while adding an extra layer of depth and interest.
To capture scenes such as this, we must bear three things in mind. Firstly, the timing is crucial – sunrise and sunset often produce dramatic backdrops, but even harsh midday sun can work if it is hidden behind the subject you are trying to capture. Secondly, selecting the right subject is key, so choose ones with distinctive shapes or outlines, such as trees, houses or even humans.
Finally, it is crucial to keep the sun’s position in mind. To create a silhouette, you need to shoot into the sun. At midday, when the sun is at its highest, light illuminates the subject from many angles but when the sun is low at sunset or sunrise, an elevated perspective such as a window on the second floor offers the best angle to create a true black silhouette in front of a colorful sky.
Before and after
Shooting steps
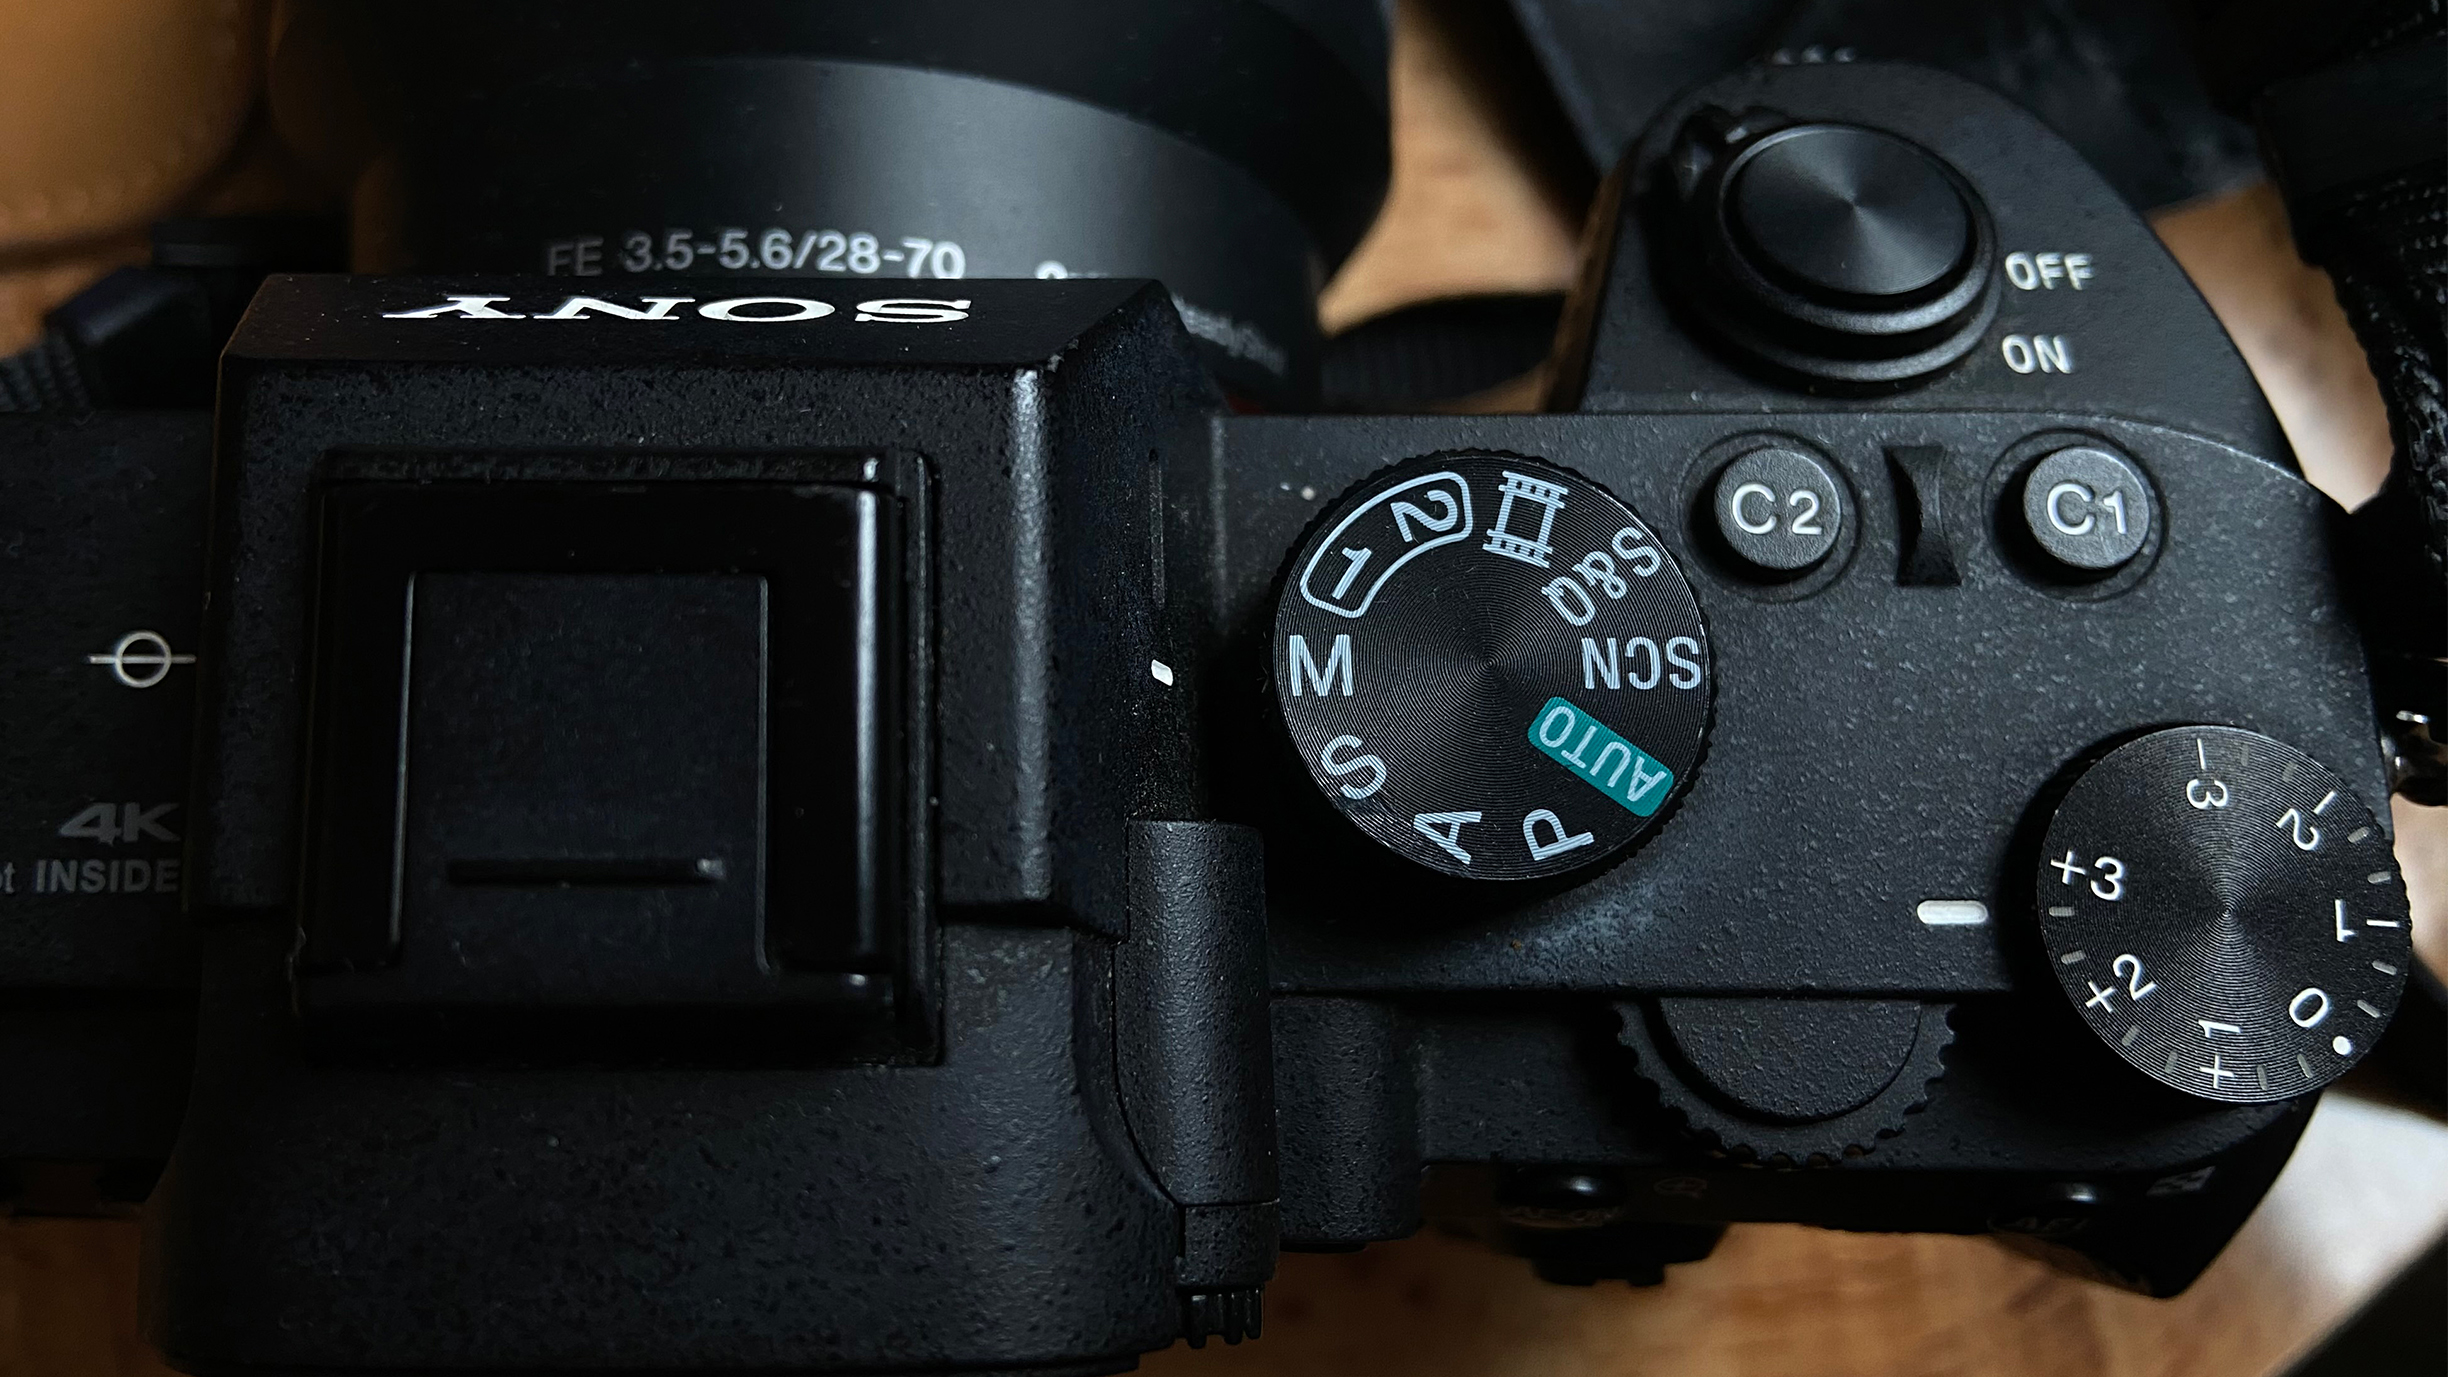
1. Shoot in M
When trying to create silhouettes, it’s important to switch to manual mode. In automatic mode, the camera will try to optimize the exposure for the scene, searching for details in the dark elements and making it a challenge to get true black pixels.
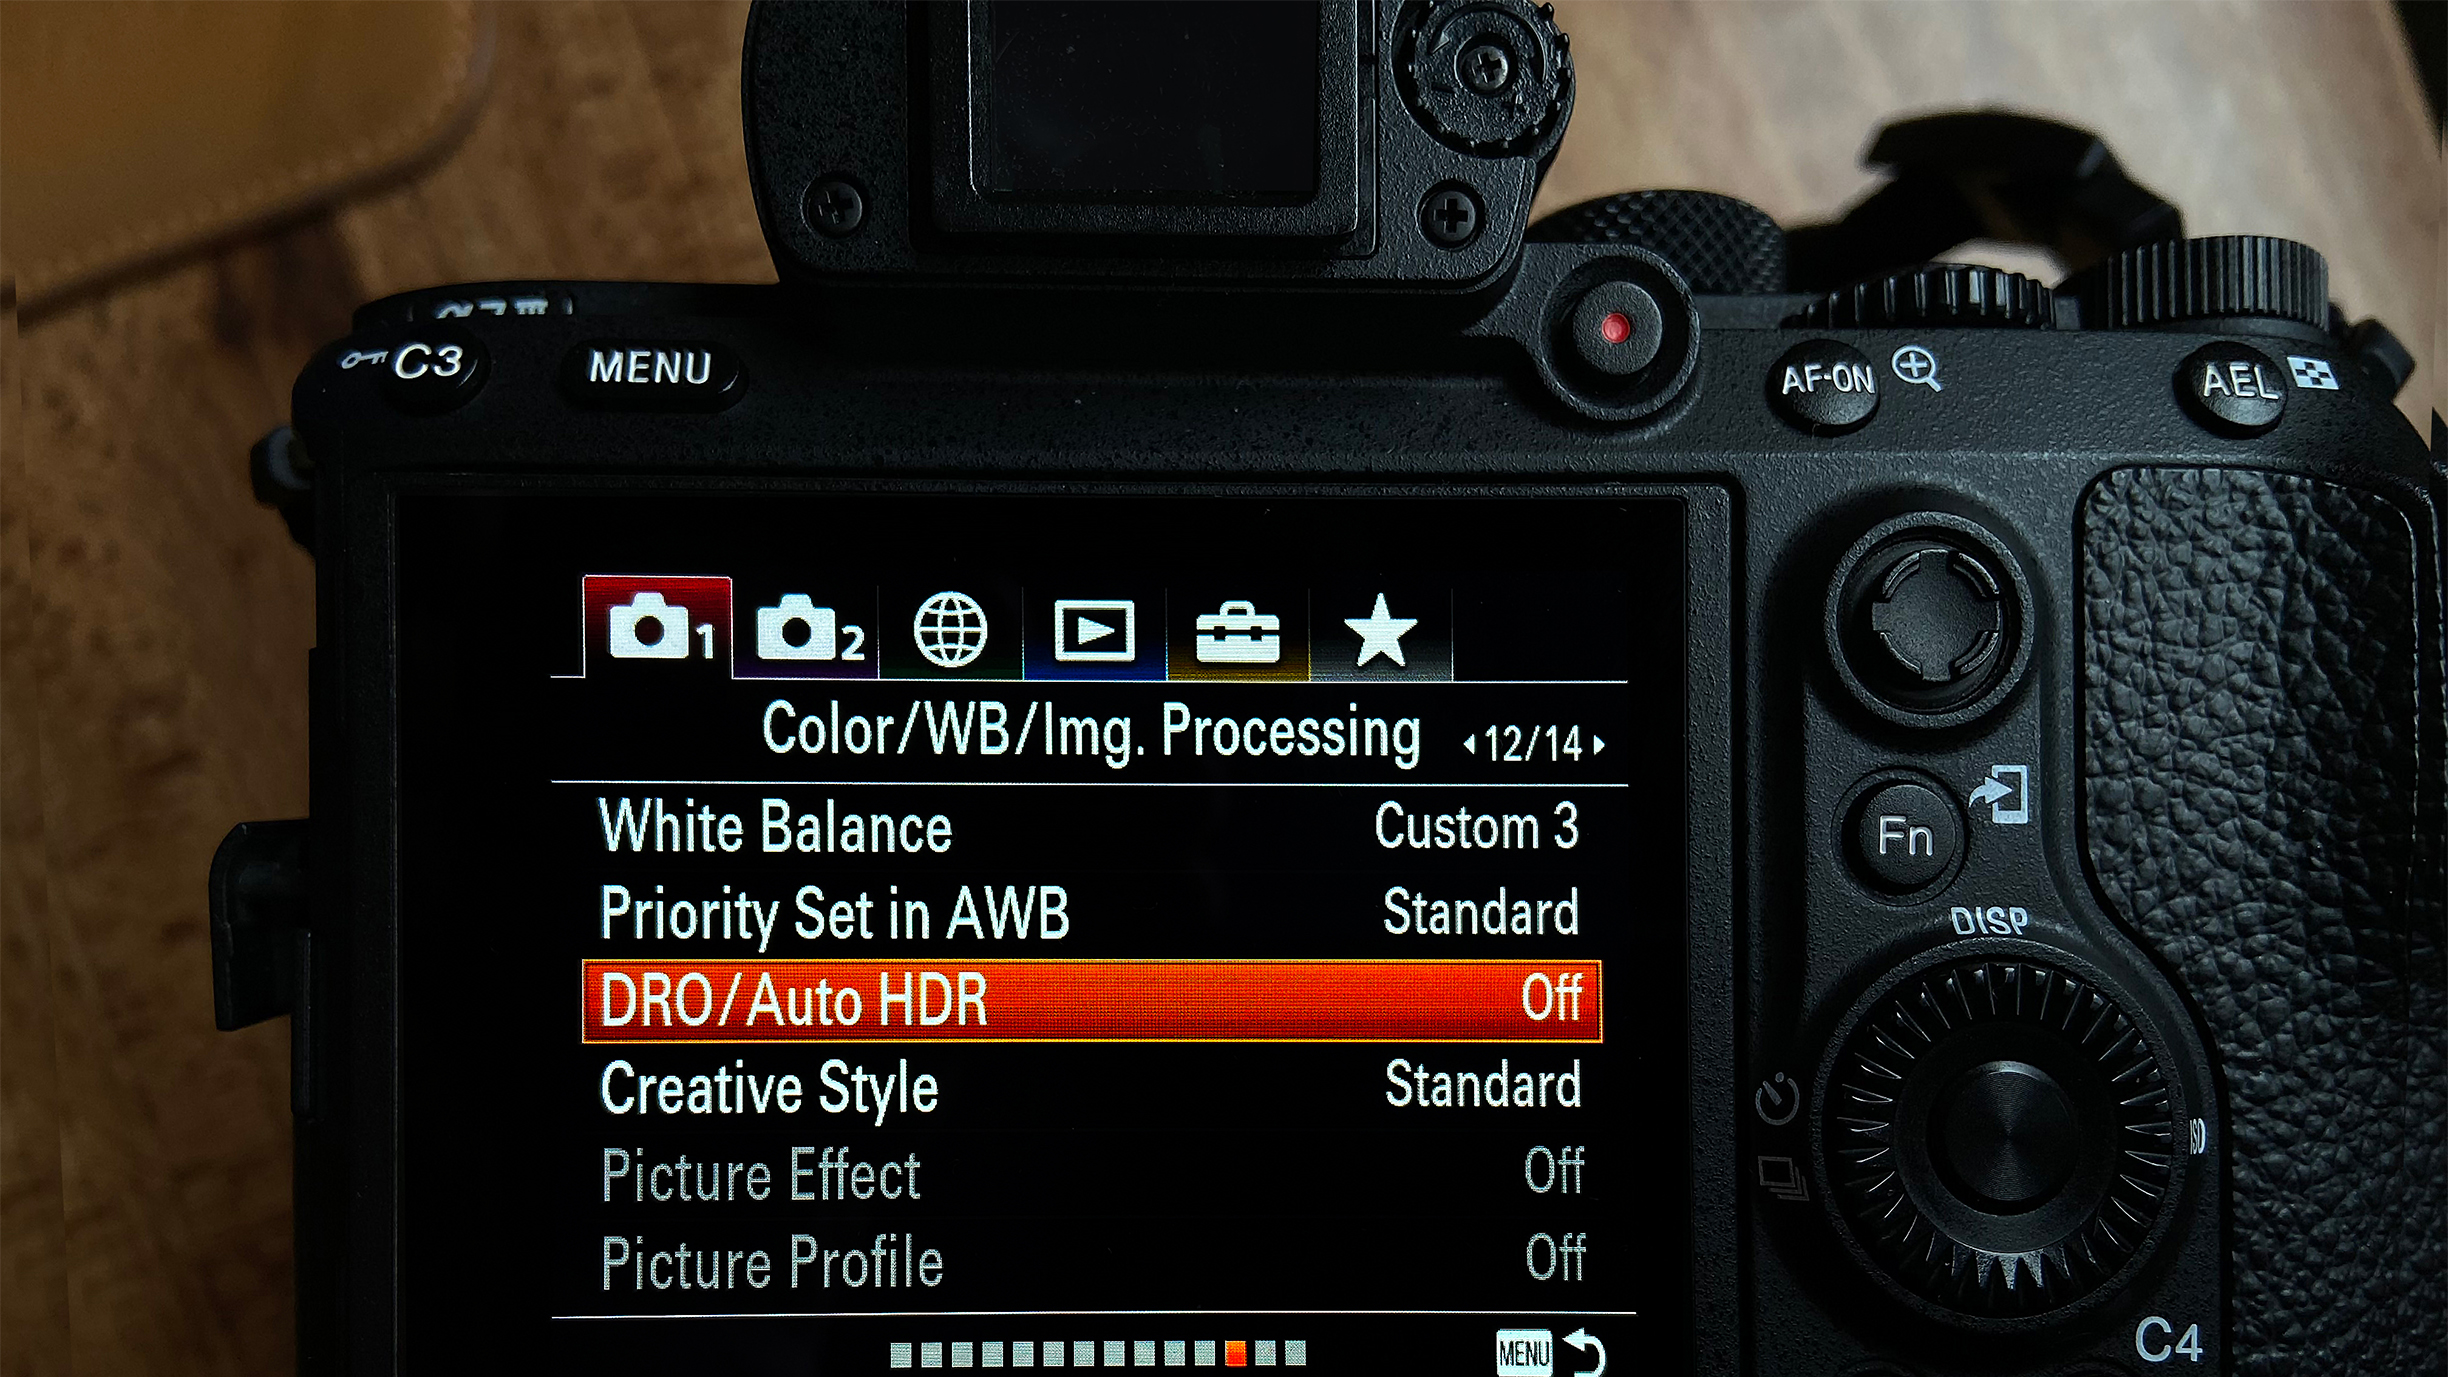
2. Deactivate functions
Some cameras have modes that create a balanced exposure for all elements. To produce deep black pixels, disable these settings. For Nikon users, it’s called Active D-Lighting; Canon’s is Auto Lighting Optimizer; and Sony’s is DRO.
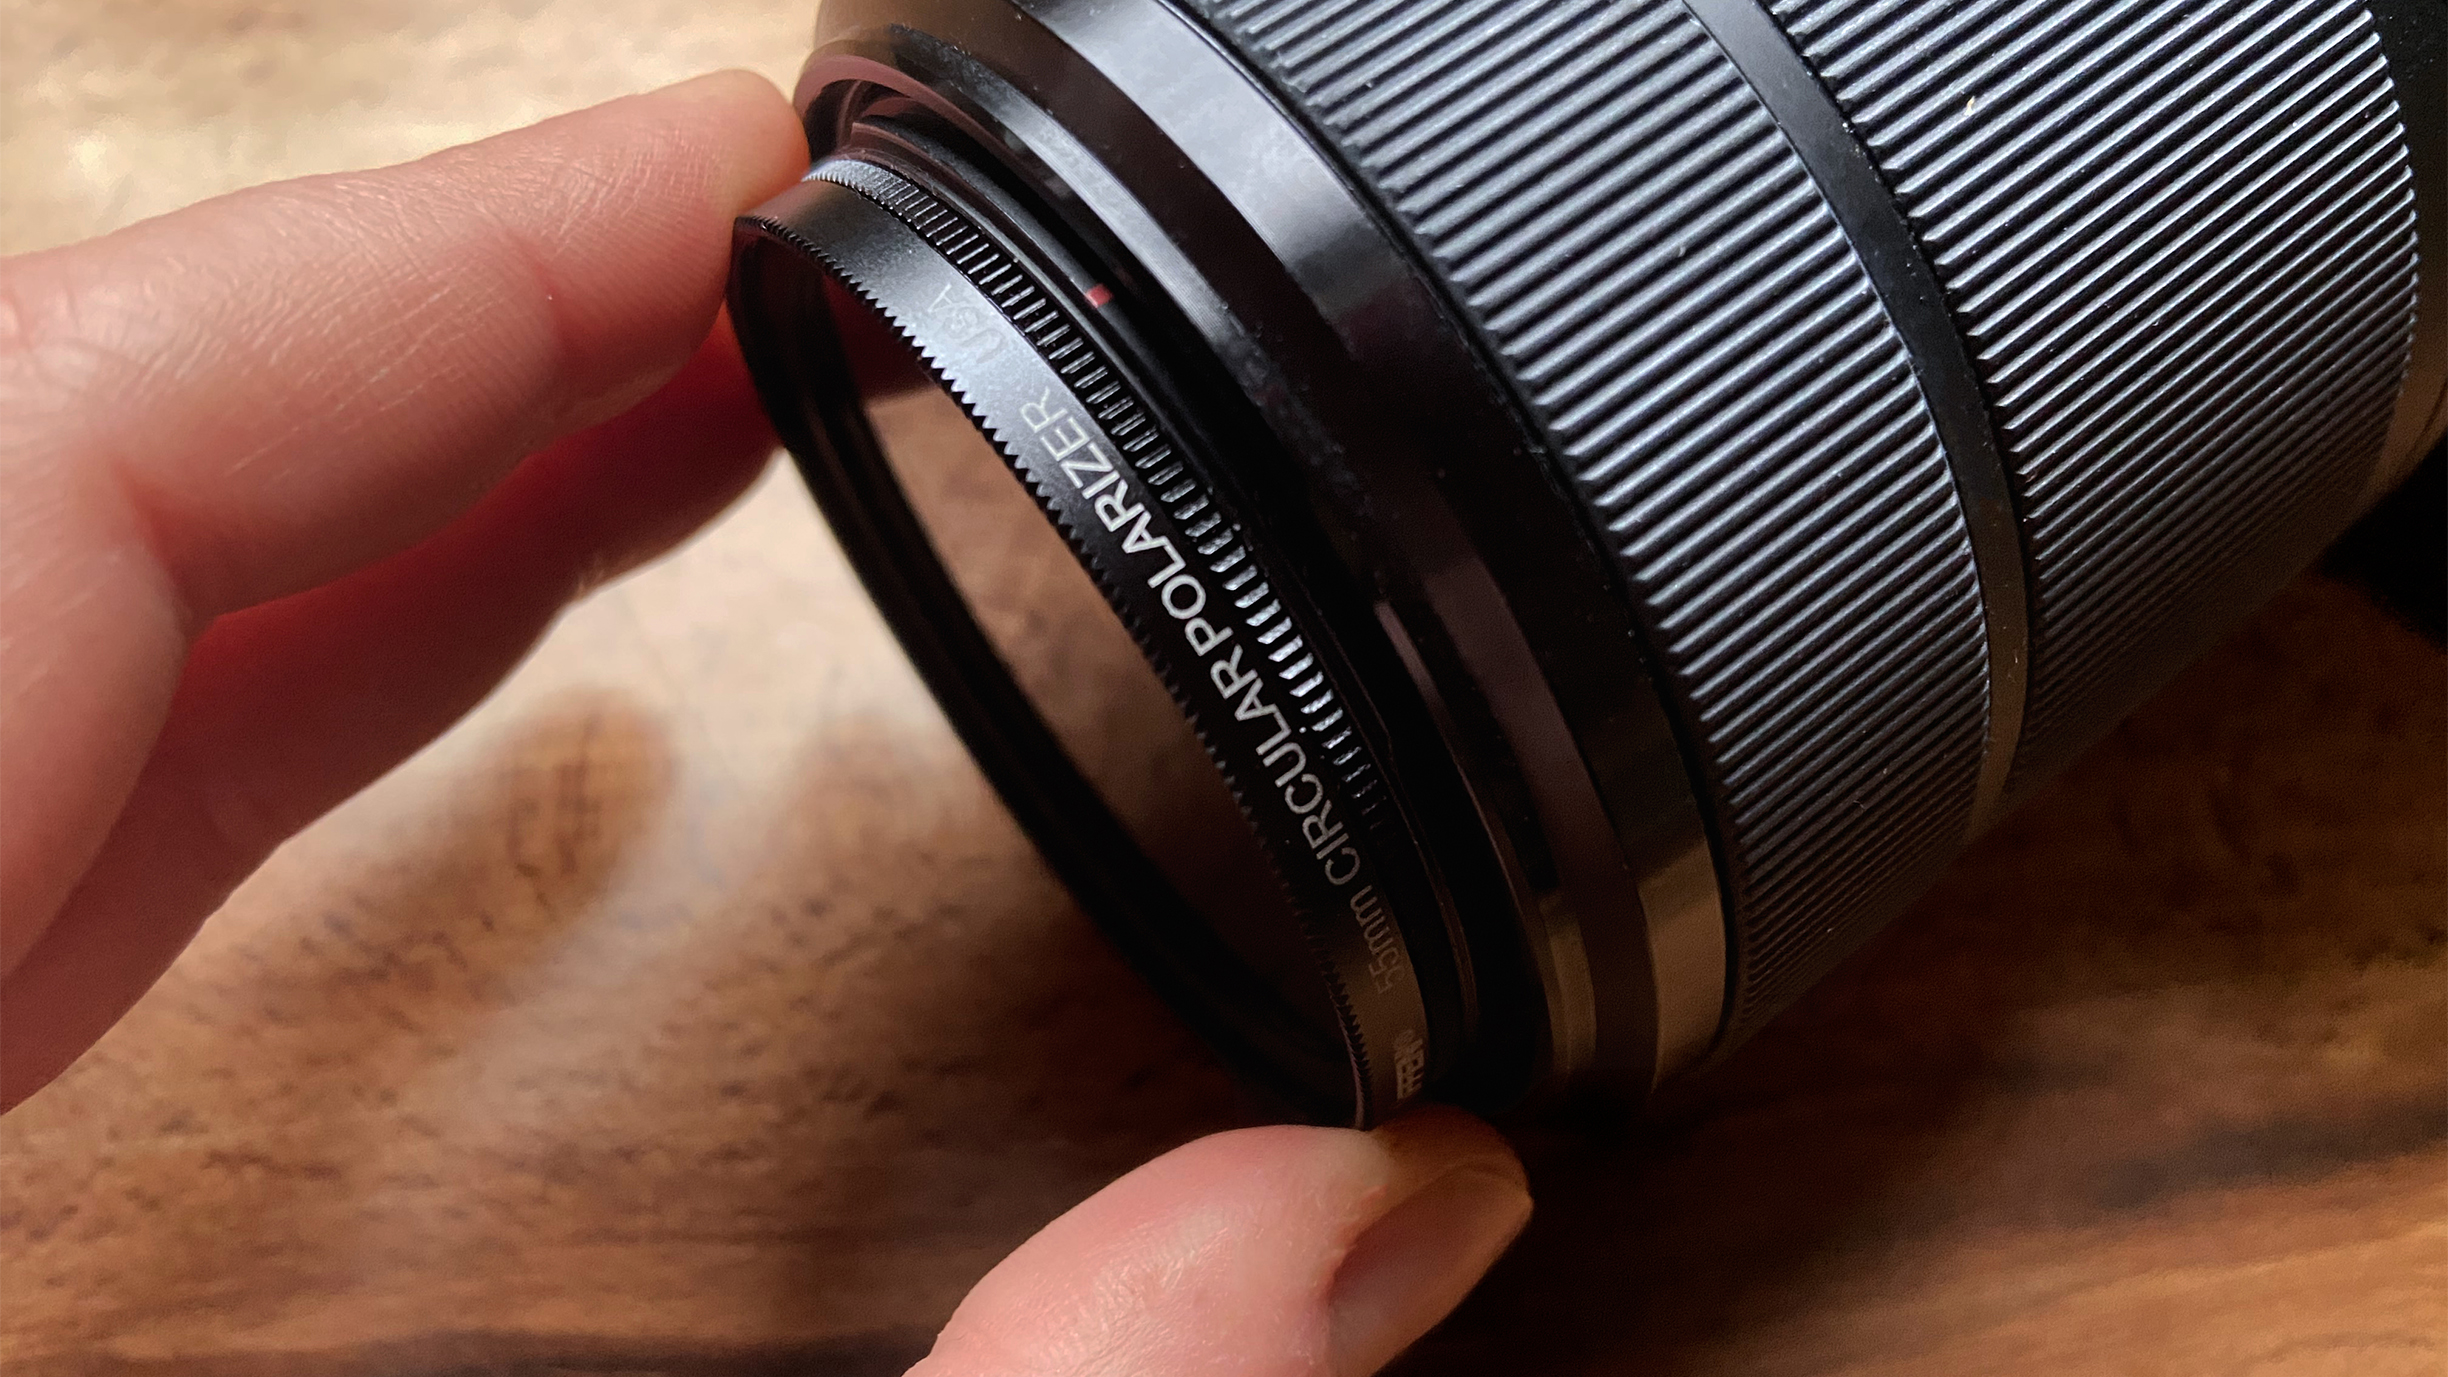
3. Attach a polarizer
A polarizing filter boosts the saturation in a scene but it also reduces the amount of light reaching the sensor. This tool isn’t ideal for low-light conditions, so this stage is optional, but it can be useful when shooting in harsh lighting conditions.
The best camera deals, reviews, product advice, and unmissable photography news, direct to your inbox!
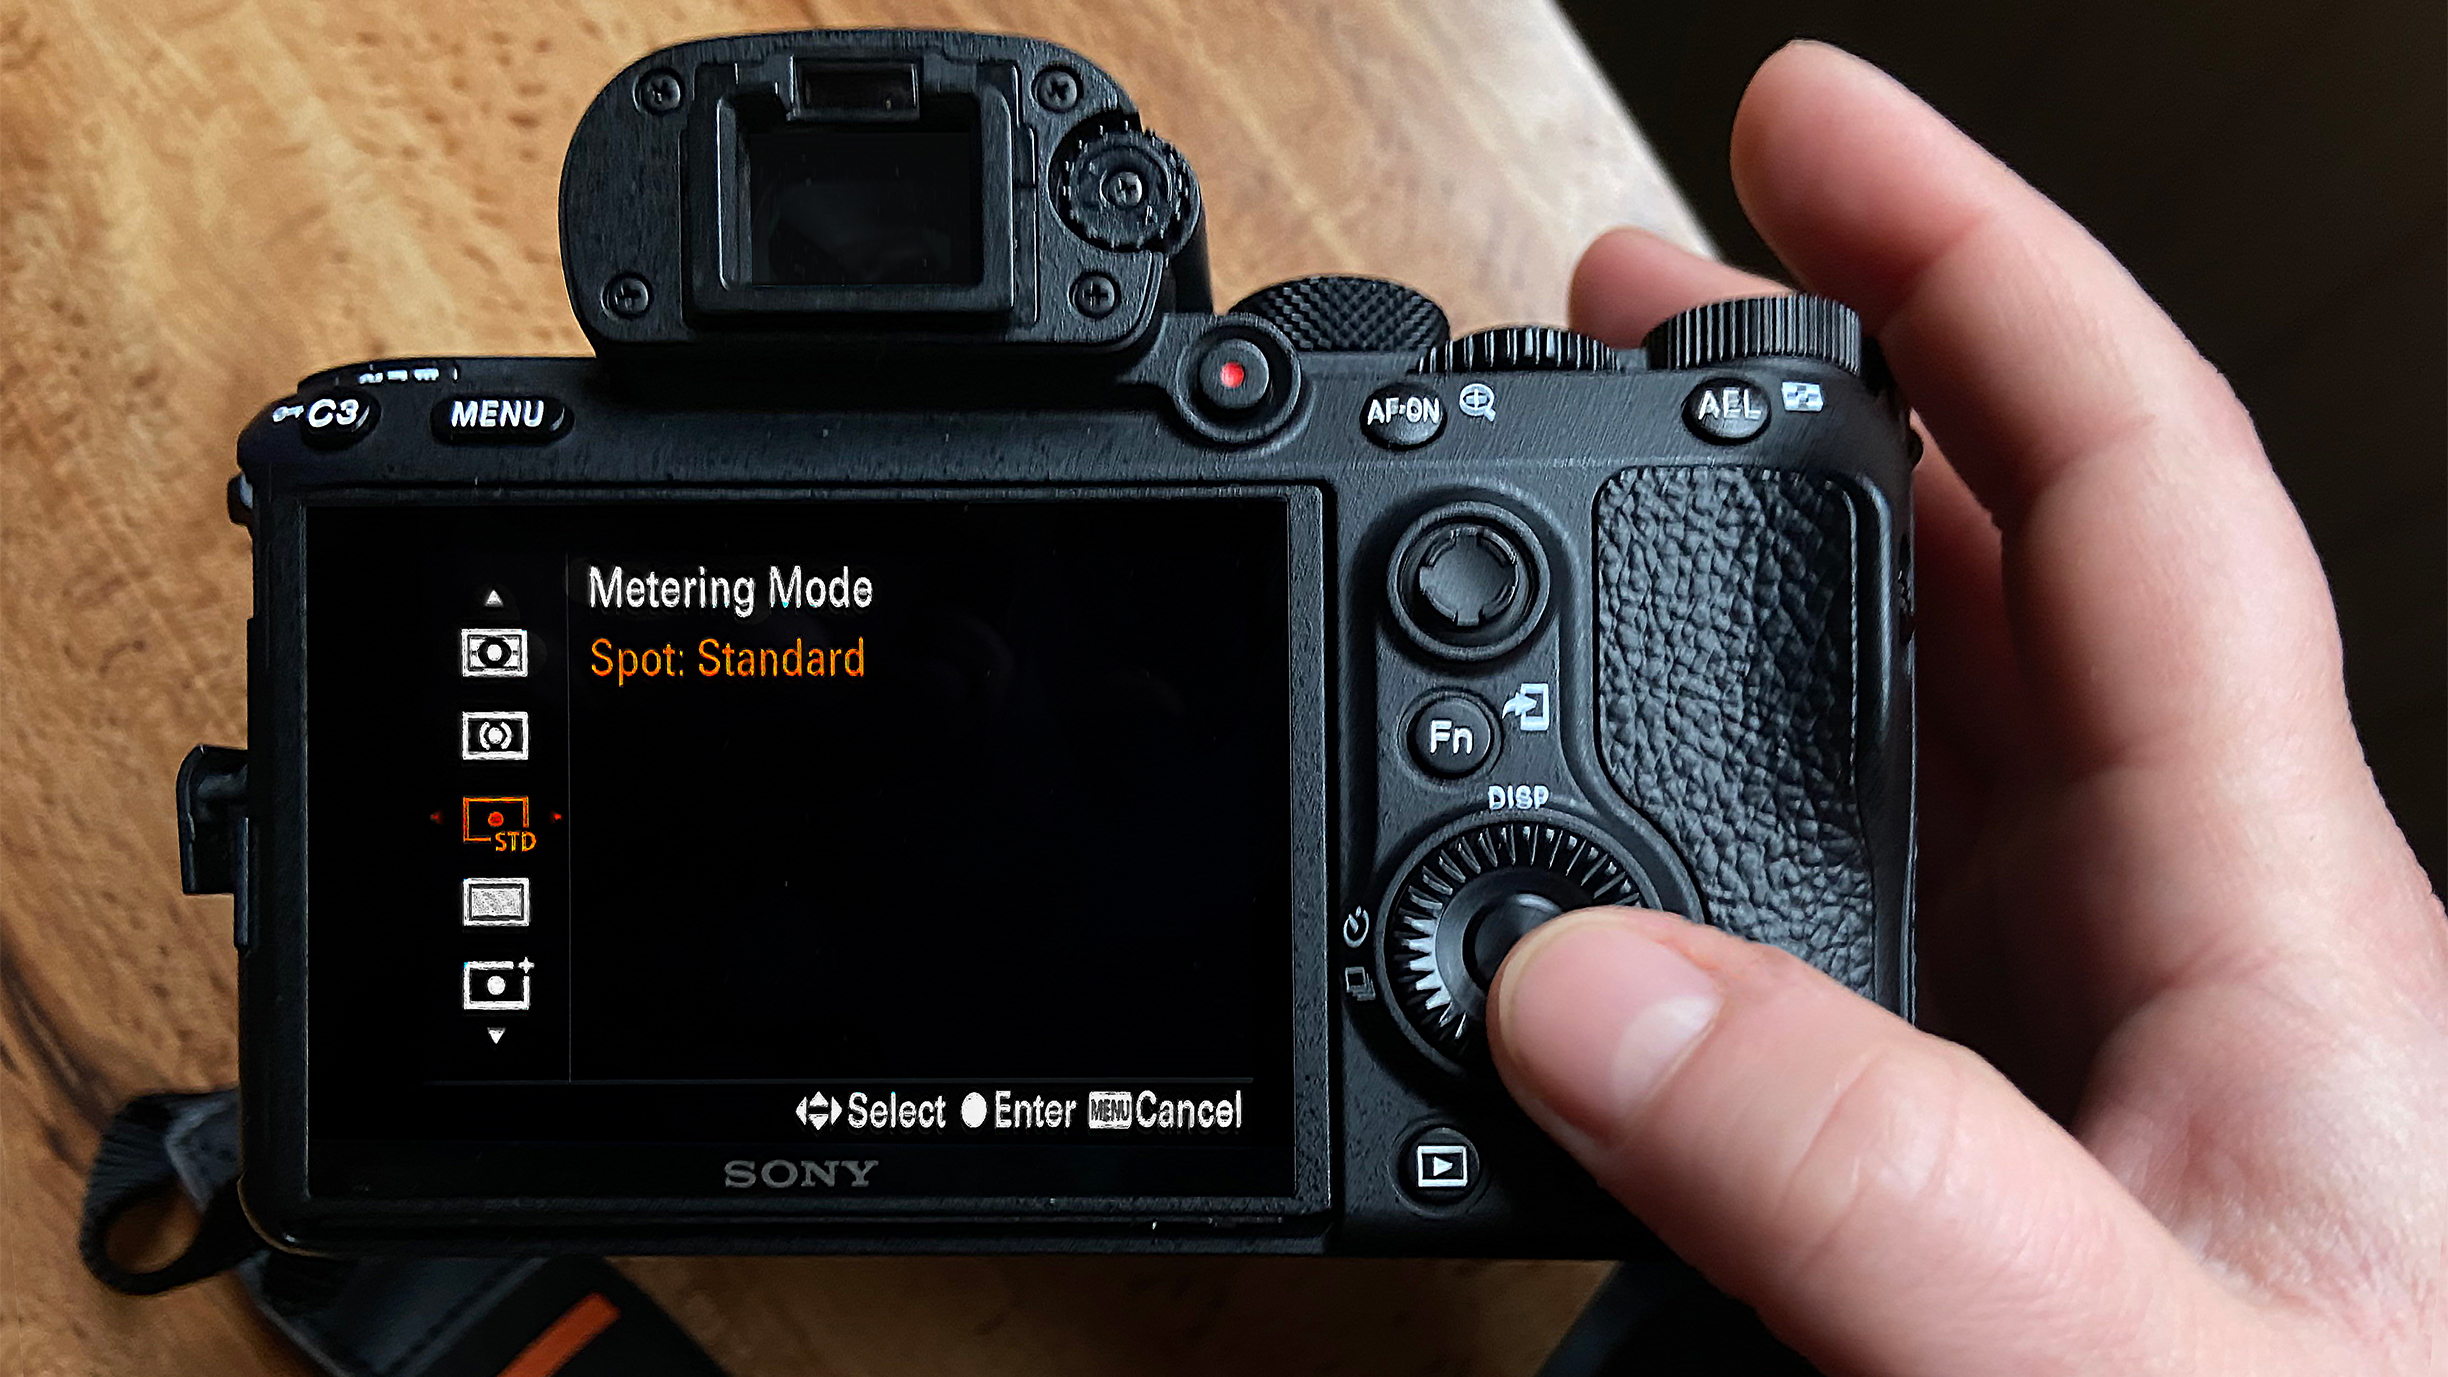
4. Select Spot Metering Mode
Metering from the brightest element is best to achieve balanced background exposure. Take the meter reading from the sky and not from the sun as this leads to underexposed results where it is not wanted – in this case, in the sky.
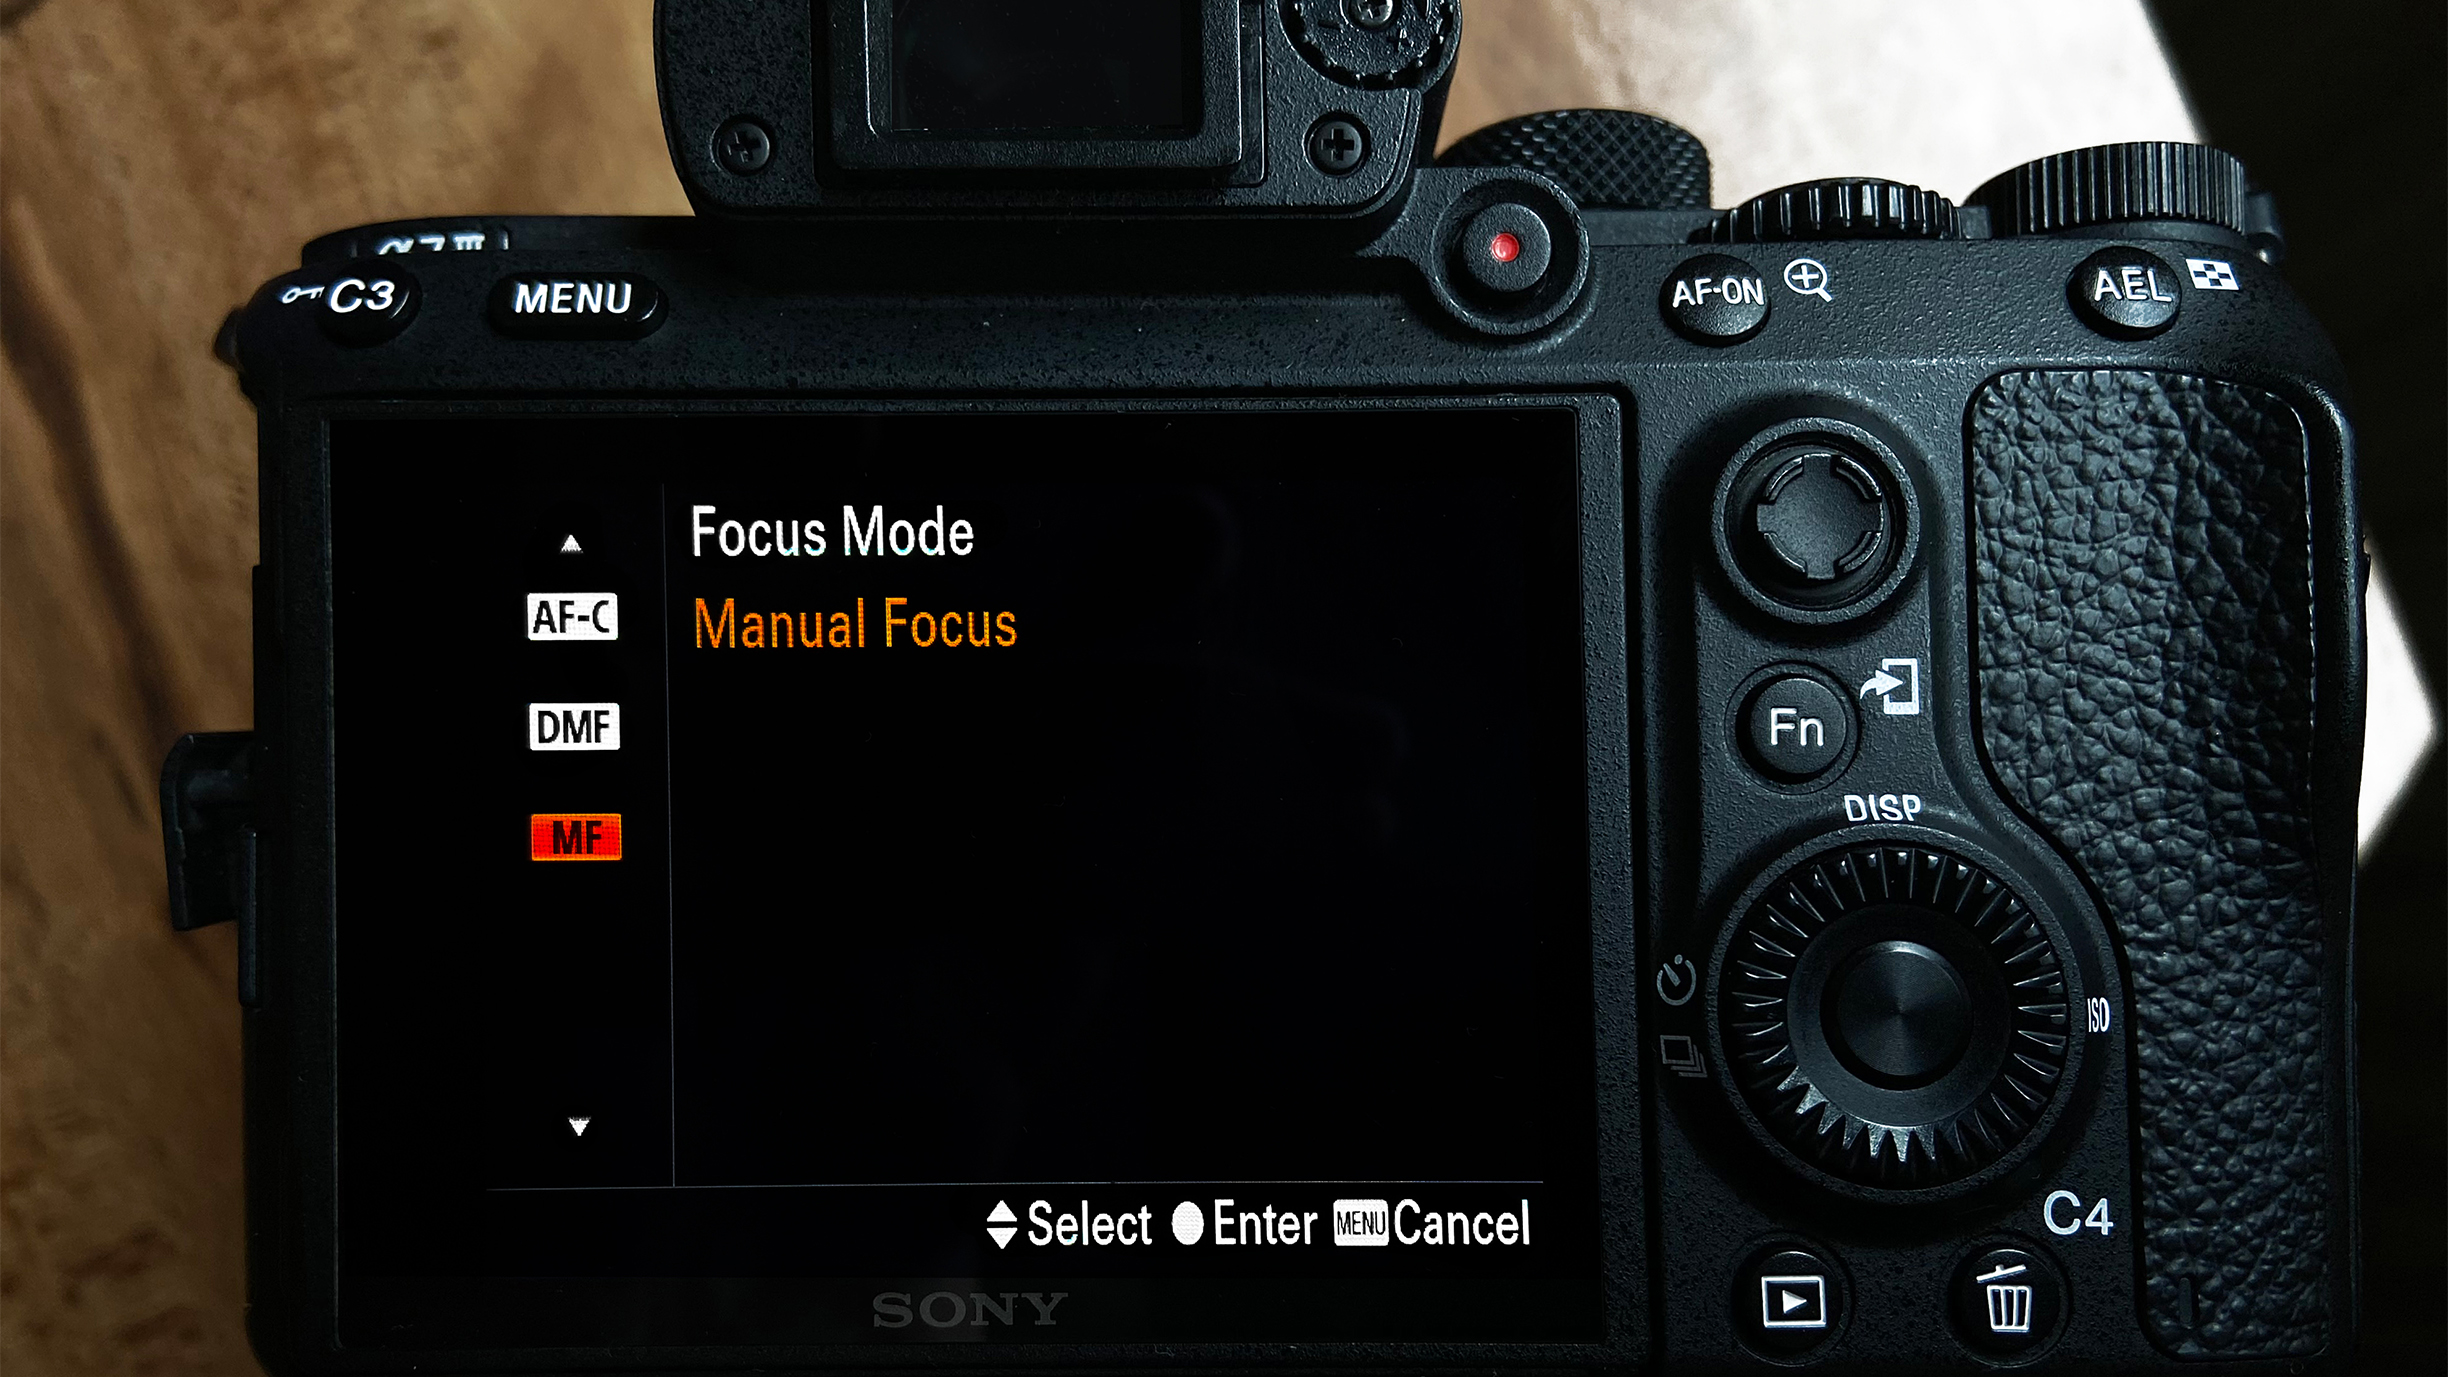
5. Set the focus
In low-light conditions, your camera’s autofocus can struggle to achieve a precise focus. If this is the case, disable the autofocus function and focus manually on the subject. Focus on the edges of the subject’s silhouette to make it easier.
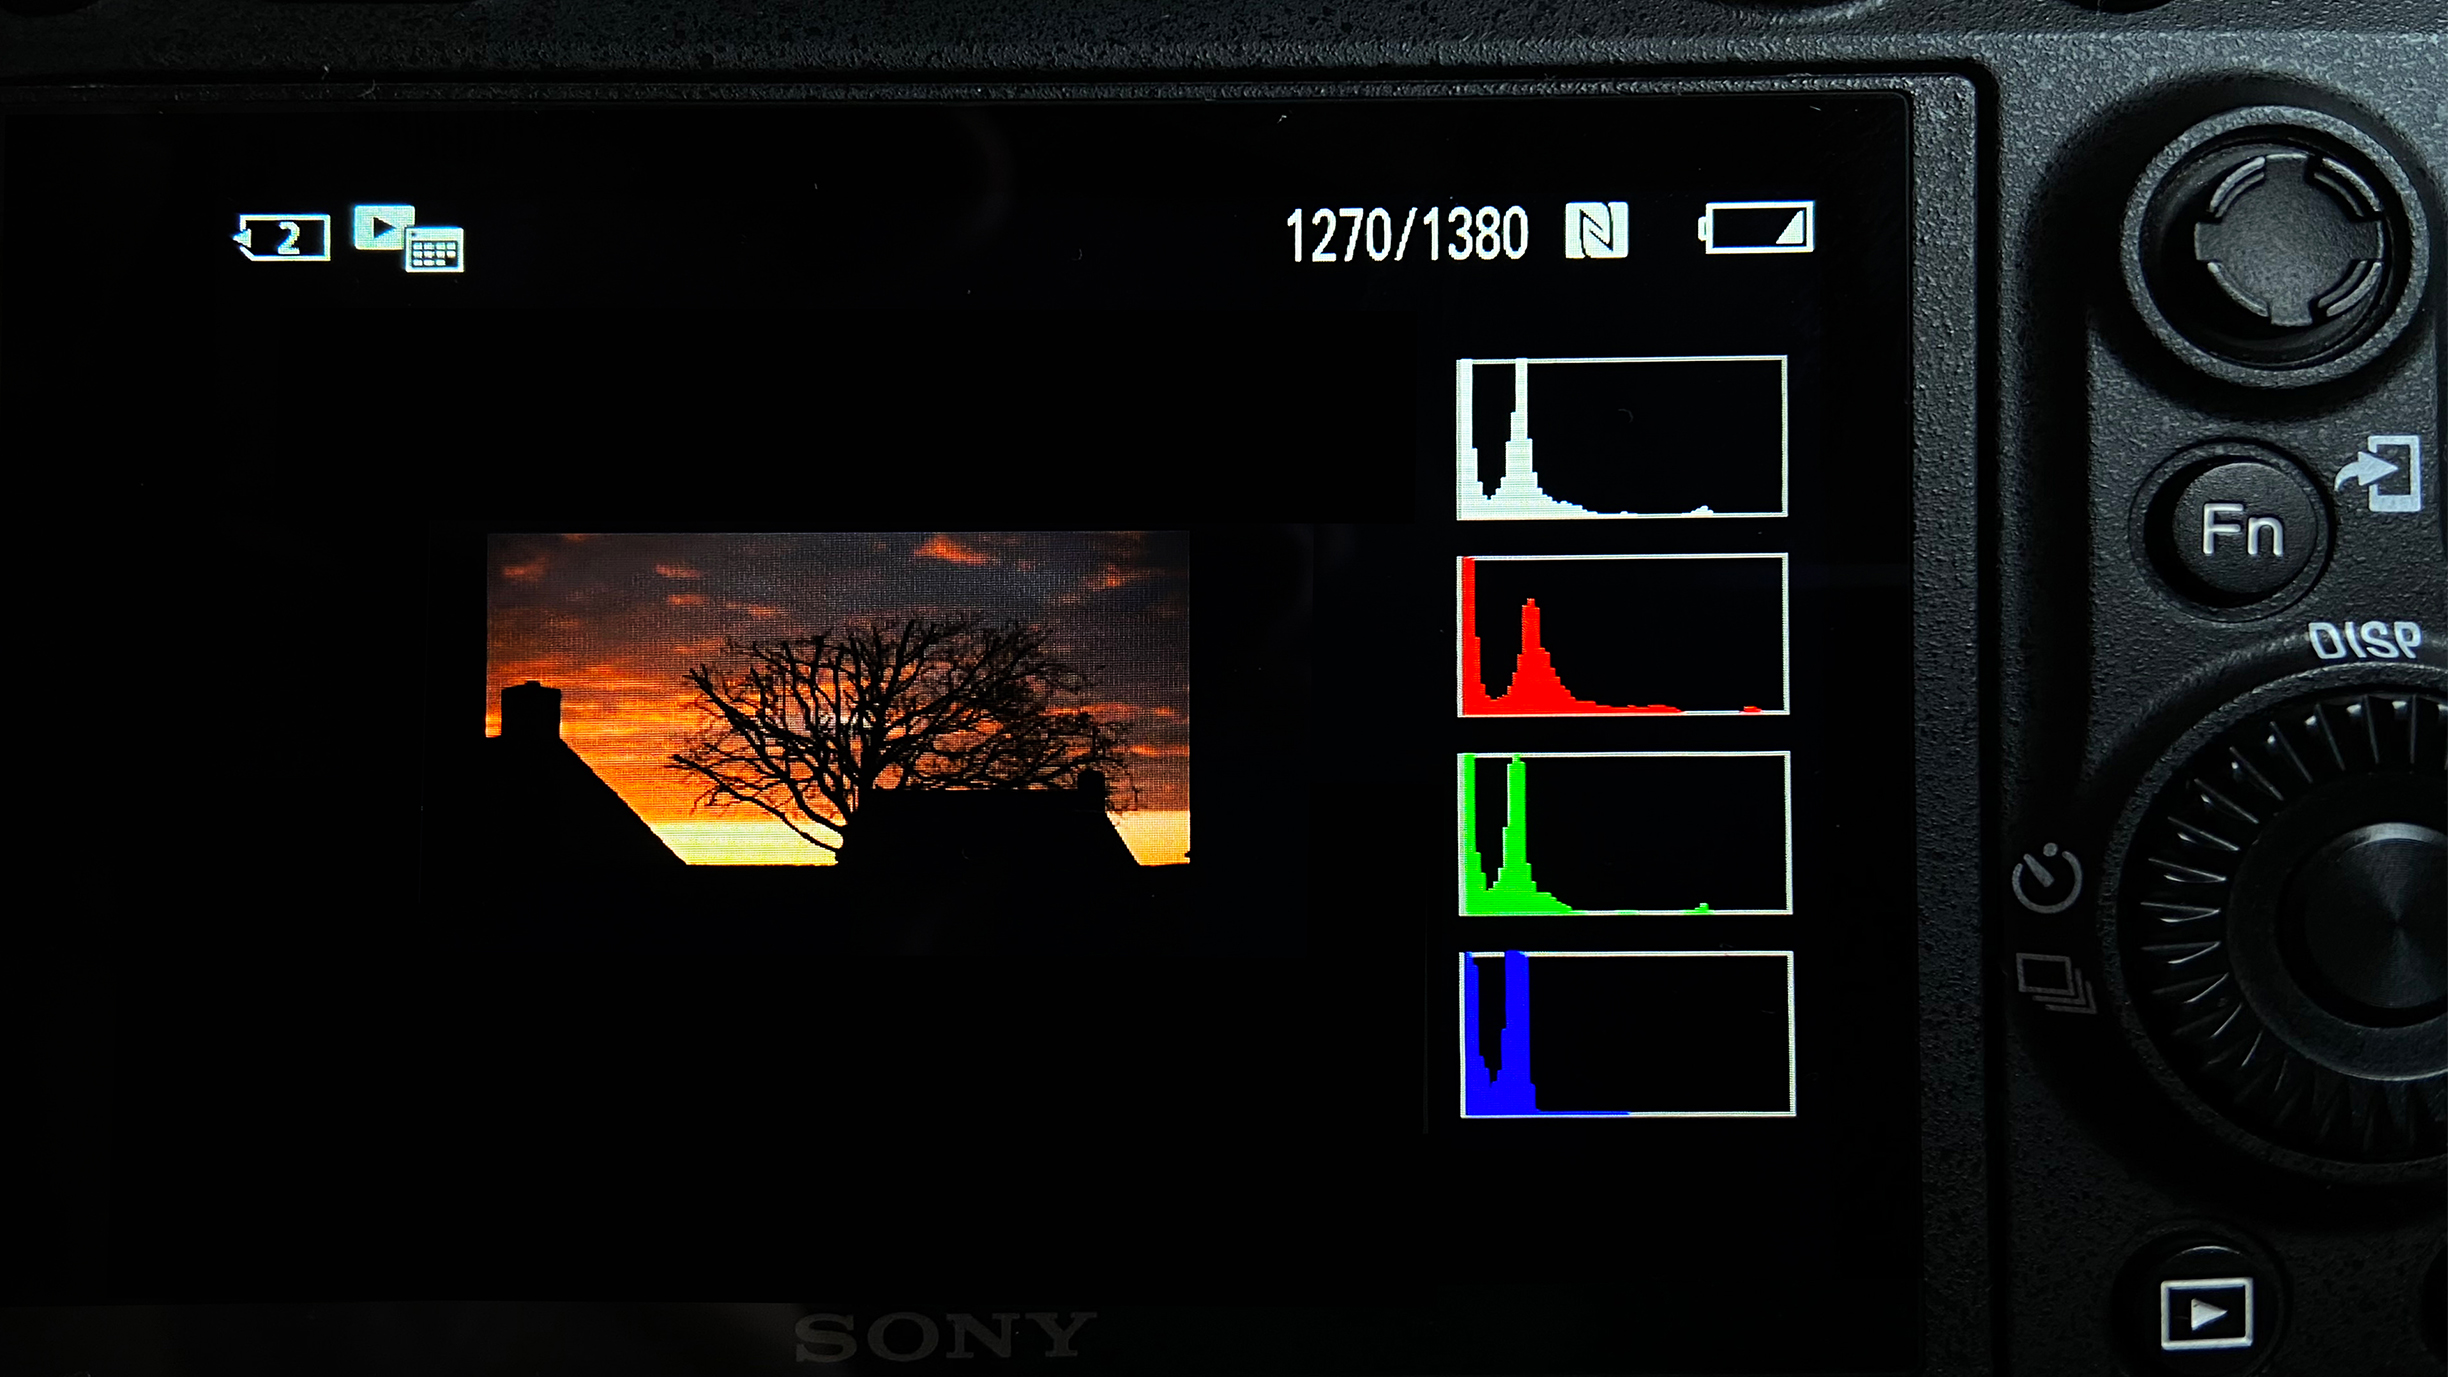
6. Overview and fine tune
Pay attention to the histogram and zoom in on both the sky and the silhouette. Experiment with exposure, reducing it by one or two stops until the silhouettes are a deep black – this way, you will better understand the technique.
More tutorials
- Ditch your tripod – try handheld HDR instead!
- Freeze the motion in your images with this step-by-step tutorial
- Long exposure flash photography can give you mind blowing results
- Street photography: how to remove distracting elements with long exposures
This article originally appeared in Digital Photographer, a monthly magazine, and the kitbag essential for pros, enthusiasts, and amateurs alike!
Inside, you'll find practical guides, shooting tips, and techniques from working photographers, plus all the latest industry news.

Kim is a photographer, editor and writer with work published internationally. She holds a Master's degree in Photography and Media and was formerly Technique Editor at Digital Photographer, focusing on the art and science of photography. Blending technical expertise with visual insight, Kim explores photography's time-honored yet ever-evolving role in culture. Through her features, tutorials, and gear reviews, she aims to encourage readers to explore the medium more deeply and embrace its full creative potential.
