Capture One 'Base Curves': what they do, where to find them, how they work
Capture One expert Paul Reiffer explains Base Curves and the impact on your image editing workflow
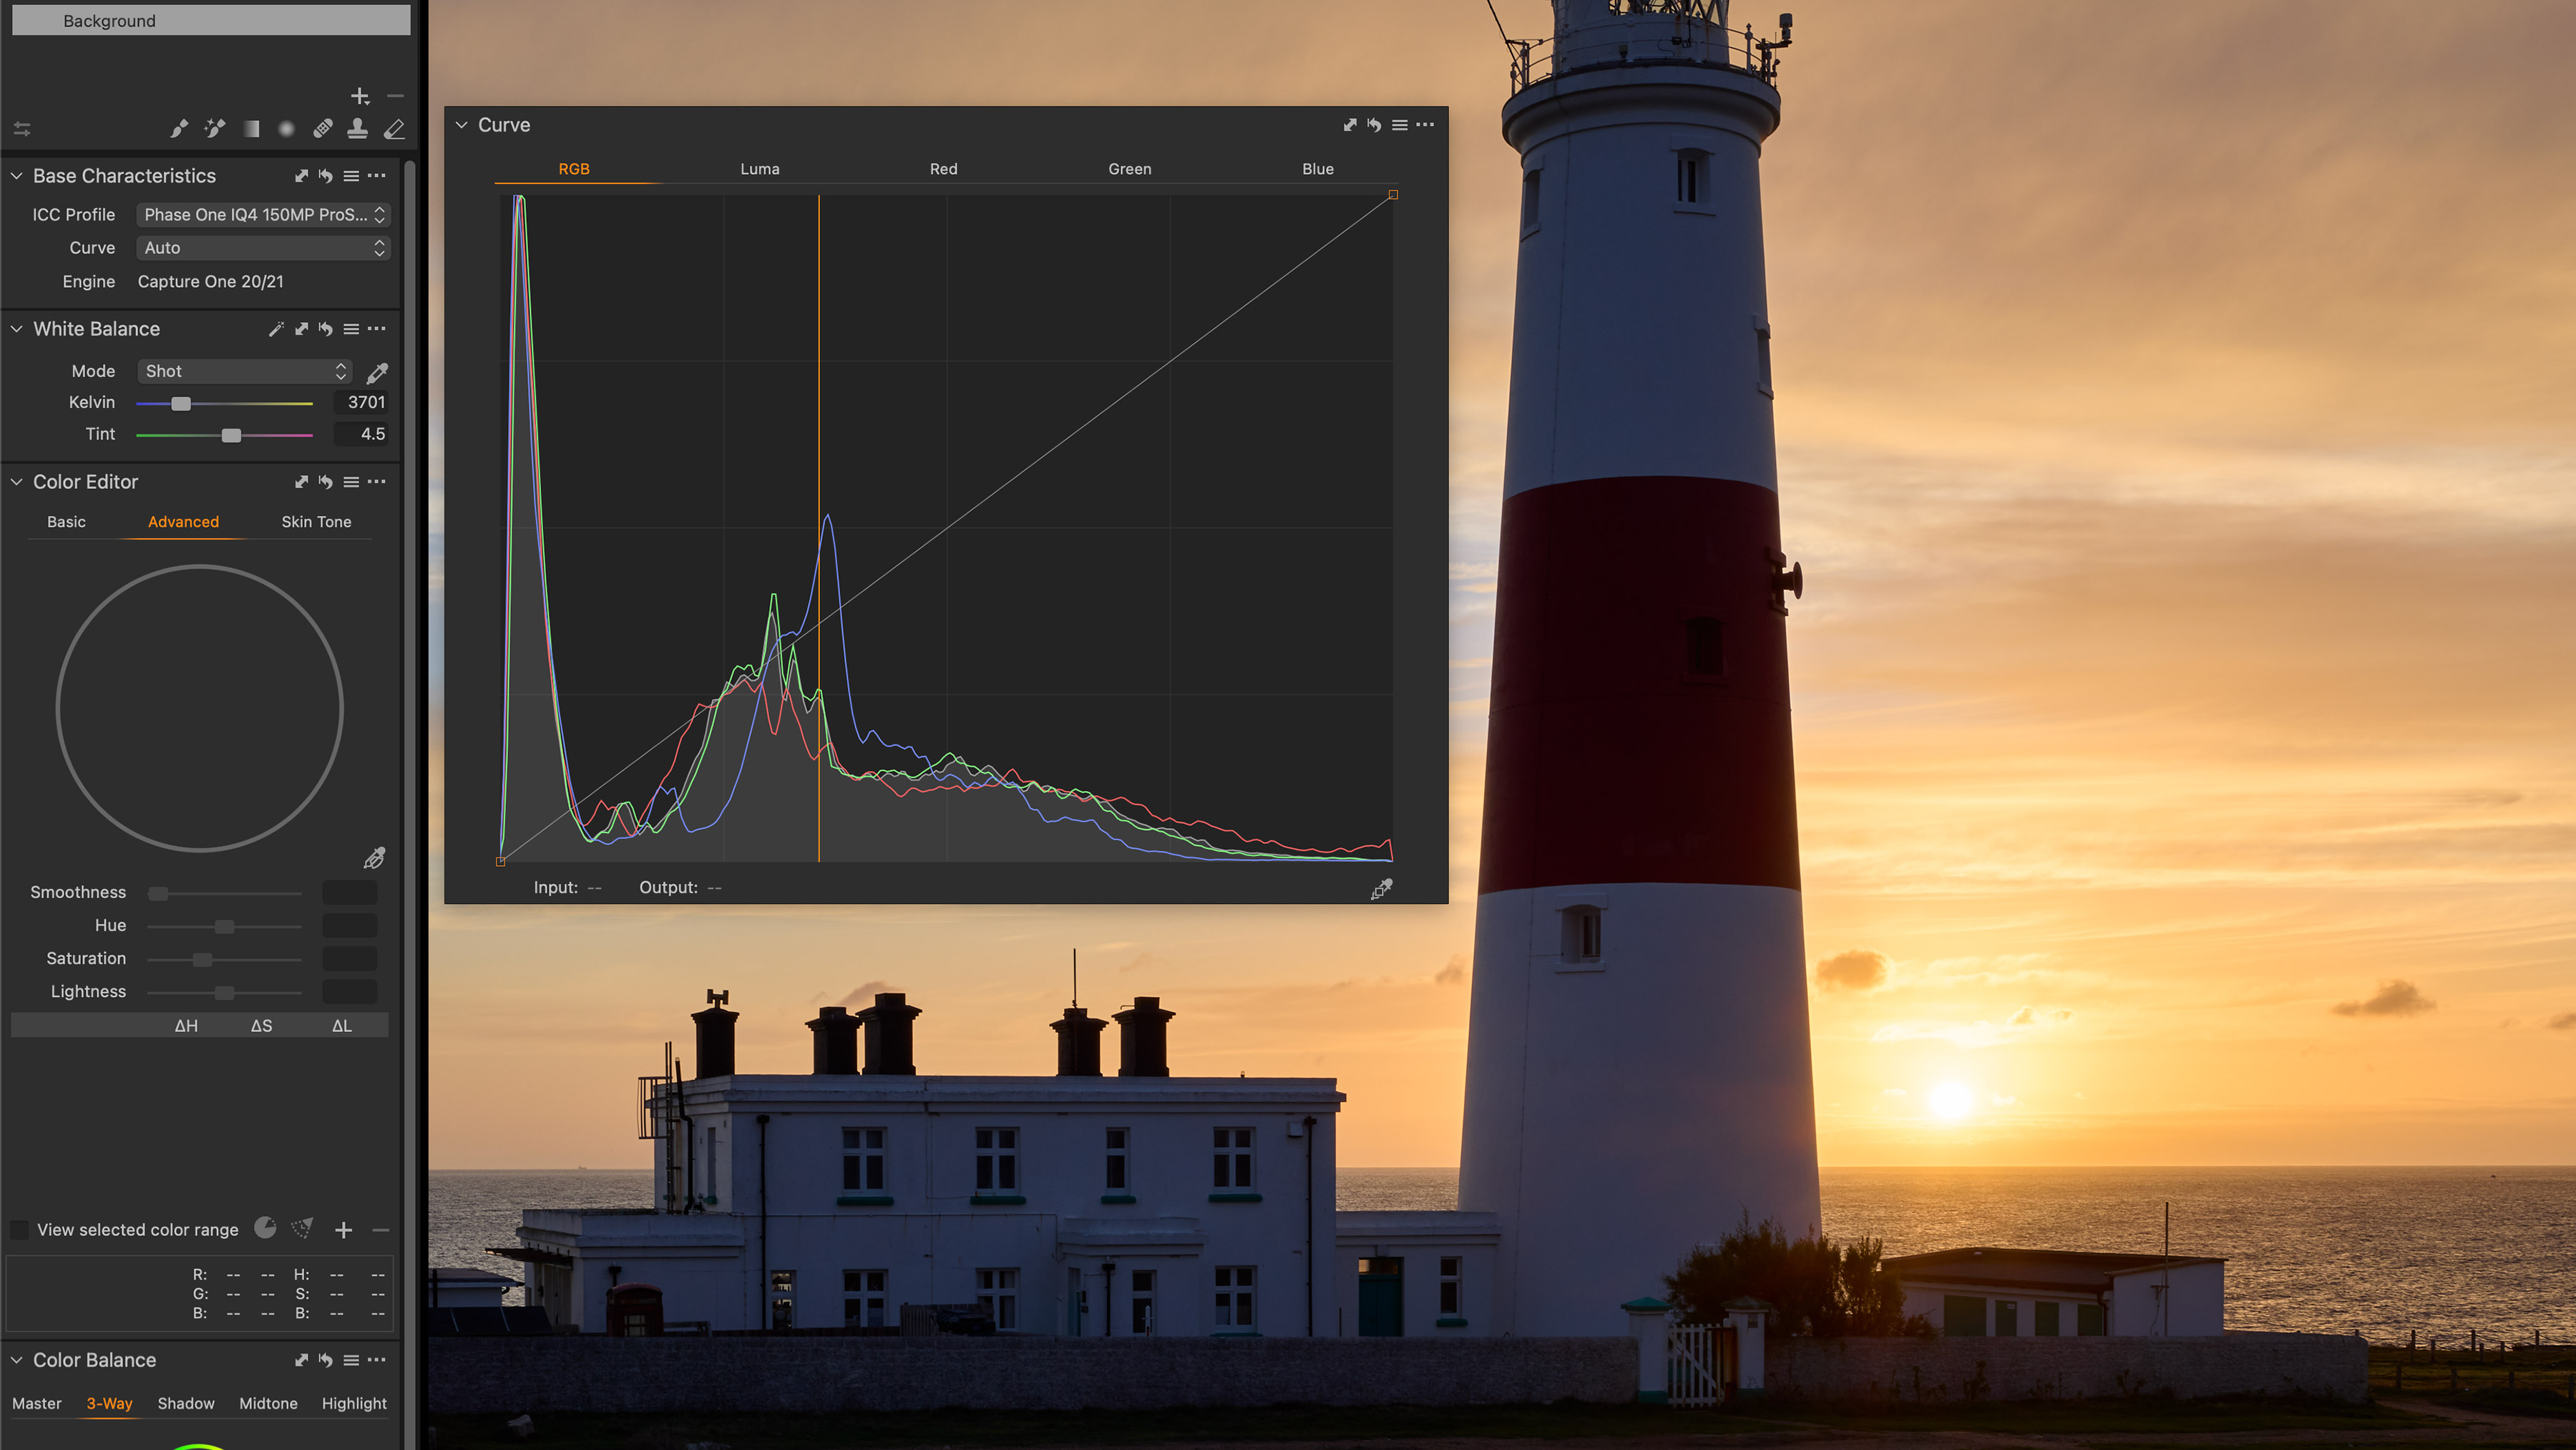
Most of us know what Curves adjustments are. Capture One has these amongst its regular adjustment tools. But it also offers 'Base Curves', which control the way Capture One renders the tonal distribution of your raw file before you carry out any other adjustments.
This series on Capture One has been specially commissioned from globetrotting pro photographer and editing expert Paul Reiffer.
• See the full Capture One series
• Capture One 21 review
• Best photo editing software
Out of the box, Capture One is designed to deliver images from your raw data that hold the right blend of contrast, colour fidelity and tonal range with very little effort.
But what happens when the default characteristics don’t quite hit the mark, especially in a challenging high-contrast image? Well, that’s where adjusting the “Curve” value in the Base Characteristics panel can help.
By default, Capture One uses what it calls the “Auto” Curve when you import any image. On certain cameras (for example, Fujifilm), it will read any film simulation you applied at the point of capture and apply that curve here, but for most cameras this is left to match the “Film Standard” curve.
In many situations, this is a good call – that curve that is automatically applied adds a bit of a “boost” to shadows (darkening) and highlights (lightening) to deliver a pop of contrast that works. The problem is, when dealing with an image that already holds a huge range of tones, this can push our highlights and shadows too far and we need to start closer to the raw data.
In this case, it’s worth considering one of the other Capture One curve profiles.
1. Where to find these Base Curves
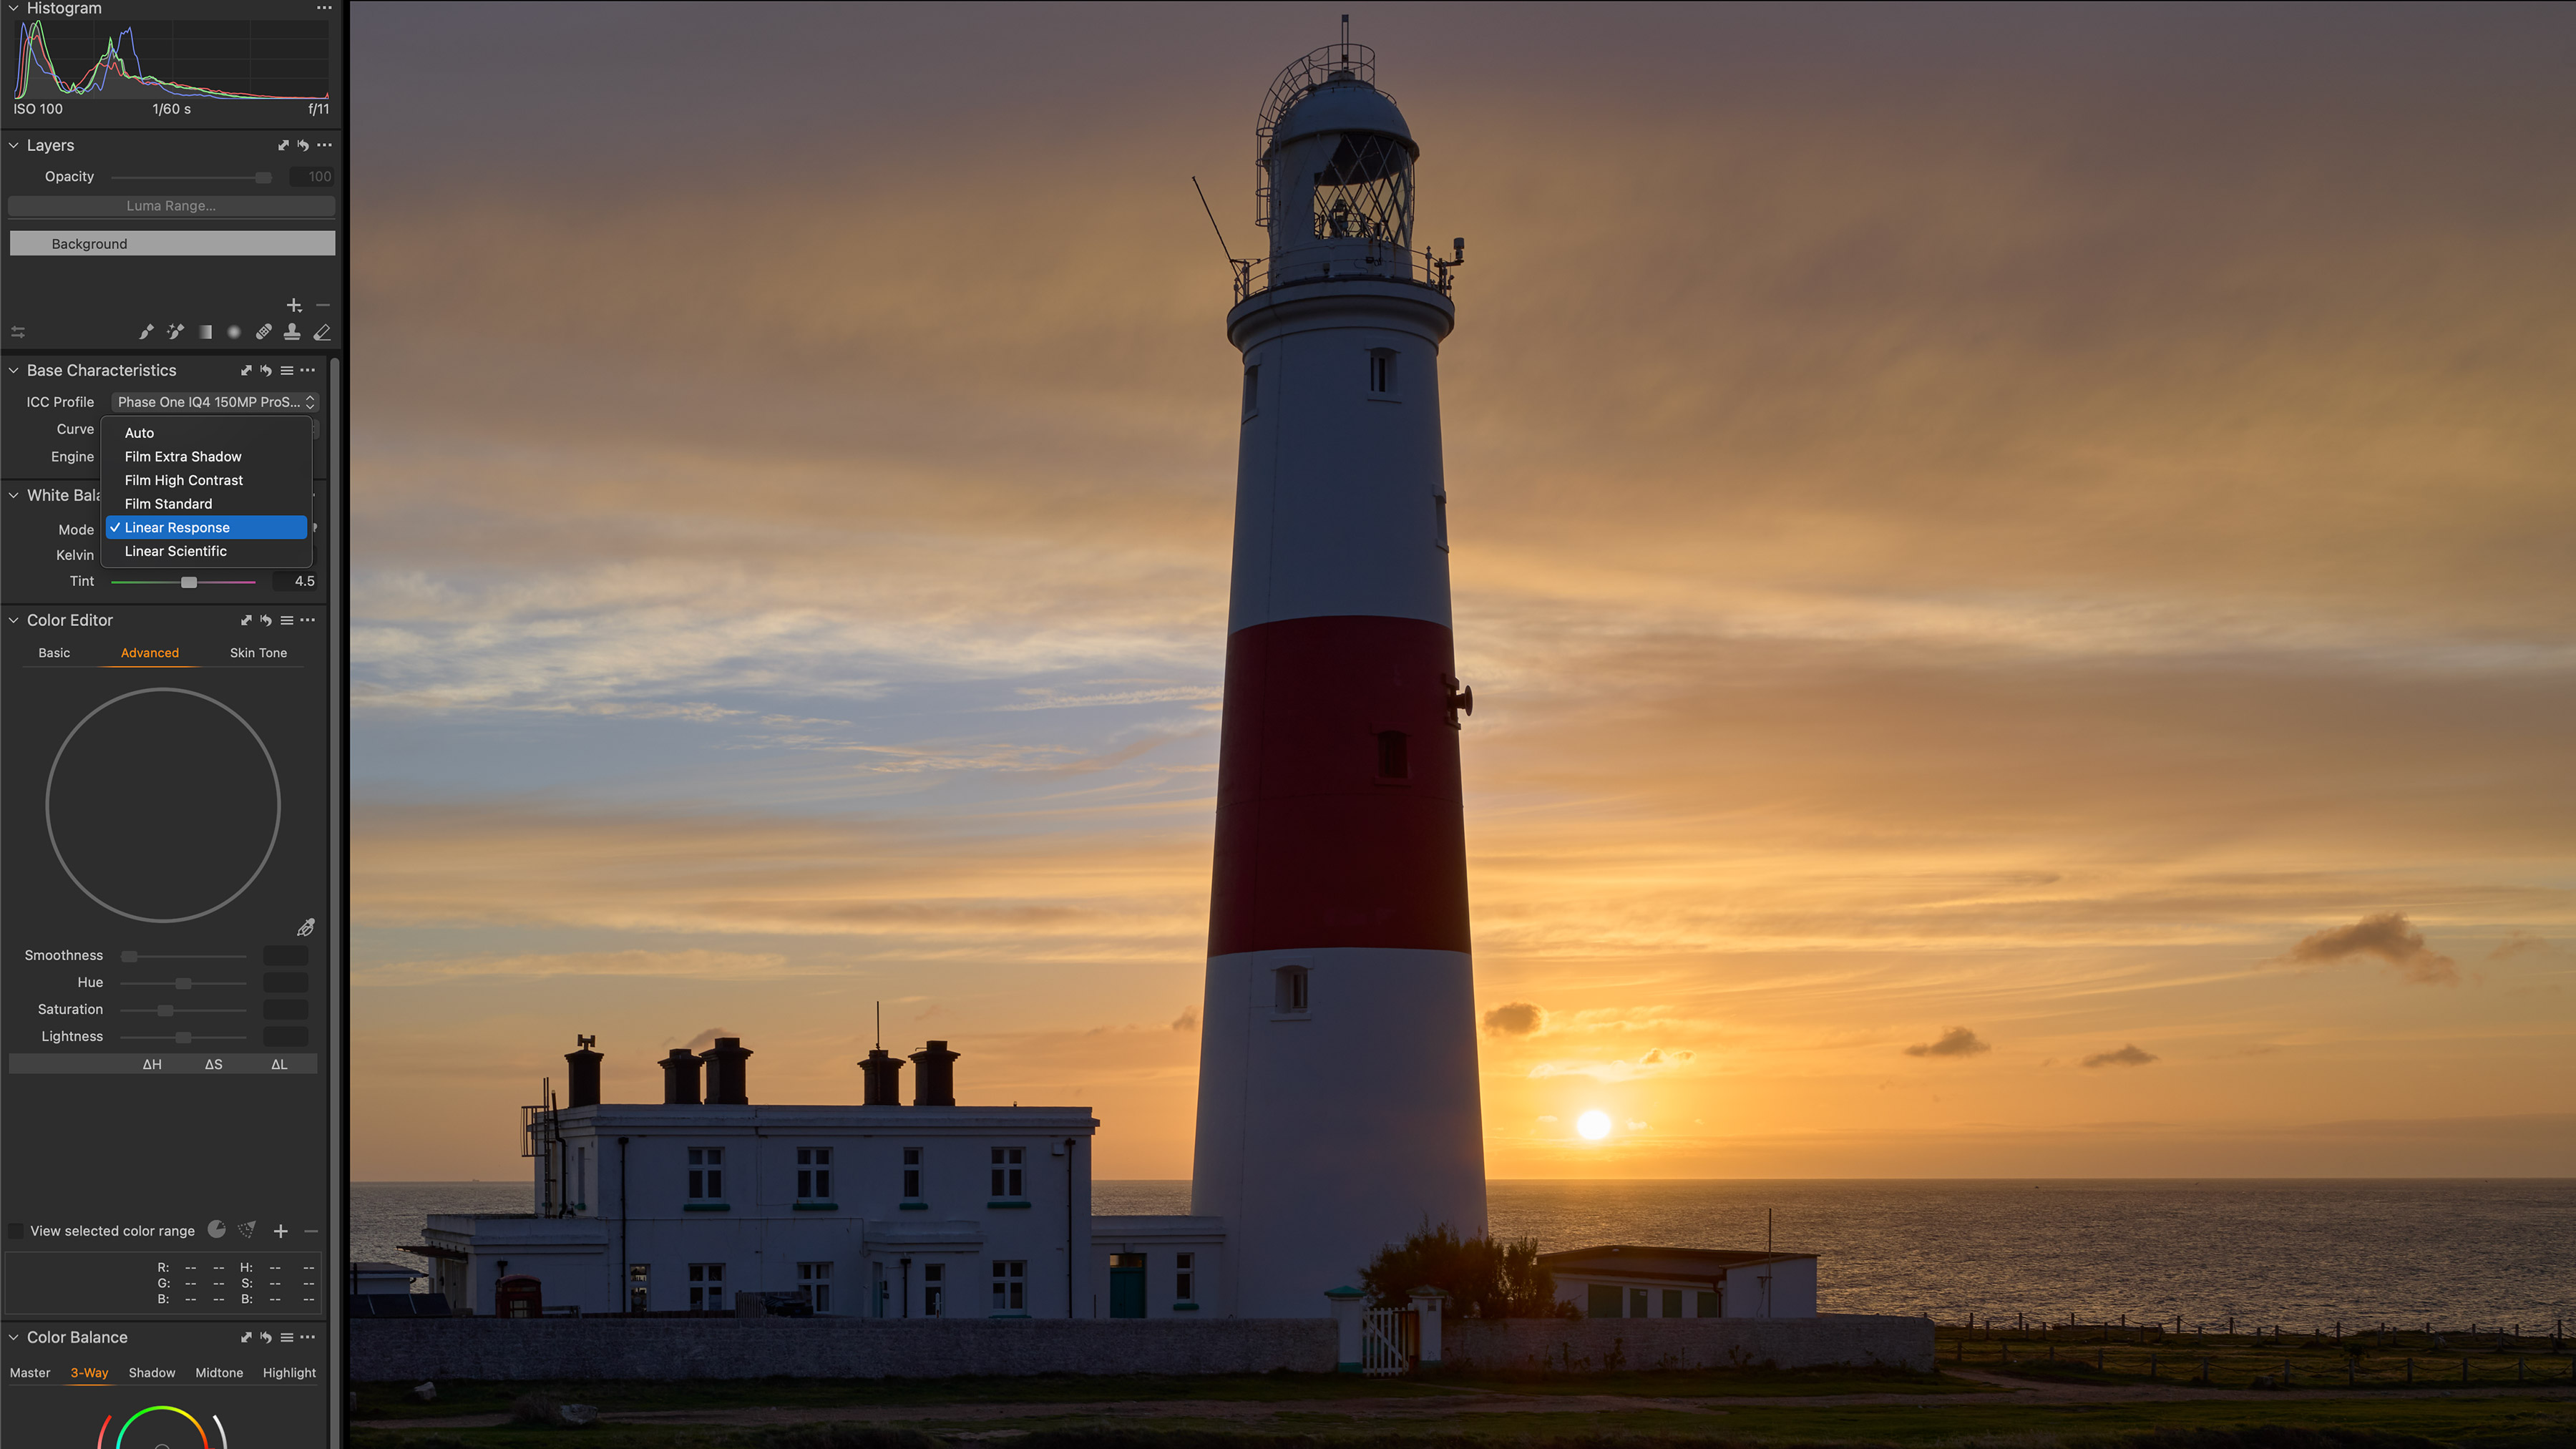
You’ll find the profiles in the drop-down below your ICC Profile. With “Auto” being either a pre-loaded film simulation from the camera or “Film Standard” to most of us, it’s the Linear Response curve that often comes to the rescue where the result of the higher-contrast curves is unwanted.
The best camera deals, reviews, product advice, and unmissable photography news, direct to your inbox!
2. Linear response
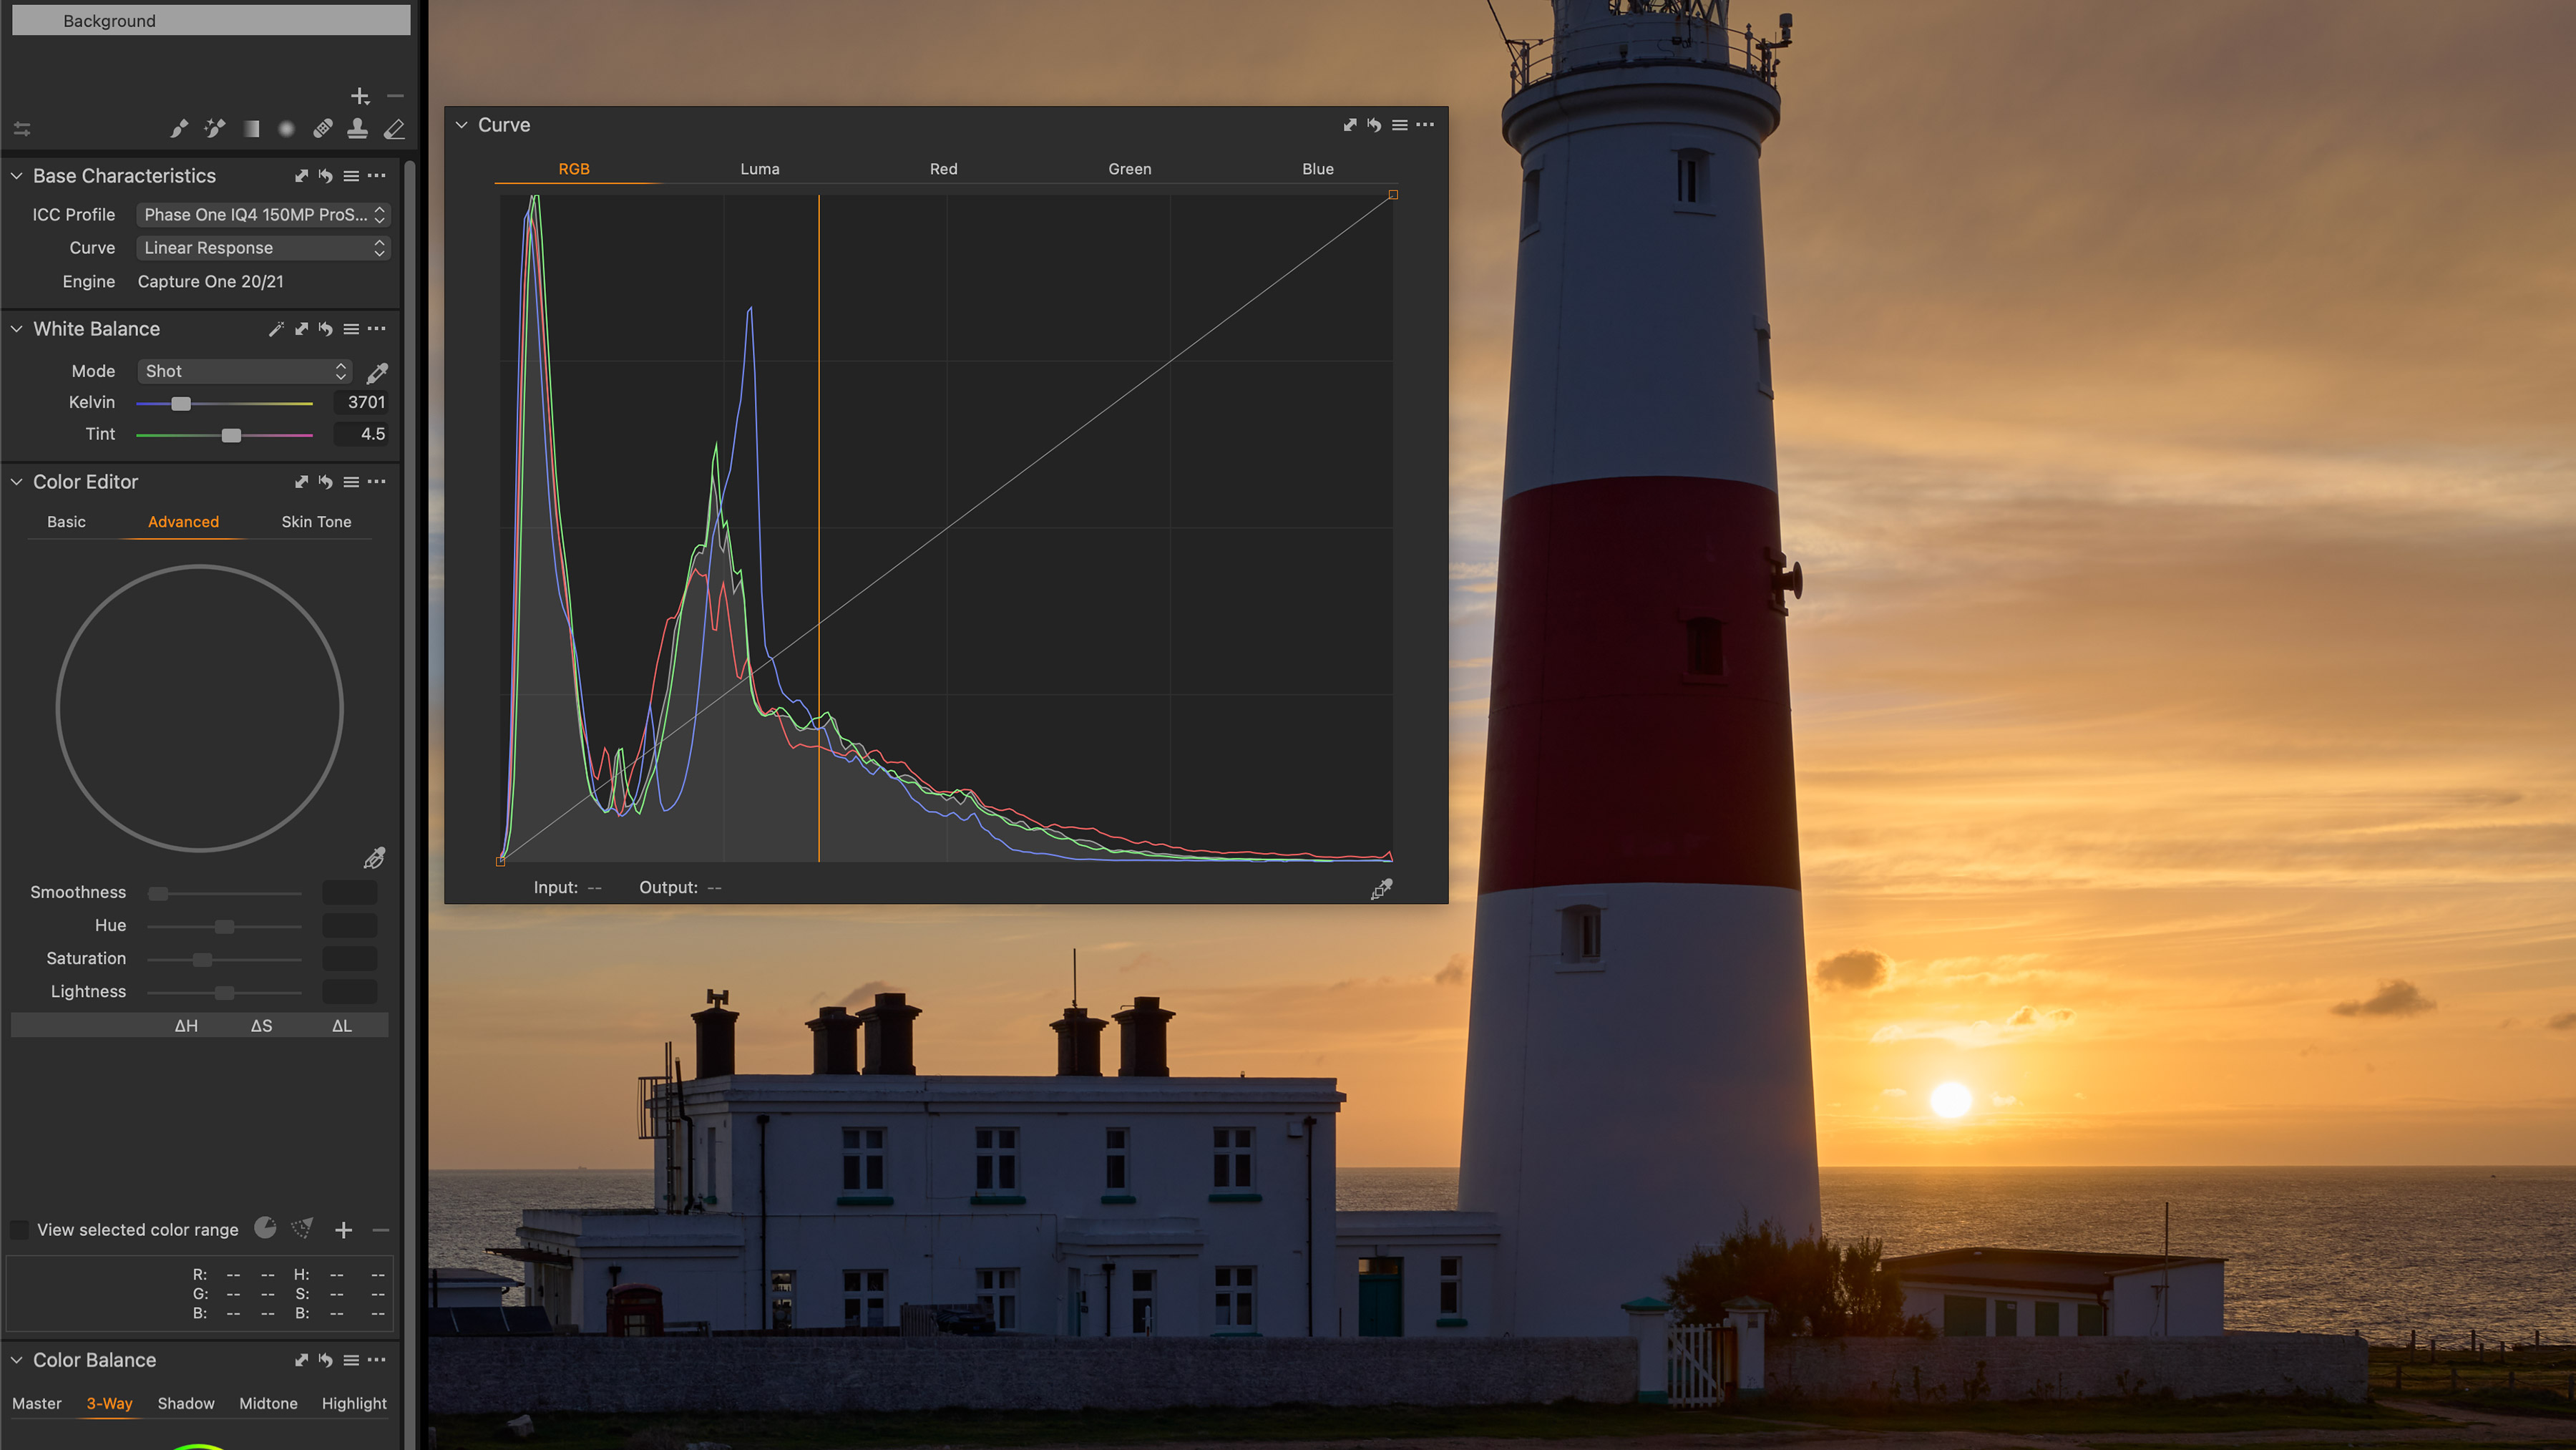
Where extra contrast is added for Auto/”Film Standard”, you’ll see the histogram is squeezed more towards the middle when selecting Linear Response.
This curve tends to be more “true” to the original raw data that the camera recorded, resulting in a flatter output that has highlights and shadows protected, while potentially needing extra contrast to be added by the user later on.
3. Film Extra Shadow
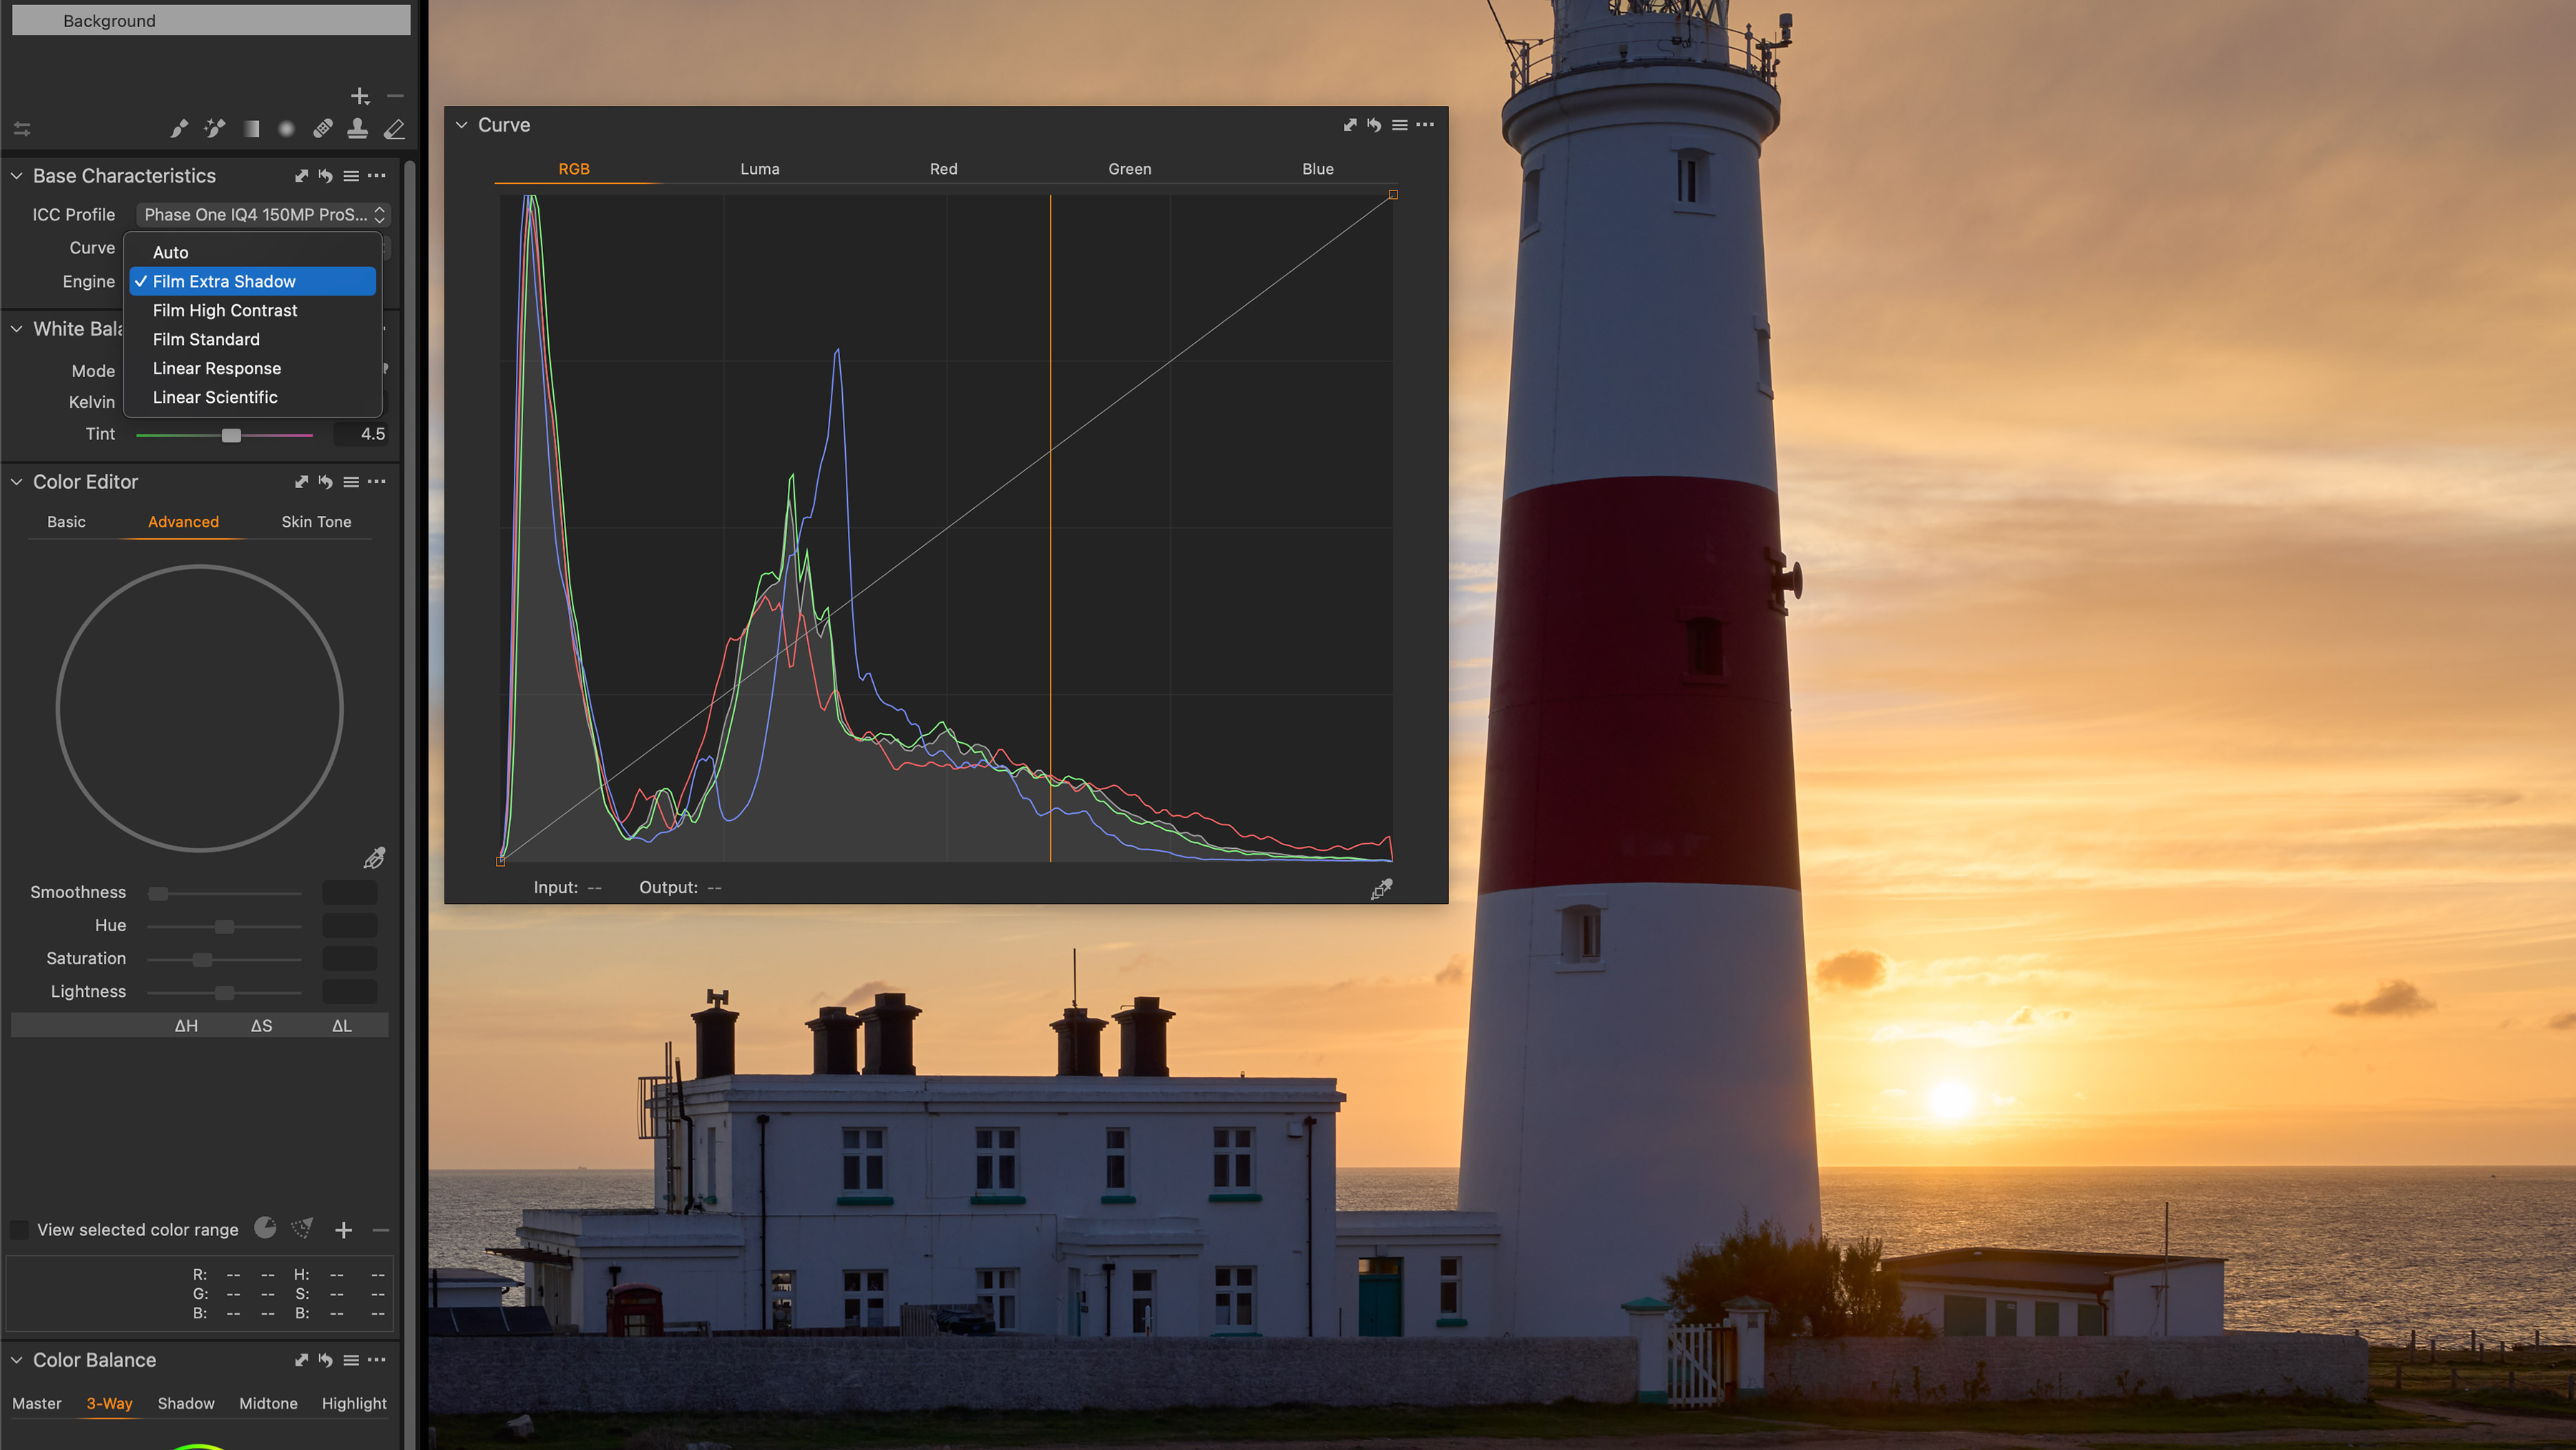
For those wanting to keep the high-end contrast “pop” but prevent shadows from dropping down too low, there’s also the “Film Extra Shadow” option – which results in lifted lower tones but highlights that remain protected.
As with other tools in Capture One, it’s often worth looking at its impact before making a decision. If you hover your mouse over the different profiles while keeping an eye on your “Curve” tool (as well as any areas of concern in the picture itself), you’ll see the values, and image, change to allow you to make a choice.
The Base Curve is your starting point
Remember that your Base Curve is a starting point for how Capture One is being asked to present your raw file to you for editing. You’re never actually adjusting the underlying raw data, so you could achieve similar results in the following ways:
1. Start with a Linear Response Curve, but then add Contrast, use the HDR sliders to reduce shadows and increase highlights, and potentially add an S shape to your luma curve.
2. Start with an Auto/Film Standard Curve, but then recover highlights and shadows in the HDR sliders and decrease contrast to protect the extremes.
In either case, you’ll end up with a similar result – it just depends on whether you want to begin from a flatter, more “true to raw” image, or if you’re happy to recover any parts of the Auto curve that were pushed too far.
About Capture One
Capture One is an all-in-one non-destructive image cataloguing, raw processing and editing tool, and its closest rival is Adobe Lightroom Classic. Capture One regularly features in our guide to the best photo editing software, thanks to its high-quality raw processing, in-depth color controls and layer and mask based editing.
Get Capture One Pro 22: $299 or $179/year
Capture One Pro is available either for a single one-off license fee on a paid-monthly subscription or an annual subscription which offers a big saving over the monthly option.
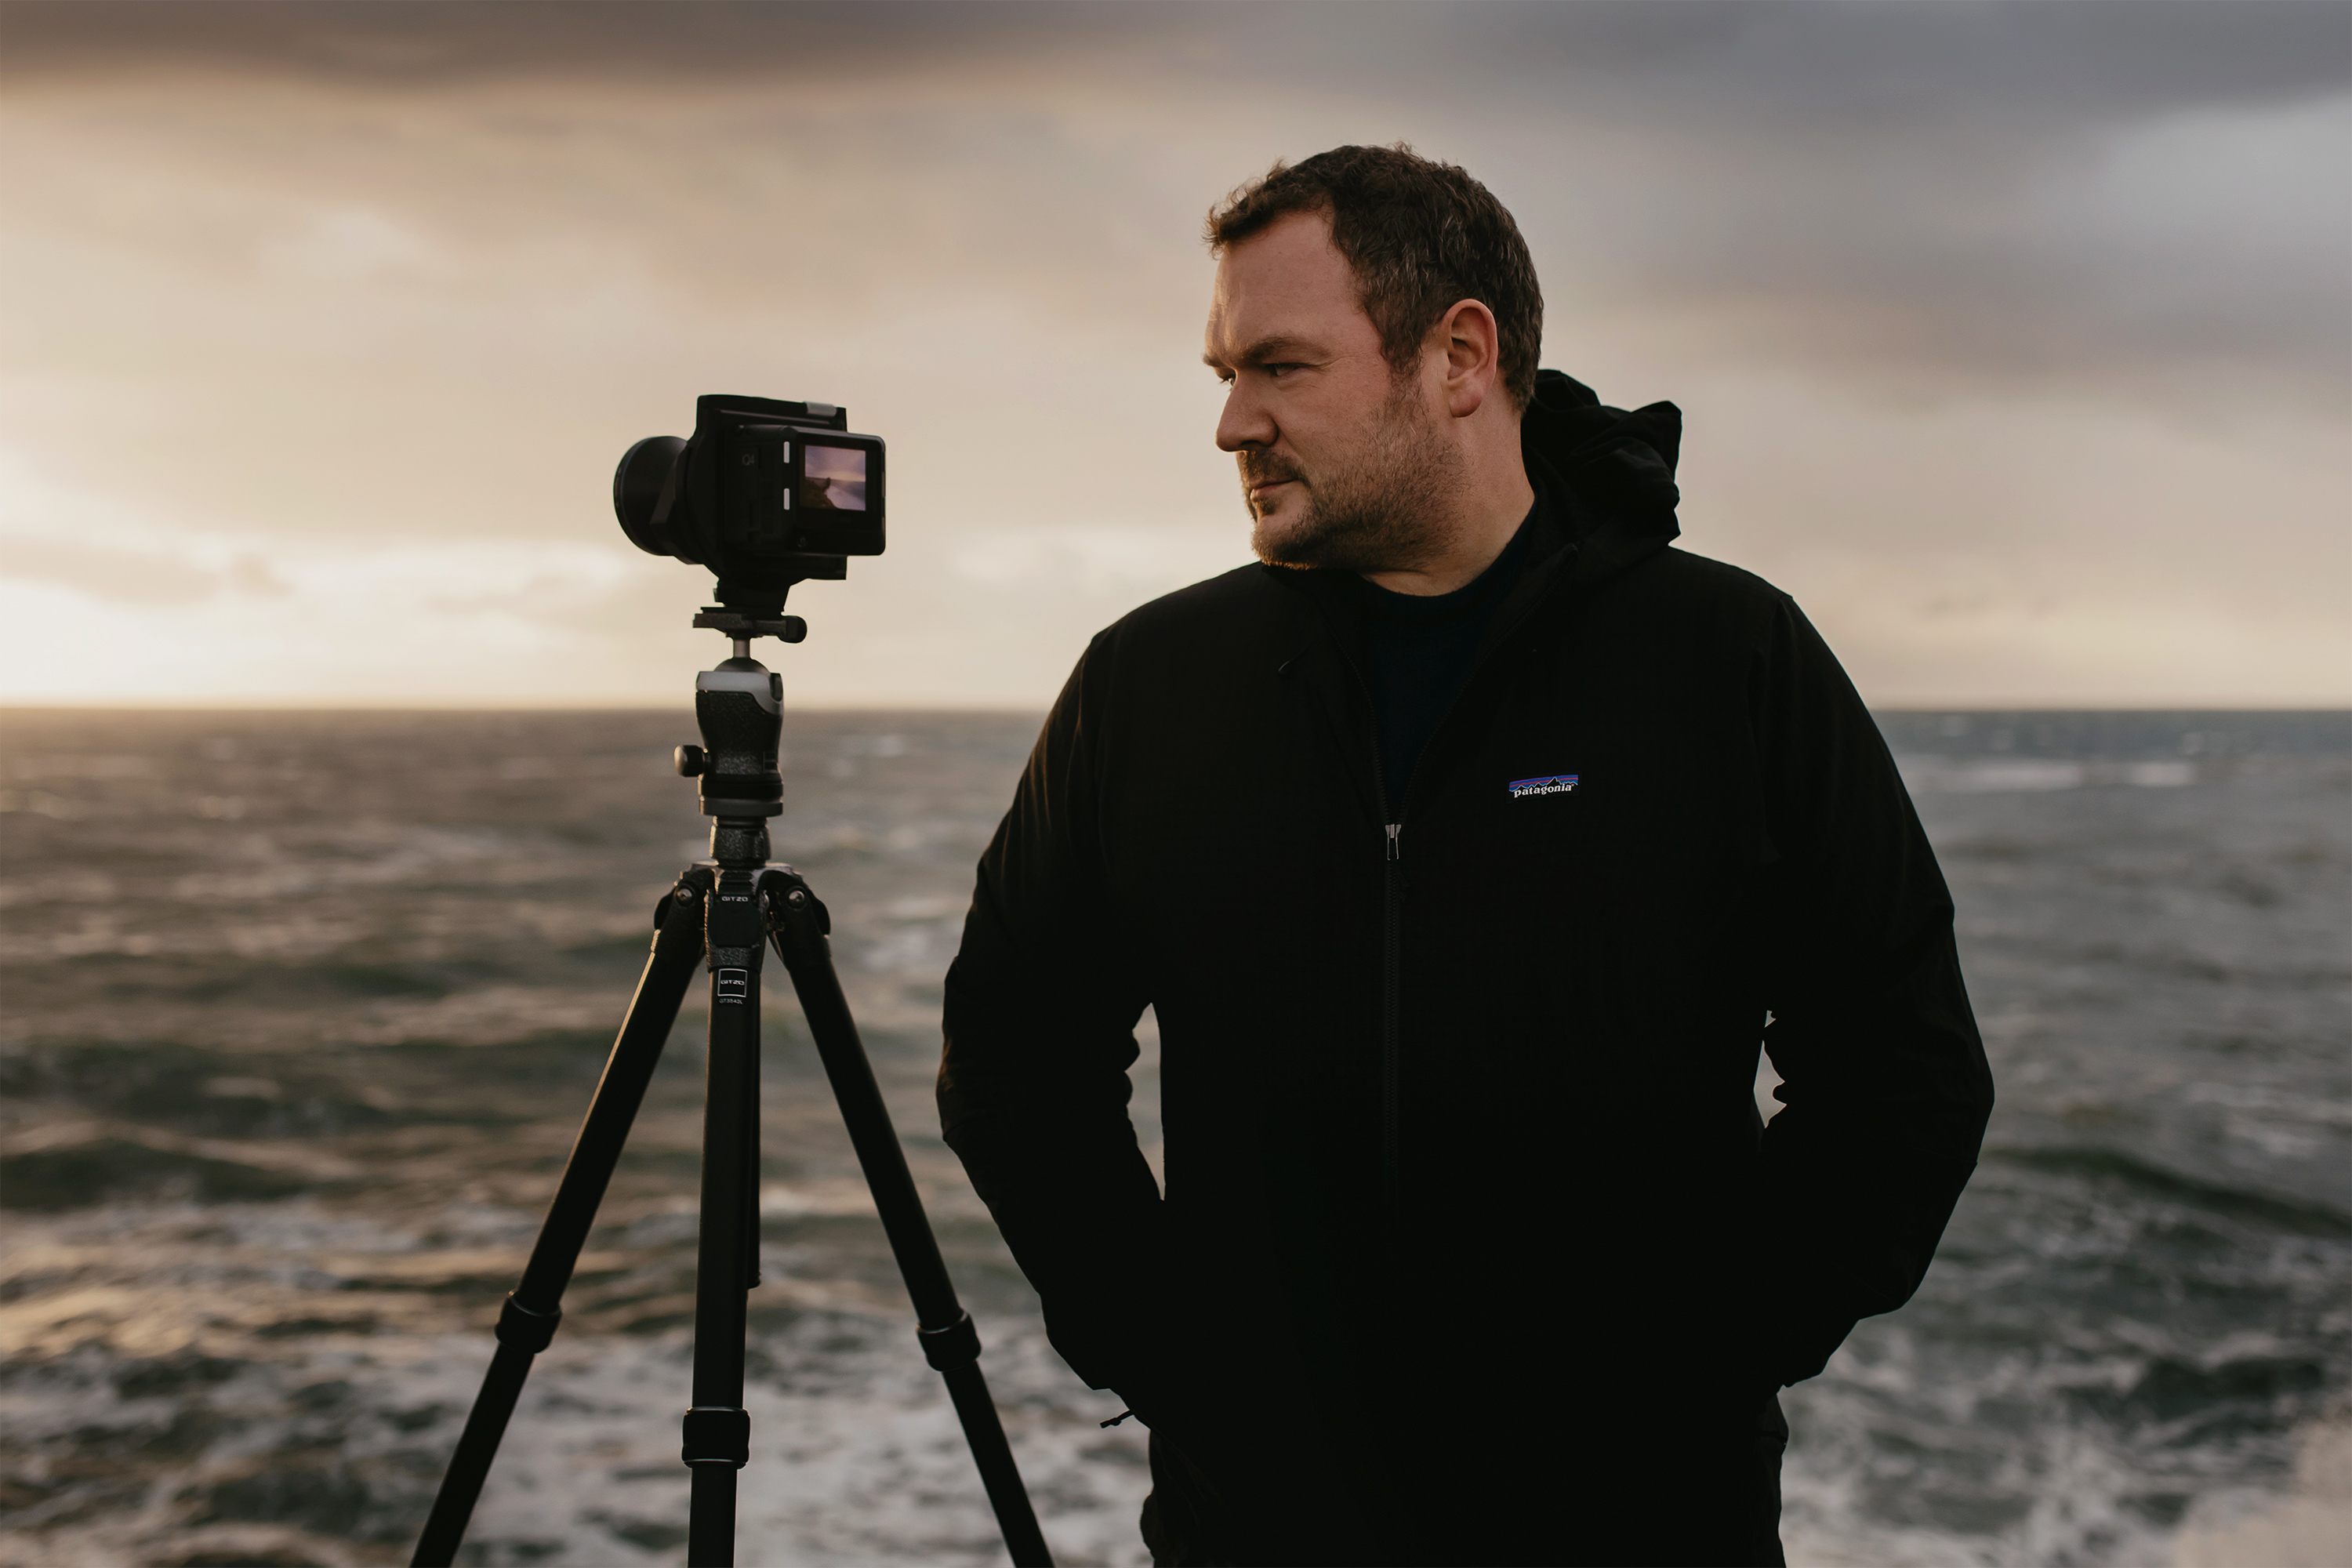
Paul Reiffer is an award-winning photographer and landscape artist. As a global ambassador for both Phase One and Capture One, he specialises in grand vistas, electrifying cityscapes and iconic views. His images have been published all around the world in well-known books, newspapers and magazines as well as supporting global travel and hospitality brands to reach and excite their audiences. His technical expertise is regularly called upon for industry insights, and through his luxury workshop programme as well as online channels, he’s carved out a unique style of teaching that is now appreciated by thousands worldwide. Shooting with ultra-high-resolution Phase One cameras, his work is used commercially by interior designers and clients ranging from National Geographic to British Airways, Marriott, Land Rover and many more.
