Capture One Presets, Styles and Style Brushes: what they are, how to use them
Pro photographer Paul Reiffer explains the difference between Presets and Styles... and how to make your own
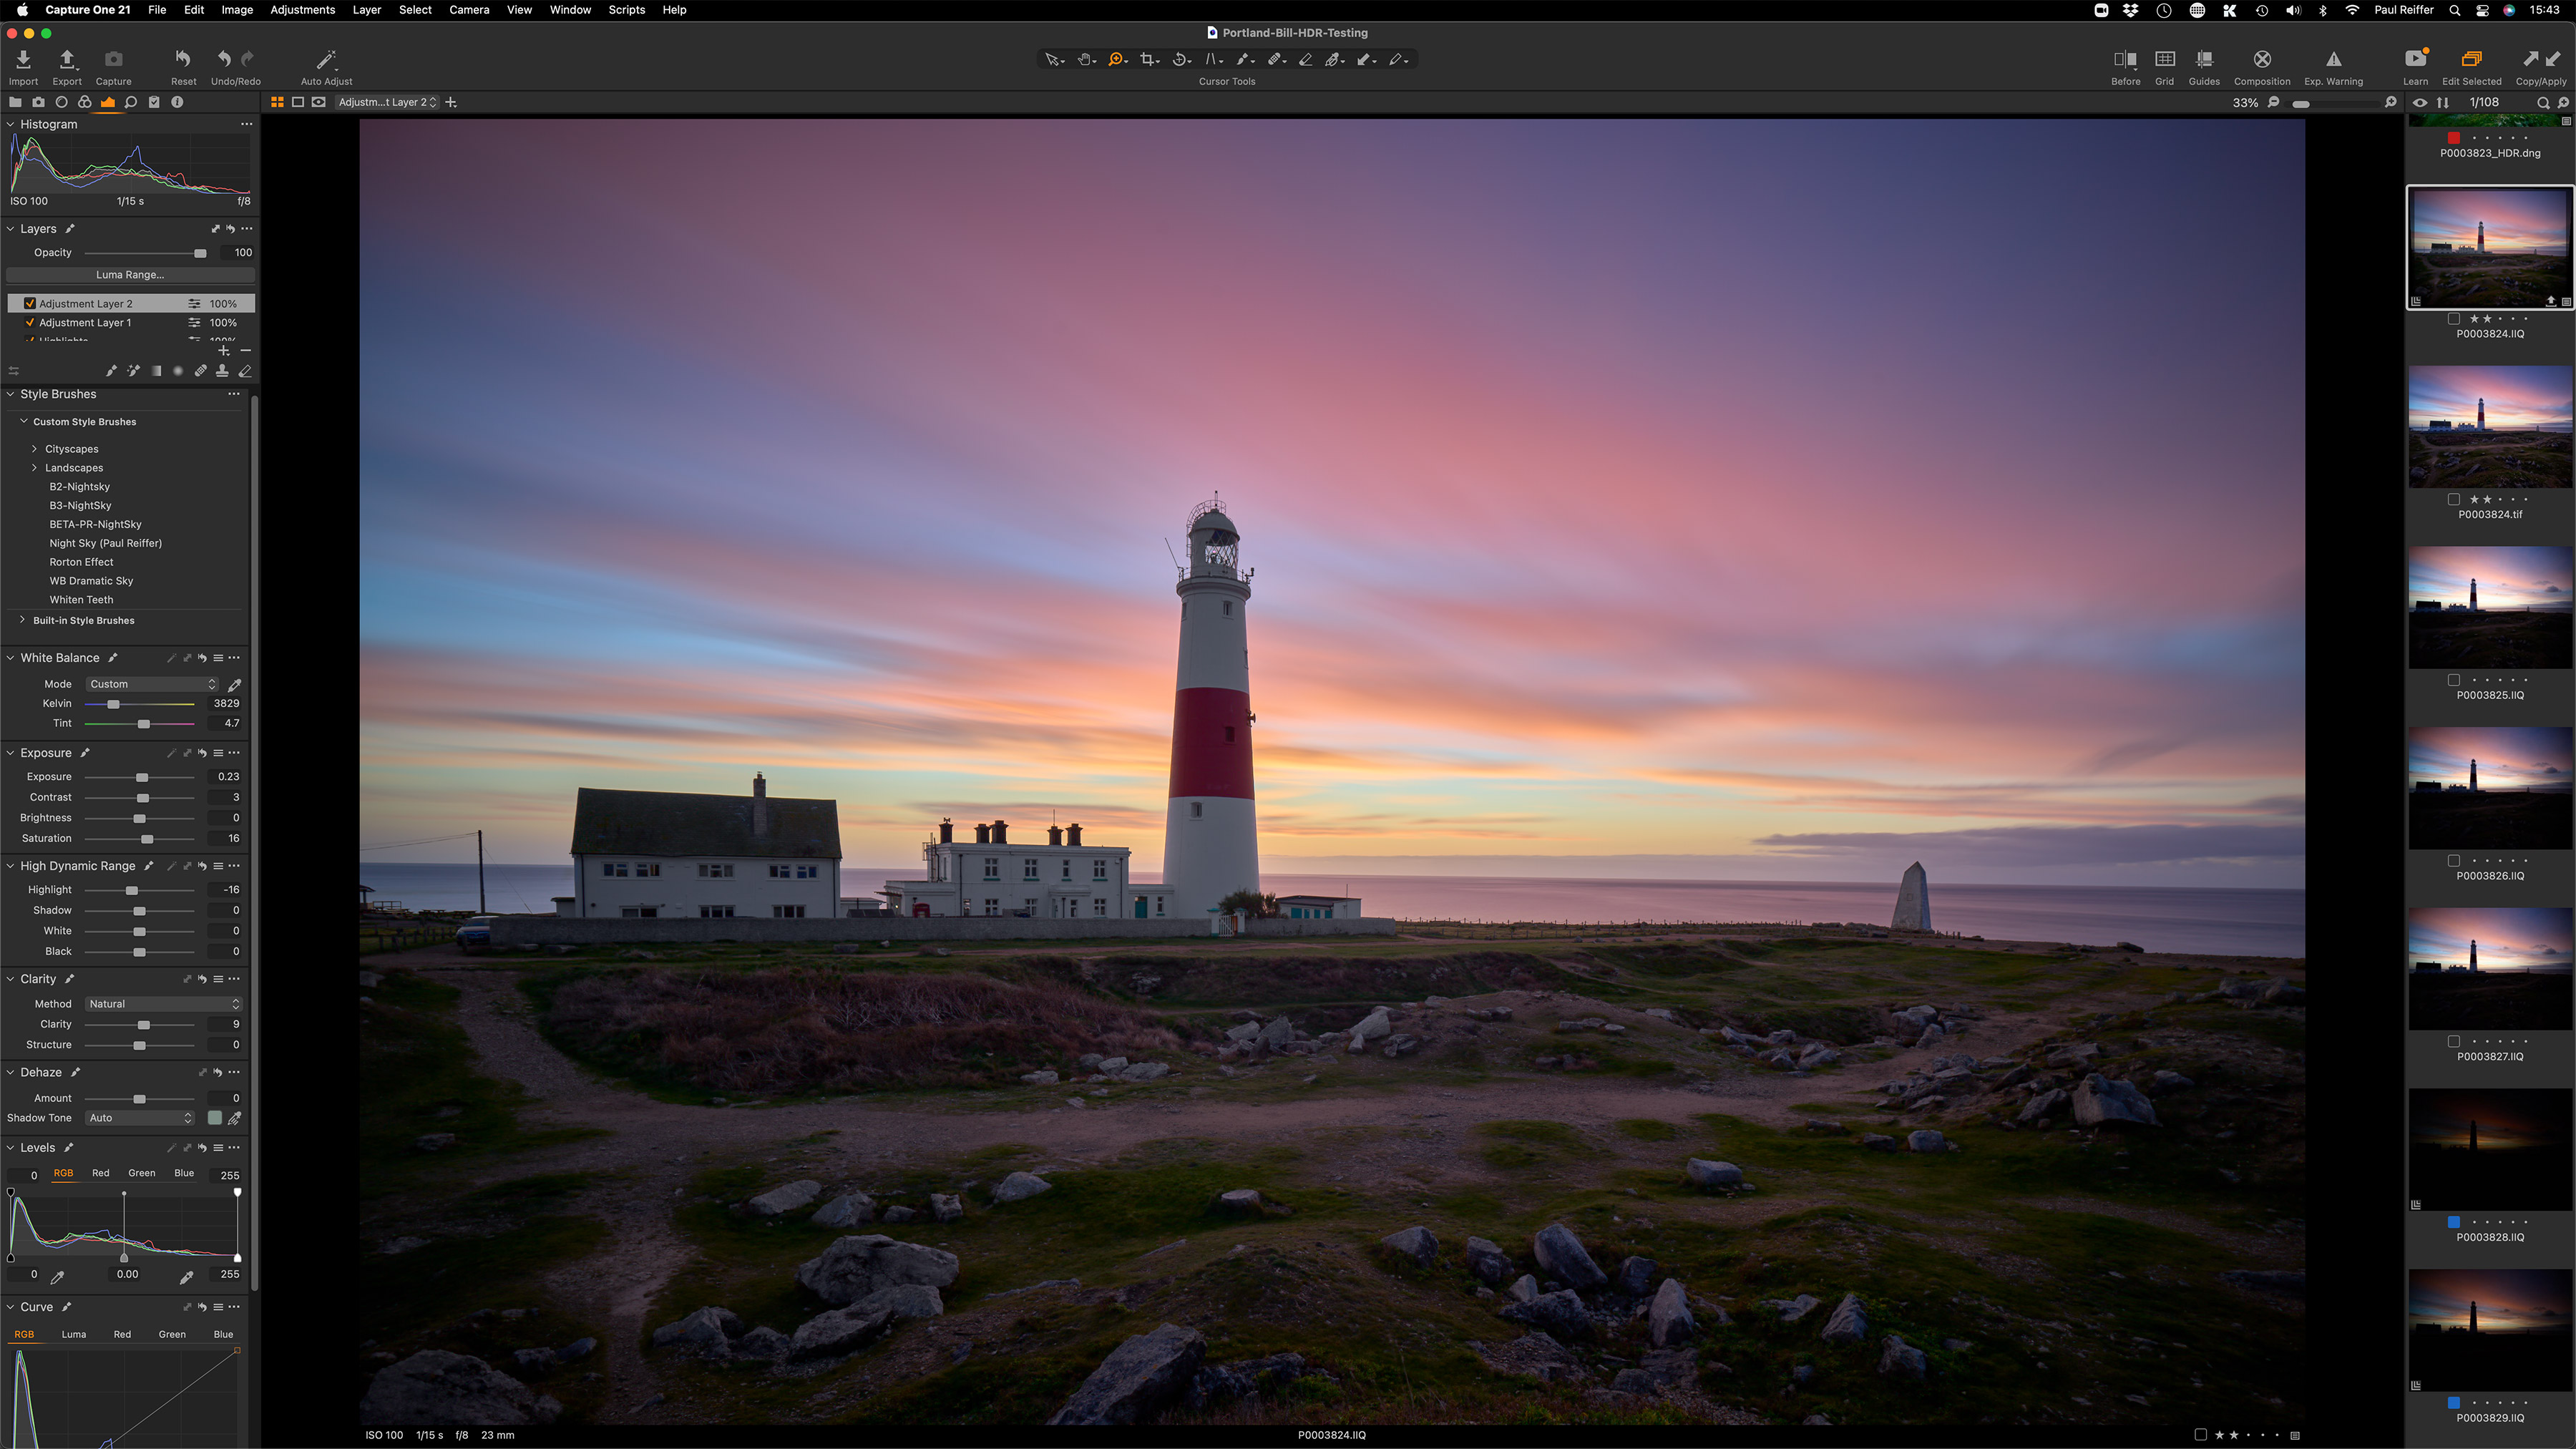
Like Lightroom and other non-destructive photo-editors, Capture One can apply one-click adjustments and 'looks' to your photos. However, it goes further, offering both Preset AND Styles, and adding in a Style Brush feature for local adjustments. Our series of pro editing secrets for Capture One software continues...
This series on Capture One has been specially commissioned from globetrotting pro photographer and editing expert Paul Reiffer.
• See the full Capture One series
• Capture One 21 review
• Best photo editing software
Capture One’s styles, presets and style brushes have become a key creative ingredient in many peoples’ workflows – but many of us forget that we don’t need to stick with the stock versions that have been purchased or installed – we can create our own to reuse in future edits too.
In face, Capture One offers three different types of saved settings:
• Presets: A single tool’s settings, saved within that tool, to be recalled in the future on other images.
• Styles: A series of settings and adjustments made to a layer using multiple tools, saved so they can be applied together on to future images.
• Style Brushes: A series of settings and adjustments saved as a brush, allowing multiple tool changes to be painted in together onto future images and variants.
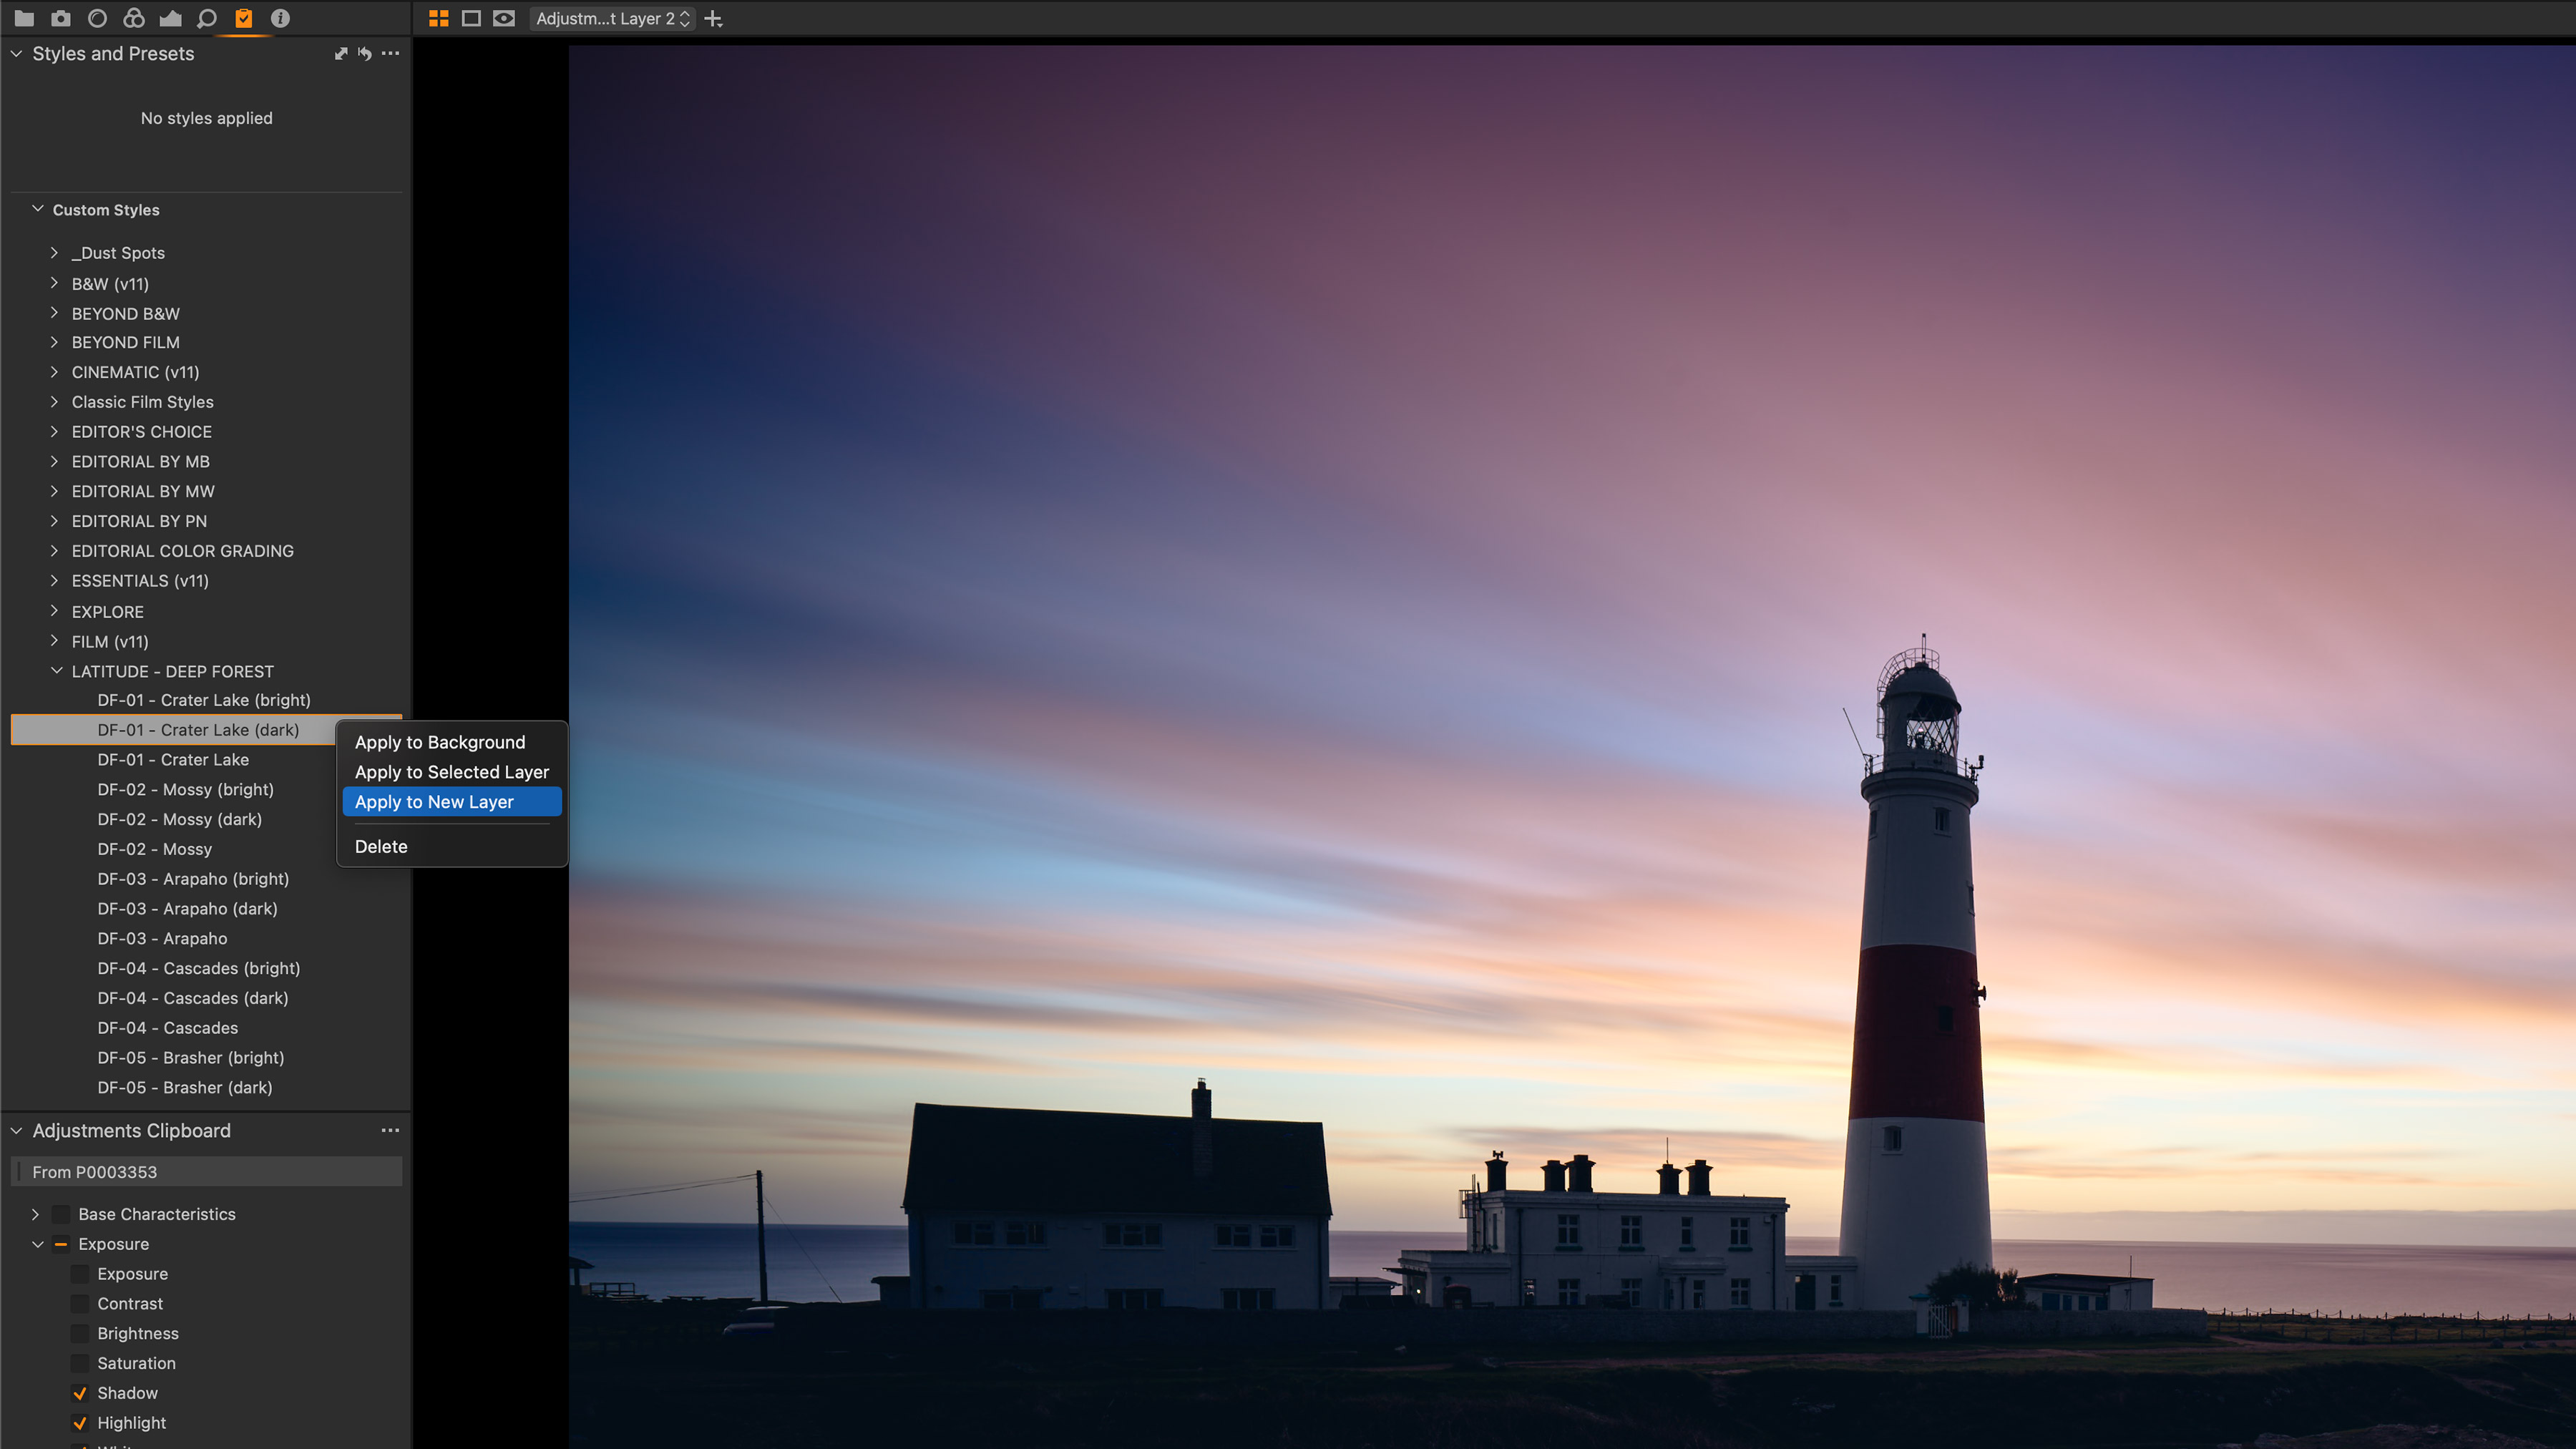
Styles can be applied to an overall image (on the background layer) or onto their own new layer by right-clicking on the Style name, regardless of whether it’s a pre-built one, or a series of edits you saved yourself.
1. Presets
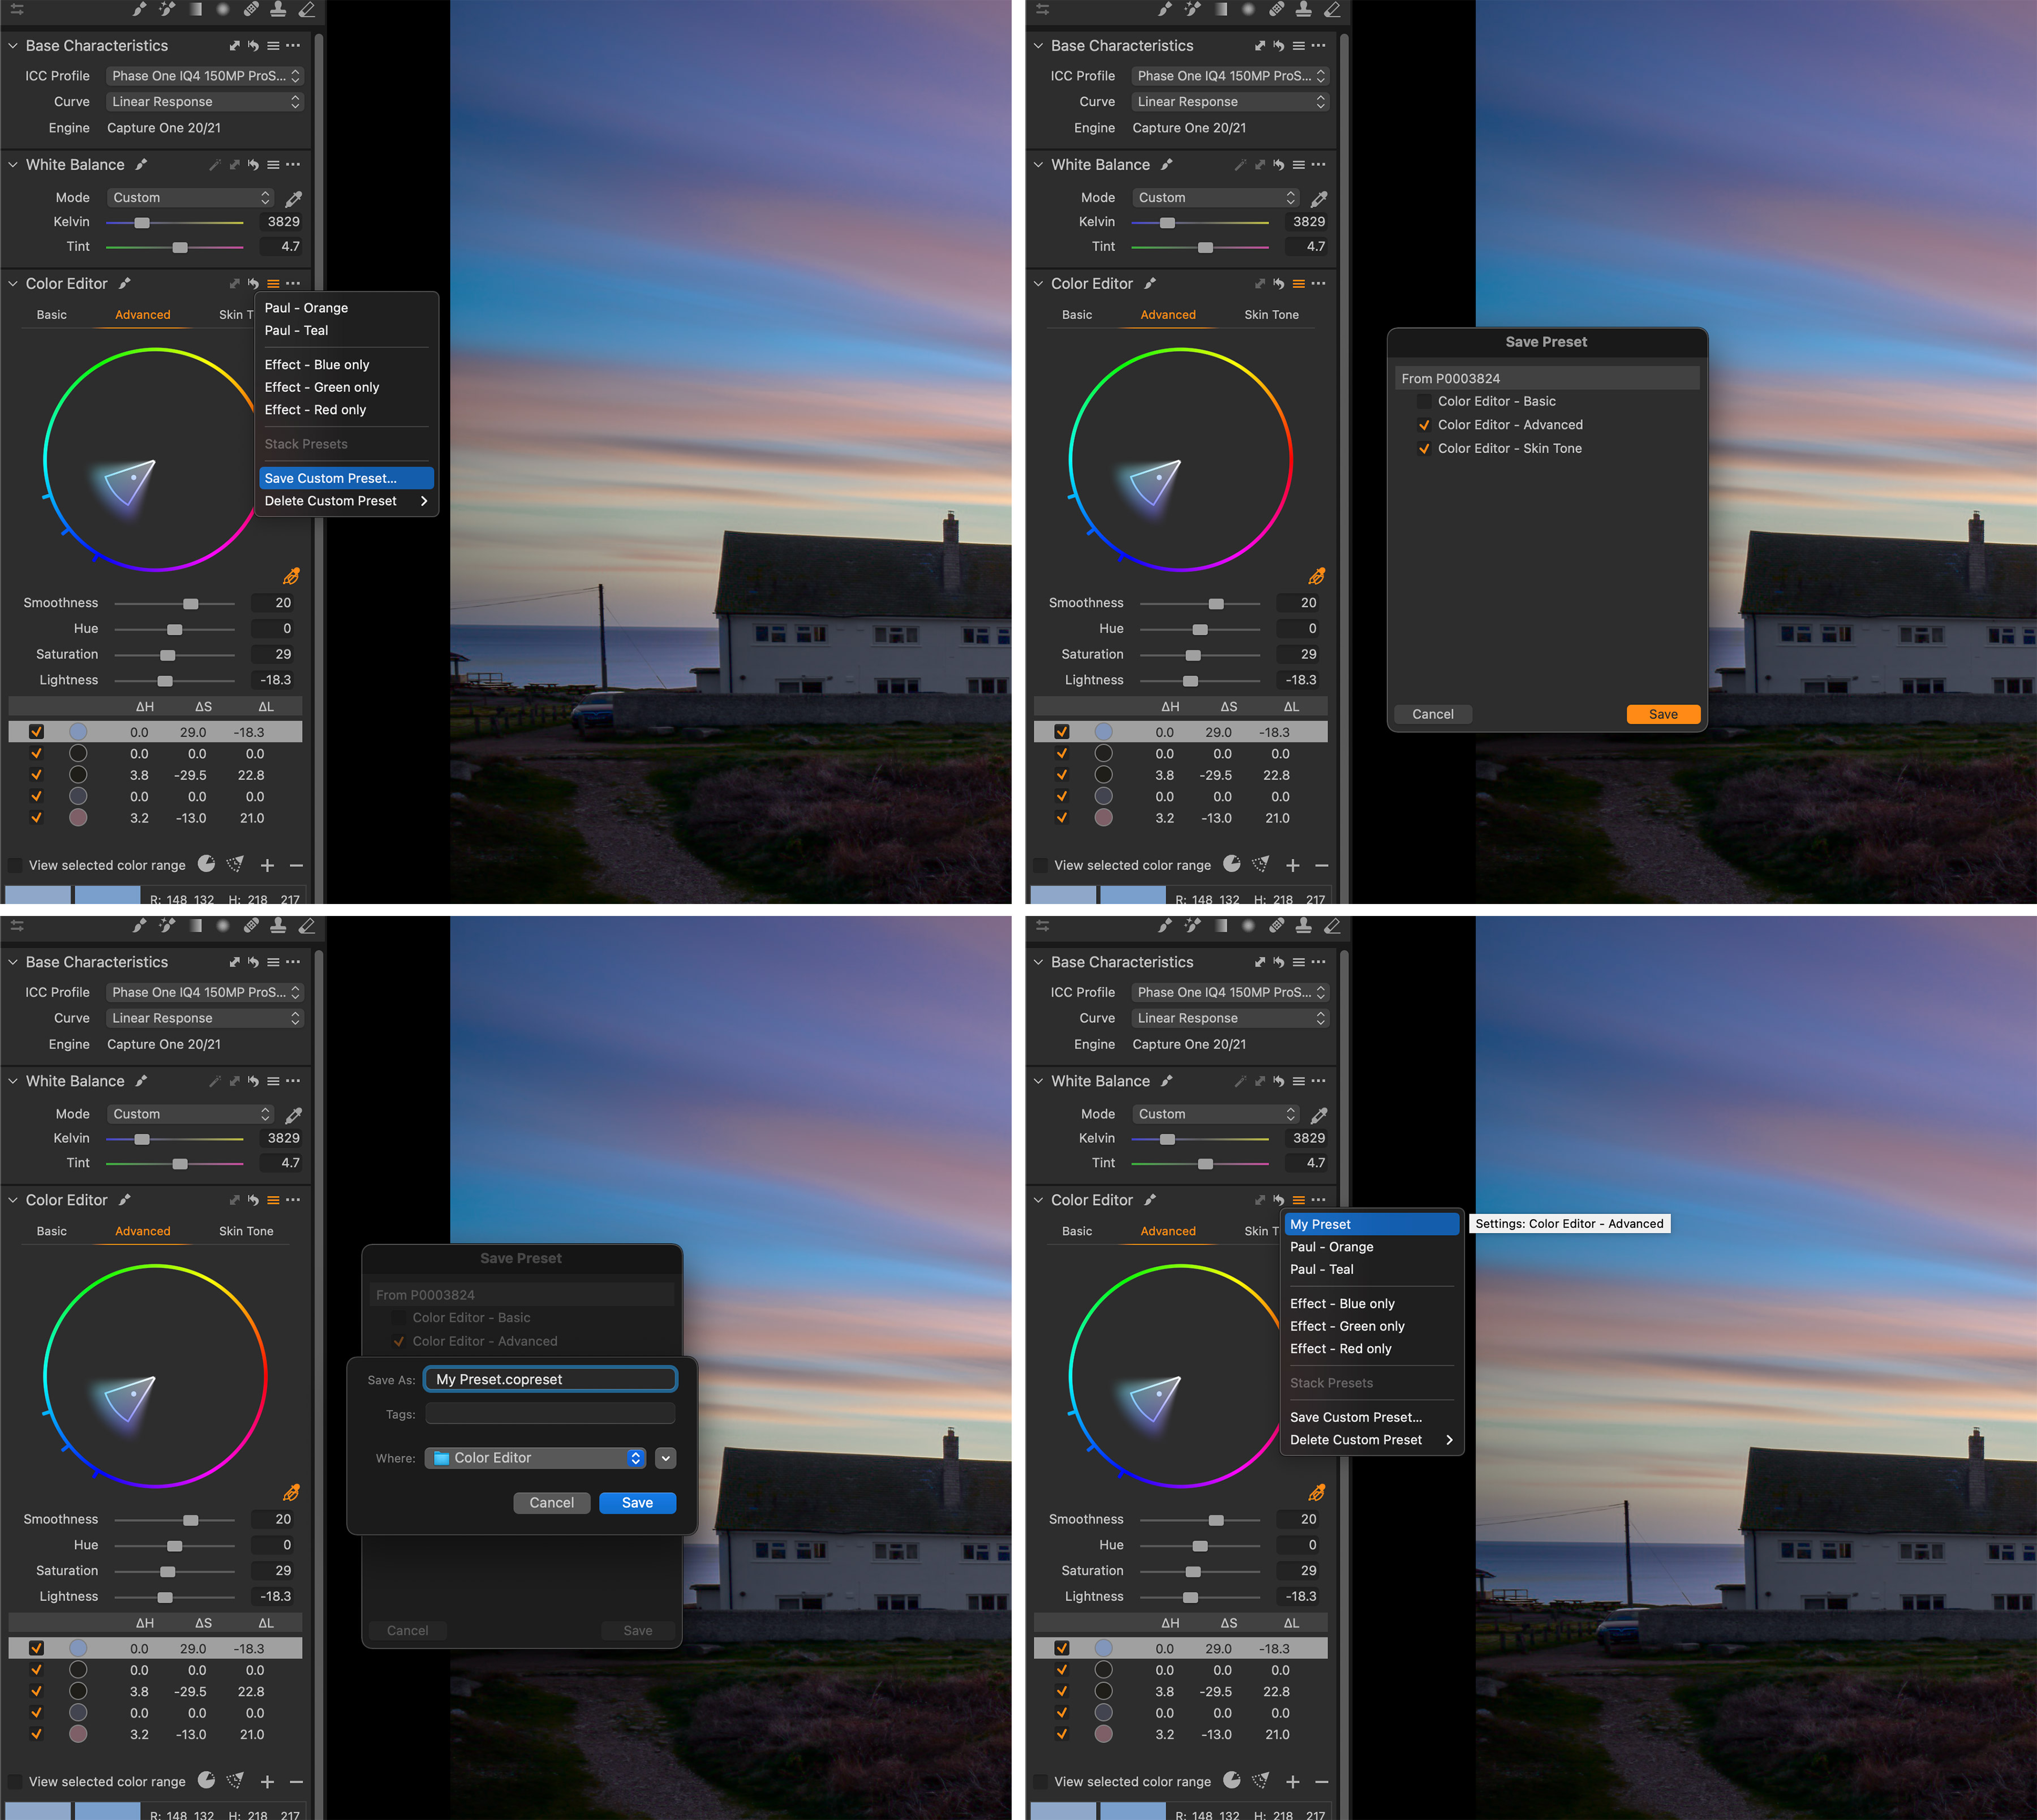
Creating a preset is easy. Simply make the adjustments within the single tool you wish to replicate and then click the drop-down preset icon (a button with three horizontal lines) on that tool. You’ll see a list of presets already saved for that tool, along with the choice to save a new set.
Having opted to save, Capture One will ask you which specific parts of the tool you wish to include (based on which parts you edited) and what name you want to save it as.
From there, you’ll find your preset available to use across all images, regardless of what catalog or session they’re stored within.
2: Styles

For single tool changes, a preset provides the ability to replicate those settings very easily, but if you want to include changes across several tools – you’ll need to create a Style instead. Styles, remember, can be applied to an entire image’s background layer, or a new layer of its own.
First, create a layer on which to make the combination of changes. Once you’re happy with the changes as a collection, right-click the layer name and choose “Save Adjustments as Style”. In the same way as when you save a Preset, Capture One will ask which tools you want to save the changes from (with the tools you’ve adjusted selected by default) and for you to give your style a name.
From there, you’ll find that Style appears in your Styles tab under “Custom Styles” for future use.
3. Style Brush
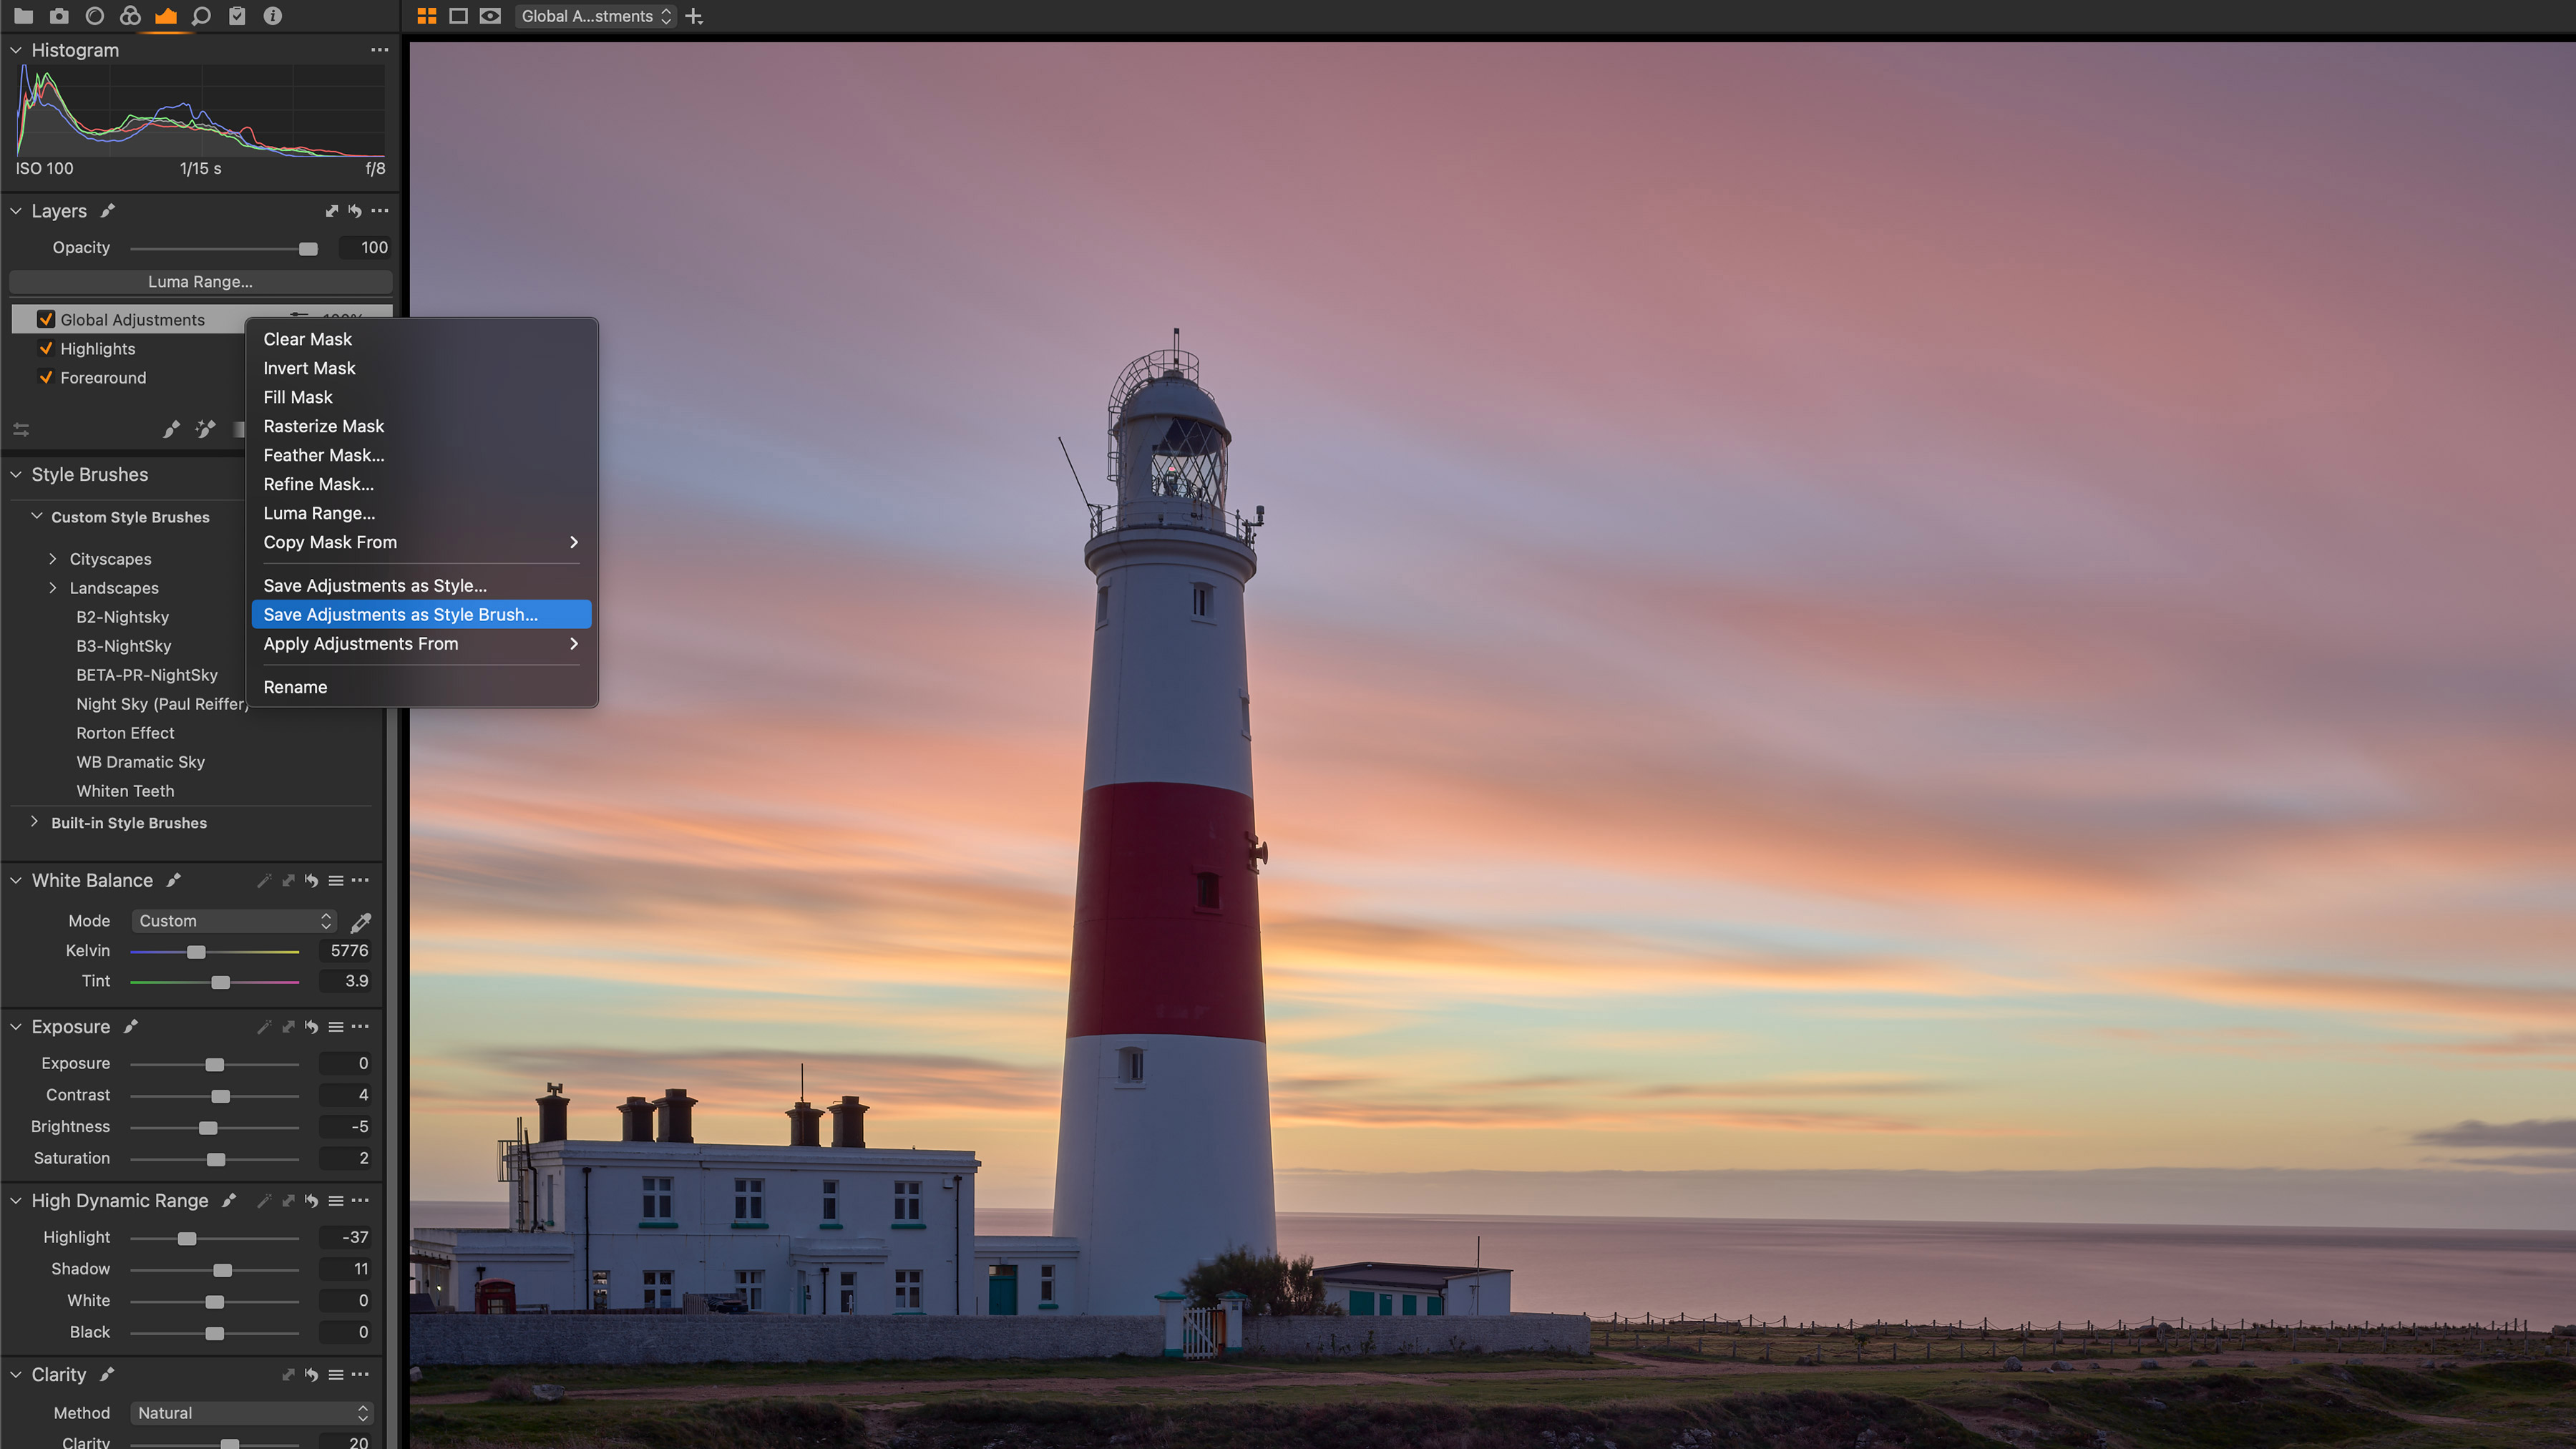
Once applied to a layer, your new Style can be applied to any form of mask (including that of the Magic Brush), but if you want to specifically create a new Style Brush (that allows you to paint the effect on to an automatically generated layer), then consider using “Save Adjustments as Style Brush” instead.
When saving to a brush, you’ll also need to tell Capture One if you wish to store the brush and eraser properties – but once saved, your new Style Brush will function the same way as the stock ones delivered with Capture One, usable across all images, and found under the “Custom Style Brushes” drop-down.
The power of Capture One's layers and masks
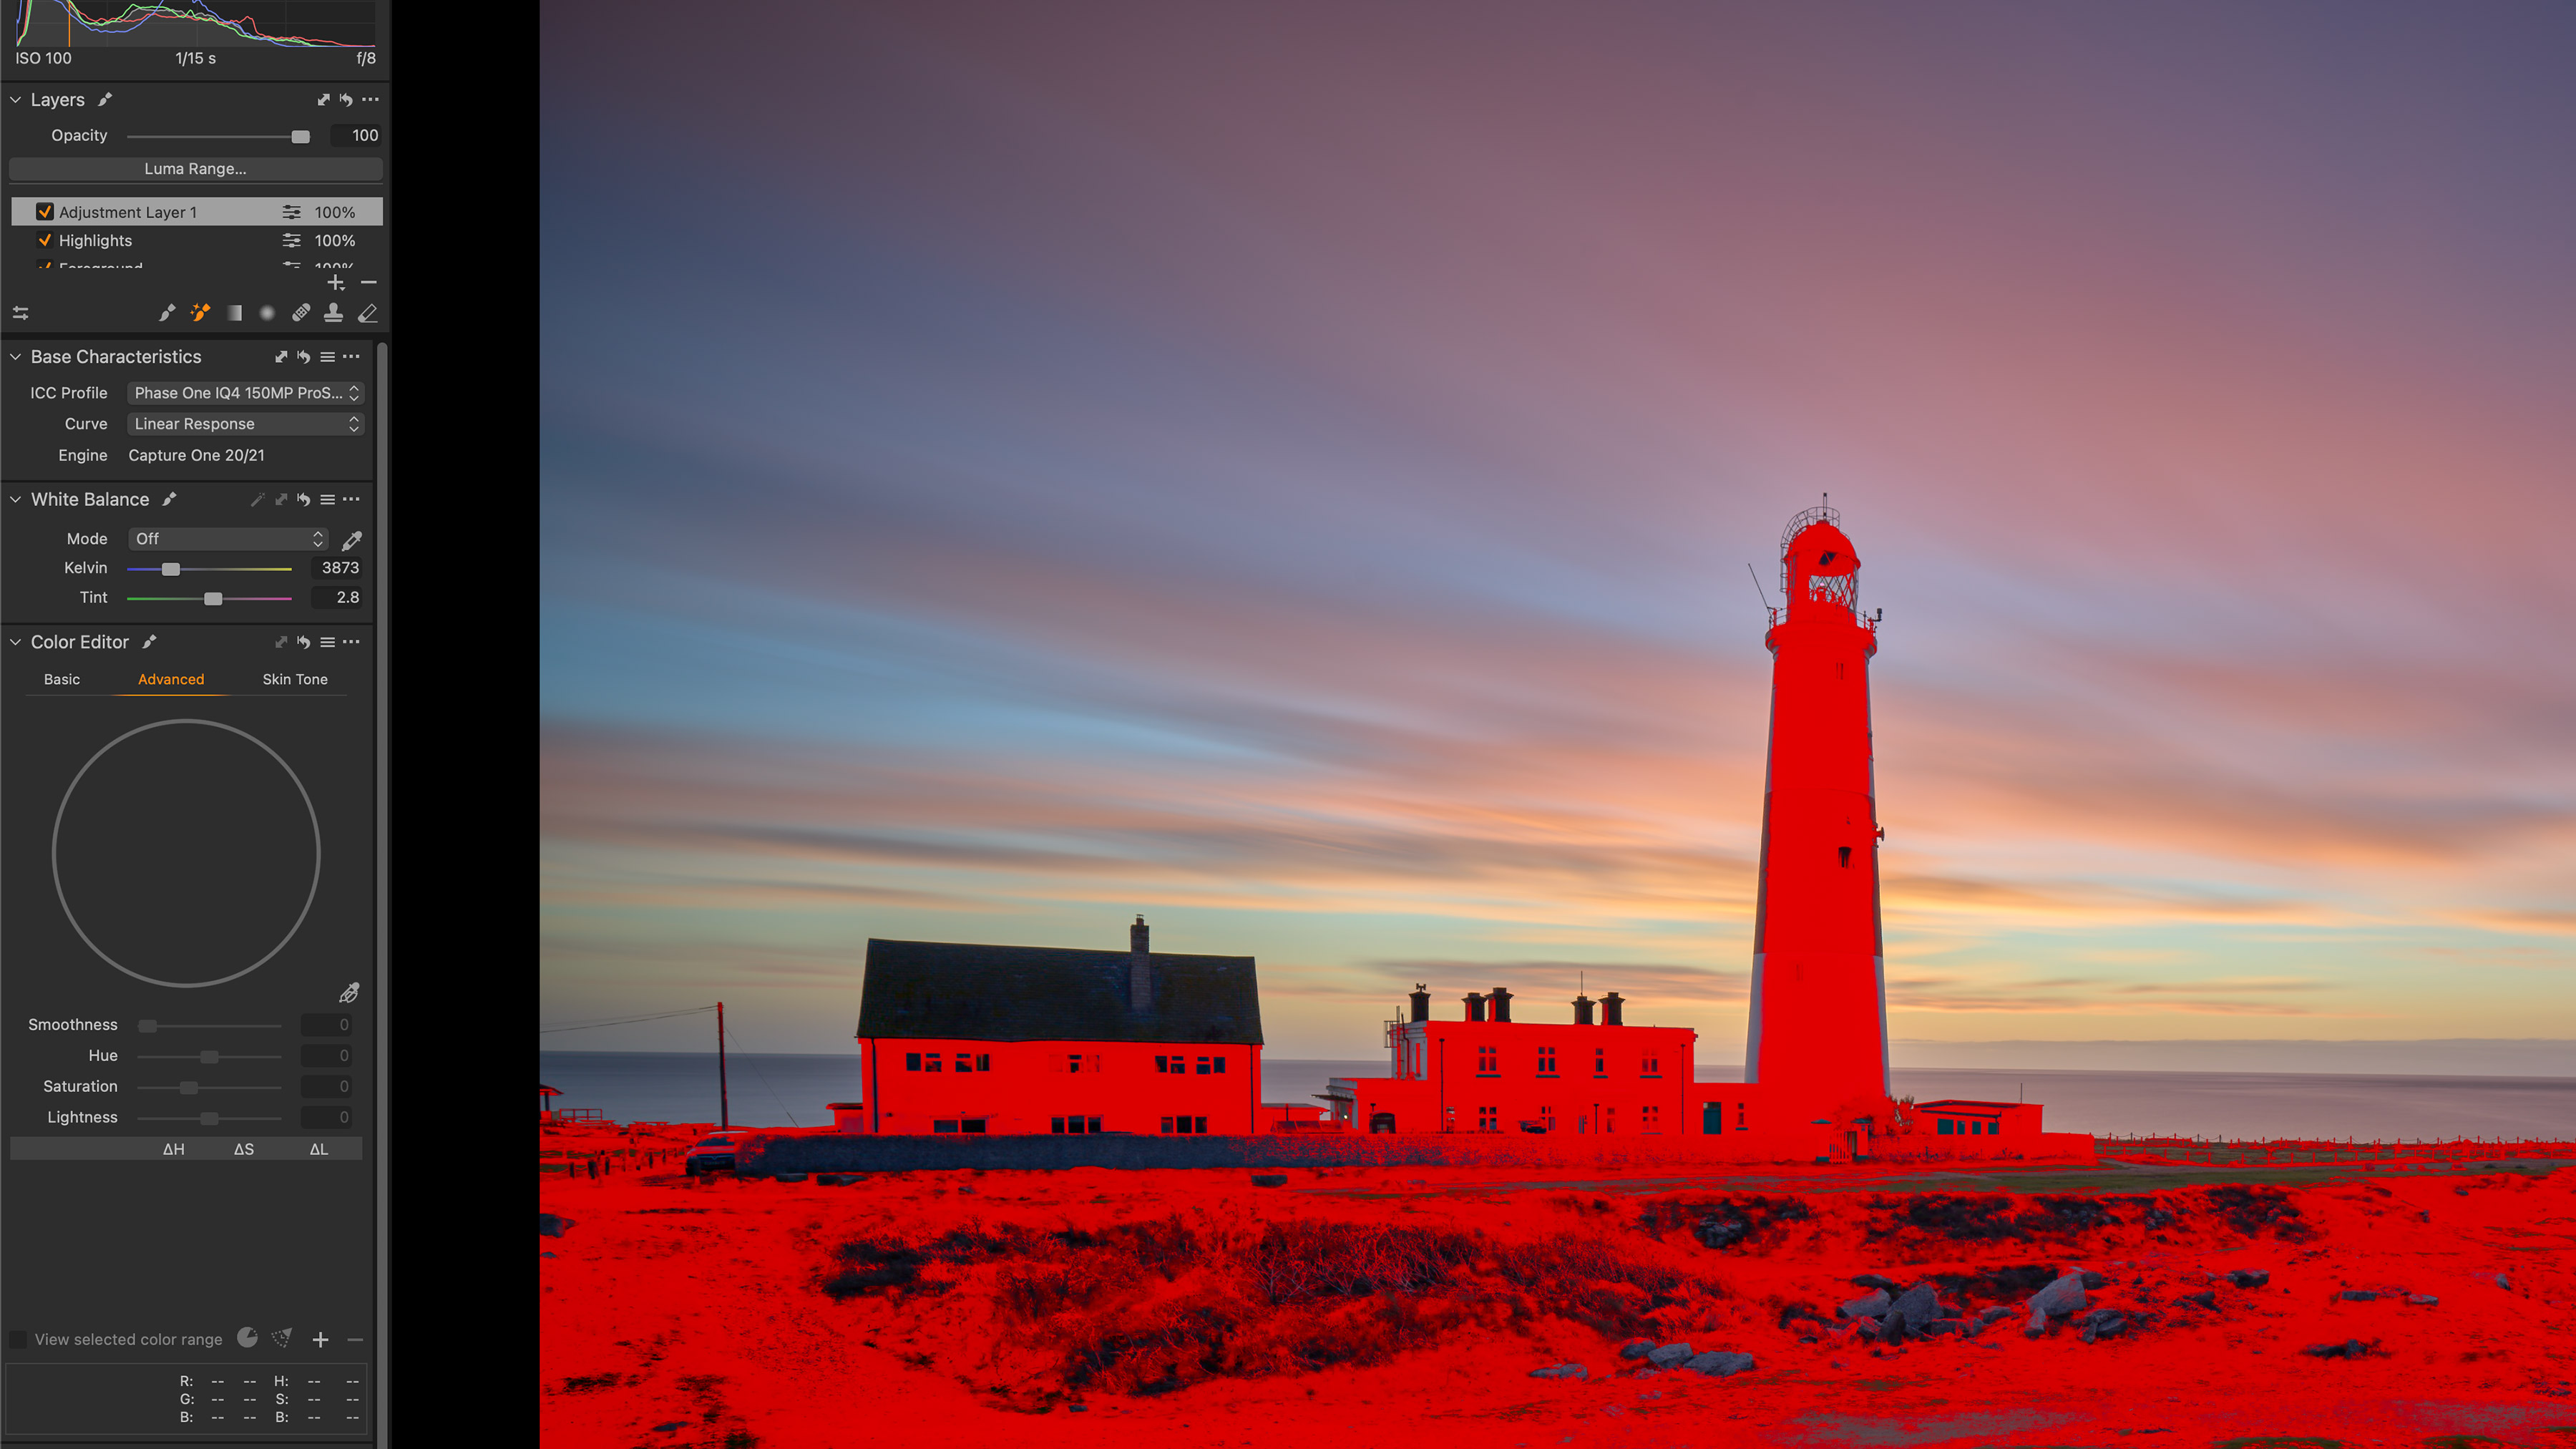
Part of Capture One’s power lies in stacking multiple adjustments together into layers, masks and tools – and being able to repeat those changes across many images.
By building your own series of tool presets, global styles and style brushes, you’re building a library of powerful adjustments that help speed up and simplify your workflow for all future edits.
About Capture One
Capture One is an all-in-one non-destructive image cataloguing, raw processing and editing tool, and its closest rival is Adobe Lightroom Classic. Capture One regularly features in our guide to the best photo editing software, thanks to its high-quality raw processing, in-depth color controls and layer and mask based editing.
Get Capture One Pro 22: $299 or $179/year
Capture One Pro is available either for a single one-off license fee on a paid-monthly subscription or an annual subscription which offers a big saving over the monthly option.
Get the Digital Camera World Newsletter
The best camera deals, reviews, product advice, and unmissable photography news, direct to your inbox!
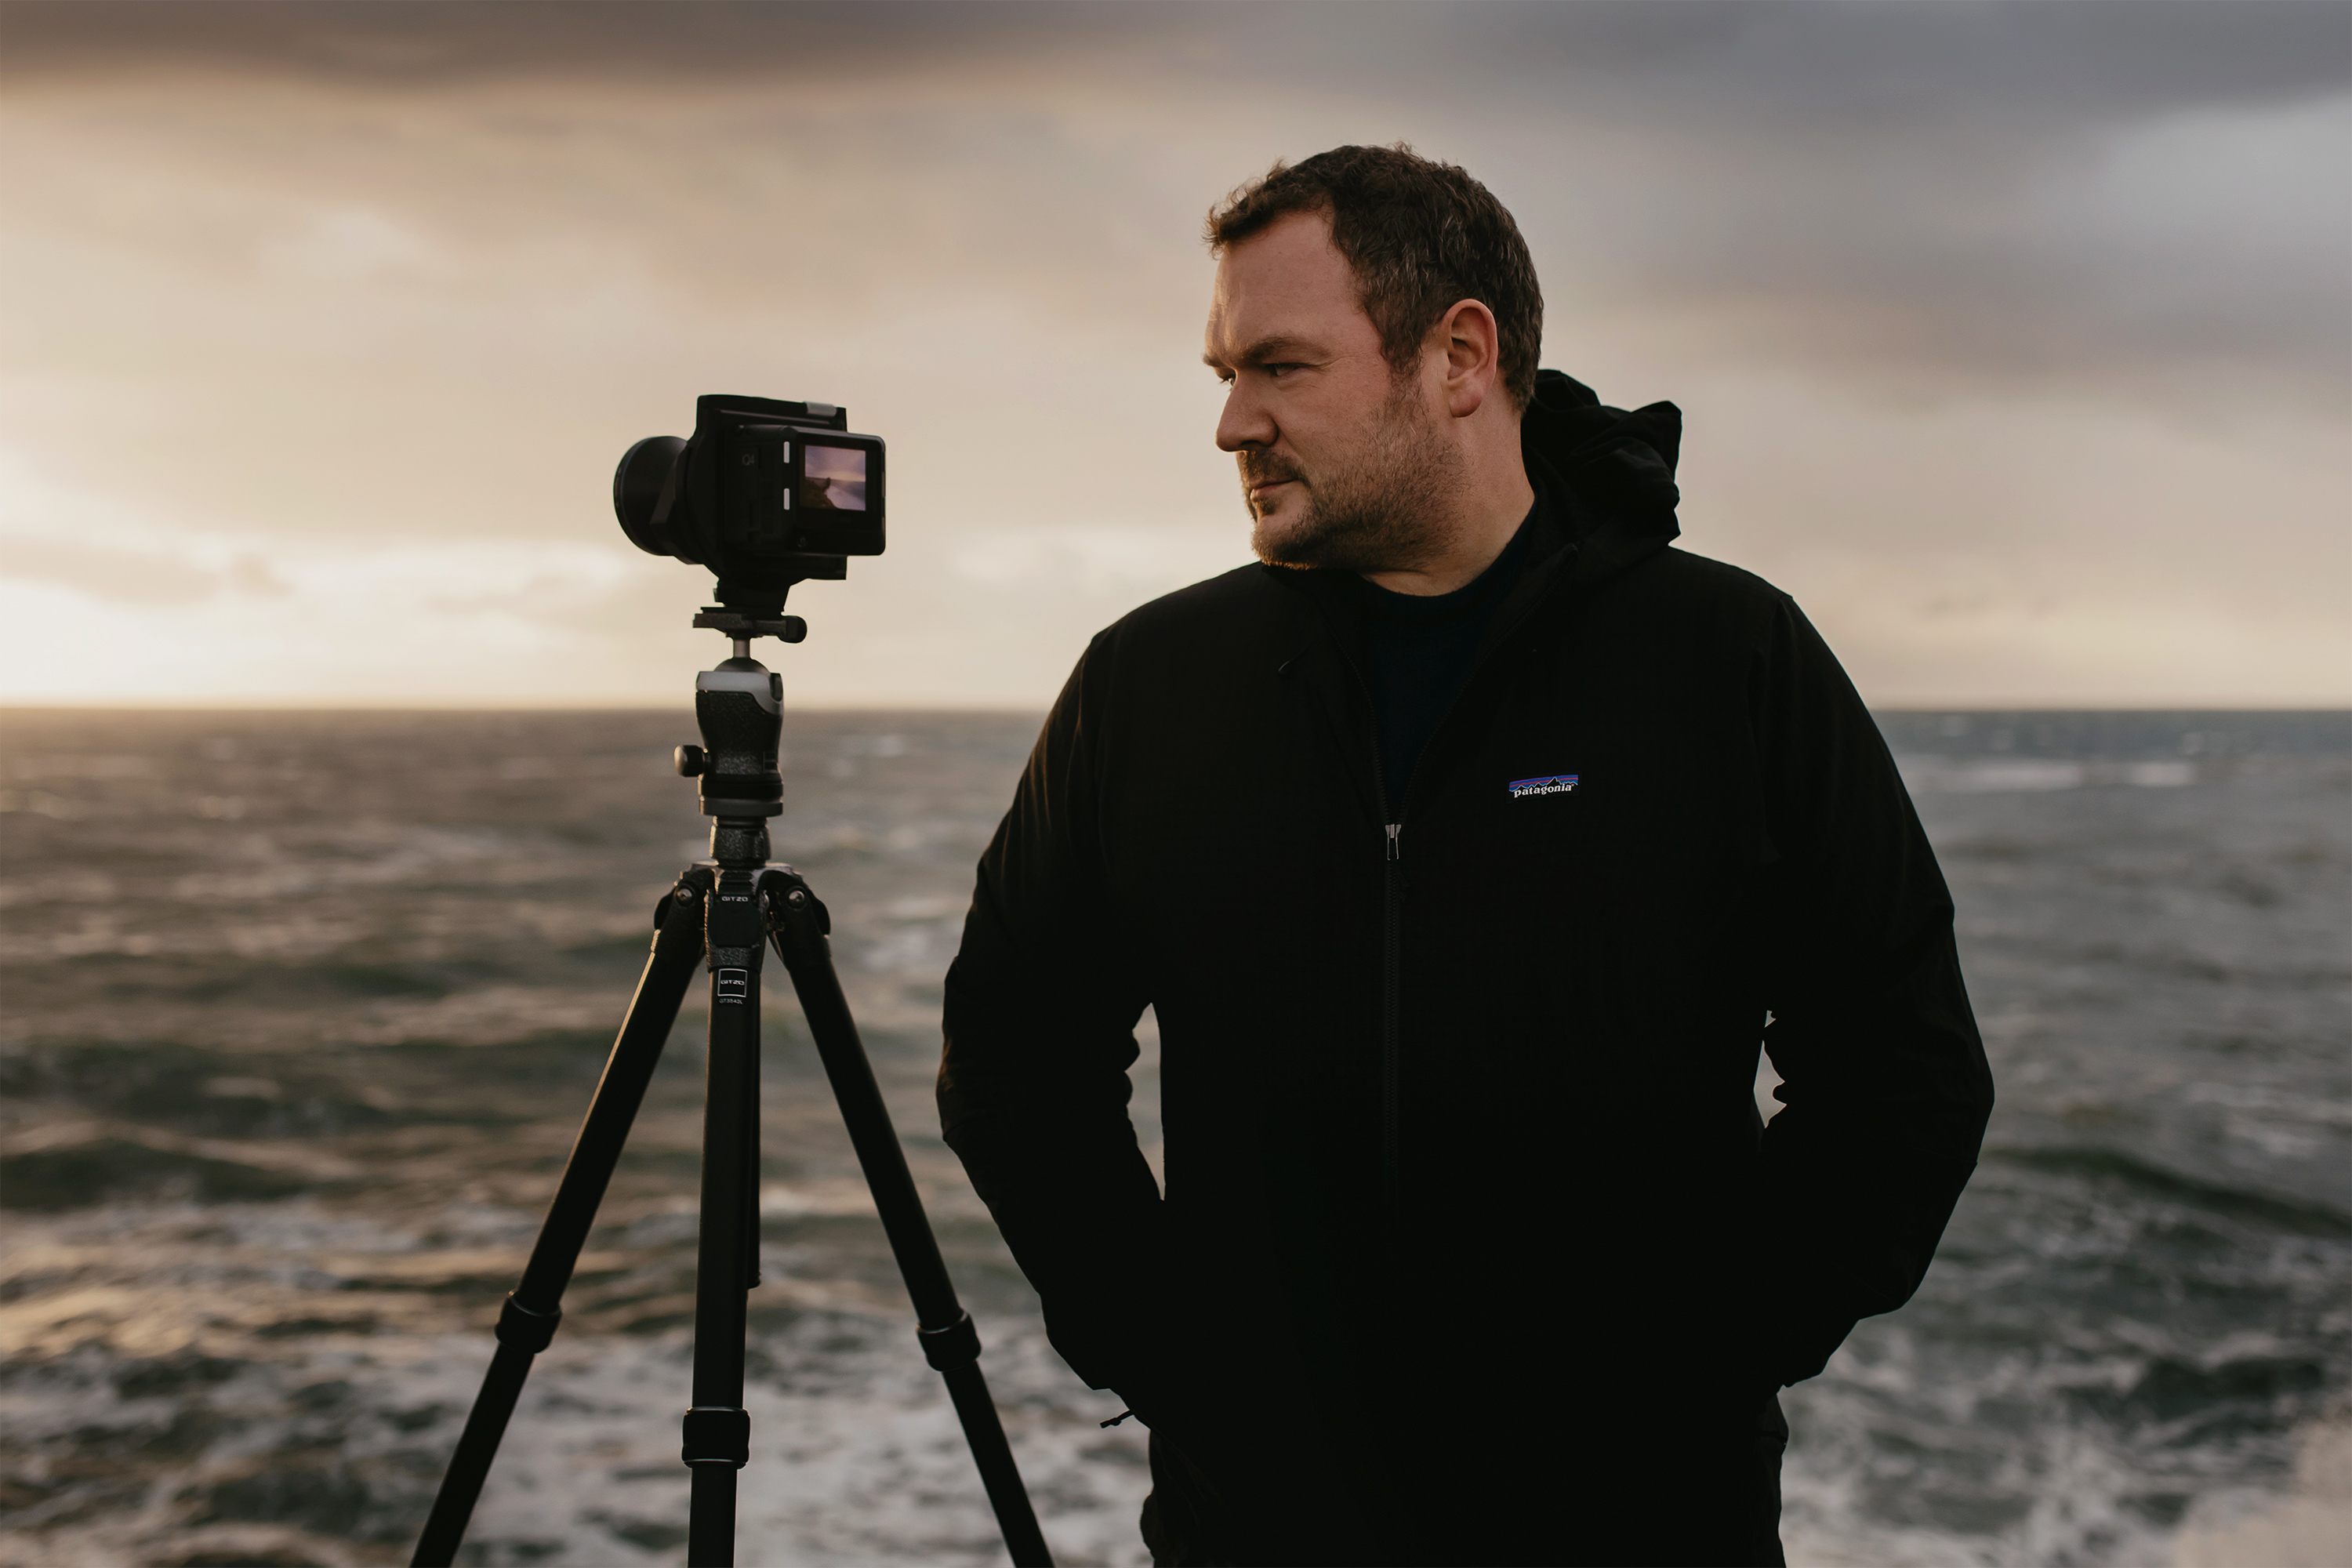
Paul Reiffer is an award-winning photographer and landscape artist. As a global ambassador for both Phase One and Capture One, he specialises in grand vistas, electrifying cityscapes and iconic views. His images have been published all around the world in well-known books, newspapers and magazines as well as supporting global travel and hospitality brands to reach and excite their audiences. His technical expertise is regularly called upon for industry insights, and through his luxury workshop programme as well as online channels, he’s carved out a unique style of teaching that is now appreciated by thousands worldwide. Shooting with ultra-high-resolution Phase One cameras, his work is used commercially by interior designers and clients ranging from National Geographic to British Airways, Marriott, Land Rover and many more.
