Watch video: Capture sharp landscape photography
Sharpness and clarity are two features at the front of our minds when it comes to buying a new lens. Perhaps this is in part due to manufacturers releasing increasingly high resolution cameras, paired with the ability to zoom right in on a computer monitor or the screens of our smart devices that make any in-camera softness glaringly obvious.
Our tips below will help you get the best sharpness with your kit, but if you want even more clarity then you’ll need to look at better optics or a super-high resolution body, such as the upcoming Sony A7R IV or the Nikon D850, and of course shoot in the RAW file format to capture as much exposure information as possible. Here’s everything you need to know...
Read more:
• 16 essential landscape photography tips
• Best cameras for landscapes
• Best lenses for landscapes
1. Set up on a tripod
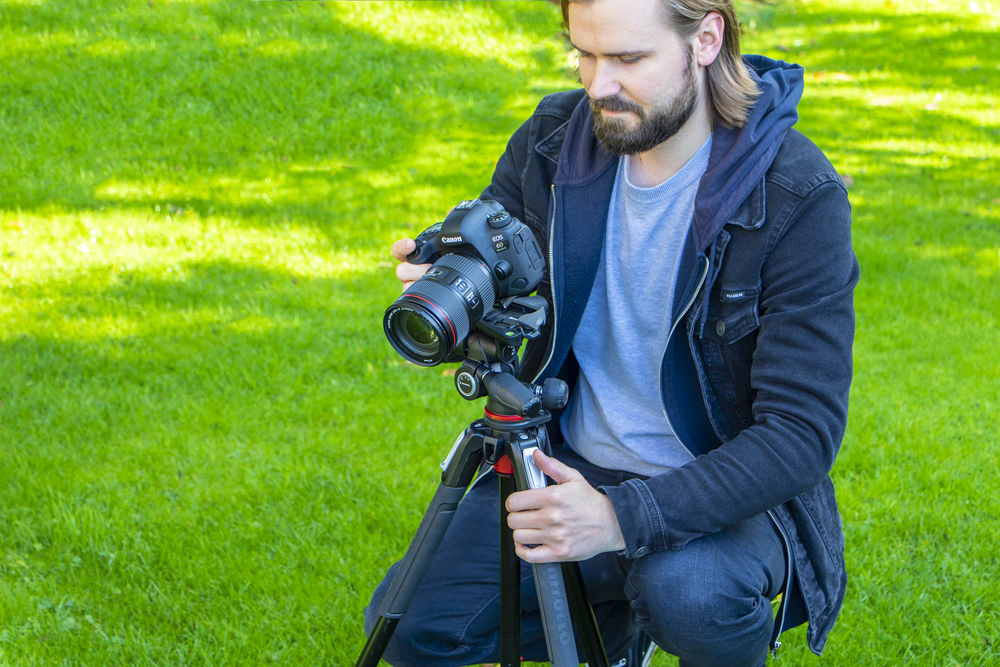
Use a tripod to stop camera-shake blurring your shots. Go for a sturdy model, such as the Manfrotto listed below, and extend the thickest leg sections first for best stability. Only extend the center column as a last resort as this is always the wobbliest part.
2. Attach your lens hood
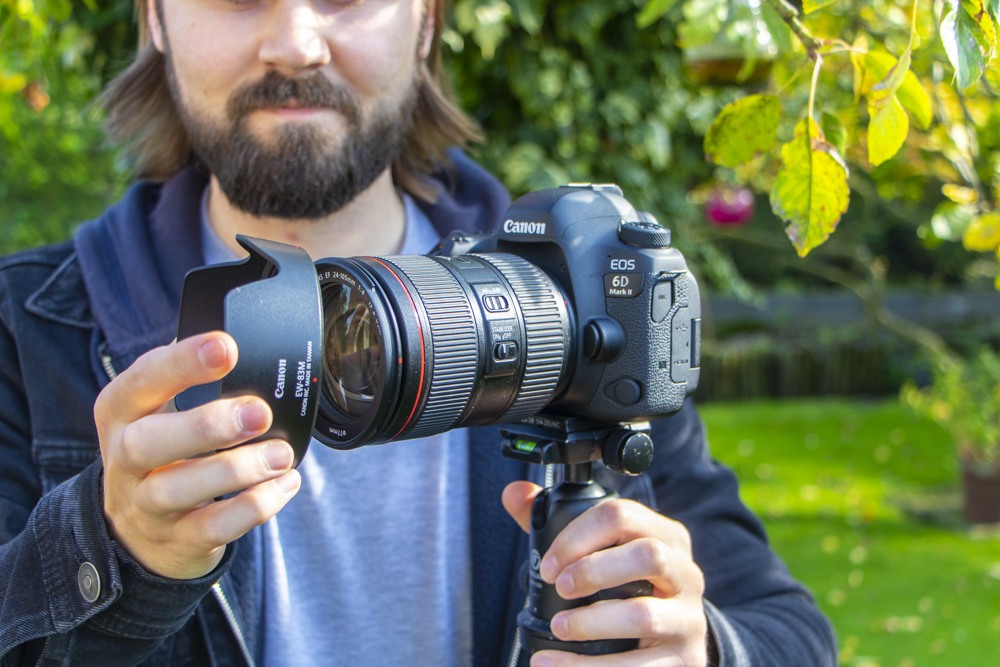
Attach your lens hood when shooting in harsh sunlight to cut down the amount of haze and glare to increase contrast. The petal and tubular shapes are the most efficient design that blocks out flare without the hood appearing in the frame.


3. Switch off image stabilization systems
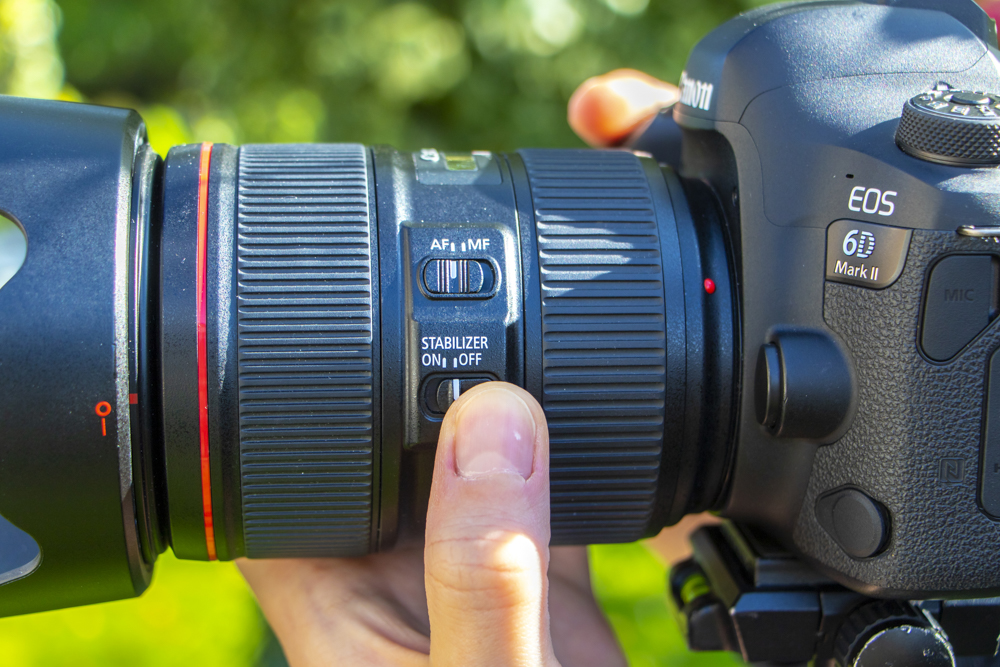
Image Stabilization allows the lens to be stabilized when hand-holding to reduce camera-shake. But some systems can actually introduce more blur when you’re set up on a tripod as it has no motion to correct for, so be sure to switch it off.
4. Dial in a middle aperture value
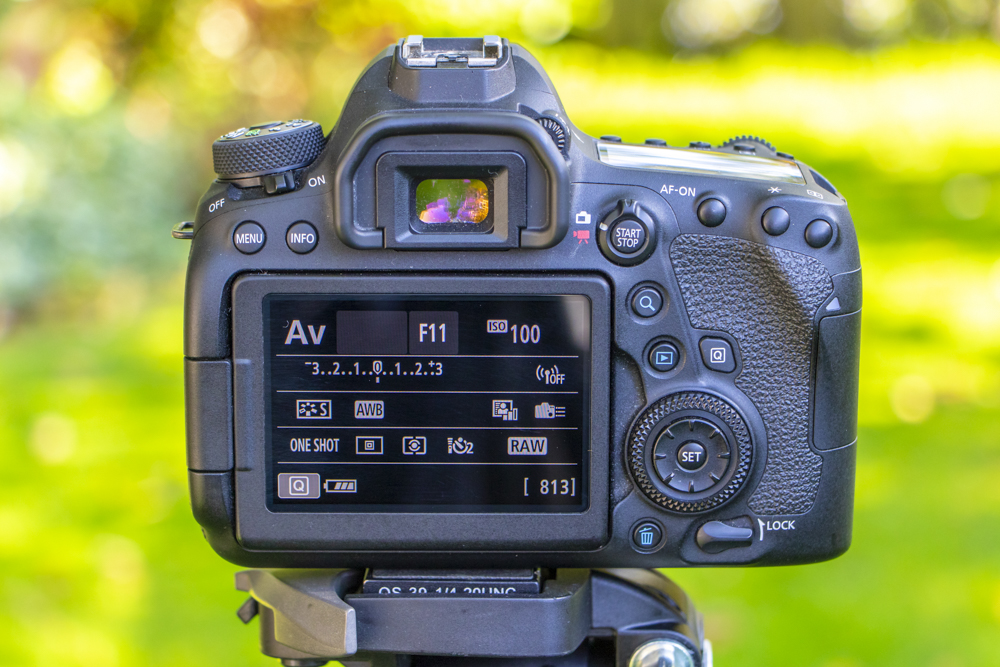
Most lenses have a ‘sweet spot’ of sharp focus which produces the sharpest shots. This is usually middle apertures such as f/8, f/11 or f/16 so use these with an ISO of 100 for best image quality and then focus about a third of the way into the frame to get the foreground and background sharp.
5. Switch on the Self-timer
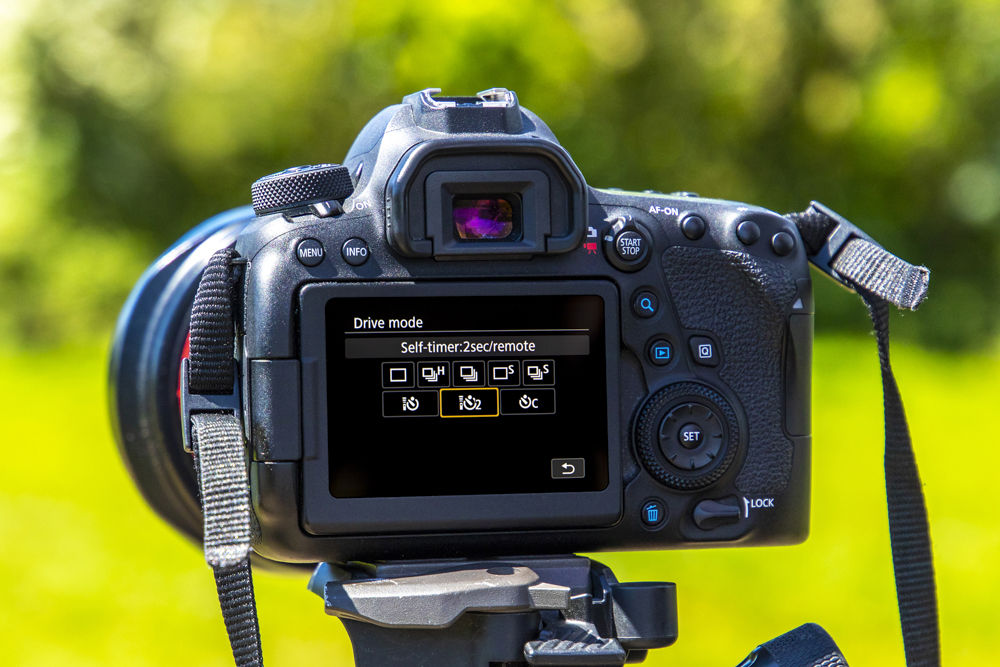
Even when you’re setup on a tripod, pressing the shutter button can be enough to cause camera-shake. Engage your 2 Sec Self-timer mode where the camera will wait for two seconds after you press the shutter before taking the picture to avoid this movement being recorded.
6. Sharpen in Photoshop
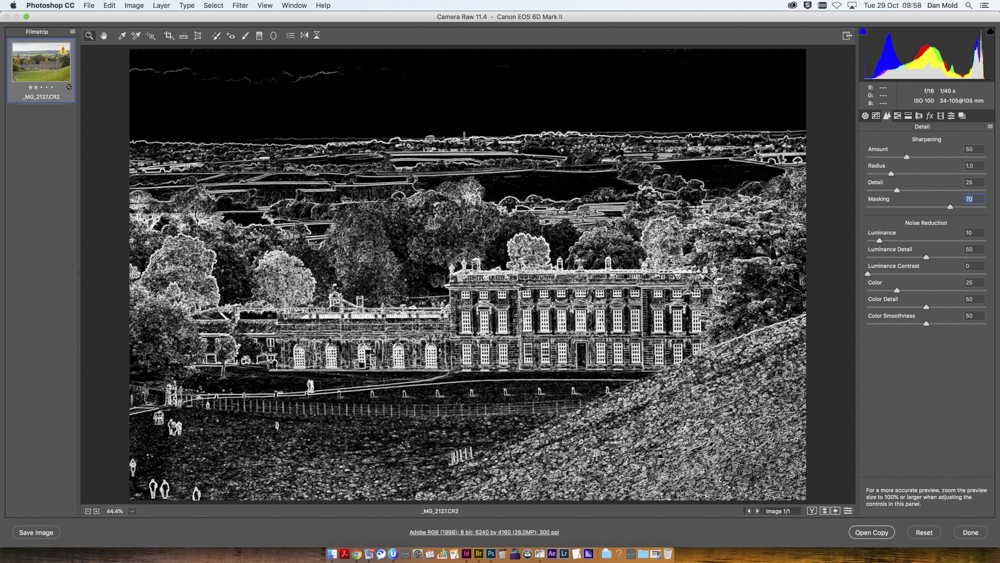
When you’ve taken your image it’s a good idea to bring the RAW into Photoshop’s Adobe Camera Raw to sharpen it. Go to the Detail tab and set Sharpness to 50, then hold the Alt key and drag the Masking slider until only the parts you want to sharpen are shown in white.
Read more
Best photography tips and techniques
Best tripod for photographers in 2020
Best pan and tilt tripod heads in 2020: precise camera control for your tripod
Best ball heads for tripods in 2020: quick and simple tripod heads
Get the Digital Camera World Newsletter
The best camera deals, reviews, product advice, and unmissable photography news, direct to your inbox!

Deputy Editor on PhotoPlus: The Canon Magazine, Dan also brings his technical wizardry and editing skills to Digital Camera World. He has been writing about all aspects of photography for over 10 years, having previously served as technical writer and technical editor for Practical Photography magazine, as well as Photoshop editor on Digital Photo.
Dan is an Adobe-certified Photoshop guru, making him officially a beast at post-processing – so he’s the perfect person to share tips and tricks both in-camera and in post. Able to shoot all genres, Dan provides news, techniques and tutorials on everything from portraits and landscapes to macro and wildlife, helping photographers get the most out of their cameras, lenses, filters, lighting, tripods, and, of course, editing software.
