How to use custom white balance to improve colors when shooting interiors
Learn how to create a custom white balance preset in-camera and shoot images with accurate, true-to-life color
The best camera deals, reviews, product advice, and unmissable photography news, direct to your inbox!
You are now subscribed
Your newsletter sign-up was successful
One of the biggest advantages offered by digital photography is the ability to adapt the camera to changeable lighting. In analogue days, should the color balance of the ambient light change, the film type would have to be swapped to compensate, wasting the remaining frames. In the majority of cases, a white balance preset can be chosen from the camera menu, which will quickly adjust the color bias to prevent strong casts.
However, these presets are designed to cater for average lighting, under usual conditions and may lack absolute accuracy. Therefore, in order to produce the most print-ready file possible, a custom white balance can be created for the current shooting environment. This is especially useful when shooting in Jpeg format, when there is a requirement for large buffer capacity for example, since color cannot be altered non-destructively, unlike when working with RAW files.
Article continues belowMore photography tips
Using a standard white balance target, which is usually white or 18% grey, the camera is able to calculate a colour temperature which best represents the hues present the scene, tailoring reproduction to the lighting which exits on a real-time basis. This improves colour fidelity, which can make a big difference when attempting to render natural tones in outdoor, interior or studio settings alike.
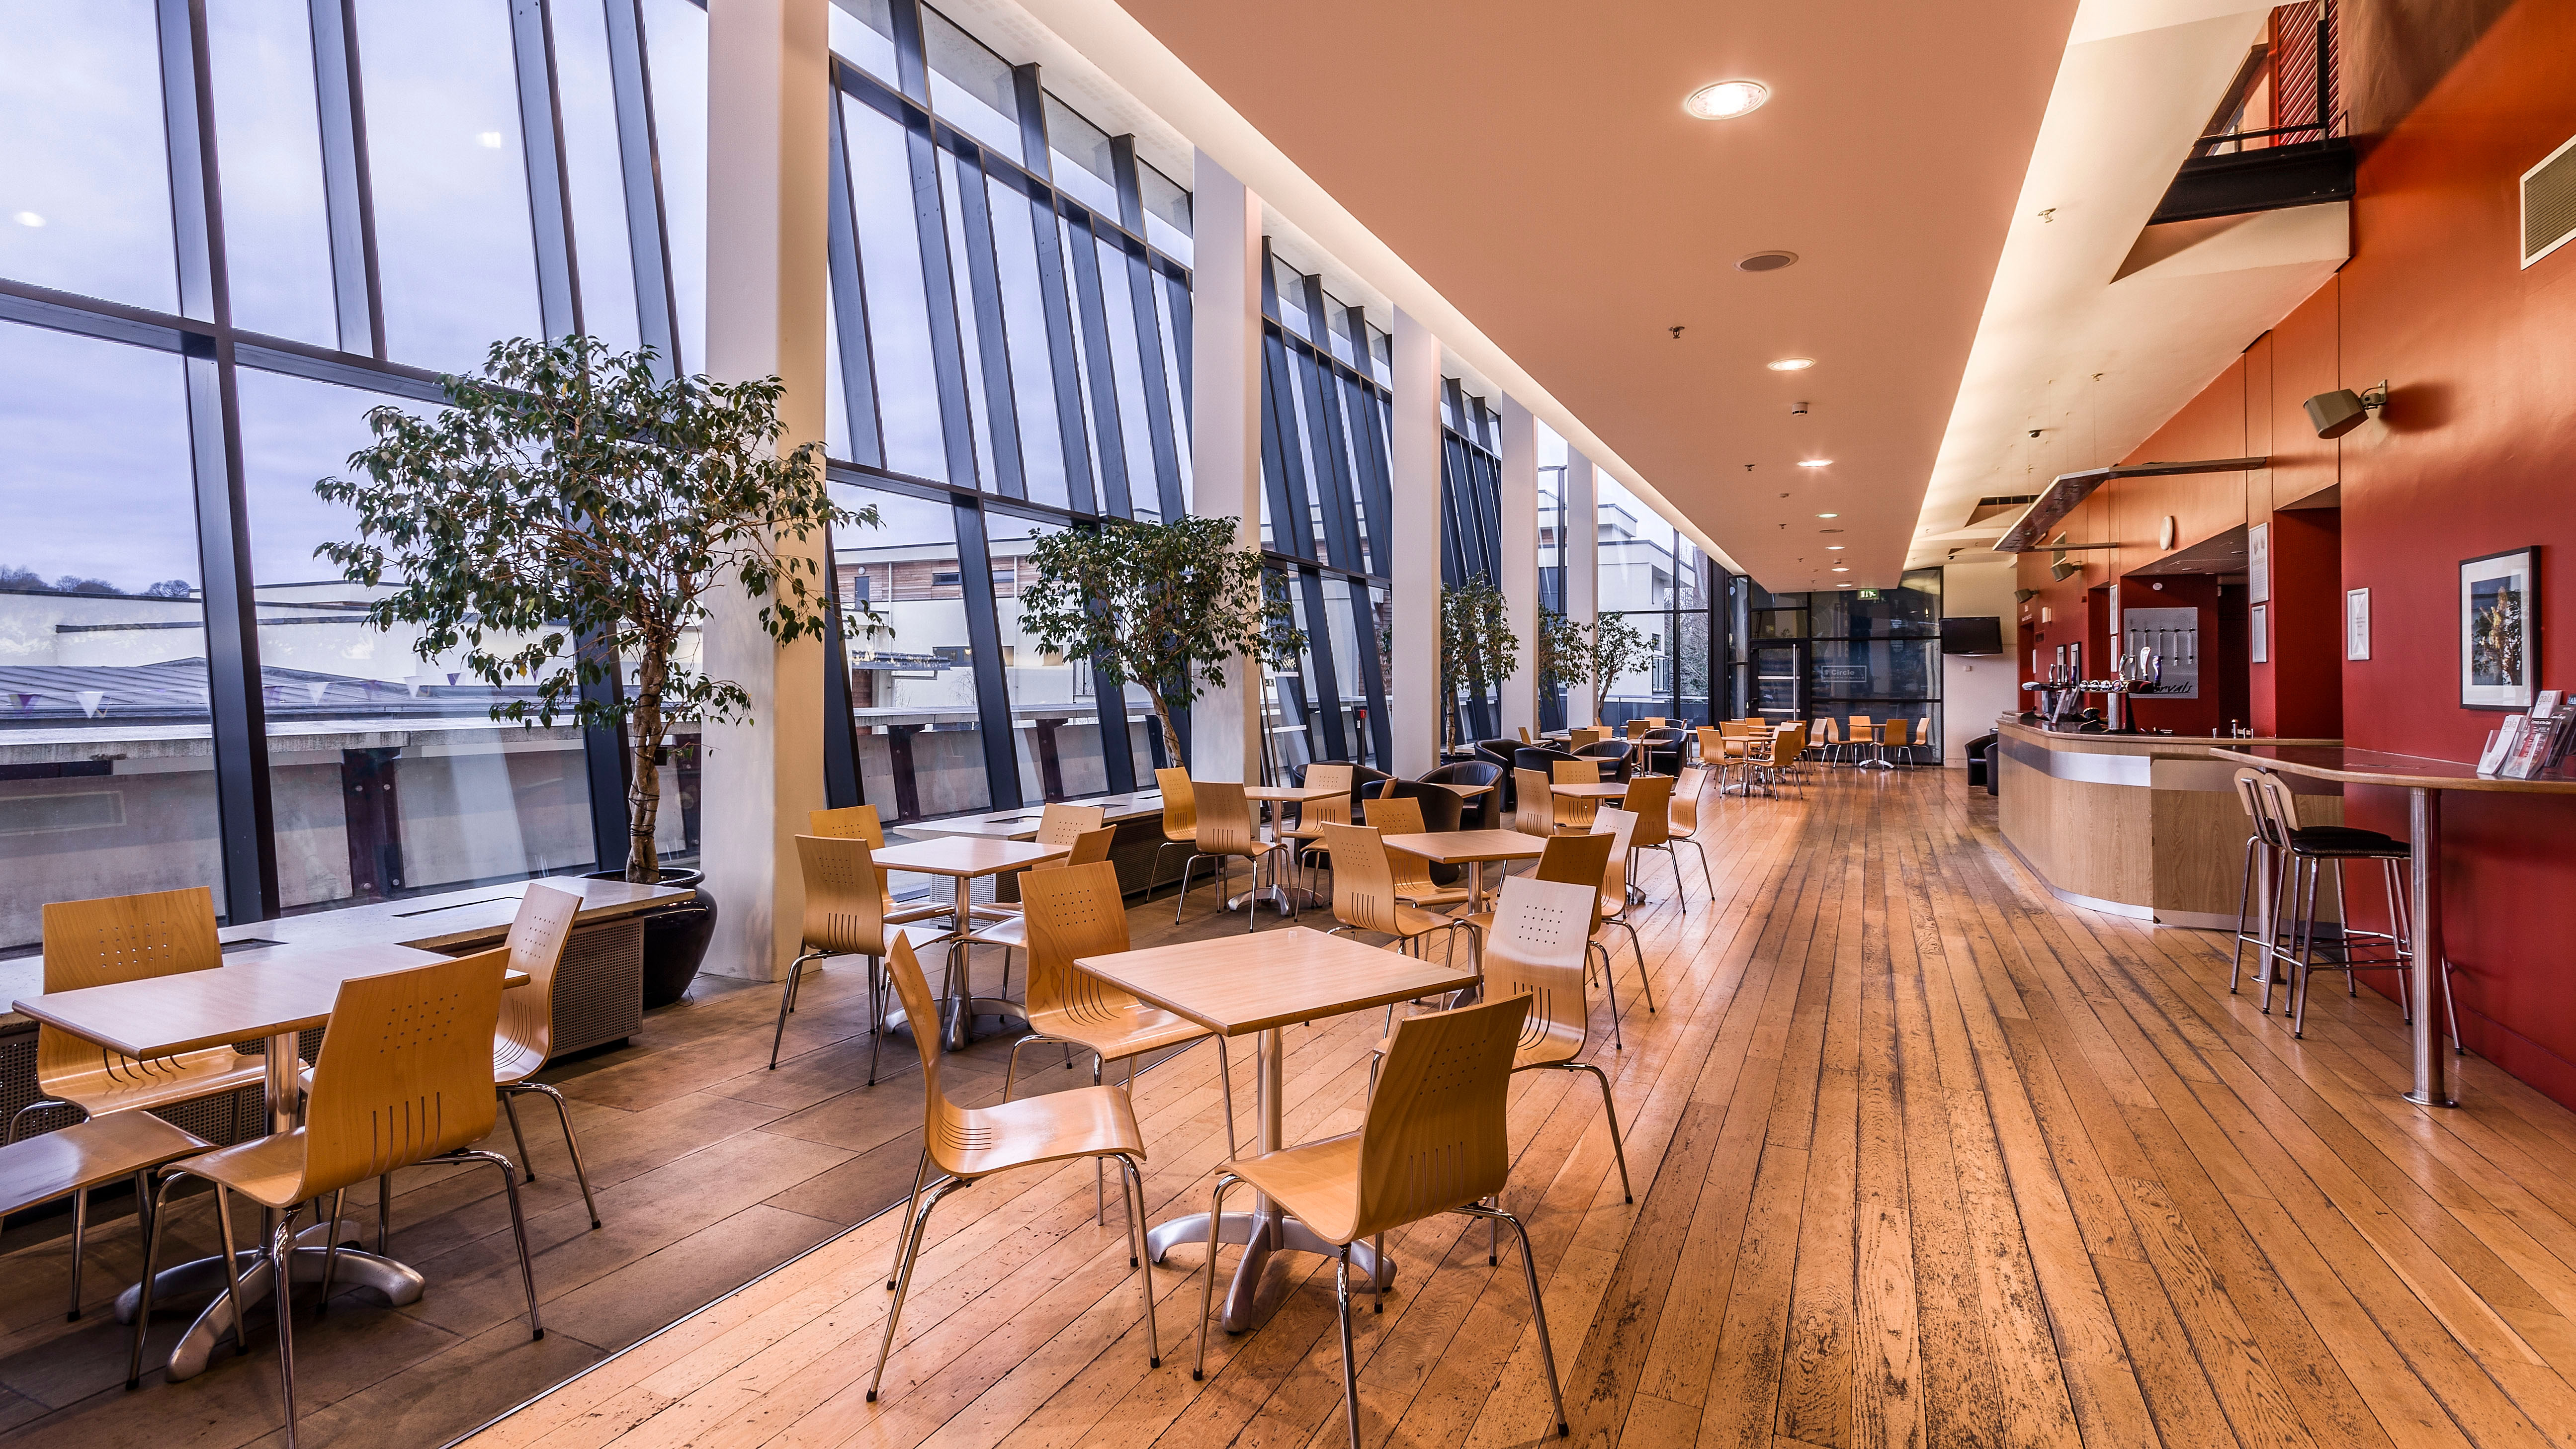
Before and after color adjustment
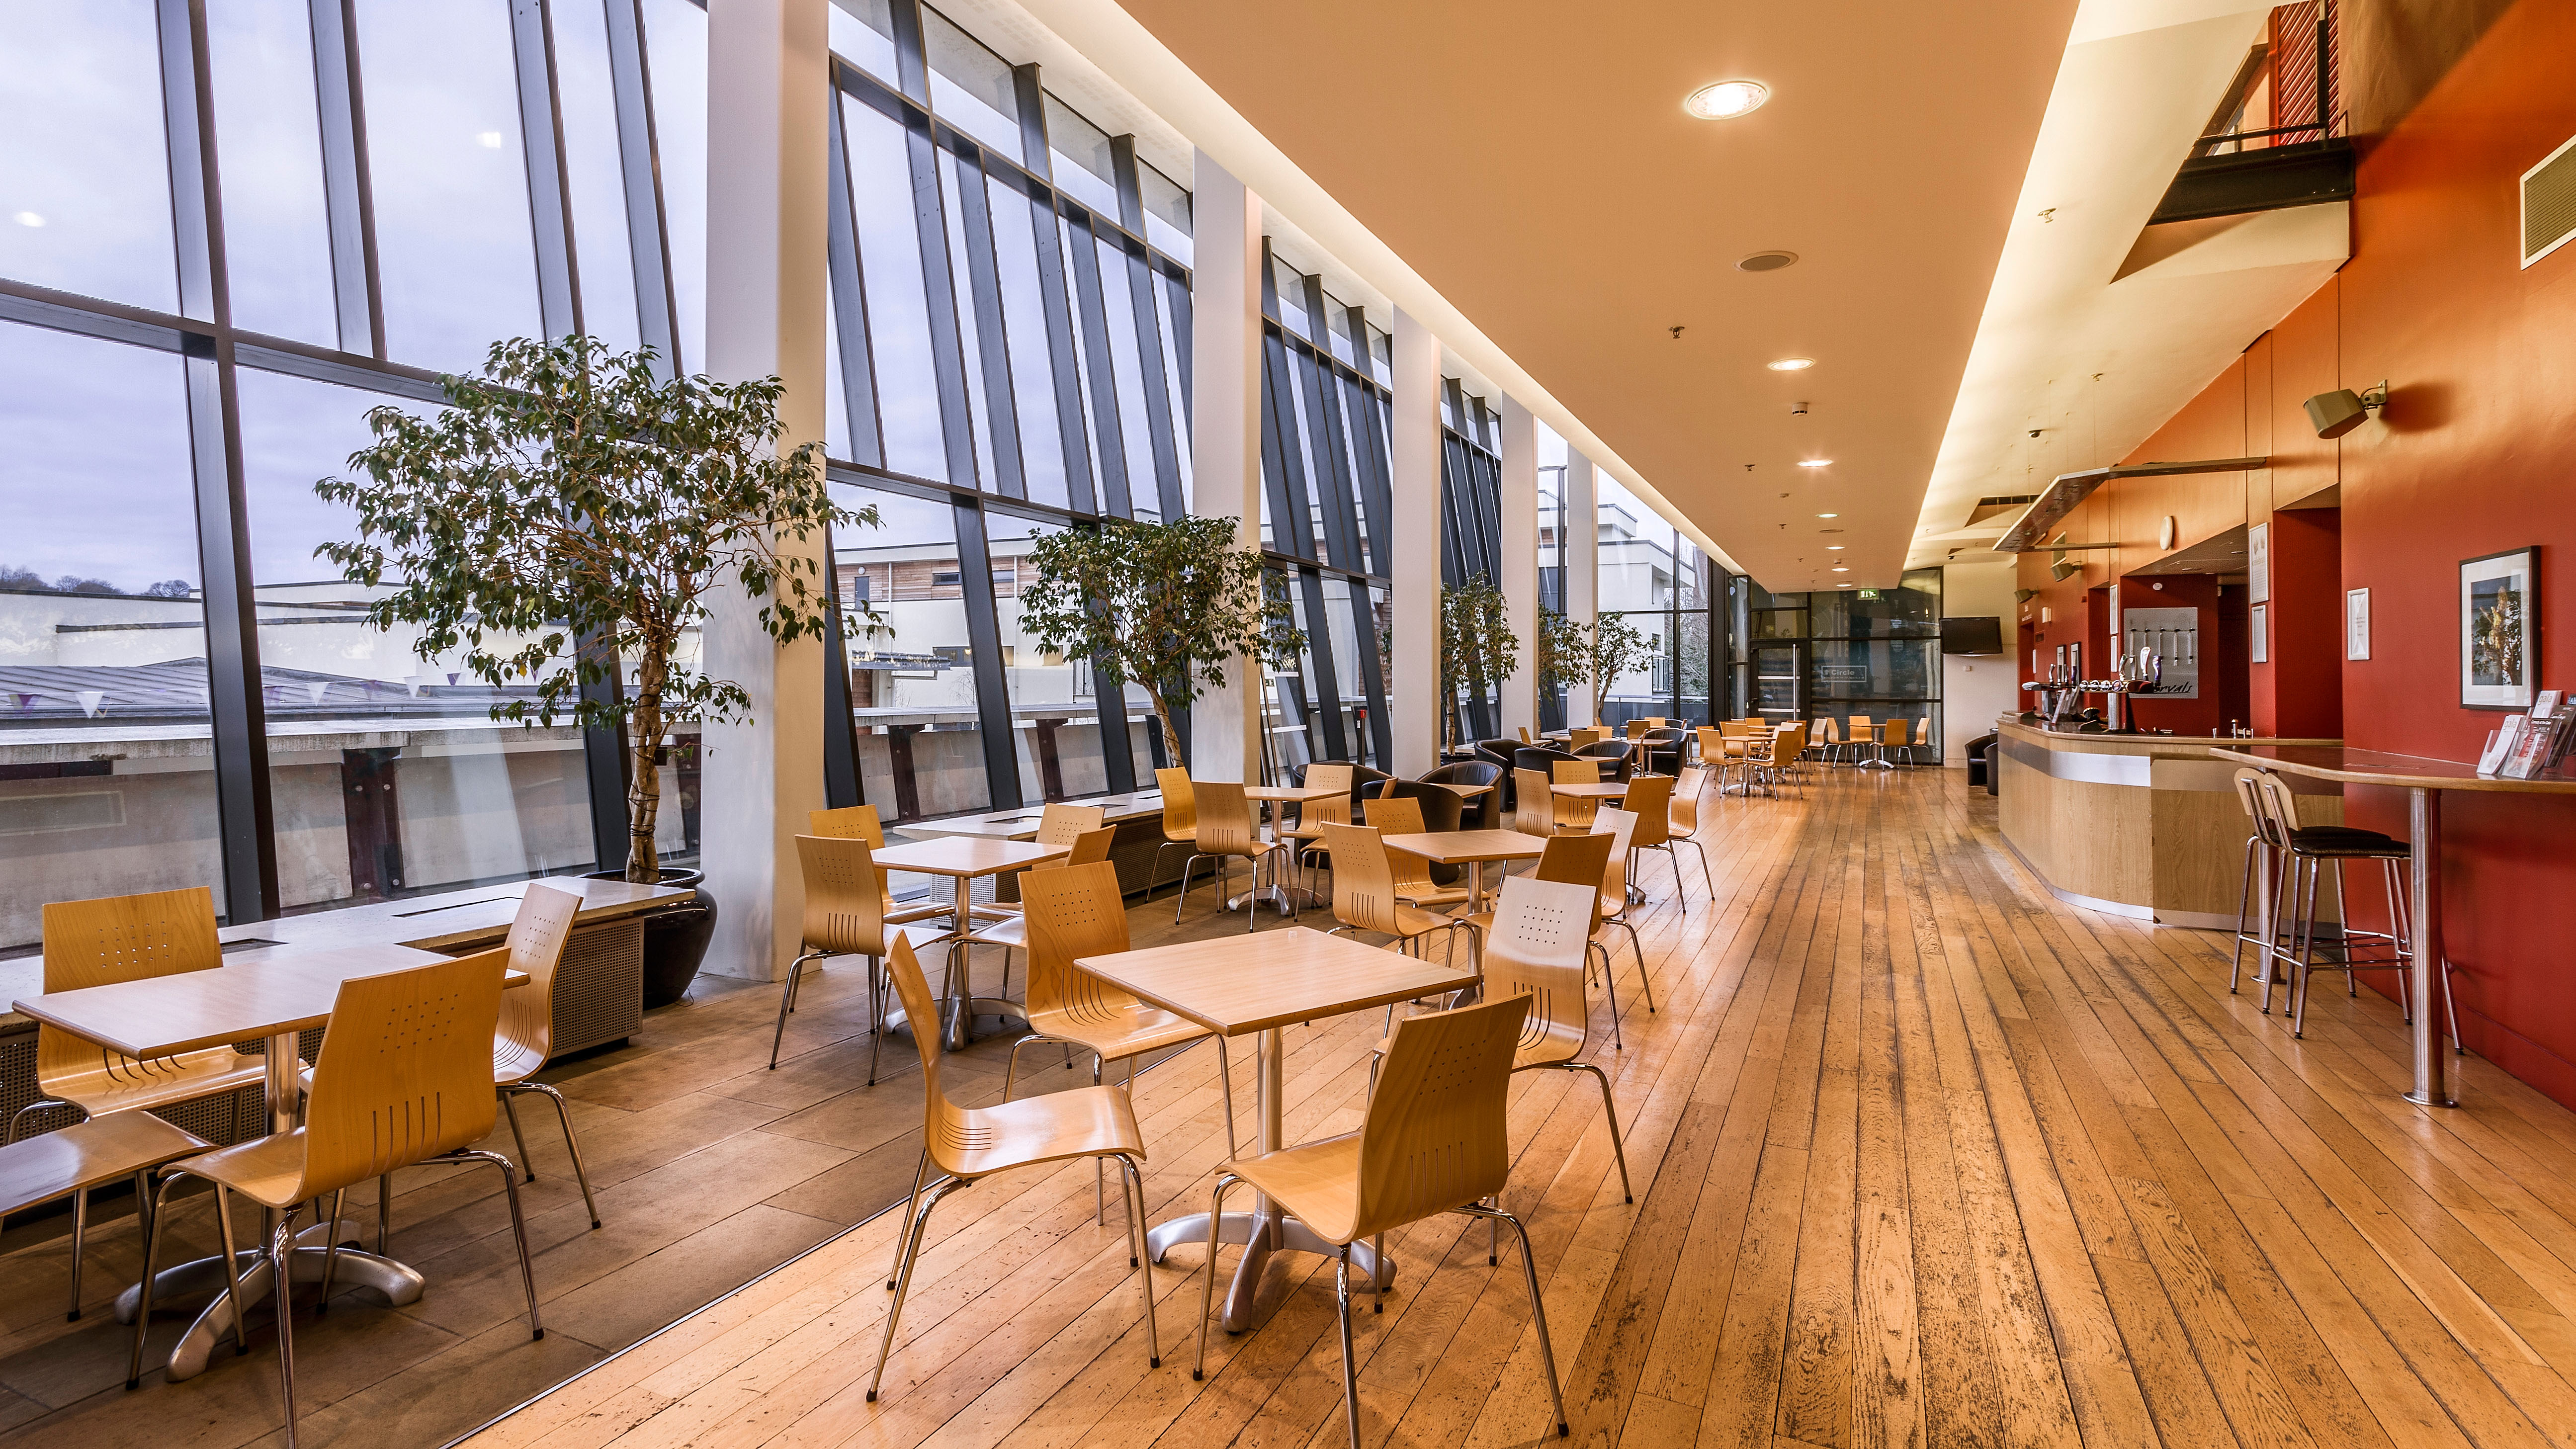

Step 1: Use a White Balance Preset
It is always useful to try implementing a preset white balance (WB) in the first instance, especially in new environments, to see if any are appropriate without customisation. This may be possible under simple lighting.
The best camera deals, reviews, product advice, and unmissable photography news, direct to your inbox!
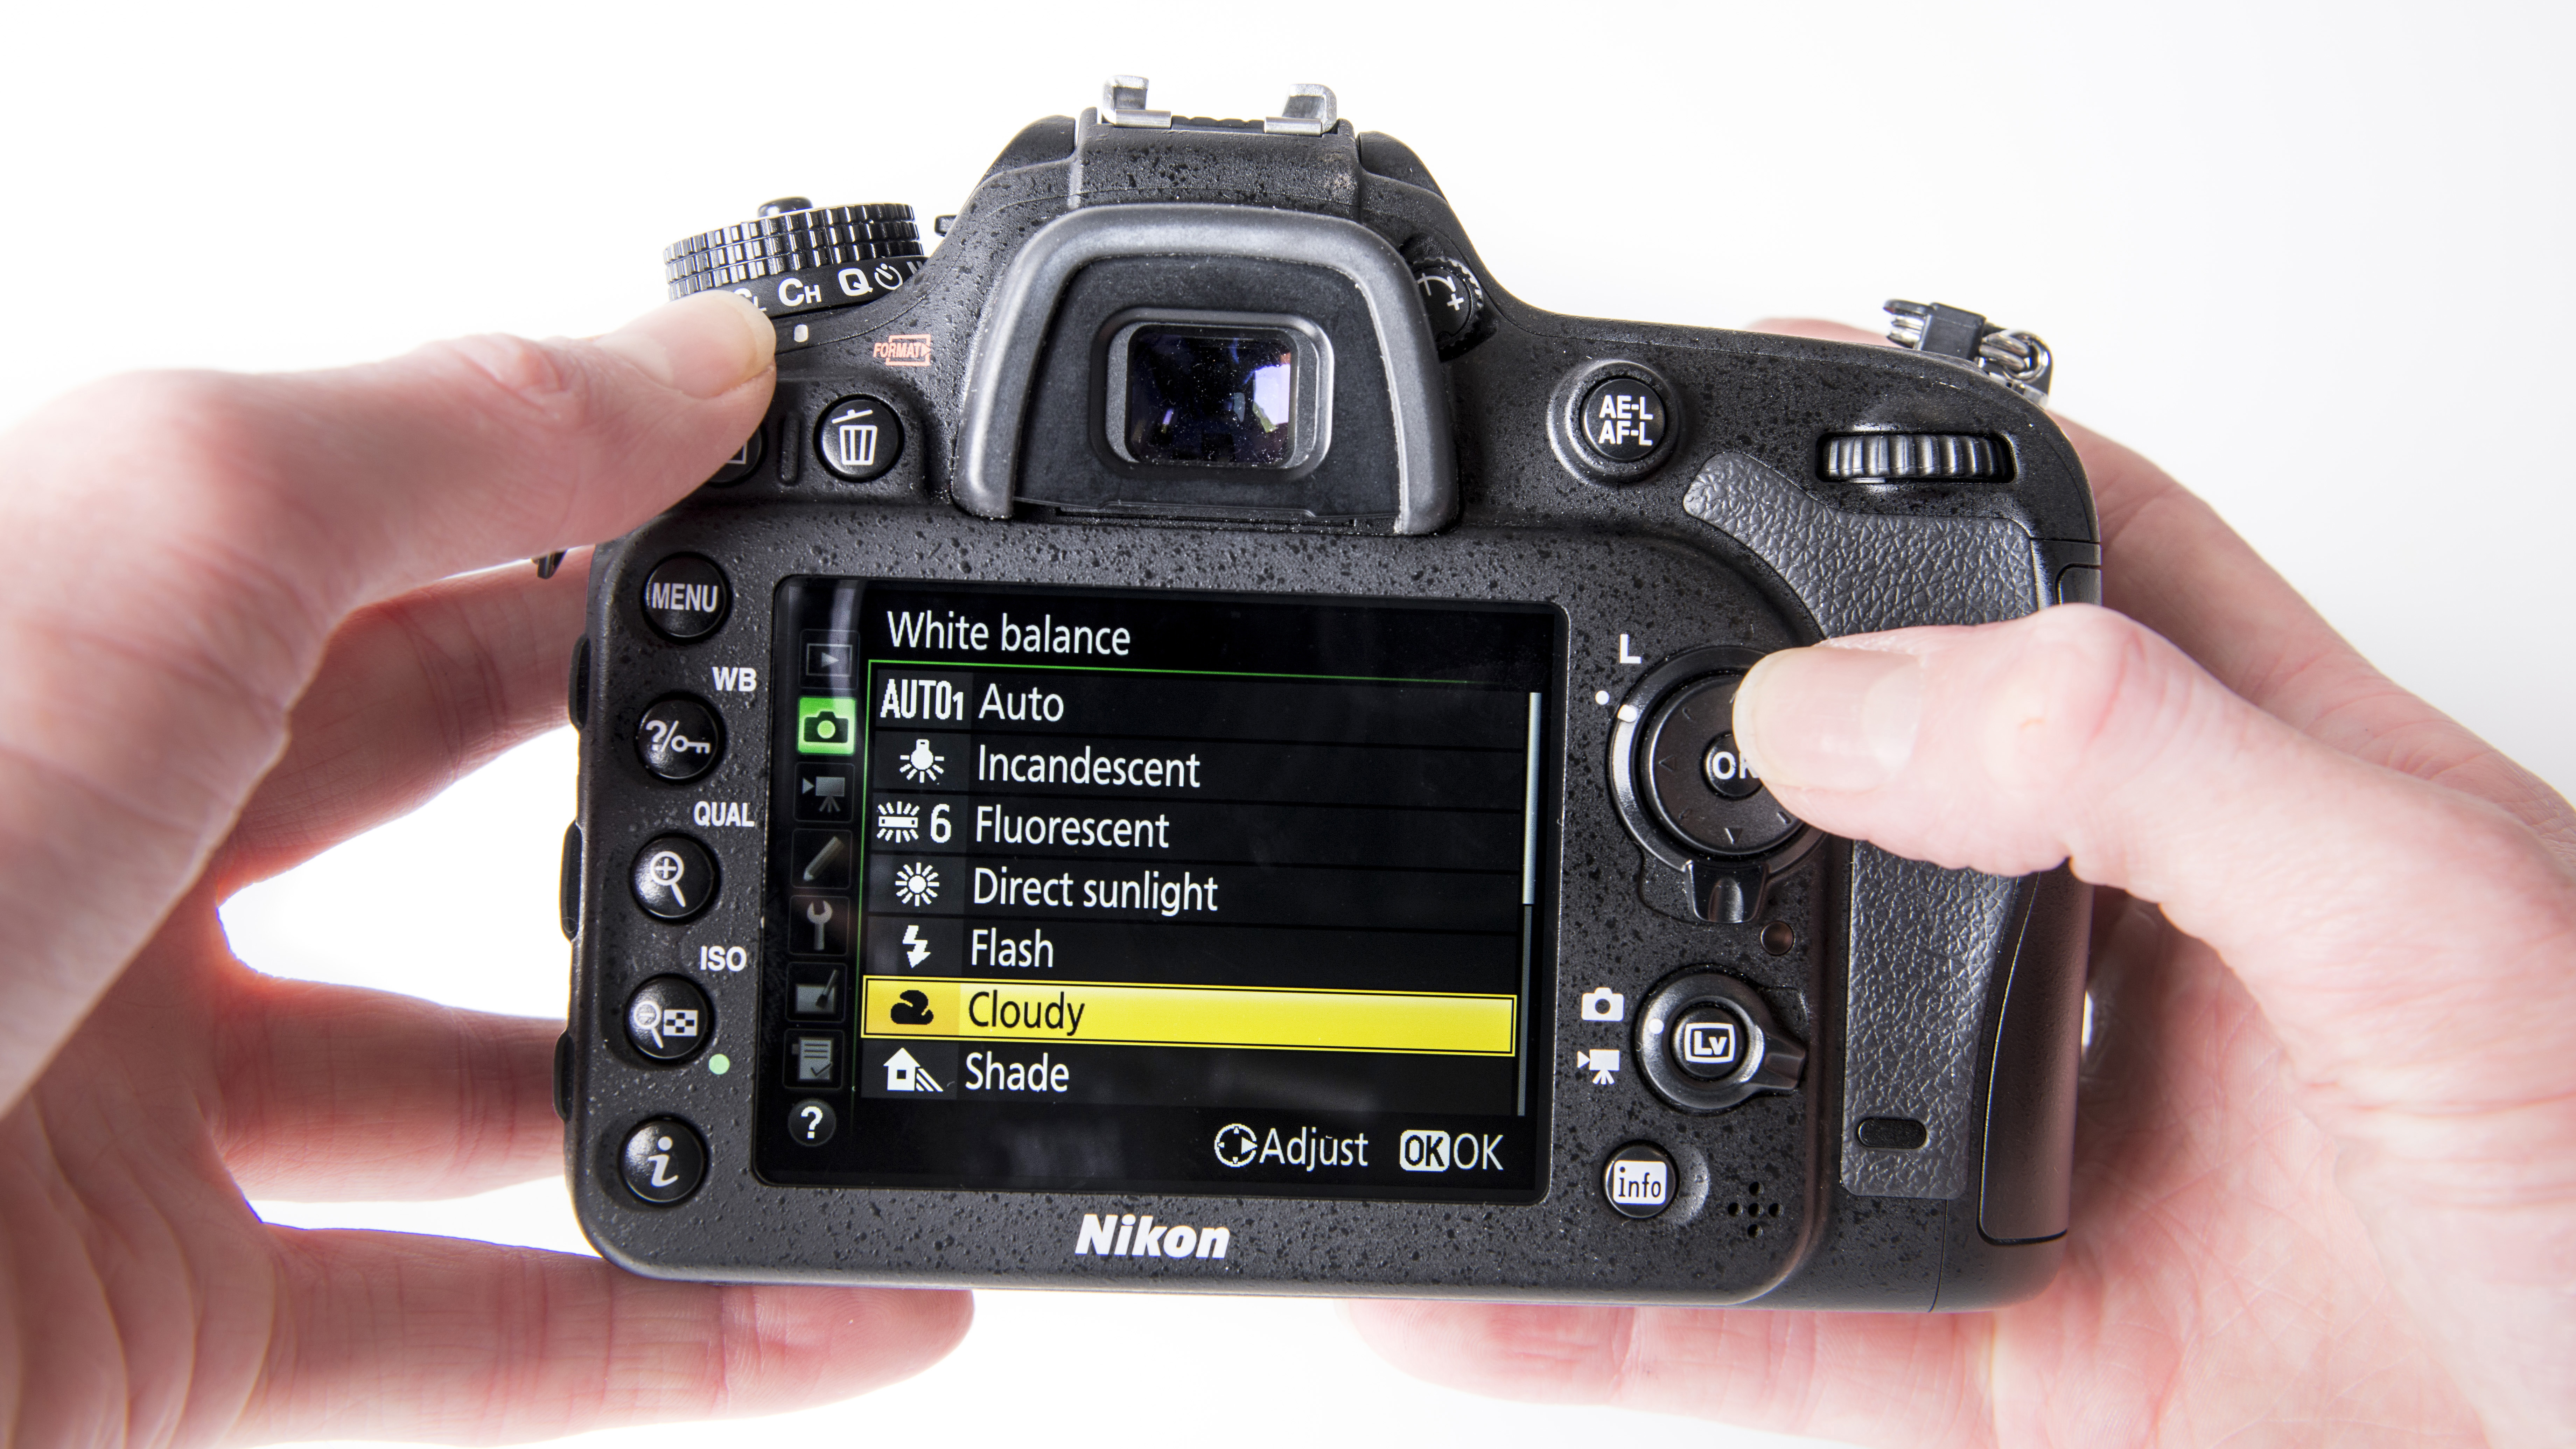
Step 2: Shoot a reference target
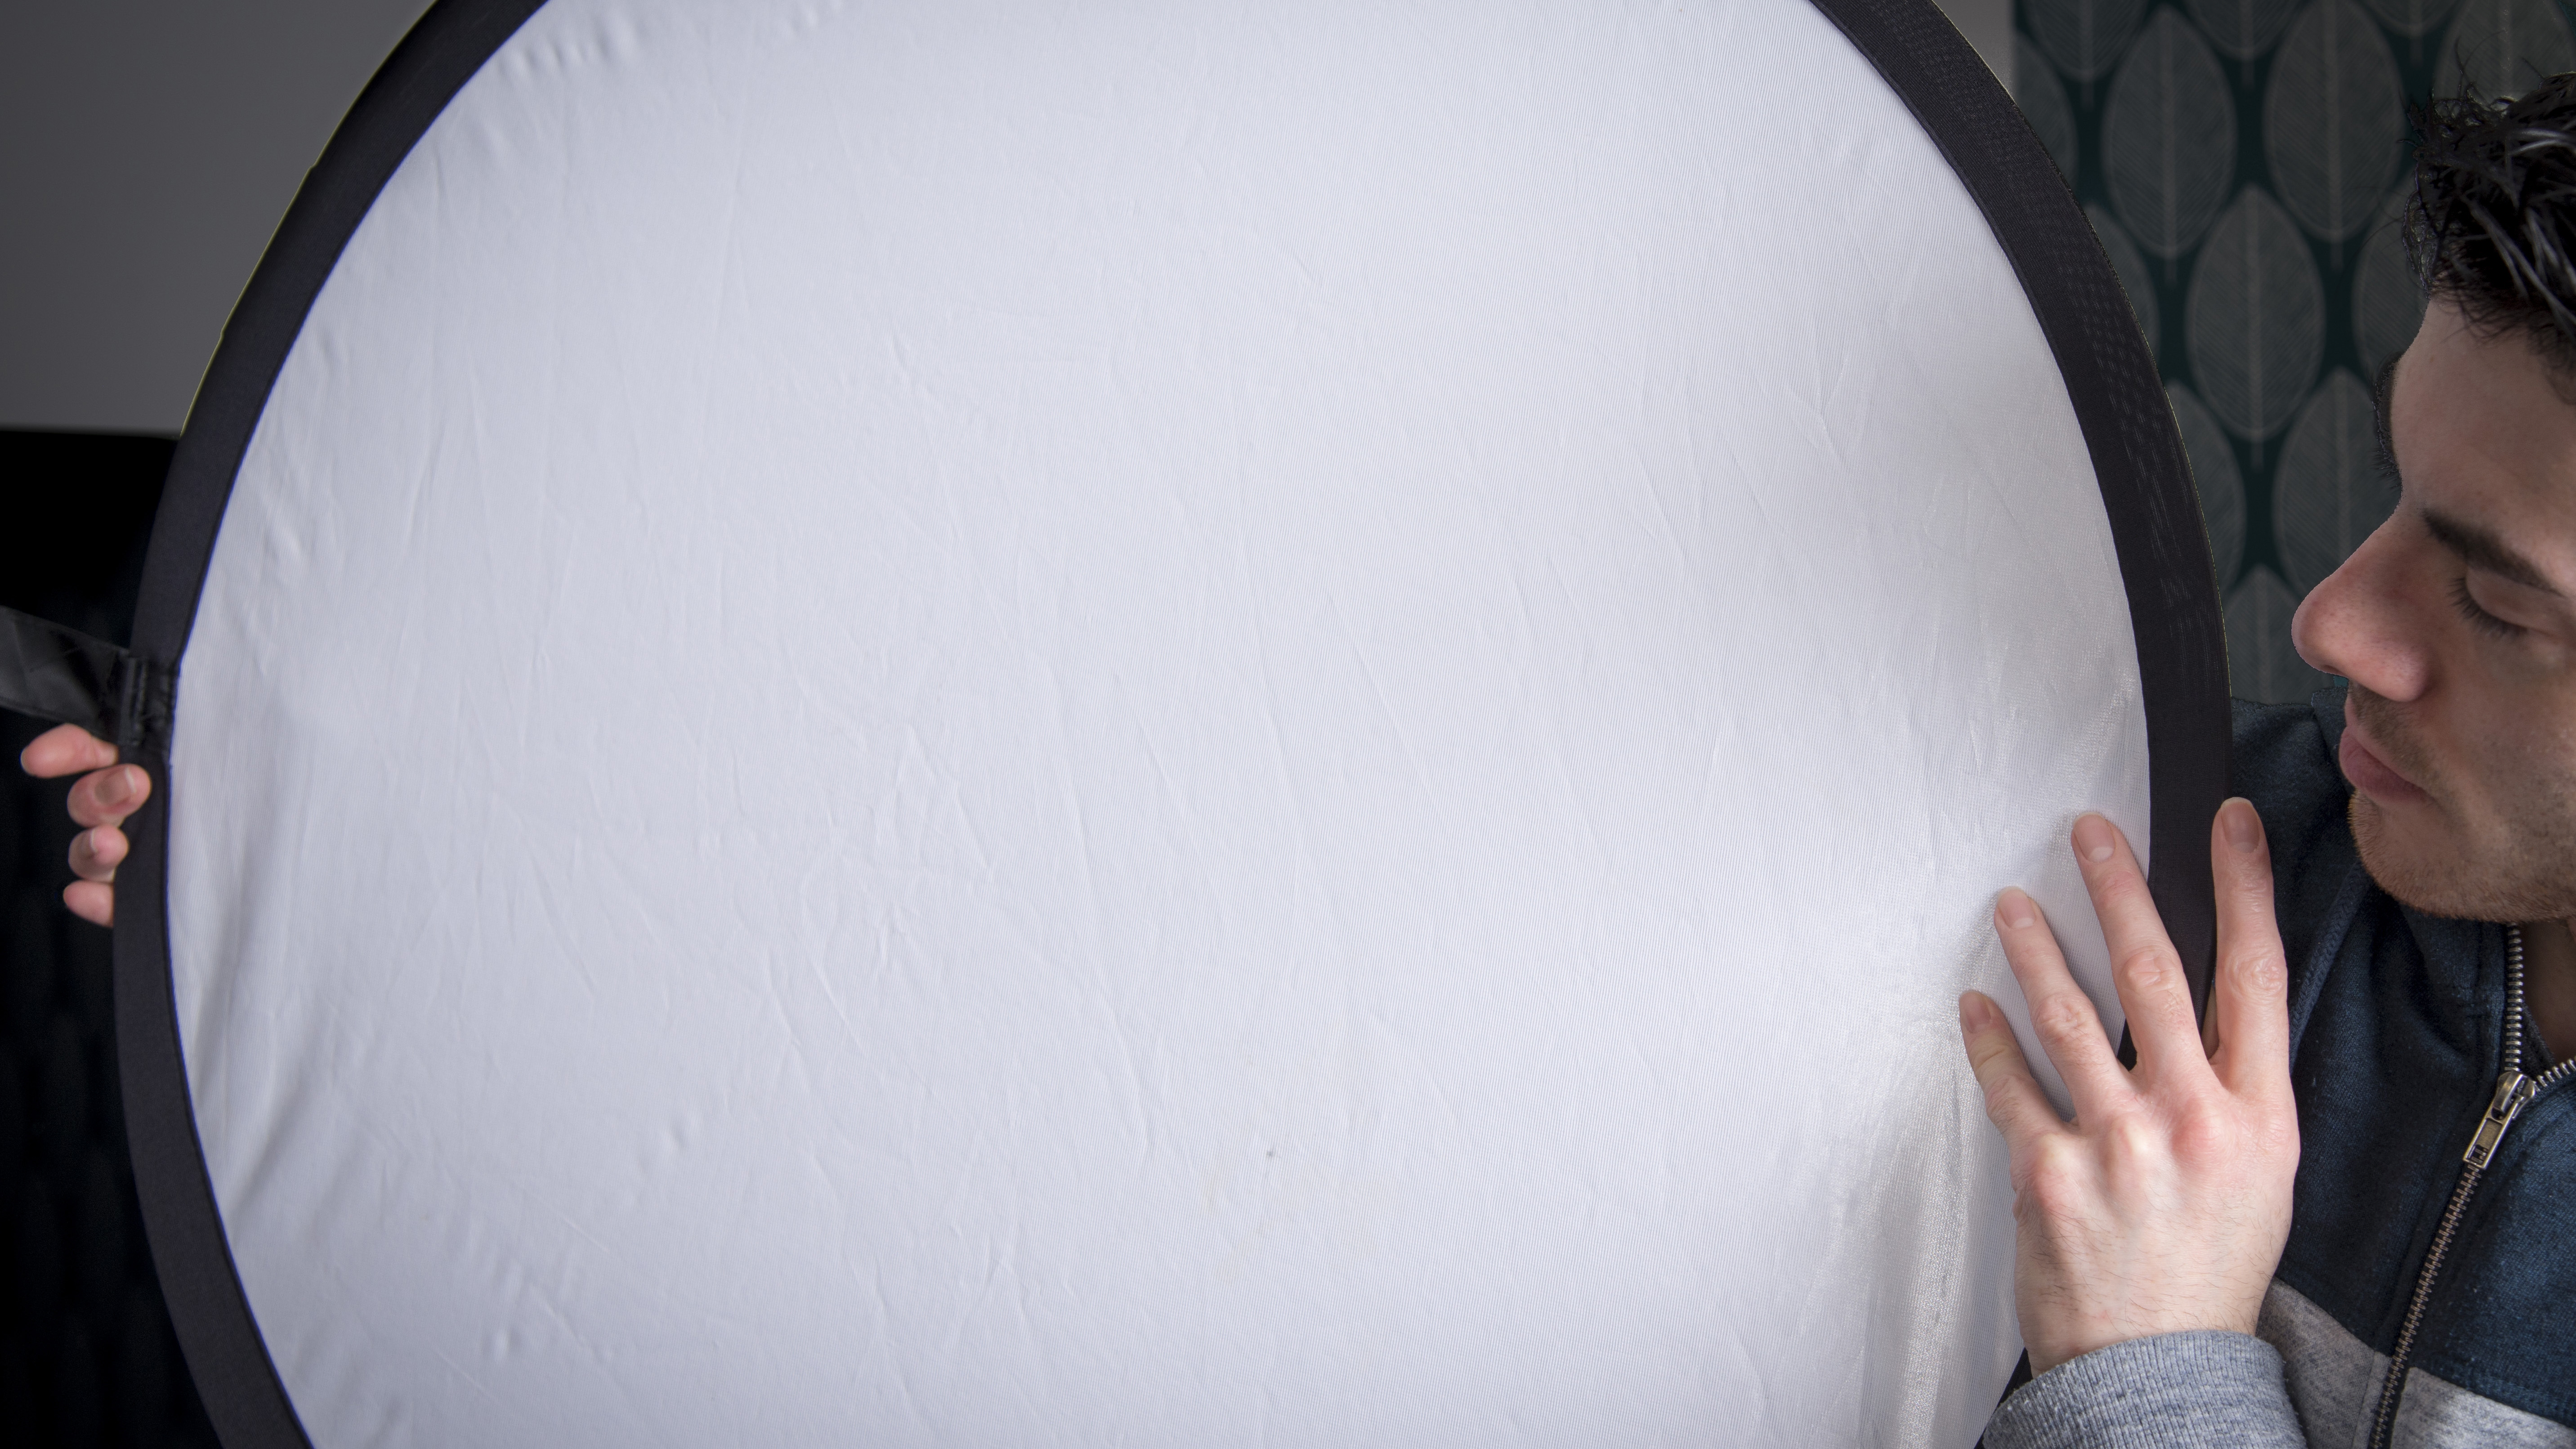
In mixed or studio lighting, where colour bias is obvious, hold a WB target so that it fills the frame and shoot an image using any preset. Prevent strong lighting falling on the target to avoid overexposure.
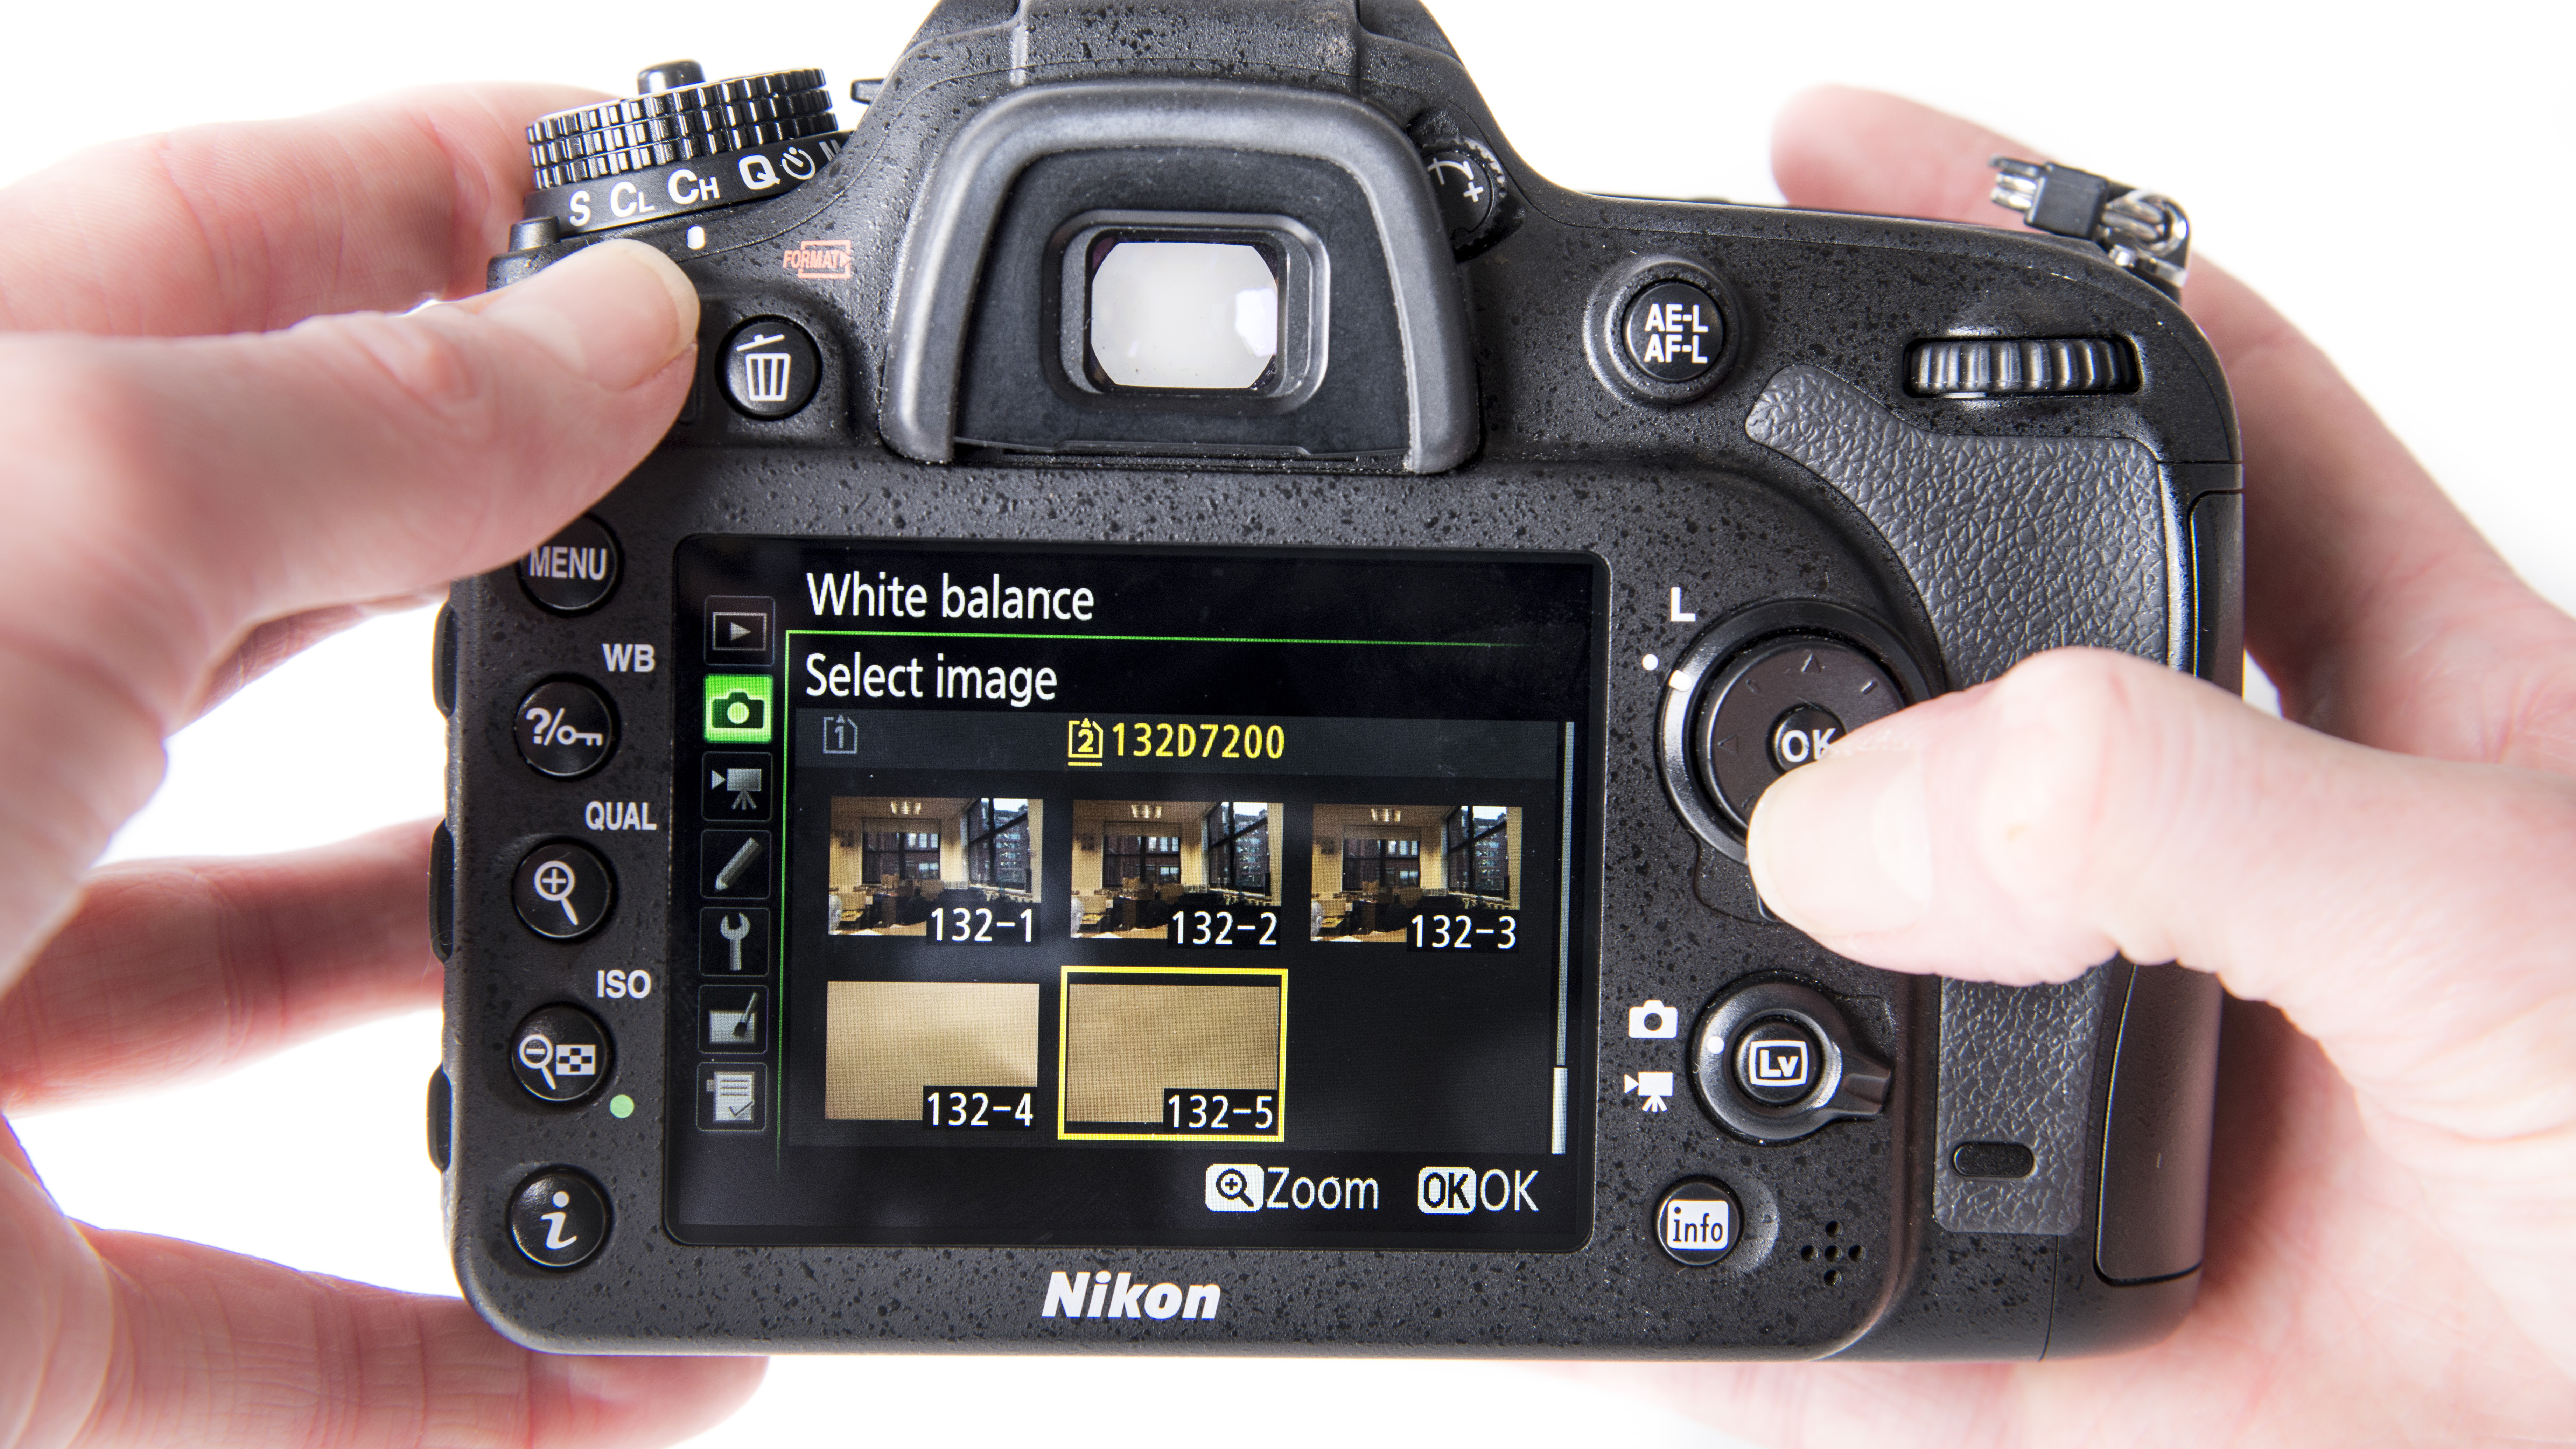
Step 3: Select an image
Depending on your camera model, enter the menu, navigate to the WB options and choose an image containing the target from which the camera can derive a reference colour balance. Choose the image which best represents light intensity.
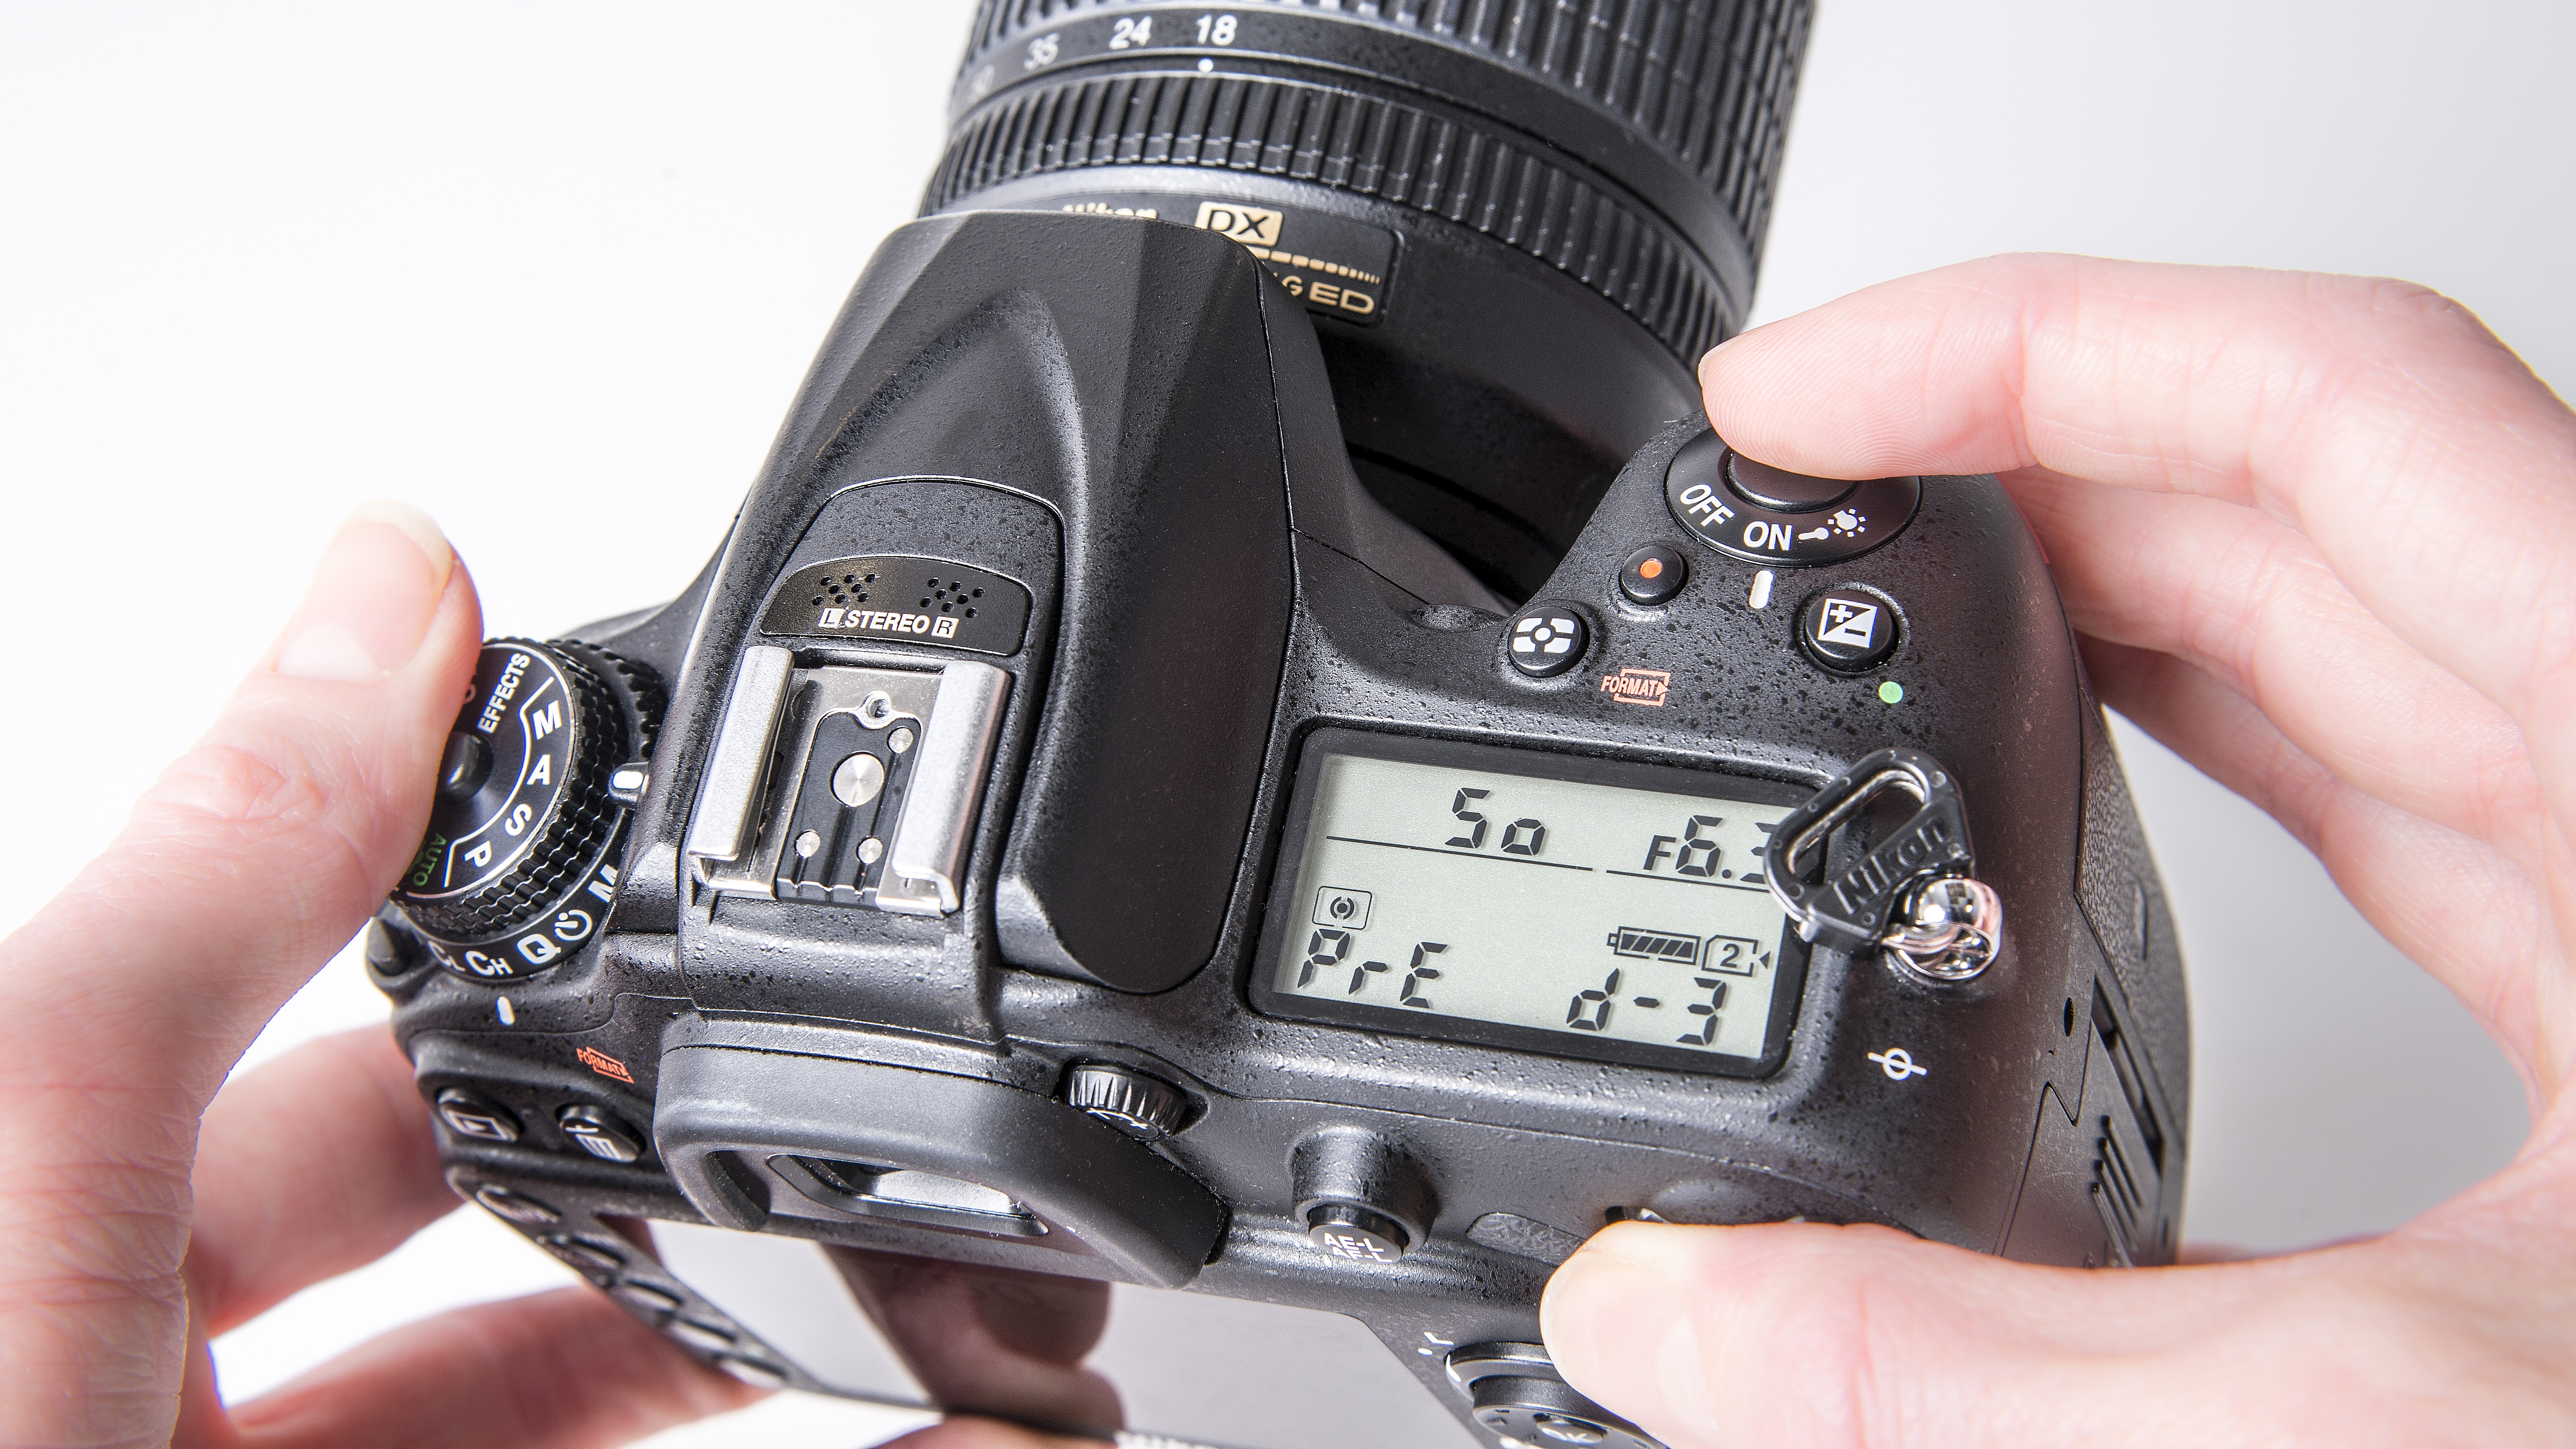
Step 4: Choose custom preset
Once your custom WB has been defined and saved, use the command dial to select that preset name from the WB options. Be sure you choose the preset you just made, to guarantee colour accuracy.
Step 5: Shoot a test image
With the new preset chosen, take a test shot to see if you are happy with the colour balance suggested. If there is an obvious bias, try reshooting the target, ensuring it fills the frame and is evenly lit.
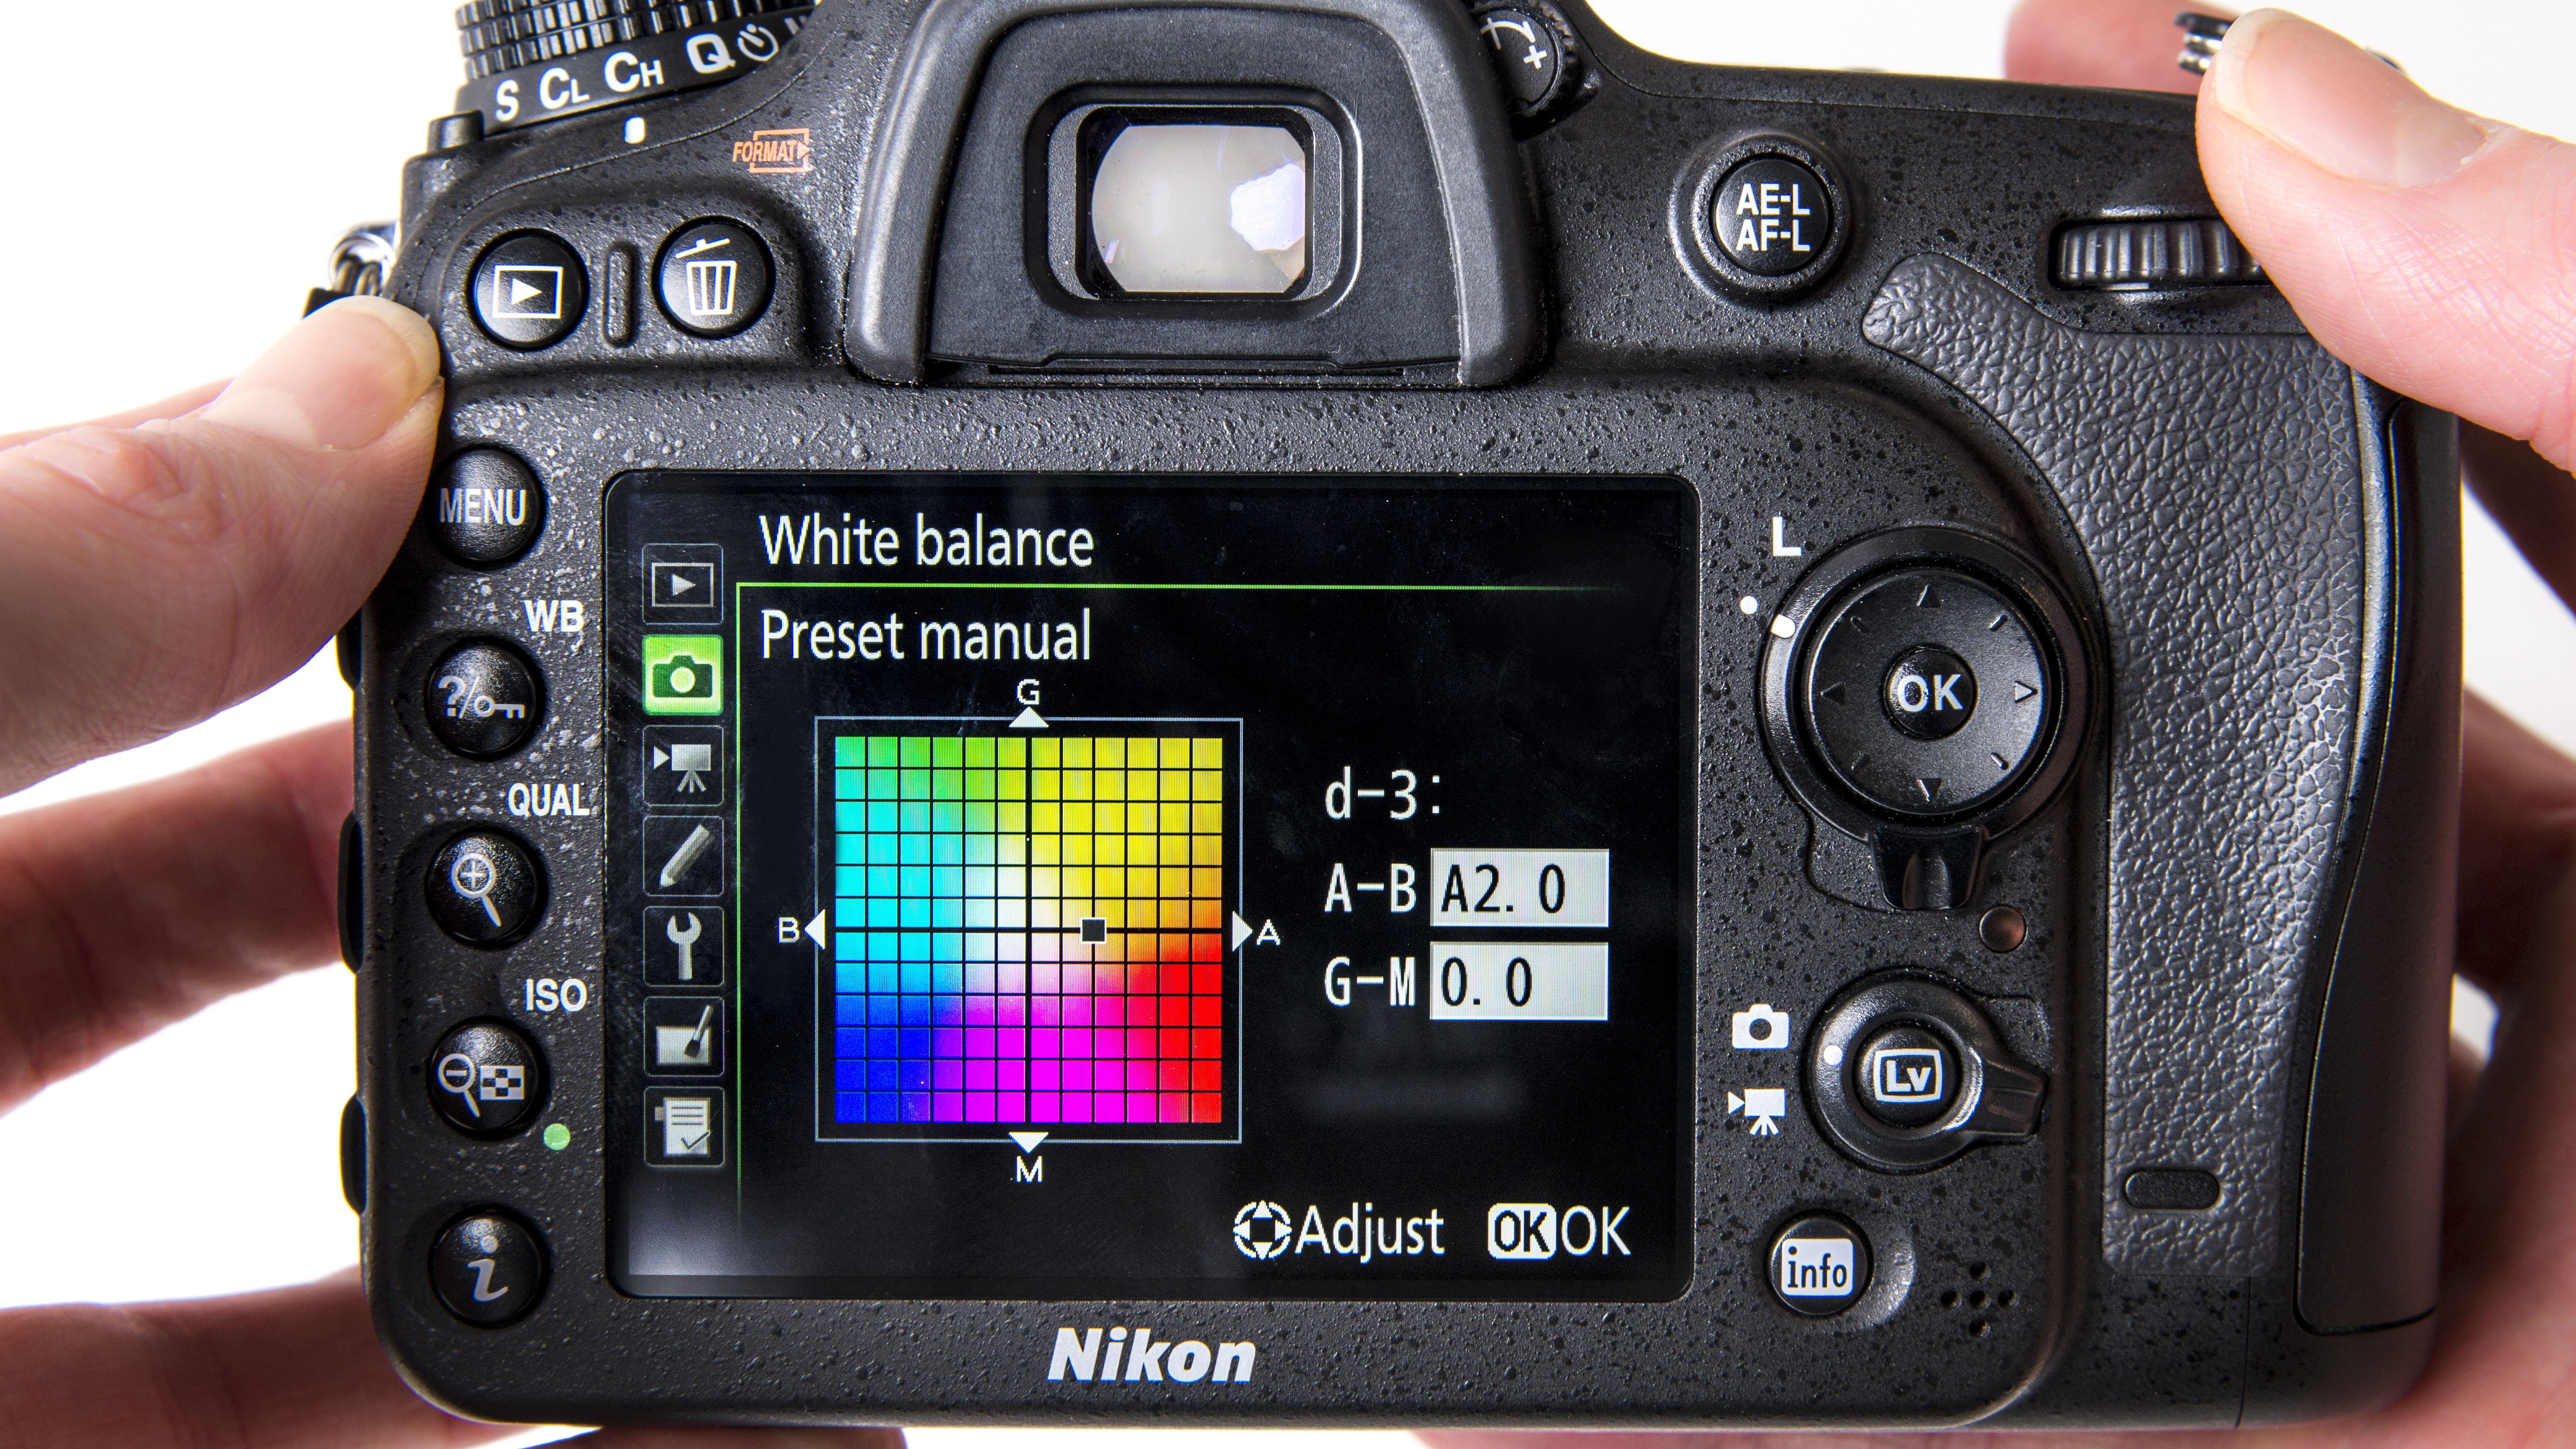
Step 6: Fine-tune tint
For small colour shifts, to improve the overall result, further customise colour balance using the fine tune screen, if your camera model has this functionality. Make small tweaks and shoot another test.
Read more:
147 photography techniques, tips and tricks for taking pictures of anything
As the Editor for Digital Photographer magazine, Peter is a specialist in camera tutorials and creative projects to help you get the most out of your camera, lens, tripod, filters, gimbal, lighting and other imaging equipment.
After cutting his teeth working in retail for camera specialists like Jessops, he has spent 11 years as a photography journalist and freelance writer – and he is a Getty Images-registered photographer, to boot.
No matter what you want to shoot, Peter can help you sharpen your skills and elevate your ability, whether it’s taking portraits, capturing landscapes, shooting architecture, creating macro and still life, photographing action… he can help you learn and improve.
