Watch video: Fantastic florals
With flowers in full bloom it’s the perfect time for you to learn to use your camera kit to take some brilliant floral photos at home with our simple setups and tips.
In this project I’m going to show you my four top tips that you can use to get artistic floral shots that are fit for printing and hanging on your walls at home. All you need is some basic kit, a few props and items you probably already have around the house.
• Check out these fantastic flower photography tips
A proper macro lens will certainly help you focus closer to those tiny details on plants and flowers, which will make it easier to achieve frame-filling images. This means you won’t have to crop into images, which will reduce image quality, and restrict how large you can print them.
That being said, a kit lens like the Canon EF-S 18-55mm f/4-5.6 IS STM has a respectable minimum focus distance of 25cm, so you don’t have to splash out on an expensive dedicated macro lens to still get great results.
We shot indoors near a large window on an overcast day, which gave us a very soft and gentle light, much like a flash with a large softbox attached. Setting up on a tripod and then positioning your flower in a glass in front of some colored paper is a very easy way to lock everything off, so you can take control of focus, composition and exposure.
01 Get set up
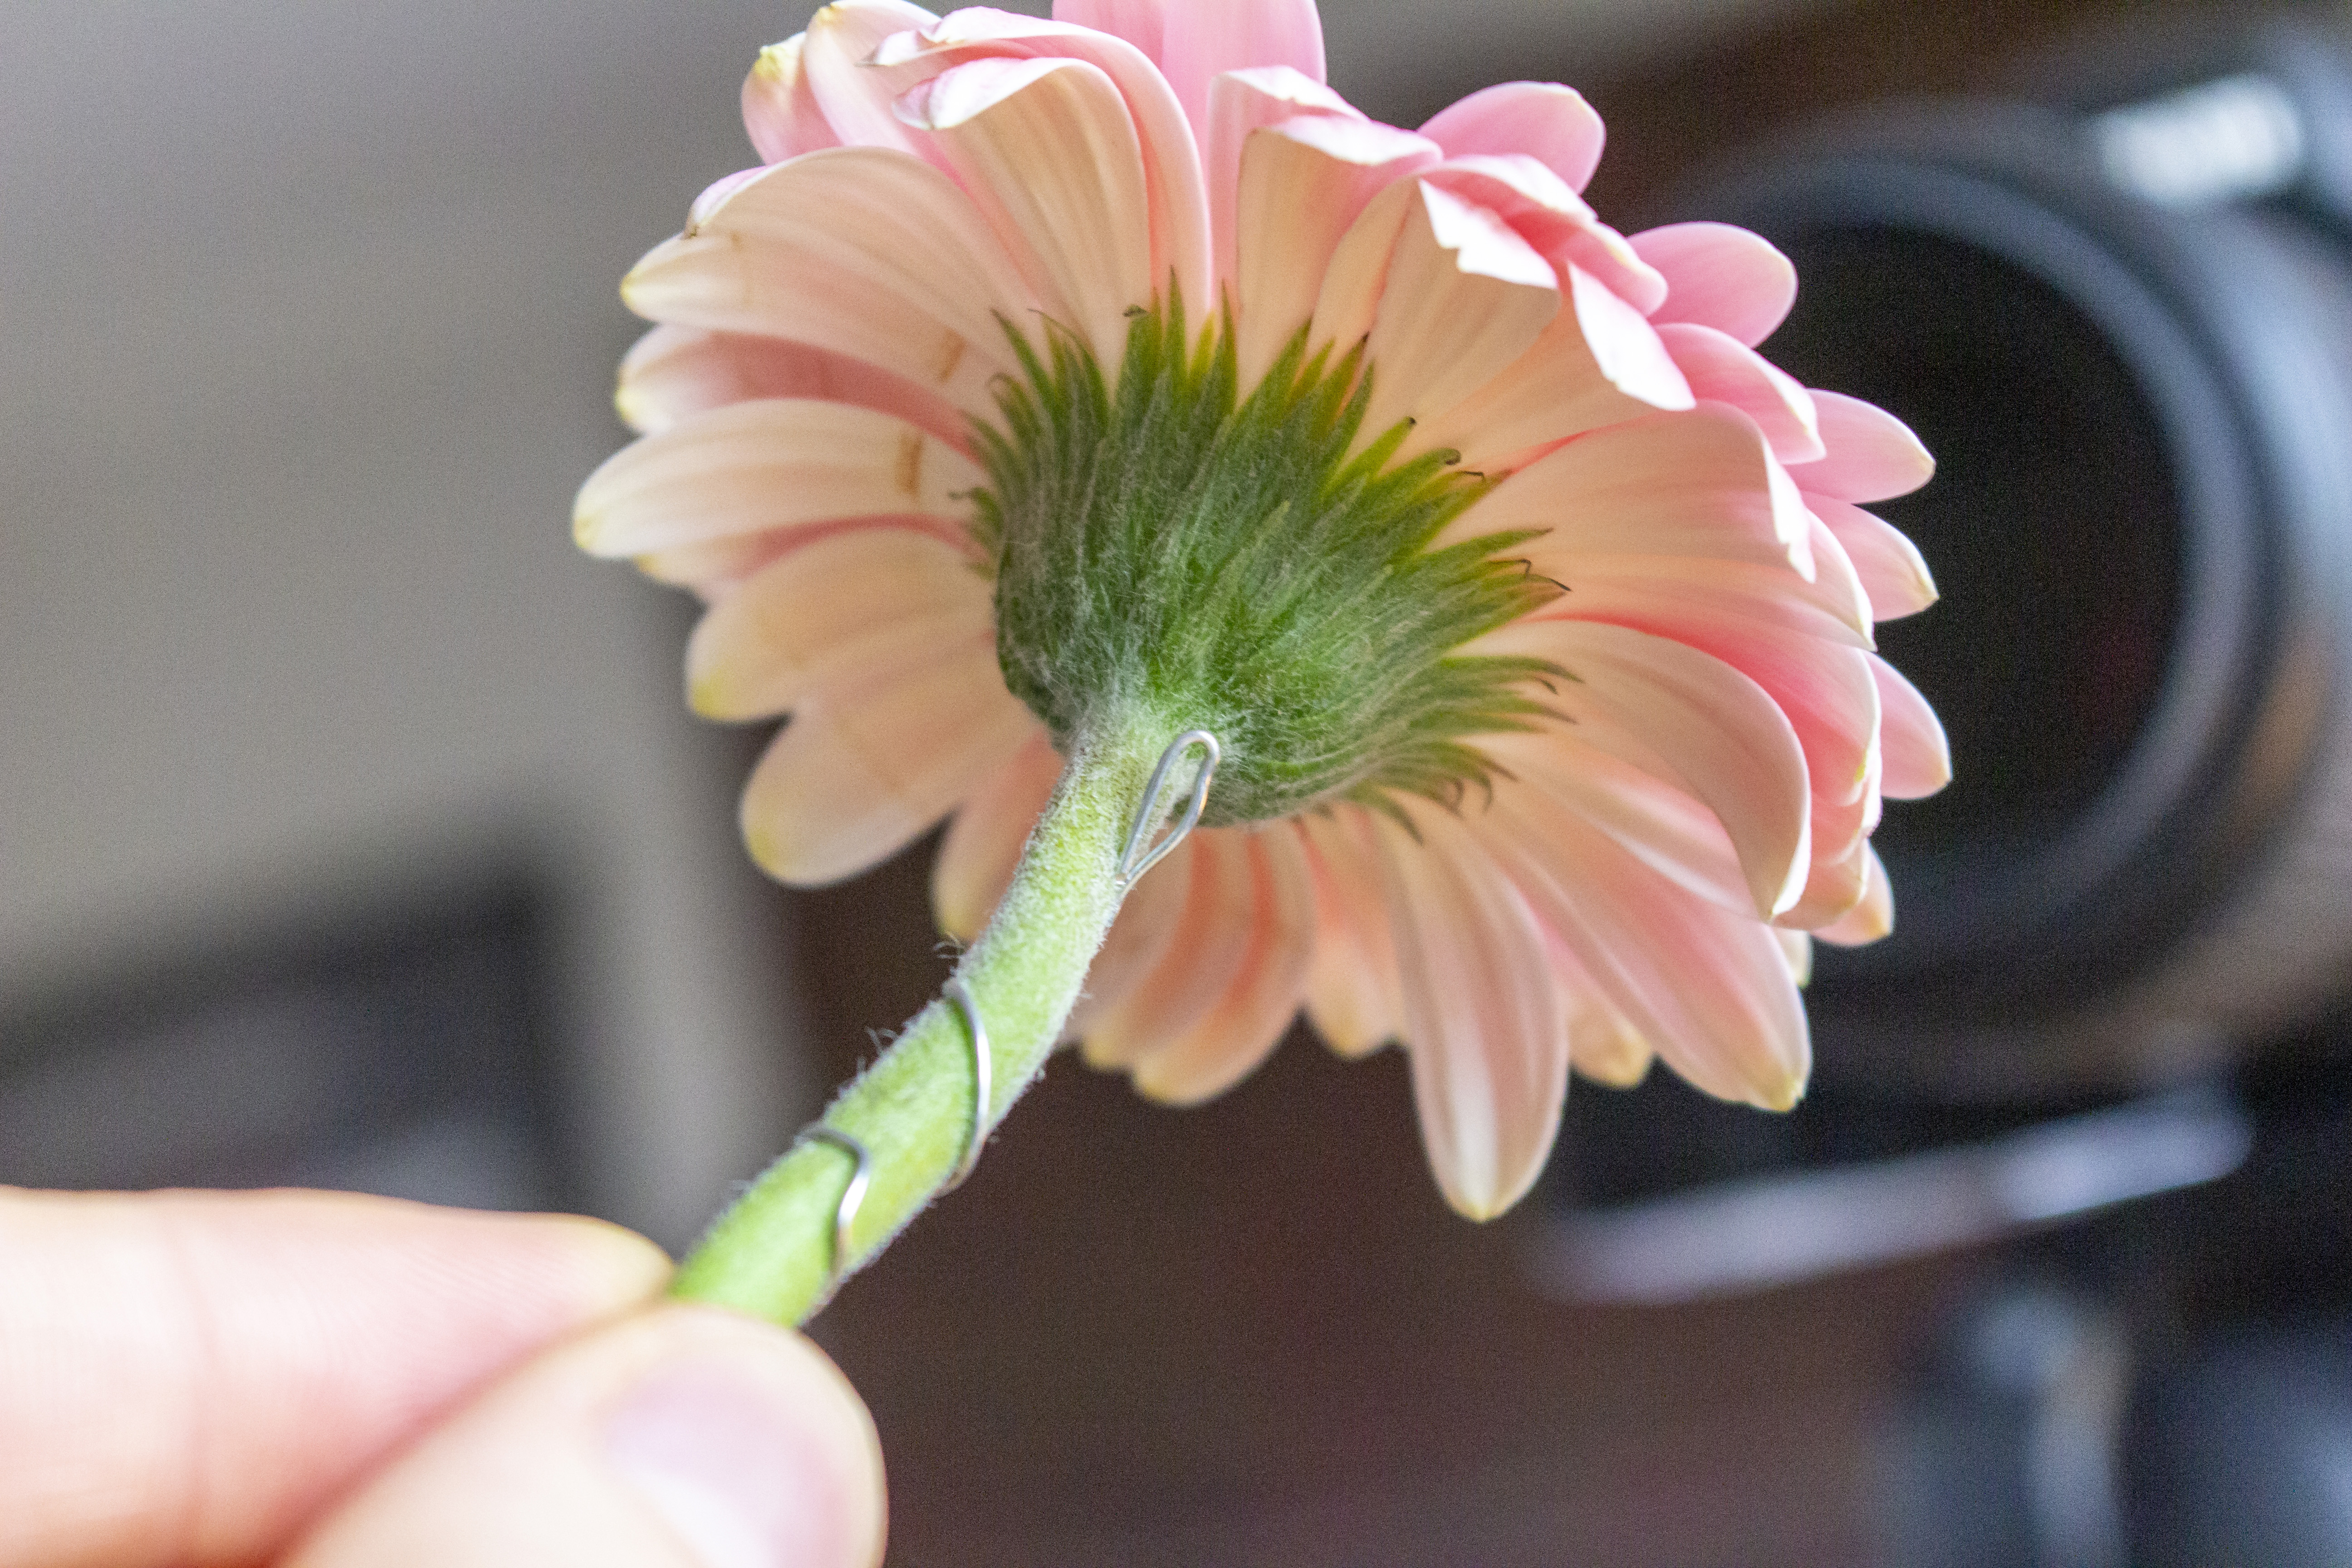
To begin, place a single flower in a vase or tall pint glass next to a large window for natural lighting. You can then add something (we used a lemon!) to give the flower a bit of stability and stop it moving around. To further add rigidity you can wrap a spiral of thin wire around the flower stem going all the way up towards the flower head and this will help you position it exactly where you need it – a plamp is also useful for this.
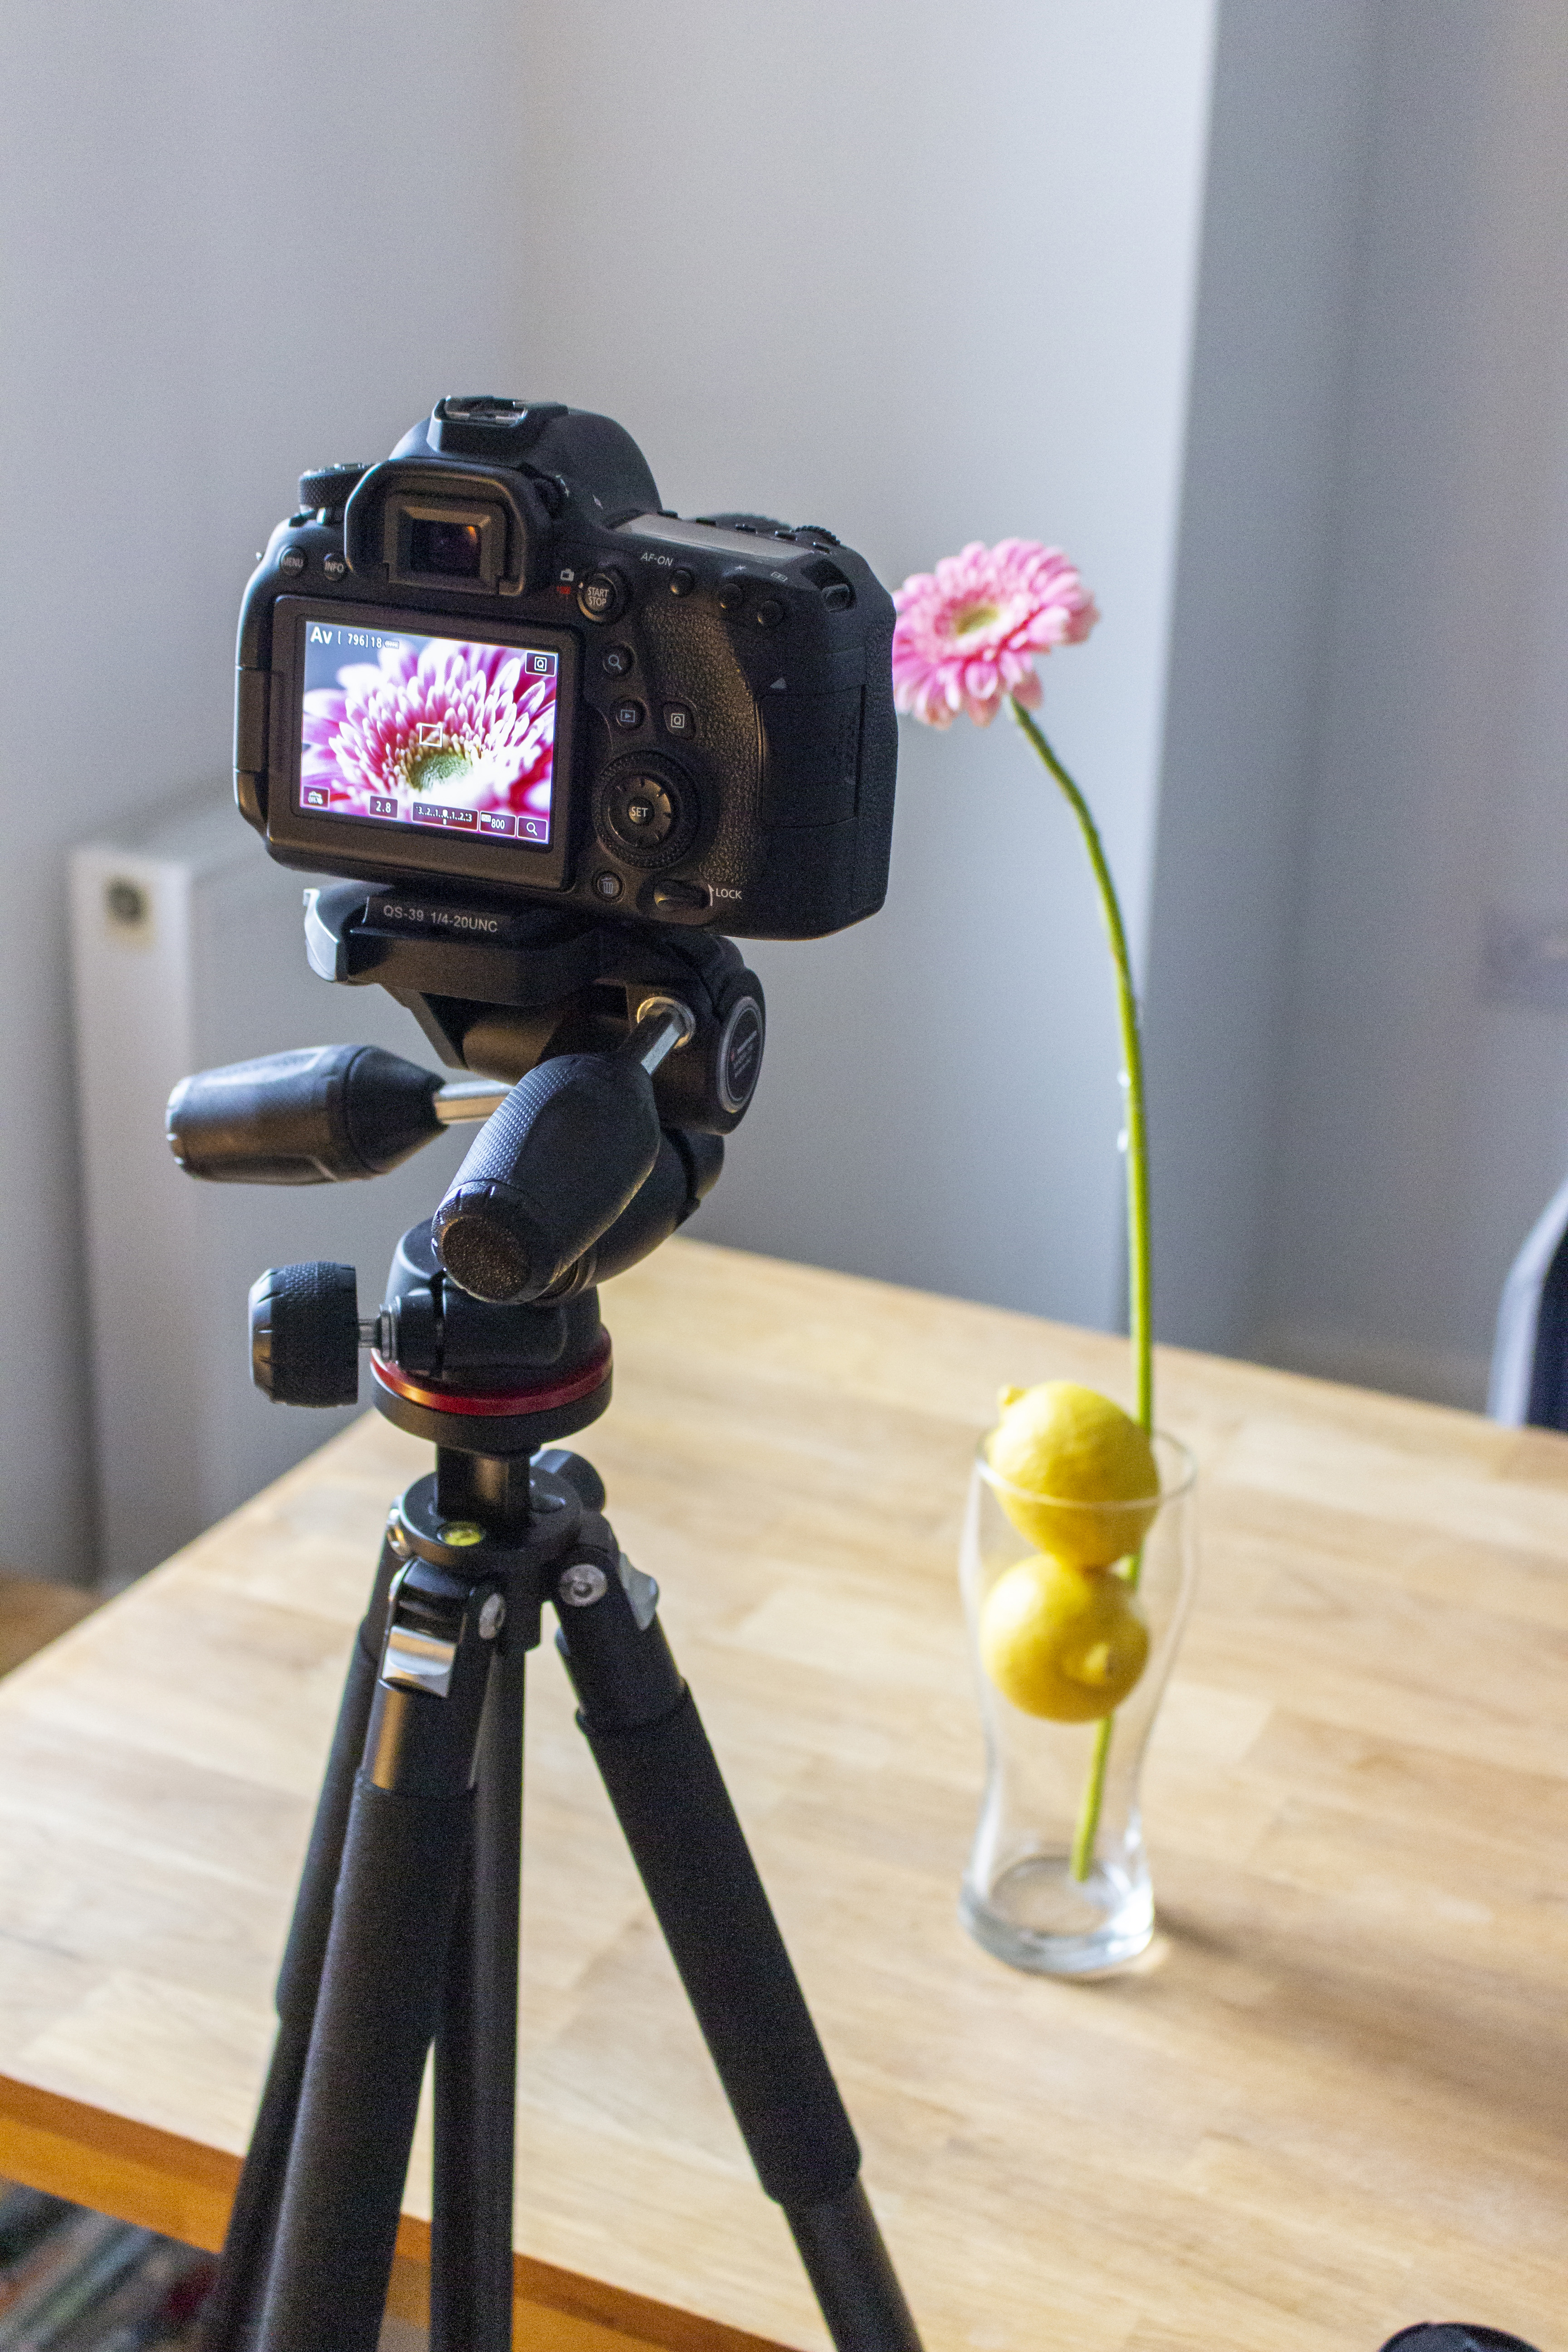
Now set up your camera on a tripod and compose to get the framing you want. You can also move and rotate the flower around to fine-tune the lighting. Zoom in using Live View to adjust your focus is pin-sharp on the part of the flower you want to be in sharp.
• Best tripods for photography
02 Dial in the settings
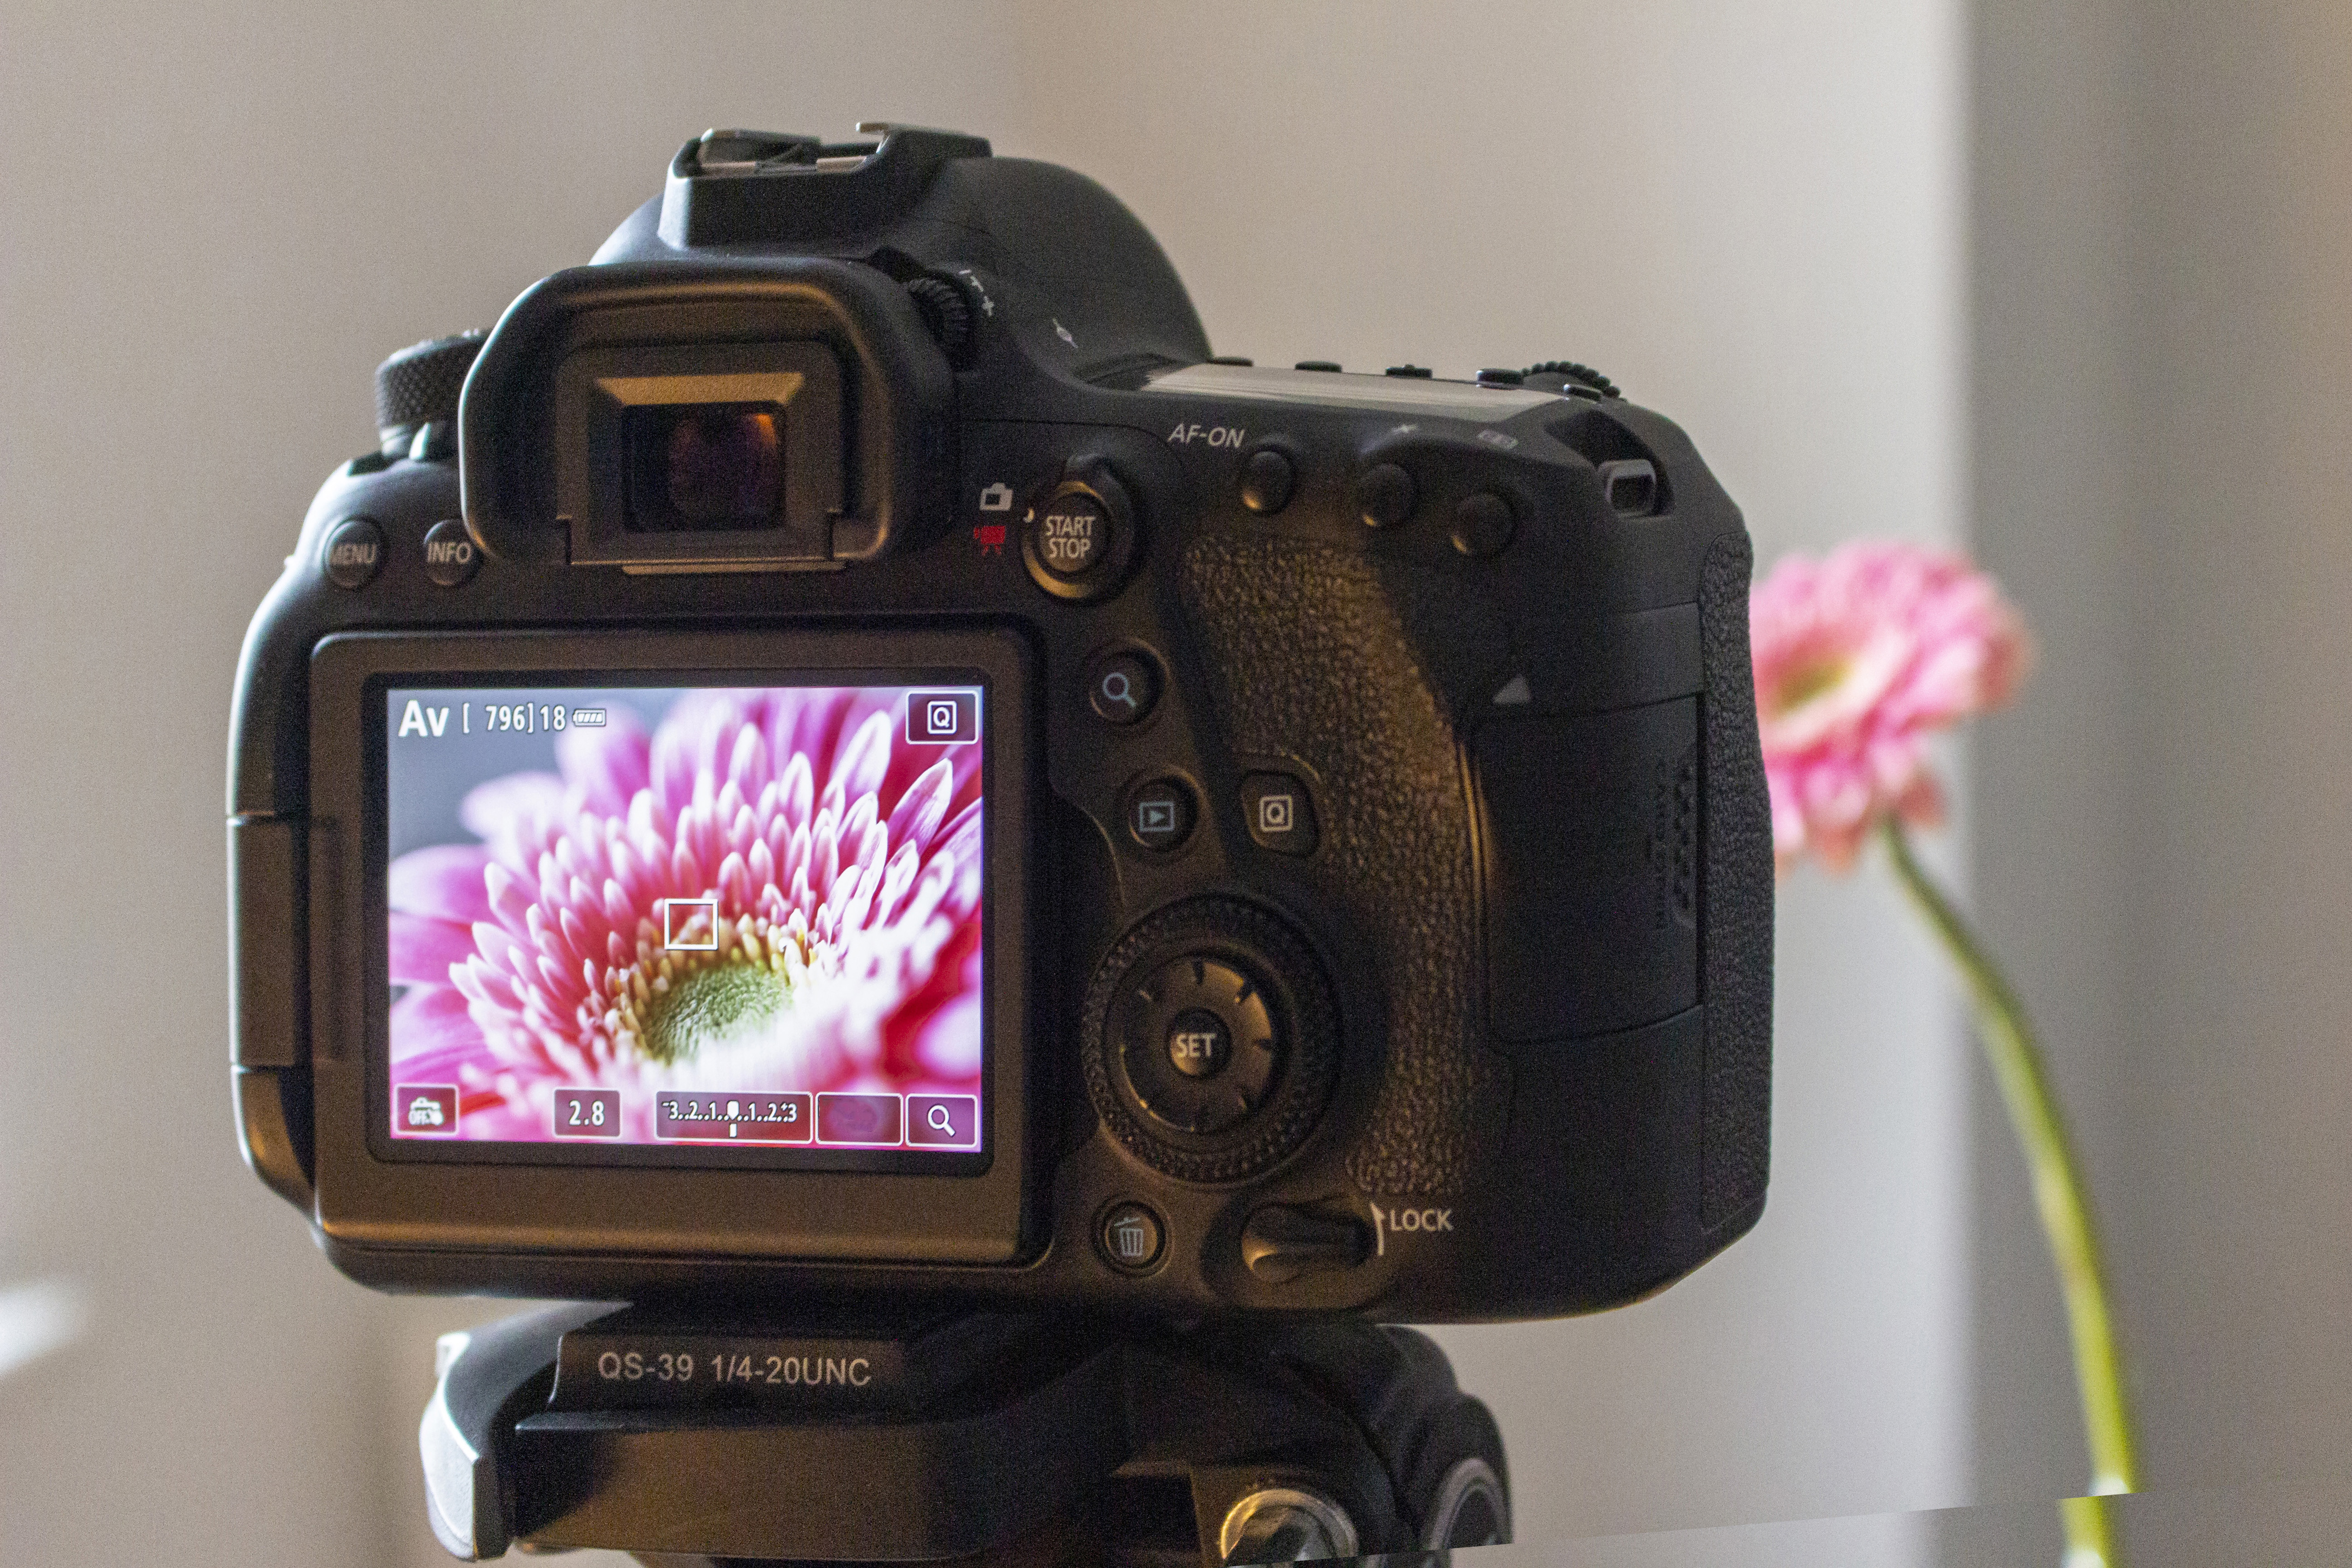
Next up, you will want to go into aperture priority mode and set the ISO to 100 (or as low as your camera will go) for best image quality possible, enable Raw image quality and switch on the self-timer mode, so that you don’t nudge the camera when pressing the shutter button, which can cause traces of camera shake in images.
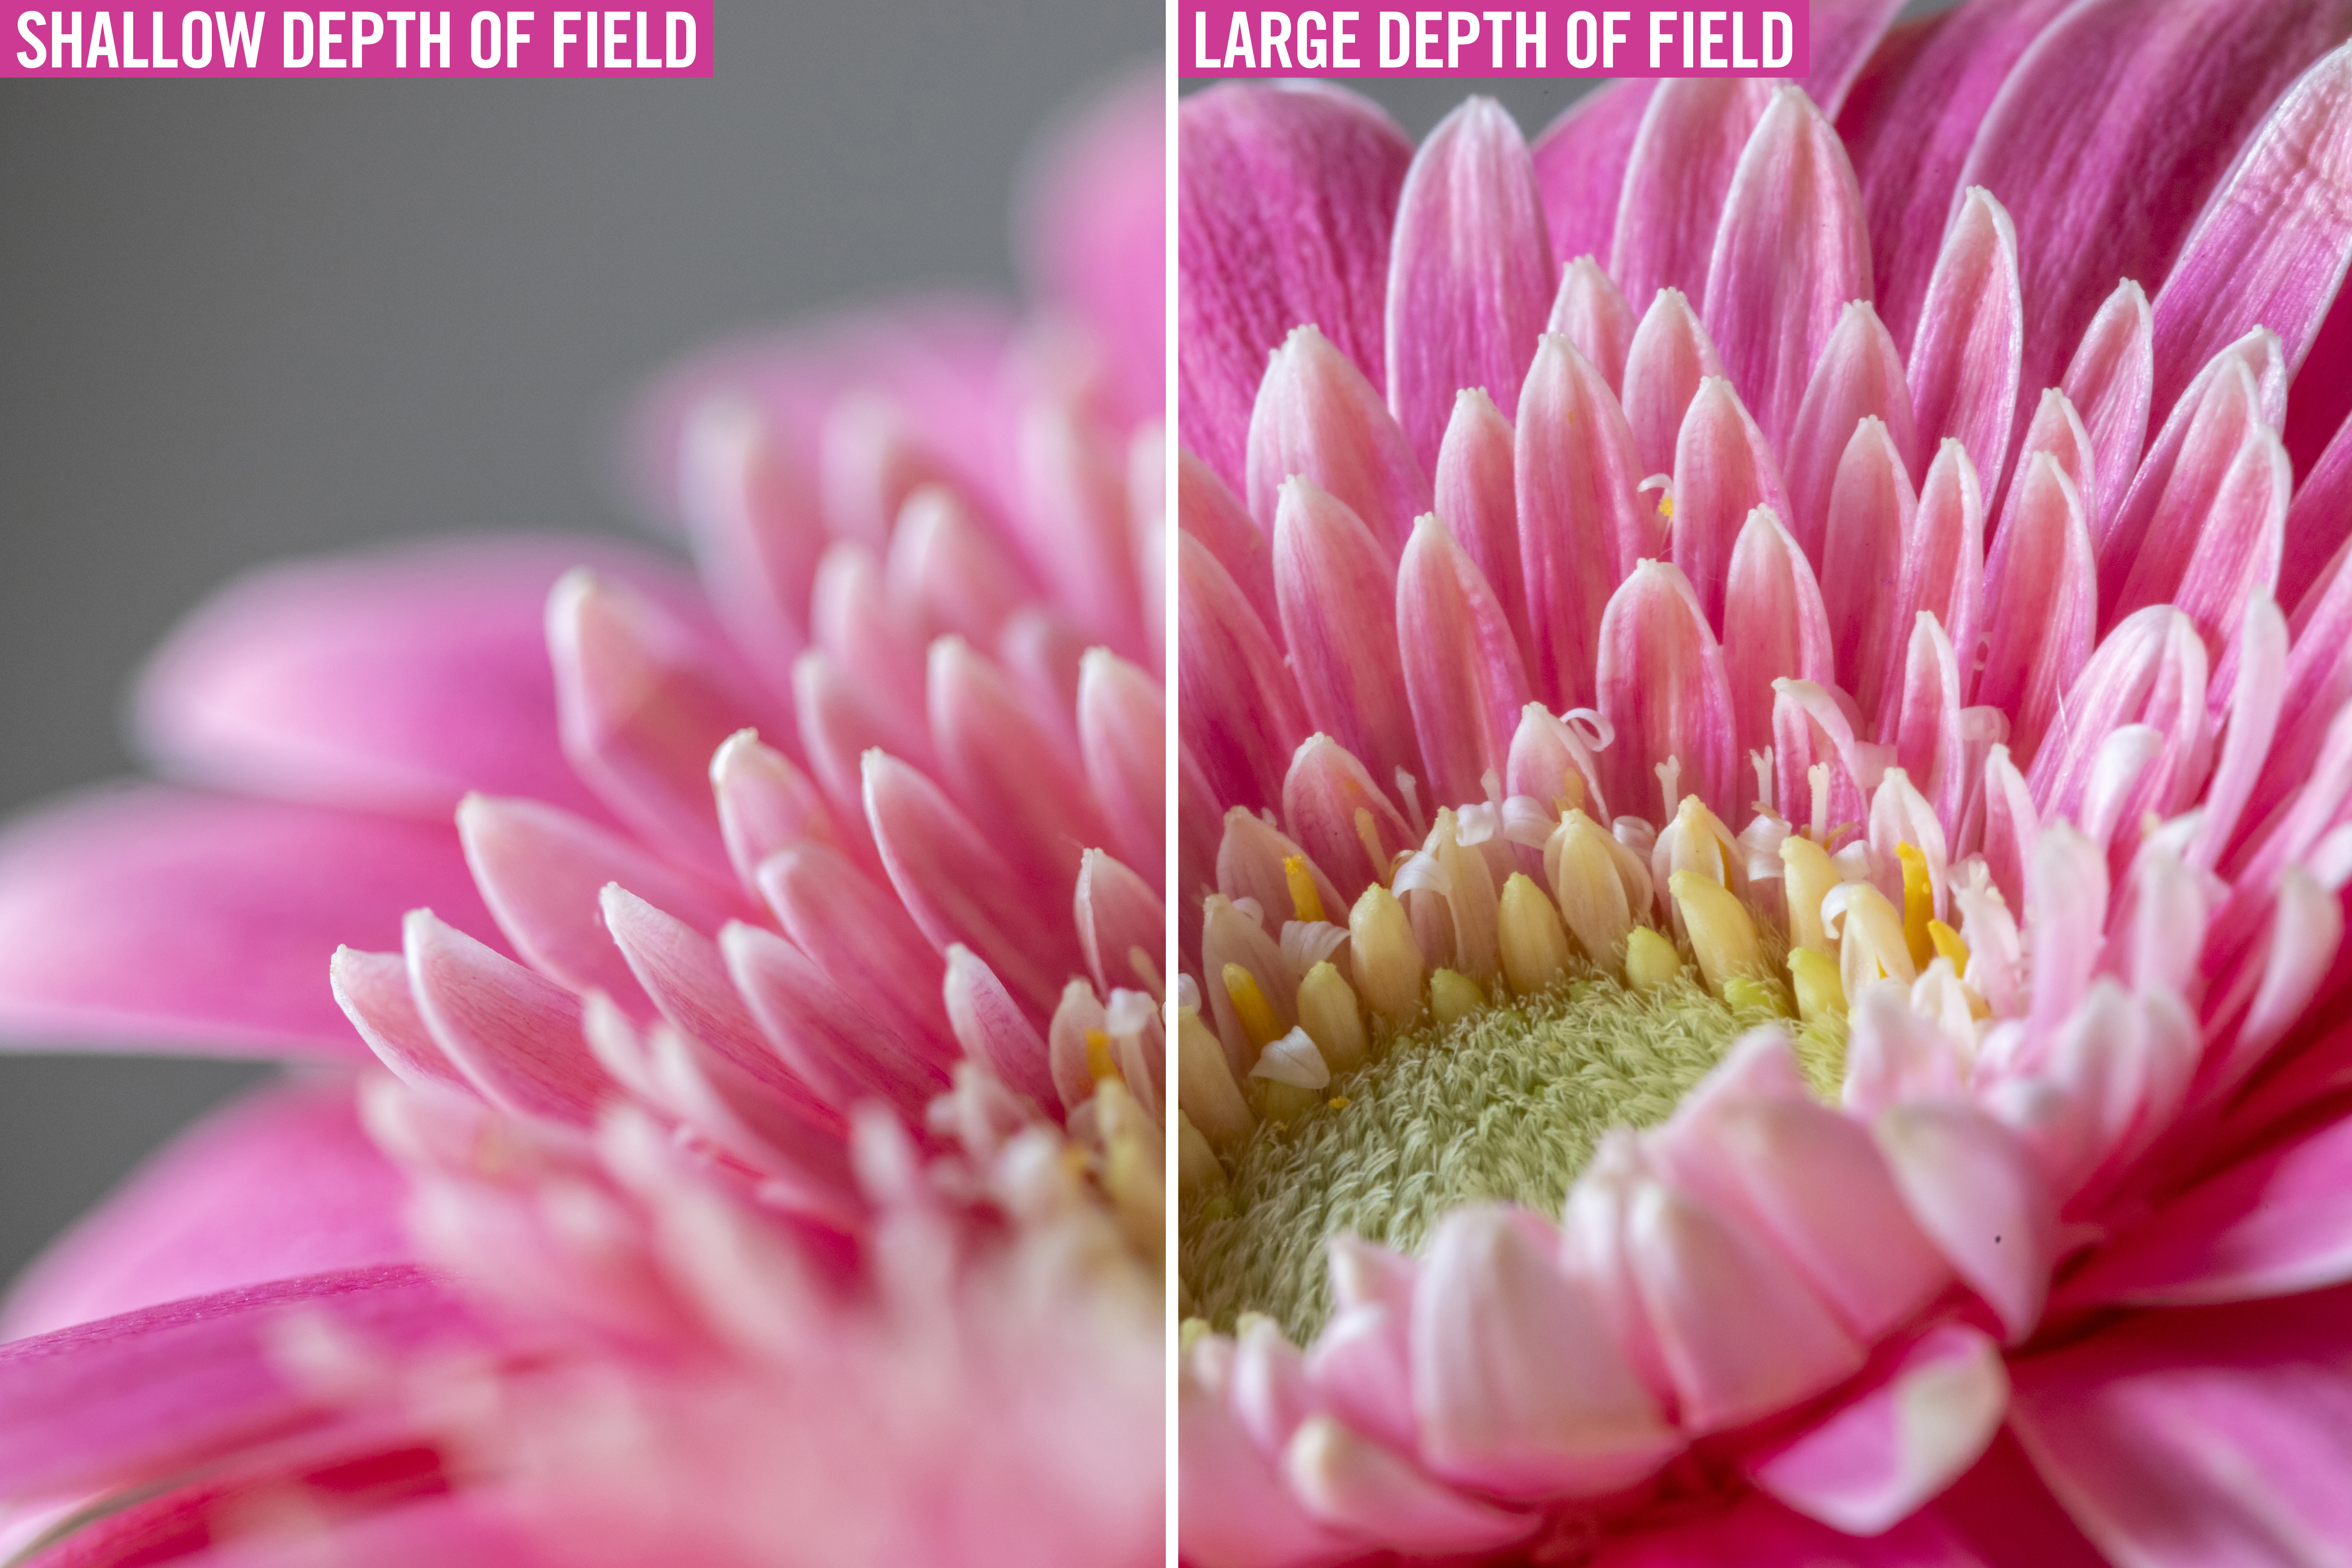
Now dial in the aperture value you want to use: a lower (wide) F-number like f/2.8, or f/1.8, will give you a very shallow depth of field, so only a thin slice of your scene will be sharp; while a high (narrow) F-number value, such as f/16, or f/22, will give you a larger zone of sharp focus – but will let in less light, so in aperture mode your shutter speed will be slower.
Focusing can be unforgiving with wide apertures and shooting flowers close-up, so be sure to double check the petal or stamen that you want to be in focus is absolutely pin-sharp.
03 Add water droplets
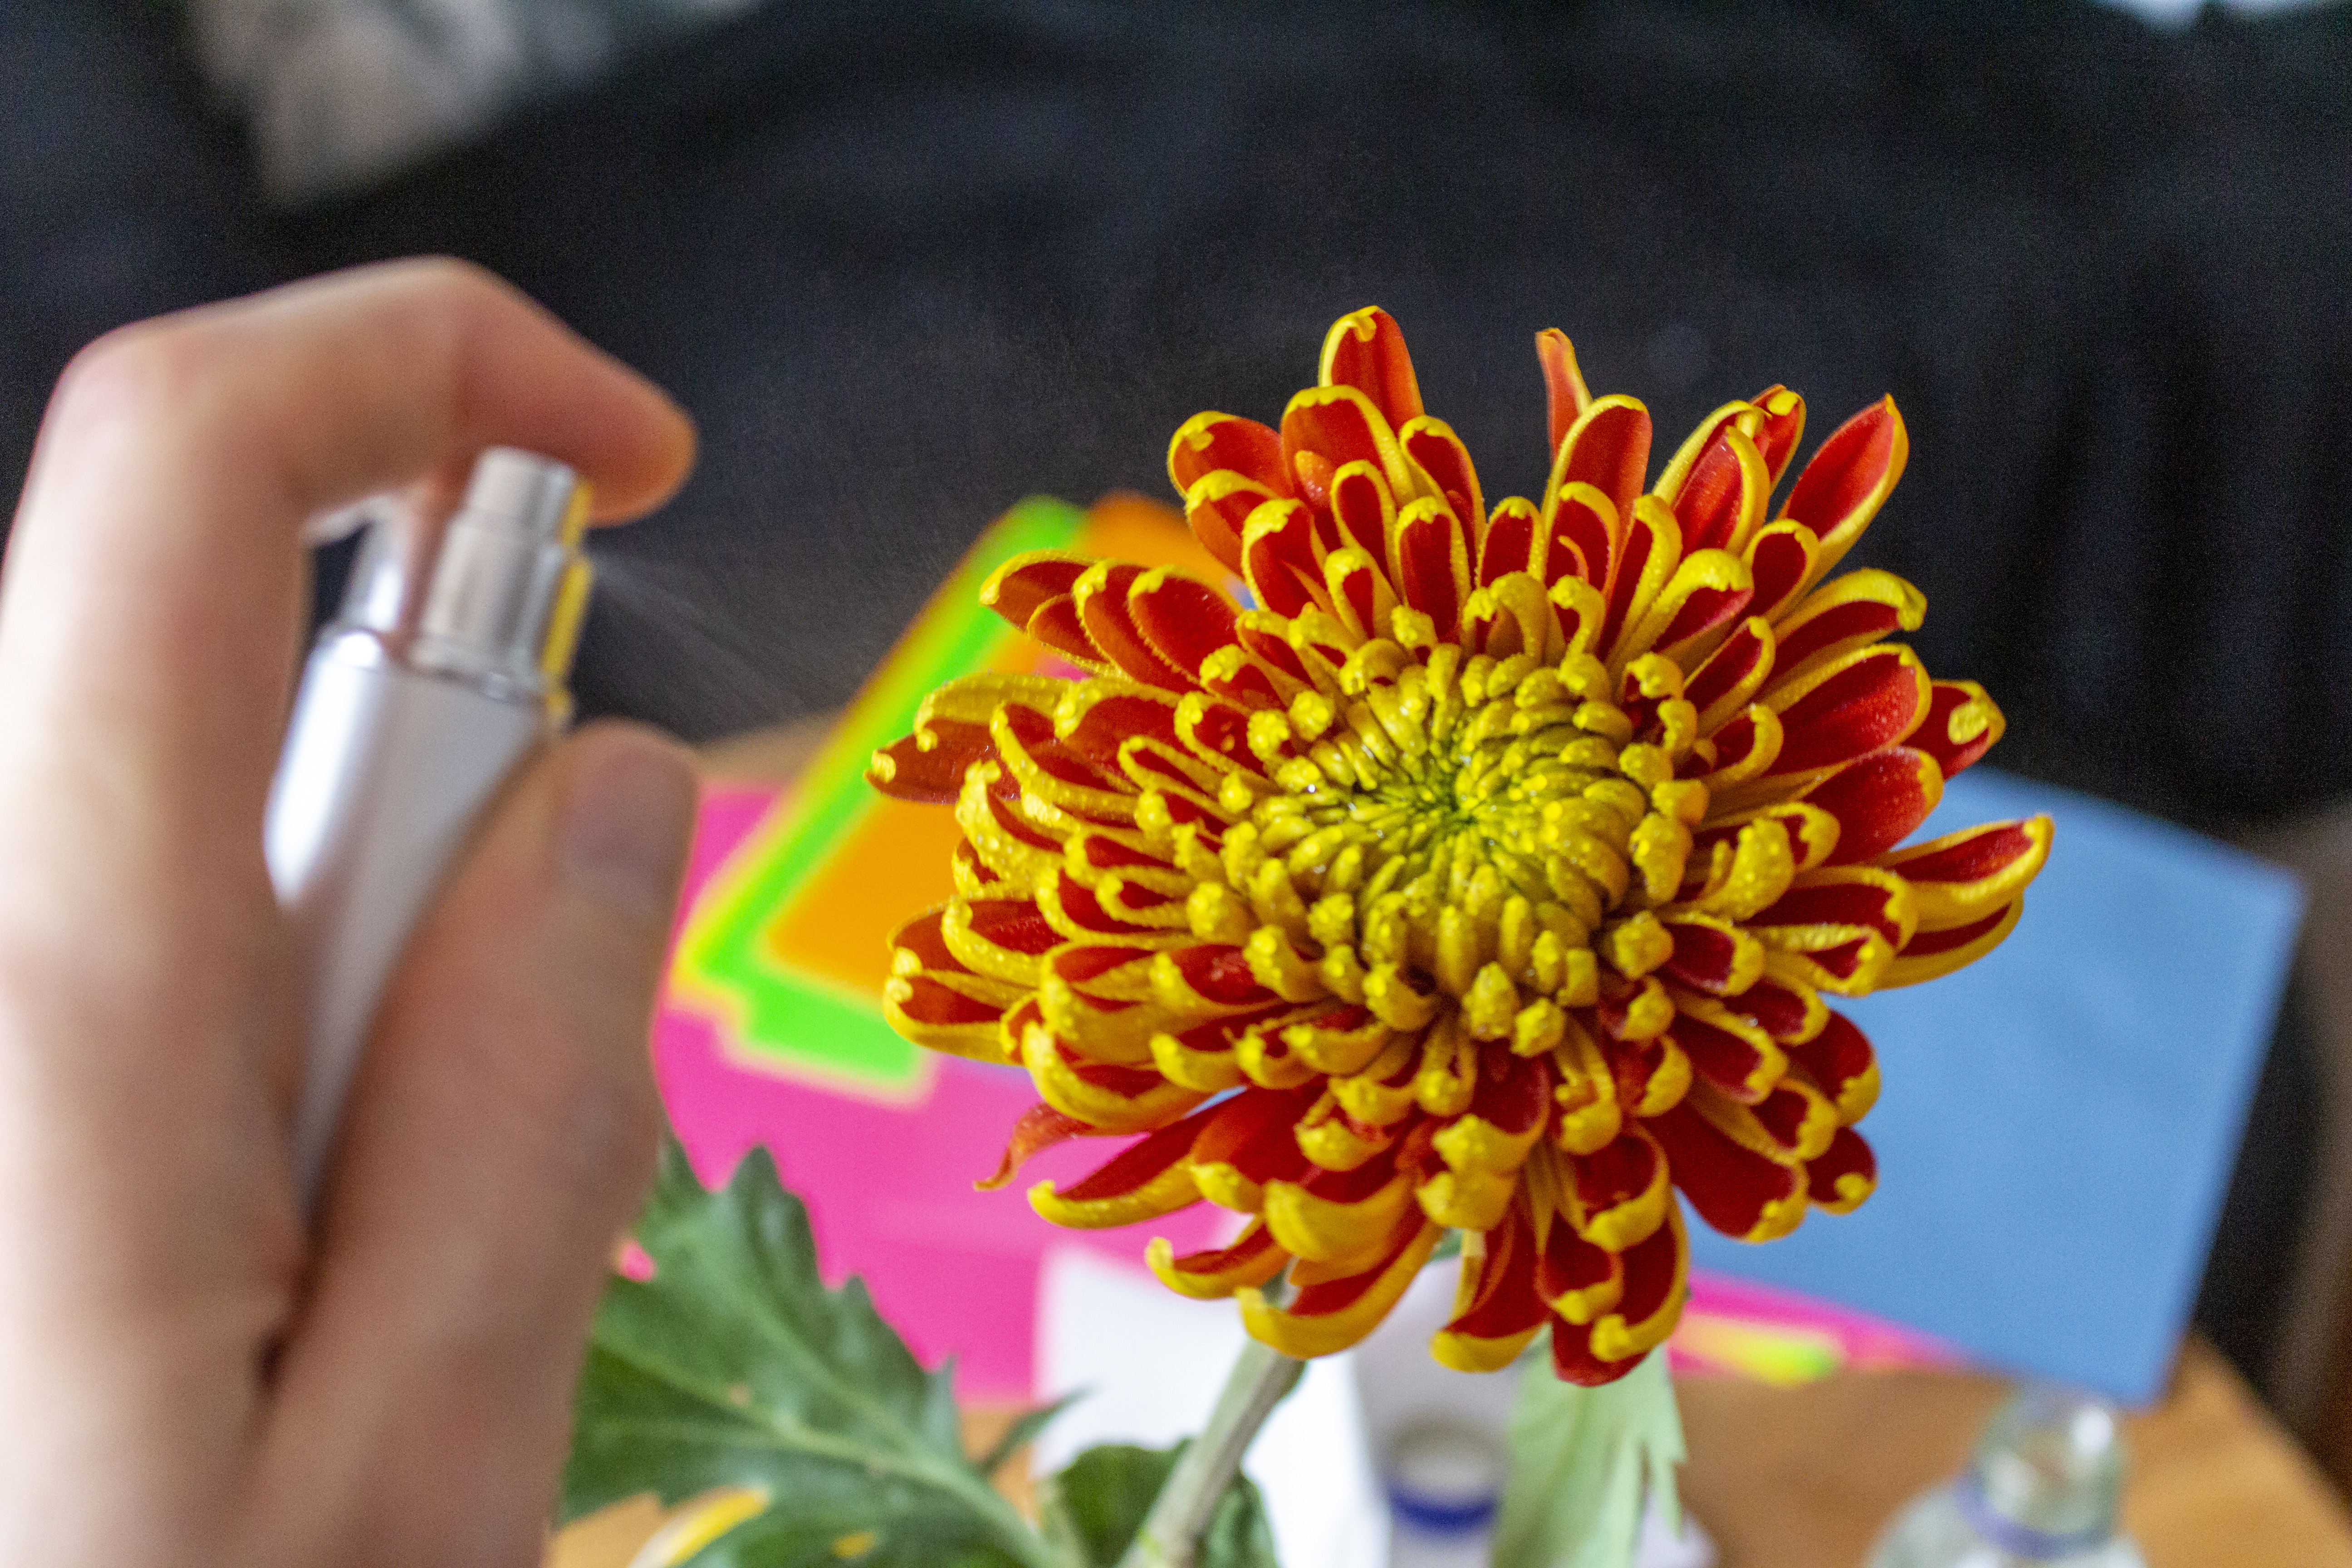
Adding water to your flower pictures is a great way of bringing them to life with an extra shine. You can use a pipette to carefully place a large drop of glycerine into your flower for a big water drop focal point – glycerine doesn’t get absorbed into the flower, so works better than water if you’re after a single large drop on your flower.
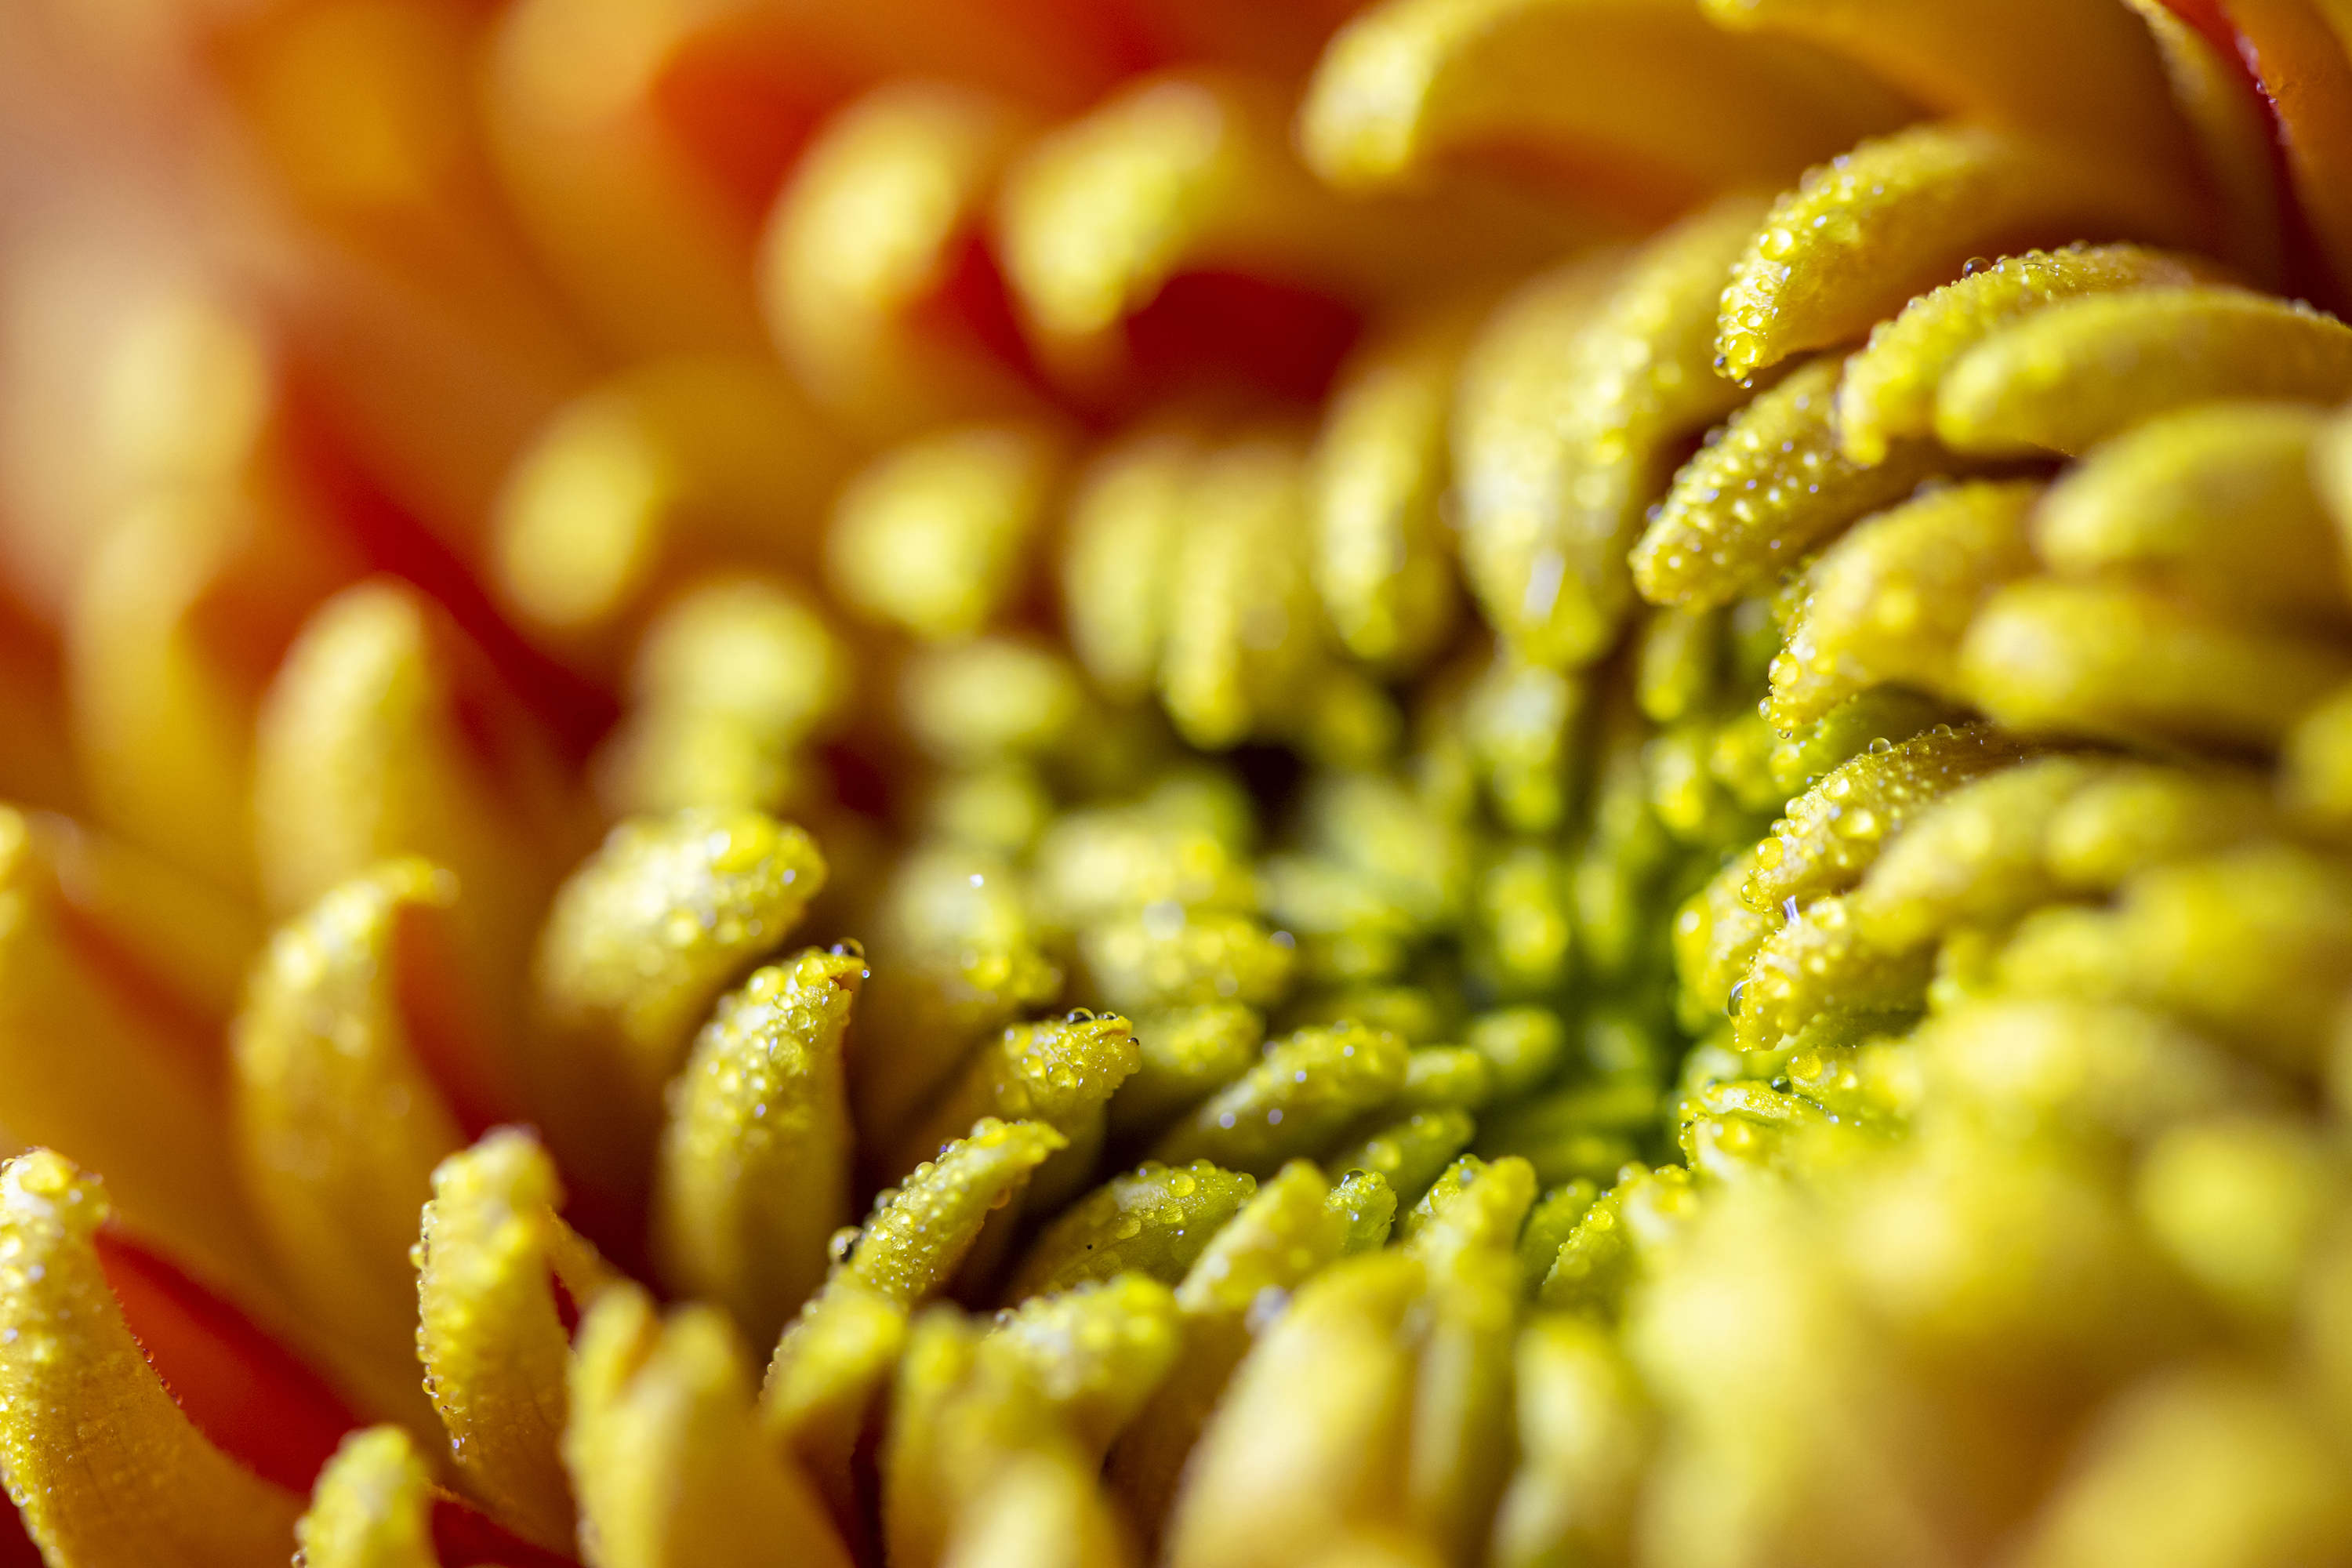
Or you can get an atomizing spray bottle to give your flowers a light misting of water drops, which is very effective at adding shine and reflections that catch the eye. The great thing about this technique is that it’s very budget friendly to add a spray bottle and glycerin to your kit.
04 Achieve better backgrounds
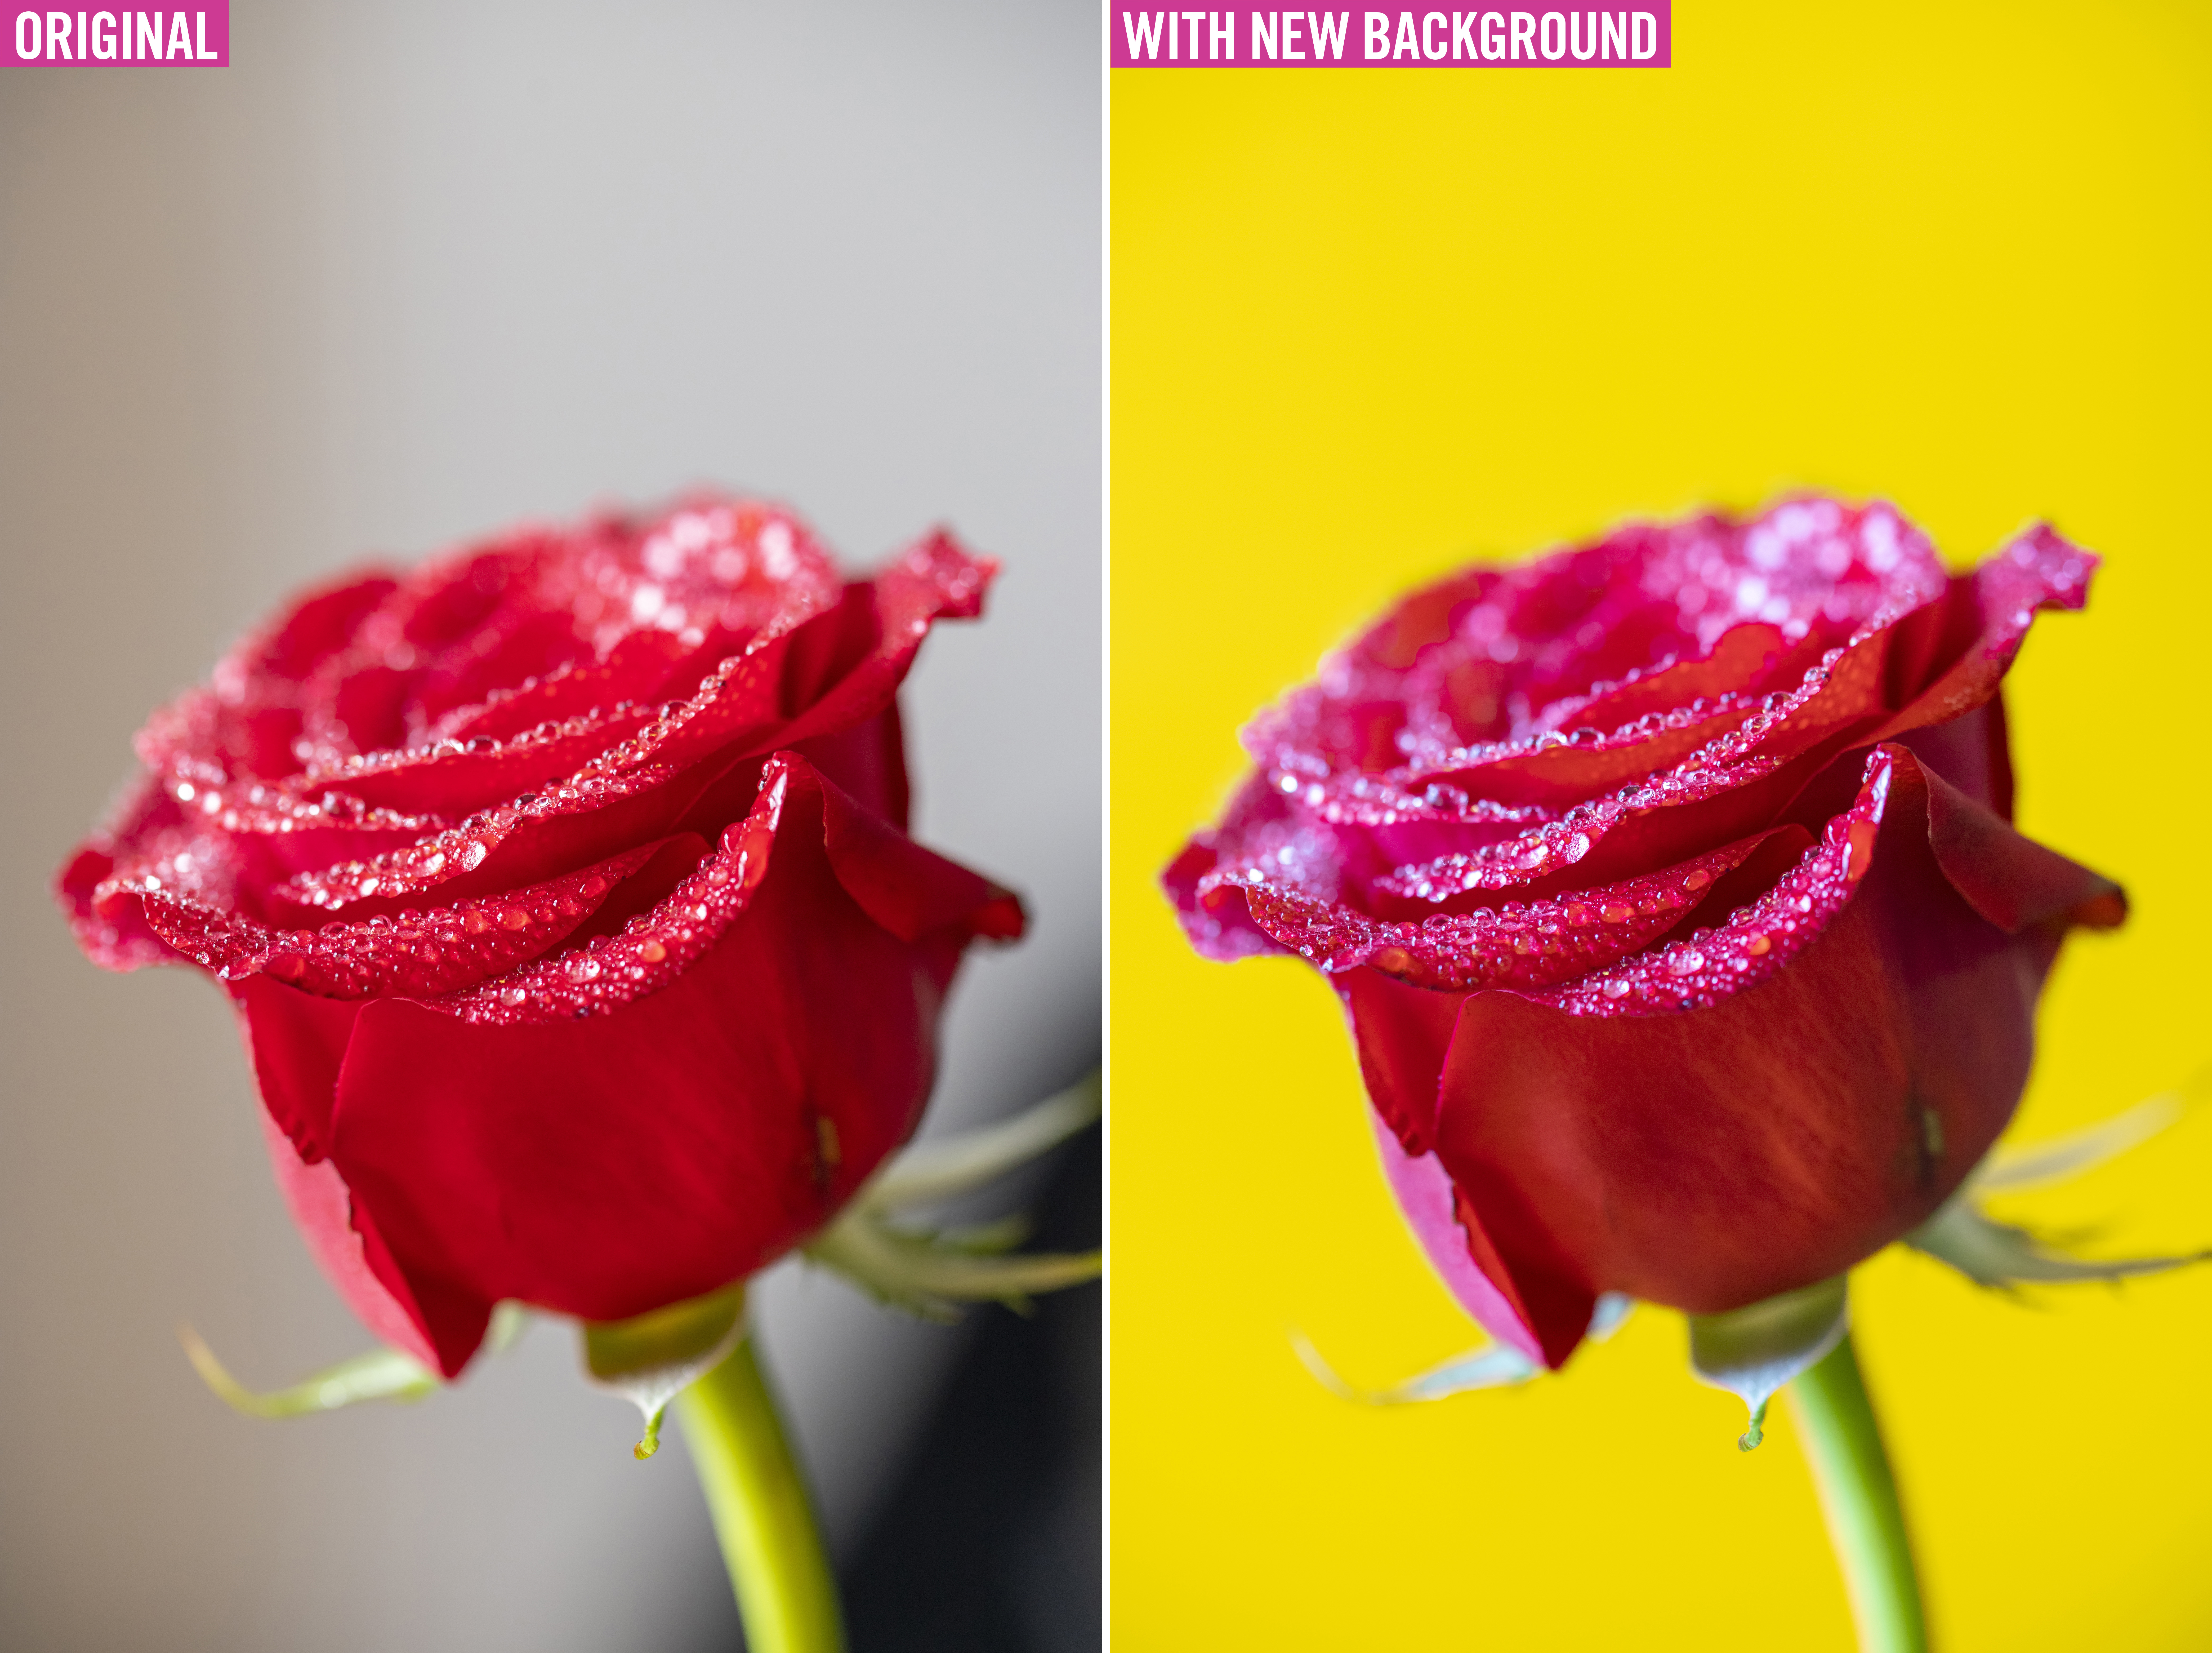
Propping up a colored piece of paper or card behind your flowers is a cheap and effective way of giving your shots a clean and more vibrant background. We propped up a cardboard box on our table and taped a piece of colored card behind our flowers to remove any background distractions. It also meant that the background would be lit by our window light, rather than the wall behind it.
Try to use complementary colors like red and green, or in our case here we used red, orange and yellow, which are all analogous colors and work well together. Have a look at a color wheel to get a clearer idea of what would work well with the flowers that you have. Don’t forget you can tweak the colors a bit afterwards in Adobe Camera Raw or Lightroom.
PhotoPlus: The Canon Magazine is the world's only monthly newsstand title that's 100% devoted to Canon, so you can be sure the magazine is completely relevant to your system. Every issue comes with downloadable video tutorials too.
Read more:
Landscape photography tips
Best cameras for landscape photography
Best lenses for landscape photography
Canon EOS Ra Review
How to shoot landscapes with a telephoto lens
Get the Digital Camera World Newsletter
The best camera deals, reviews, product advice, and unmissable photography news, direct to your inbox!

Deputy Editor on PhotoPlus: The Canon Magazine, Dan also brings his technical wizardry and editing skills to Digital Camera World. He has been writing about all aspects of photography for over 10 years, having previously served as technical writer and technical editor for Practical Photography magazine, as well as Photoshop editor on Digital Photo.
Dan is an Adobe-certified Photoshop guru, making him officially a beast at post-processing – so he’s the perfect person to share tips and tricks both in-camera and in post. Able to shoot all genres, Dan provides news, techniques and tutorials on everything from portraits and landscapes to macro and wildlife, helping photographers get the most out of their cameras, lenses, filters, lighting, tripods, and, of course, editing software.

