Cleaning a camera sensor: tips for removing sensor spots and dust
Cleaning your DSLR's or mirrorless camera’s sensor doesn’t have to be difficult or dangerous
Watch the video: cleaning a camera sensor
Dust and dirt can be a DSLR or mirrorless camera's downfall. The interchangeable lens system makes it impossible to stop foreign particles entering the inner sanctum of the body, and it doesn’t take long for them to stick to the sensor. Most of the time you won’t notice them but, when you’re shooting blue skies or white studio backdrops with a narrow aperture, dark flecks will become all too visible.
Back in the days of film cameras there was no such problem – you quite literally started each exposure with a clean canvas. However, with digital, a spot of dust on the sensor will blight every shot until it’s removed. So one of the most important photography tips is keeping your sensor clean.
Many modern camera models have an integrated dust reduction system. This shakes the sensor every time you turn the system on or off, which helps minimize problems with debris. But the idea isn’t foolproof, and there are lots of older and pro-level cameras that don’t have the feature.
• Read more: Best camera sensor cleaners
It’s only a matter of time until your sensor will need to be cleaned manually. The more you change lenses, the more you zoom and the dustier the places you go, the quicker this moment will arrive.
To clean one of the most delicate parts of your camera, you do need to exercise caution. However, anyone with steady hands can do it with the help of this tutorial.
There are lots of specialist tools and solutions available for cleaning sensors, but camera sensor cleaners they can be split into two camps – wet or dry. You should think of the job as a two-stage process: use a dry system first, then move on to the wet process if necessary.
For both tasks, if you're using a DSLR, you’ll need to use a special setting on the camera so that the delicate shutter and mirror mechanisms stay out of the way. This means that you can reach the sensor and clean to your heart’s content. With a mirrorless camera, there is no mirror to get out of the way – but other than that the process is the same...
01 Dry clean
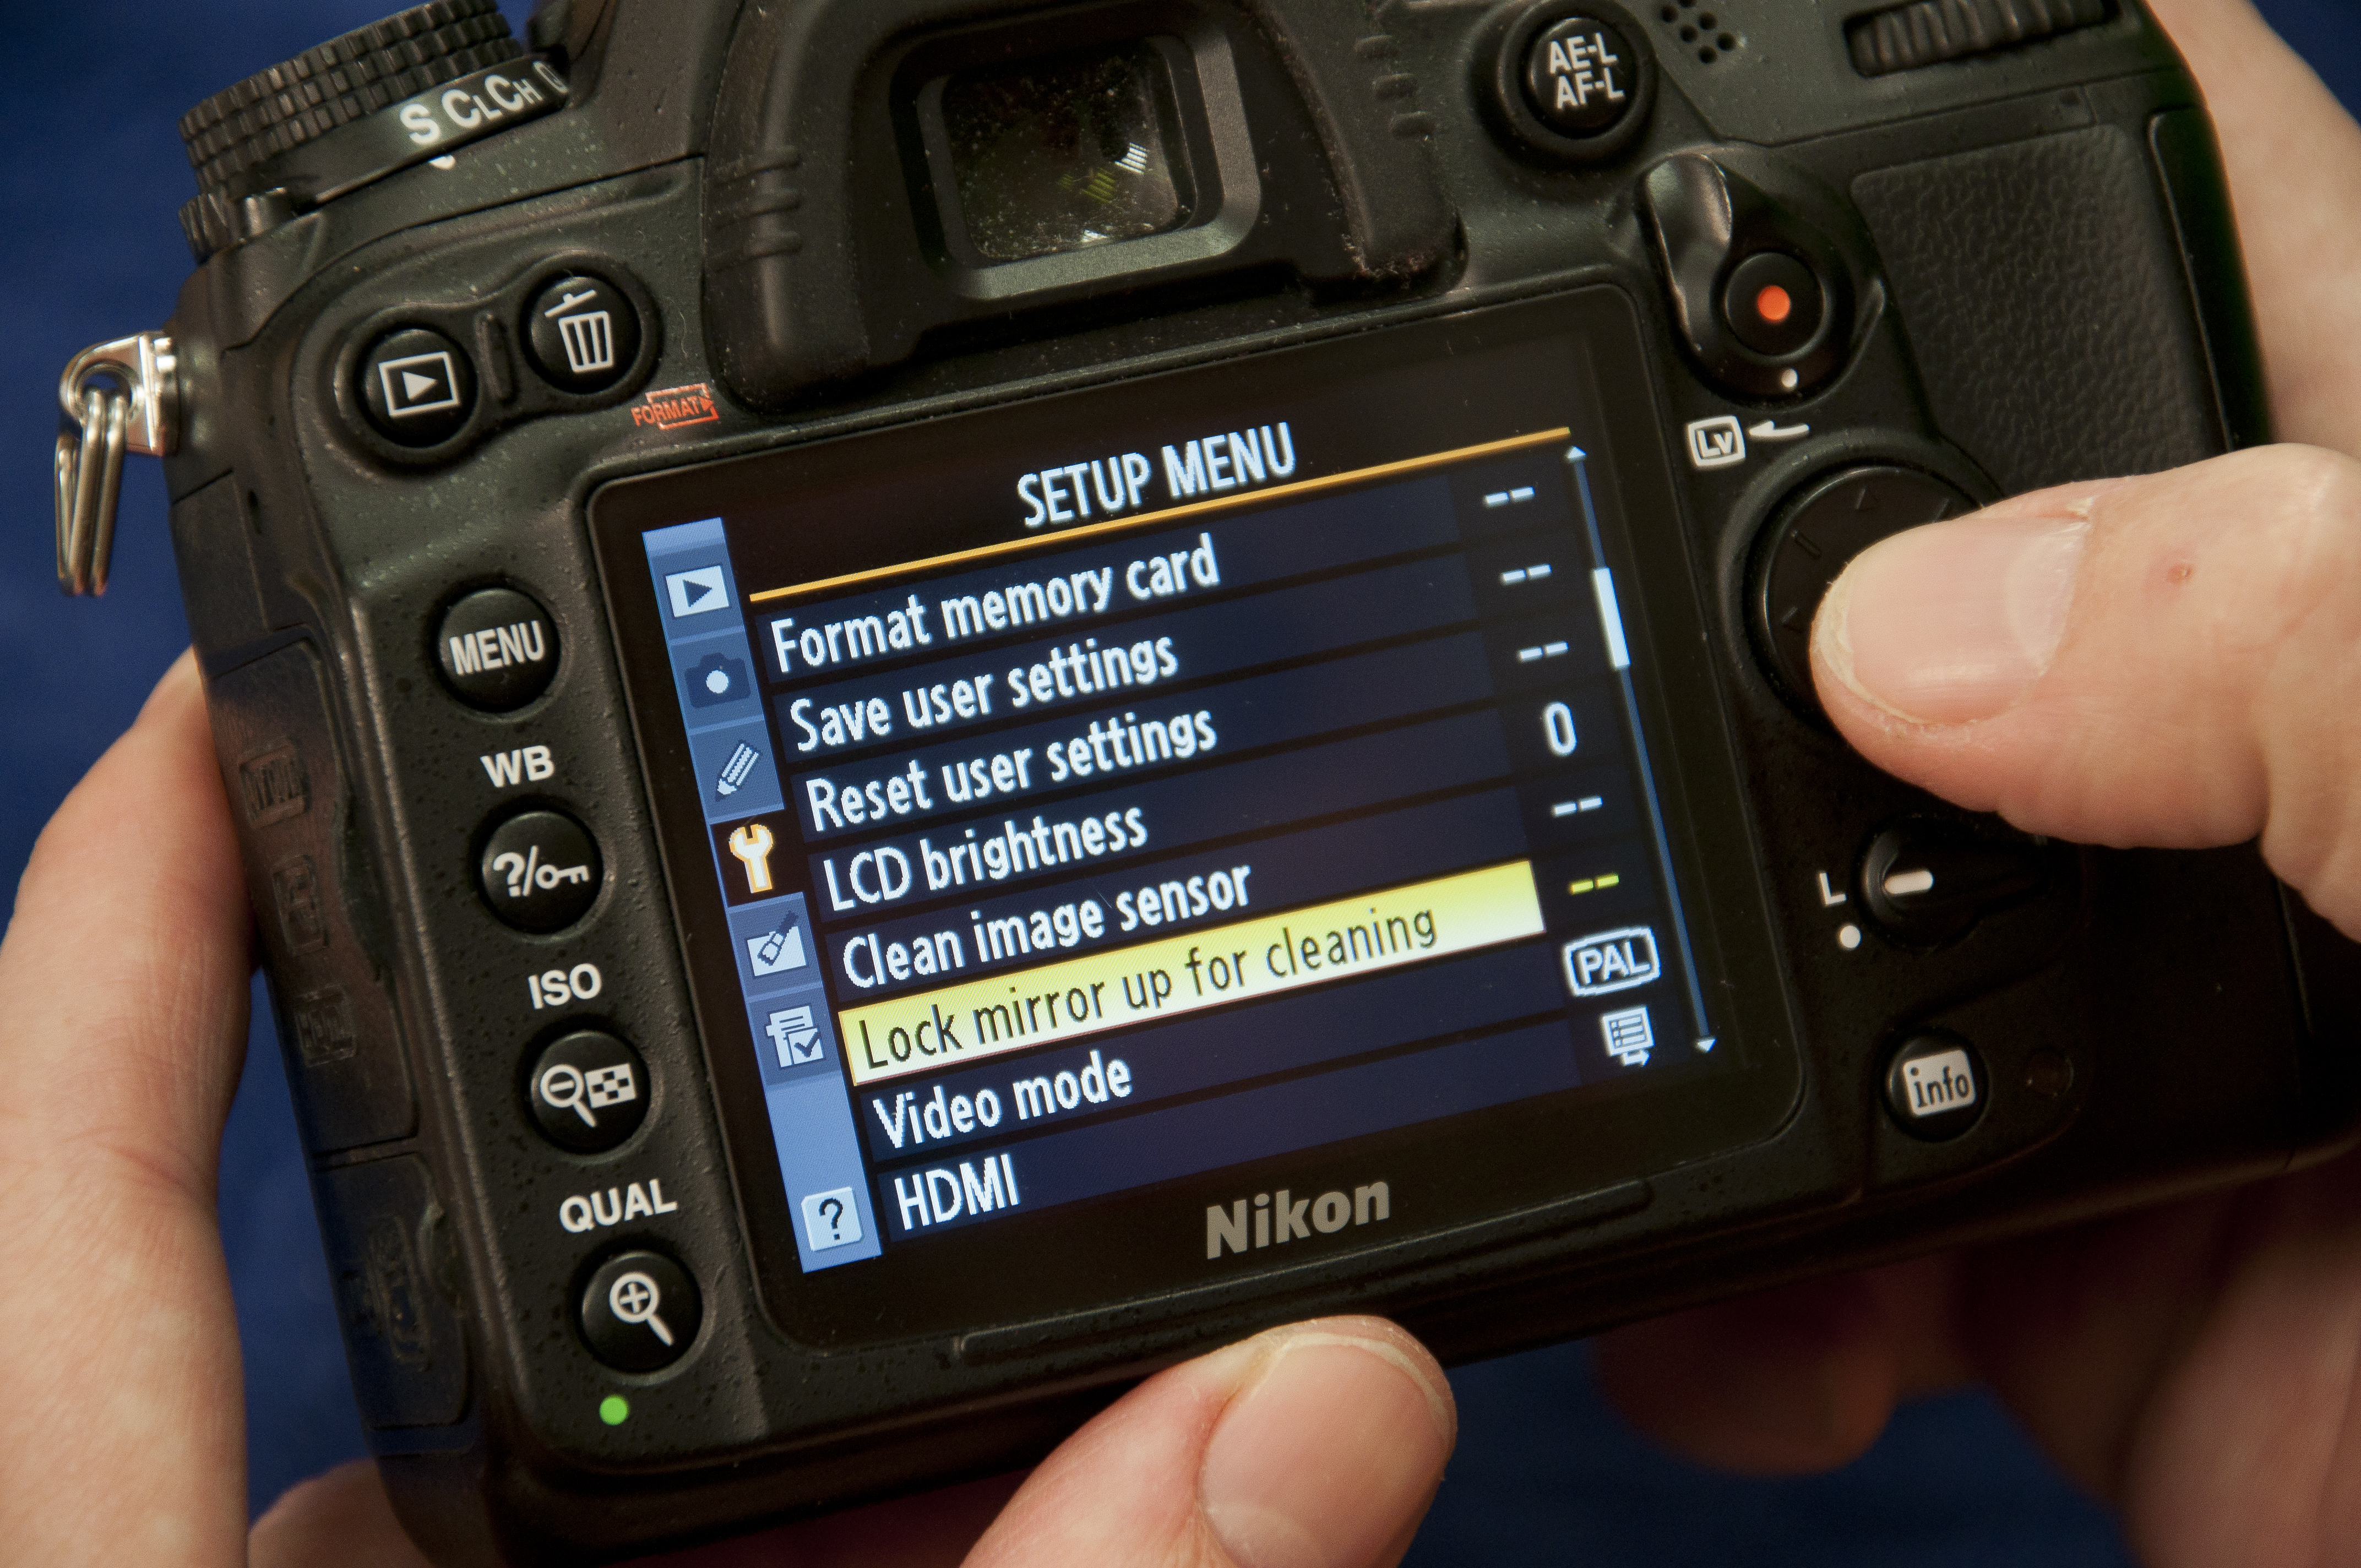
If you're using a DSLR, to reach the sensor you need to get the mirror and shutter out of the way. In the menu system will be a ‘Lock mirror up for cleaning’ (or similar) option. This may be greyed out unless the batteries are fully charged. Choose this option and follow any on-screen instructions.
02 Use a light
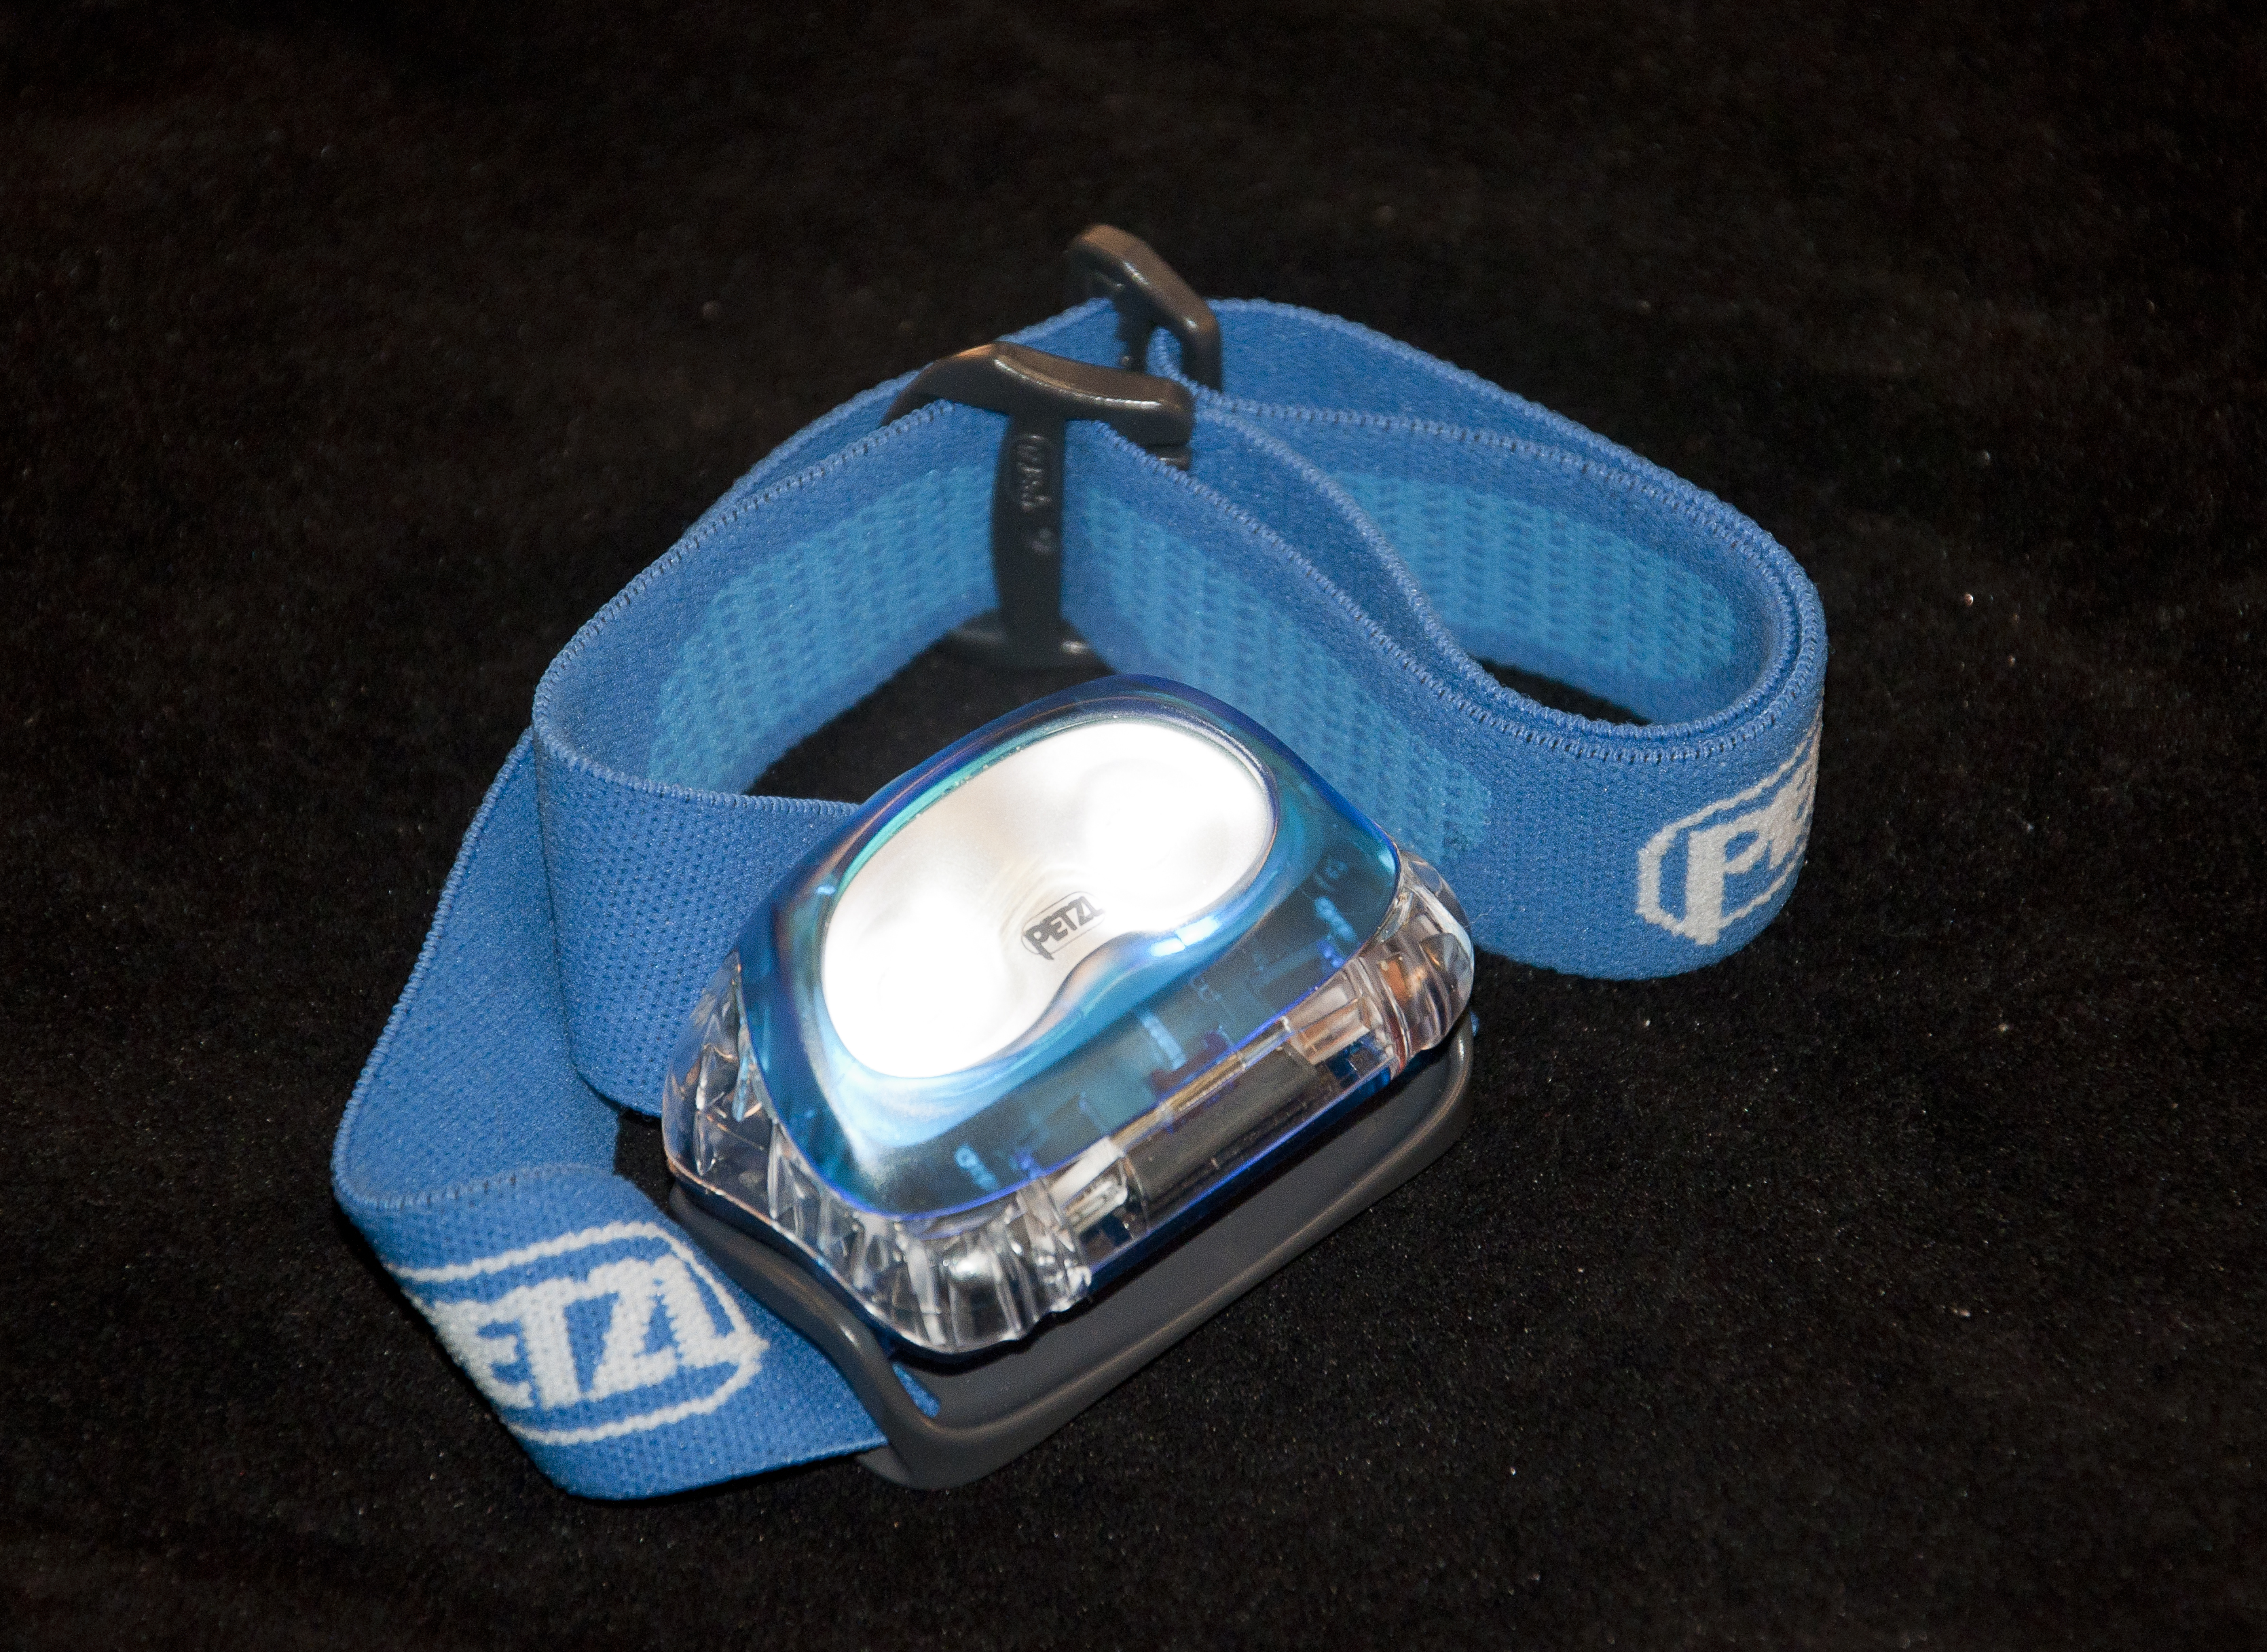
You need good light to see the sensor – a good head torch is ideal, but a desk lamp can be used instead. Remove the lens and use a hurricane blower to blast dust from the sensor. Be careful not to touch the sensor or other internal components with the blower tip.
• Best lens cleaners and hurricane blowers
03 Add the solution
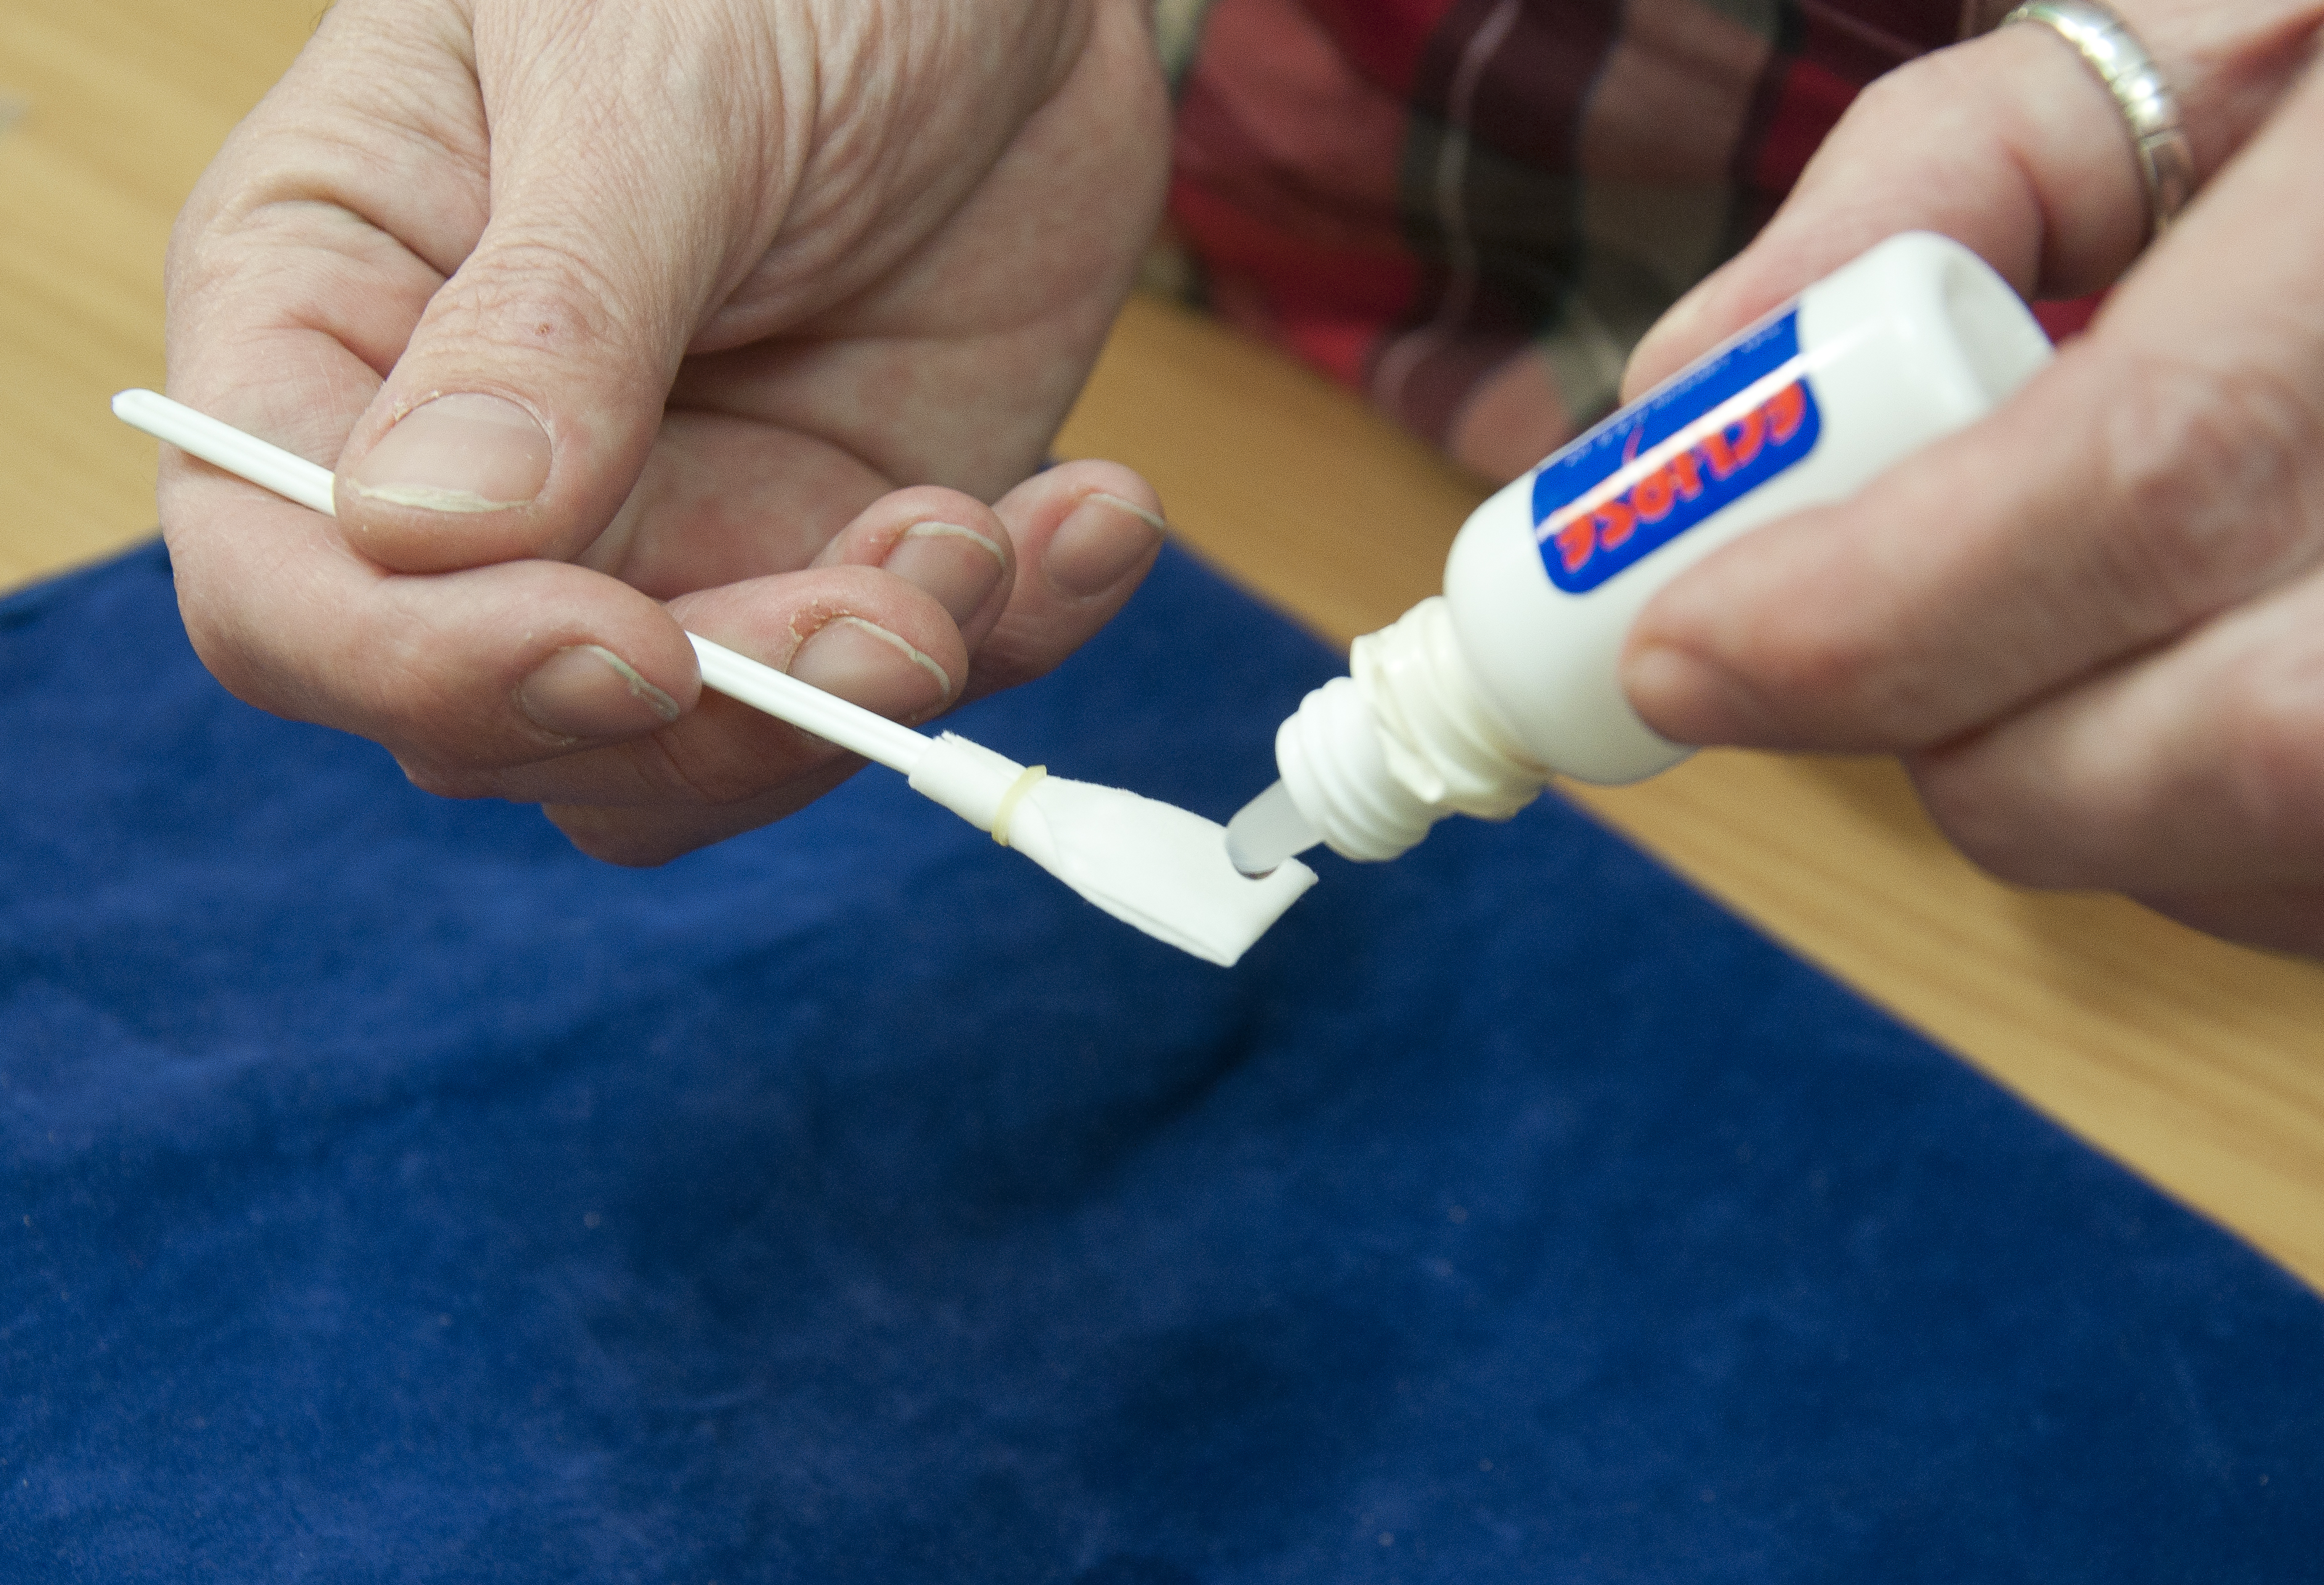
Use a specialist cleaner designed for the size of your camera, and read the instructions. Pre-impregnated swabs are good when you’re travelling, but a dry swab with a separate cleaning solution tends to give a more effective clean. Don’t use too much liquid.
04 Sweep up
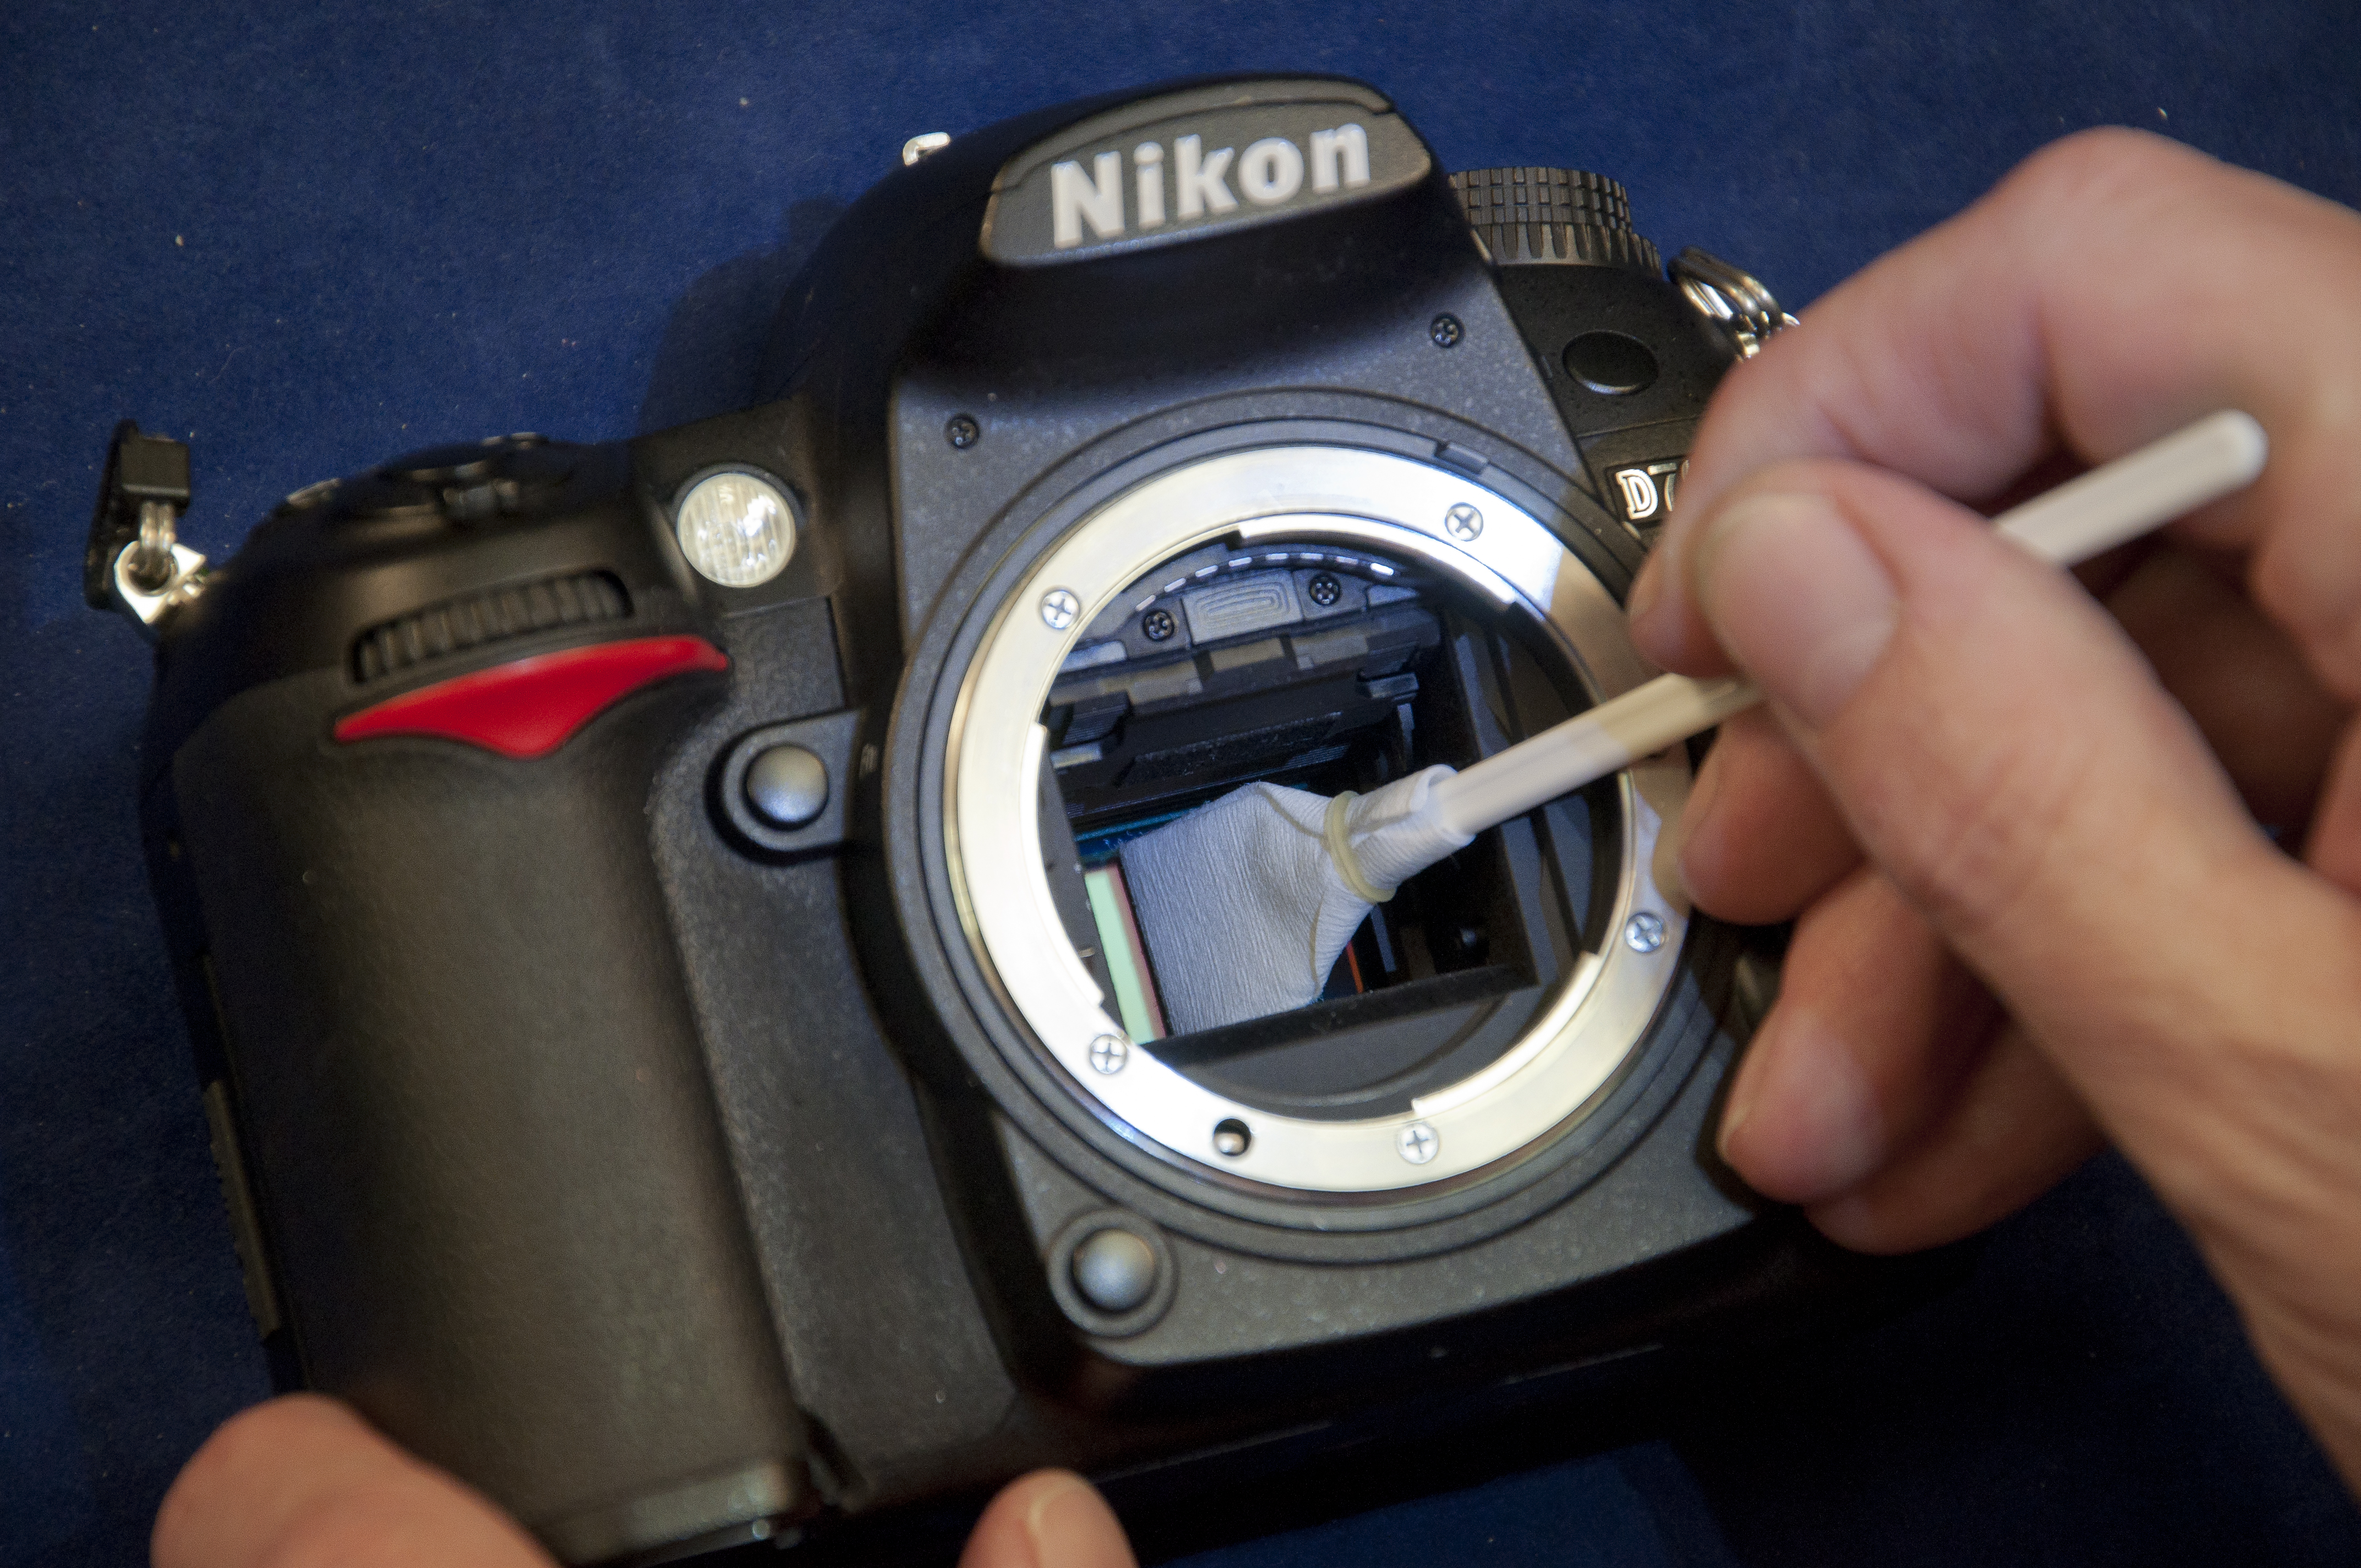
Drag the swab slowly and smoothly from the left of the sensor to the right. Use a single movement, and don’t rub or scratch at the sensor. Turn the swab 90 degrees and drag the clean side from right to left. Throw this swab away. If you've locked the mirror up on your DSLR, turning the camera off will reset the mirror.
• Camera sensor cleaners: which sensor cleaning kit is best?
More videos:
The best head torch
147 photography techniques, tips and tricks for taking pictures of anything
Cleaning a camera lens: tips for removing dust and fingerprints
Headshot photography tips: how to shoot the perfect head-and-shoulders portrait
Landscape photography tips: depth of field and hyperfocal distance explained
Get the Digital Camera World Newsletter
The best camera deals, reviews, product advice, and unmissable photography news, direct to your inbox!
Chris George has worked on Digital Camera World since its launch in 2017. He has been writing about photography, mobile phones, video making and technology for over 30 years – and has edited numerous magazines including PhotoPlus, N-Photo, Digital Camera, Video Camera, and Professional Photography.
His first serious camera was the iconic Olympus OM10, with which he won the title of Young Photographer of the Year - long before the advent of autofocus and memory cards. Today he uses a Nikon D800, a Fujifilm X-T1, a Sony A7, and his iPhone 15 Pro Max.
He has written about technology for countless publications and websites including The Sunday Times Magazine, The Daily Telegraph, Dorling Kindersley, What Cellphone, T3 and Techradar.

