Craft your own cyanotypes at home with this quick and easy setup
Discover how to make richly-detailed Prussian blue prints of random objects and photos taken with your Canon gear
Watch video (above): Craft your own cyanotypes
The cyanotype process is one of the earliest photographic techniques, yet it remains popular thanks to the simplicity of the process and the rich-blue prints that emerge. Paper is coated with the cyanotype solution, then exposed to ultraviolet light. Objects placed on the paper – whether natural things such as plants, man-made items or negative film – are reproduced in stark monochrome, the silhouetted details held back to white, while exposed areas bloom into shades of Prussian blue. In the past, its simplicity made it useful for reproducing documents of building designs, hence the name blueprint. These days, we can use the technique for enchanting arrangements and wall-worthy art.
The process is cheap and easy. Cyanotype chemicals can be ordered online for under £20. You can also buy ready-coated paper, but coating the paper yourself is easy enough, works out cheaper and enables you to create lovely brushed borders. Once prepared, we can expose the paper using daylight or a source of UV light, like a blacklight or UV torch. The relatively slow exposure times let us fine-tune the composition of objects and experiment with movement. With a UV light, we can also finesse our exposure by burning in areas that might need more light, or vignetting the edges. After washing and drying, we’re left with a beautiful piece of analogue art ready to display.
1. Combine the chemicals
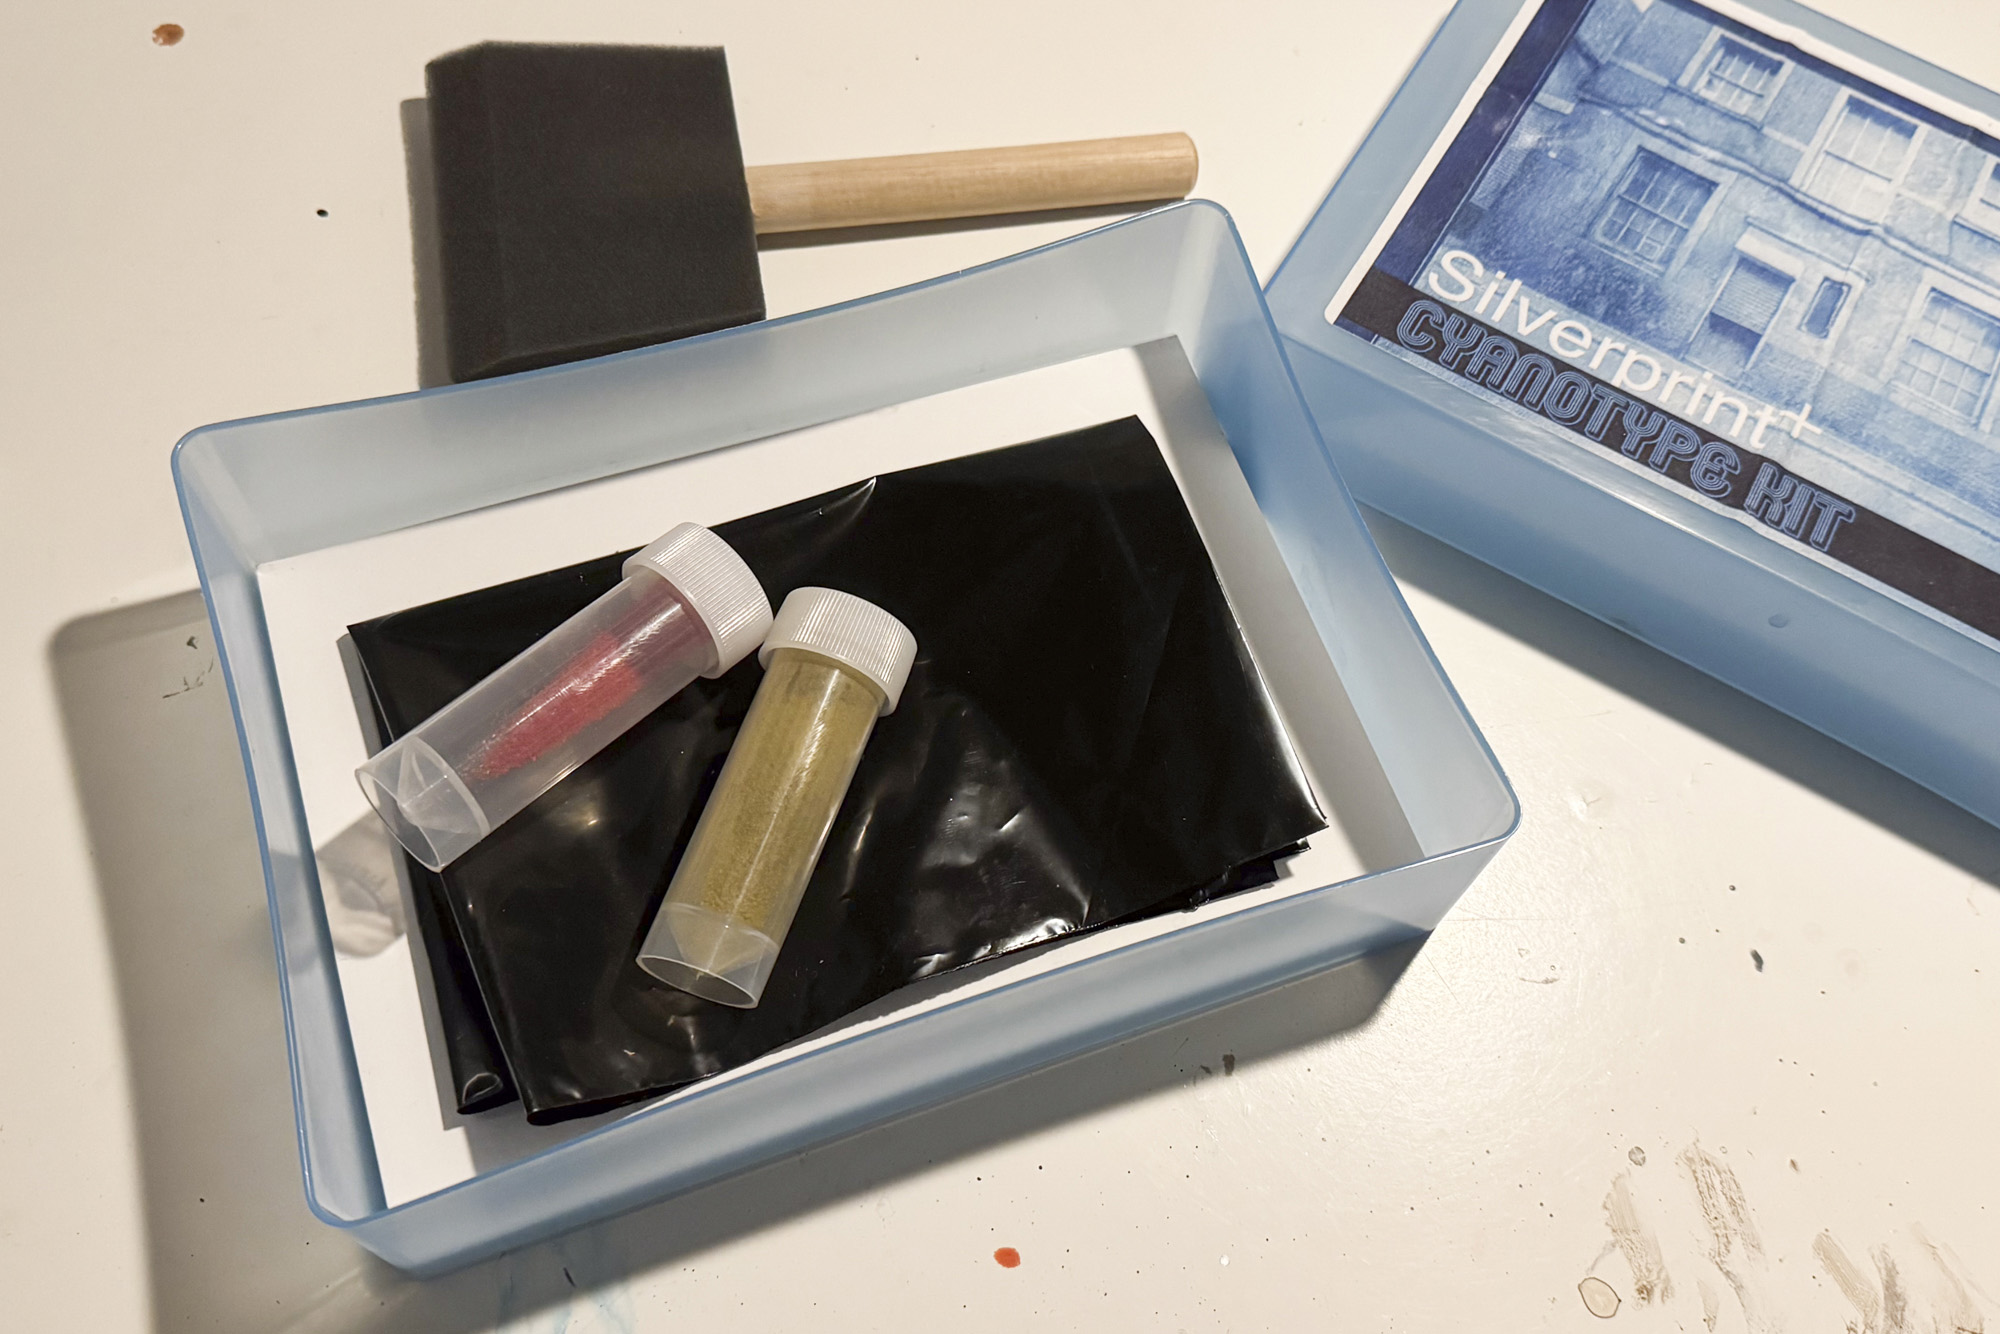
The cyanotype solution is made by mixing potassium ferricyanide and ferric ammonium citrate, often labelled Part A and Part B. We used a Silverprint Cyanotype kit (sadly, no longer in business). There are other options online, as well as ready-coated paper.
2. Coat the paper
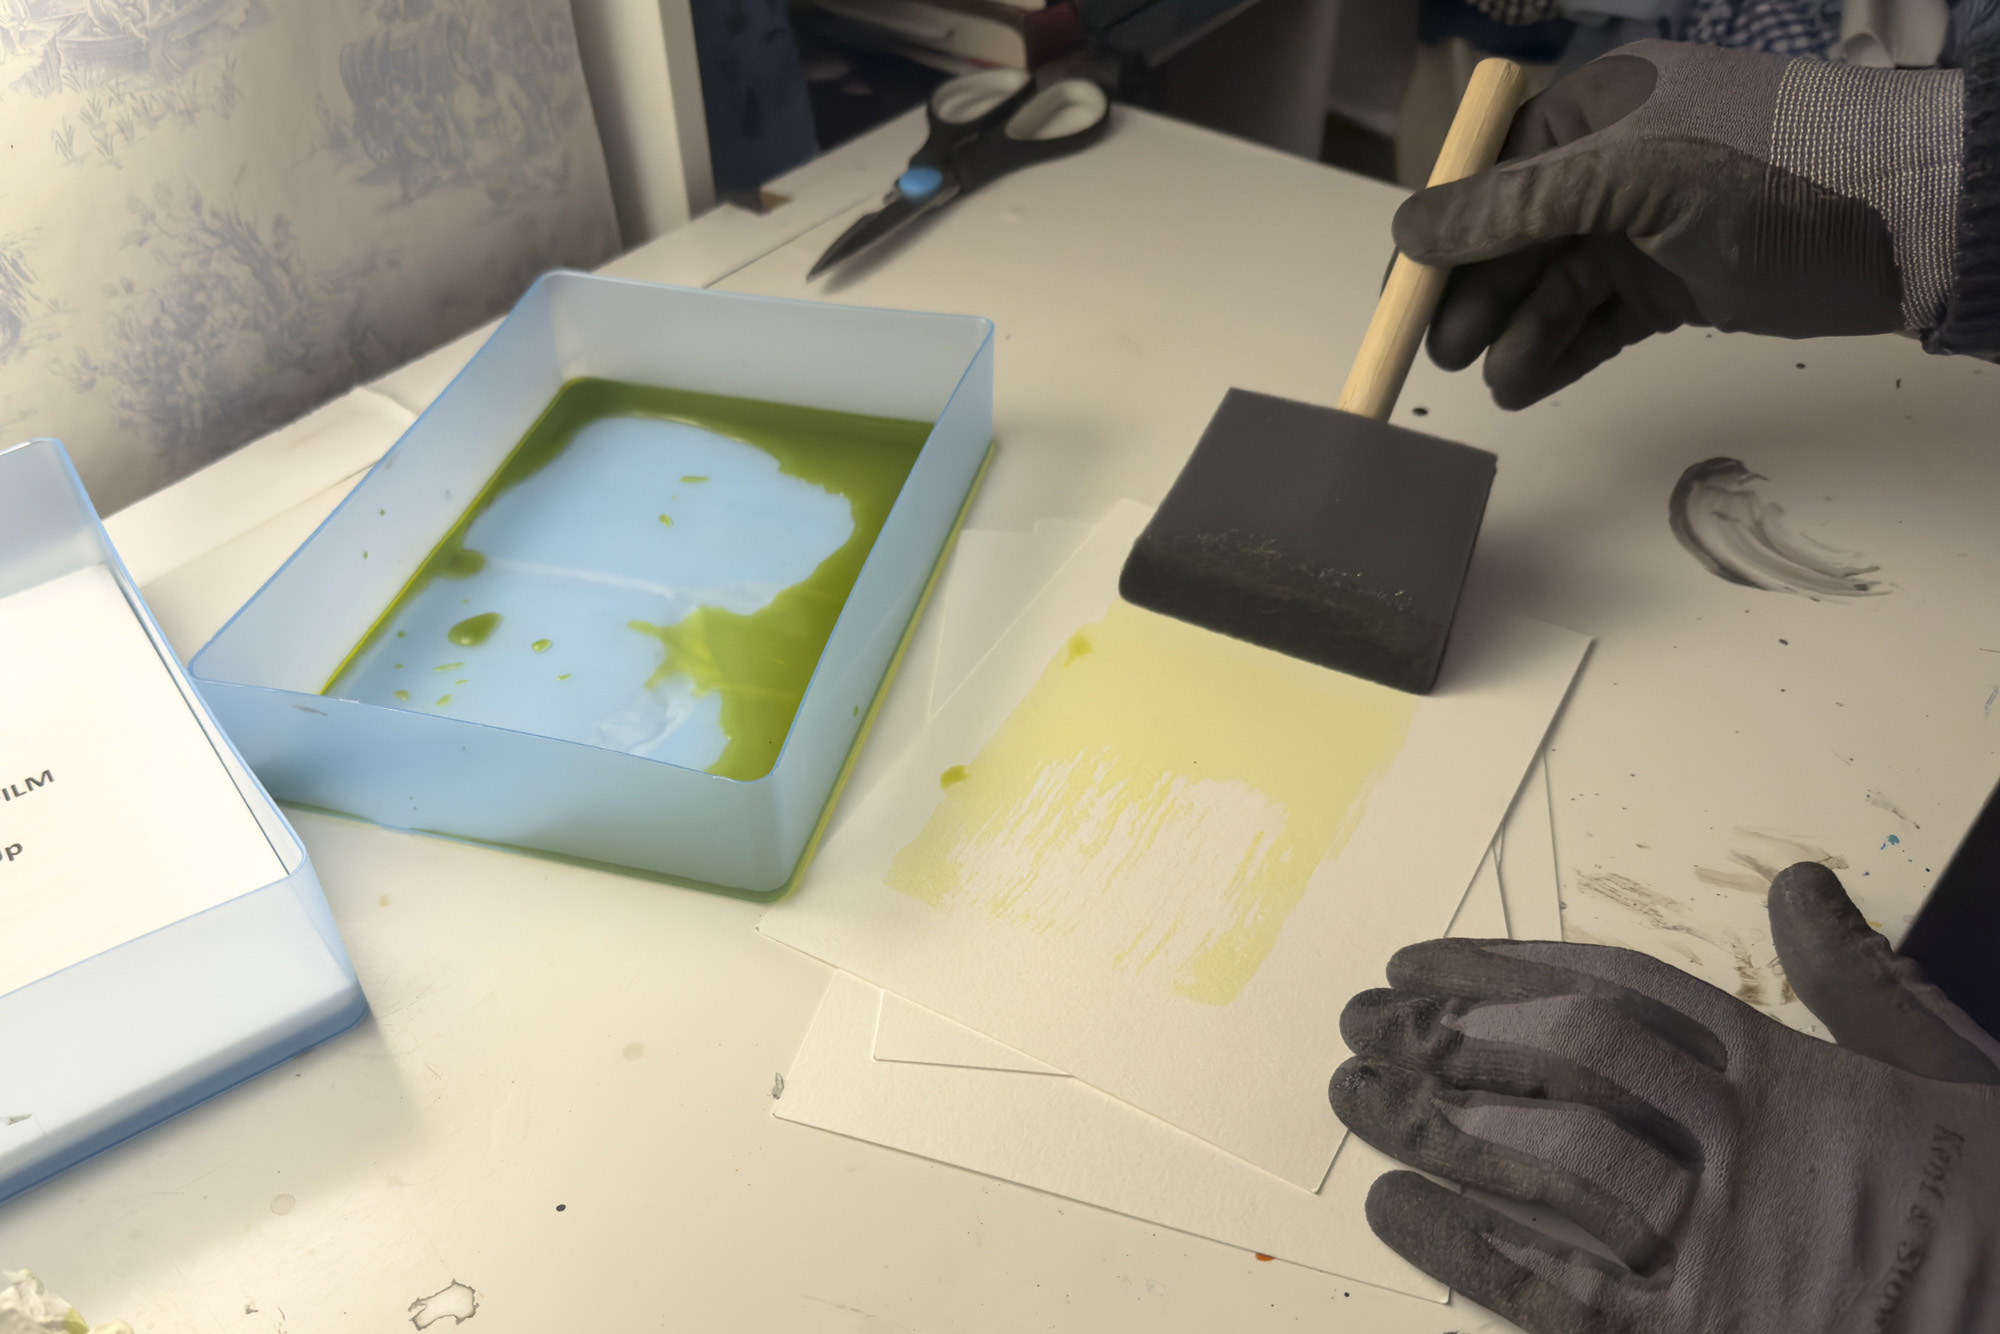
You can coat lots of surfaces with cyanotype solution, including textiles and natural objects. For paper, it’s best to use a heavy, acid-free cartridge or watercolour paper. Wearing protective gloves, use a foam brush to coat the paper. Aim for a thin, even coat.
3. Leave to dry
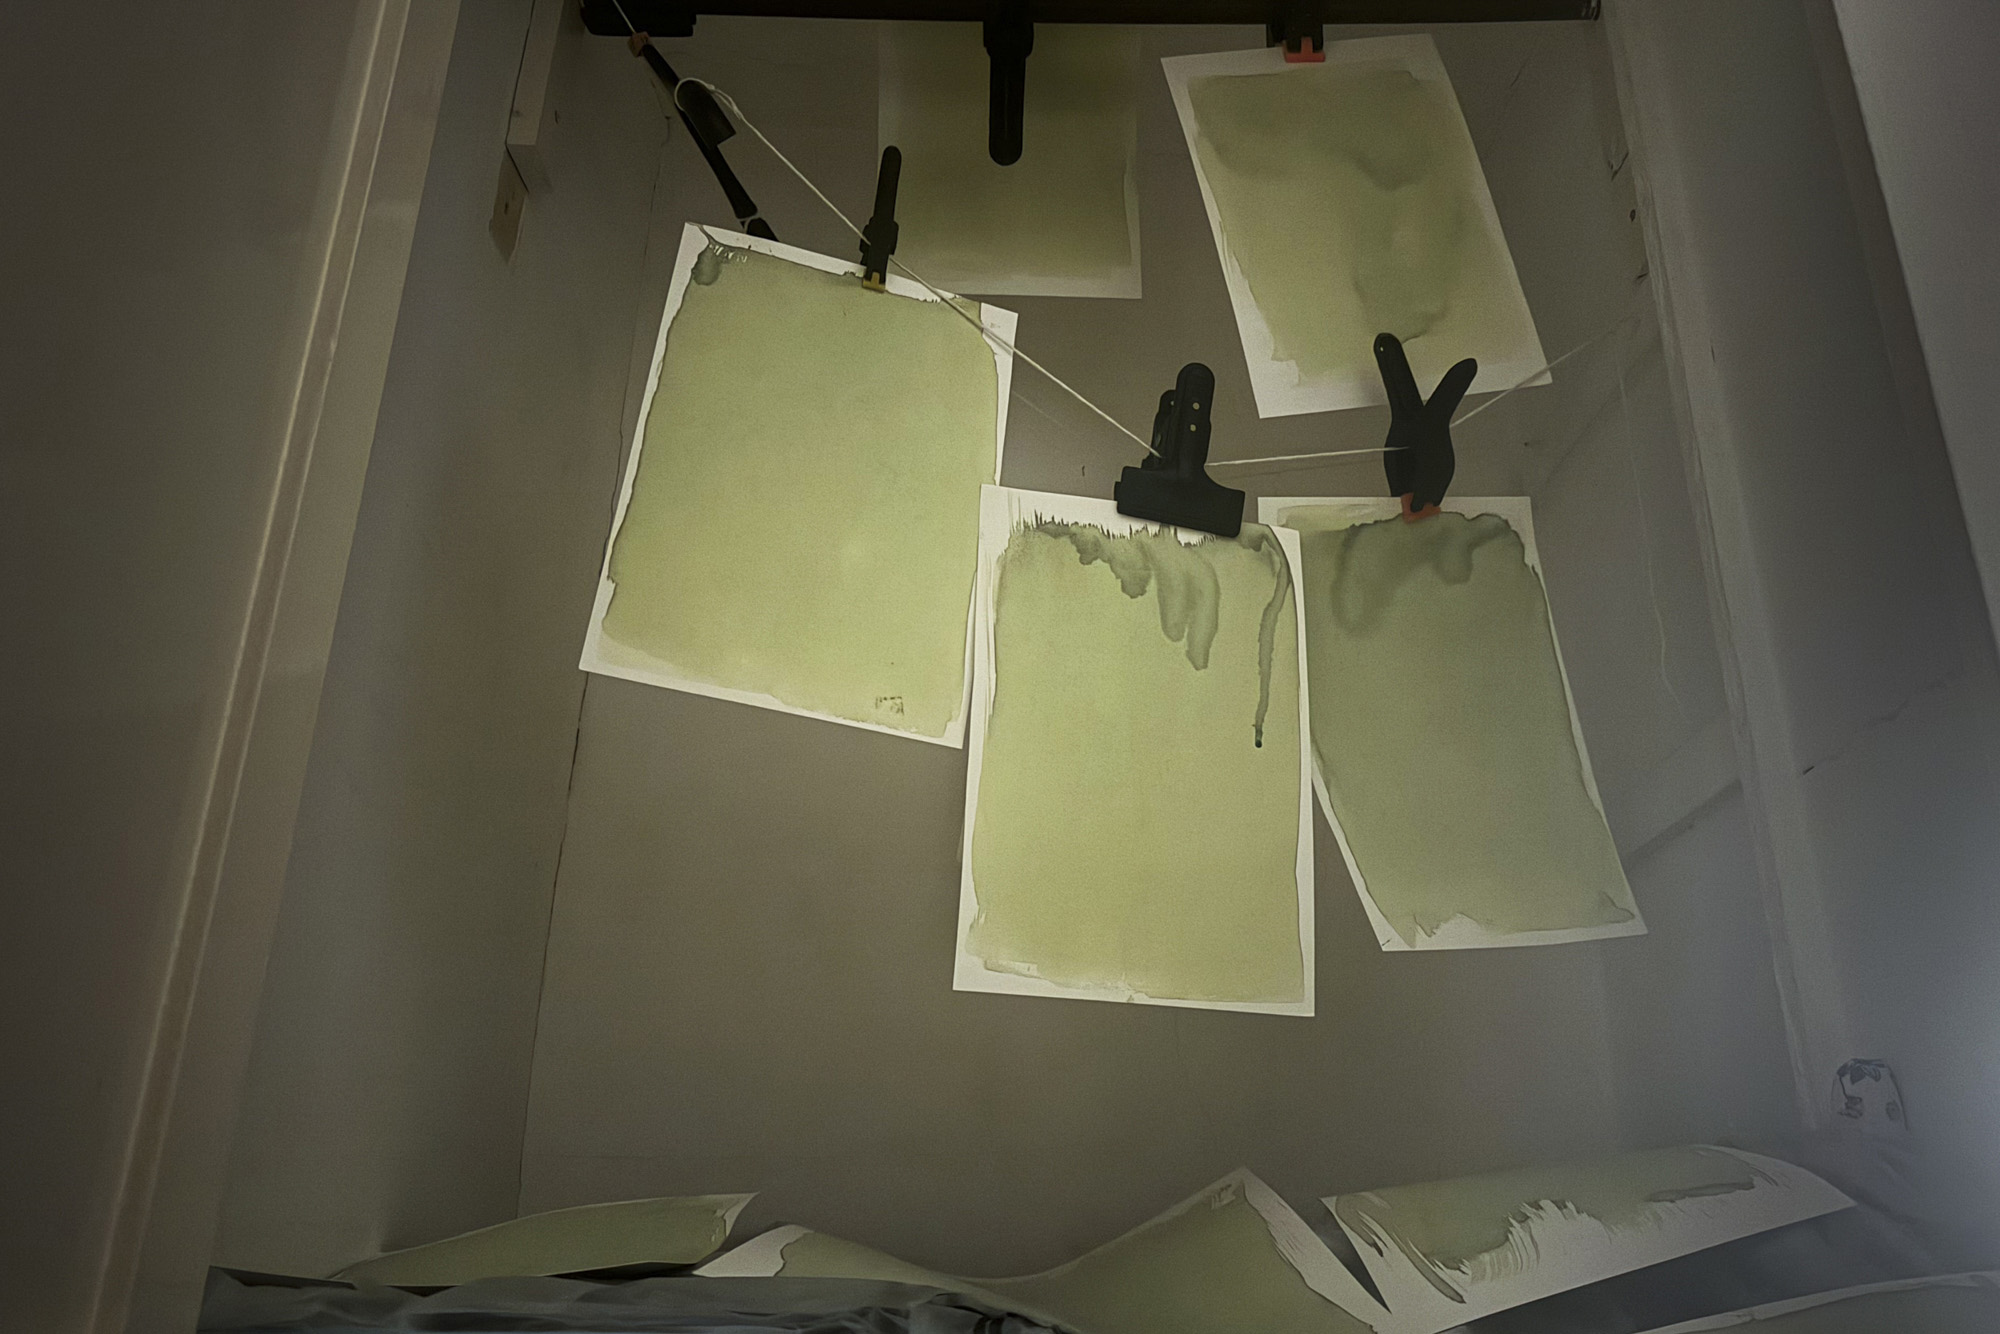
Coat the paper and leave to dry in a dark place for a few hours, ideally overnight (a hairdryer can speed up the drying). You might find the solution is uneven, so rotate the paper occasionally. Once dry, store it in a light-proof bag until you’re ready to expose a sheet.
4. Arrange your composition
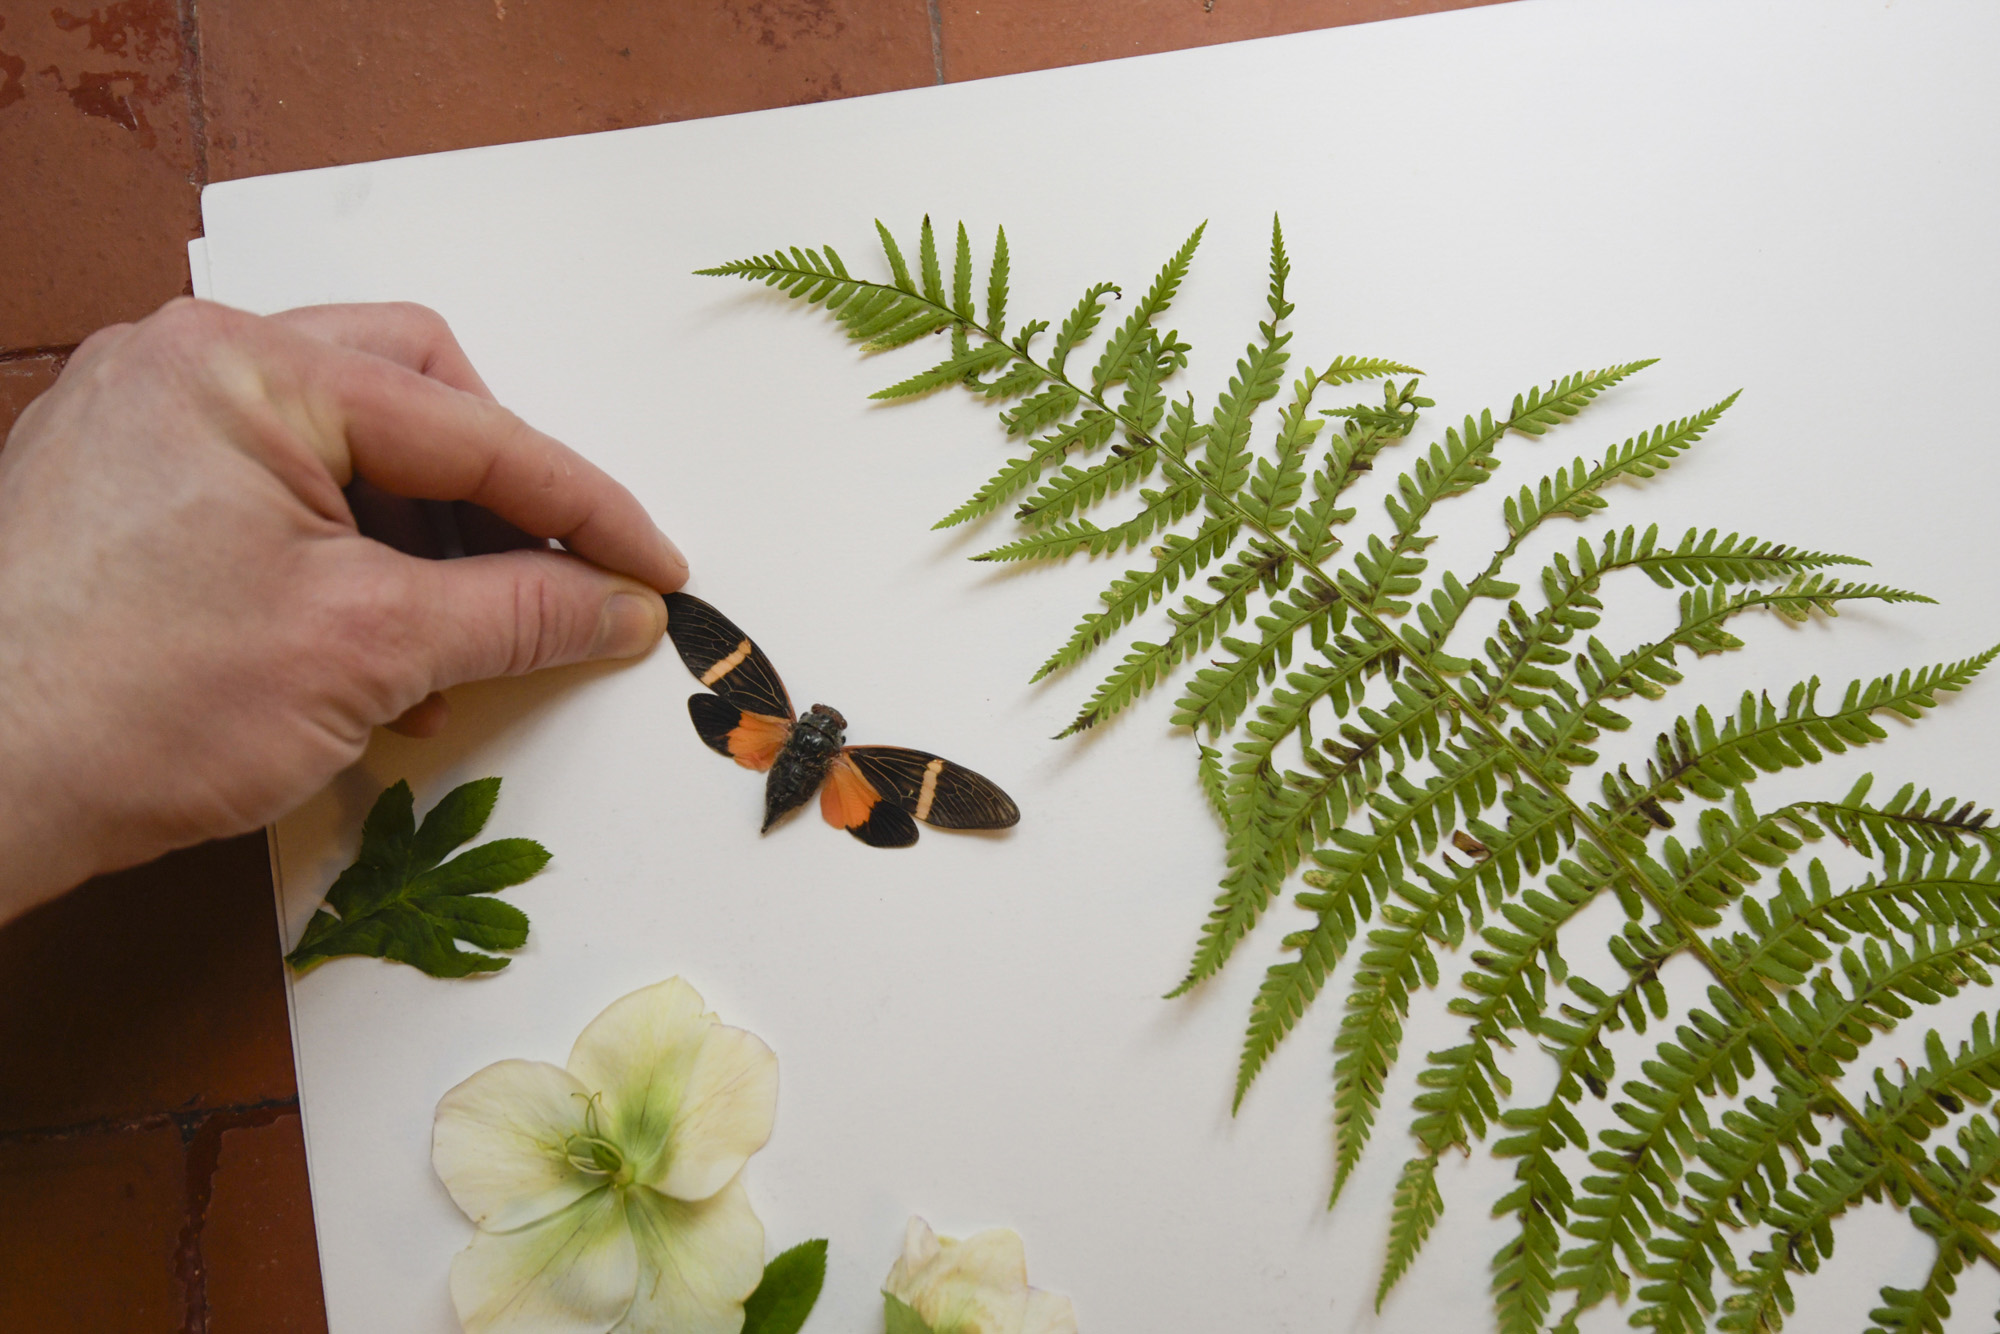
Arrange objects on the paper. You can create interesting sharp/blurry results by having some plants pressed flat under glass and others loose on top. You can also create depth and exposure effects by moving some of the objects during the exposure.
5. Expose to light
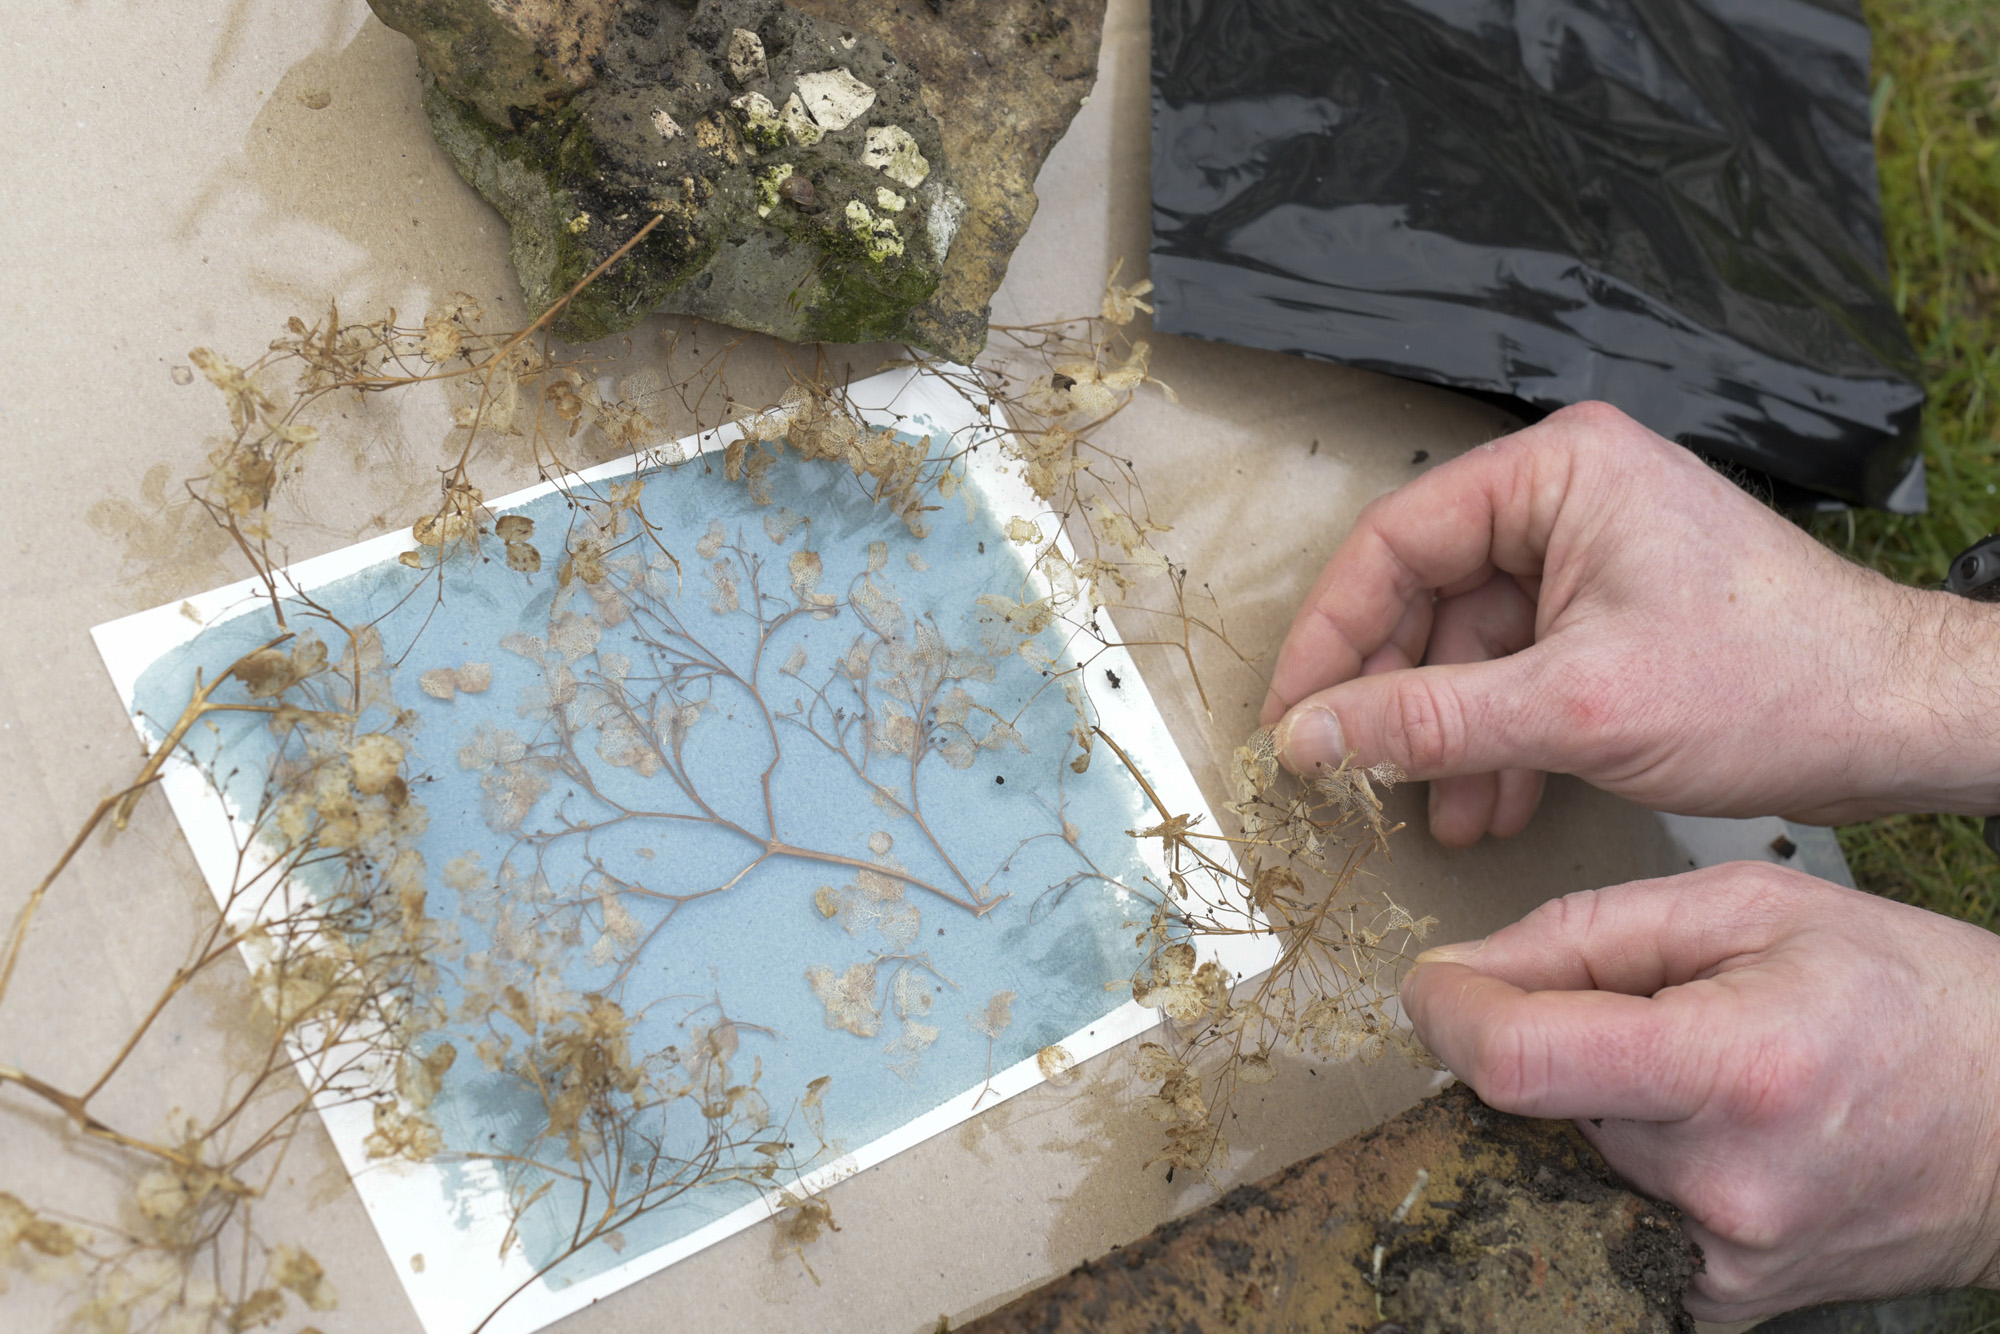
Use daylight or a UV lamp to expose the print. Your exposure times will vary depending on the strength of the light. Under direct sunlight you may only need 30 seconds, but if it’s cloudy you may need several minutes. When the paper goes dark blue, it’s ready.
6. Wash & dry print
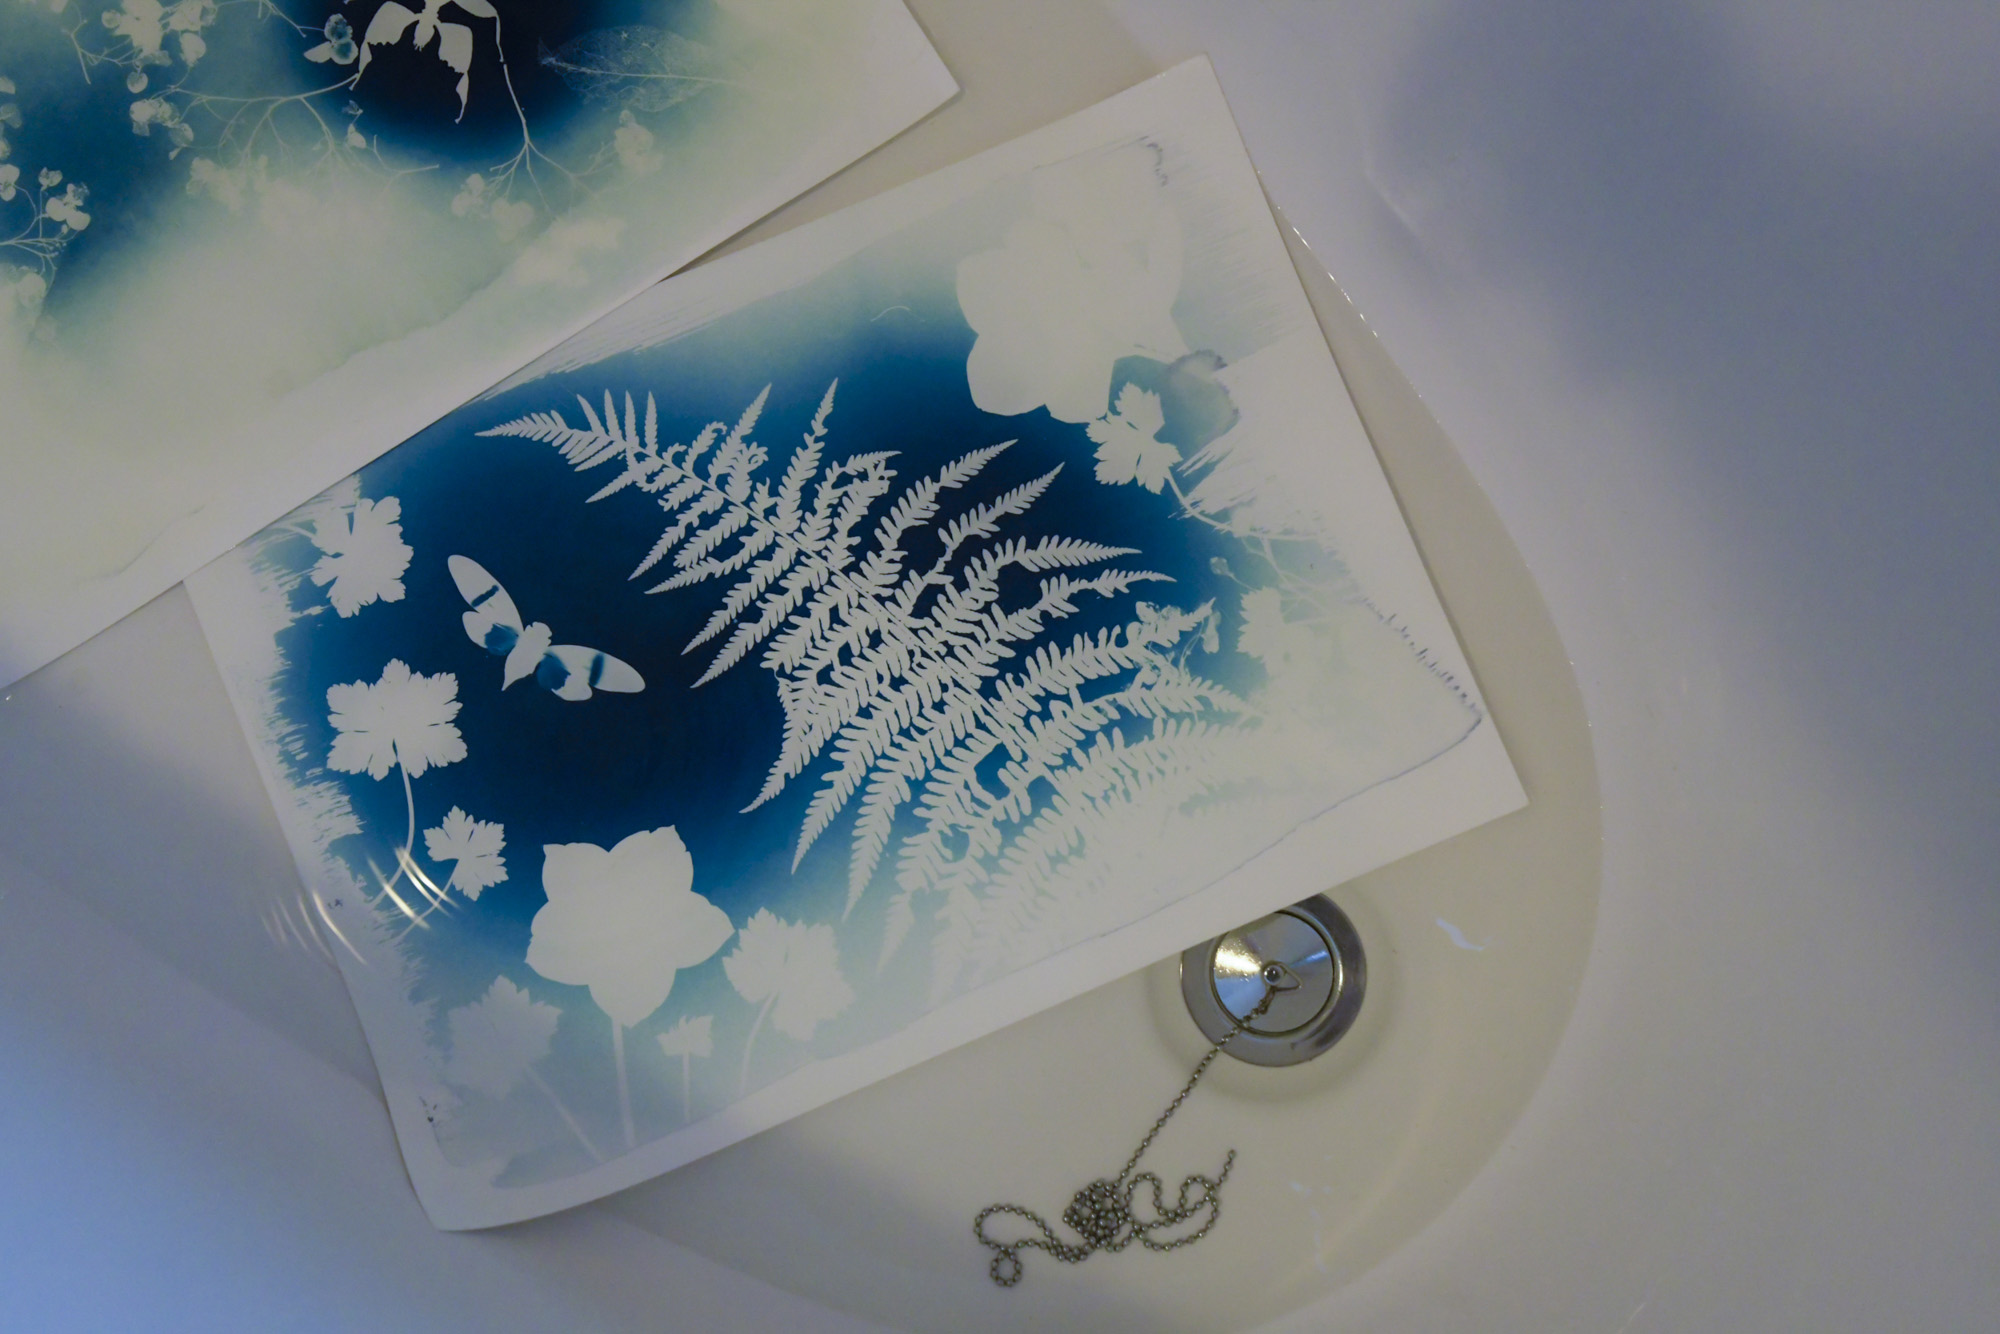
Once exposed, we need to wash off the light-sensitive solution. Wash under running water for at least a minute. A little vinegar mixed with the water can help to develop the print. Once washed, leave the print on a piece of scrap cardboard in a dark place until dry.
7. Desaturate & invert
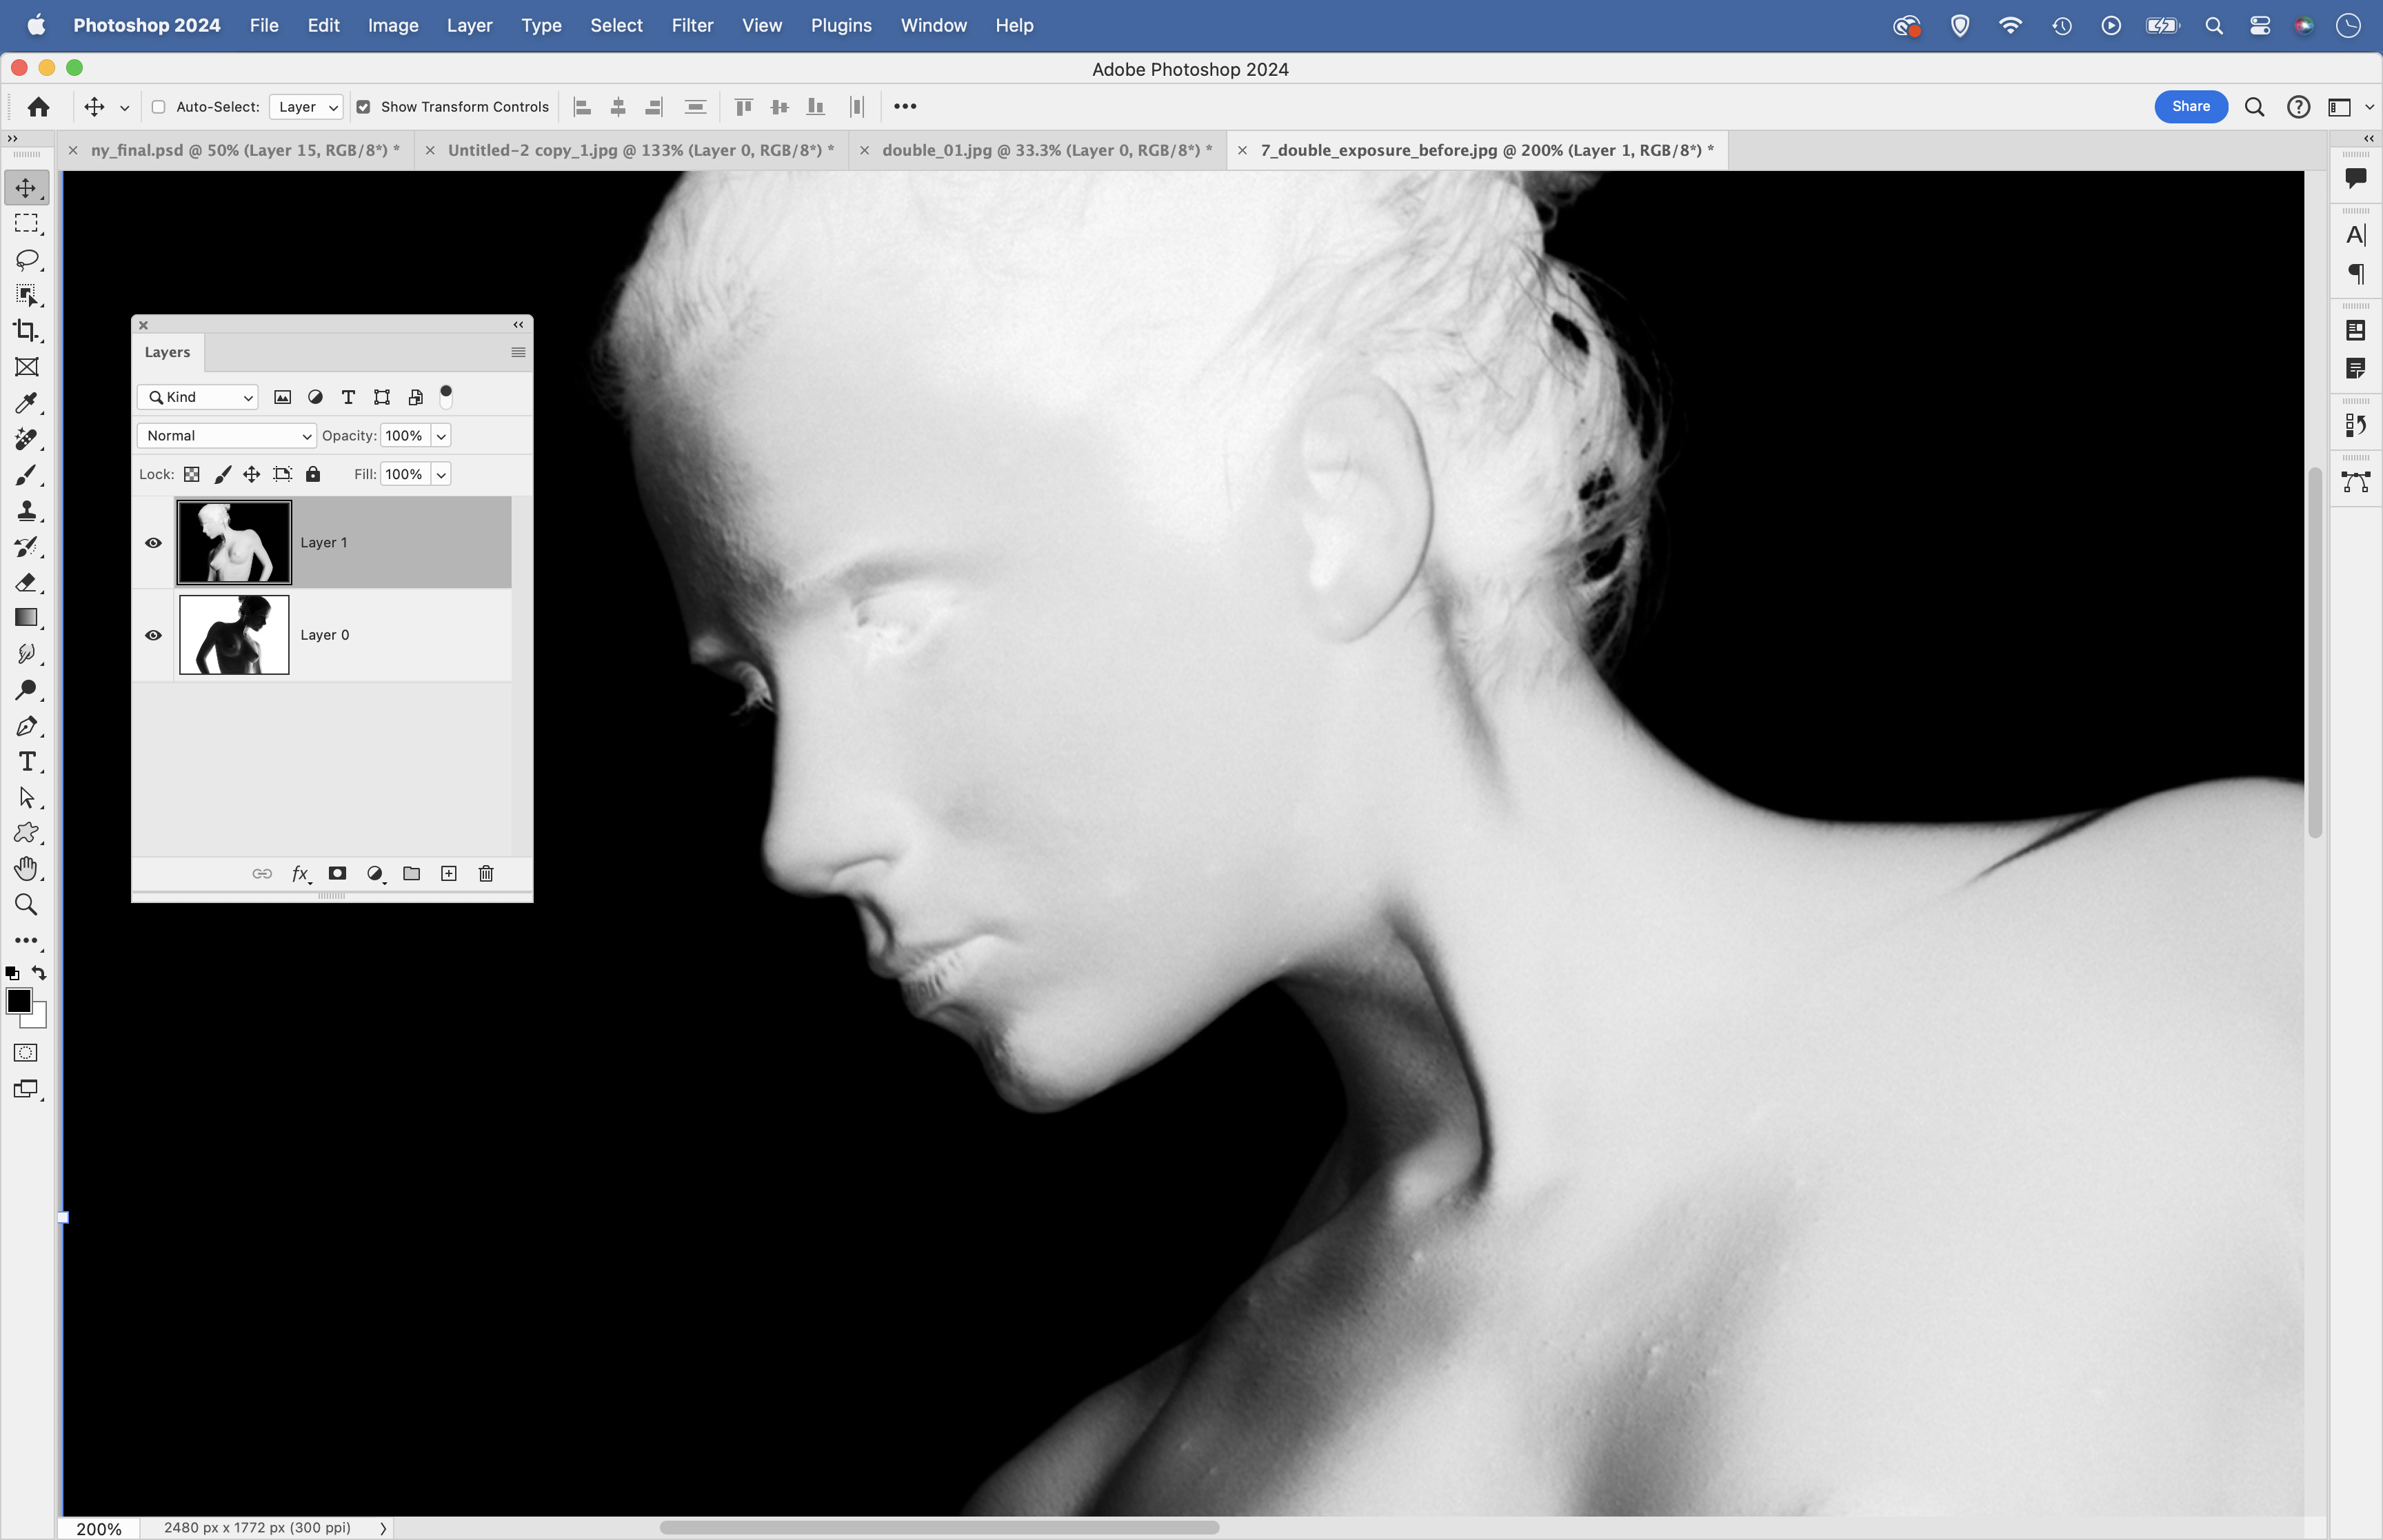
As well as making photogram cyanotypes, we can also use negative transparencies printed on an inkjet printer. You need a few sheets of transparency film. To prepare the image, you must desaturate, invert and flip it. In Photoshop, hit Cmd/Ctrl+Shift+U to desaturate, Cmd/Ctrl+I to invert, then go to Edit>Transform>Flip Horizontal.
8. Brightness and contrast
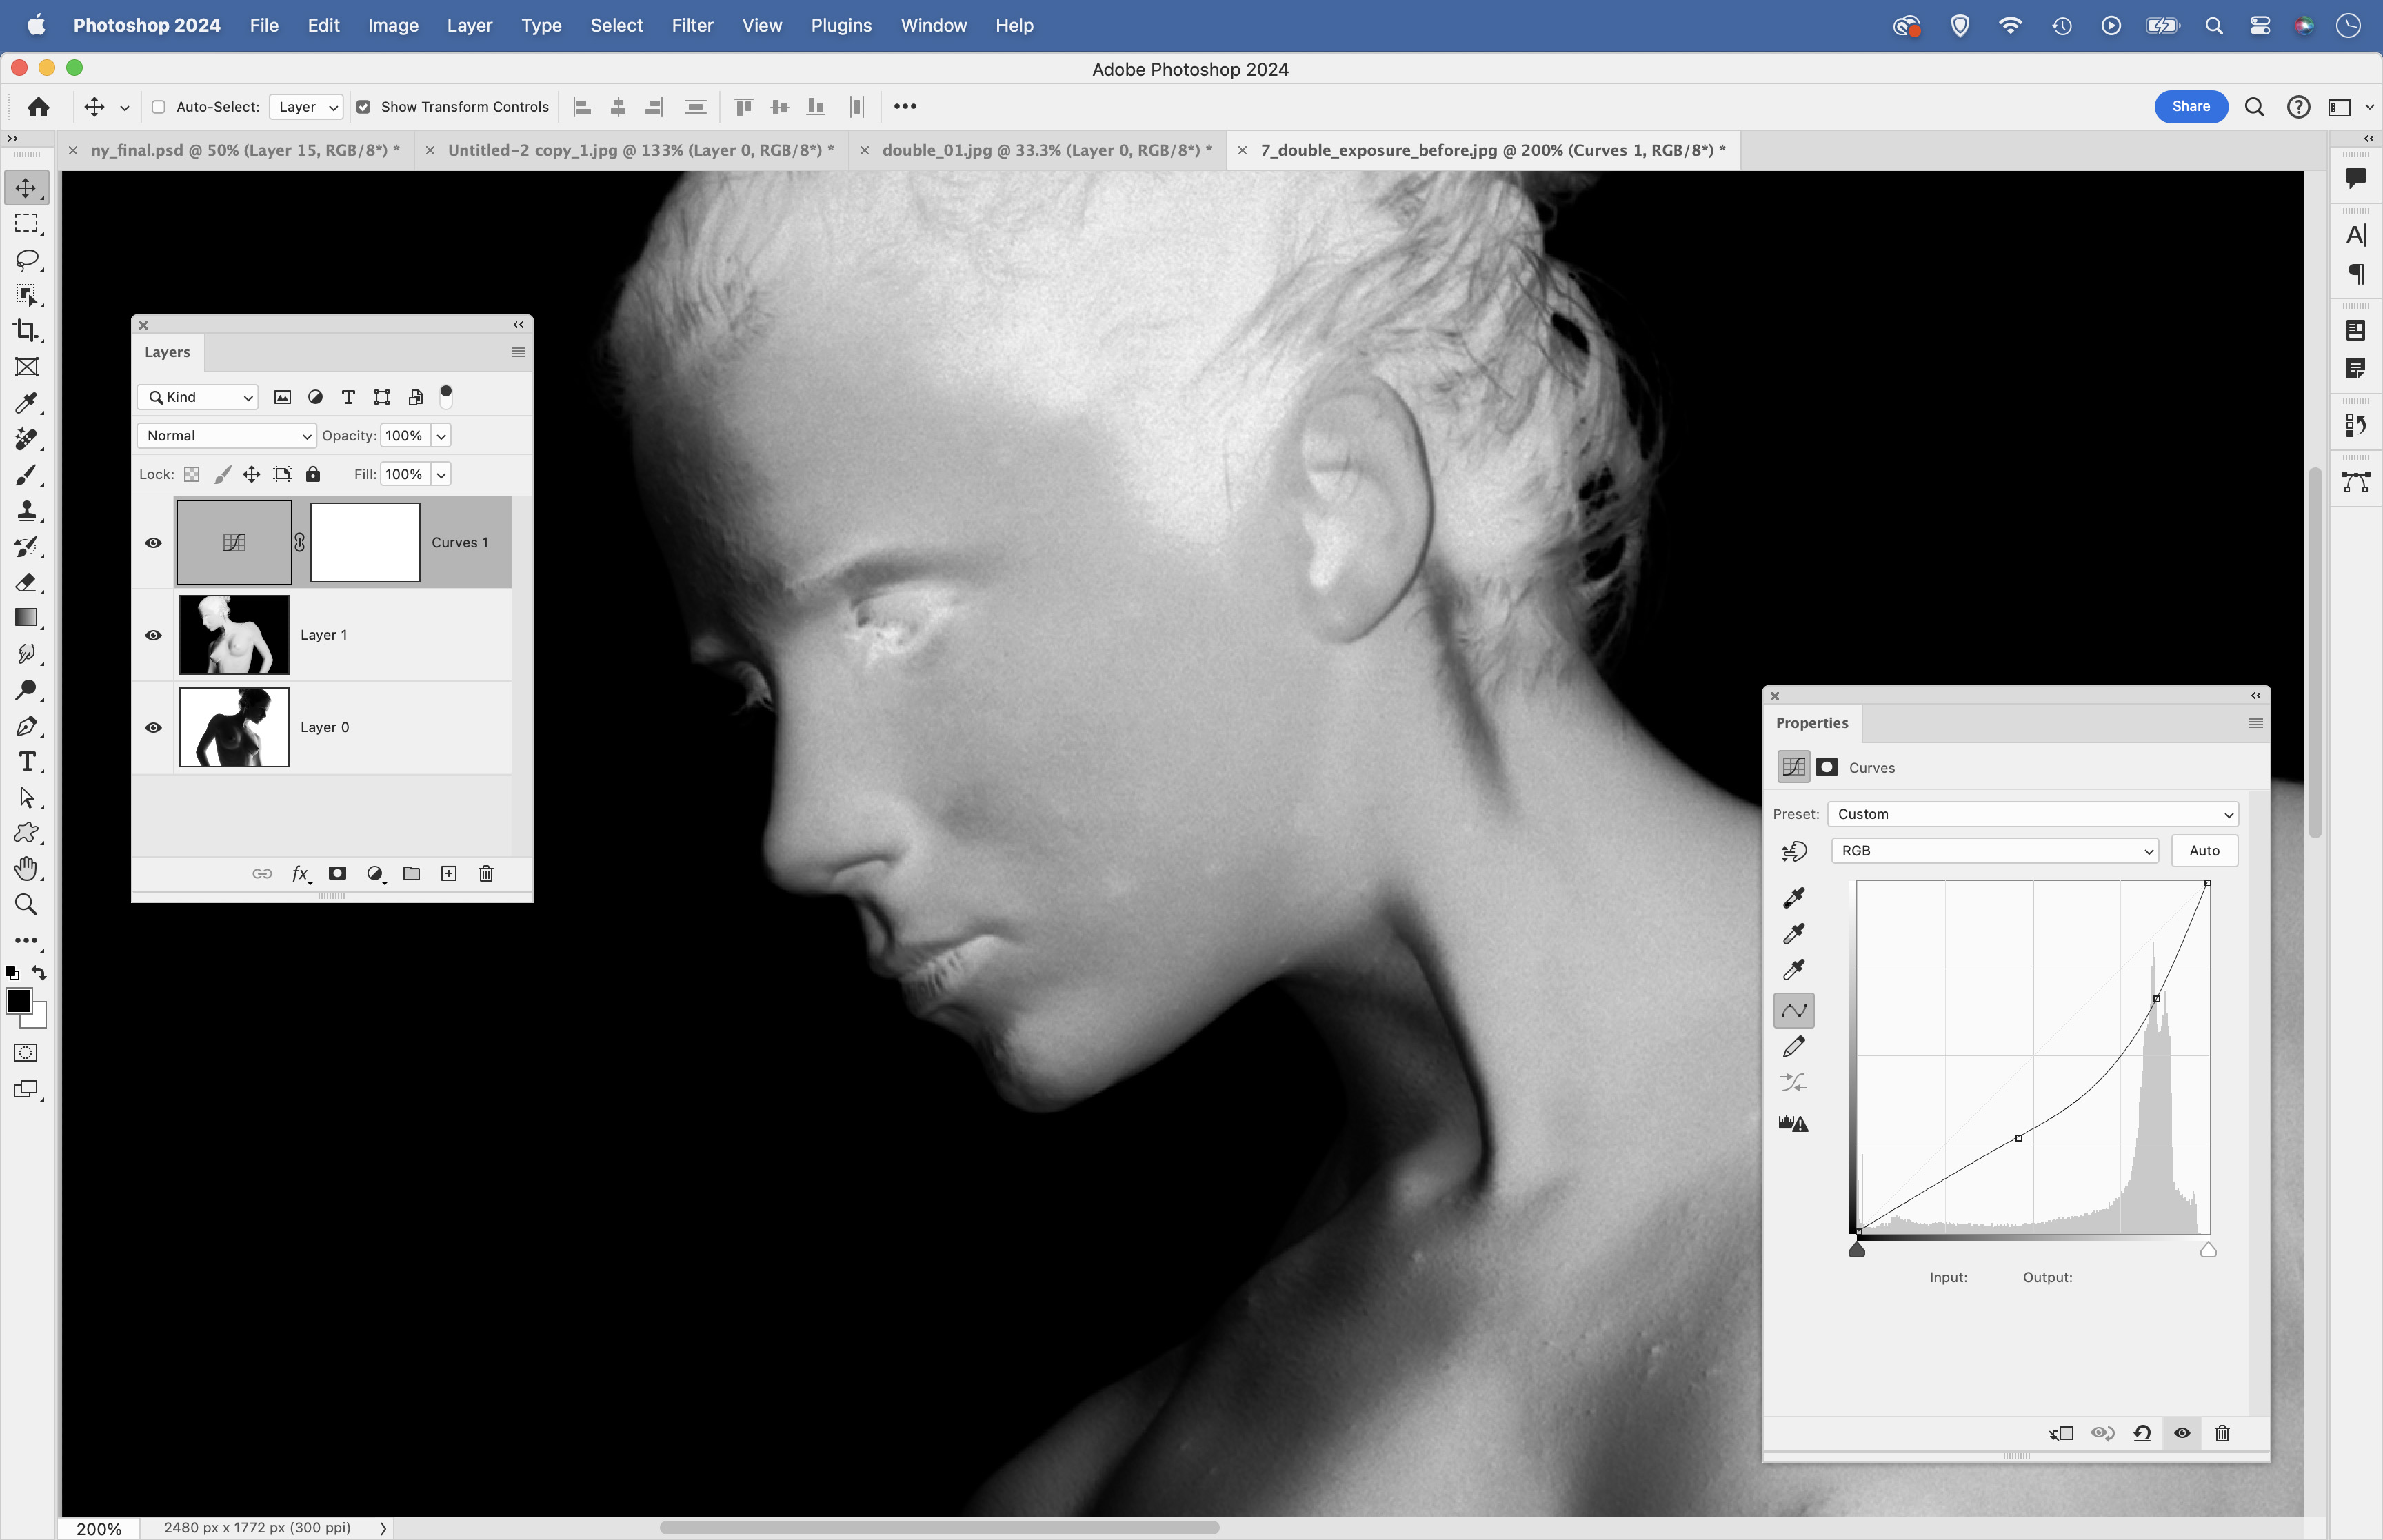
You might need to reduce the contrast of the image, as flatter photos tend to work better when making cyanotypes from negative transparencies. Use Curves or a tonal tool of your choice to reduce the contrast and fine-tune brightness. If you can spare the transparency, try making several test versions with varying contrast.
9. Print to transparency
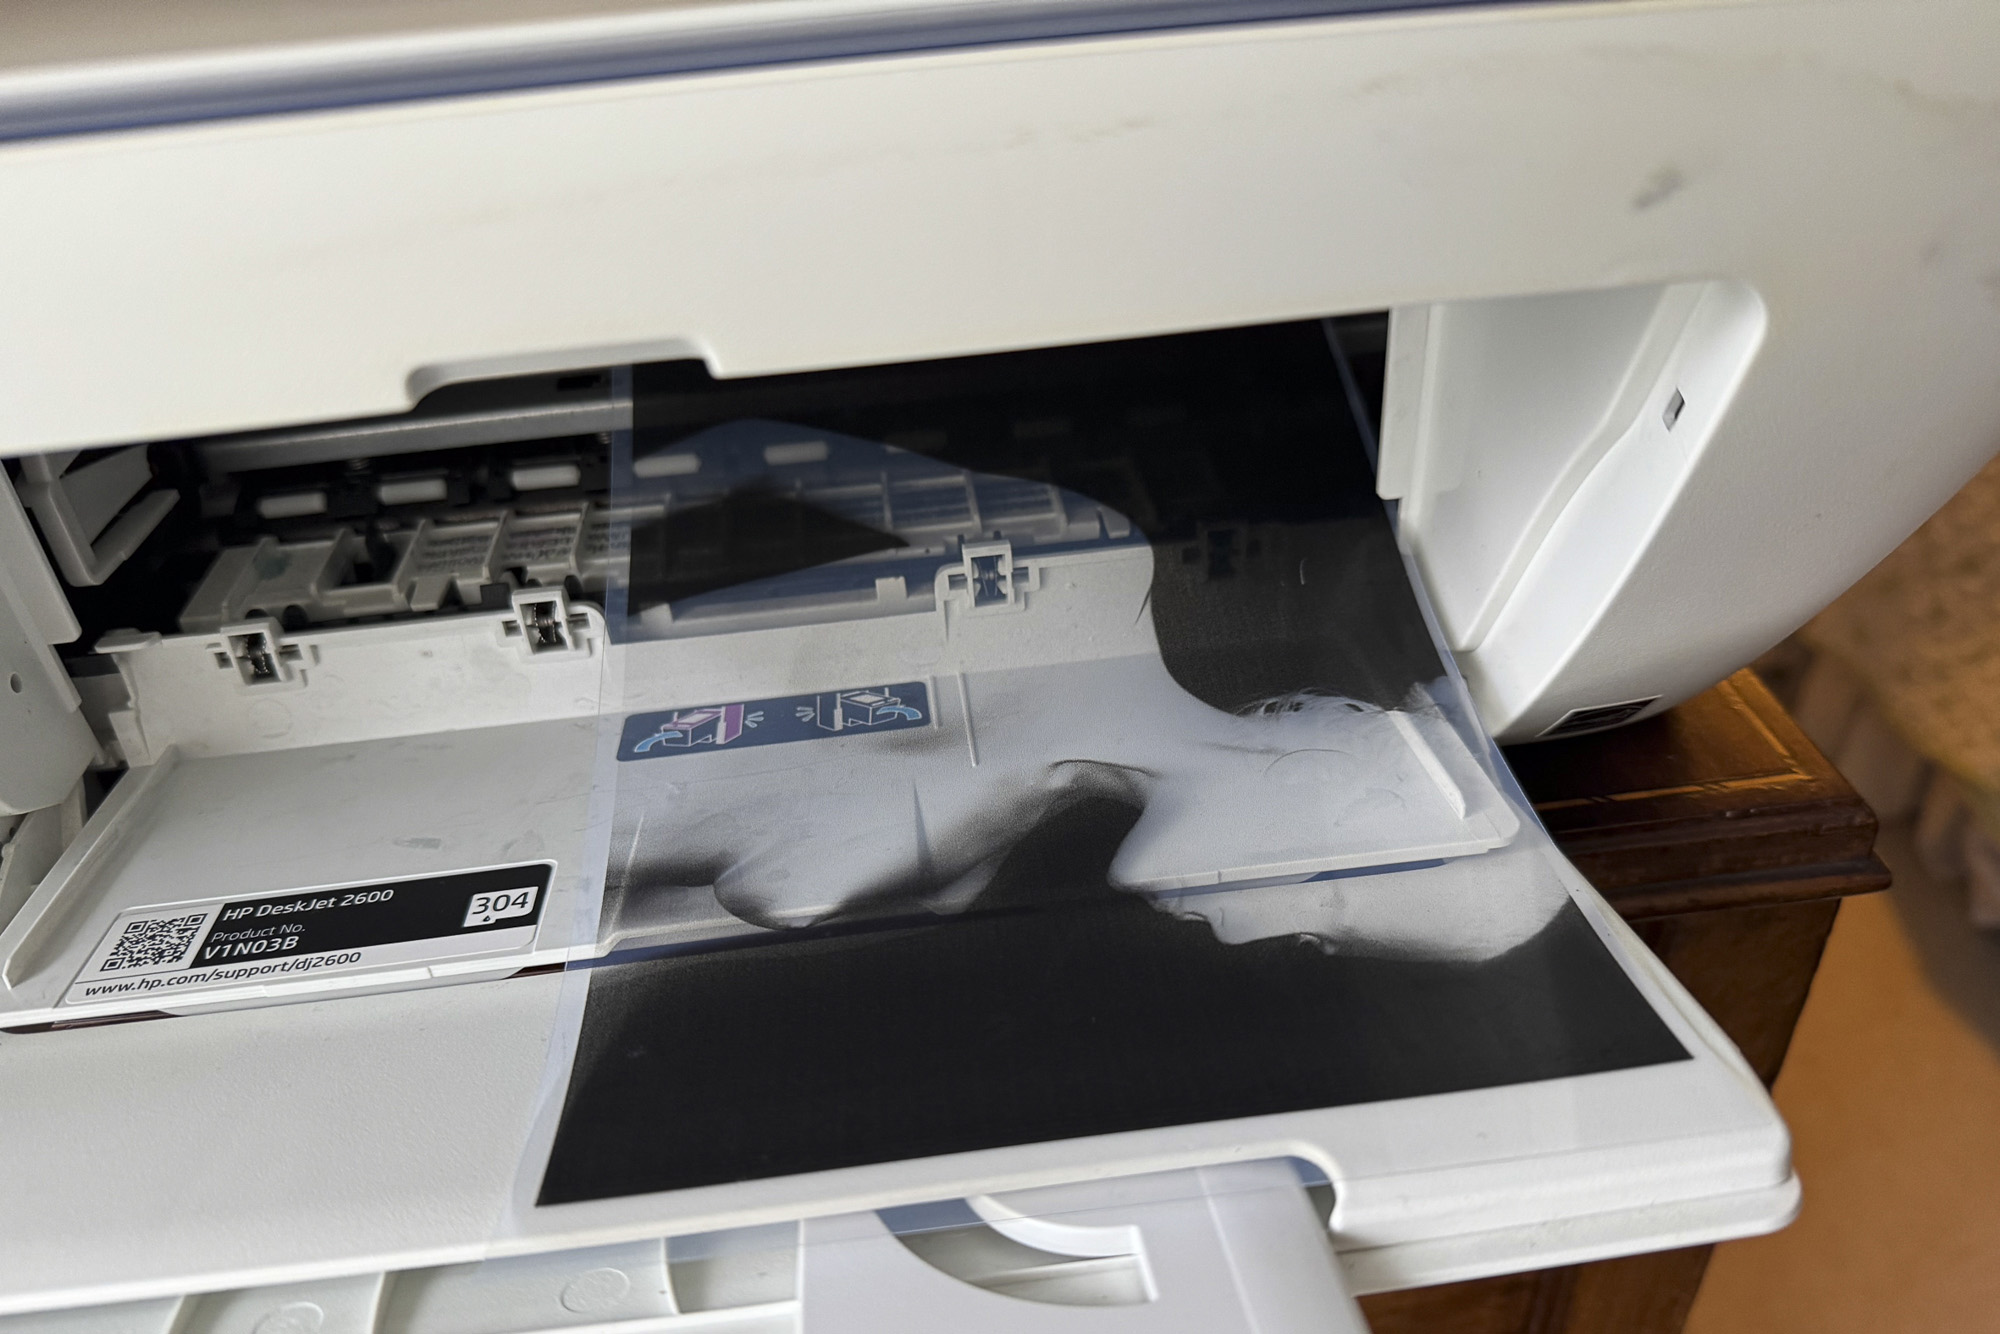
Once your image is prepared, use an inkjet printer to print it on transparency film. Set the media type to transparency and quality to maximum. Next, place the sheet of transparency film on top of your coated cyanotype paper, emulsion side down. Use clips or glass to keep paper and film flat and expose it with sunlight or a UV light.
10. Combine cyanotype exposures
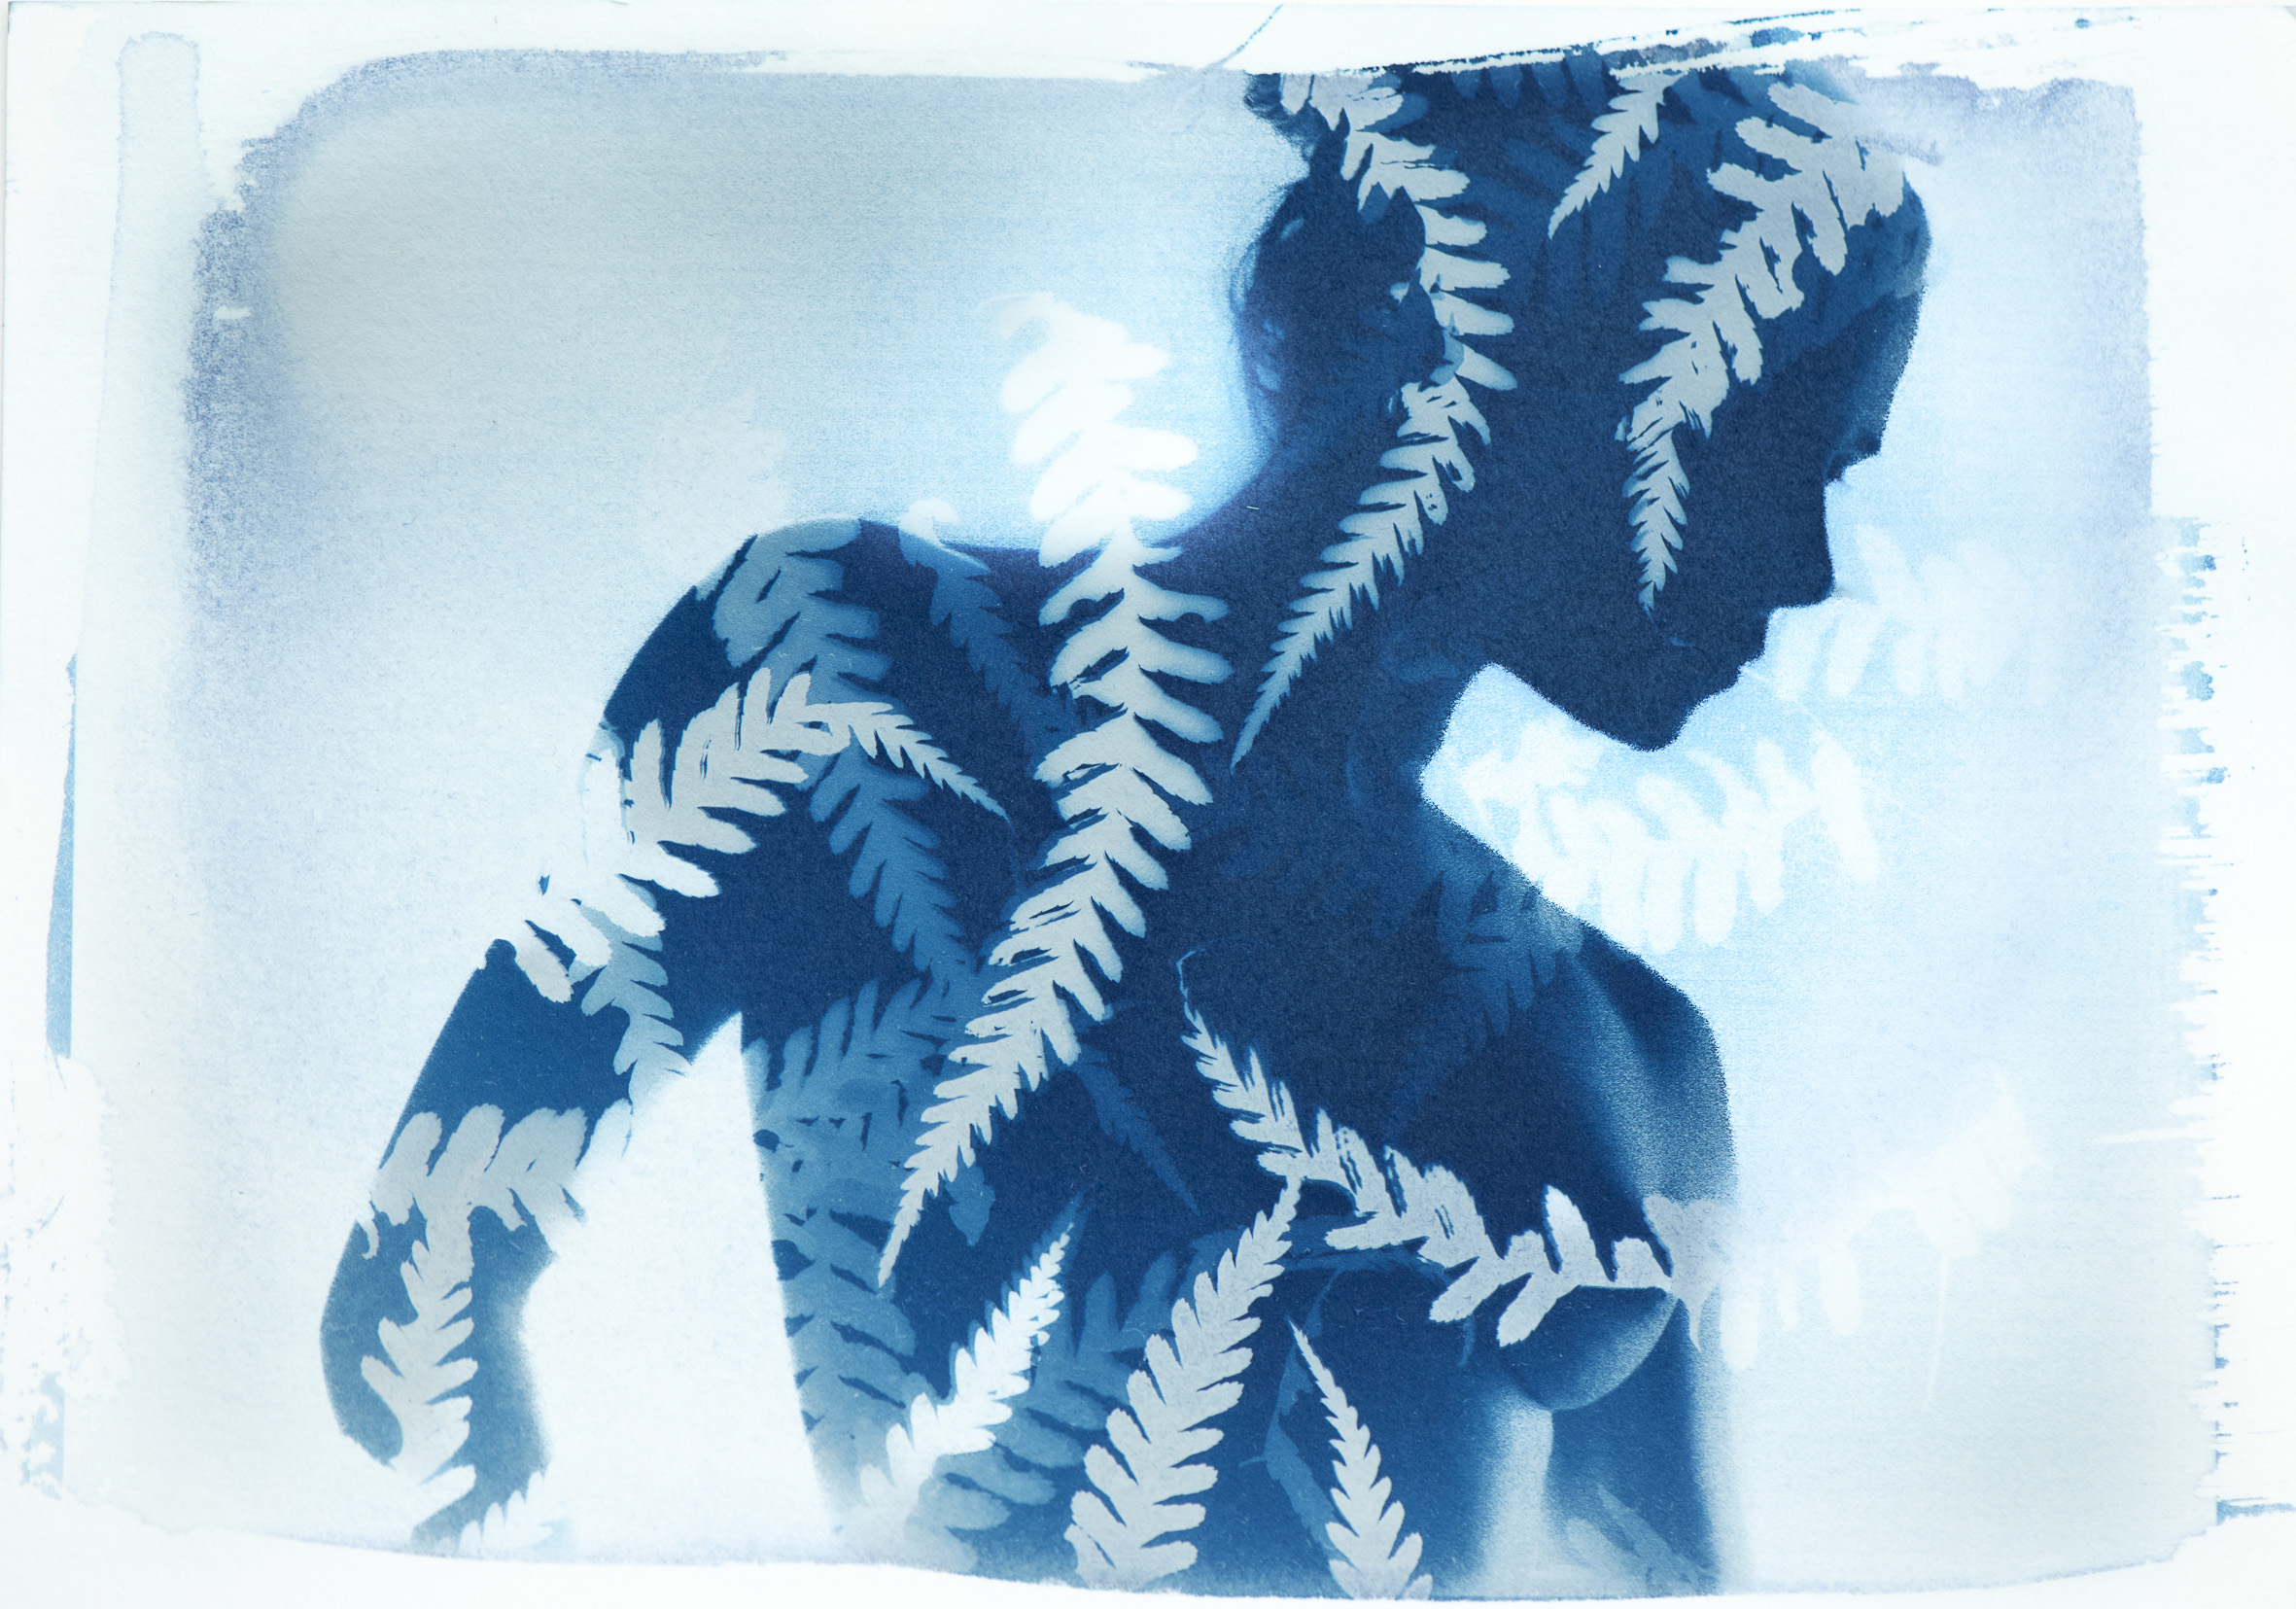
Once you’ve cracked the basics of cyanotype printing, there are all sorts of ways to get creative with your exposures. For instance, why not try combining a negative transparency with the photogram technique?
To do so, begin by printing out a photo on to a sheet of transparency (see above), then place this on top of your coated cyanotype paper and add other objects on top. This gives you an effect similar to a double exposure. For the best results, use a silhouette image with strong contrast or a simple, bold shape.
We combined a silhouette figure with fern leaves, then exposed it under a UV light for about five minutes. Halfway through the exposure, we added a few more leaves, so that some of the plant shapes came out semi-transparent.
PhotoPlus: The Canon Magazine is the world's only monthly newsstand title that's 100% devoted to Canon, so you can be sure the magazine is completely relevant to your system. Every issue comes with downloadable video tutorials too.
If you're serious about scenery, take a look at the best cameras for landscape photography along with the best lenses for landscapes.
Get the Digital Camera World Newsletter
The best camera deals, reviews, product advice, and unmissable photography news, direct to your inbox!
The lead technique writer on Digital Camera Magazine, PhotoPlus: The Canon Magazine and N-Photo: The Nikon Magazine, James is a fantastic general practice photographer with an enviable array of skills across every genre of photography.
Whether it's flash photography techniques like stroboscopic portraits, astrophotography projects like photographing the Northern Lights, or turning sound into art by making paint dance on a set of speakers, James' tutorials and projects are as creative as they are enjoyable.
He's also a wizard at the dark arts of Photoshop, Lightroom and Affinity Photo, and is capable of some genuine black magic in the digital darkroom, making him one of the leading authorities on photo editing software and techniques.
