Create wet plate collodion portraits with this photo-editing trick
We show you how to recreate the collodion process for enhanced detail in Affinity Photo 2
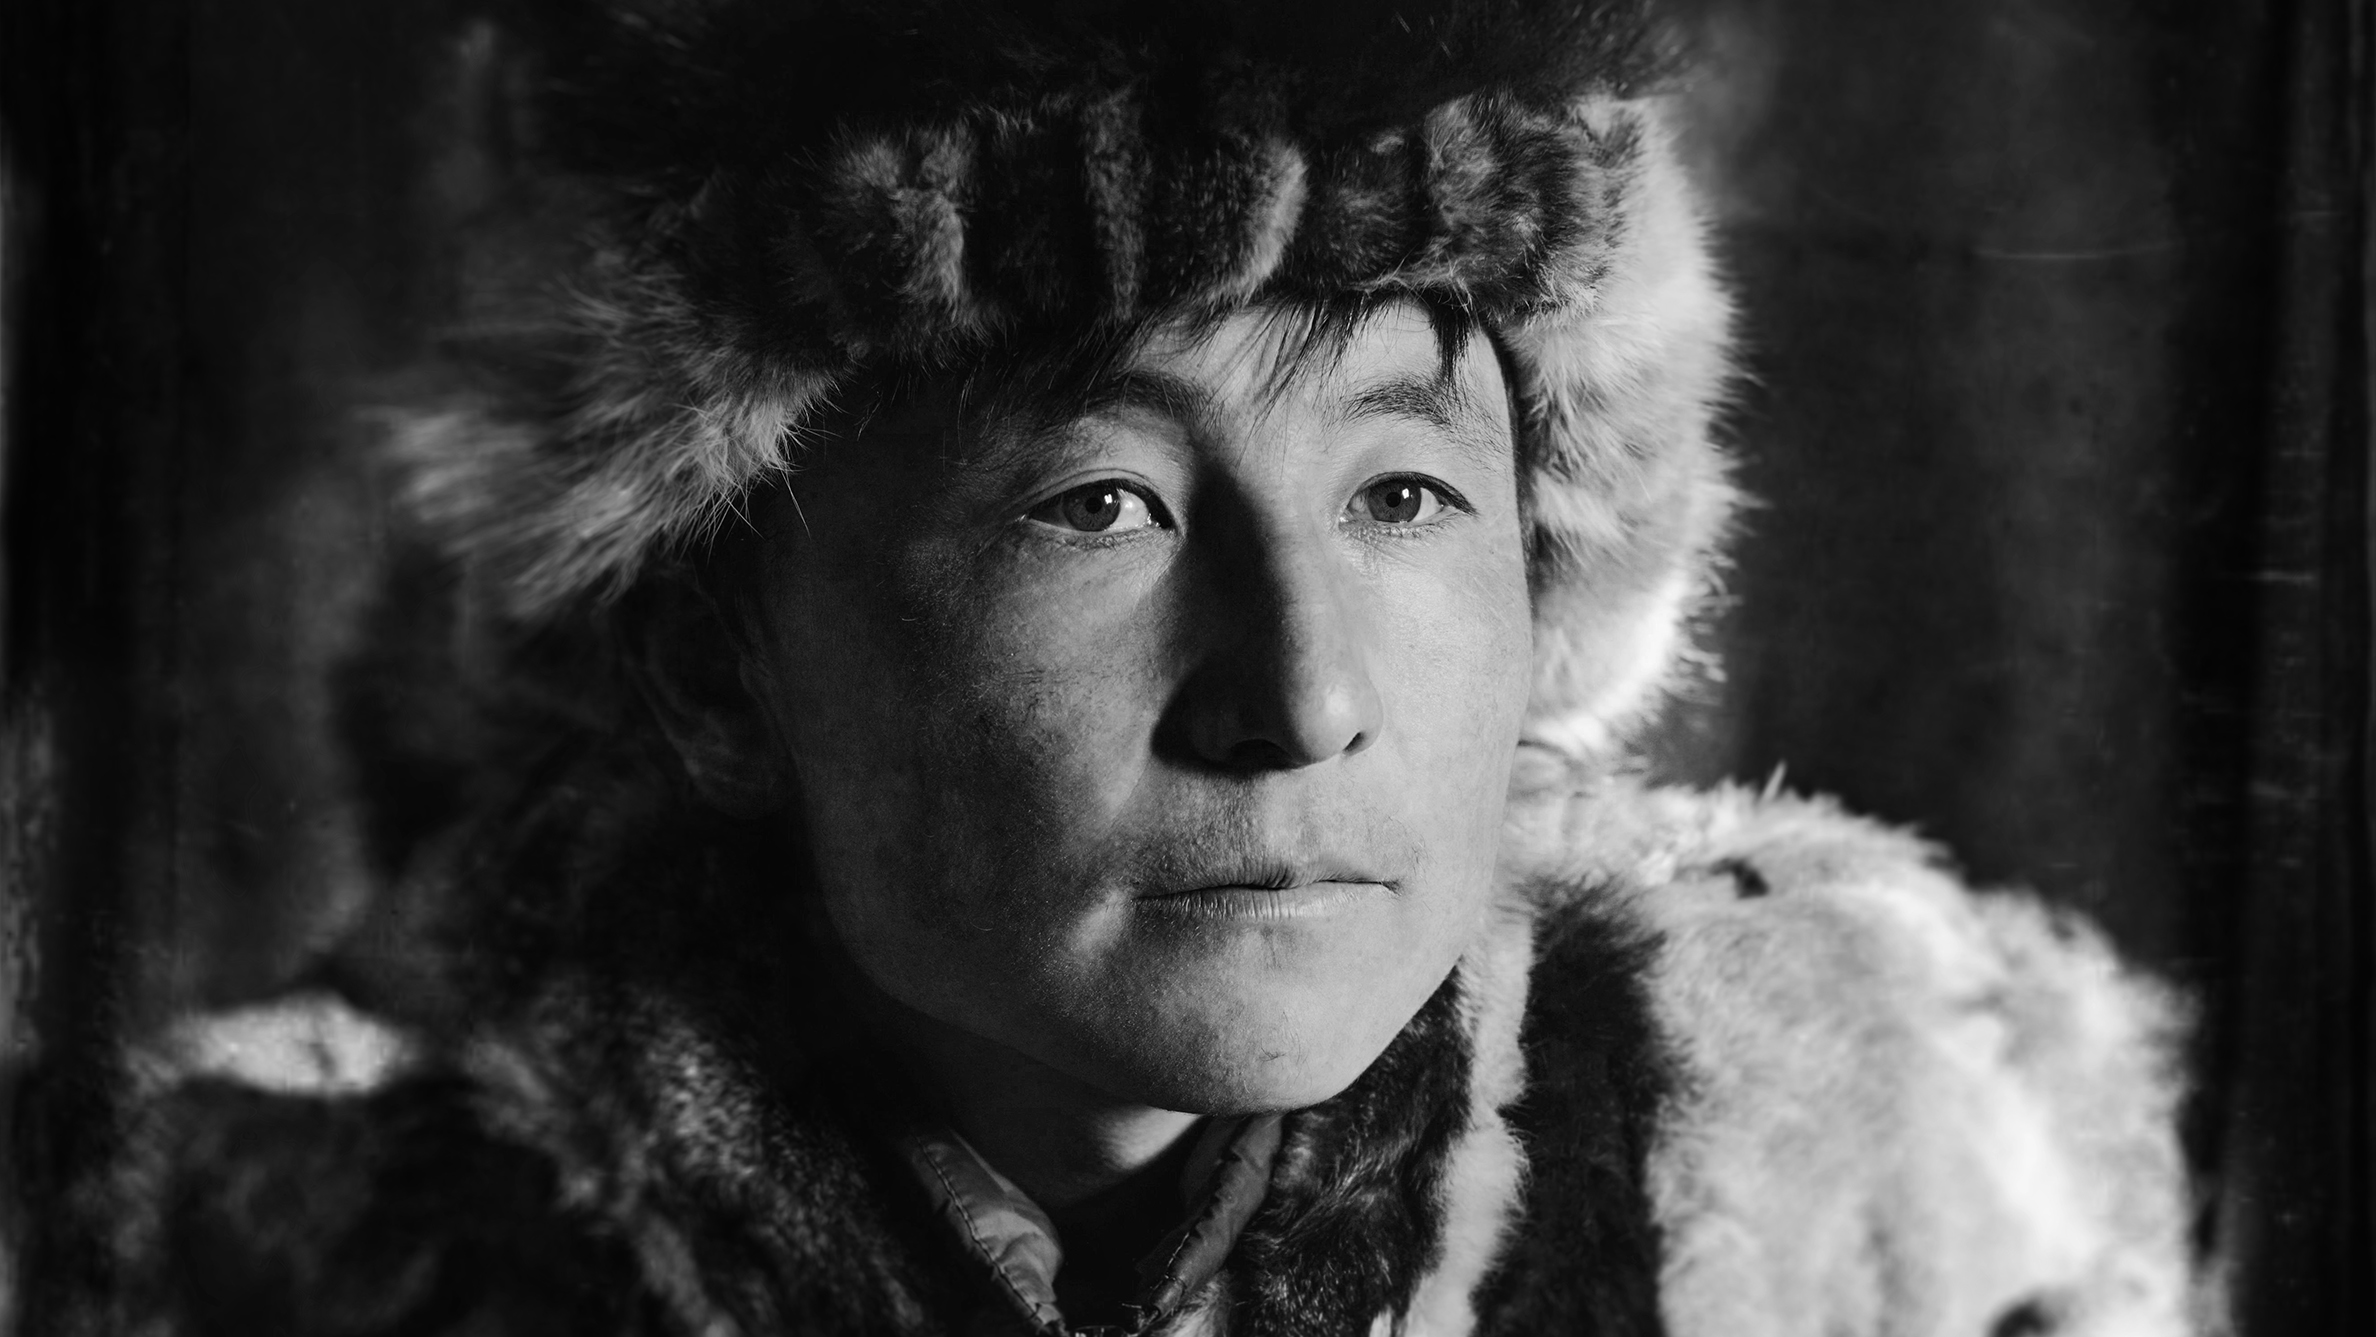
The collodion process, invented by Frederick Scott Archer in 1851, revolutionized photographic printing in the 19th century by introducing glass negatives that provided unparalleled clarity and detail.
The distinctive look of this effect remains popular among photographers today, as it sharply focuses on the subject’s features with high concentration. We show you the steps you’ll need to achieve this look in Affinity Photo 2.
What you'll be using:
- High Pass Filter
- Elliptical Blur
- Black and White Adjustment Layer
- Curve Adjustment Layer
- Levels Adjustment Layer
Before and after
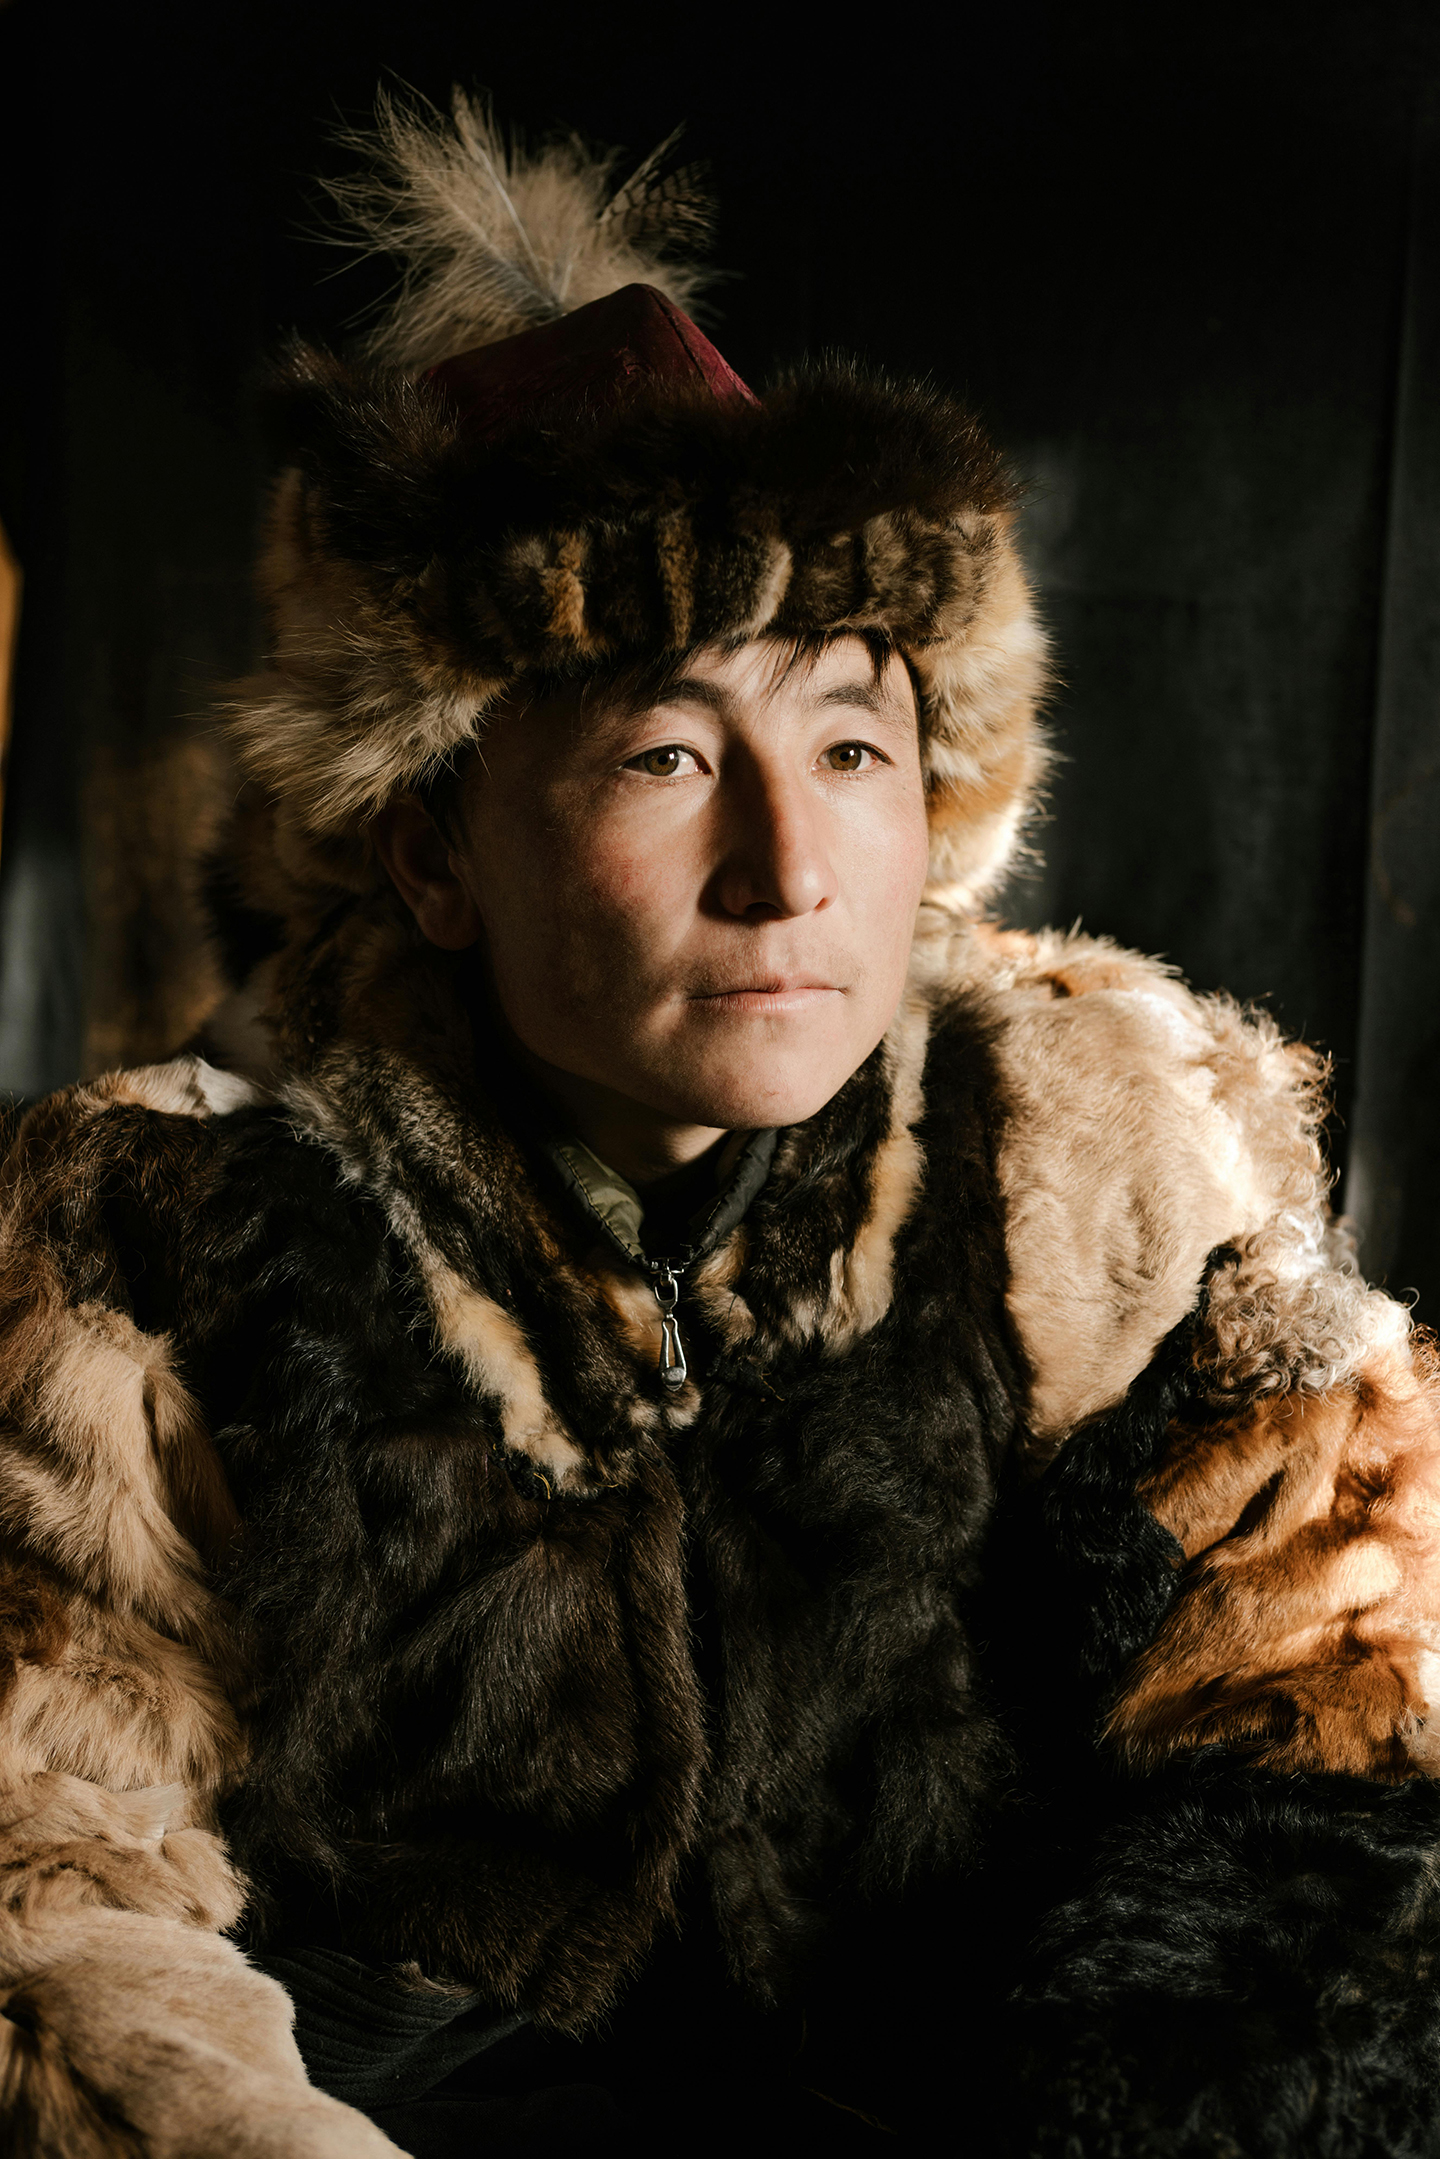
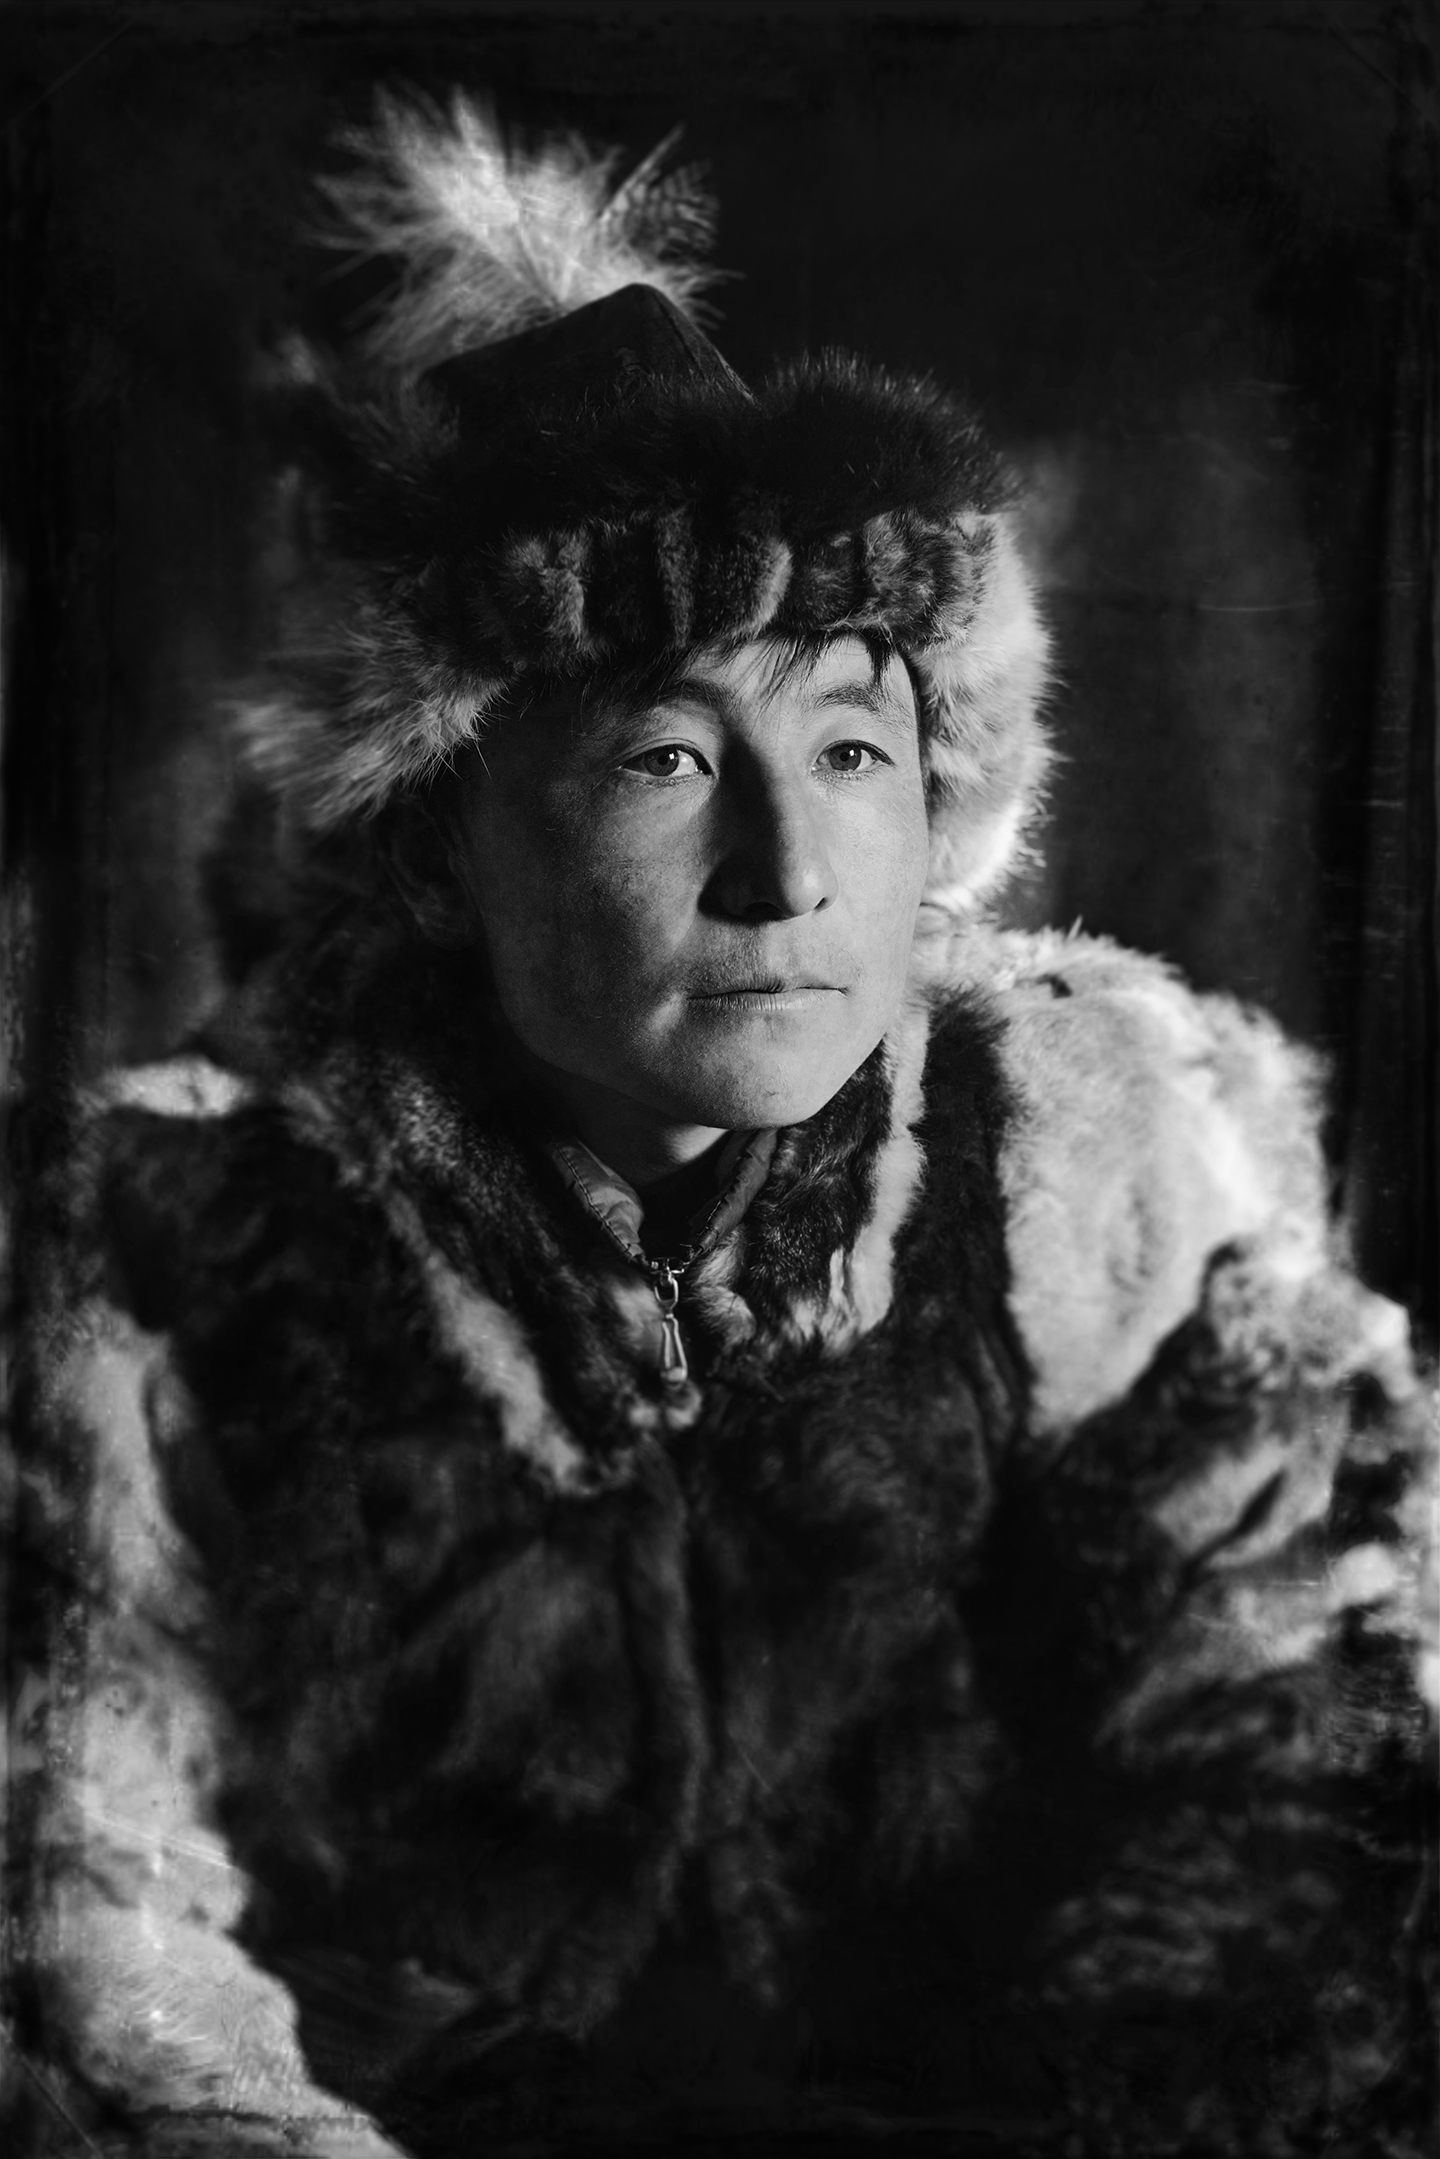
Editing steps
1. Sharpen
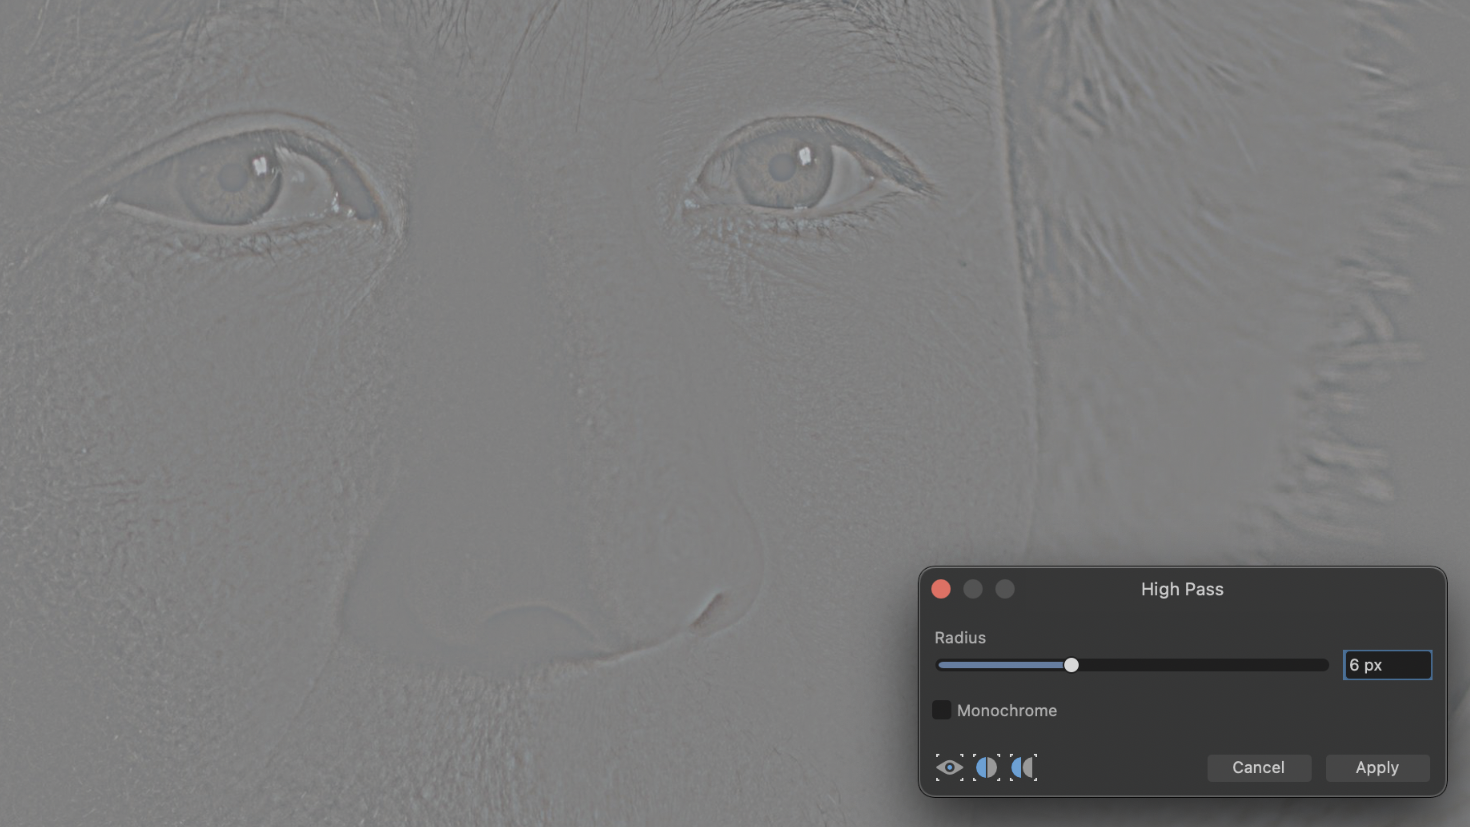
As we will blend in some effects, sharpness matters. So first copy the Background layer. Next, go into the Filter menu, open the Sharpen section and select the High Pass option. Now select a Radius of about 10px and apply this filter. Then change the Blend Mode of the upper layer to Overlay.
2. Mimic edge blur
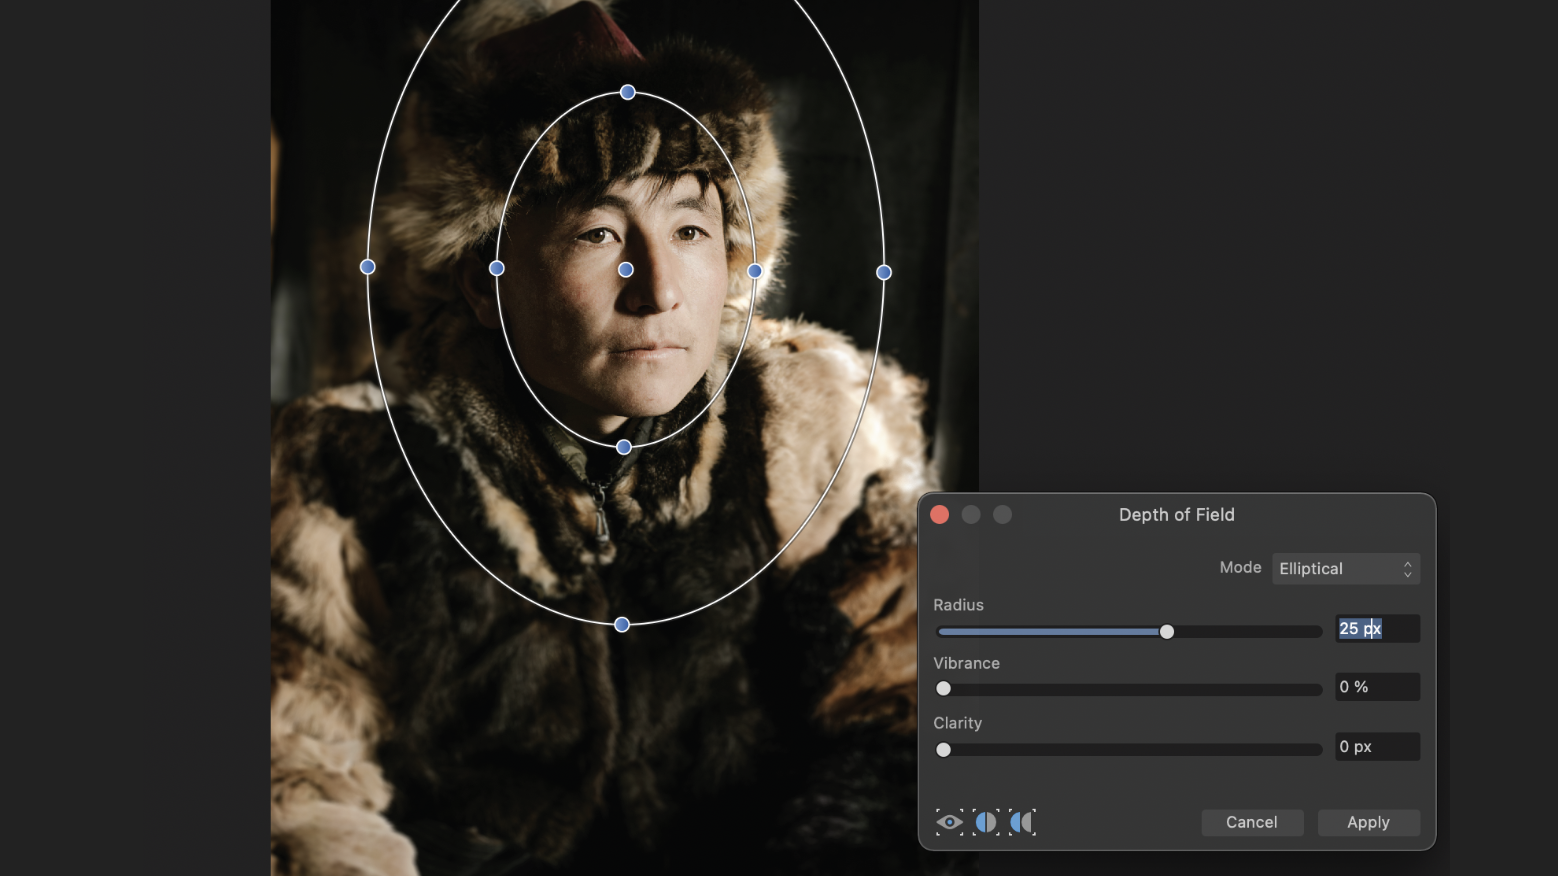
Select the Background layer, open the Layer option, click Blur and select Depth of Field Blur Filter – choose Elliptical from the two Mode options. On the image, place the two circles over the subject’s face so that it isn’t affected by the blur filter. Now set a Radius of about 25px.
3. Change to monochrome
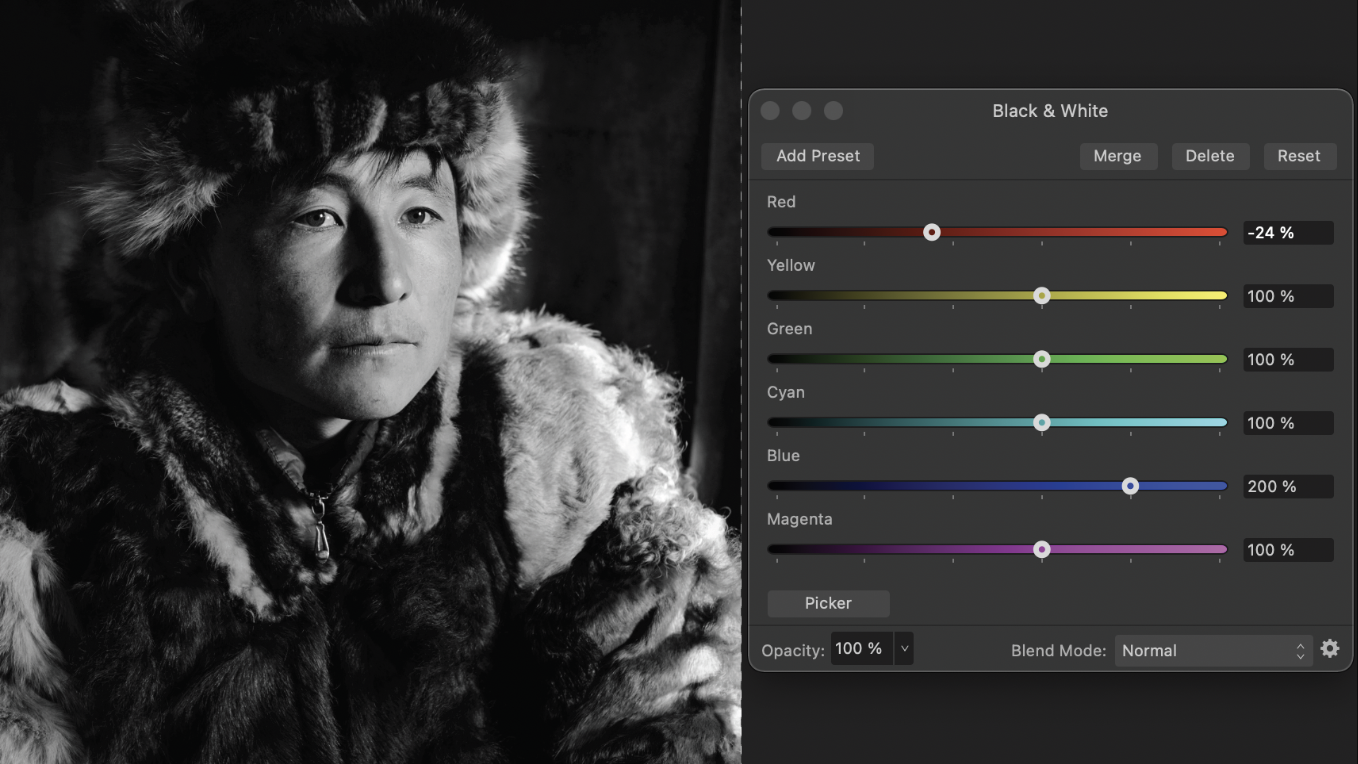
Add a Black and White Adjustment layer. To control the monochrome tones, adjust the sliders from the Red to the Magenta. By increasing or decreasing each of the sliders, you can control the tones in their luminosity and achieve a striking contrast of black and white values.
4. Balance values
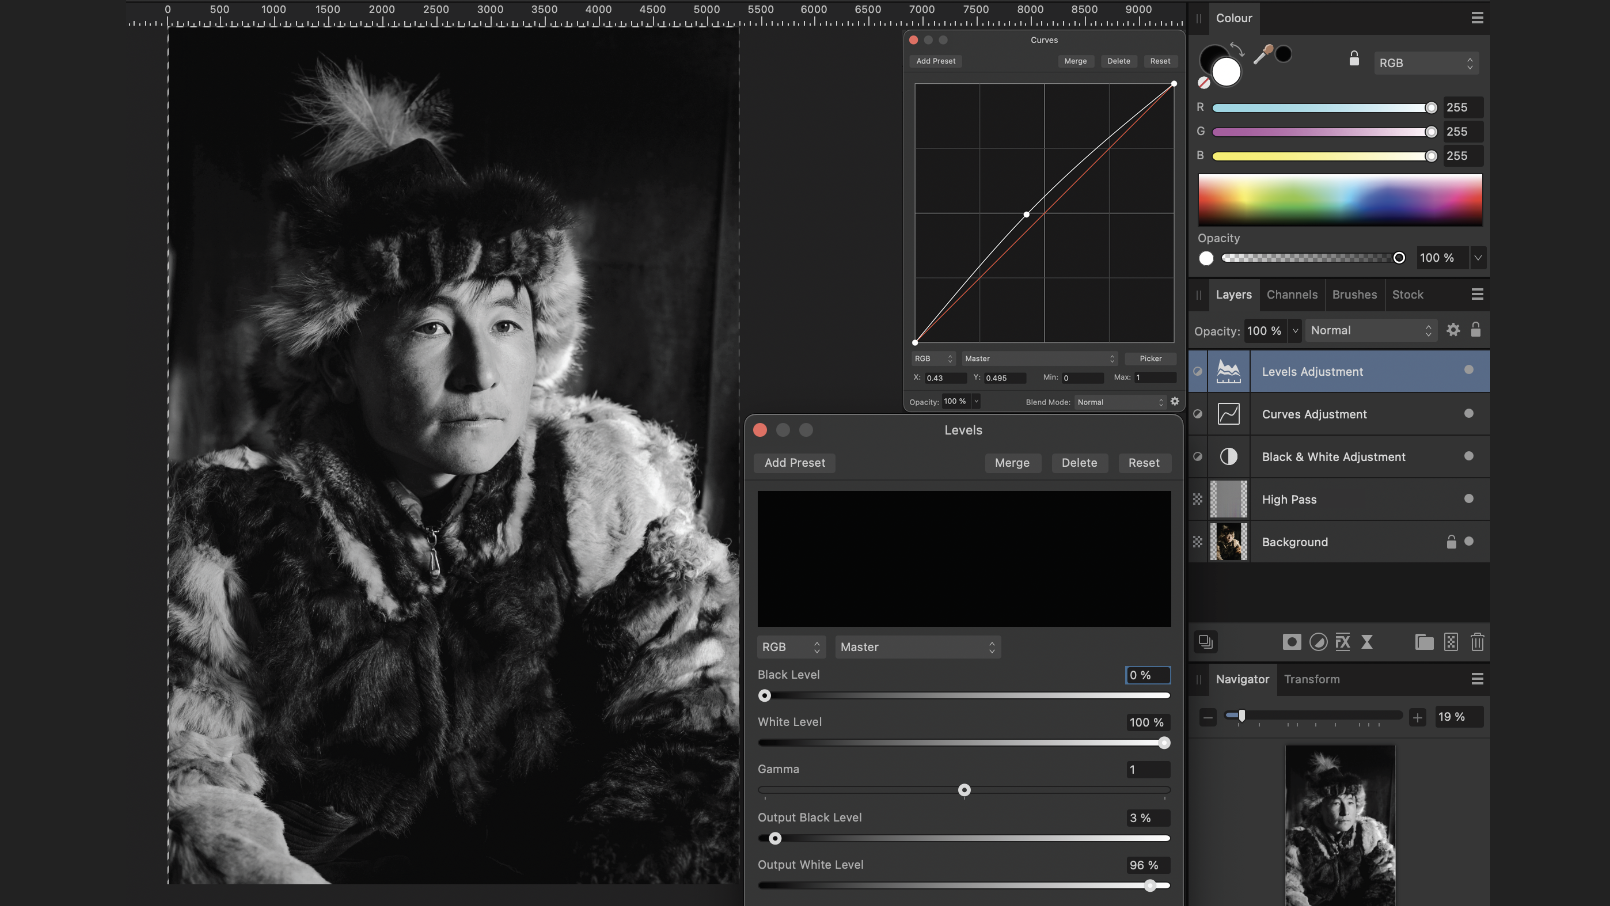
To create an authentic collodion effect, we need to lighten and dull the image. To do this, add a Curve Adjustment Layer and move the curve’s middle dot to the left. Now, add a Levels Adjustment Layer, raise the Output Black Level slightly and reduce the Output White Level by a similar amount.
5. Add texture
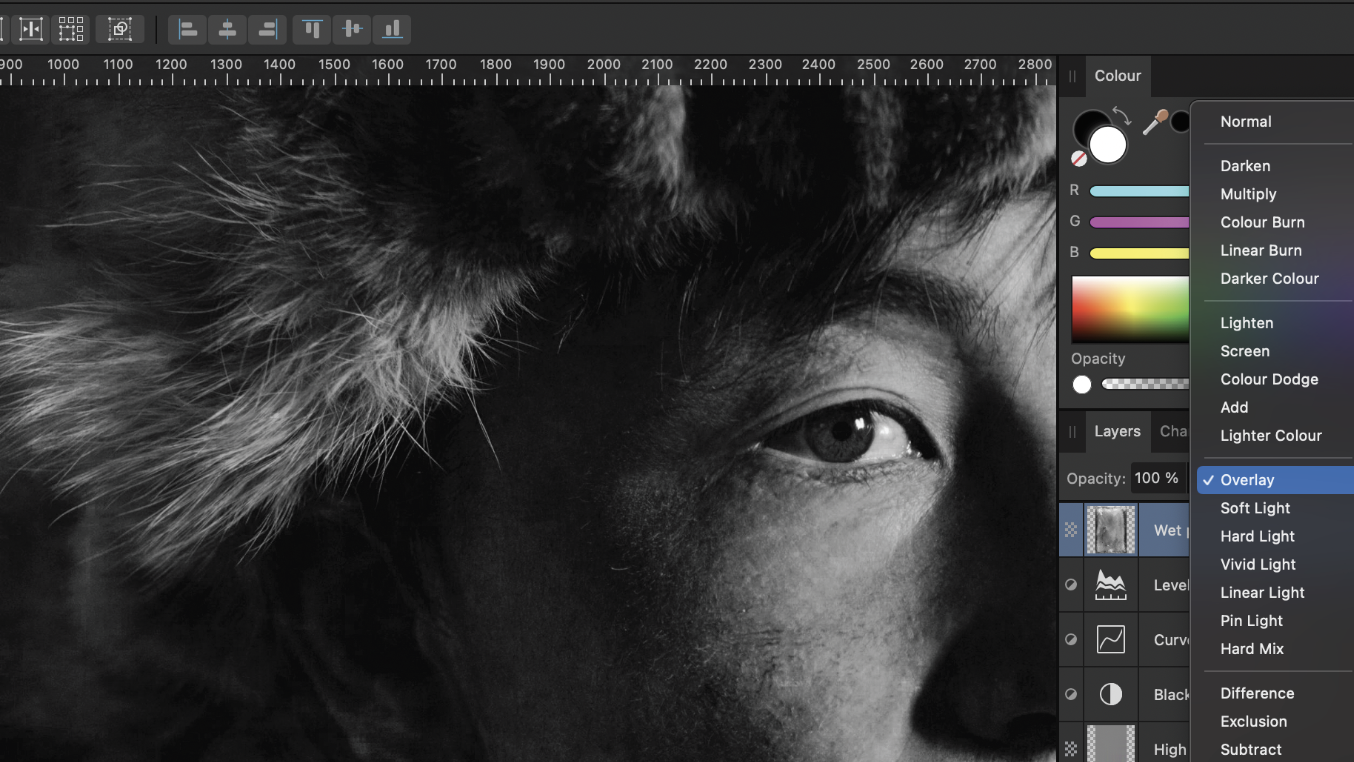
Go online and search for ‘wet plate collodion textures’. Add this image on top of your existing layers. Use the Move Tool to adjust the size. Change the Blend mode to Overlay. Balance the effect via the Layer Opacity. Adding grain is optional, for this create a New Live Filter Layer and select Add Noise.
Key tip
Add vintage features
By adding a frame or a toning effect, you can take this effect further. For the latter, make use of the Gradient Map Adjustment Layer and adjust the dots of the tonal range. Here sepia, selenium, or cyanotype are popular toning choices for this look.
This article originally appeared in Digital Photographer, a monthly magazine, and the kitbag essential for pros, enthusiasts, and amateurs alike!
Inside, you'll find practical guides, shooting tips, and techniques from working photographers, plus all the latest industry news.
Affinity Photo tutorials, tips and ideas: 26 full photo-editing tutorials with videos
Get the Digital Camera World Newsletter
The best camera deals, reviews, product advice, and unmissable photography news, direct to your inbox!

Kim is the Staff Writer on Digital Camera World, and formerly Technique Editor at Digital Photographer, focusing on the art and science of photography. With a Master’s degree in Photography and Media, she is driven to educate through an analytical approach, visually and technically. With her guides and tutorials, Kim seeks to uncover new facets of this time-honoured medium and foster a deeper understanding of its profound role in culture. Kim highlights topics that resonate with modern society, including women in photography and critical issues such as environmental conservation. She also discusses and reviews camera gear, giving you an overview to find the best fit for your photography journey.
