How to take edgy fashion portraits with one light, part one: The shoot
How to create a fashion look with natural light and one off-camera flash, for portrait photos with impact
For quite some time after I picked up my first DSLR (a Canon EOS 5D Mark II) I saw some great images knocking around, and remember thinking to myself, “Do these people just have a better camera than me?”
In the end, the penny dropped and I began to understand that their success came down to the lighting setups. I now shoot images with a combination of natural light and off-camera flash. While neither style is better than the other, introducing artificial light if you haven’t done so before can add another arrow to your photography arsenal.
• Read more: Best flashguns, strobes and speed lights
I have two lights in my kit bag, but will very rarely use them both. Using just a single light with a mixture of available natural light can create a blend of contrast, tone and shape for a portrait that packs just a little more punch.
Even if you have a basic knowledge of studio lighting, you can easily bring that onto location to start shooting images with interesting backgrounds and the helpful use of the sun to enhance the rest of the frame. Or by using the sun to backlight and your off-camera flash as a fill light for your subject. Let’s have a look at a simple single-light setup to get some easy but effective fashion shots in the can.
The setup
Camera and lens choice
I was shooting on the Fujifilm GFX 100S as the main camera. For me, the color that comes out of the Fujifilm system is just perfect. I used the Fujifilm GF 63mm f/2.8 R WR, which is one of the smaller lenses – I find the less bulk the better.
Lighting placement
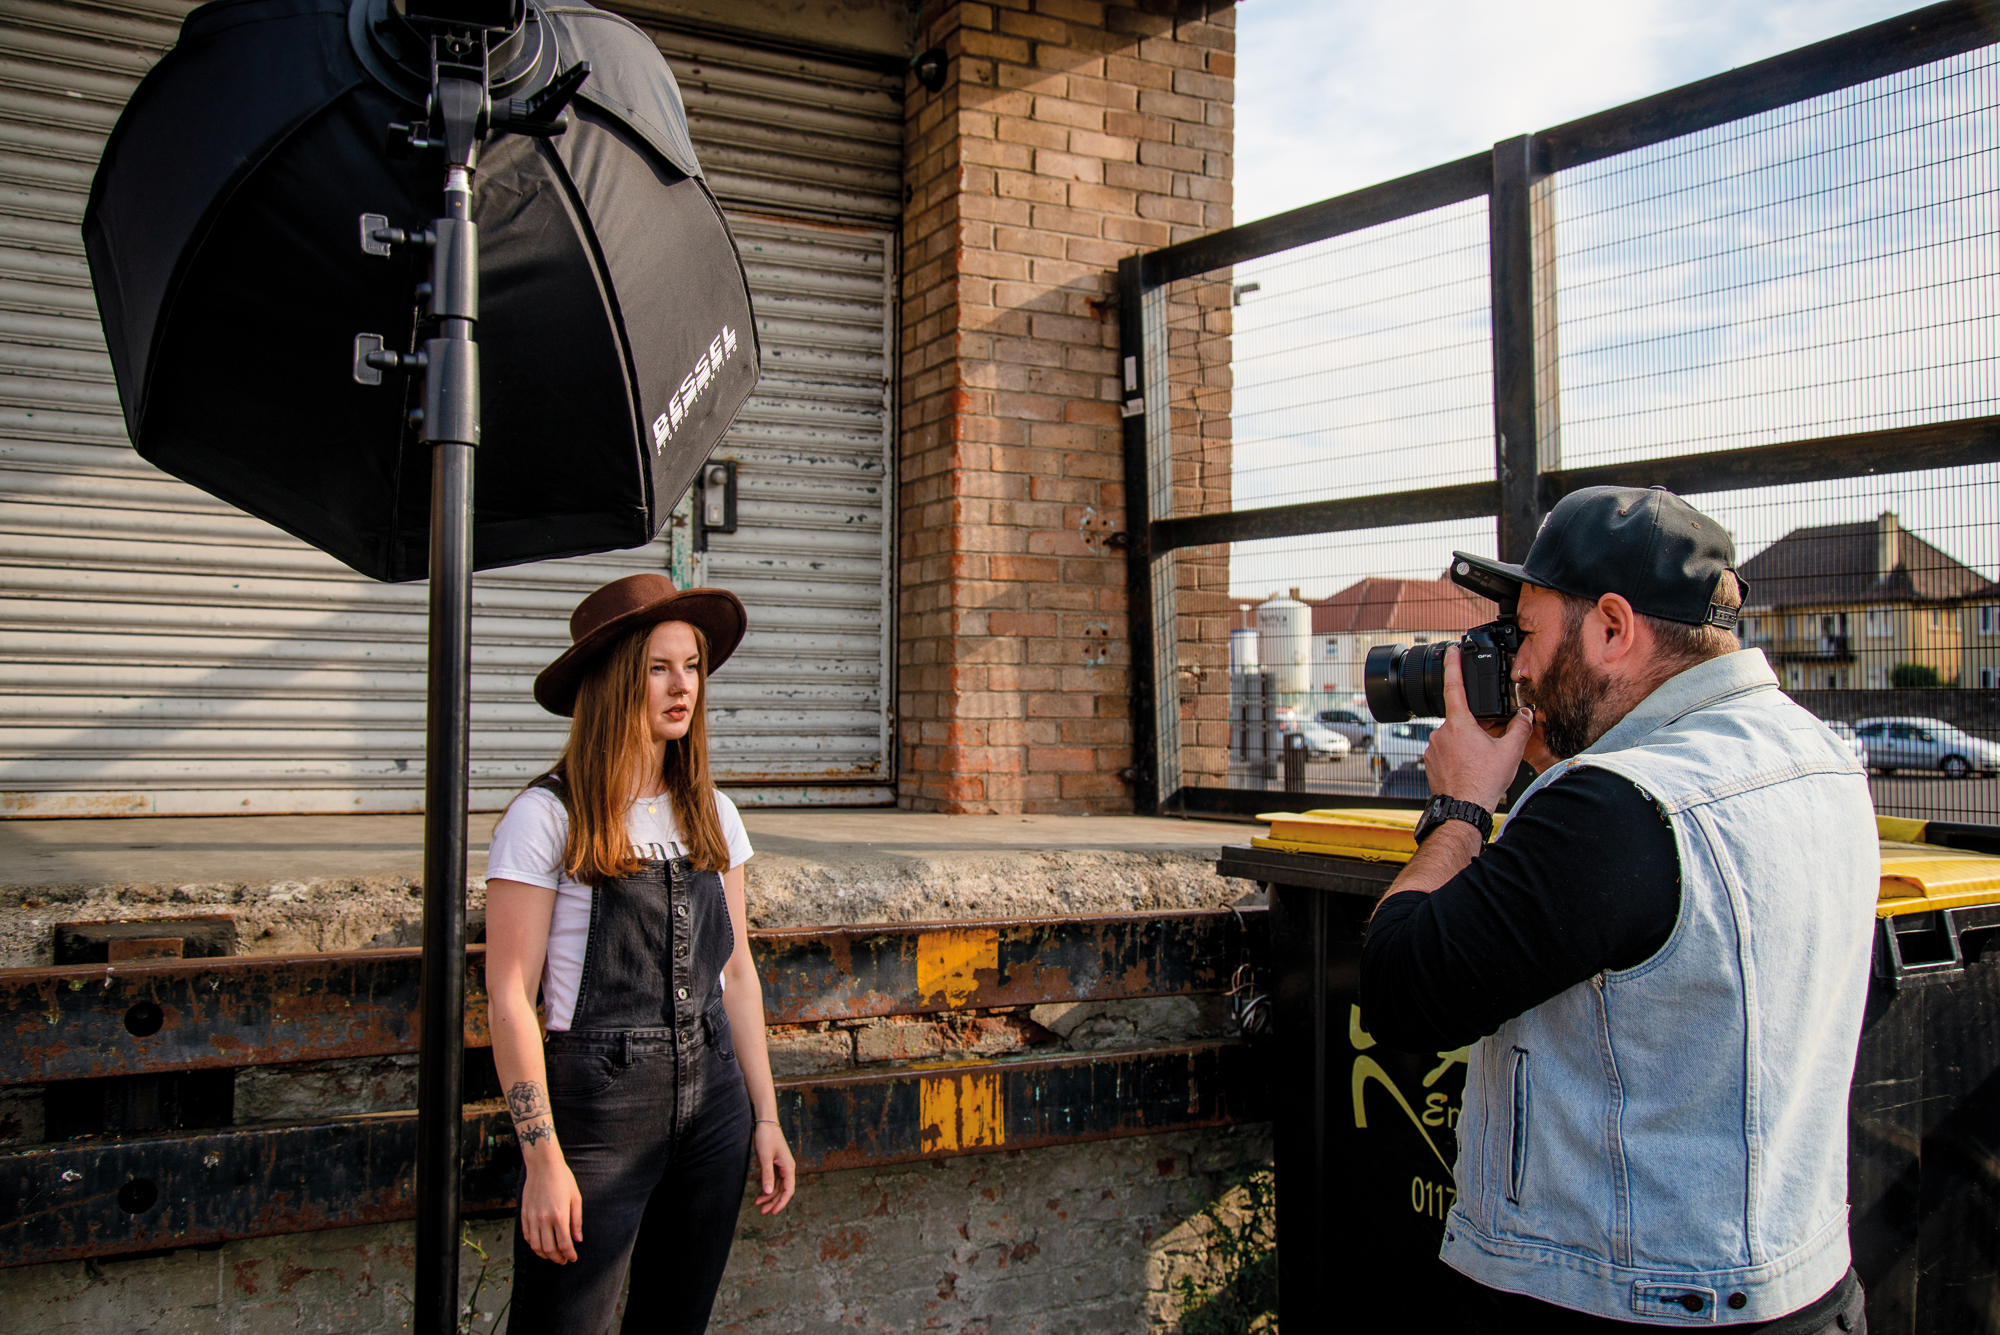
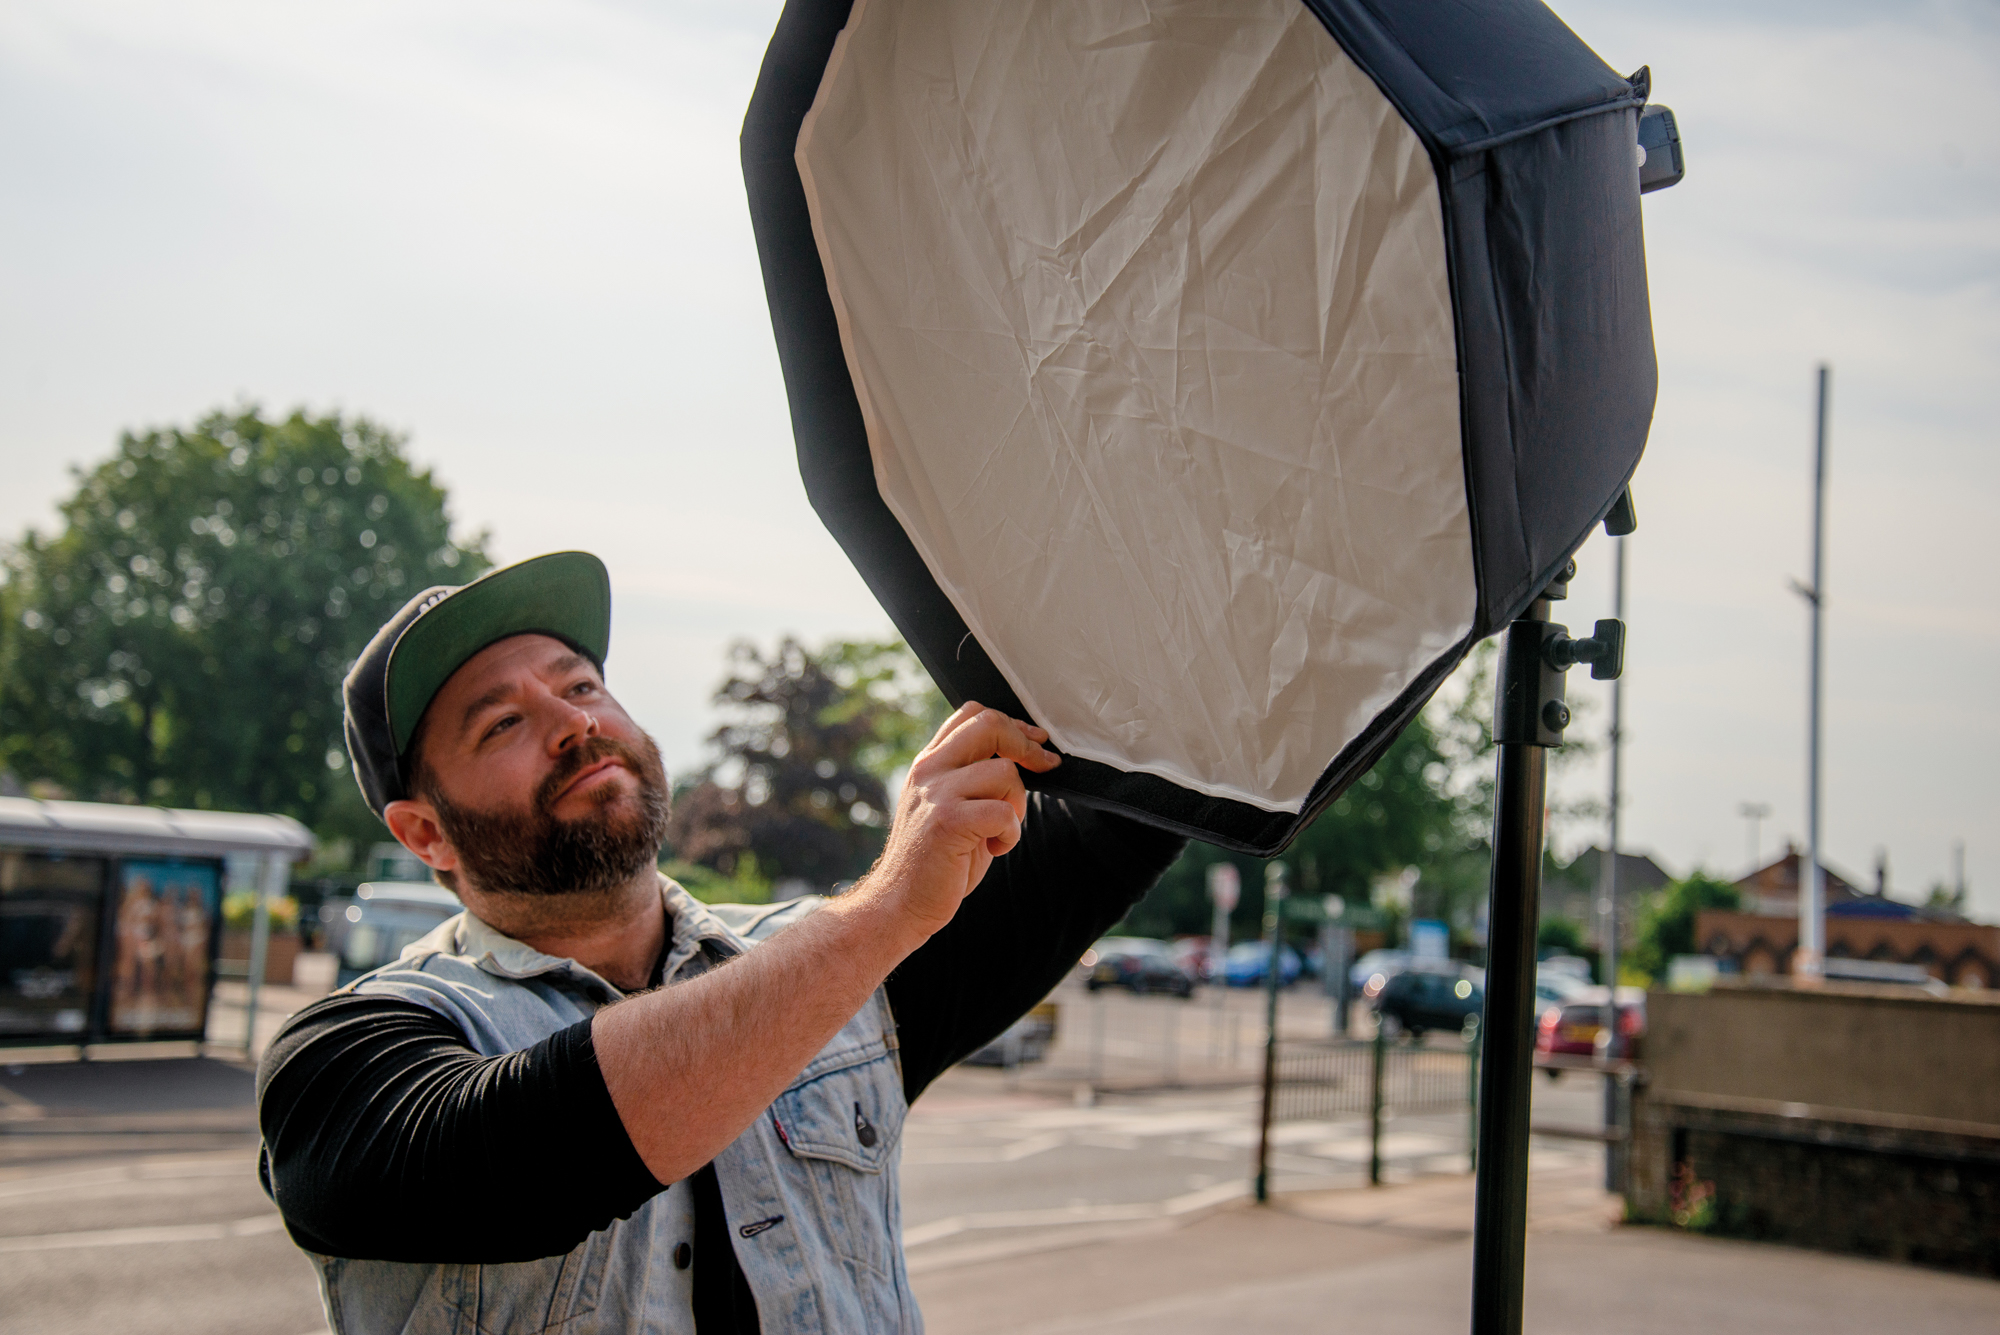
Off to one side at around 45° is a good place to start, about 6 feet from your model. Make sure that it’s at least head height or above, to retain a more flattering light. When shooting on location I’ll remove the honeycomb to allow a little light to spill onto the background – but not too much.
Model direction
Fashion can be relaxed, and often less is more. I find that when I’m talking to models is a good time to shoot, as they are often engaged with the camera. Try not to guide people into positions that feel difficult to hold, as it will show through. After a couple of good images are shot, show them.
Shooting handheld
I don’t even own a tripod; I shot with one once and I felt it completely hindered me. Shooting handheld will enable you to be far more spontaneous and use smaller adjustments to find just the right angle for the shot. Plus, there’s less to carry – which I’m all in favor of.
The shooting steps
01. Find location and prep model
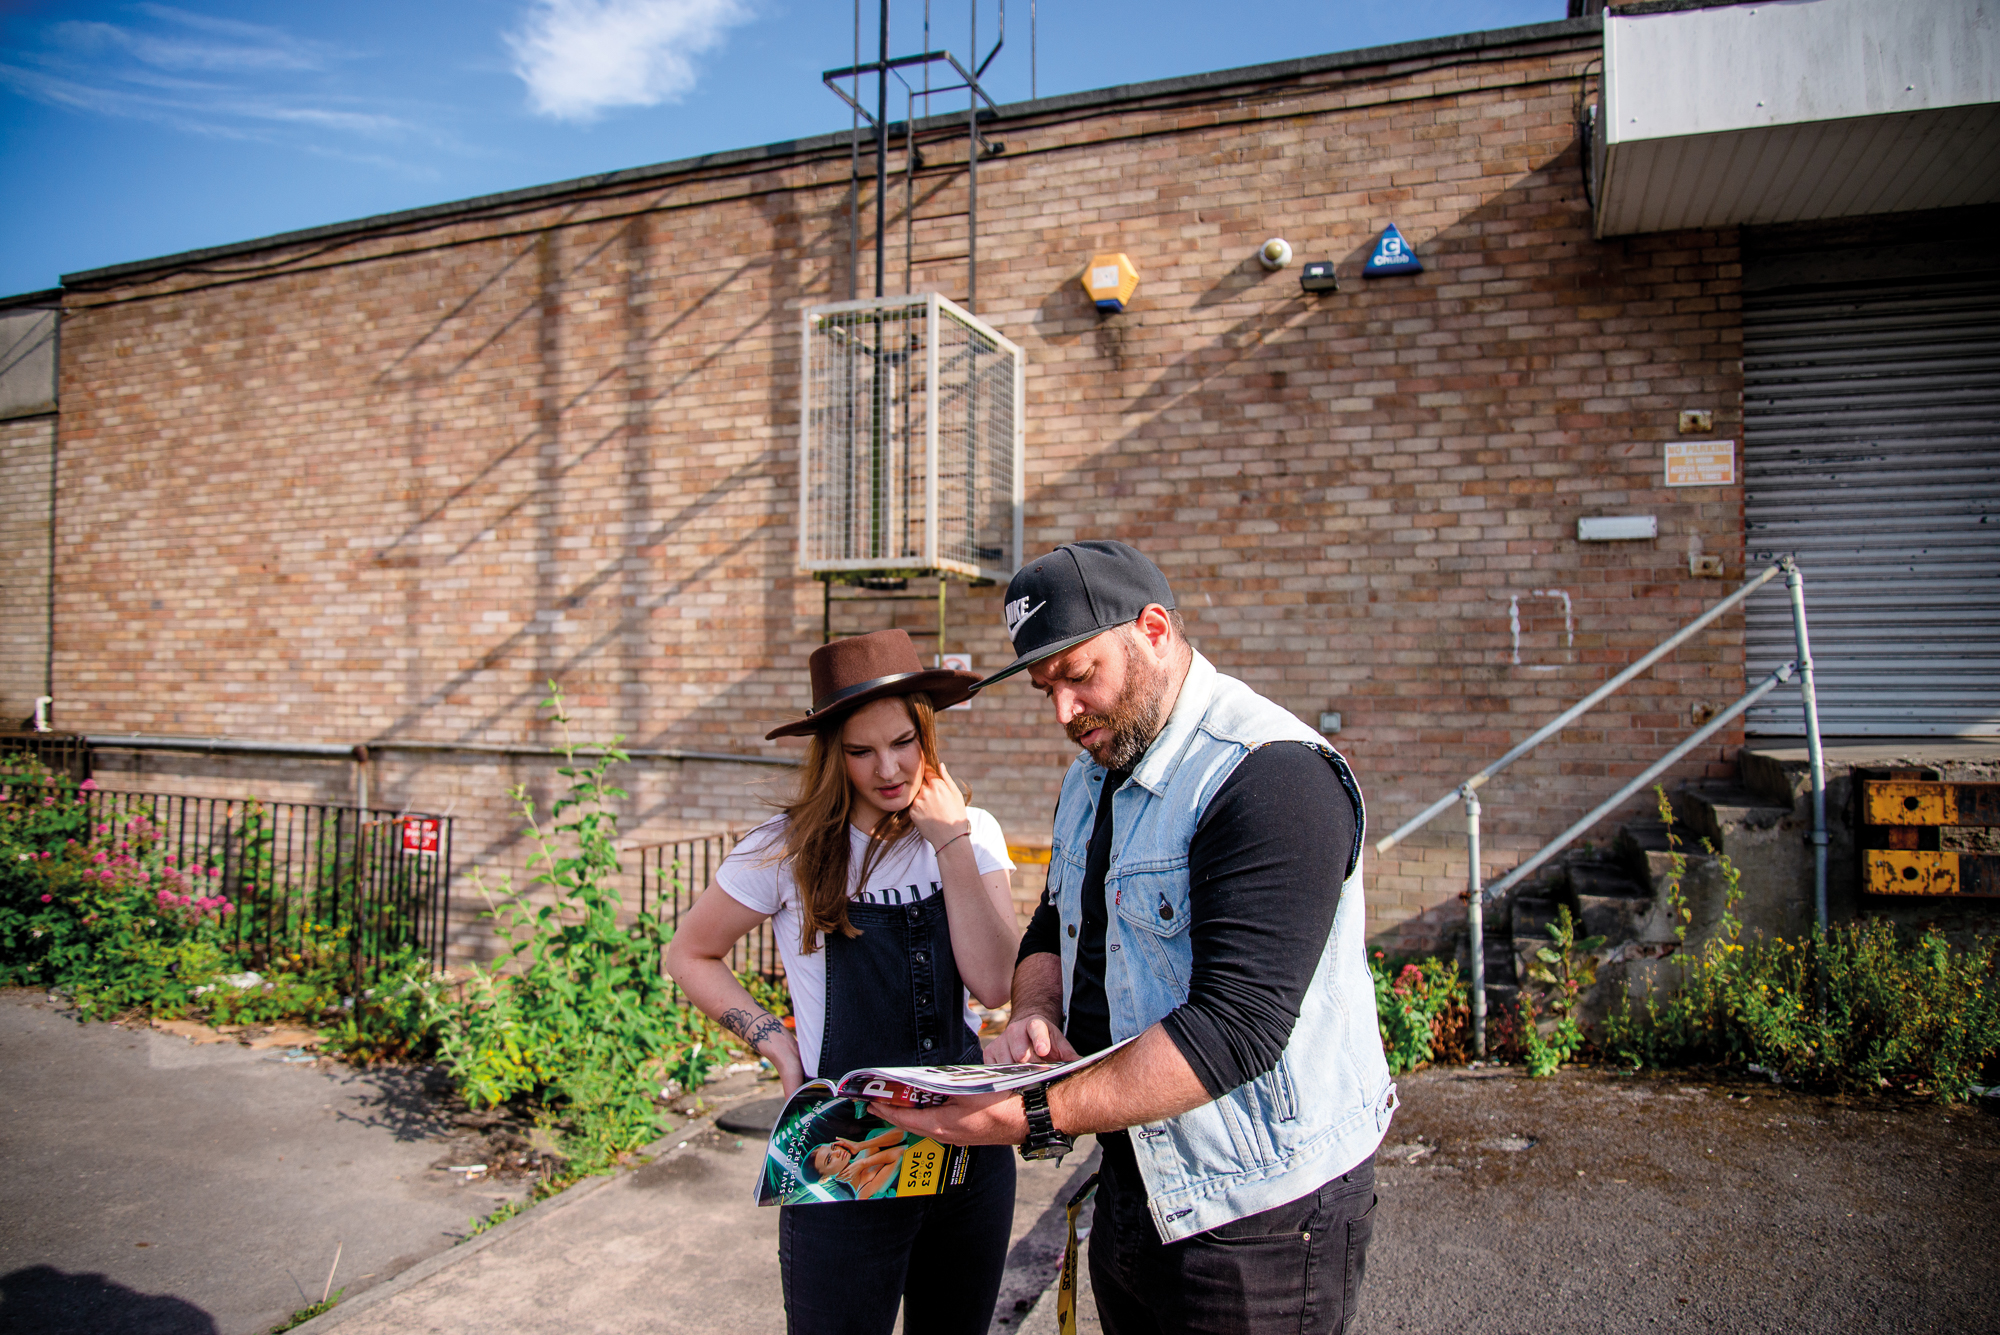
I like to find gritty locations which work well with a clean outfit and will often bring a lot of texture to your shots. I showed the model, Rhiane, a few previous shoots, as it always helps if you can show your subjects mood boards or example images.
02. Position the light
It doesn’t matter if you place your light to the left or right, but around 45° to the side and at a 45° angle facing down to your subject is a good place to start. Of course, the further round you move, the more dramatic the shadows will become.
03. Turn exposure simulation off
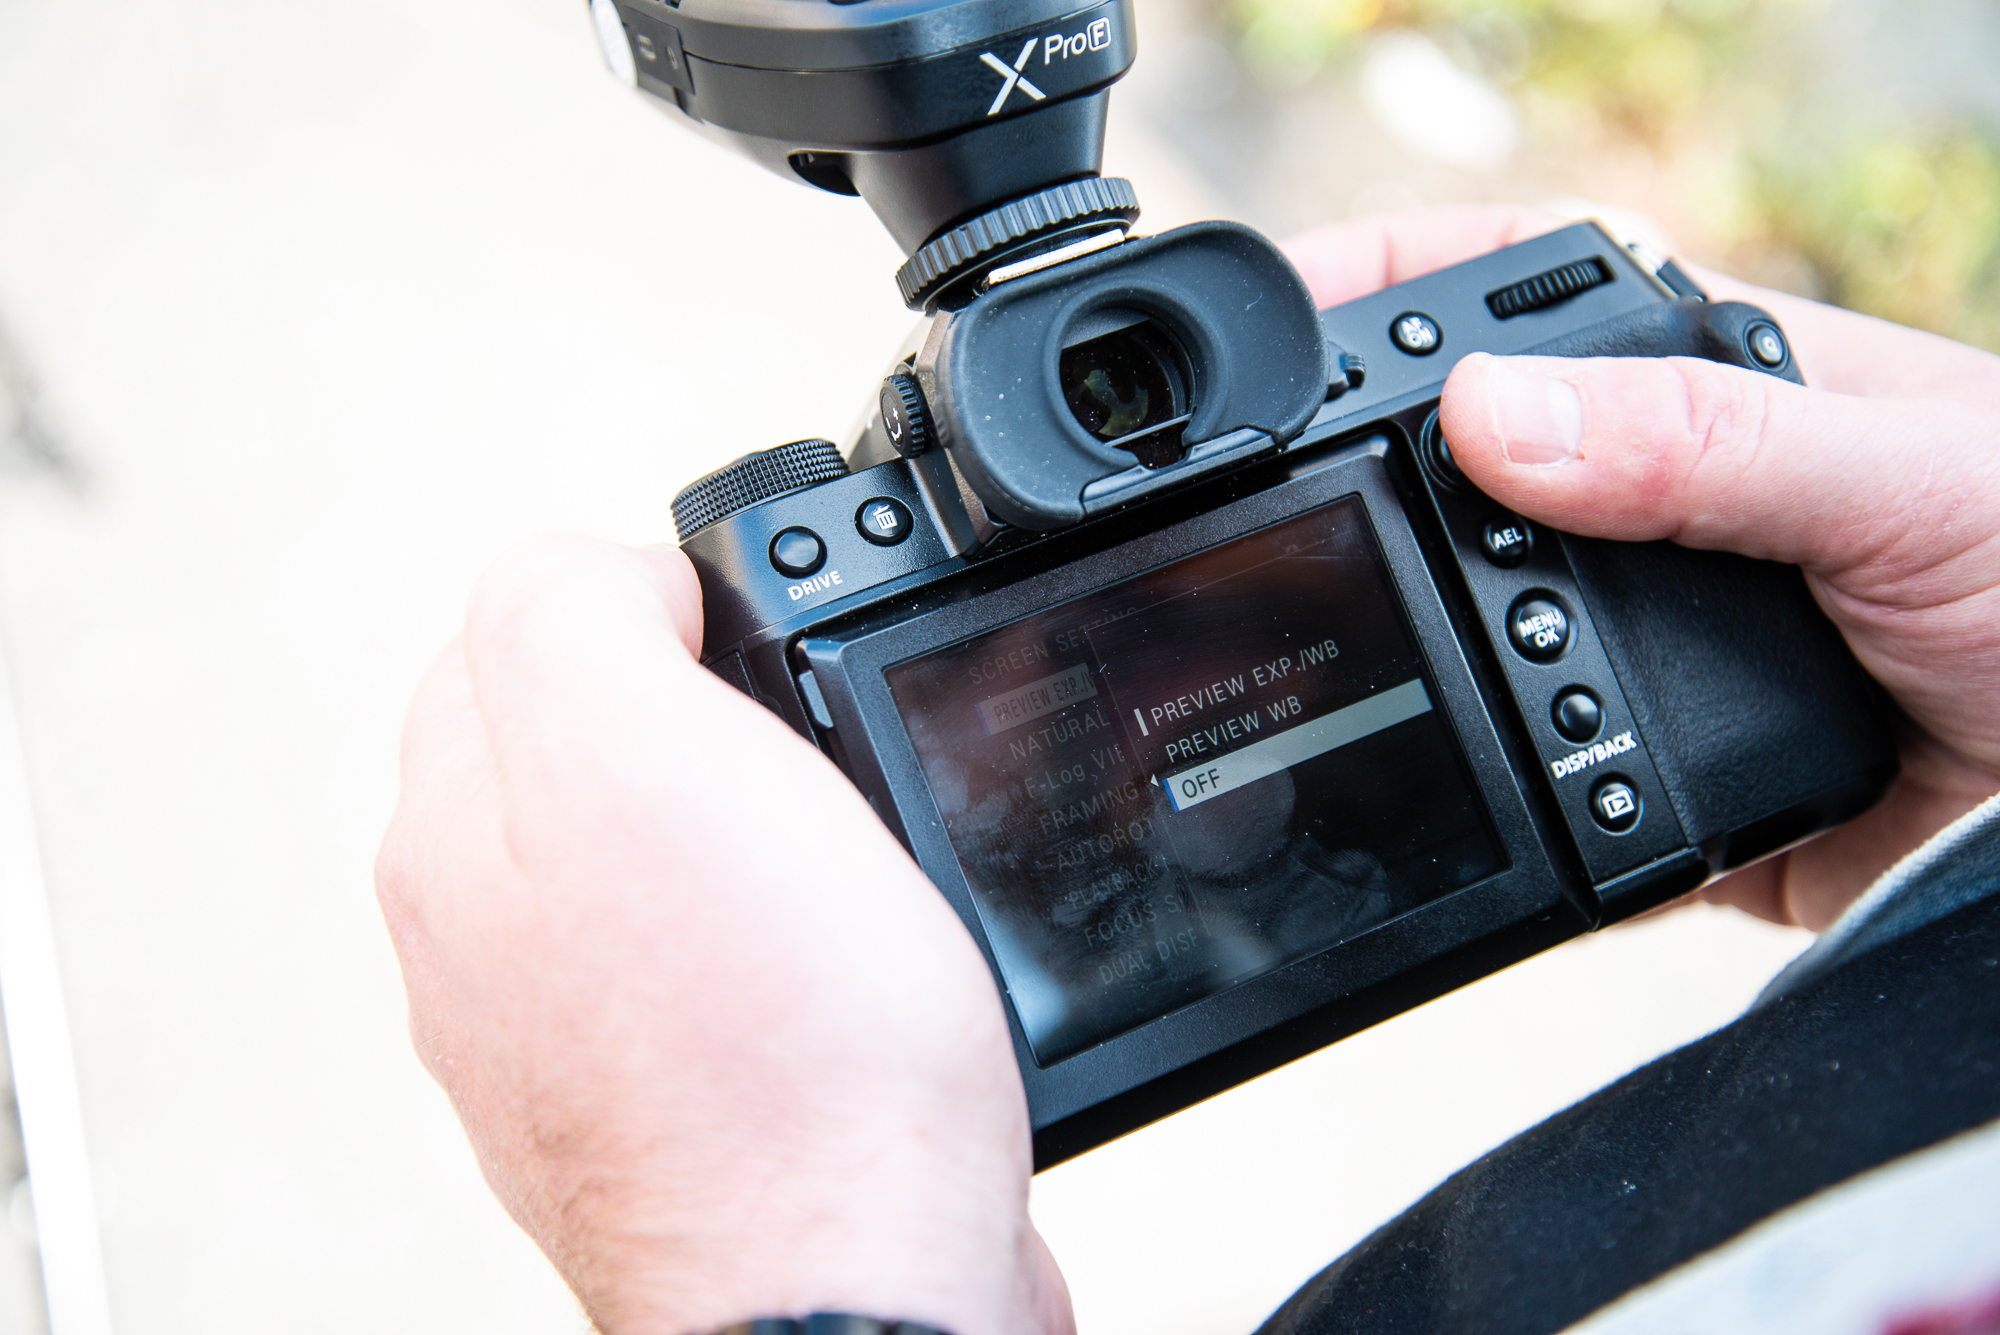
Unlike DSLRs, mirrorless cameras have real-time exposure changes as you tweak the settings. Your camera can’t predict what it will look like when the flash fires, so you’ll need to turn this setting off. If not, your EVF may be too dark to see what’s going on.
04. Camera and flash settings
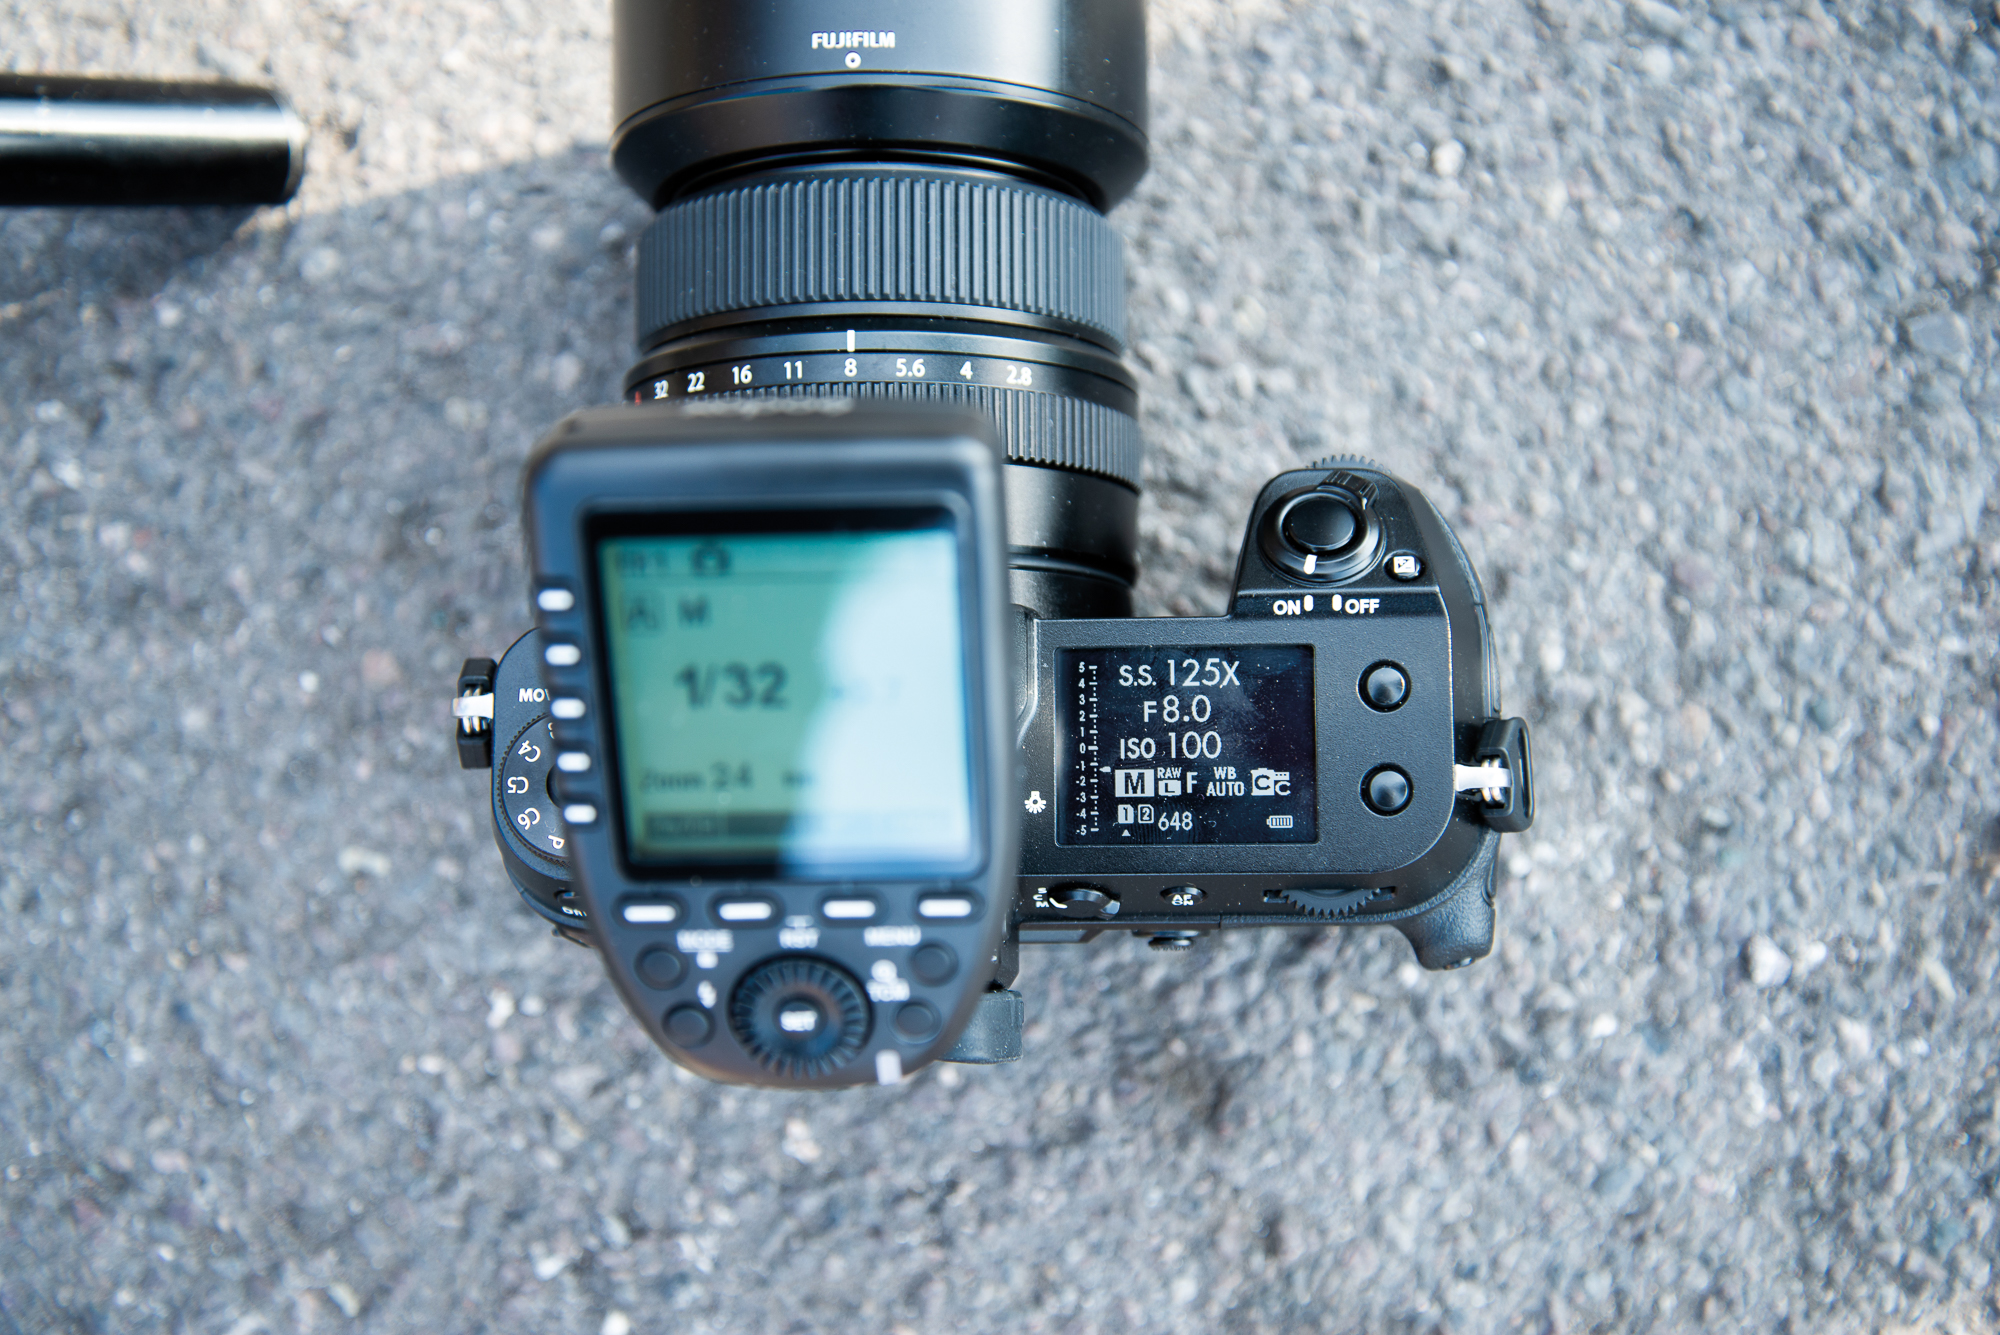
I always set my flash to manual, and around 1/32 is a good place to start. I’ll keep my ISO low for a cleaner shot, and use whichever shutter speed is flash synced to the camera. In the case of the GFX 100S it’s 1/125 sec, and a nice medium aperture around f/8 is great.
05. Position model for test shots and tweak settings
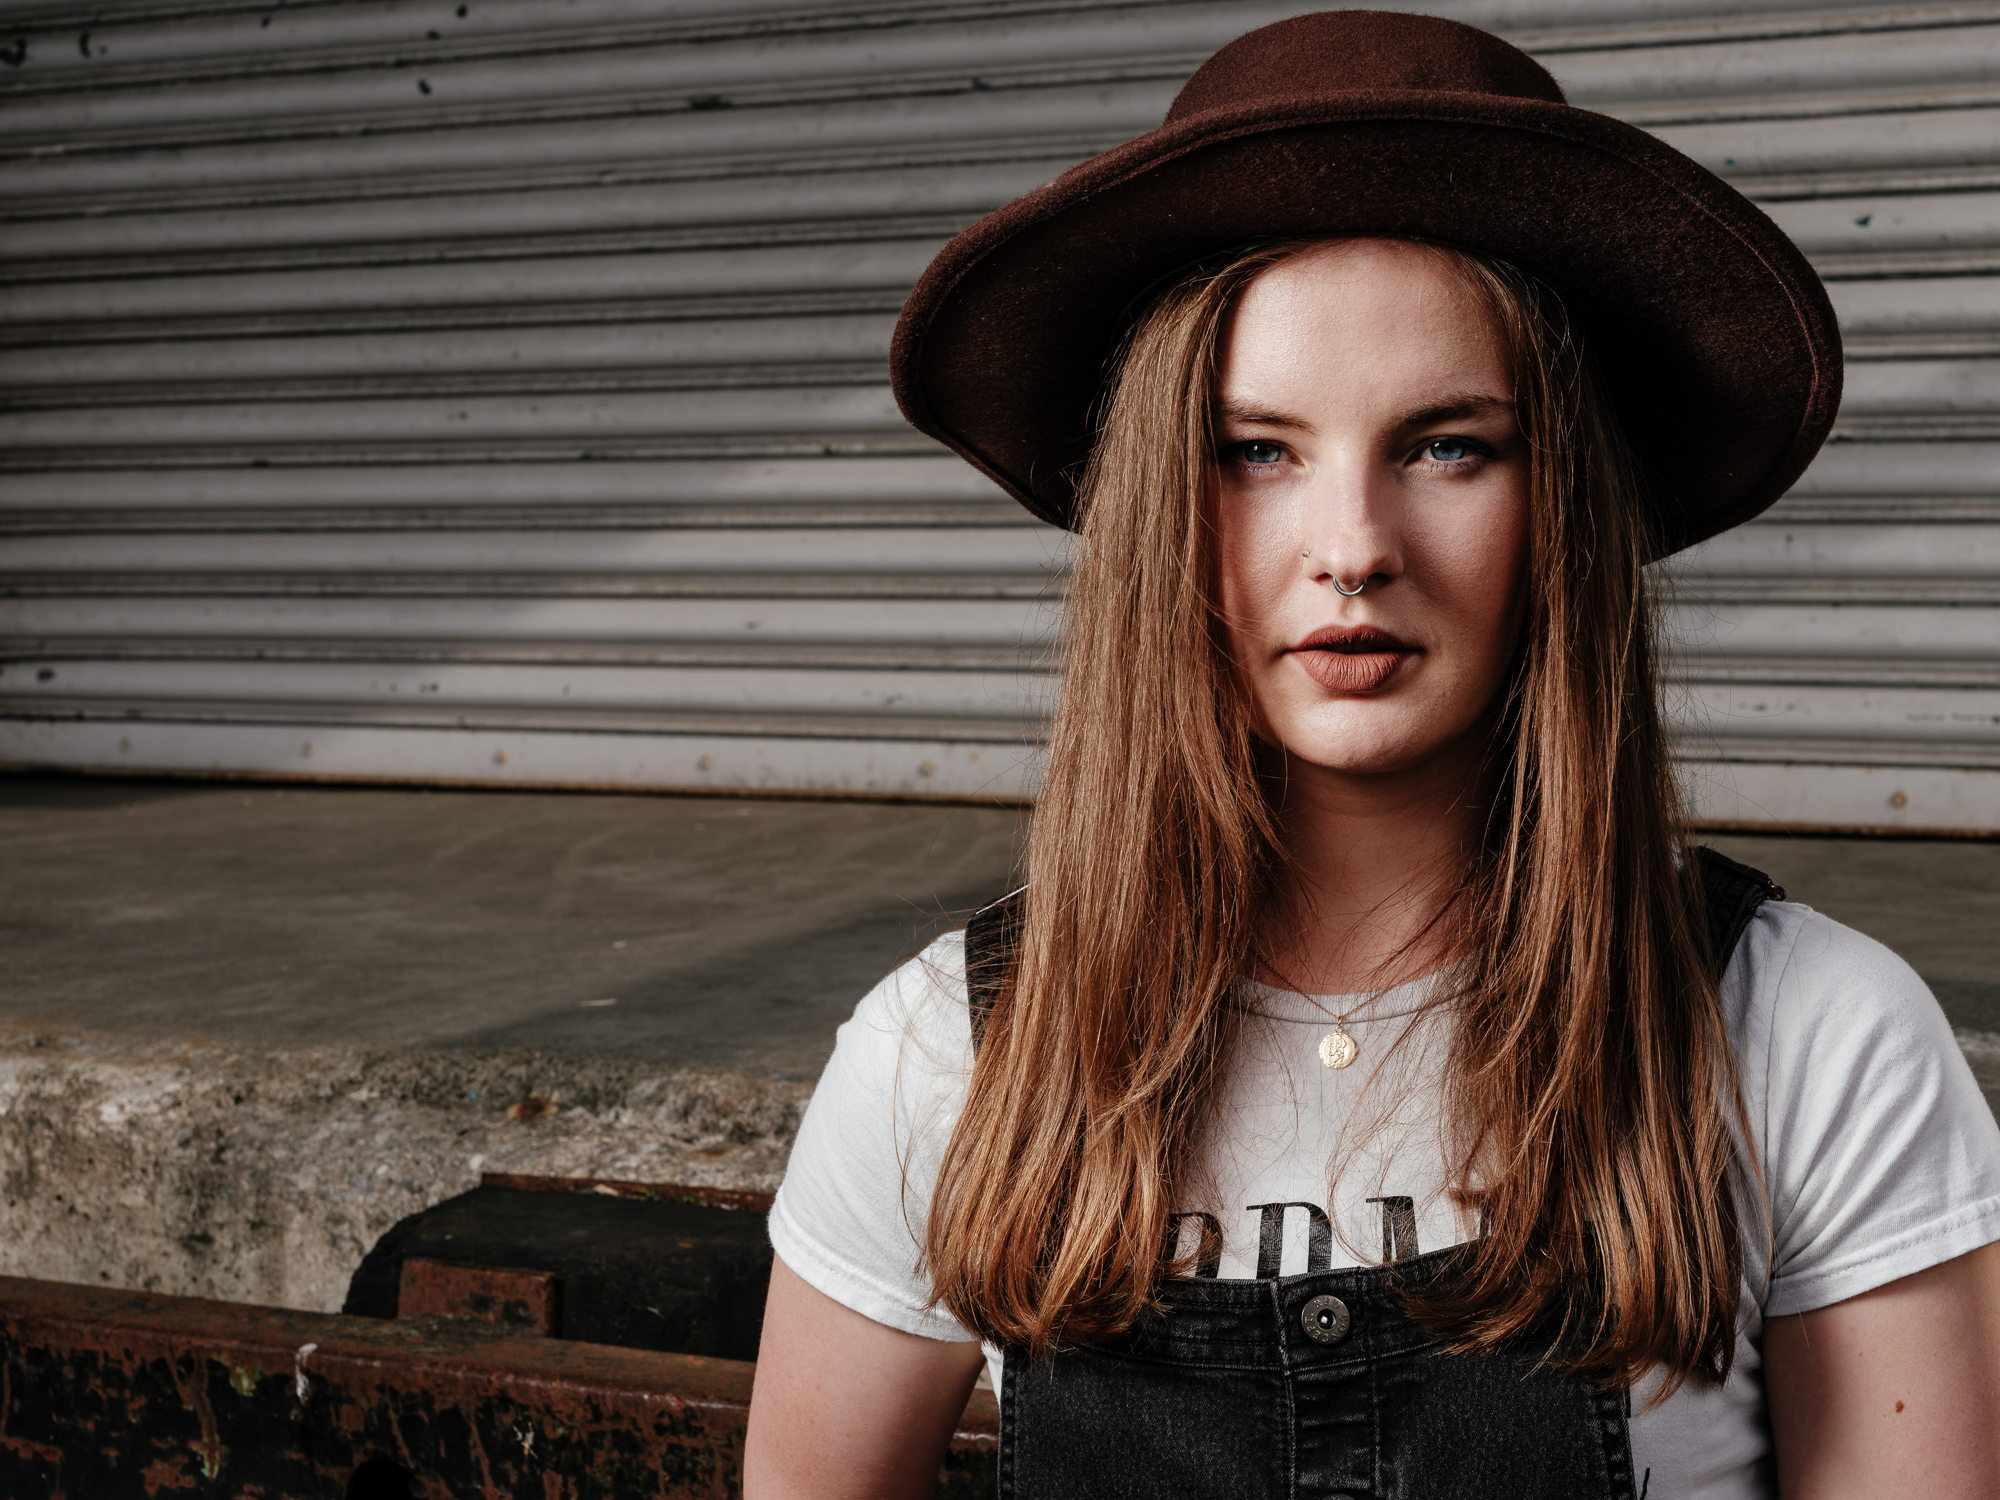
I’ll fire off a shot just to make sure that everything is synced up. Then I tend to ask the model to jump in for a few more; it’s impossible to see what your shot will look like without seeing how your light falls onto the face. Rhiane was wearing a hat, so I lowered the light a little to avoid shadow on the eyes.
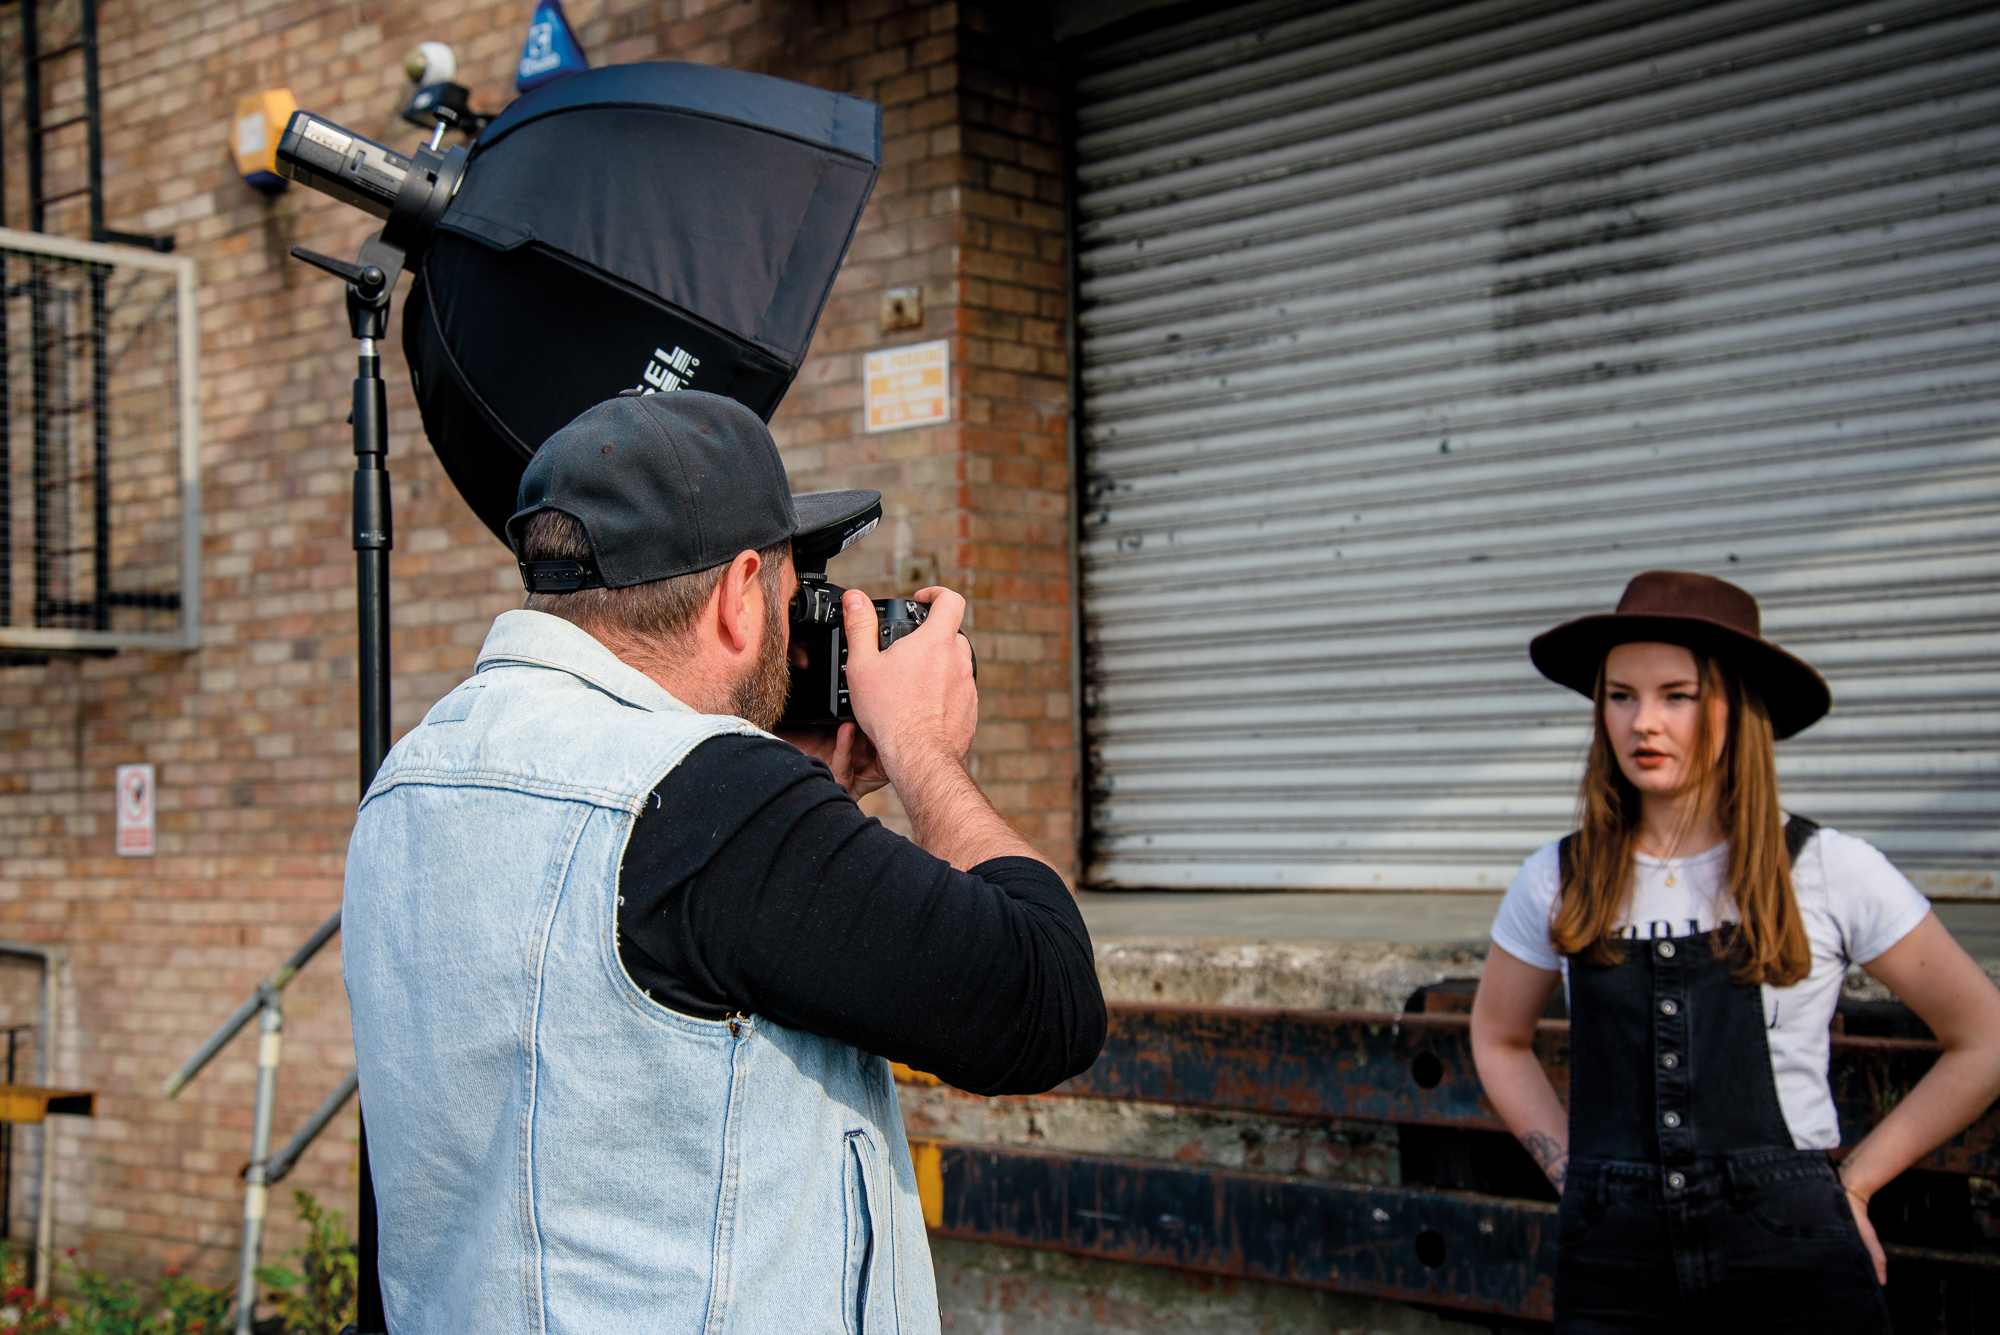
06. Play with poses and props
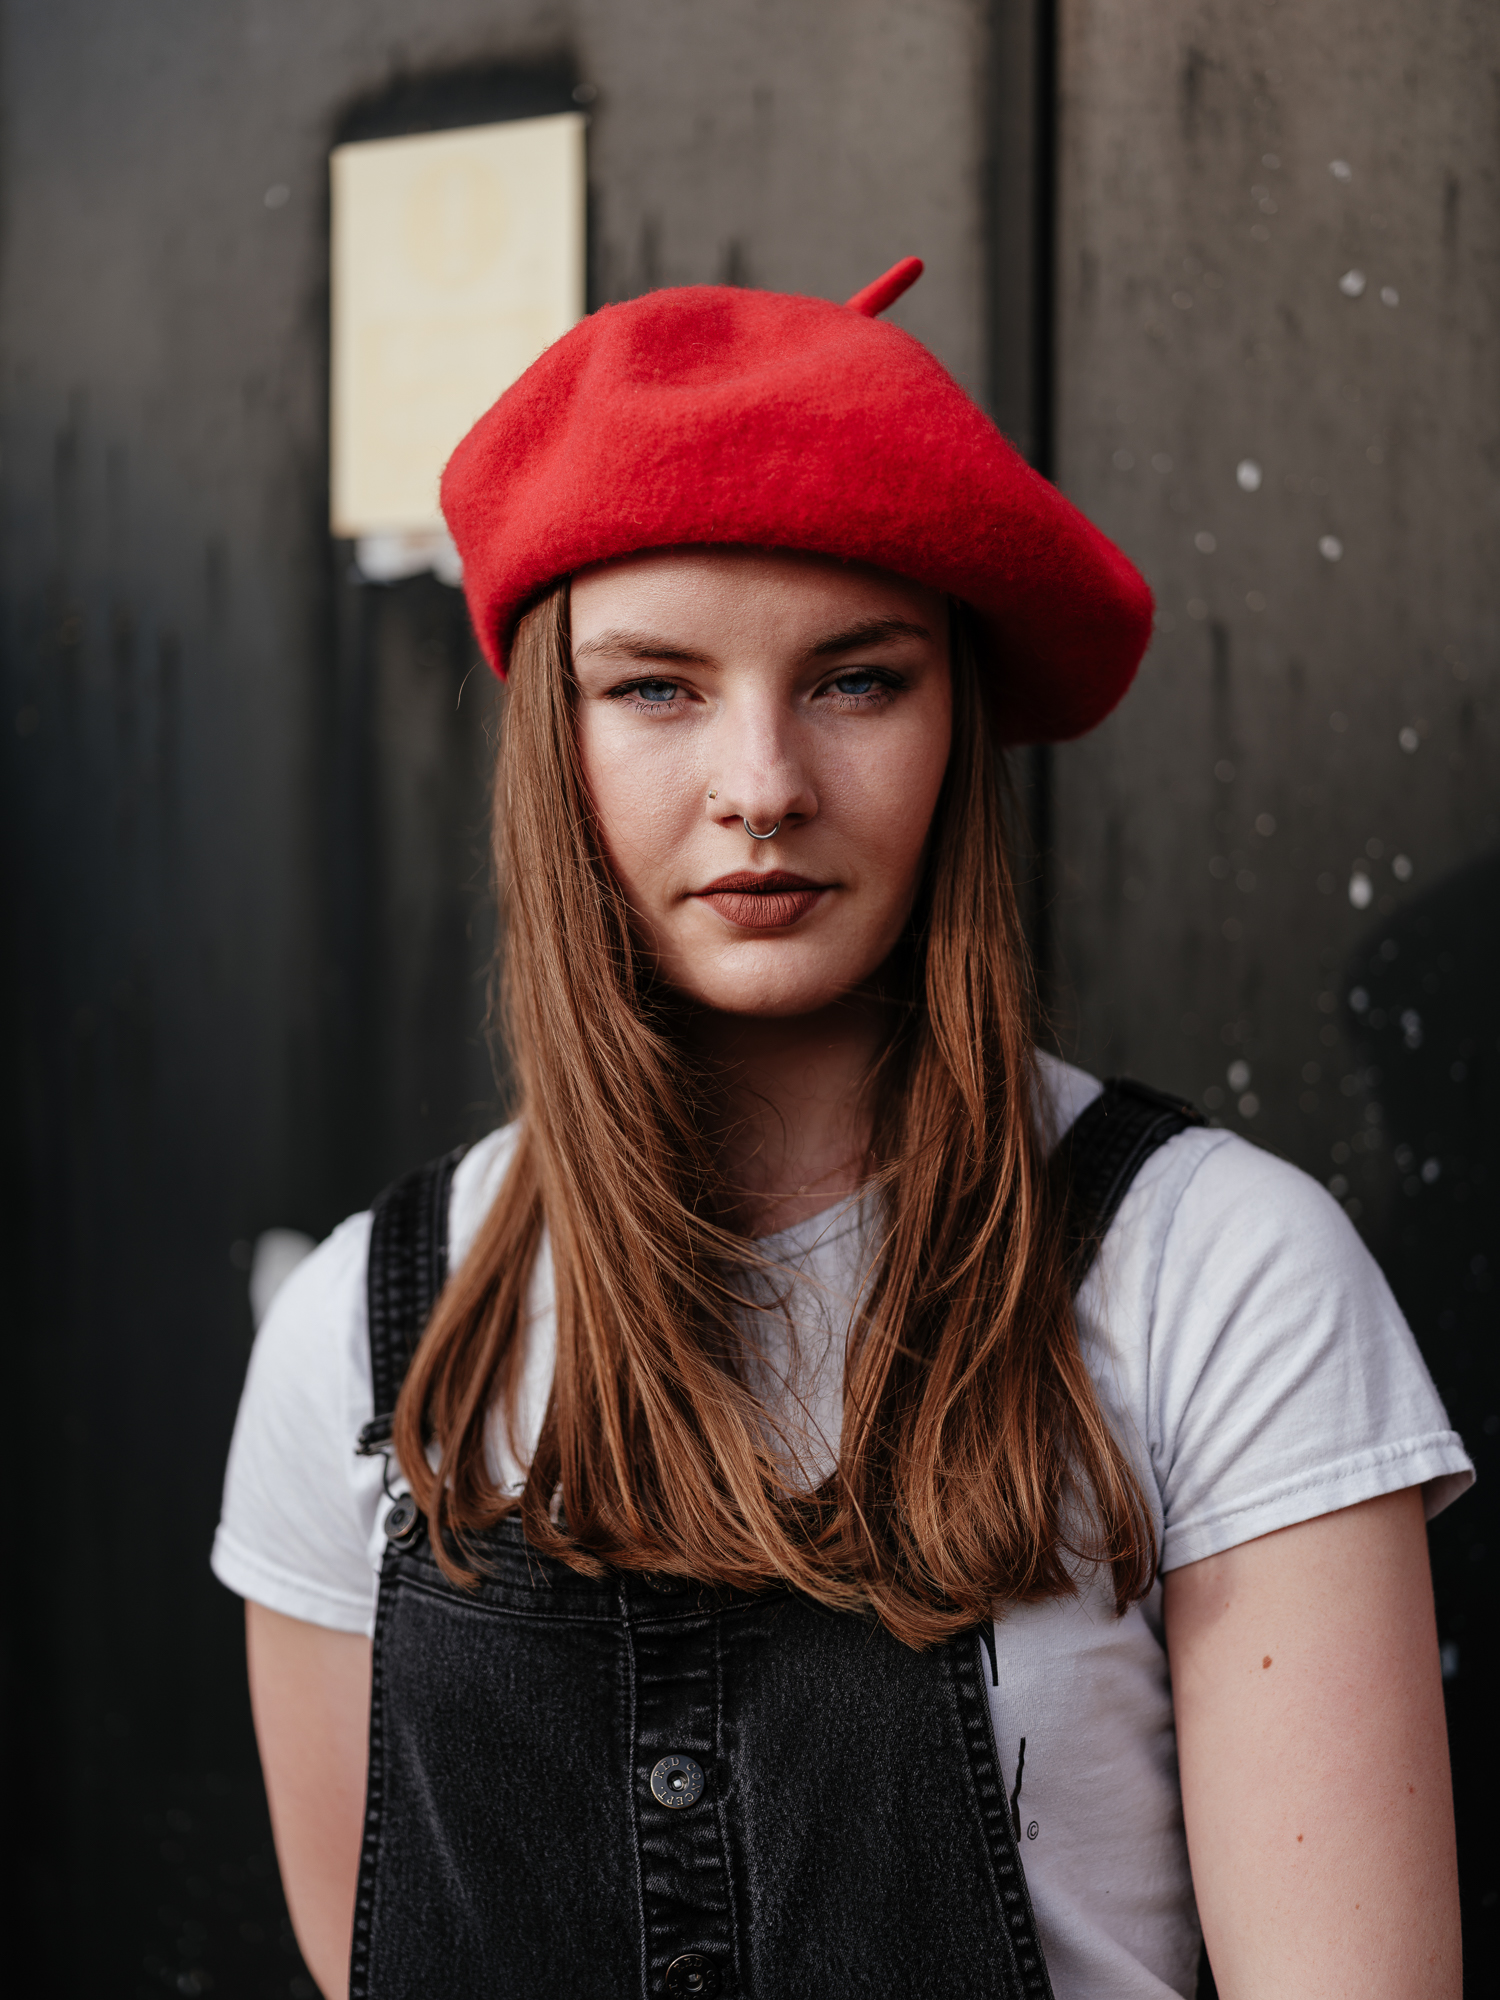
I’ll typically start off with something quite conventional, But once you’ve got a few good shots in the bag you can take this opportunity to find a new space, shoot some interesting angles, change up the clothing a little or try out a different lens. If you have a great model they’ll be only too happy to try things out.
Read more:
Fujifilm GFX 100S review
The best lens for portraits
The best photography lighting kits
Get the Digital Camera World Newsletter
The best camera deals, reviews, product advice, and unmissable photography news, direct to your inbox!
Alistair is the Features Editor of Digital Camera magazine, and has worked as a professional photographer and video producer.
