Digitizing slides and prints using a DSLR or mirrorless camera
Transfer transparencies and digitize photo prints without a scanner with these quick and dirty tricks
Watch the video: digitizing slides and prints
Most of us may have said goodbye to film cameras when it comes to taking photos, but many of our most cherished memories are still locked in the pre-digital era. Whether you have drawers full of fading prints or boxes full of prized transparencies, you probably wish you could get the best of these shots onto a computer so they can be shared with a wider audience.
That said, what’s the best way of getting your old pictures onto Facebook, Flickr or your family website? The most obvious answer is to use a scanner. Flatbed scanners for prints are built into many desktop printers nowadays, while some of the best film scanners can be bought without breaking the bank.

The quality of these scanners varies, but this isn’t an issue for most of us, who just want to get pictures into the digital domain. The real issue with most scanners is that the whole process is a time-consuming affair, involving lots of patience as you scan one line at a time.
An alternative, however, is one of our favorite photography tips: rather than making do with a cut-price digital sensor, why not use the high-quality one that you have built into your camera? Photographing your prints isn’t much more complicated than sticking them on the wall and then shooting them using a tripod. All you have to do is find the right evenly-lit spot in your home.
Re-photographing your slides is a bit more complicated, because you need a lightbox – a backlighting device that photographers used to use to look at their pictures. Since few people use slides any more, these are relatively cheap to buy second-hand.
The one other bit of gear you’ll need to re-shoot your prized photos is a macro lens, which will enable you to focus close enough to the 24x36cm positive images. Check out our guide to find the best macro lens for your camera.
1. Stick it to the wall
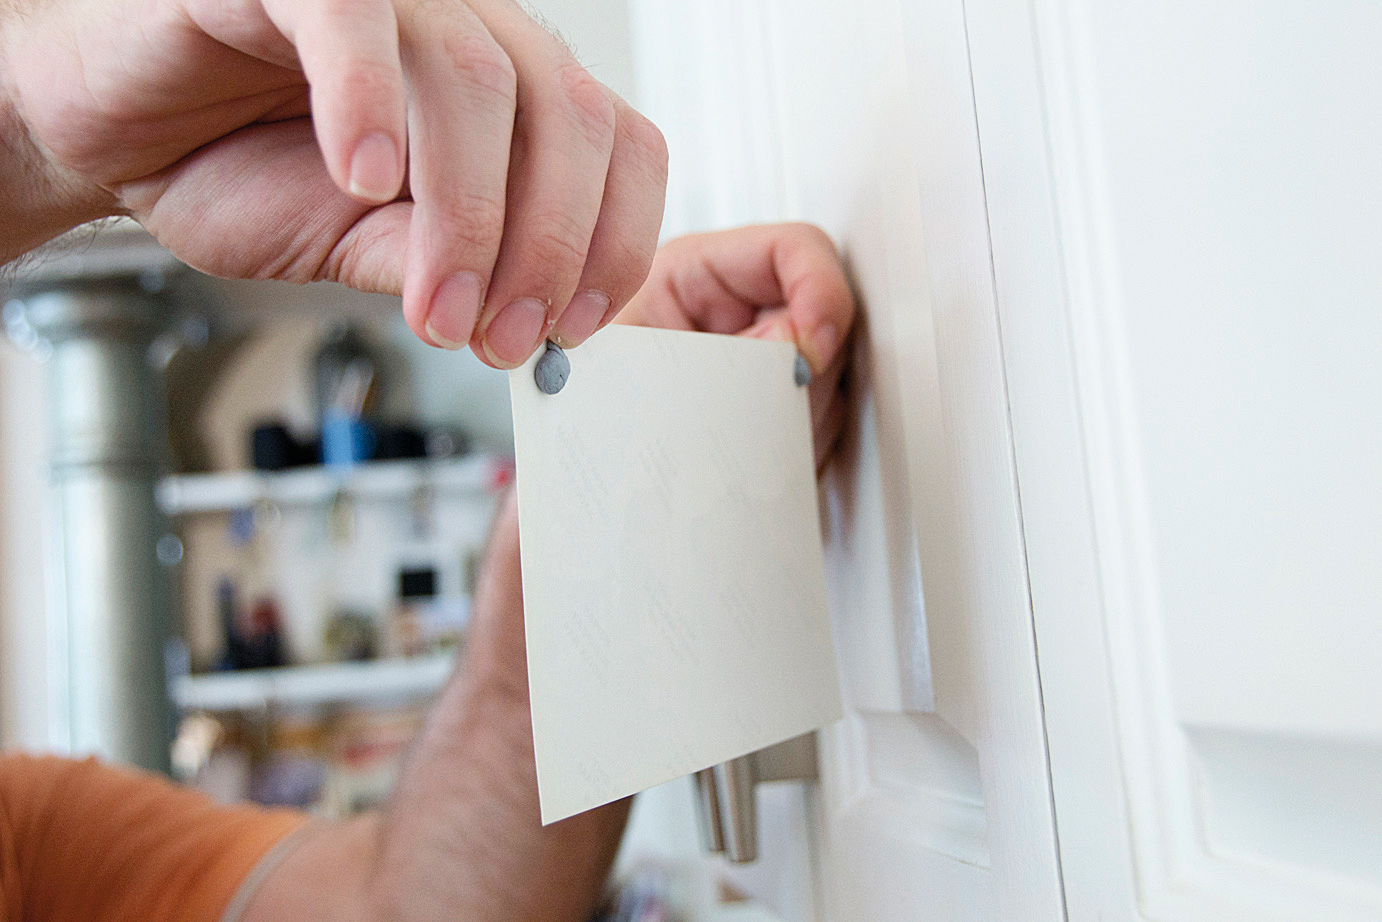
To re-photograph old prints, stick them on a flat wall or cupboard at chest height using blobs of Blu Tac. Avoid a surface too close to a window or in direct sunlight – you need even, diffuse lighting. You don’t need bright light because you can use long exposures with a tripod.
2. Square up to the target
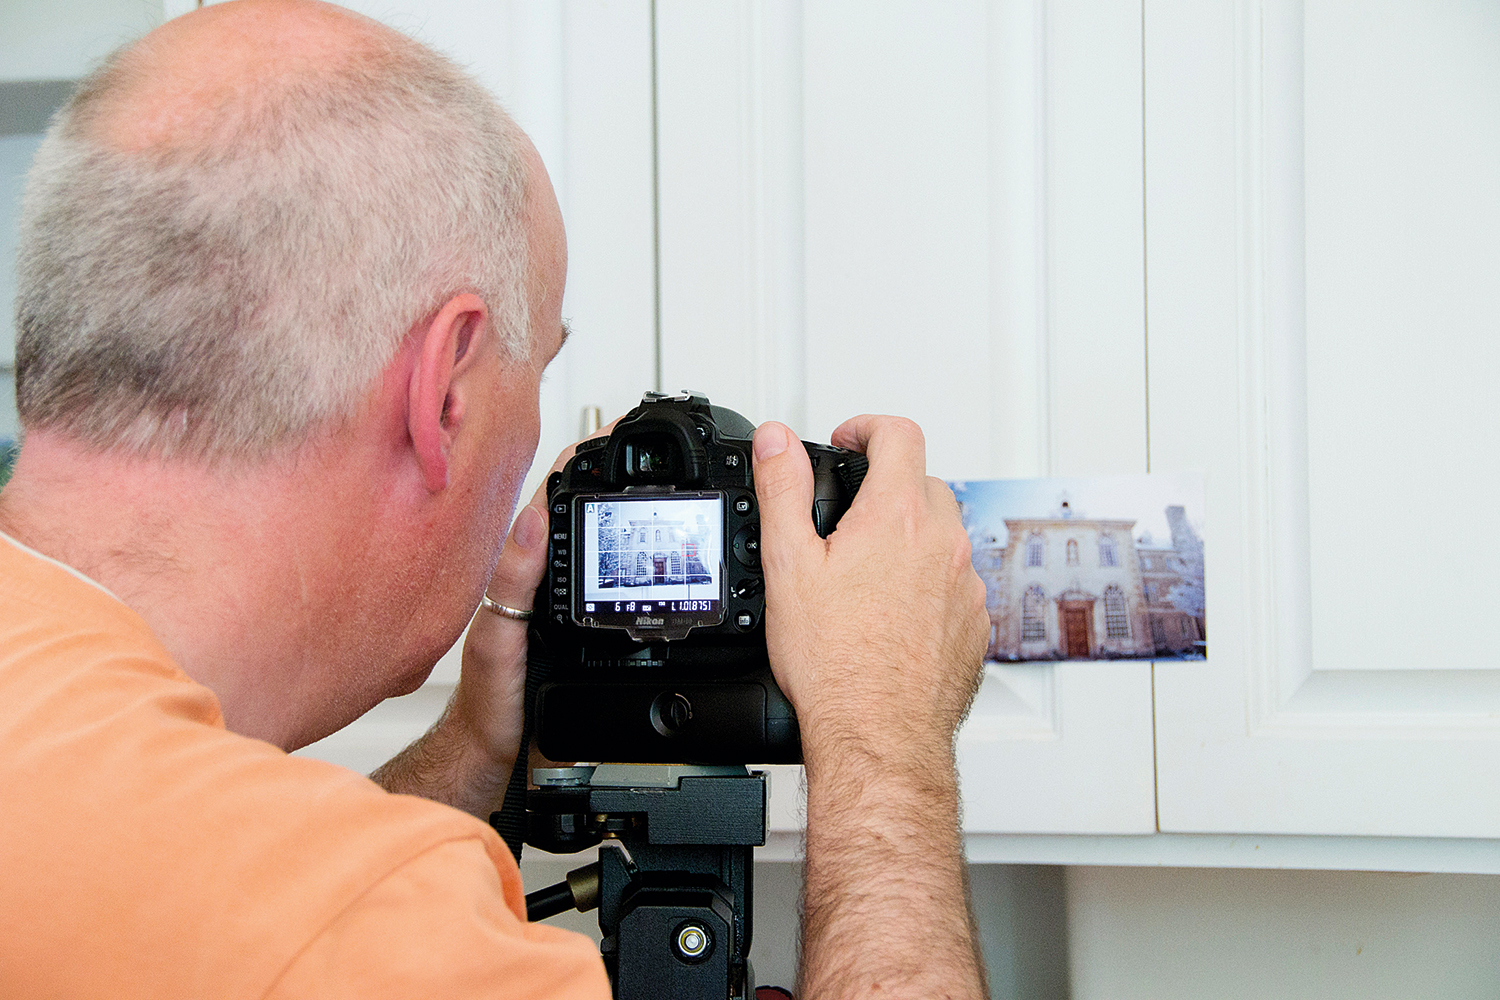
Set your camera on a tripod and extend the legs so that the centre of the lens is at the same height as the centre of the print. Use Live View to frame the picture so you’re as square on as you possibly can be. Use autofocus to make sure that the detail is sharp.
3. Choose your settings
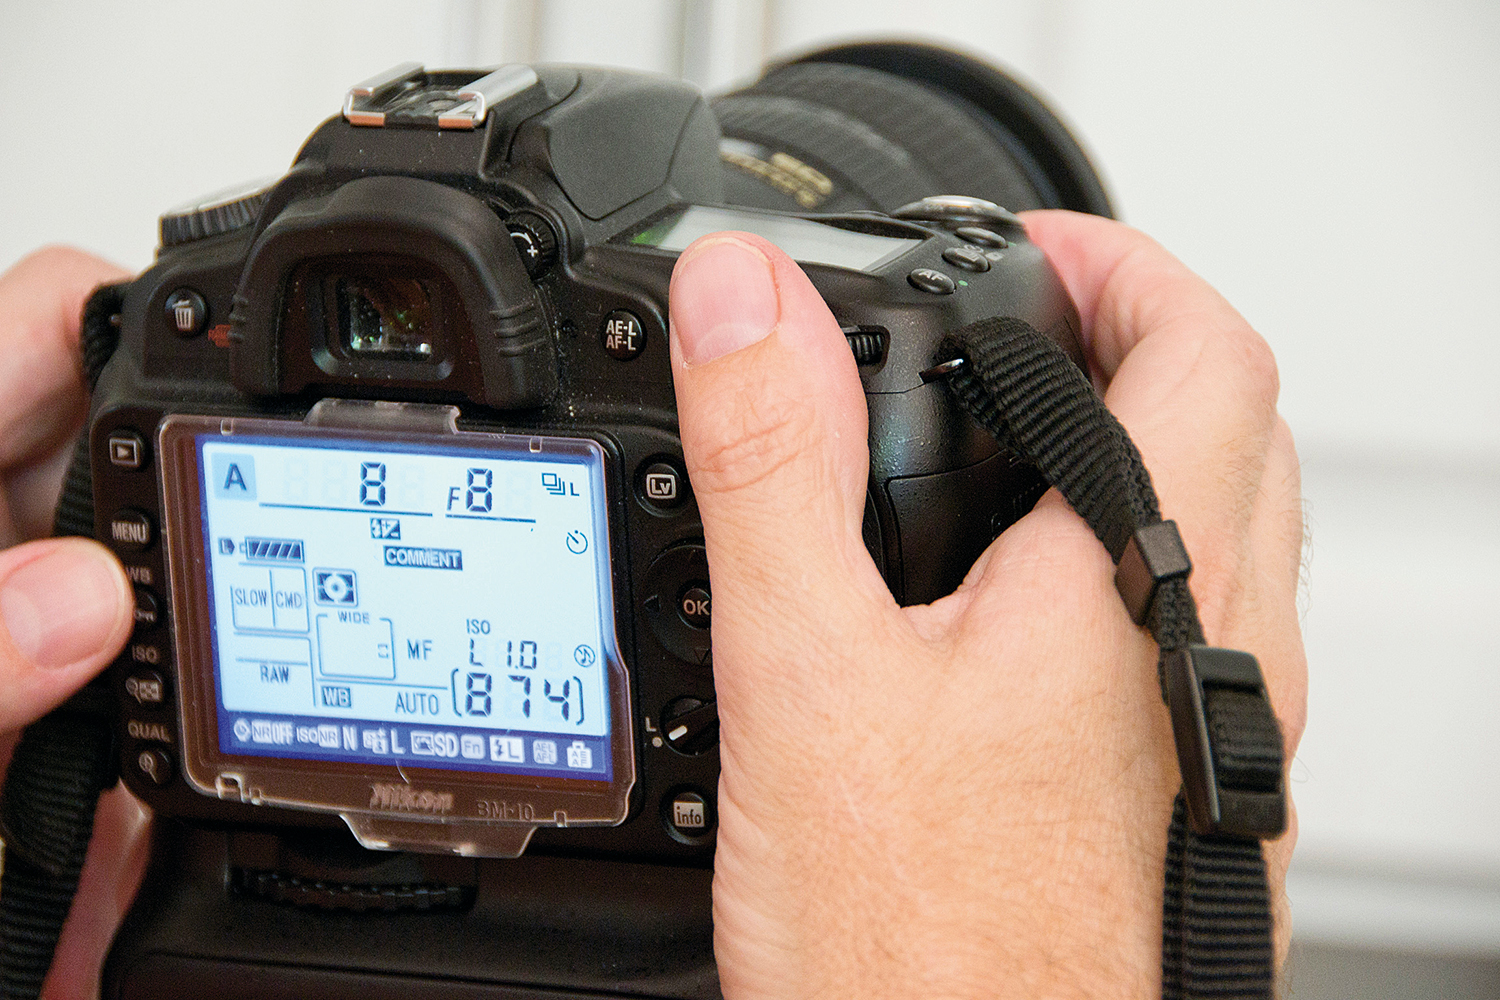
Use Aperture Priority (A) mode and set an aperture of f/8 – this is usually the setting that gives the best resolution from a lens. Now set a low ISO, at or near 100. Fire the shutter using a cable release or remote control, or, if you don’t have either of those, use the self-timer.
4. Give it a positive twist
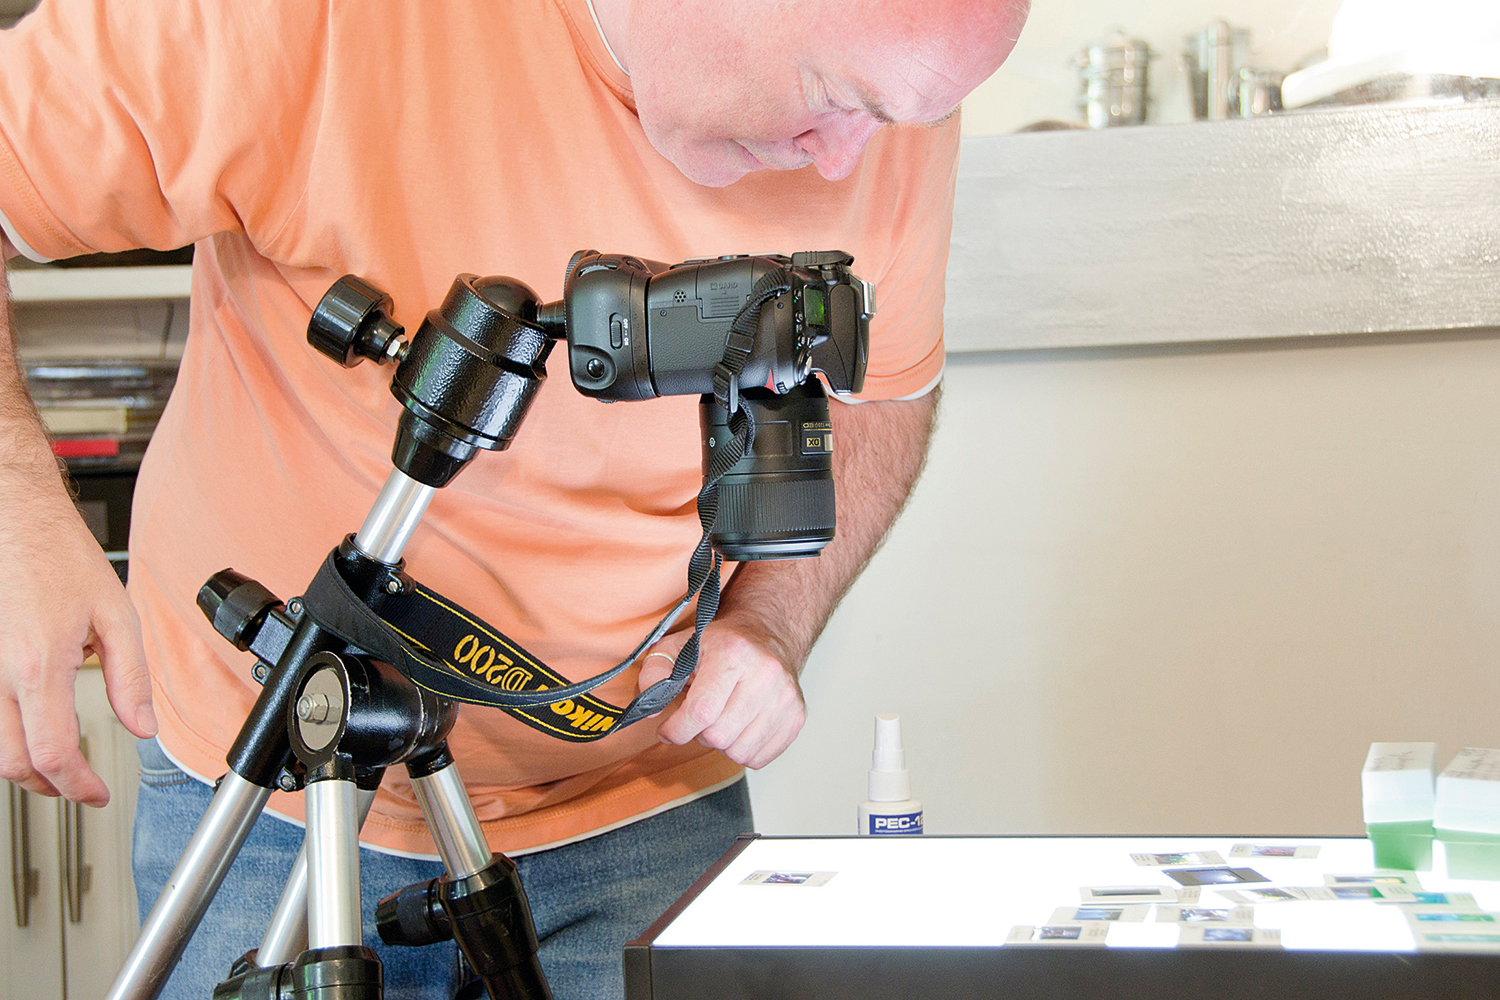
The general shooting technique for slides is the same as prints. As transparencies need to be backlit, use a lightbox. You’ll need a tripod that can be angled to shoot directly down, and you’ll need a macro lens to be able to get close enough.
• The best lightbox for photographers and artists
More videos:
Best scanners for documents & photos
Analog photography tips: how to scan negatives and film slides
Headshot photography tips: how to shoot the perfect head-and-shoulders portrait
Depth of field and hyperfocal distance in landscape photography explained
Pet photography tips: how to get great pictures of dogs
Get the Digital Camera World Newsletter
The best camera deals, reviews, product advice, and unmissable photography news, direct to your inbox!
Chris George has worked on Digital Camera World since its launch in 2017. He has been writing about photography, mobile phones, video making and technology for over 30 years – and has edited numerous magazines including PhotoPlus, N-Photo, Digital Camera, Video Camera, and Professional Photography.
His first serious camera was the iconic Olympus OM10, with which he won the title of Young Photographer of the Year - long before the advent of autofocus and memory cards. Today he uses a Nikon D800, a Fujifilm X-T1, a Sony A7, and his iPhone 15 Pro Max.
He has written about technology for countless publications and websites including The Sunday Times Magazine, The Daily Telegraph, Dorling Kindersley, What Cellphone, T3 and Techradar.
