Ditch your tripod – try handheld HDR instead!
Learn how becoming independent from your tripod can open up a world of new possibilities
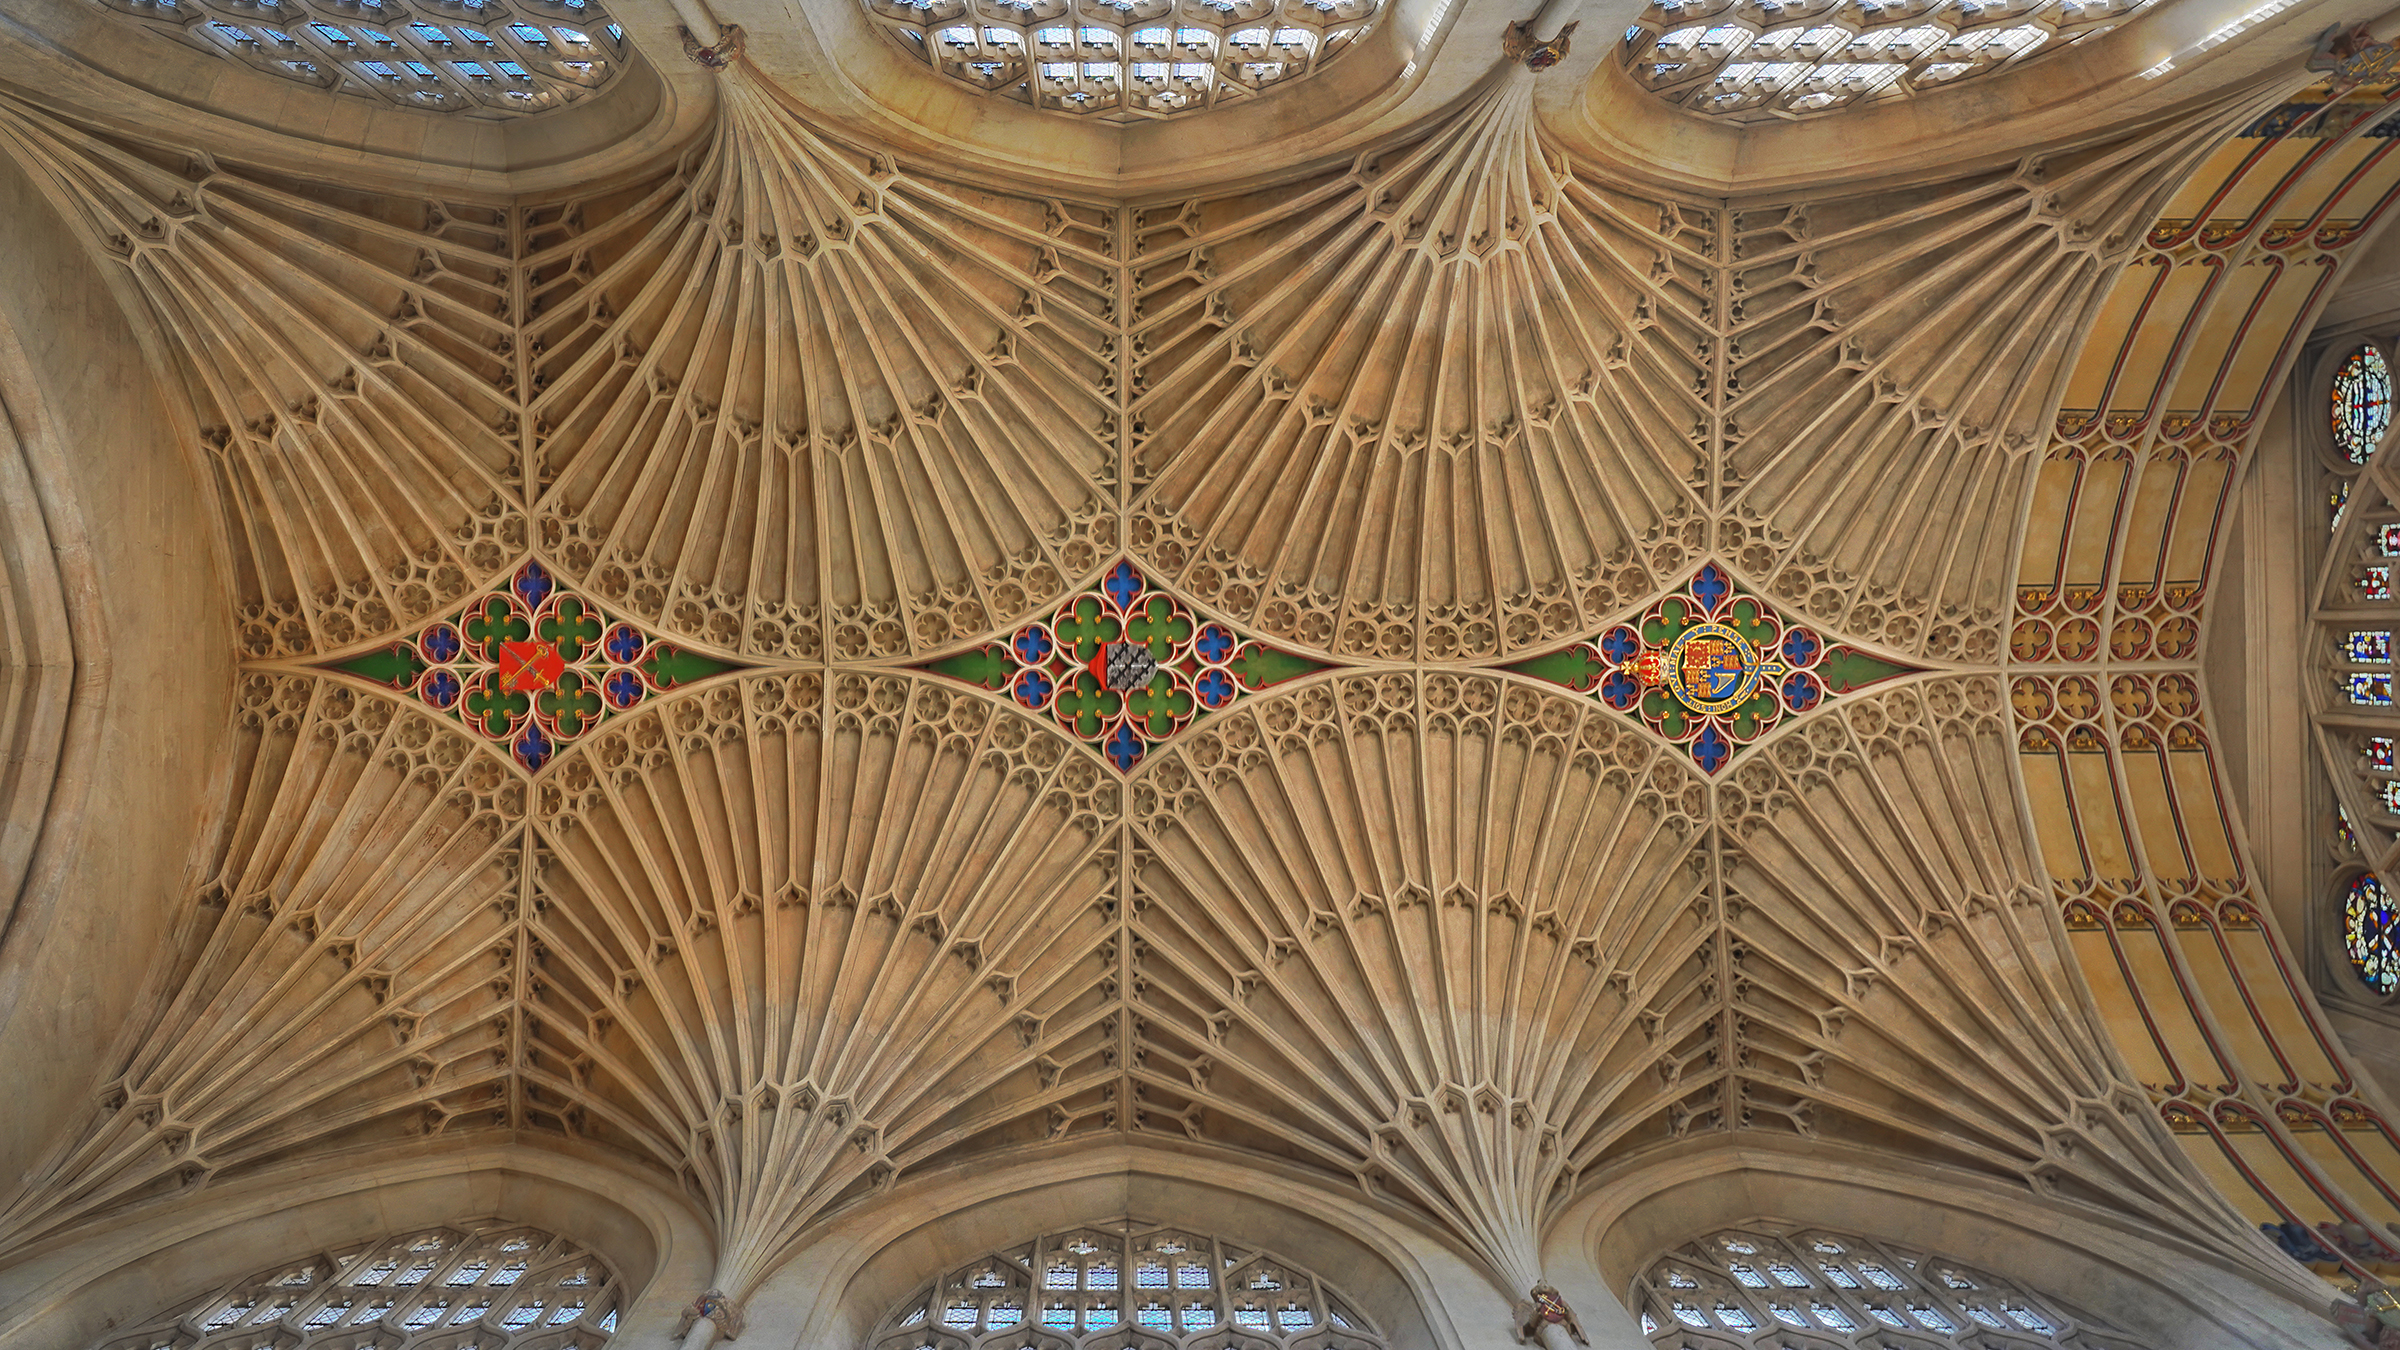
The concept of high dynamic range (HDR) is widely used in photography. This method involves taking a series of photos at different exposure levels and merging them in post-processing using photo editing software. If this is done well, your image will benefit from the increased visibility of highlights and dark elements.
When capturing the same scene at different exposures, it may be necessary to use a tripod. Unfortunately, this is not always possible as there are many restrictions as to when you can use one. In large crowds or at historical sites or museums, it may not be practical to set up a tripod. Using a tripod also means you lose some flexibility and spontaneous shots become more difficult.
There are further reasons why a tripod may limit your workflow. Longer exposure times create problems when shooting moving elements, such as water, trees, or clouds, which can appear blurry. Of course, this may be intentional, but it’s not always the case.
To achieve HDR photography, a tripod is no longer a must. Modern cameras are equipped with functions that allow you the freedom to ditch your tripod. With the combination of specific settings and automatic exposure bracketing in continuous shooting mode, handheld HDR photography and editing become possible.
Before and after
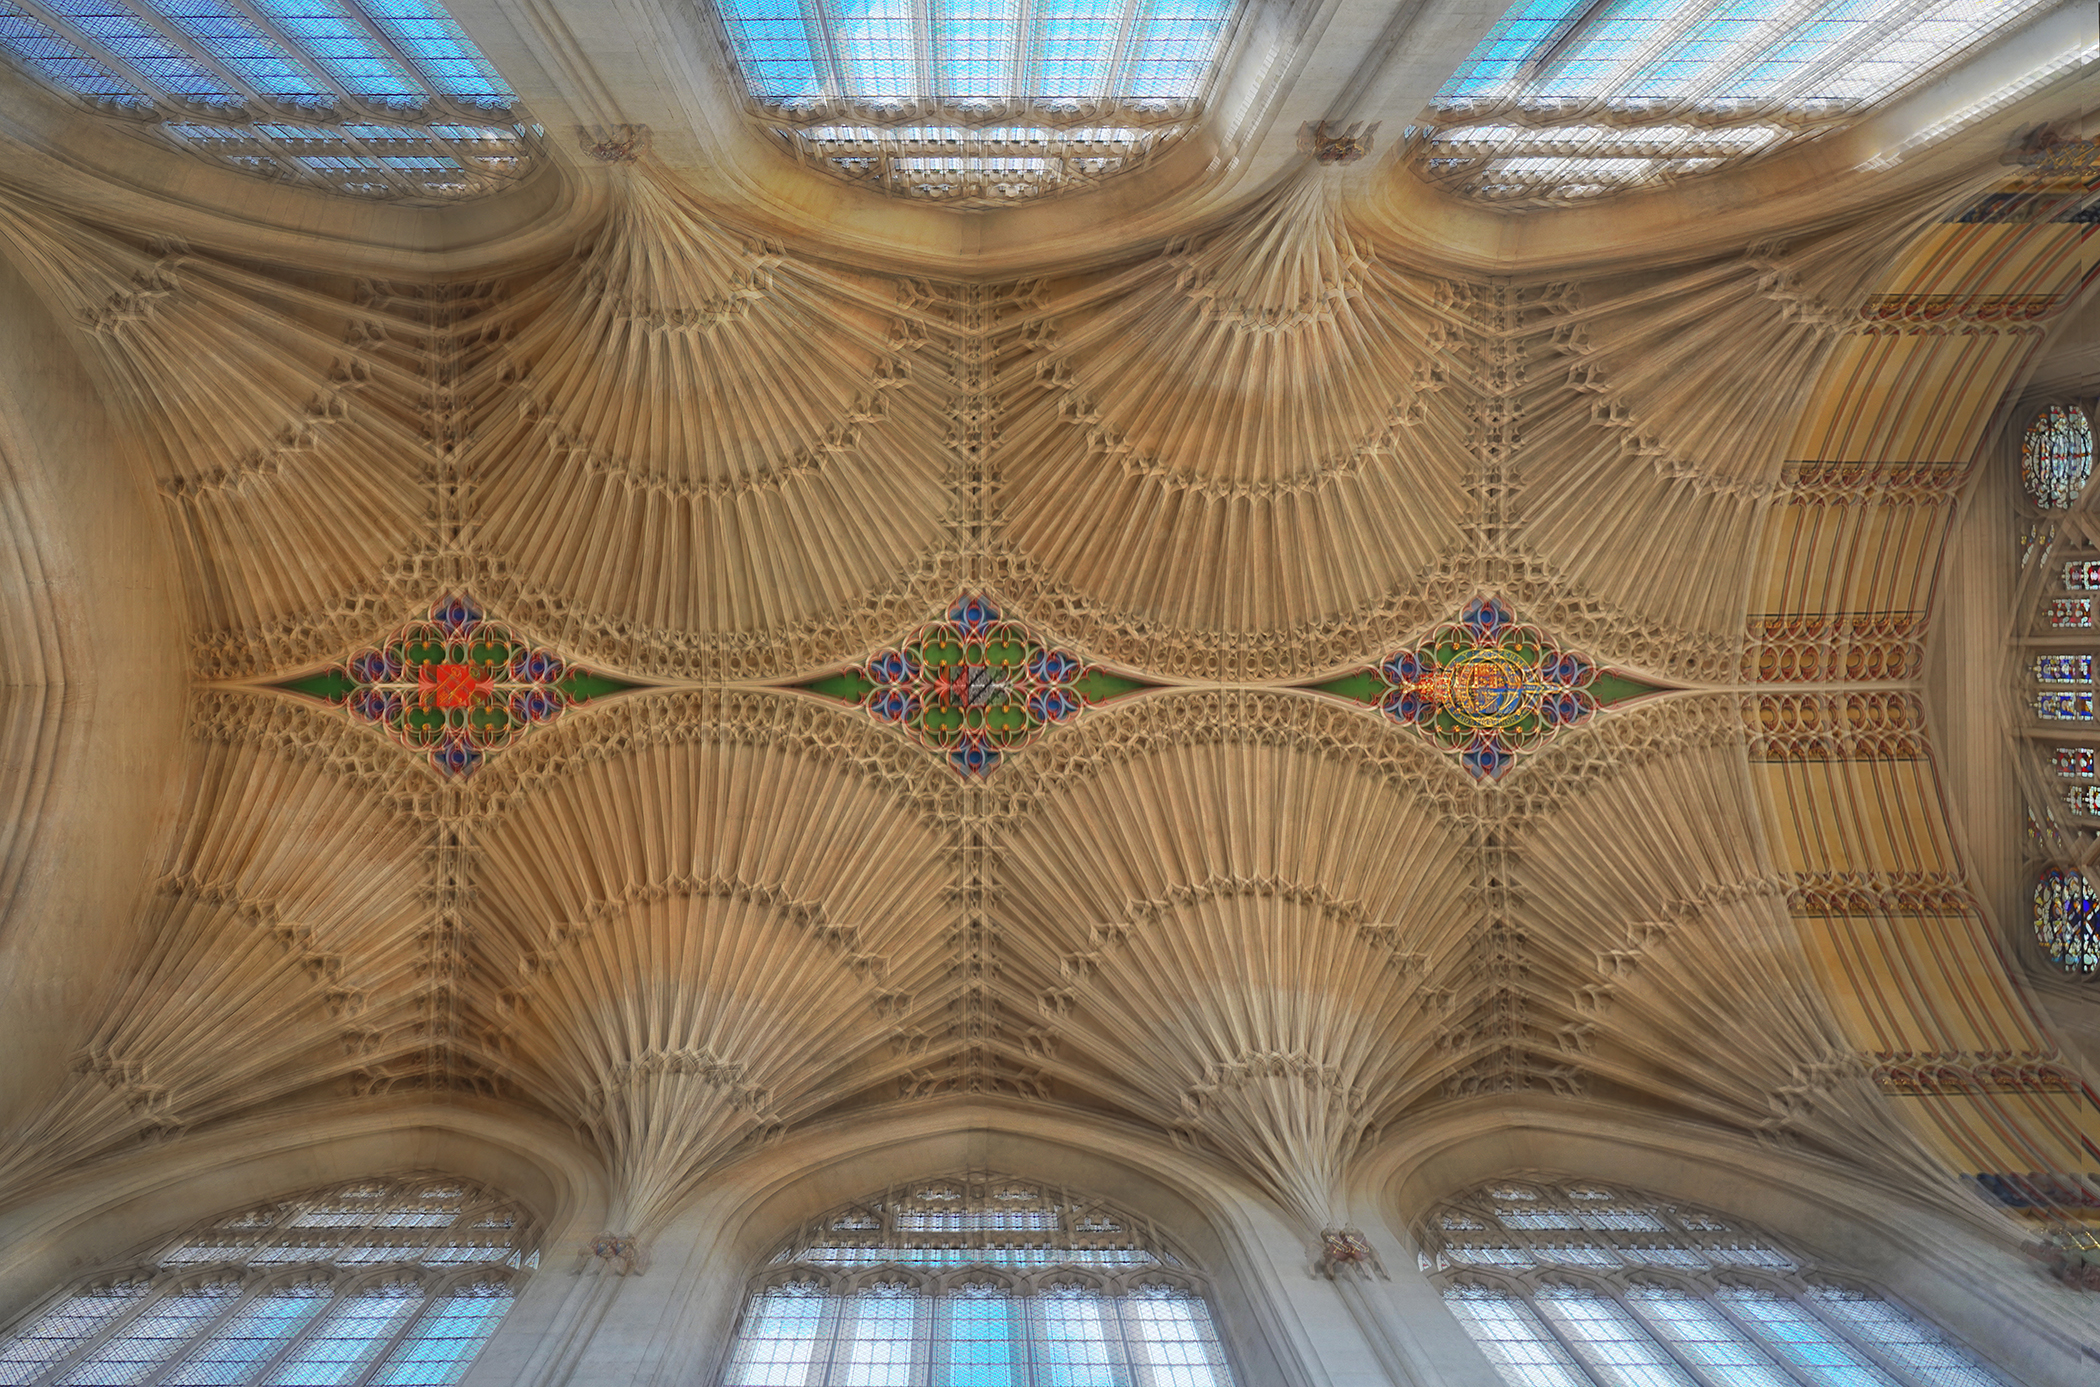
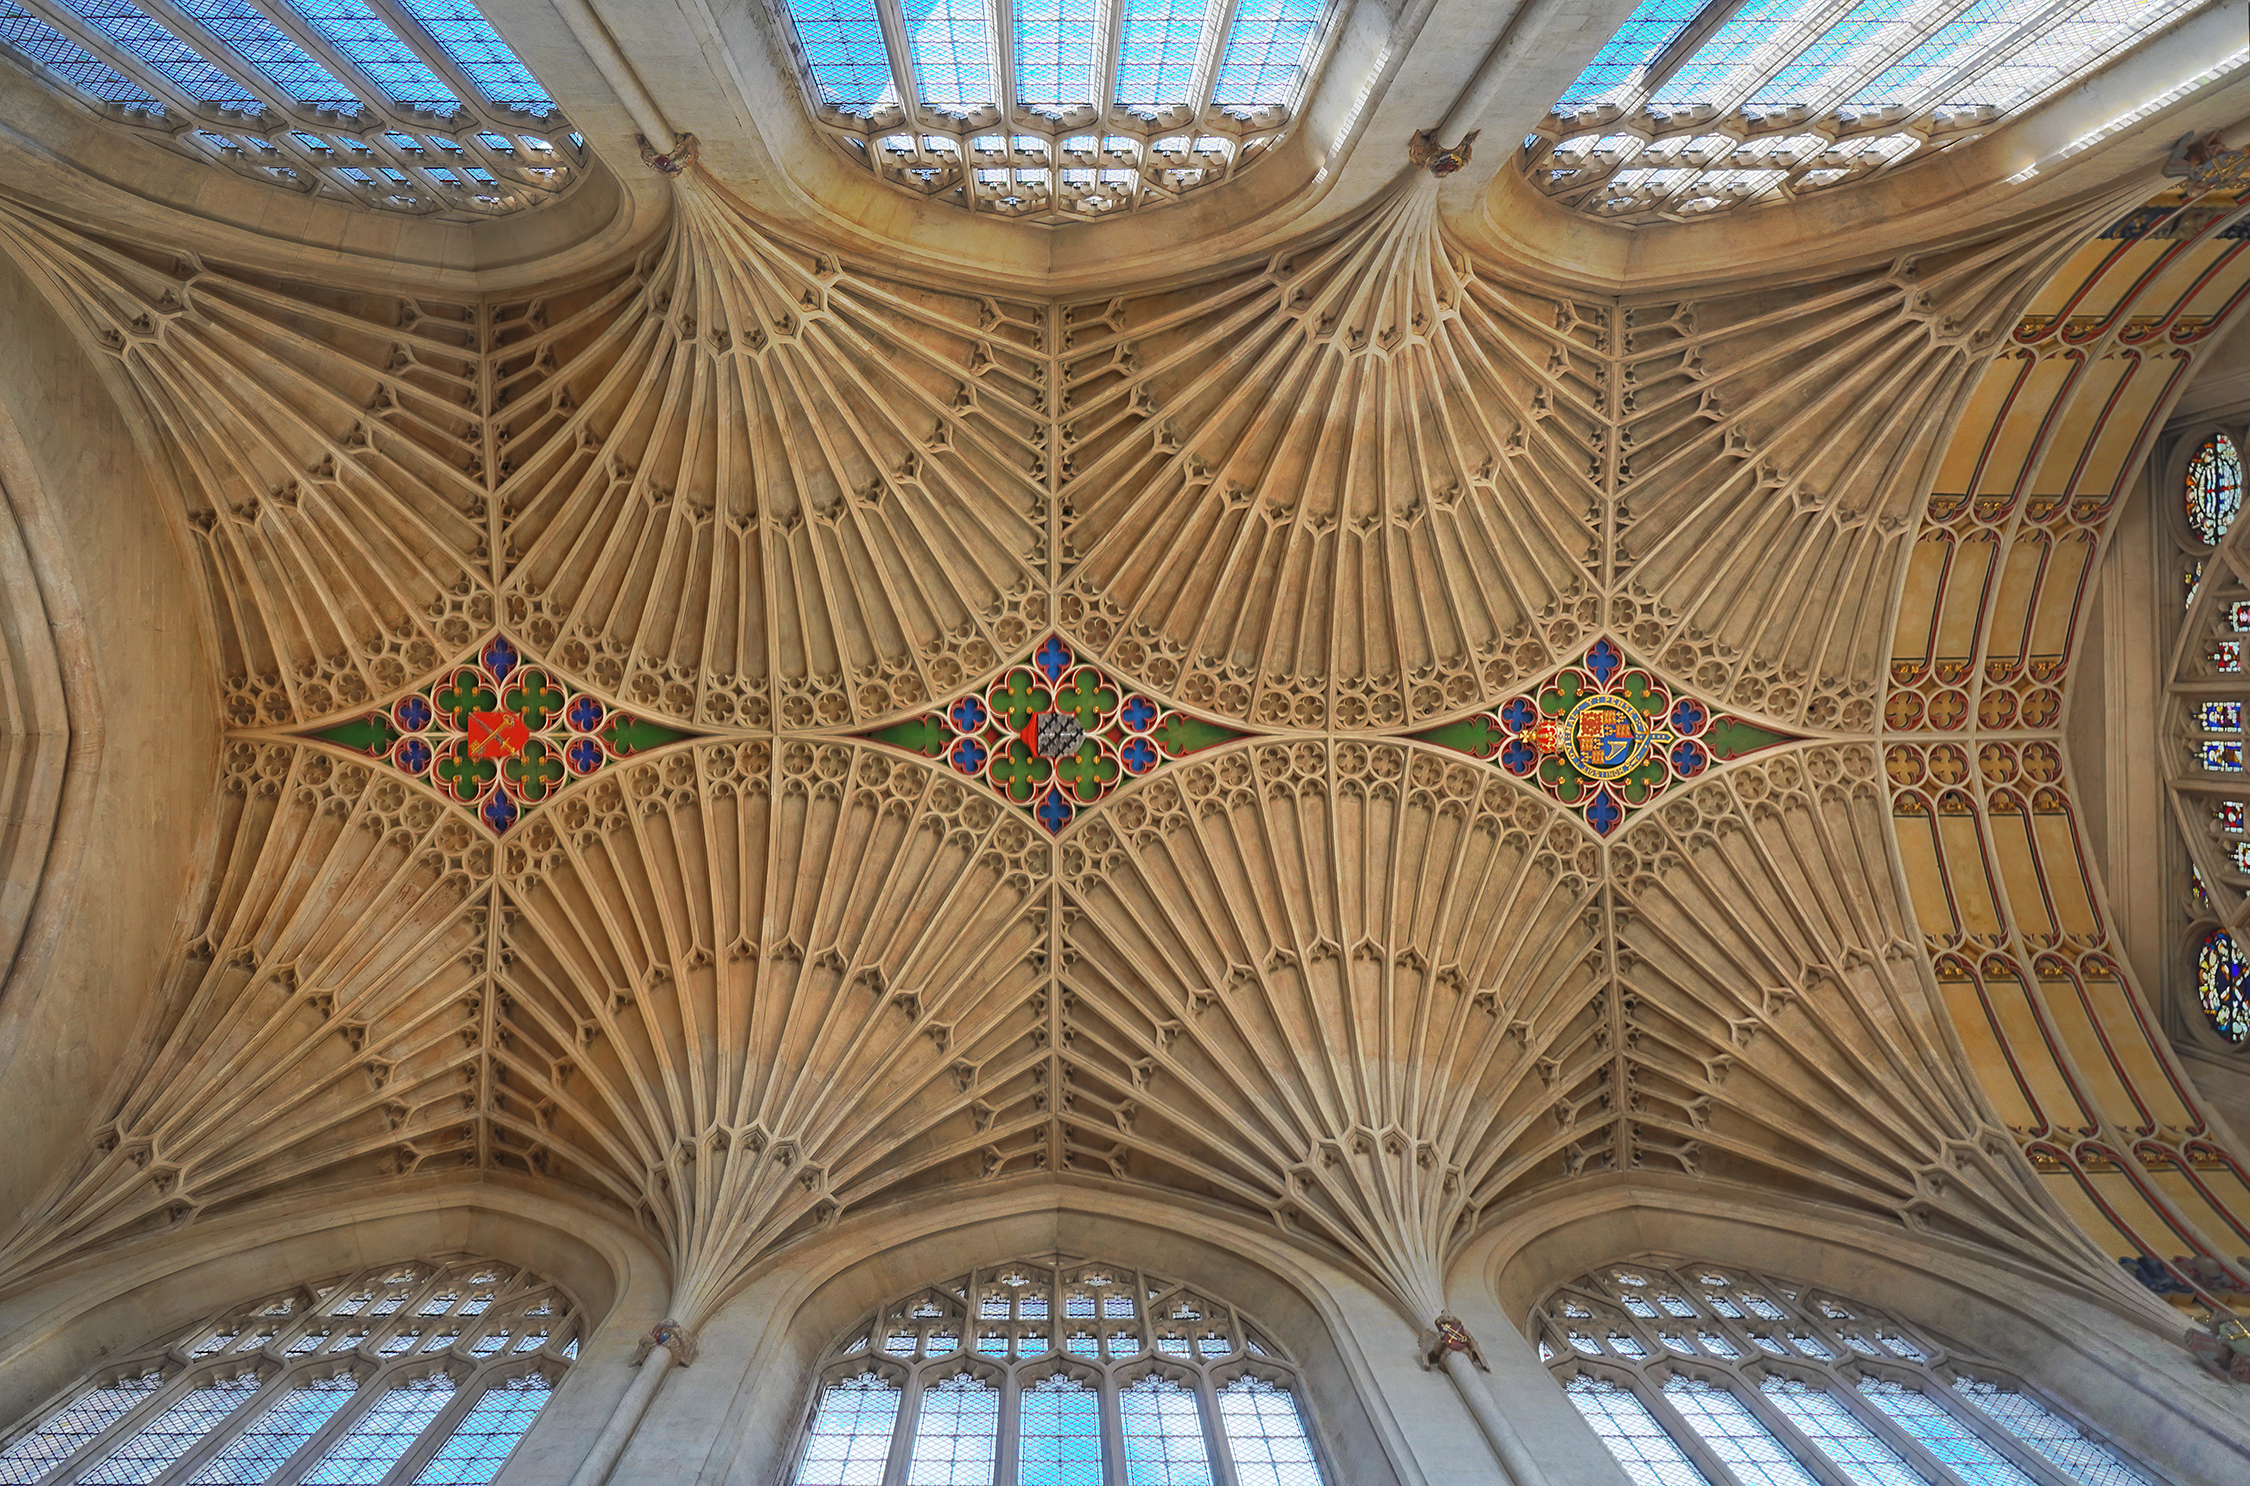
Shooting steps
1. Aperture priority settings
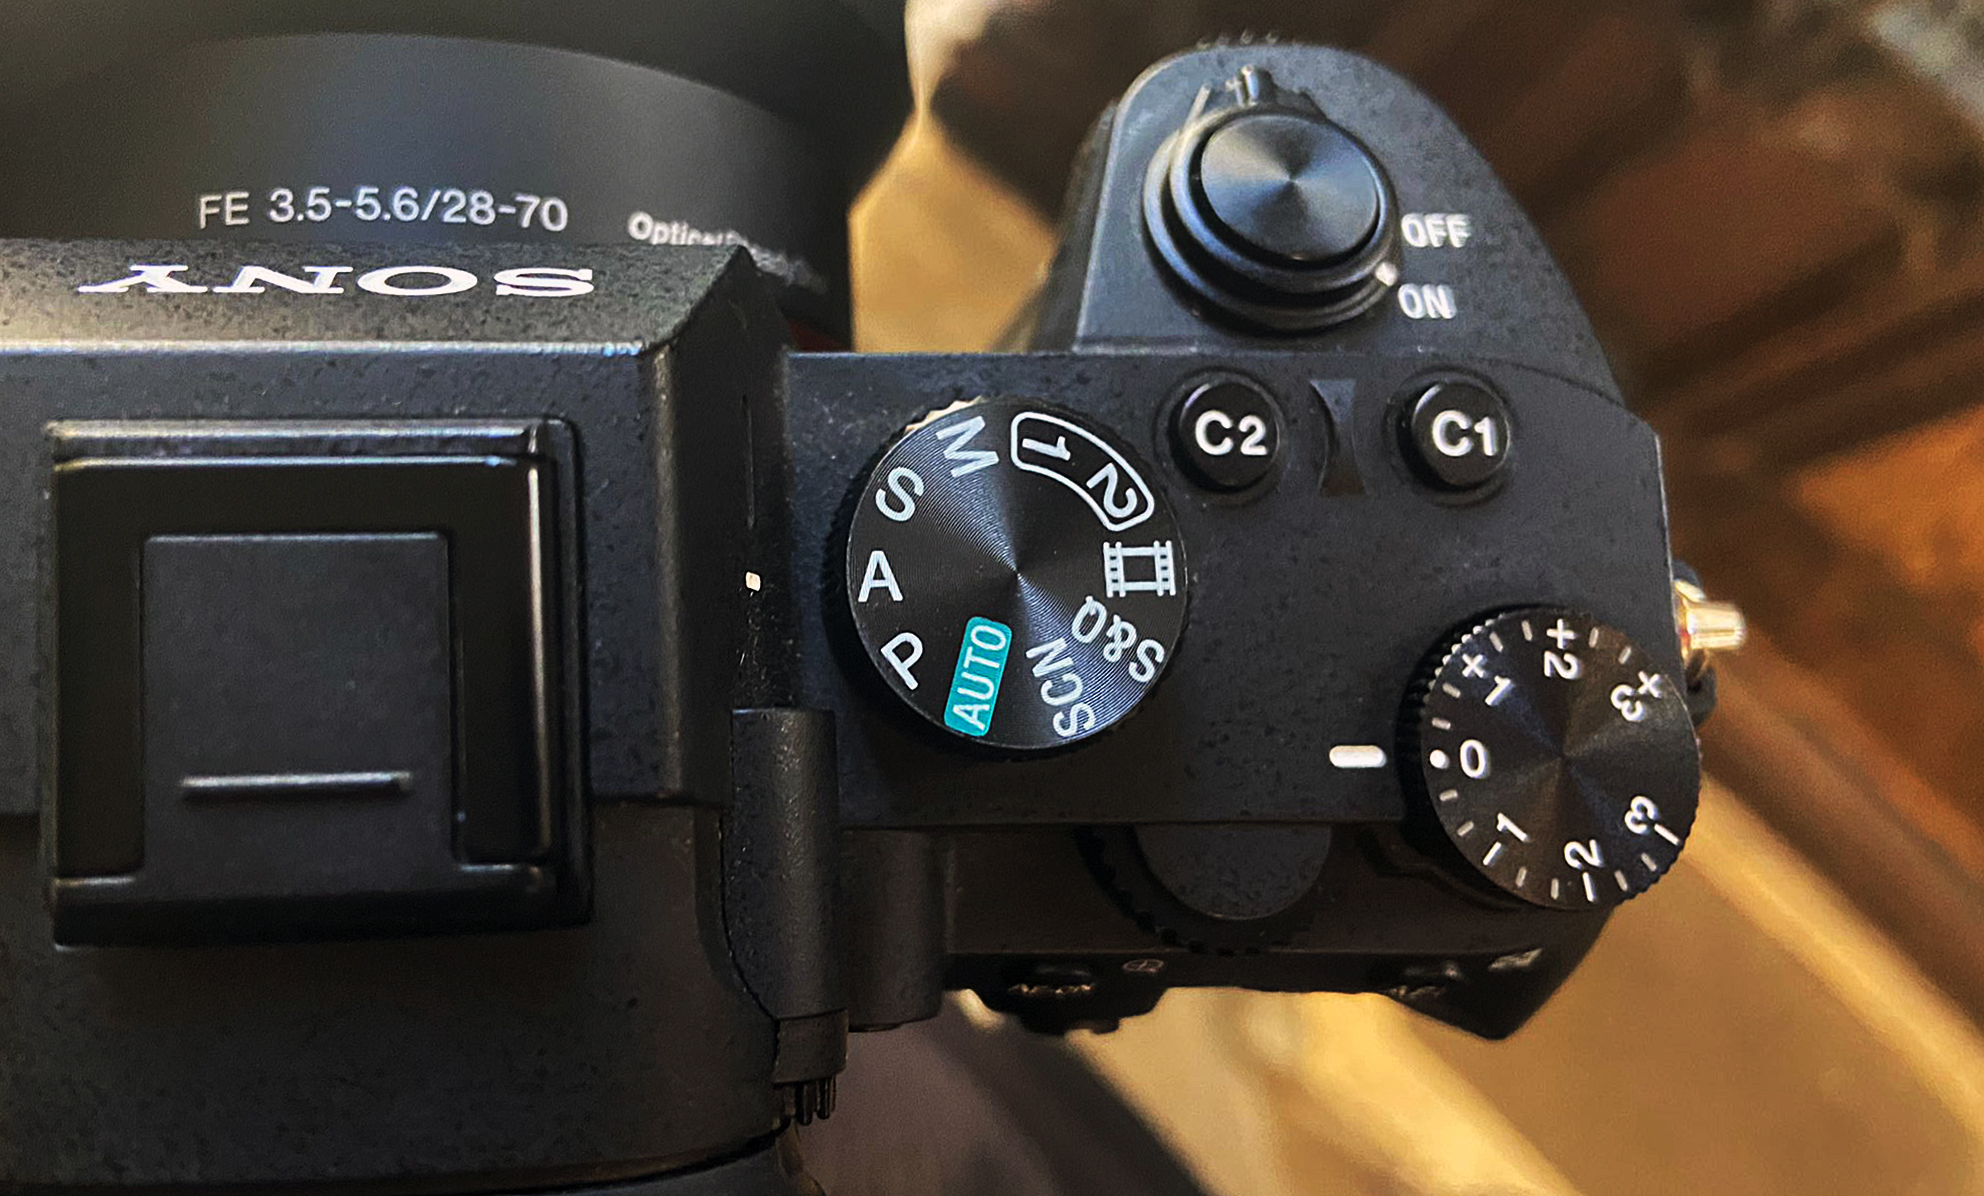
Set your camera to A mode (Aperture priority mode) to ensure that the depth of field is not affected by automatic changes in aperture values. Choose wider apertures to allow as much light as possible to reach the camera’s sensor.
2. Increase ISO values
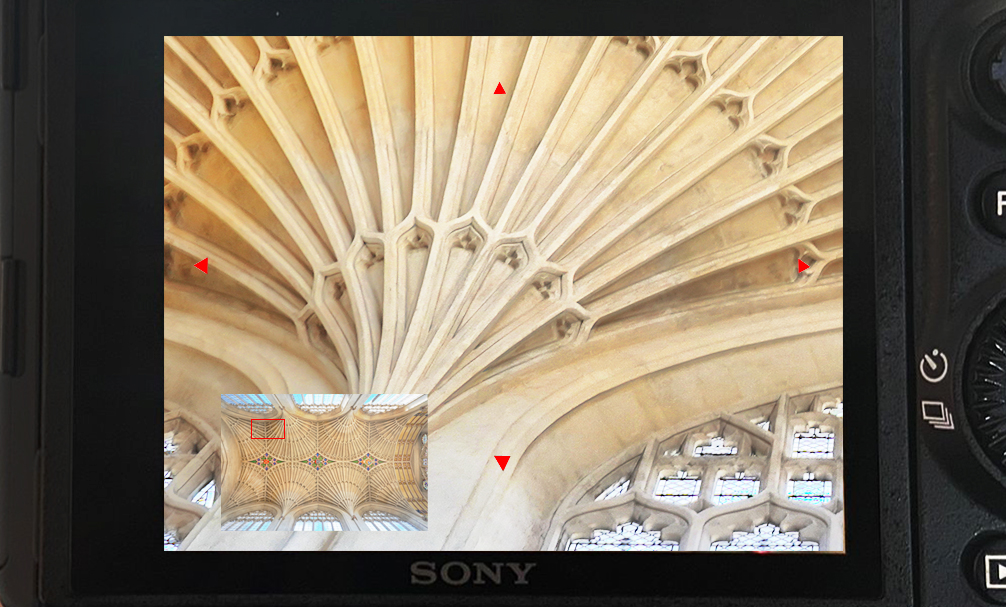
Make use of the higher ISO settings to enable fast shutter speeds. By doing so, you will minimize the risk of small movements between image sequences. Take some test shots and keep an eye out for any possible digital noise.
3. Focus manually
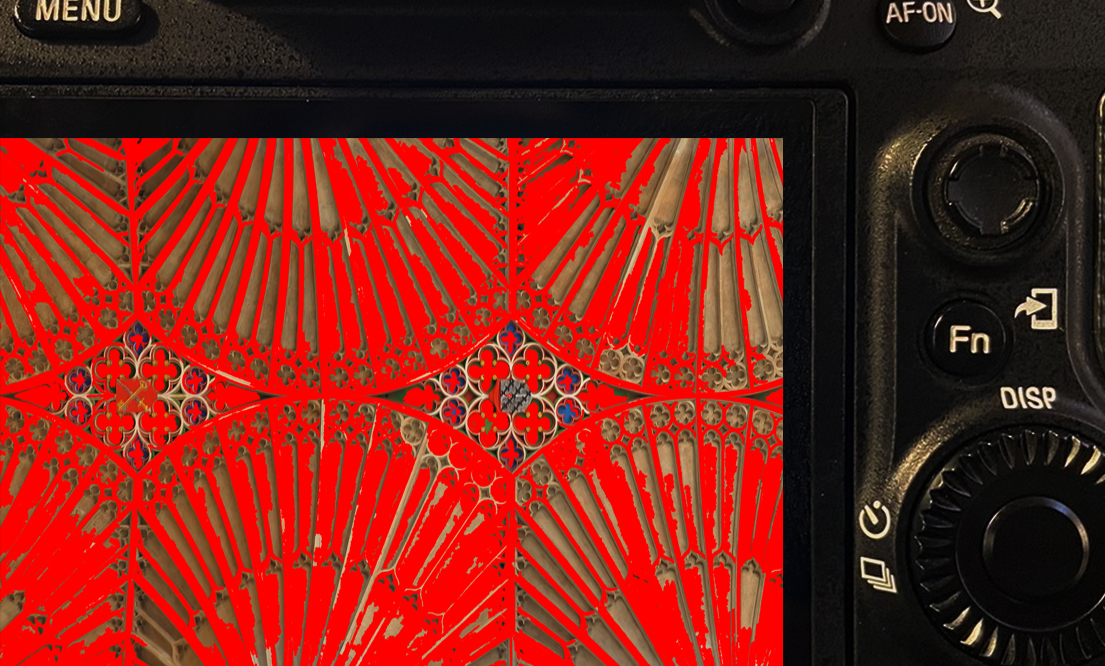
Adjust the focus manually to avoid unwanted automatic refocusing between shots. Also, activate the image stabilization of the lens or camera body to achieve sharper results even at a slightly slower shutter speed.
4. Auto exposure bracketing
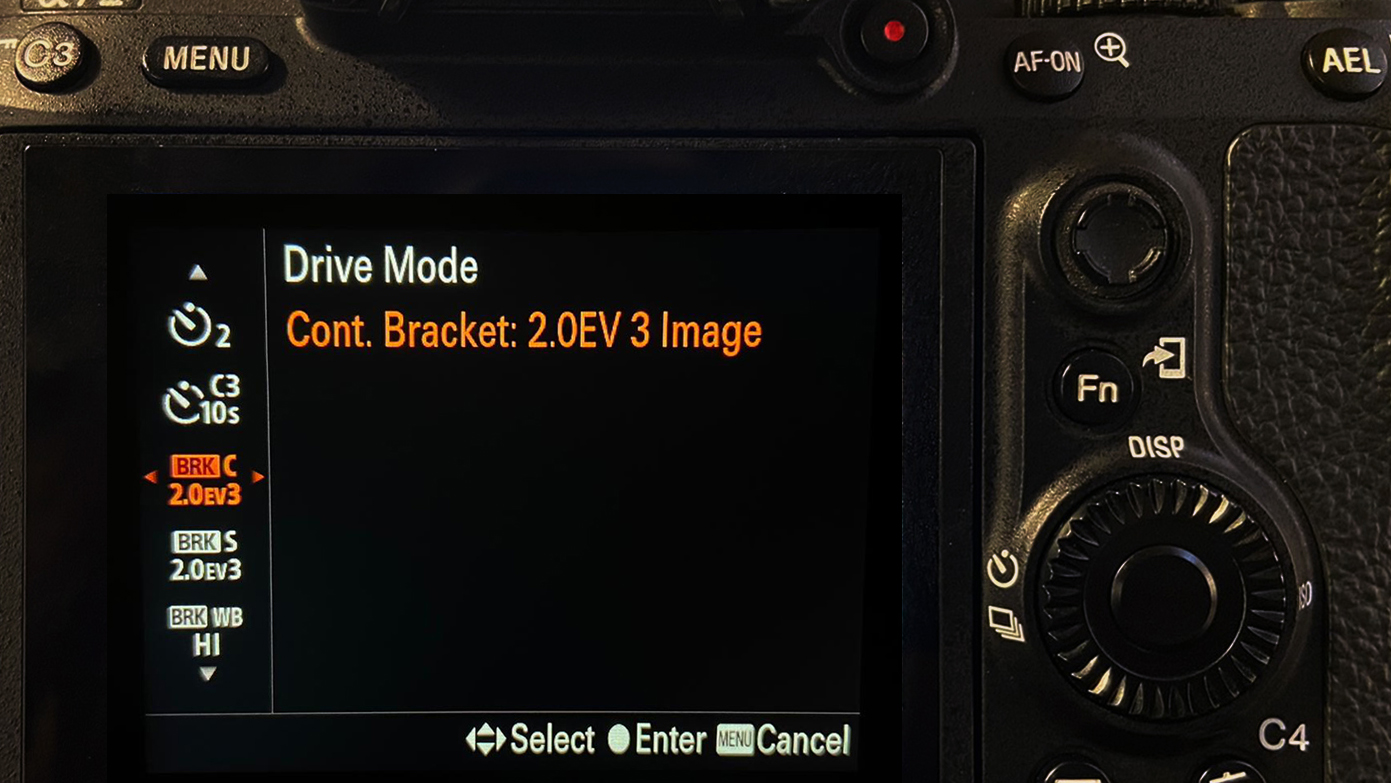
Find the auto exposure bracketing function or drive mode in your camera menu. The camera automatically takes variable exposures via shutter speed in continuous mode. Set your preferred number of stops and shots.
5. Find your position
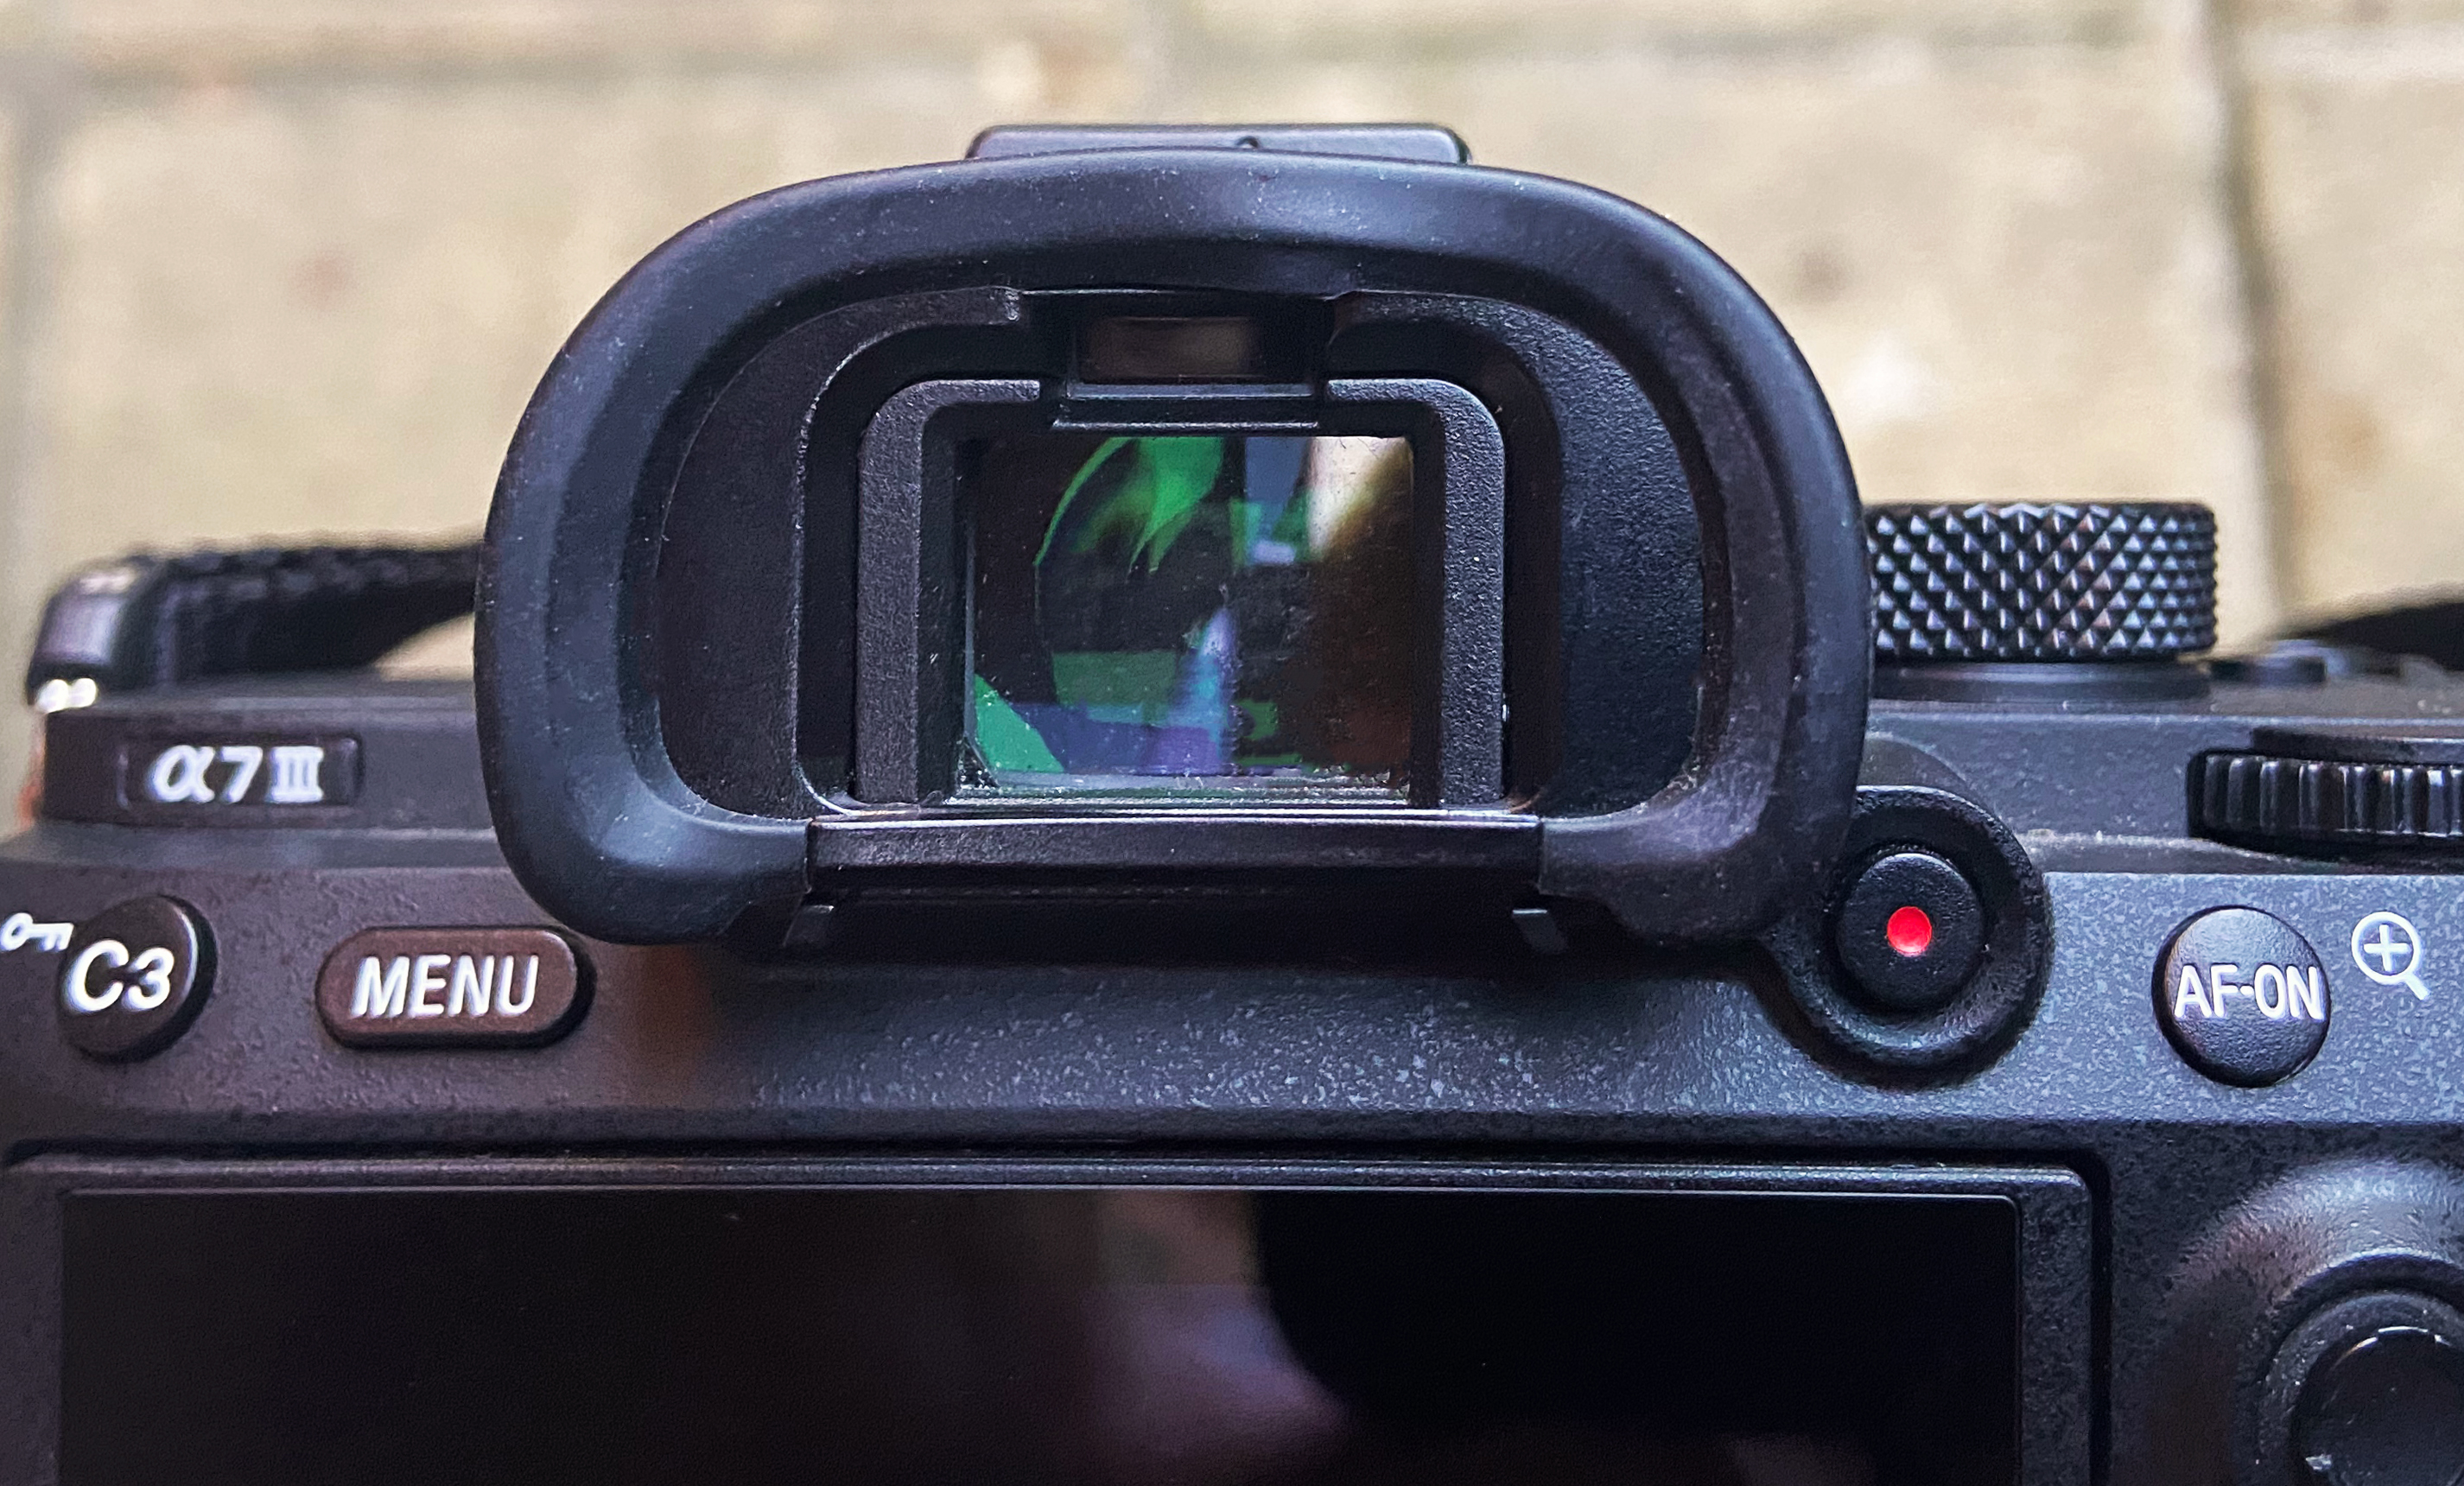
Shoot by looking through the viewfinder to achieve a more stable position. Check if the location provides additional support for your stability. For example, leaning against a wall could help you to reduce camera shake.
6. Analyse results
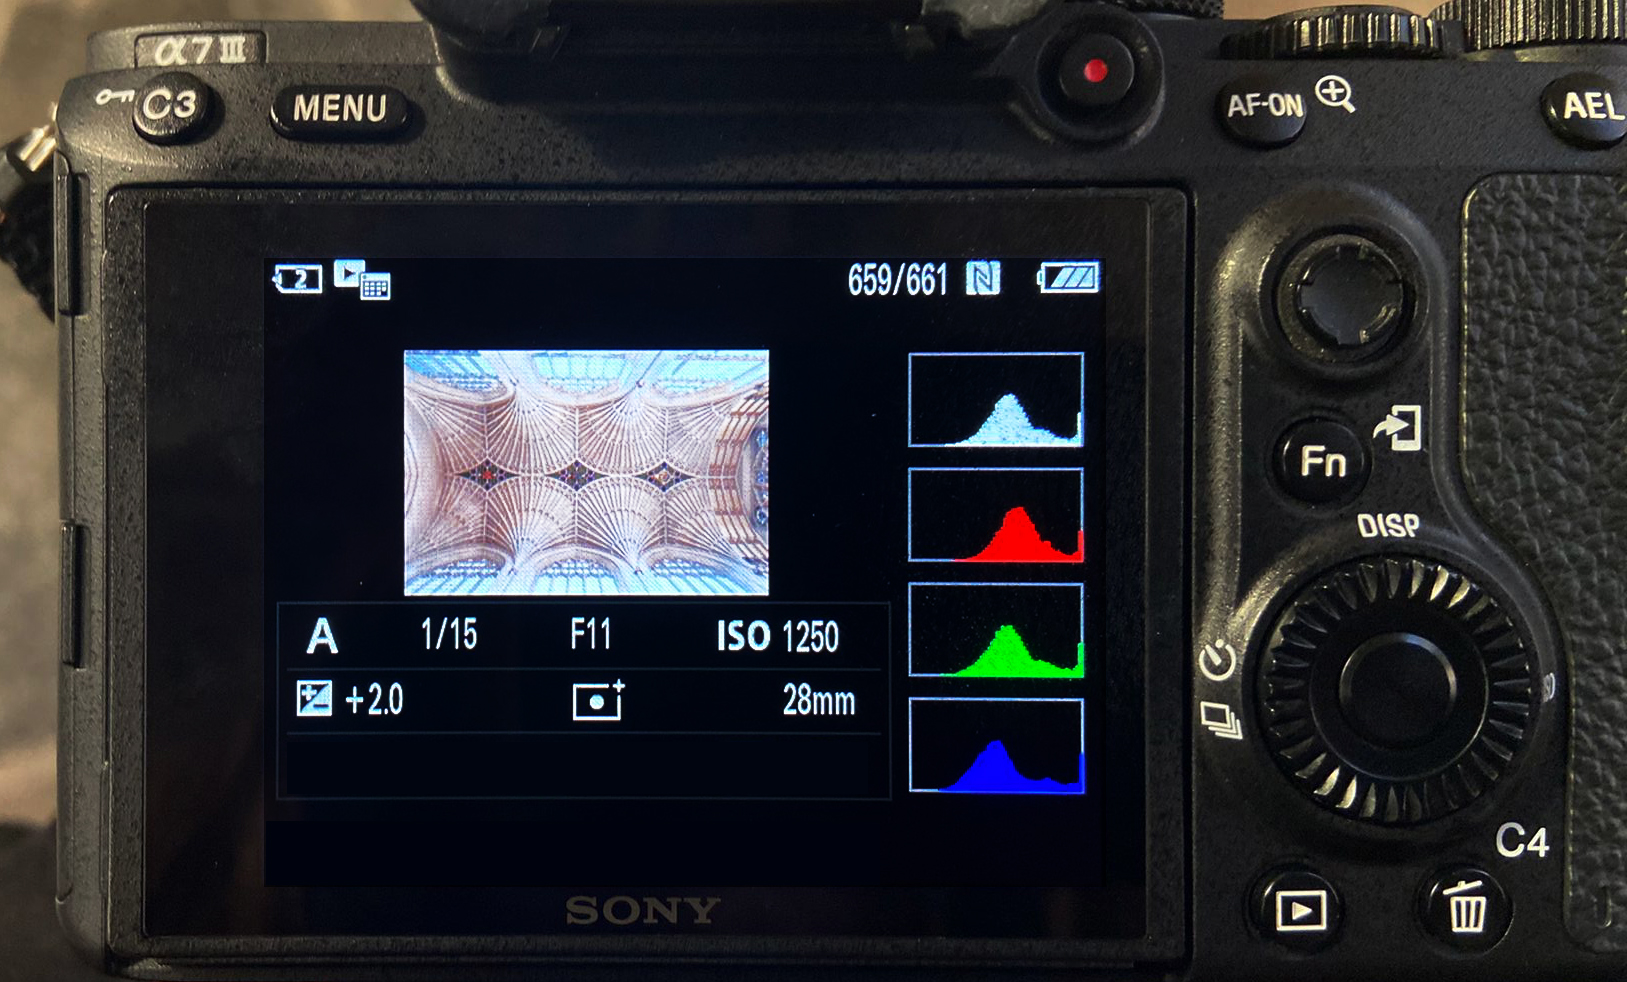
Check the image and pay attention to the histogram. This lets you determine whether the darkest and lightest elements of the image are providing sufficient information. Take some additional shots to increase the possibilities while editing.
For more tips and techniques, check out all of our photography cheat sheets!
Get the Digital Camera World Newsletter
The best camera deals, reviews, product advice, and unmissable photography news, direct to your inbox!

Kim is the Staff Writer on Digital Camera World, and formerly Technique Editor at Digital Photographer, focusing on the art and science of photography. With a Master’s degree in Photography and Media, she is driven to educate through an analytical approach, visually and technically. With her guides and tutorials, Kim seeks to uncover new facets of this time-honoured medium and foster a deeper understanding of its profound role in culture. Kim highlights topics that resonate with modern society, including women in photography and critical issues such as environmental conservation. She also discusses and reviews camera gear, giving you an overview to find the best fit for your photography journey.
