Don't curse the shorter days, it's the perfect time to perfect your traffic trail photography!
Shoot for a time blend and combine sunset scenery with vibrant traffic trails, our expert James Paterson shows you how...
Watch video: Time for trails
Traffic trails have to be one of the most magical camera tricks. Even those of us who’ve been shooting for years may still marvel at the vivid trails of light that occur when vehicle lights are captured with a long exposure.
The usual approach to traffic trails is to wait for night so that the light levels are low enough to stretch the shutter speed out to several seconds. Of course, this often means the surroundings come out very dark. But what if – like our scene of Cheddar Gorge in Somerset here – we want to capture the majestic scenery along with trails of light?
One solution is to shoot for a time blend - that is, to blend frames taken at different times of the evening. We begin our time blend by capturing the scene as the sun is setting. Here this meant we could record the sunlight glancing off the steep cliffs and the vibrant colours of the setting sun. But at this time of day the light simply isn’t low enough to capture traffic trails. So next we wait for a while, leaving the camera set up in place on a sturdy tripod. After half an hour or so, we can shoot longer exposures and capture the wonderful trails of light, as well as any glittering lights like the village of Cheddar in the distance here.
Piecing together our frames is a simple process in Photoshop CC or Affinity Photo 2, and calls upon key photo editing skills with layers and masks.
1. Plan your angles
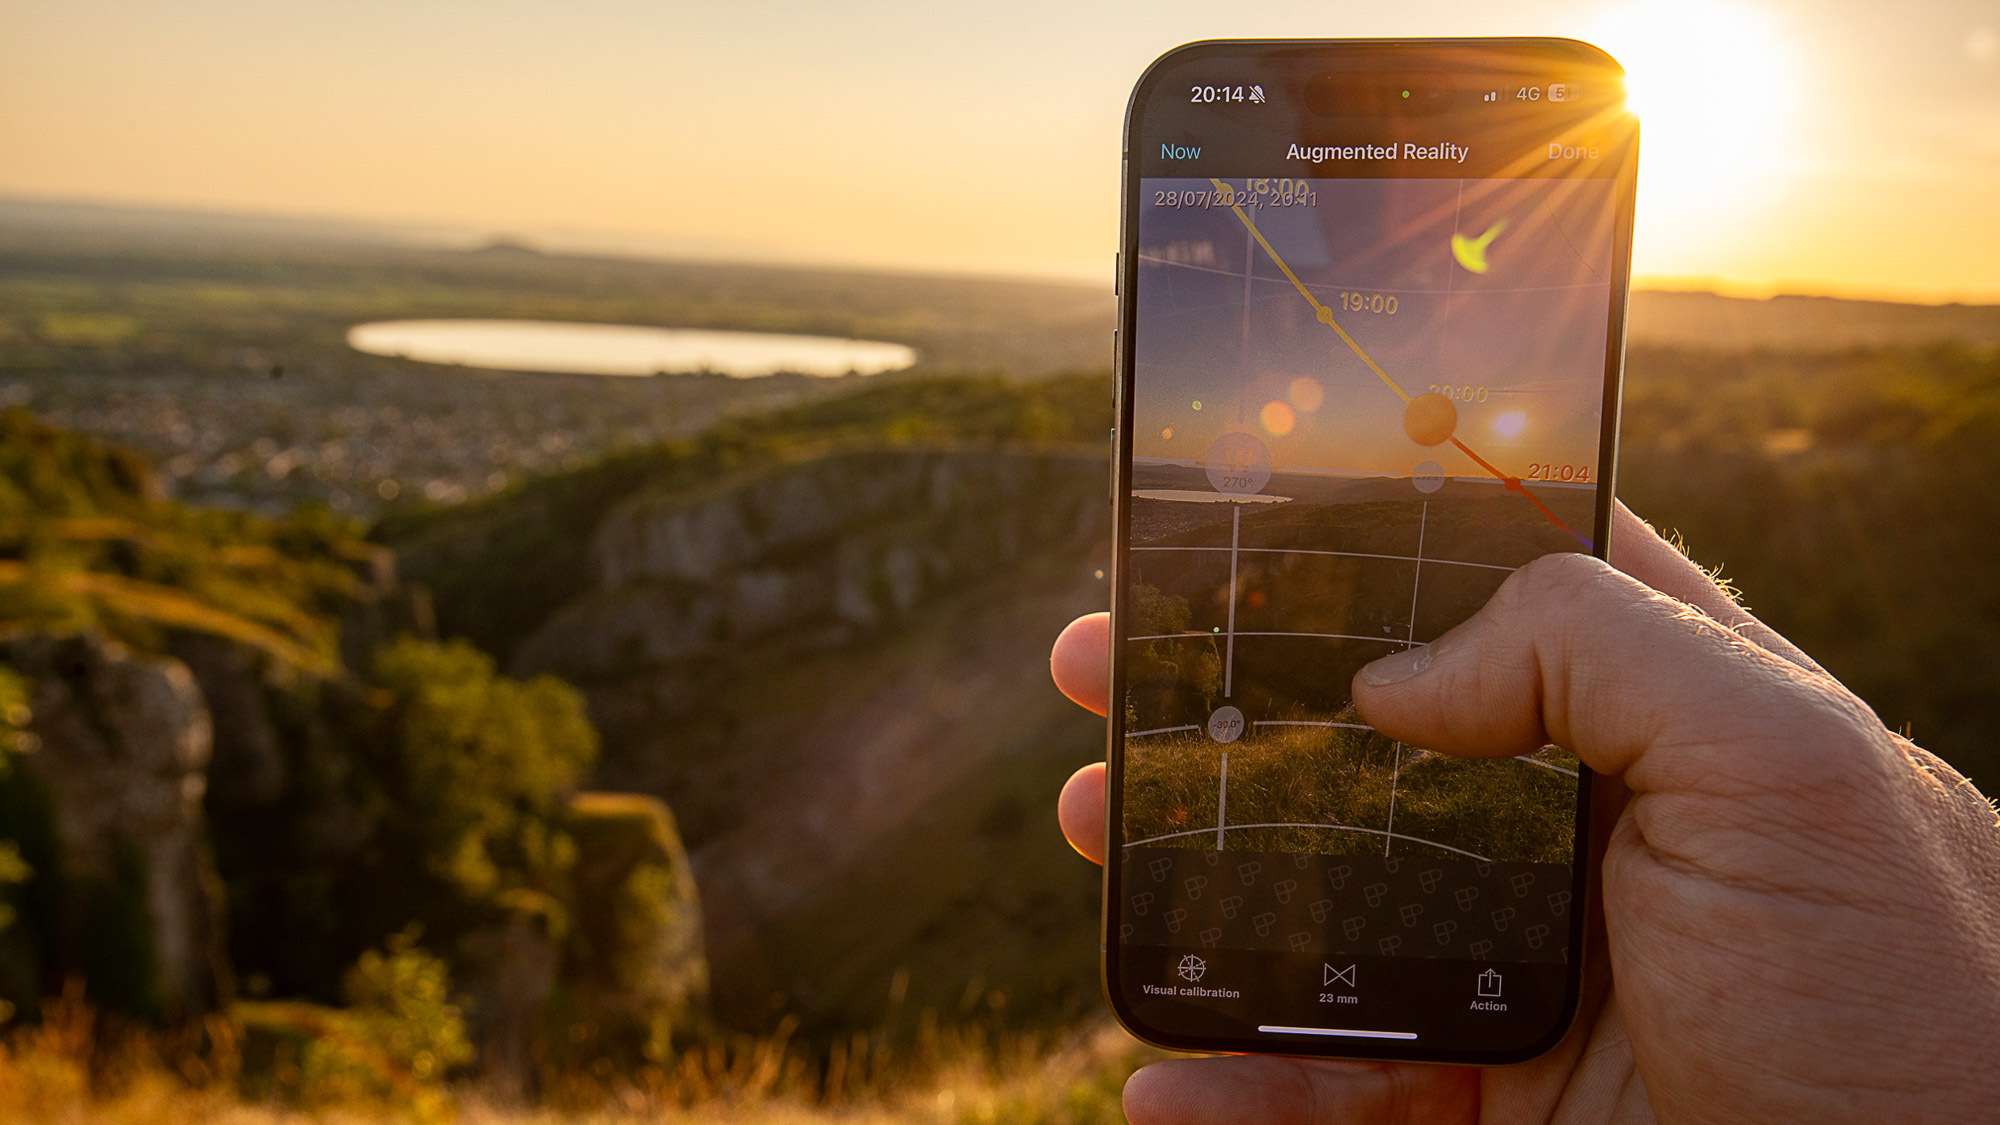
When shooting landscapes at sunset it’s worth arriving an hour before to give yourself time to set up and perfect your composition. Planning can help to determine the best angle for shooting into the setting sun. Phone apps like PhotoPills can aid you in this by displaying exactly where the sun will meet the horizon.
2. Bracket your sunset shots
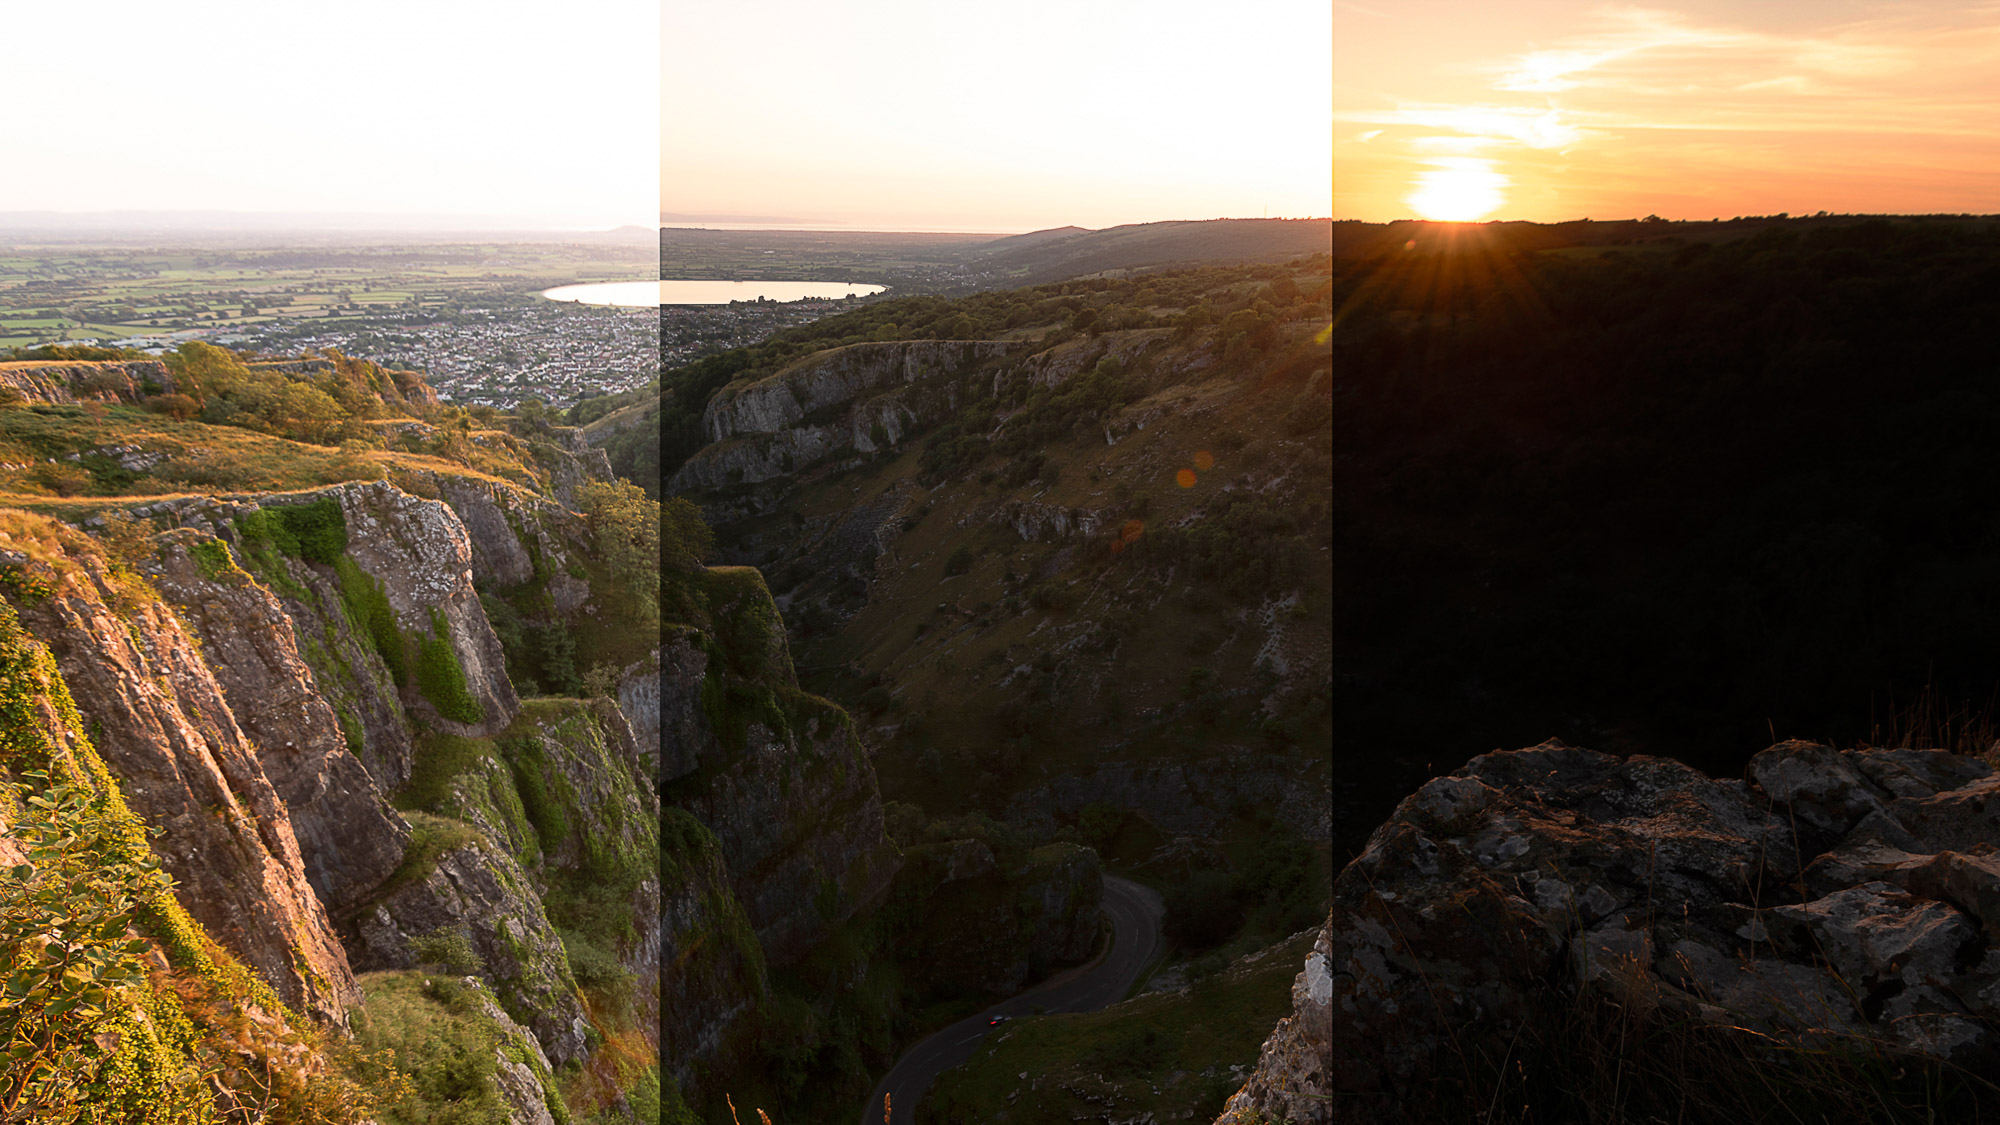
When shooting the setting sun the sky will be much brighter than the land. It’s a good idea to bracket your shots by shooting one ‘correct’ exposure, then adjust the shutter speed to over and underexpose by 1-2 stops (when using Manual mode with Auto Bracketing, the shutter speed will adapt for you).
3. Wide angle lens
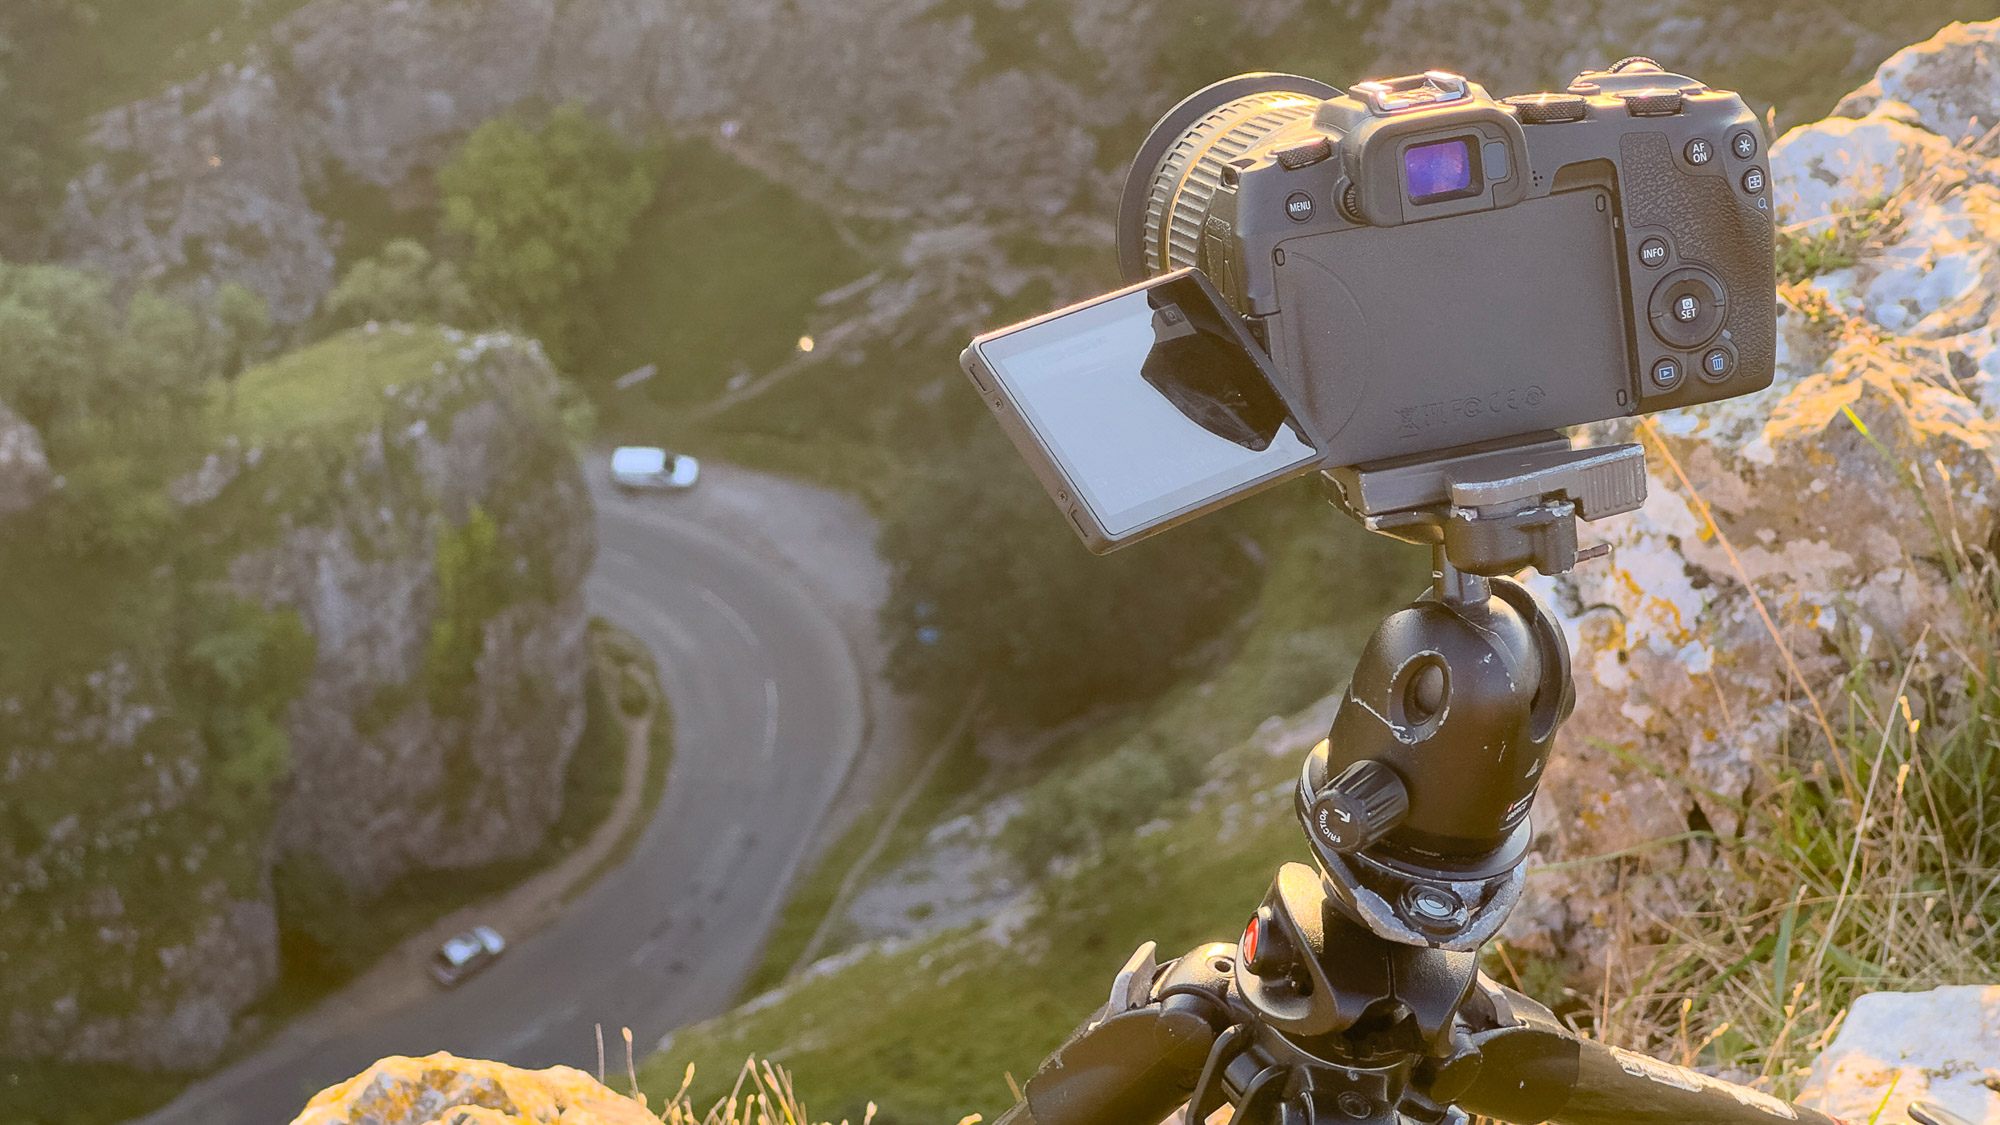
A wide angle lens is ideal for a shot like this as it exaggerates the perspective and allows you to include foreground details as well as distant scenery. Before it gets too dark. it’s worth focusing on the road then switching to Manual Focus, as when using autofocus in low light there’s a danger that the lens might hunt.
4. Enjoy the wait
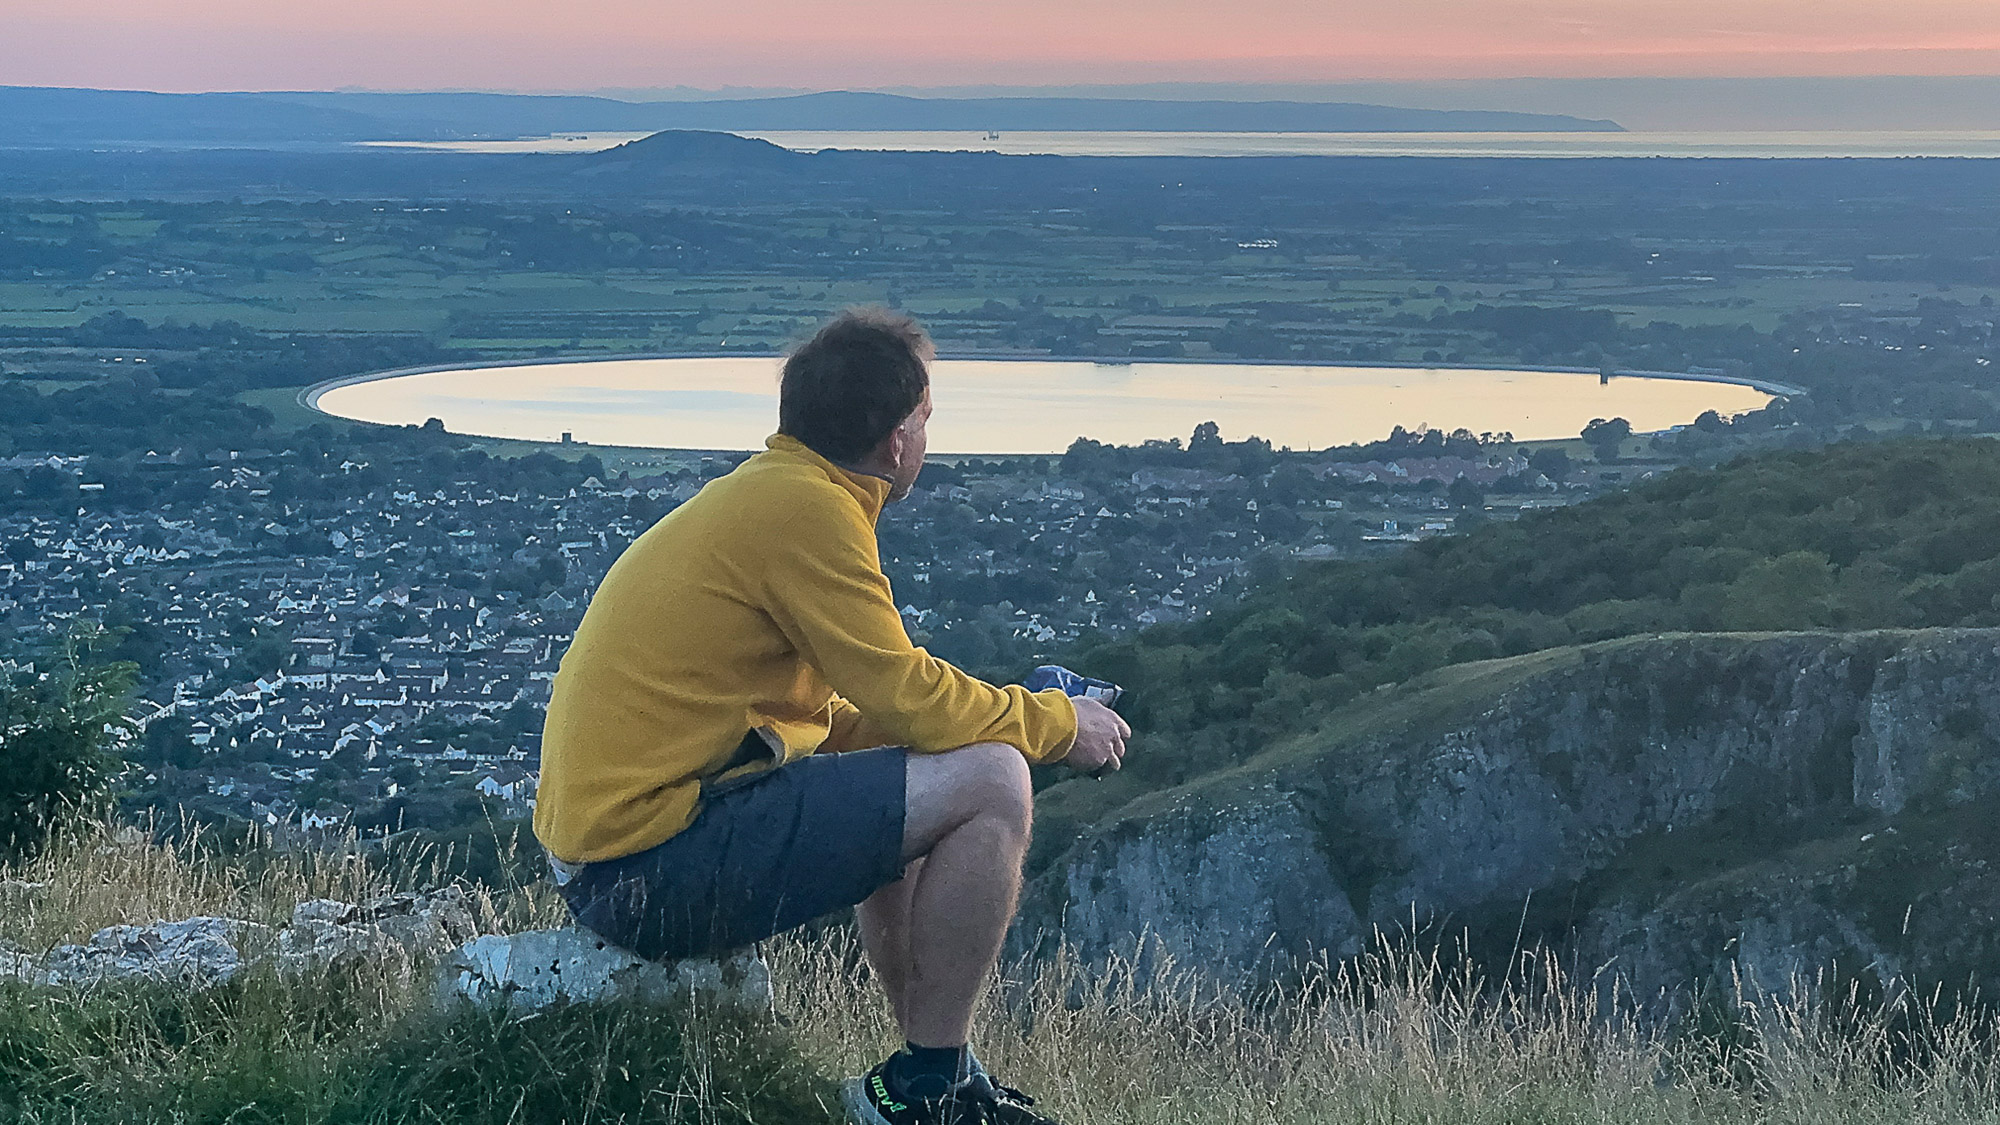
In a funny way the most enjoyable part of this project may well be the bit where we have to wait for dark. Often at sunset there’s a temptation to try out another angle or shoot several quick setups to make the most of the light. But by being forced to keep the camera still we can simply sit back and enjoy the scenery.
5. Time the traffic
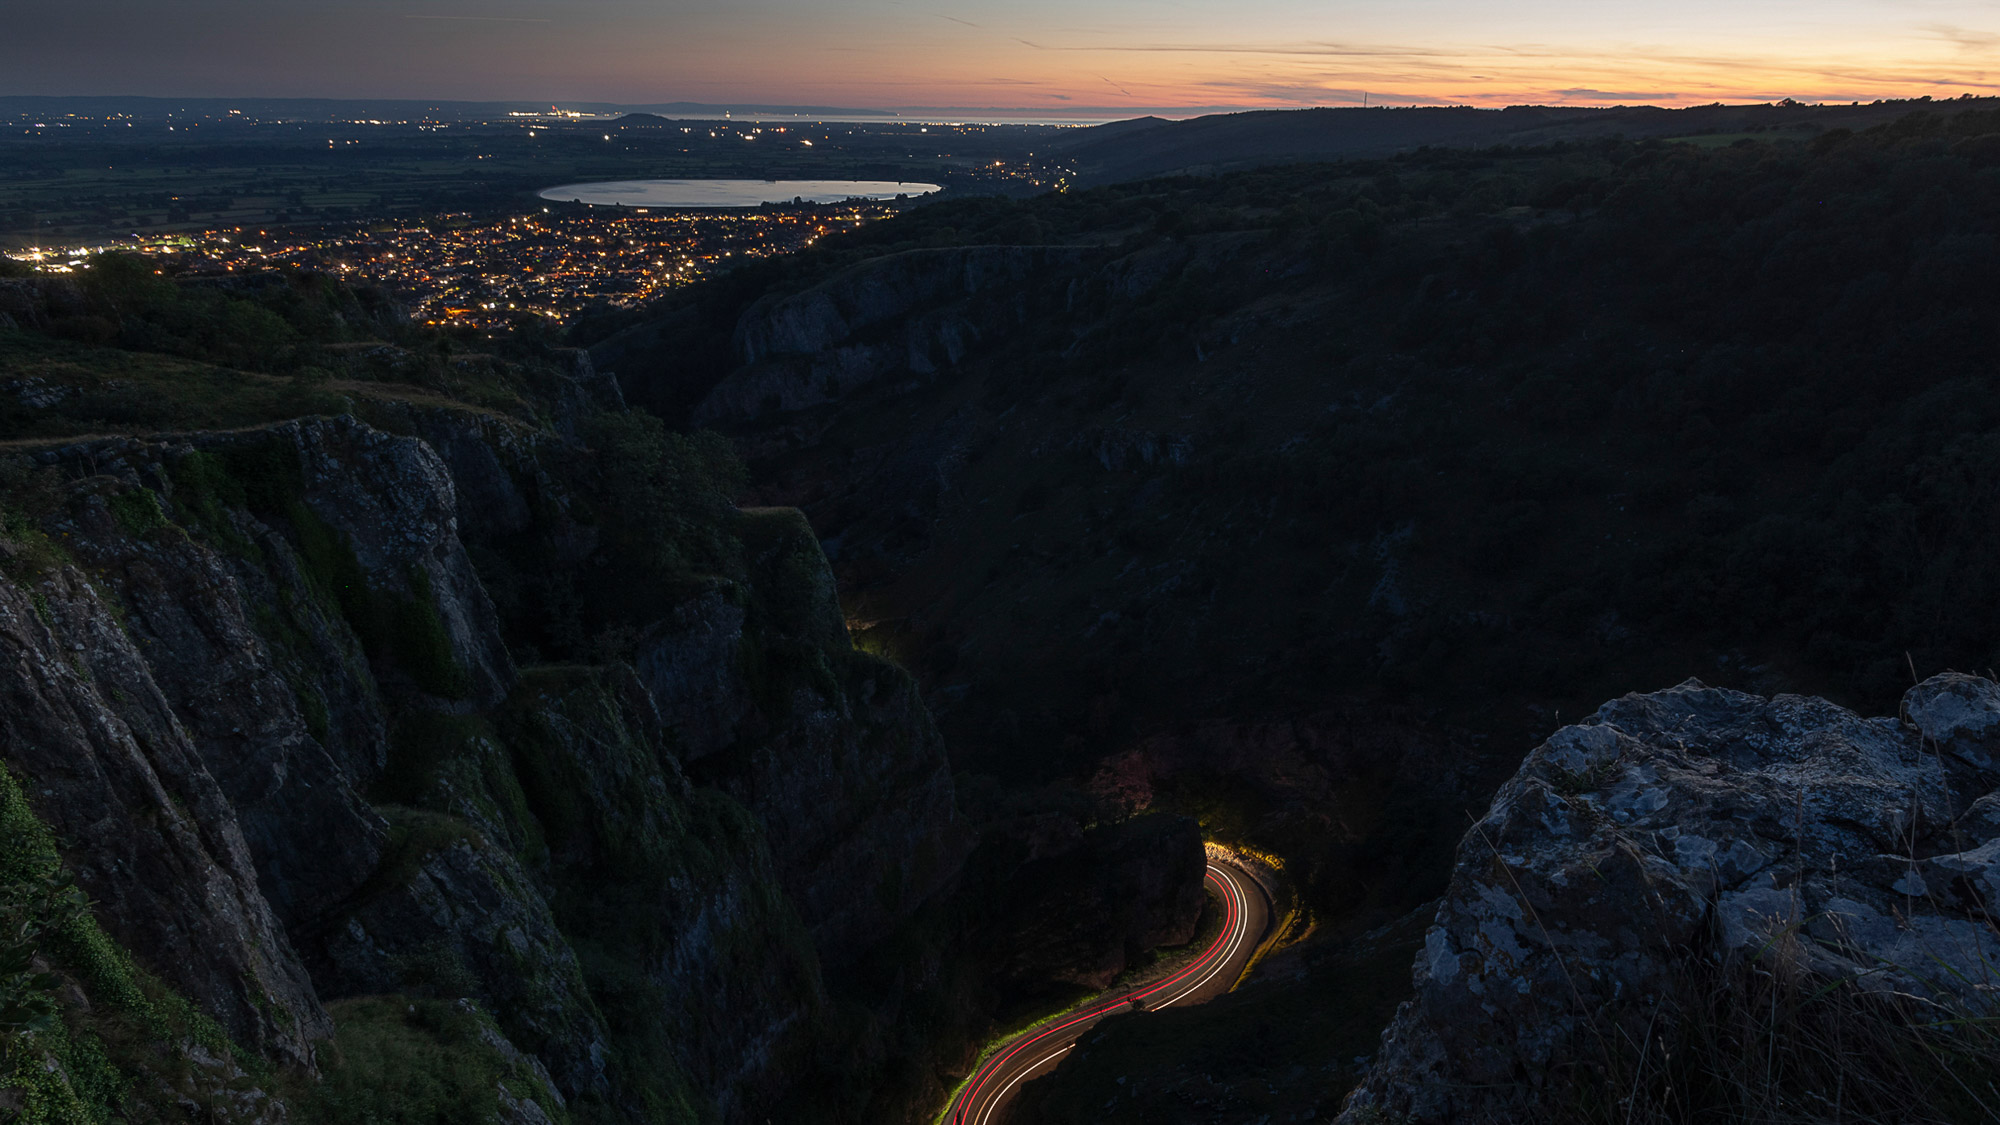
Time how long it takes for vehicles to travel along the entire part of the road in your frame. You’ll need to set your shutter speed to at least this many seconds. If it’s too short then the trails of light will stop abruptly halfway along the road.
6. Capture the vehicles
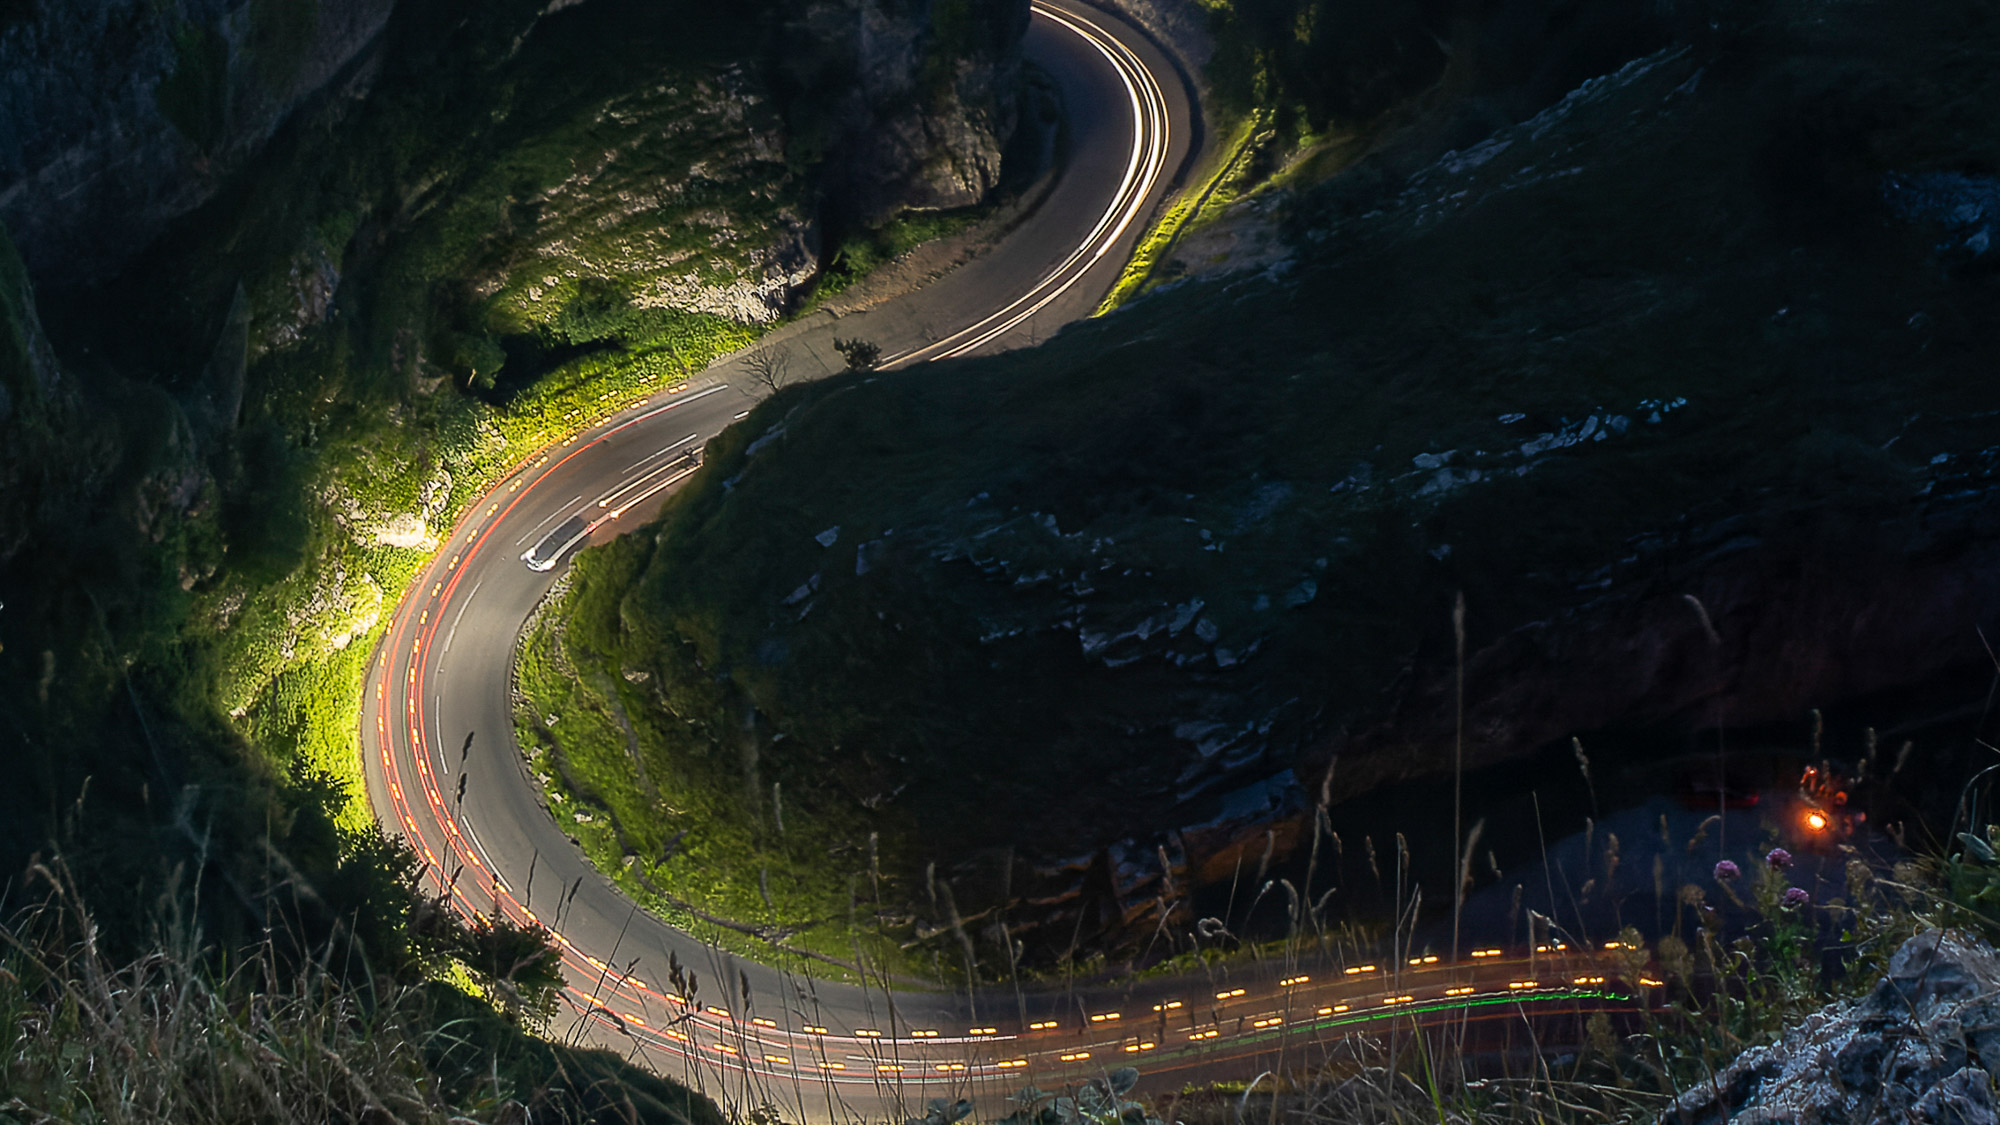
Take several frames of the moving traffic, starting the exposure just before the vehicles enter the frame. The more moving vehicles the better. Look out for different kinds of vehicles like trucks or buses as they will have different heights of lights. Here the flashing lights of a recovery vehicle create a dash-like effect.
7. Prepare the layers
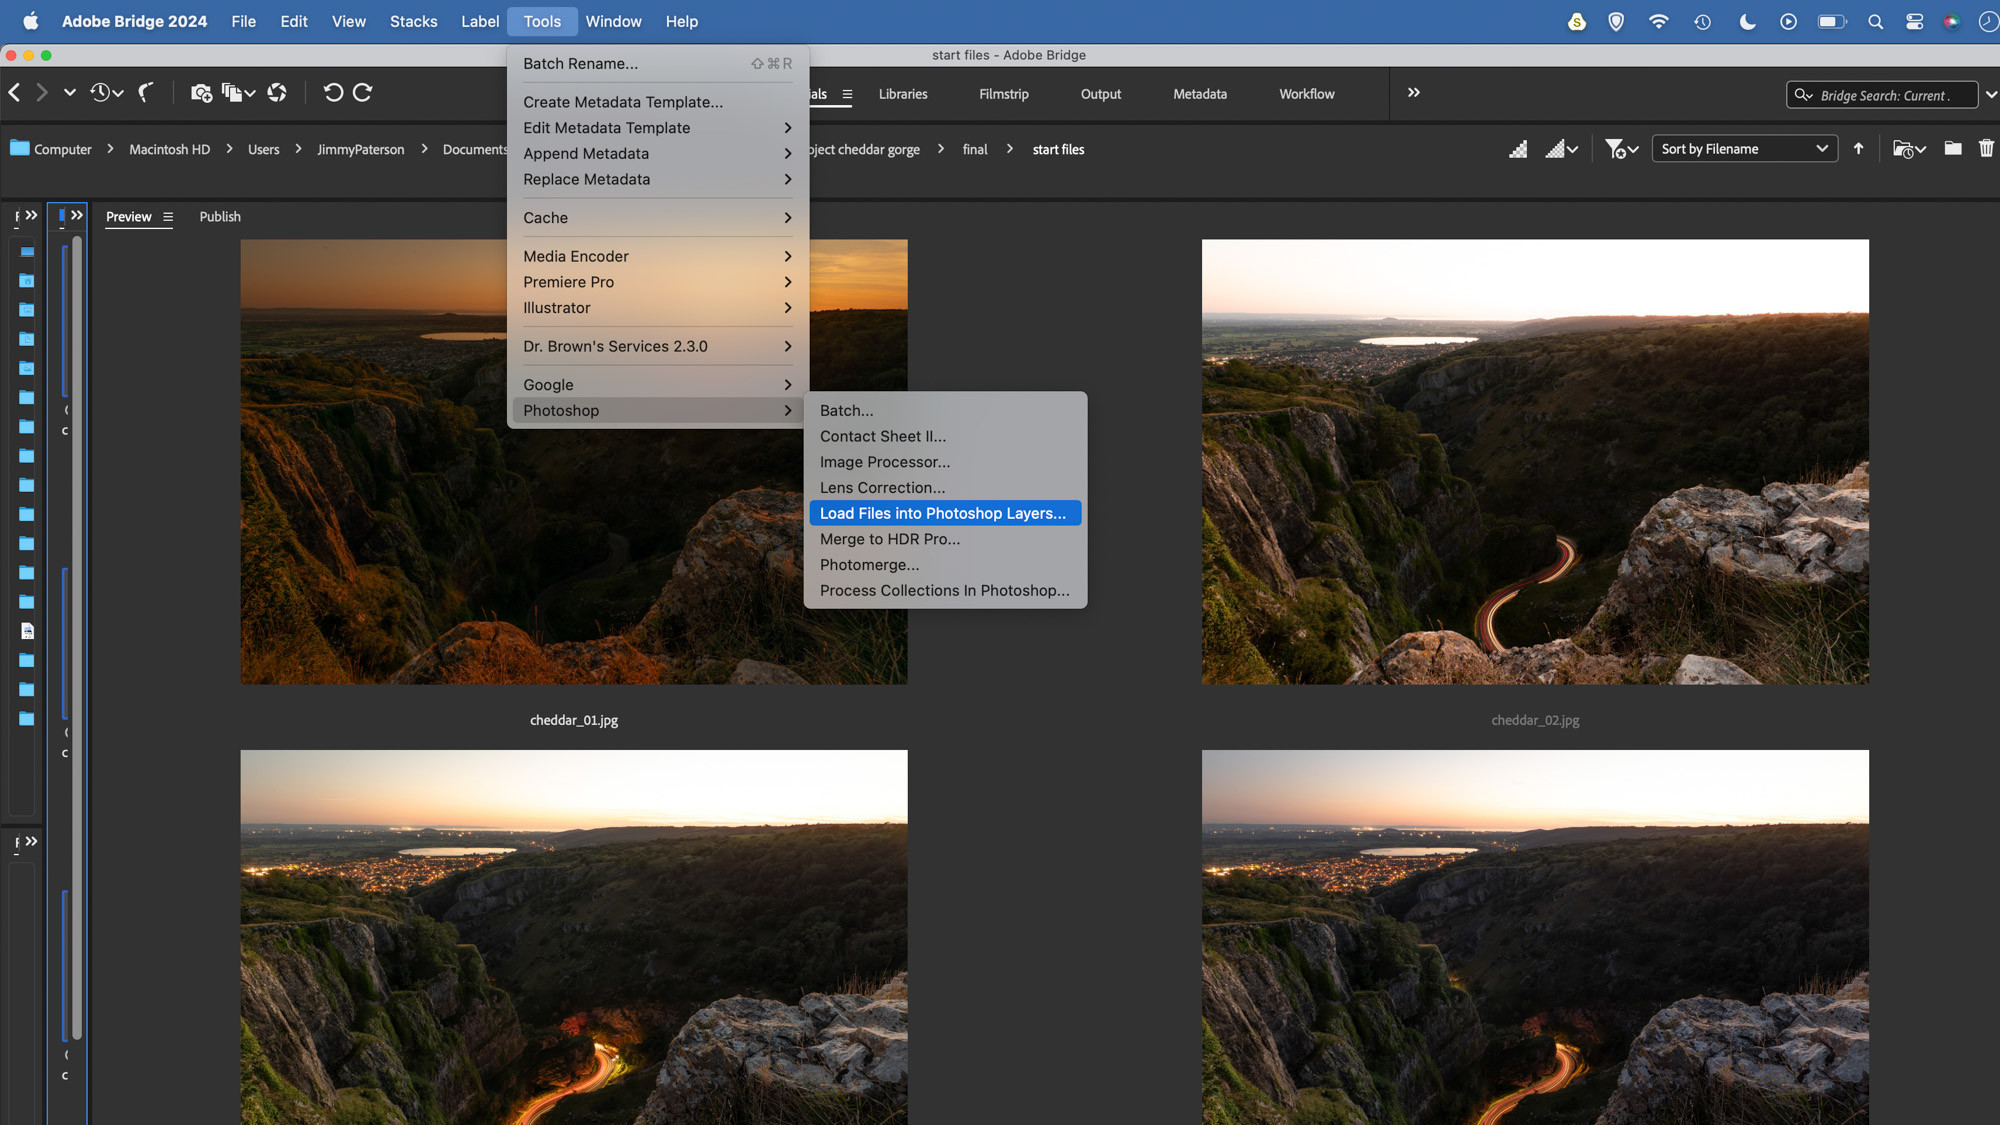
Highlight images in Adobe Bridge, right-click and choose ‘Open in Camera Raw’. Boost the tones and colours. The images shot after sunset will be much cooler in tone so adjust the White Balance. Hit OK and in Bridge go to Tools > Photoshop > Load Files into Photoshop Layers.
8. Align the set
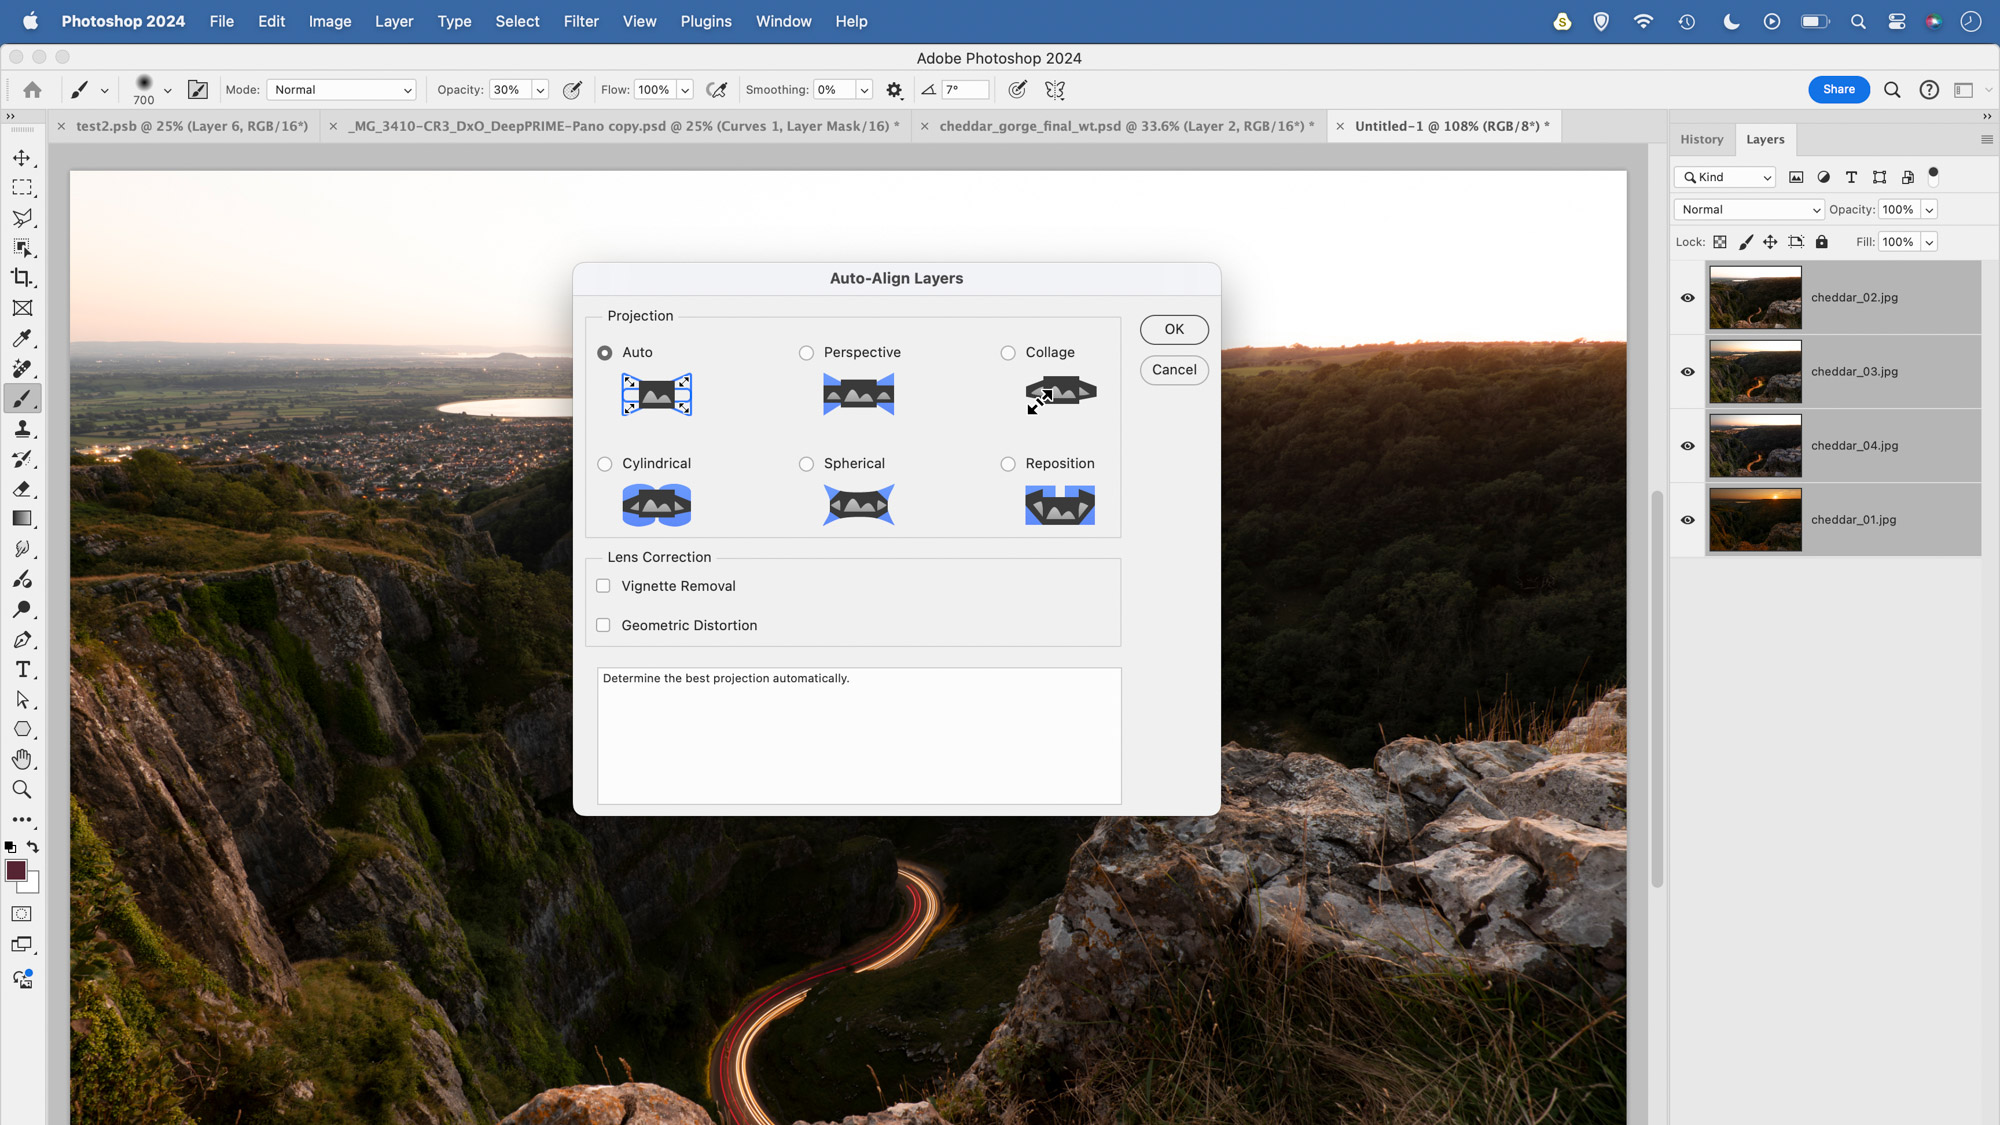
Our layers contain our sunset image and three traffic trails images. Drag the main sunset image to the bottom of the layer stack. Cmd/Ctrl+click on all layers to highlight them then go to Edit > Auto-align layers. Set Auto and hit OK. This ensures the set of images are perfectly aligned.
9. Blend the trails
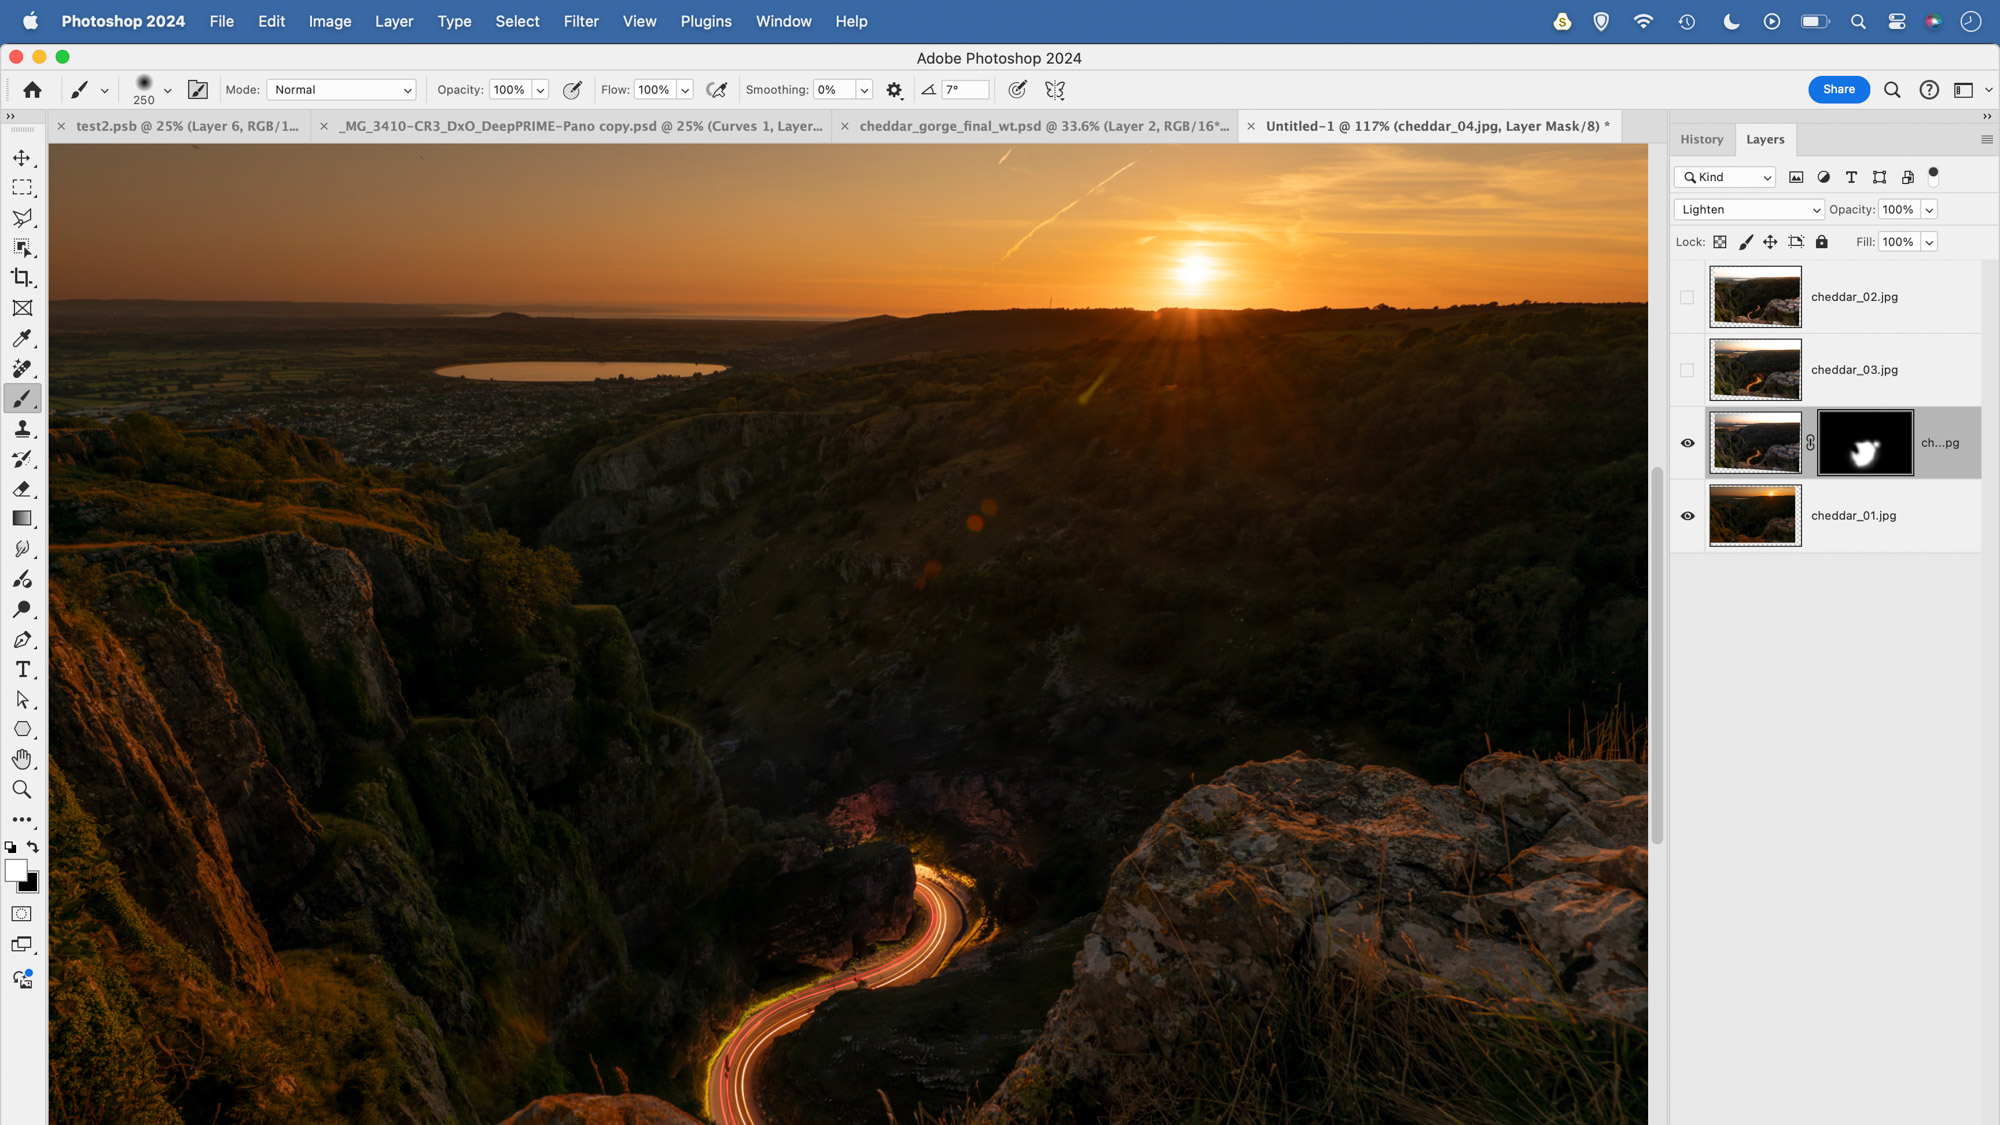
Click the eye icons to hide all except the bottom layer. Reveal the layer above. Change the blend mode from Normal to Lighten. Hold Alt and click the mask icon to add a full black mask. Grab the brush tool, set the colour to white and paint to reveal the traffic. Repeat for other layers.
10. On the trail
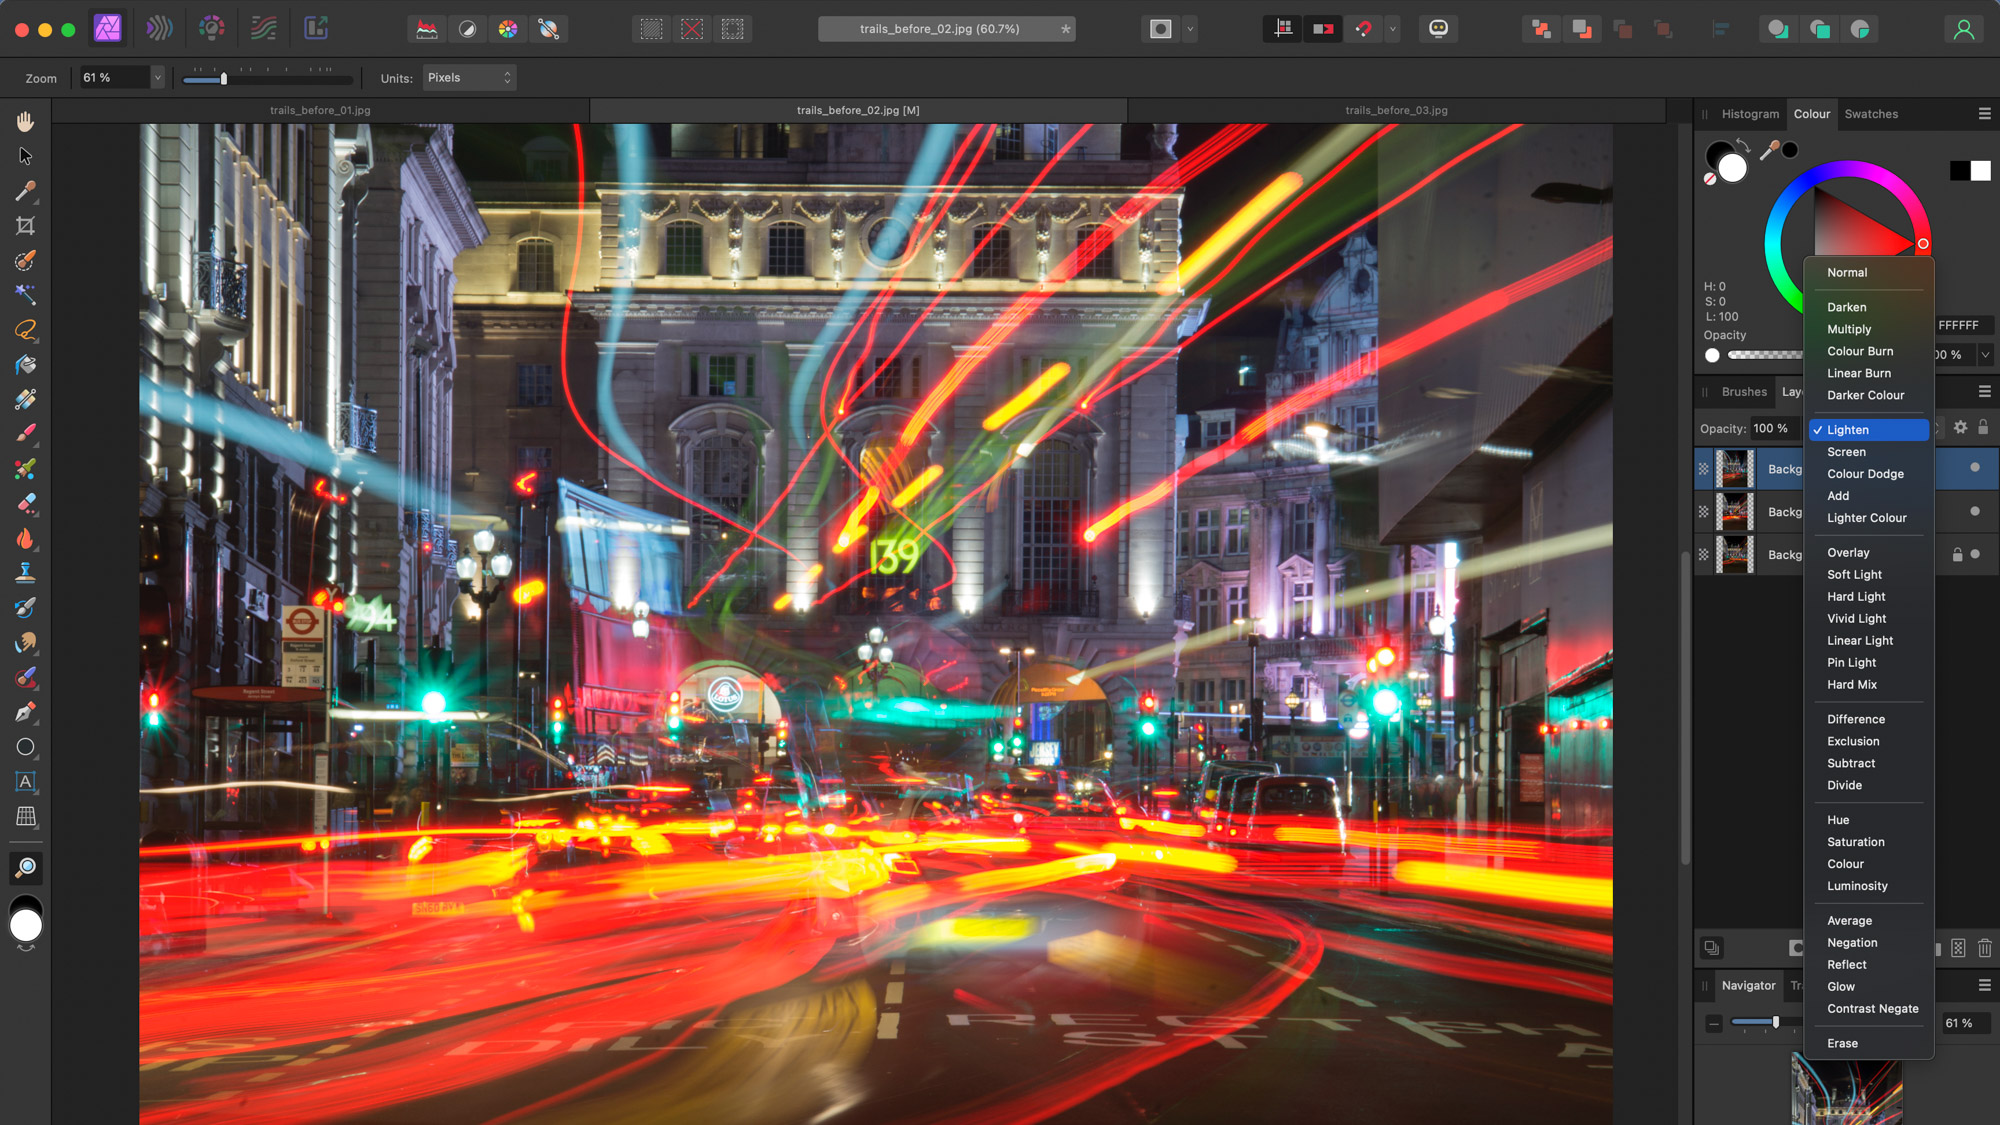
You can create all kinds of dynamic effects with traffic trails. Through your choice of shutter speed you can either create a vivid array of trails like this with a long exposure (this was shot in manual mode at aperture f/29, ISO 100, shutter speed 15 secs) or instead go for a quicker speed of around half a second for shorter light trails and more definition in the vehicle. Your choice of composition can also have a big impact. Here we’re positioned on an island in the road with vehicles passing by on either side. If you can find a spot like this, you can create lead-in lines with the trails that draw the eye and create a vortex effect. Look out for different heights of vehicles too (it’s the London buses that add variety to the trails here). Shoot plenty of frames, then combine them with ease using the Lighten Blend Mode either in Photoshop CC or Affinity Photo.
PhotoPlus: The Canon Magazine is the world's only monthly newsstand title that's 100% devoted to Canon, so you can be sure the magazine is completely relevant to your system. Every issue comes with downloadable video tutorials too.
If you're serious about landscapes, take a look at the best lenses for landscapes along with the best cameras for low light.
Get the Digital Camera World Newsletter
The best camera deals, reviews, product advice, and unmissable photography news, direct to your inbox!
The lead technique writer on Digital Camera Magazine, PhotoPlus: The Canon Magazine and N-Photo: The Nikon Magazine, James is a fantastic general practice photographer with an enviable array of skills across every genre of photography.
Whether it's flash photography techniques like stroboscopic portraits, astrophotography projects like photographing the Northern Lights, or turning sound into art by making paint dance on a set of speakers, James' tutorials and projects are as creative as they are enjoyable.
He's also a wizard at the dark arts of Photoshop, Lightroom and Affinity Photo, and is capable of some genuine black magic in the digital darkroom, making him one of the leading authorities on photo editing software and techniques.


