Game, set and flash! Capture sensational stroboscopic portrait photos in a home studio
Capture stroboscopic sports shots by learning how to pulse your flashgun for incredible results with James Paterson
Watch video: Game, set and flash!
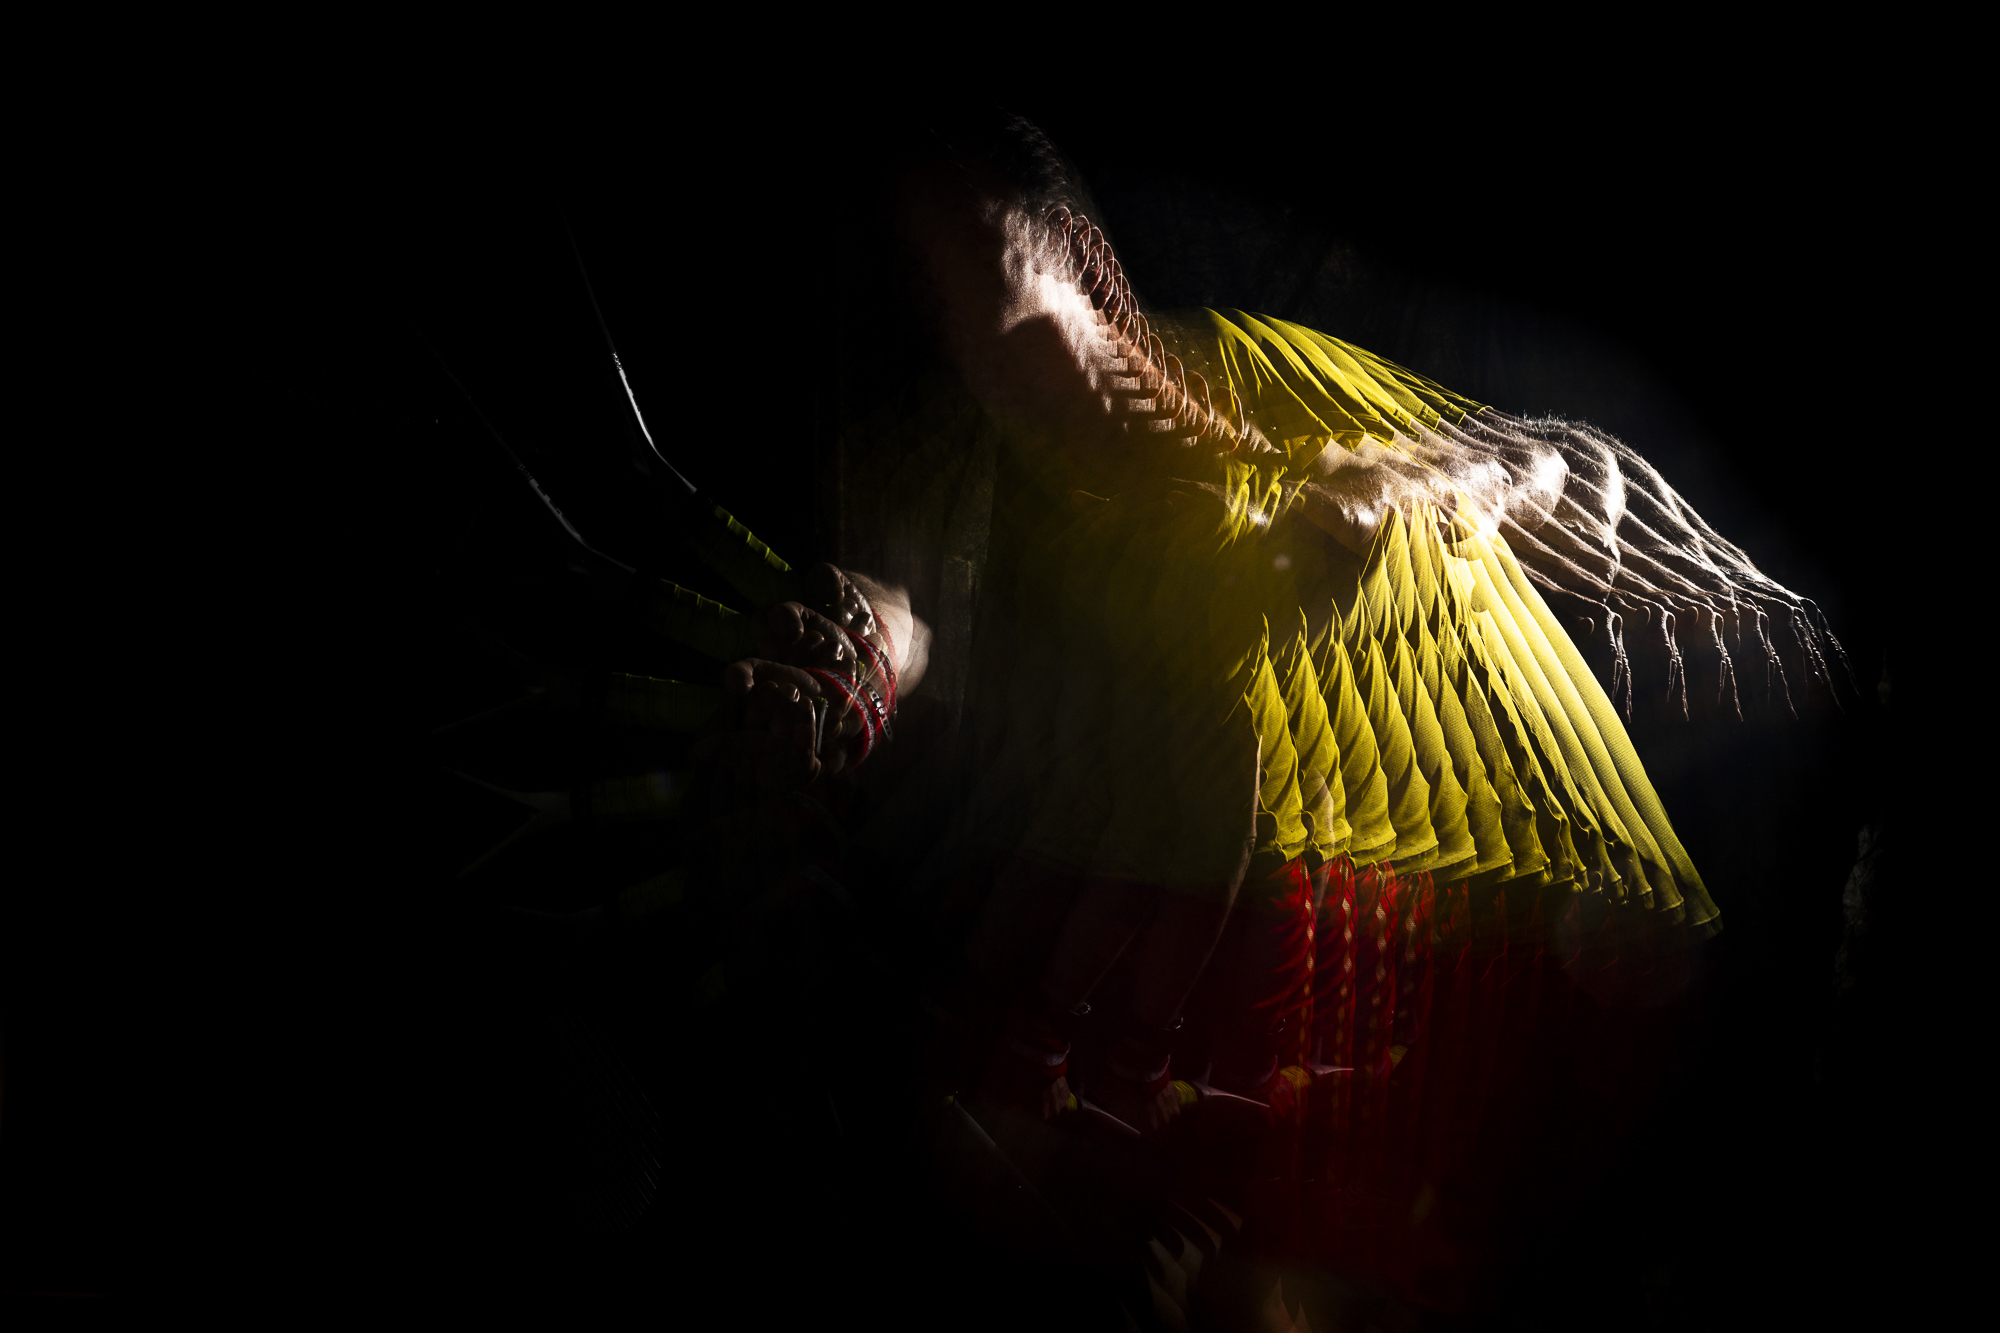
The art of stroboscopic photography involves firing a rapid burst of flashes at the subject, creating a staccato effect that is well suited to sports, action or all sorts of moving subjects. Although often overlooked, most flashes have a stroboscopic mode – even many of the most basic of Speedlites. However, it can be a challenge to make the effect look polished.
A common pitfall is to attach the flash to the camera hotshoe. This tends to result in rather bland lighting, with spillage onto the backdrop that dilutes the effect. You’re much better off firing the flash off-camera for directional light from one side. But this brings its own challenges in terms of positioning and triggering the flash, not to mention the fact that it all needs to be captured with a long exposure in the dark.
In this project I’ll explain how it’s done, with advice on the best camera and flash settings for stunning stroboscopic sports shots. You might have noticed with our tennis action shot here there’s more going on with the lighting than a straightforward one-light strobe. To complement the stroboscopic effect I’ve added in a second flash, set to fire at the end of our second-long exposure. This second light is optional, but it can elevate the effect to another level by lifting the subject from the opposite angle, resulting in a bold cross-lighting effect that freezes the subject in their final position.
1. Set the hertz
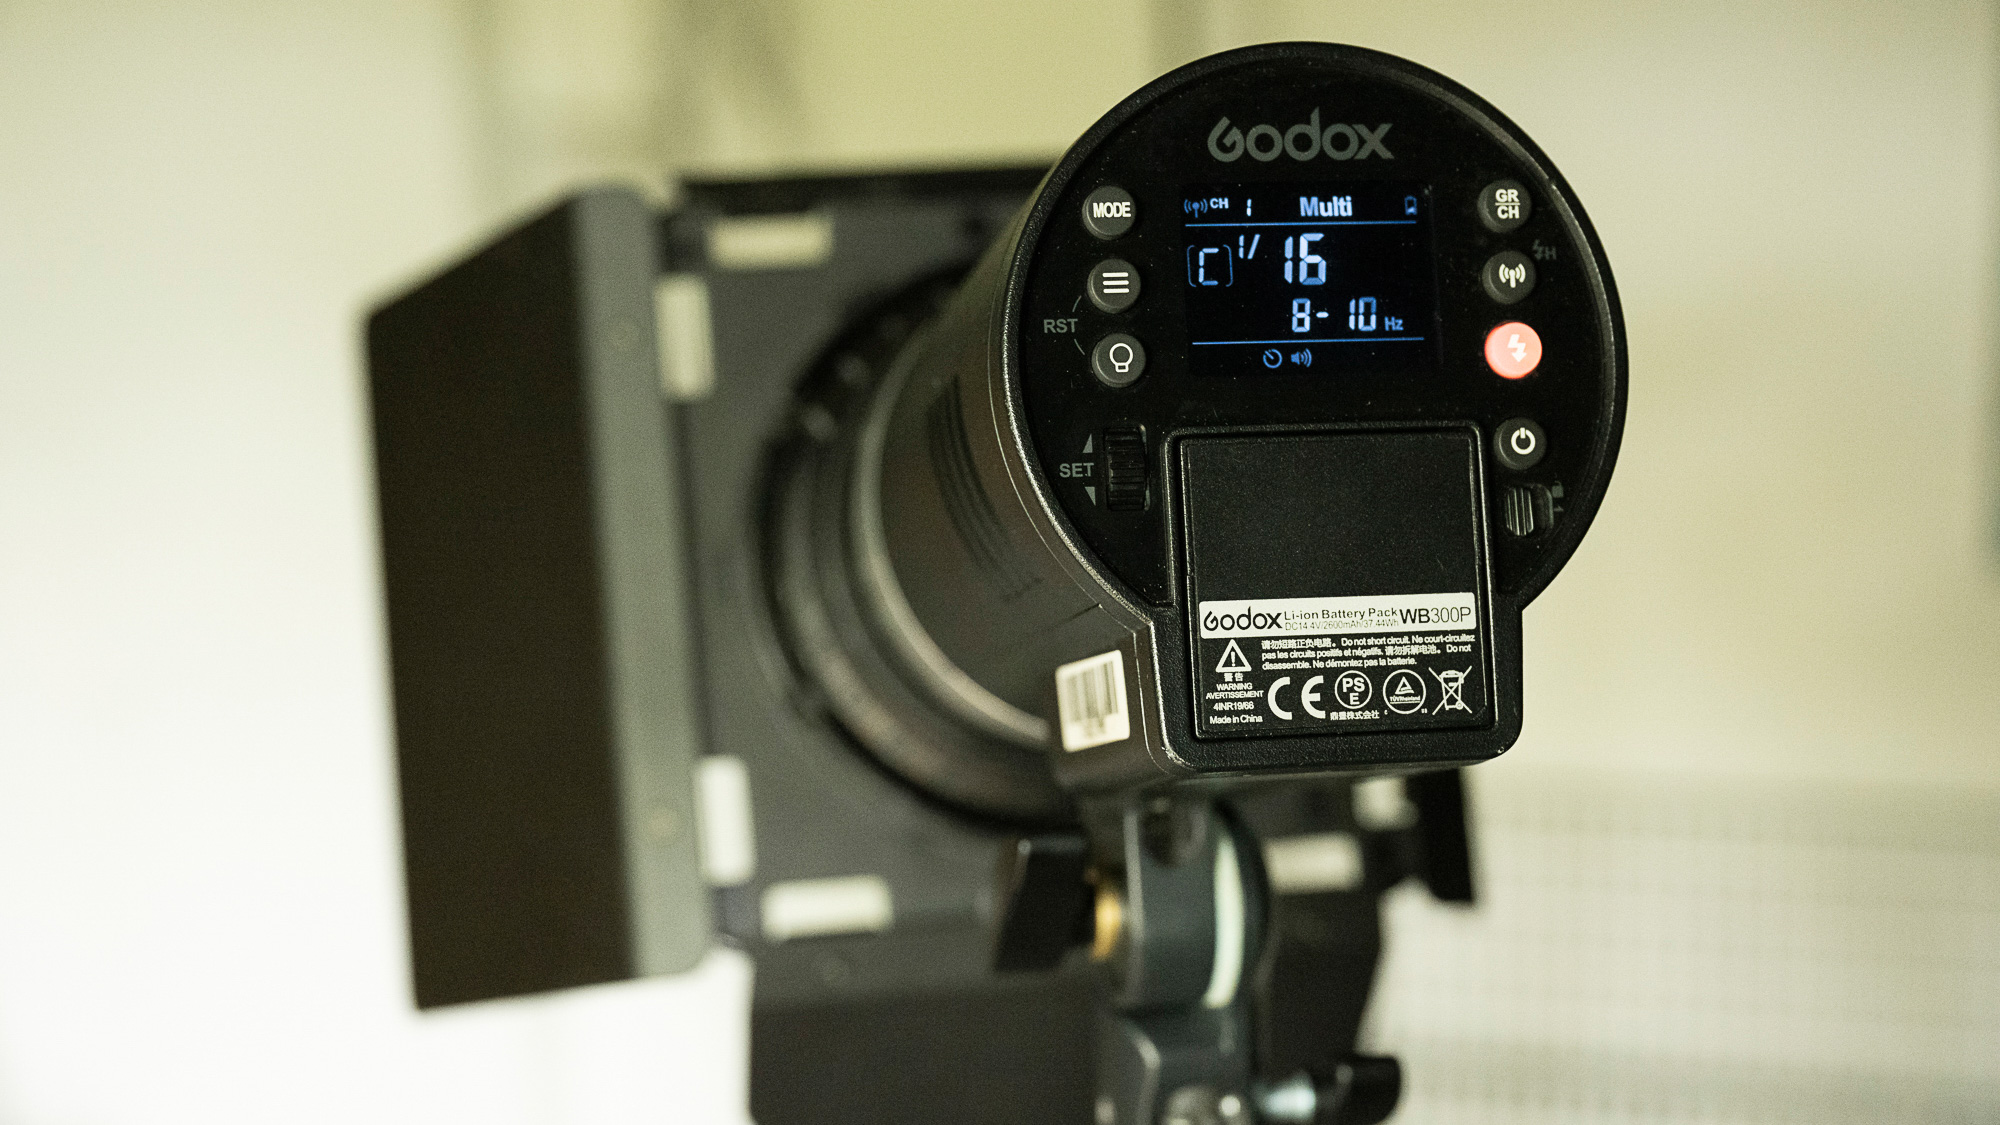
When set to Multi or Stroboscopic mode your flash will show a Hertz setting. This determines the speed of the pulses per second. With a high Hertz the pulses will be closer together, so the subject will be captured in closer increments.
2. Set the number of flashes
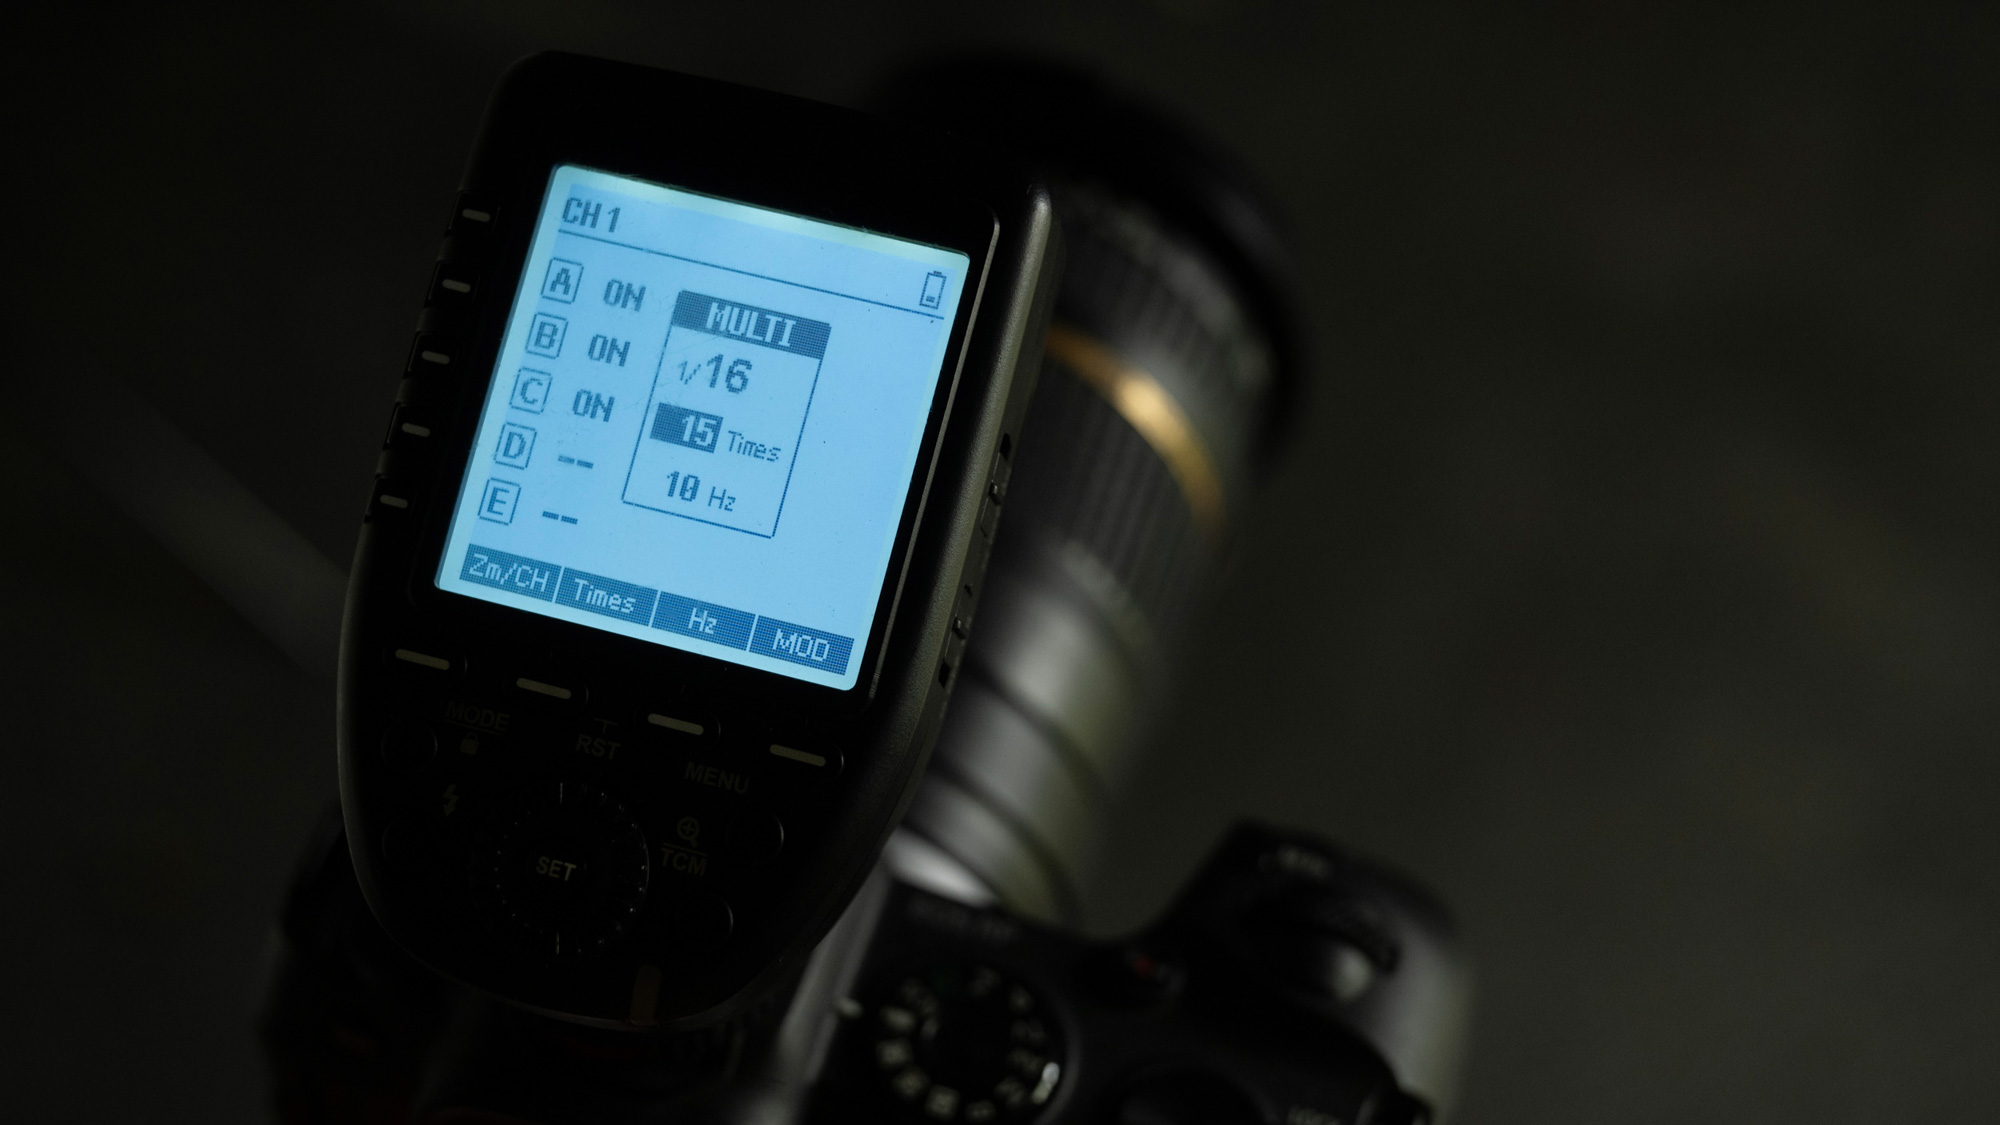
Alongside the Hertz setting in your flash’s Multi-mode you’ll also see a setting that determines the total number of flashes (here called Times). If the Hertz sets the flashes per second and then for a second long exposure I want the flash to fire 15 times.
3. Experiment with timings
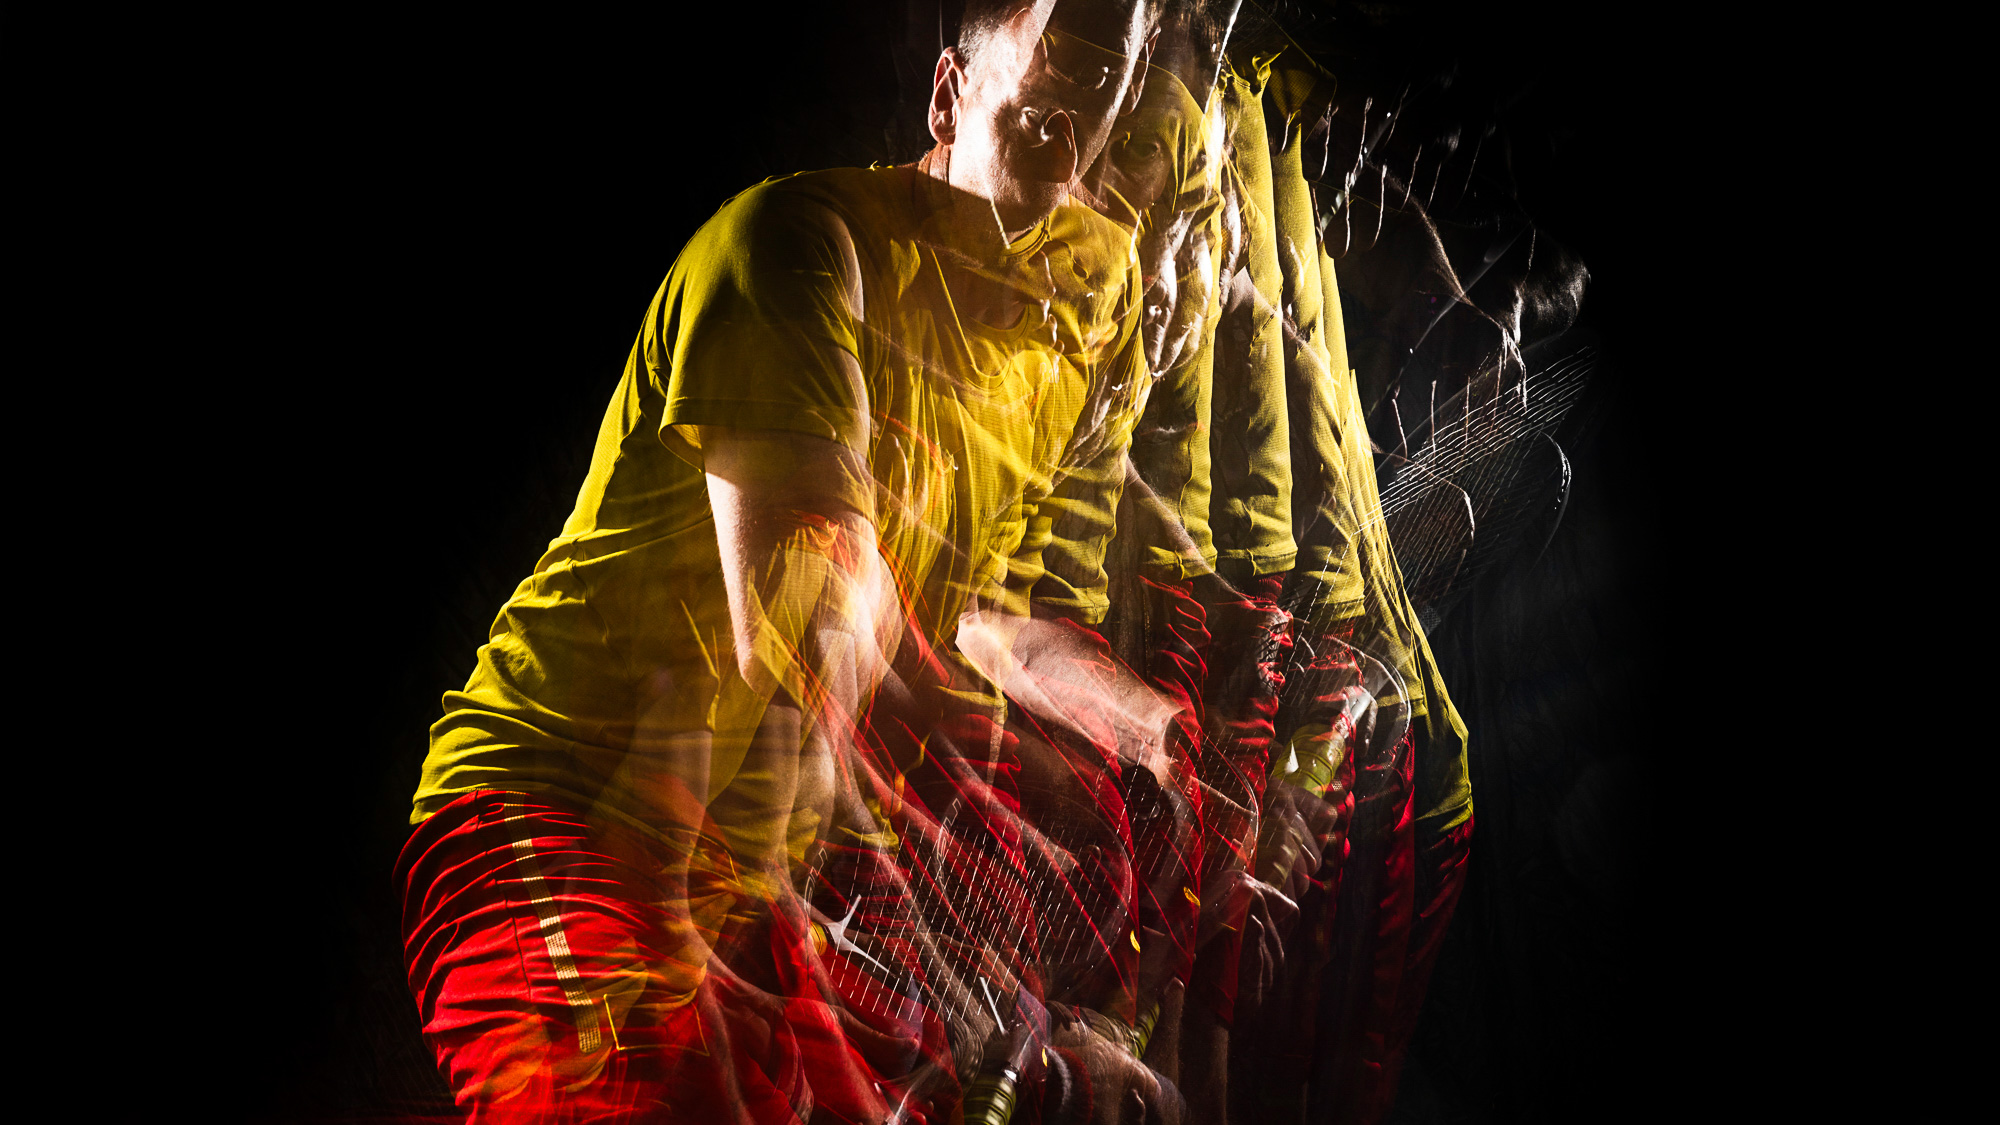
Part of the magic of the stroboscopic effect is that you never know quite how it will turn out. With good timing and a bit of luck the effect could be sensational, but it’s also very likely to turn out an abstract mess like this. Keep tweaking until it all comes together.
4. Watch for spillage
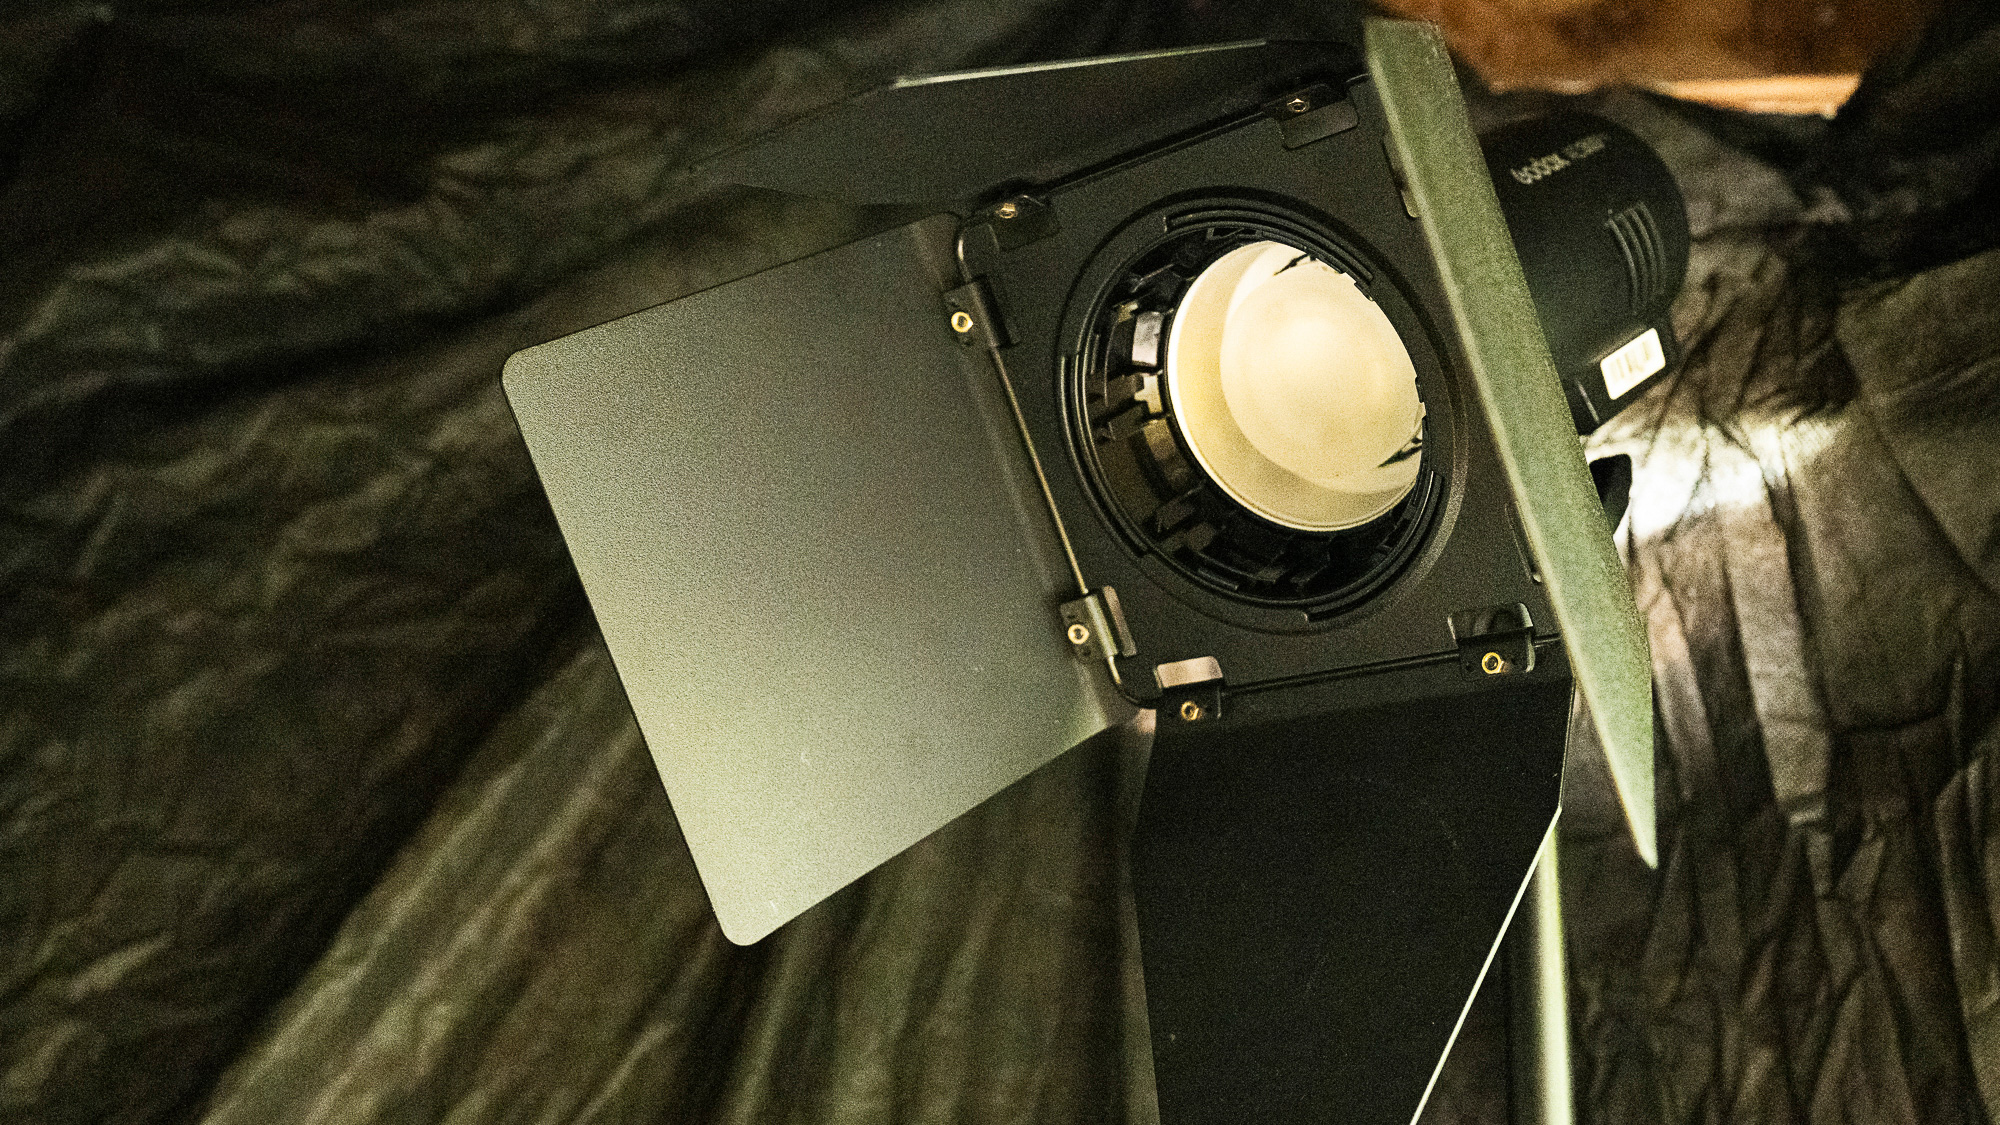
Keep the background as dark as possible and ensure that no light from the flash spills onto it. Here both flashes are angled away from the background. A barn door attachment is ideal for this as it let you fine-tune the spread of the light to suit your needs.
5. Pose with the light
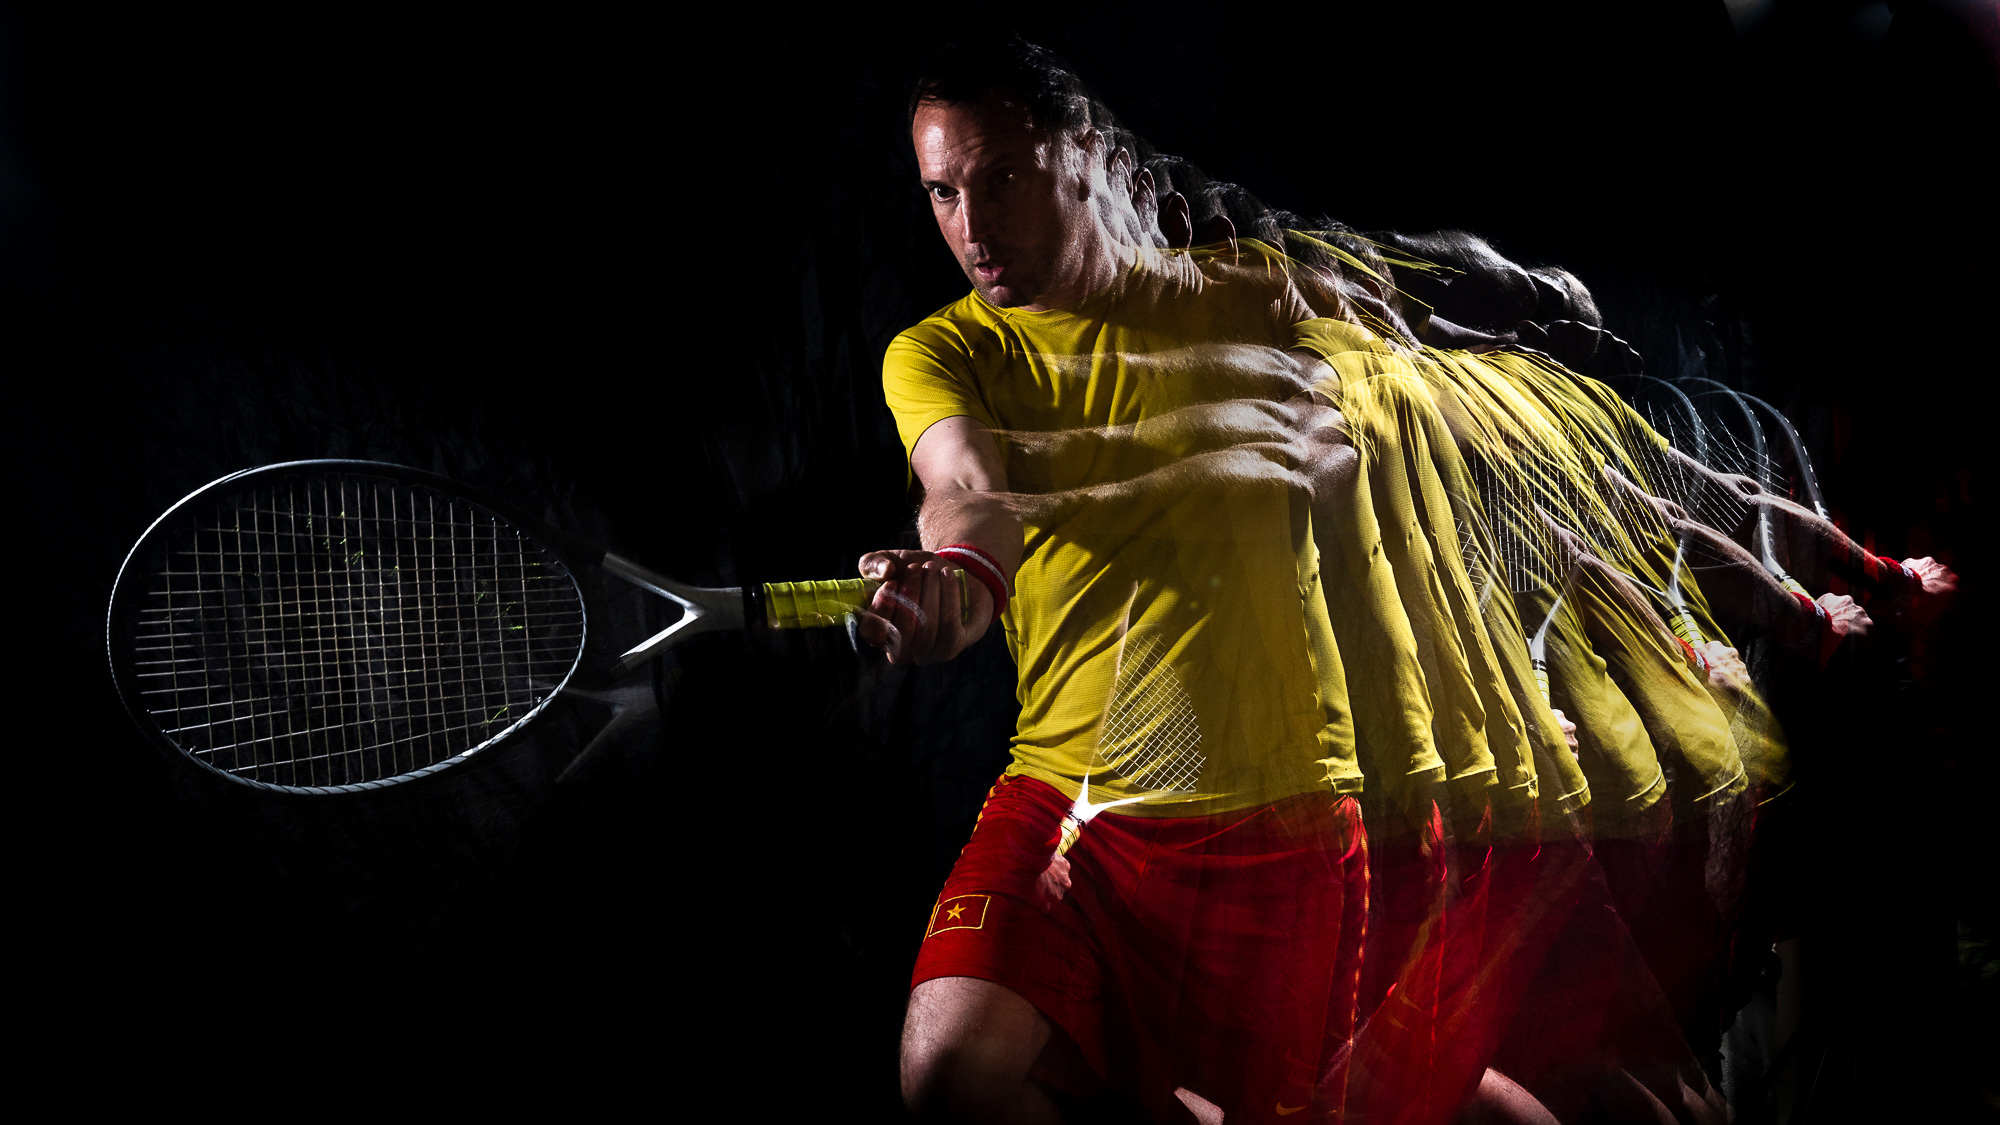
The edge lighting here – with both flashes placed slightly behind the subject and angled back towards the camera – creates a halo effect. Capture the subject as they move swiftly from one side to another so that the pulses don’t overlap too much.
6. Playing singles?
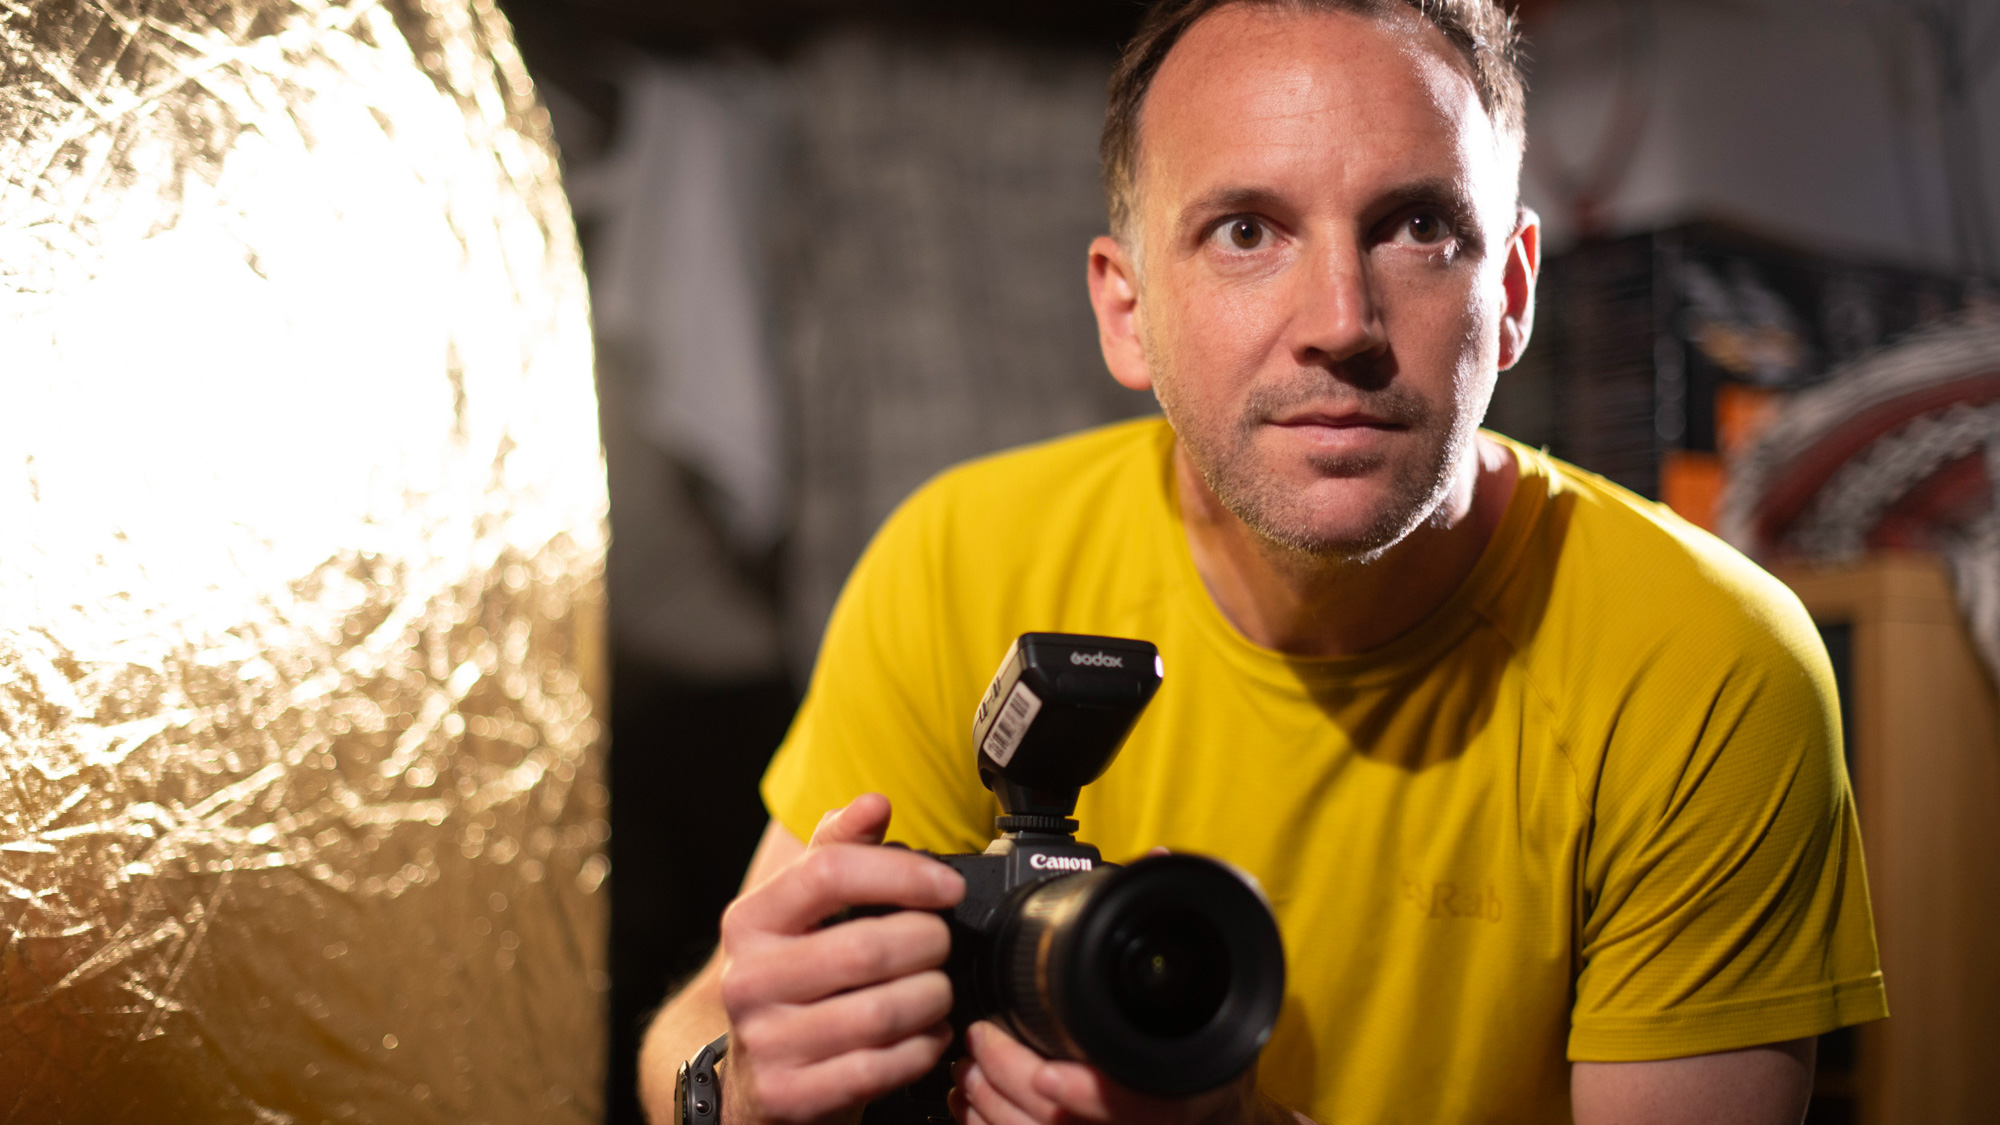
Roger Federer was busy so I opted for the next best thing; a tennis self-portrait! Place a stand in the shot and focus on it then switch to Manual Focus. Make a mark on the floor so you know where the focus point will be. Use a 2-sec Self Timer, and get swinging…
7. Add the ball in Photoshop
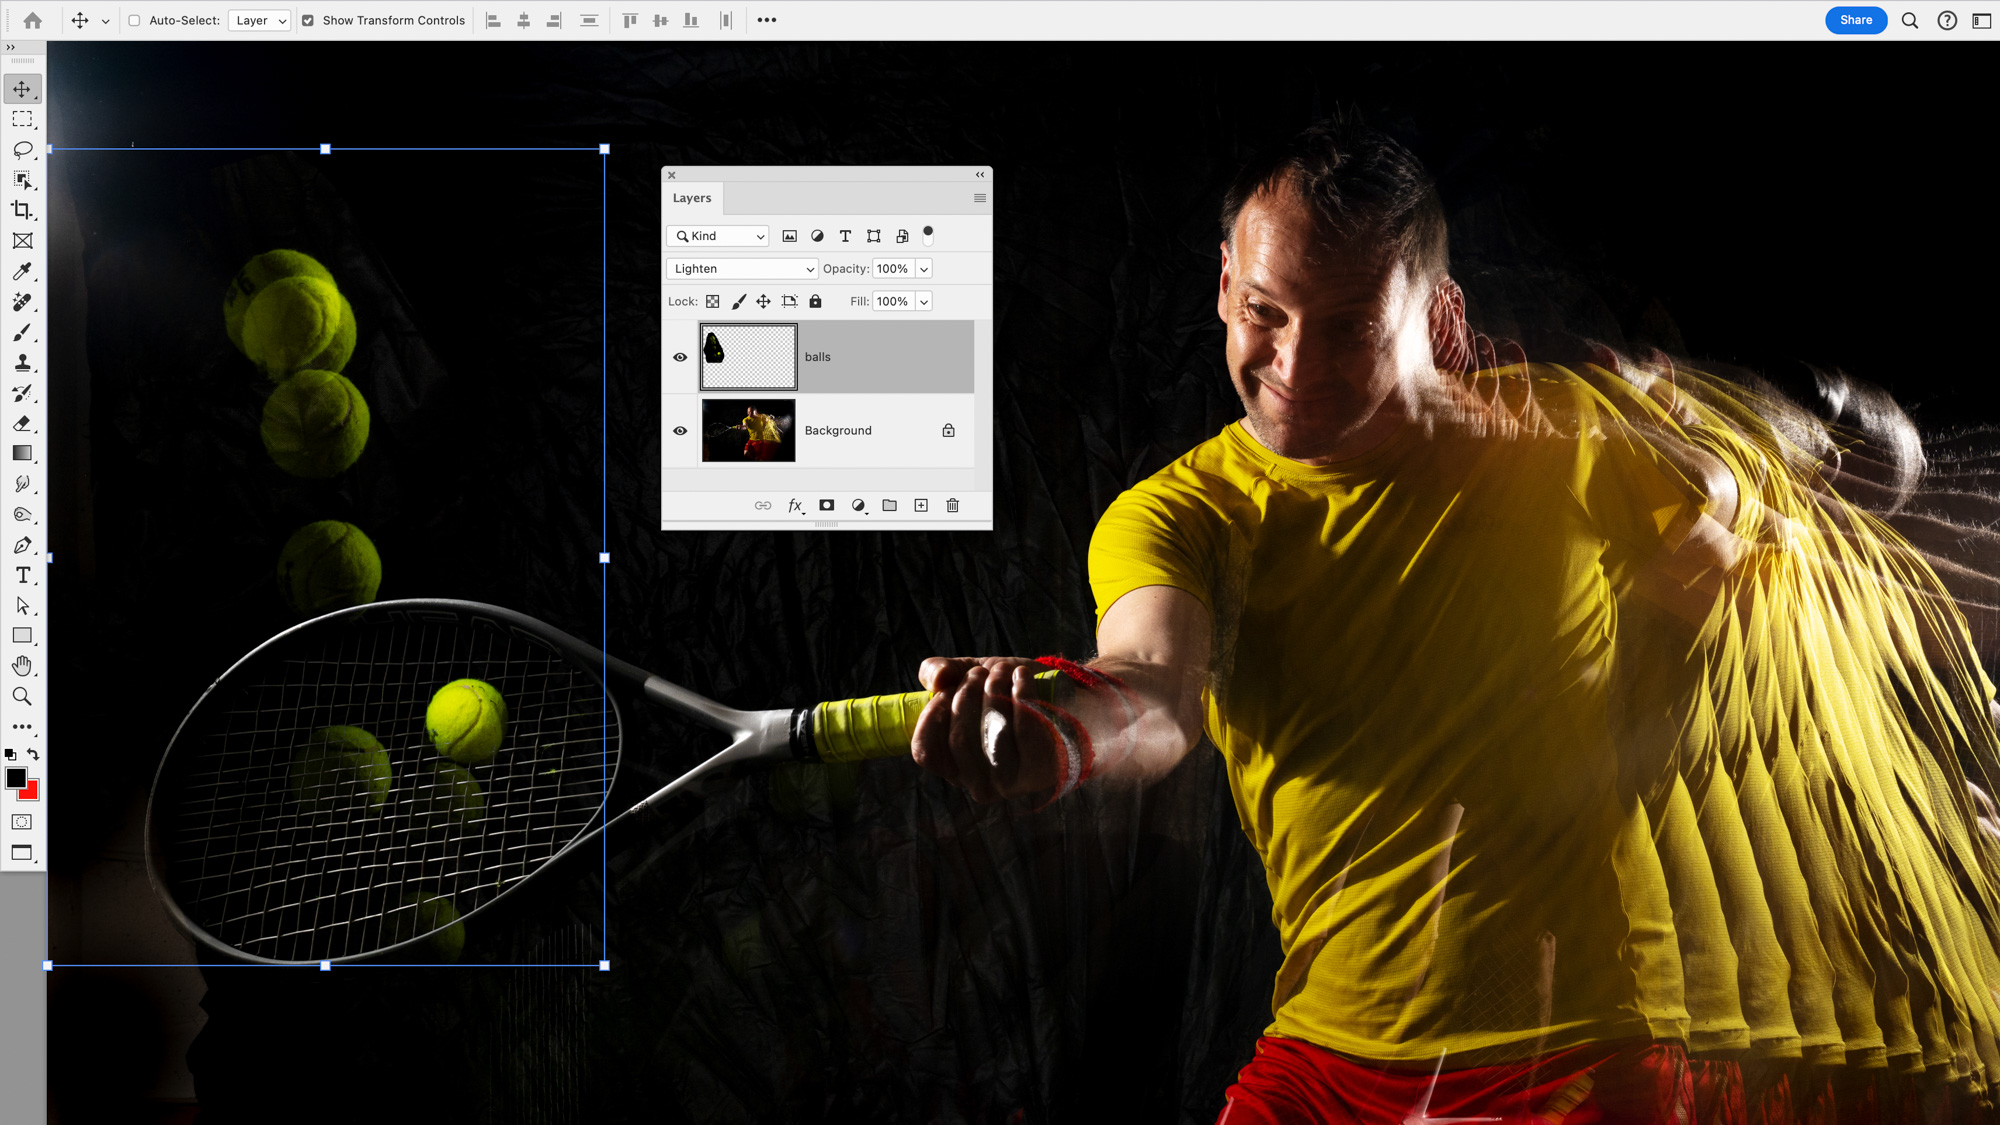
It’s easy enough to add a tennis ball in the perfect position for your shot. After capturing a ball under the same lighting, open the shot and make a loose selection around the ball with the Lasso tool. Copy (Cmd/Ctrl+C) then go to another image and paste (Cmd/Ctrl+V). Hit Cmd/Ctrl+T to transform and position the ball then change the Blend Mode to Lighten.
8. Boost contrast with dodging and burning
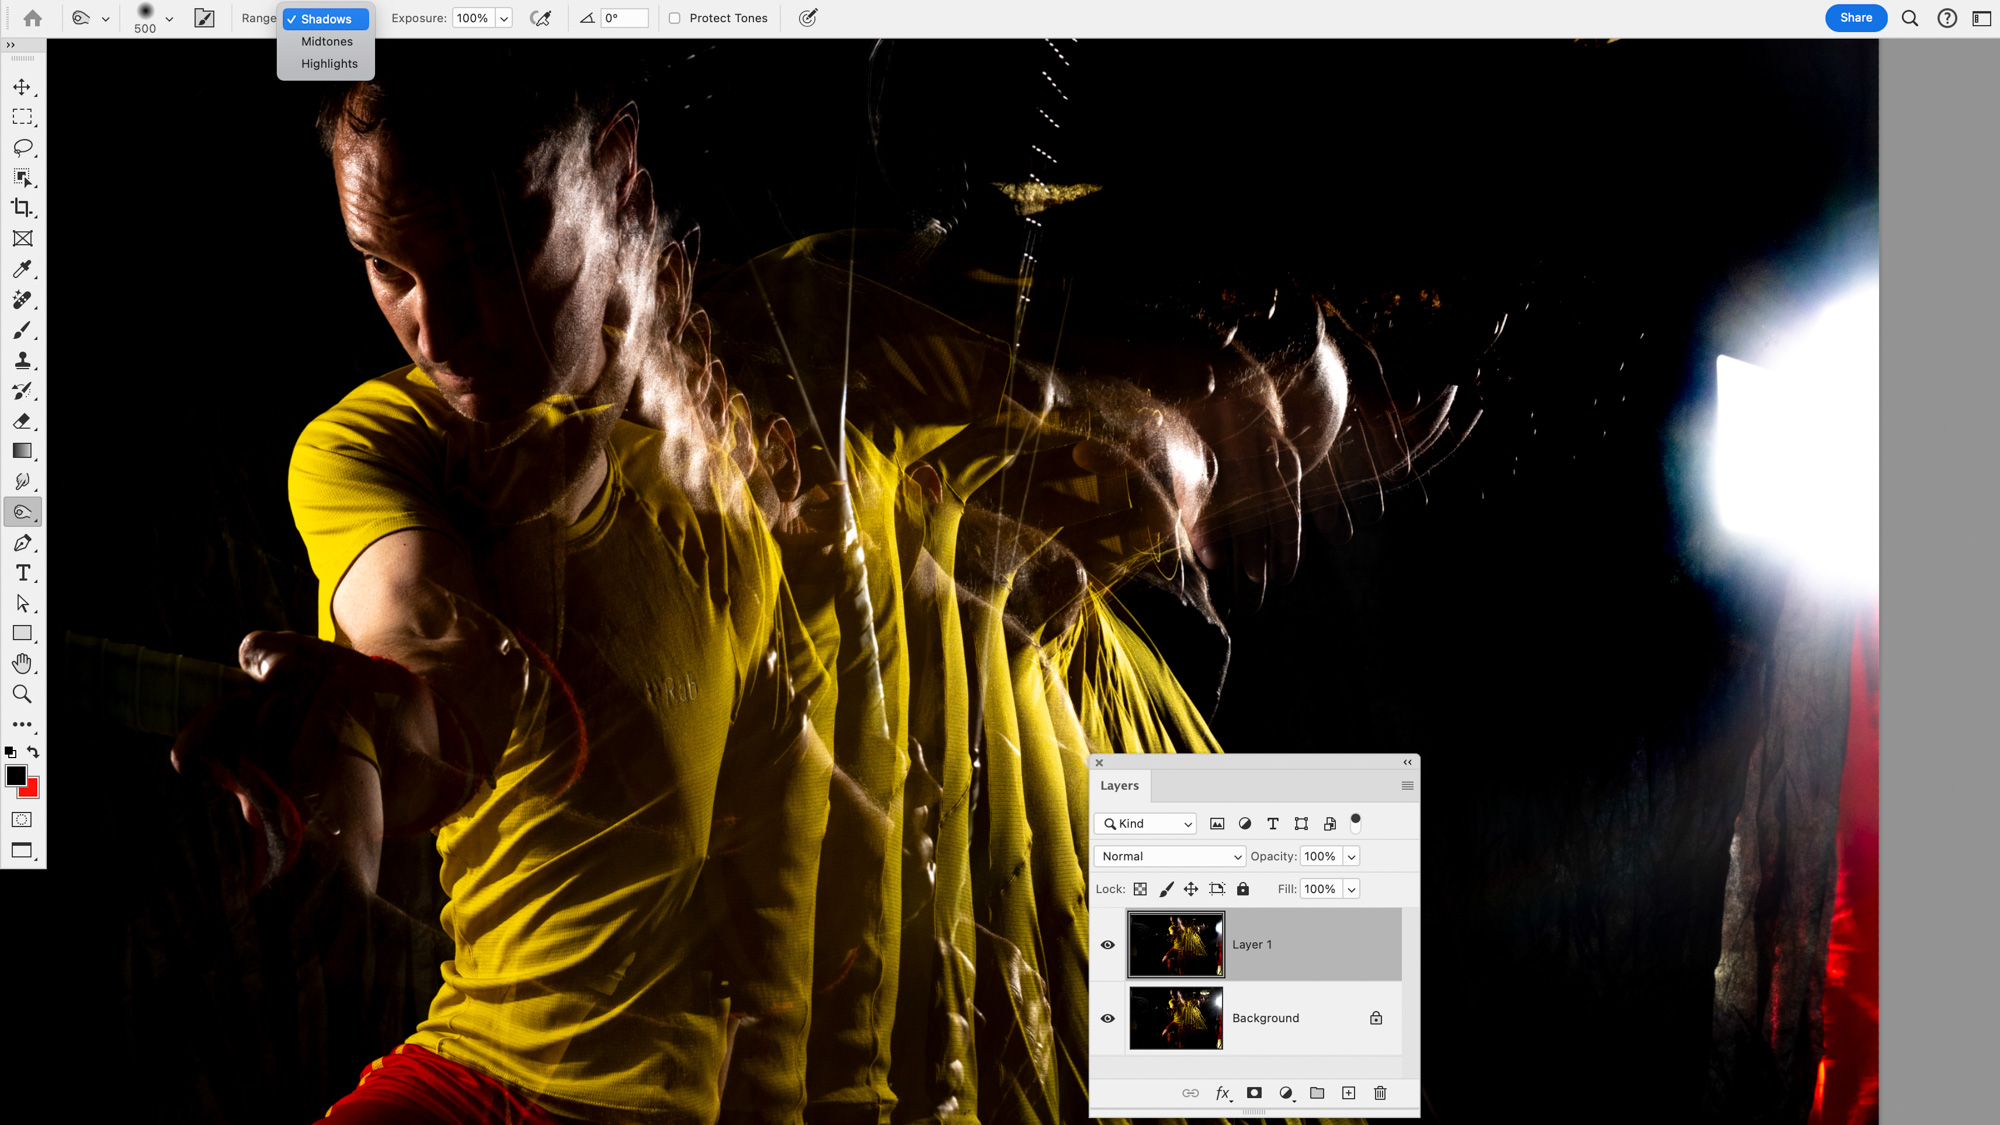
There may be areas that look overly bright or dark, or parts of the backdrop that come out messy. The Dodge and Burn tools are ideal for tidying up. Set the Burn tool to target Shadows and use it to burn in any parts of the dark backdrop until they/re fully black. Switch to the Dodge tool and use it to lighten dull areas that need a boost.
9. Balance the light
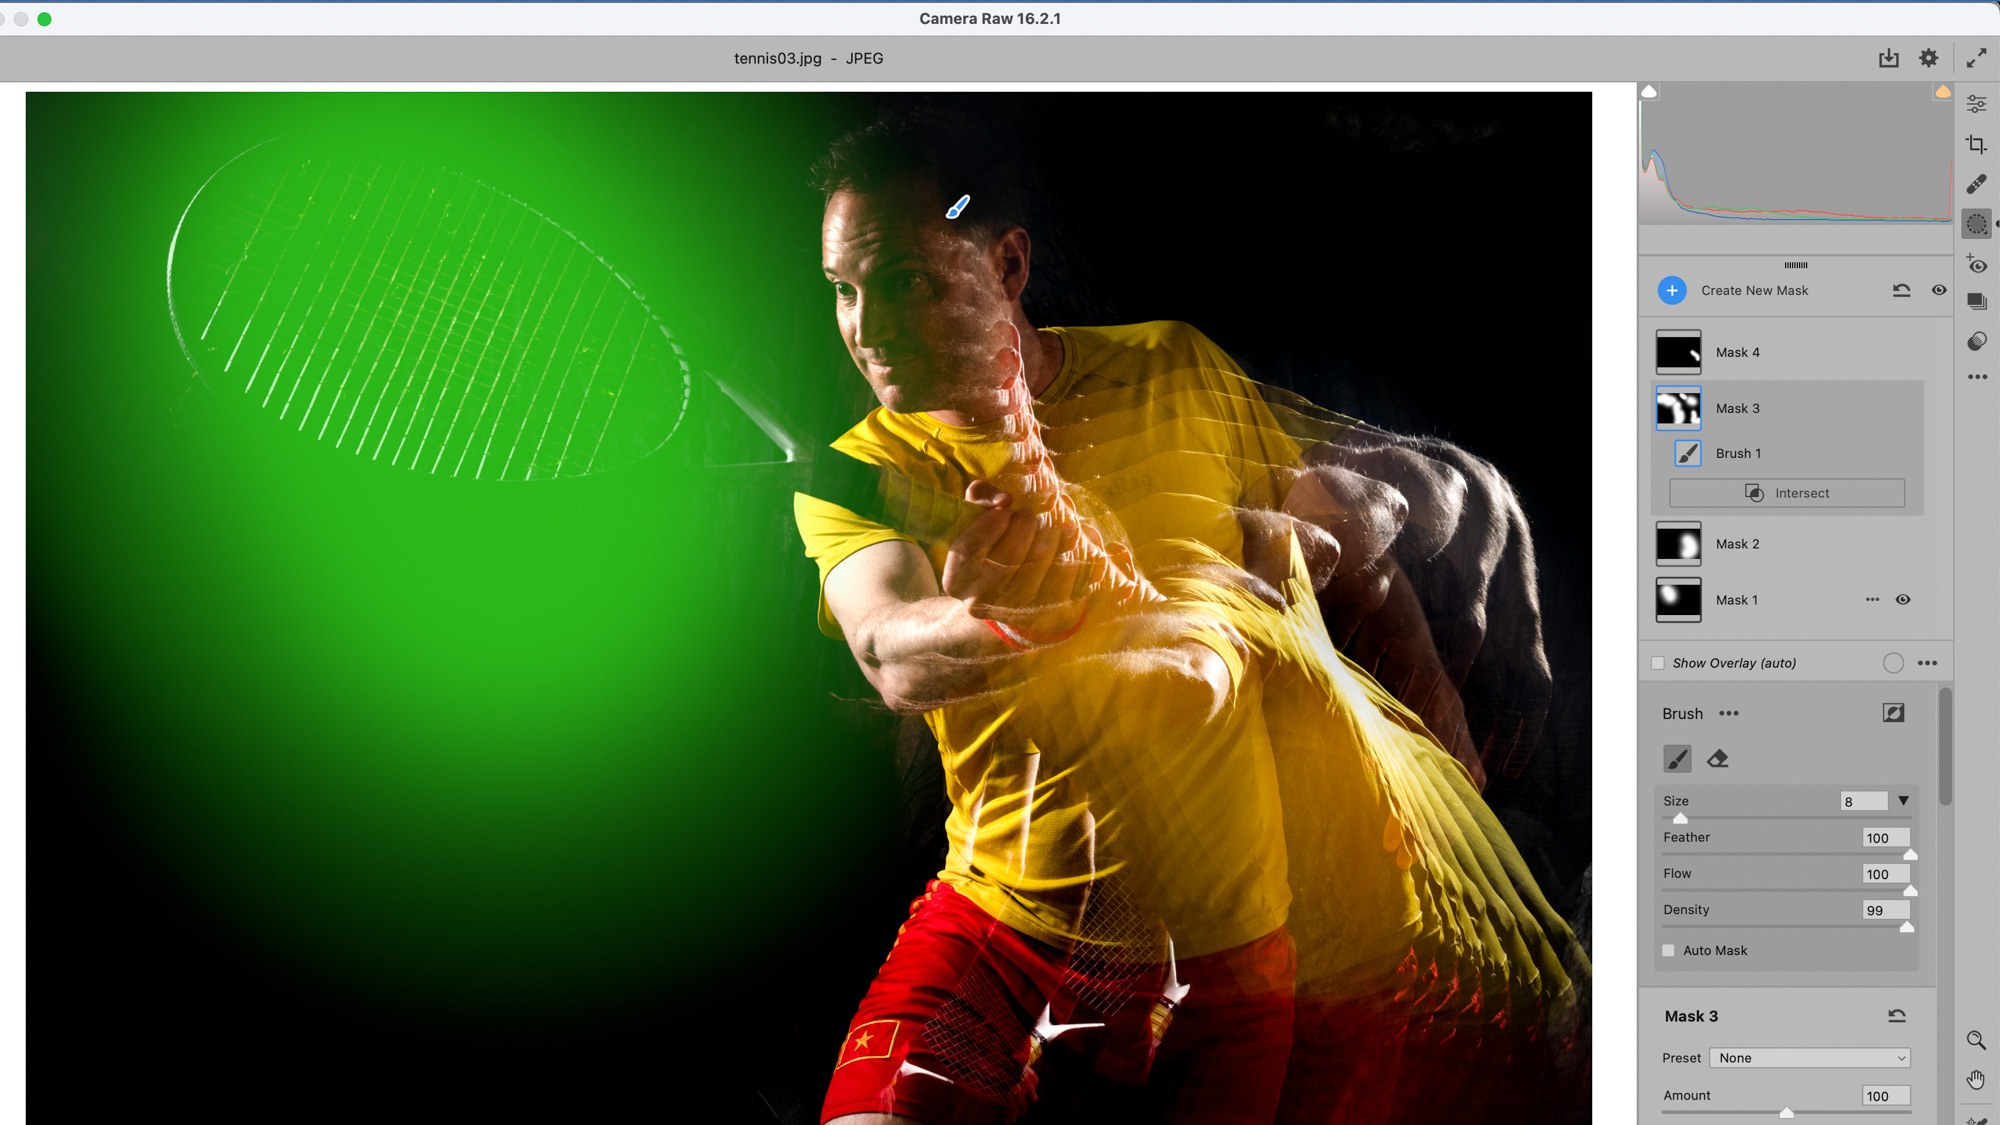
It can be tricky to get the light perfectly balanced in-camera so you may find areas of the frame come out overly bright or dark. As such it’s best to shoot in RAW to give you more latitude for lighting or darkening areas. The best tool for this is the Adjustment Brush in Camera Raw/Lightroom. Paint over areas then use the sliders to lighten or darken them.
10. Flash delay
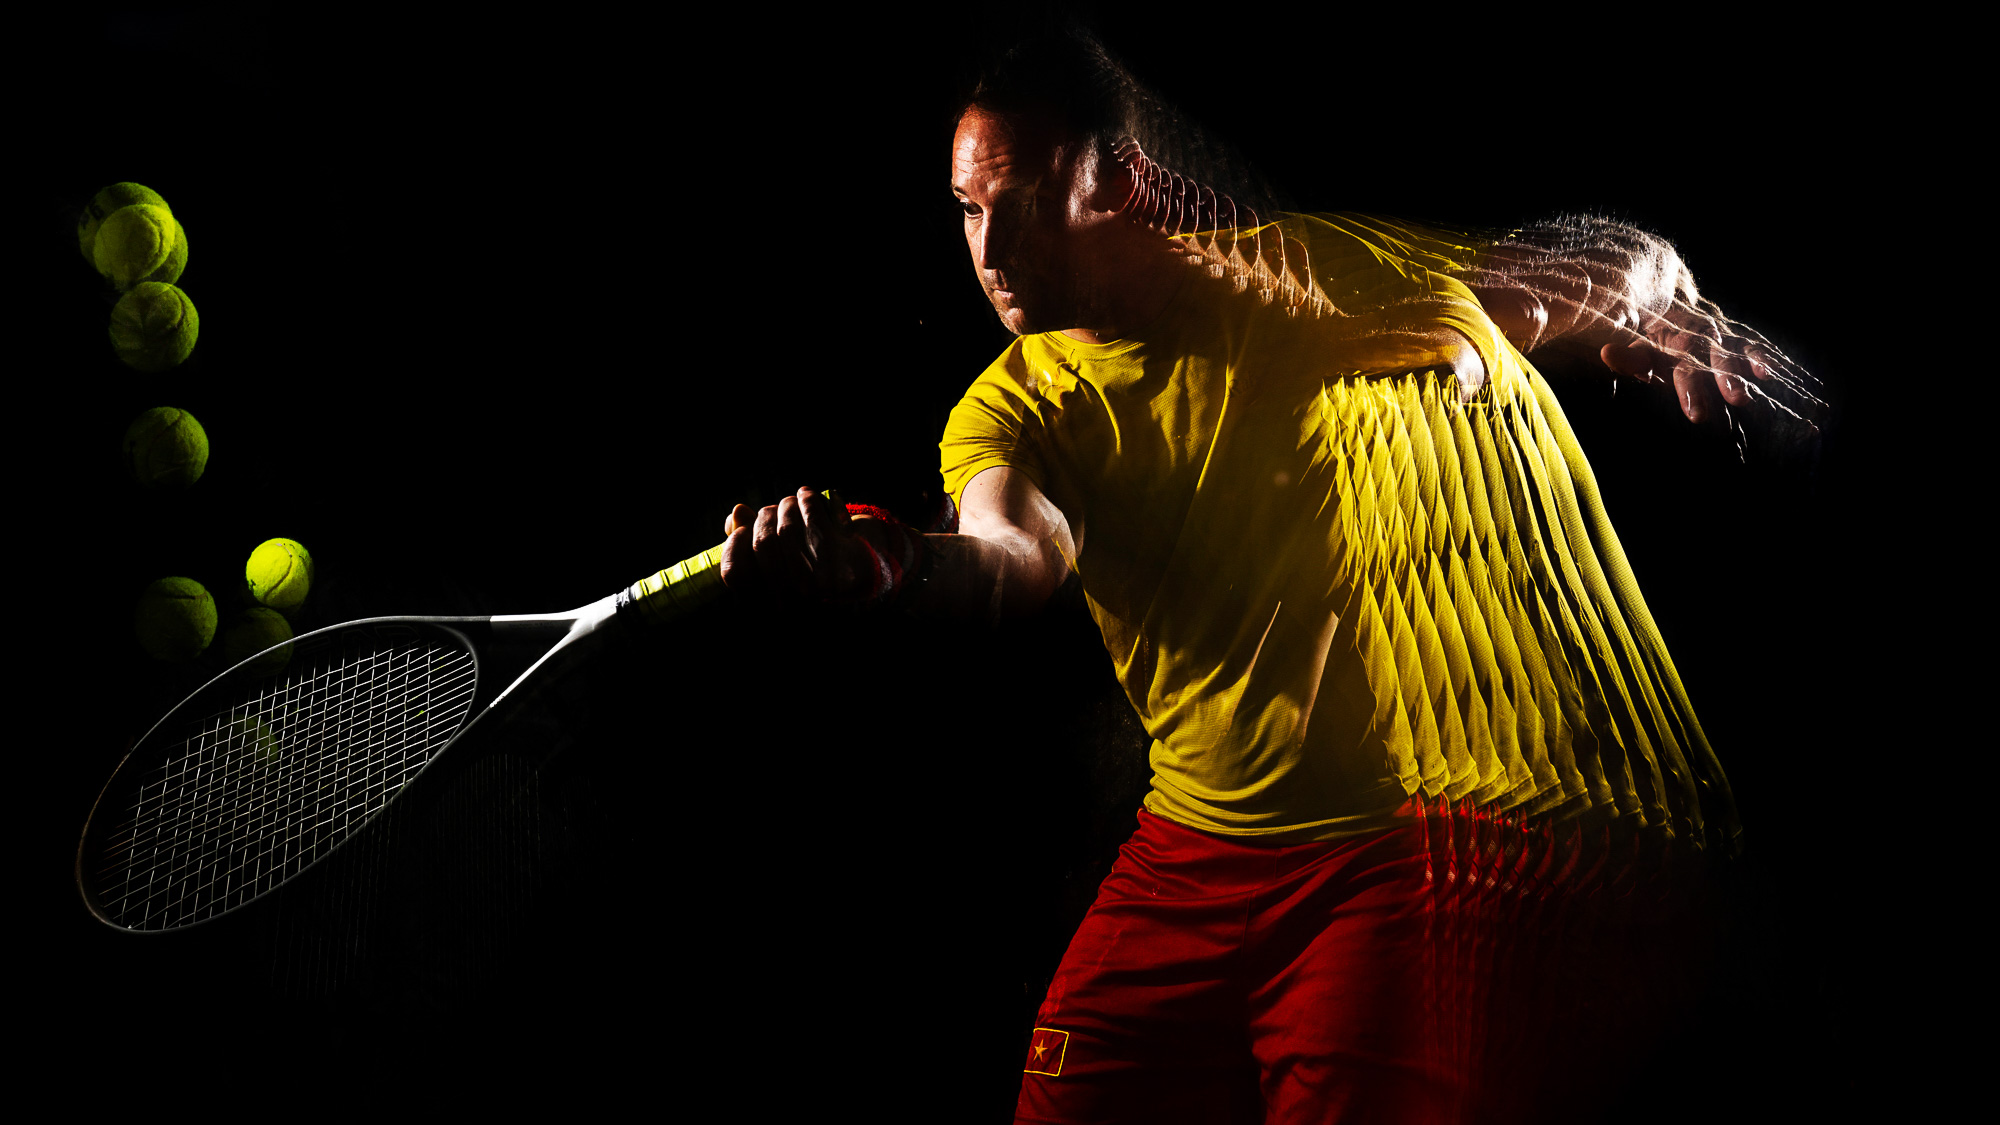
To match up our two flashes, I need to set a delay. After some trial and error, I set our flash to the right of the camera to a delay of 0.80 sec so it would fire at the end of the exposure.
In normal circumstances this could be done by using rear-curtain sync, but that won’t work here because I need our other flash (the one set to stroboscopic mode) to begin pulsing at the start of the exposure, then carry on until the end so that the final pulse matches seamlessly with the burst from the other flash unit.
PhotoPlus: The Canon Magazine is the world's only monthly newsstand title that's 100% devoted to Canon, so you can be sure the magazine is completely relevant to your system. Every issue comes with downloadable video tutorials too.
If you're serious about portraiture, take a look at the best lenses for portrait photography along with the best studio lighting kits.
Get the Digital Camera World Newsletter
The best camera deals, reviews, product advice, and unmissable photography news, direct to your inbox!
The lead technique writer on Digital Camera Magazine, PhotoPlus: The Canon Magazine and N-Photo: The Nikon Magazine, James is a fantastic general practice photographer with an enviable array of skills across every genre of photography.
Whether it's flash photography techniques like stroboscopic portraits, astrophotography projects like photographing the Northern Lights, or turning sound into art by making paint dance on a set of speakers, James' tutorials and projects are as creative as they are enjoyable.
He's also a wizard at the dark arts of Photoshop, Lightroom and Affinity Photo, and is capable of some genuine black magic in the digital darkroom, making him one of the leading authorities on photo editing software and techniques.
