Fisheye fantastic! Use a fisheye lens for 'serious' landscape photography
A fisheye lens isn't just a gimmick – here's how to use one to create ultra-wide landscape shots
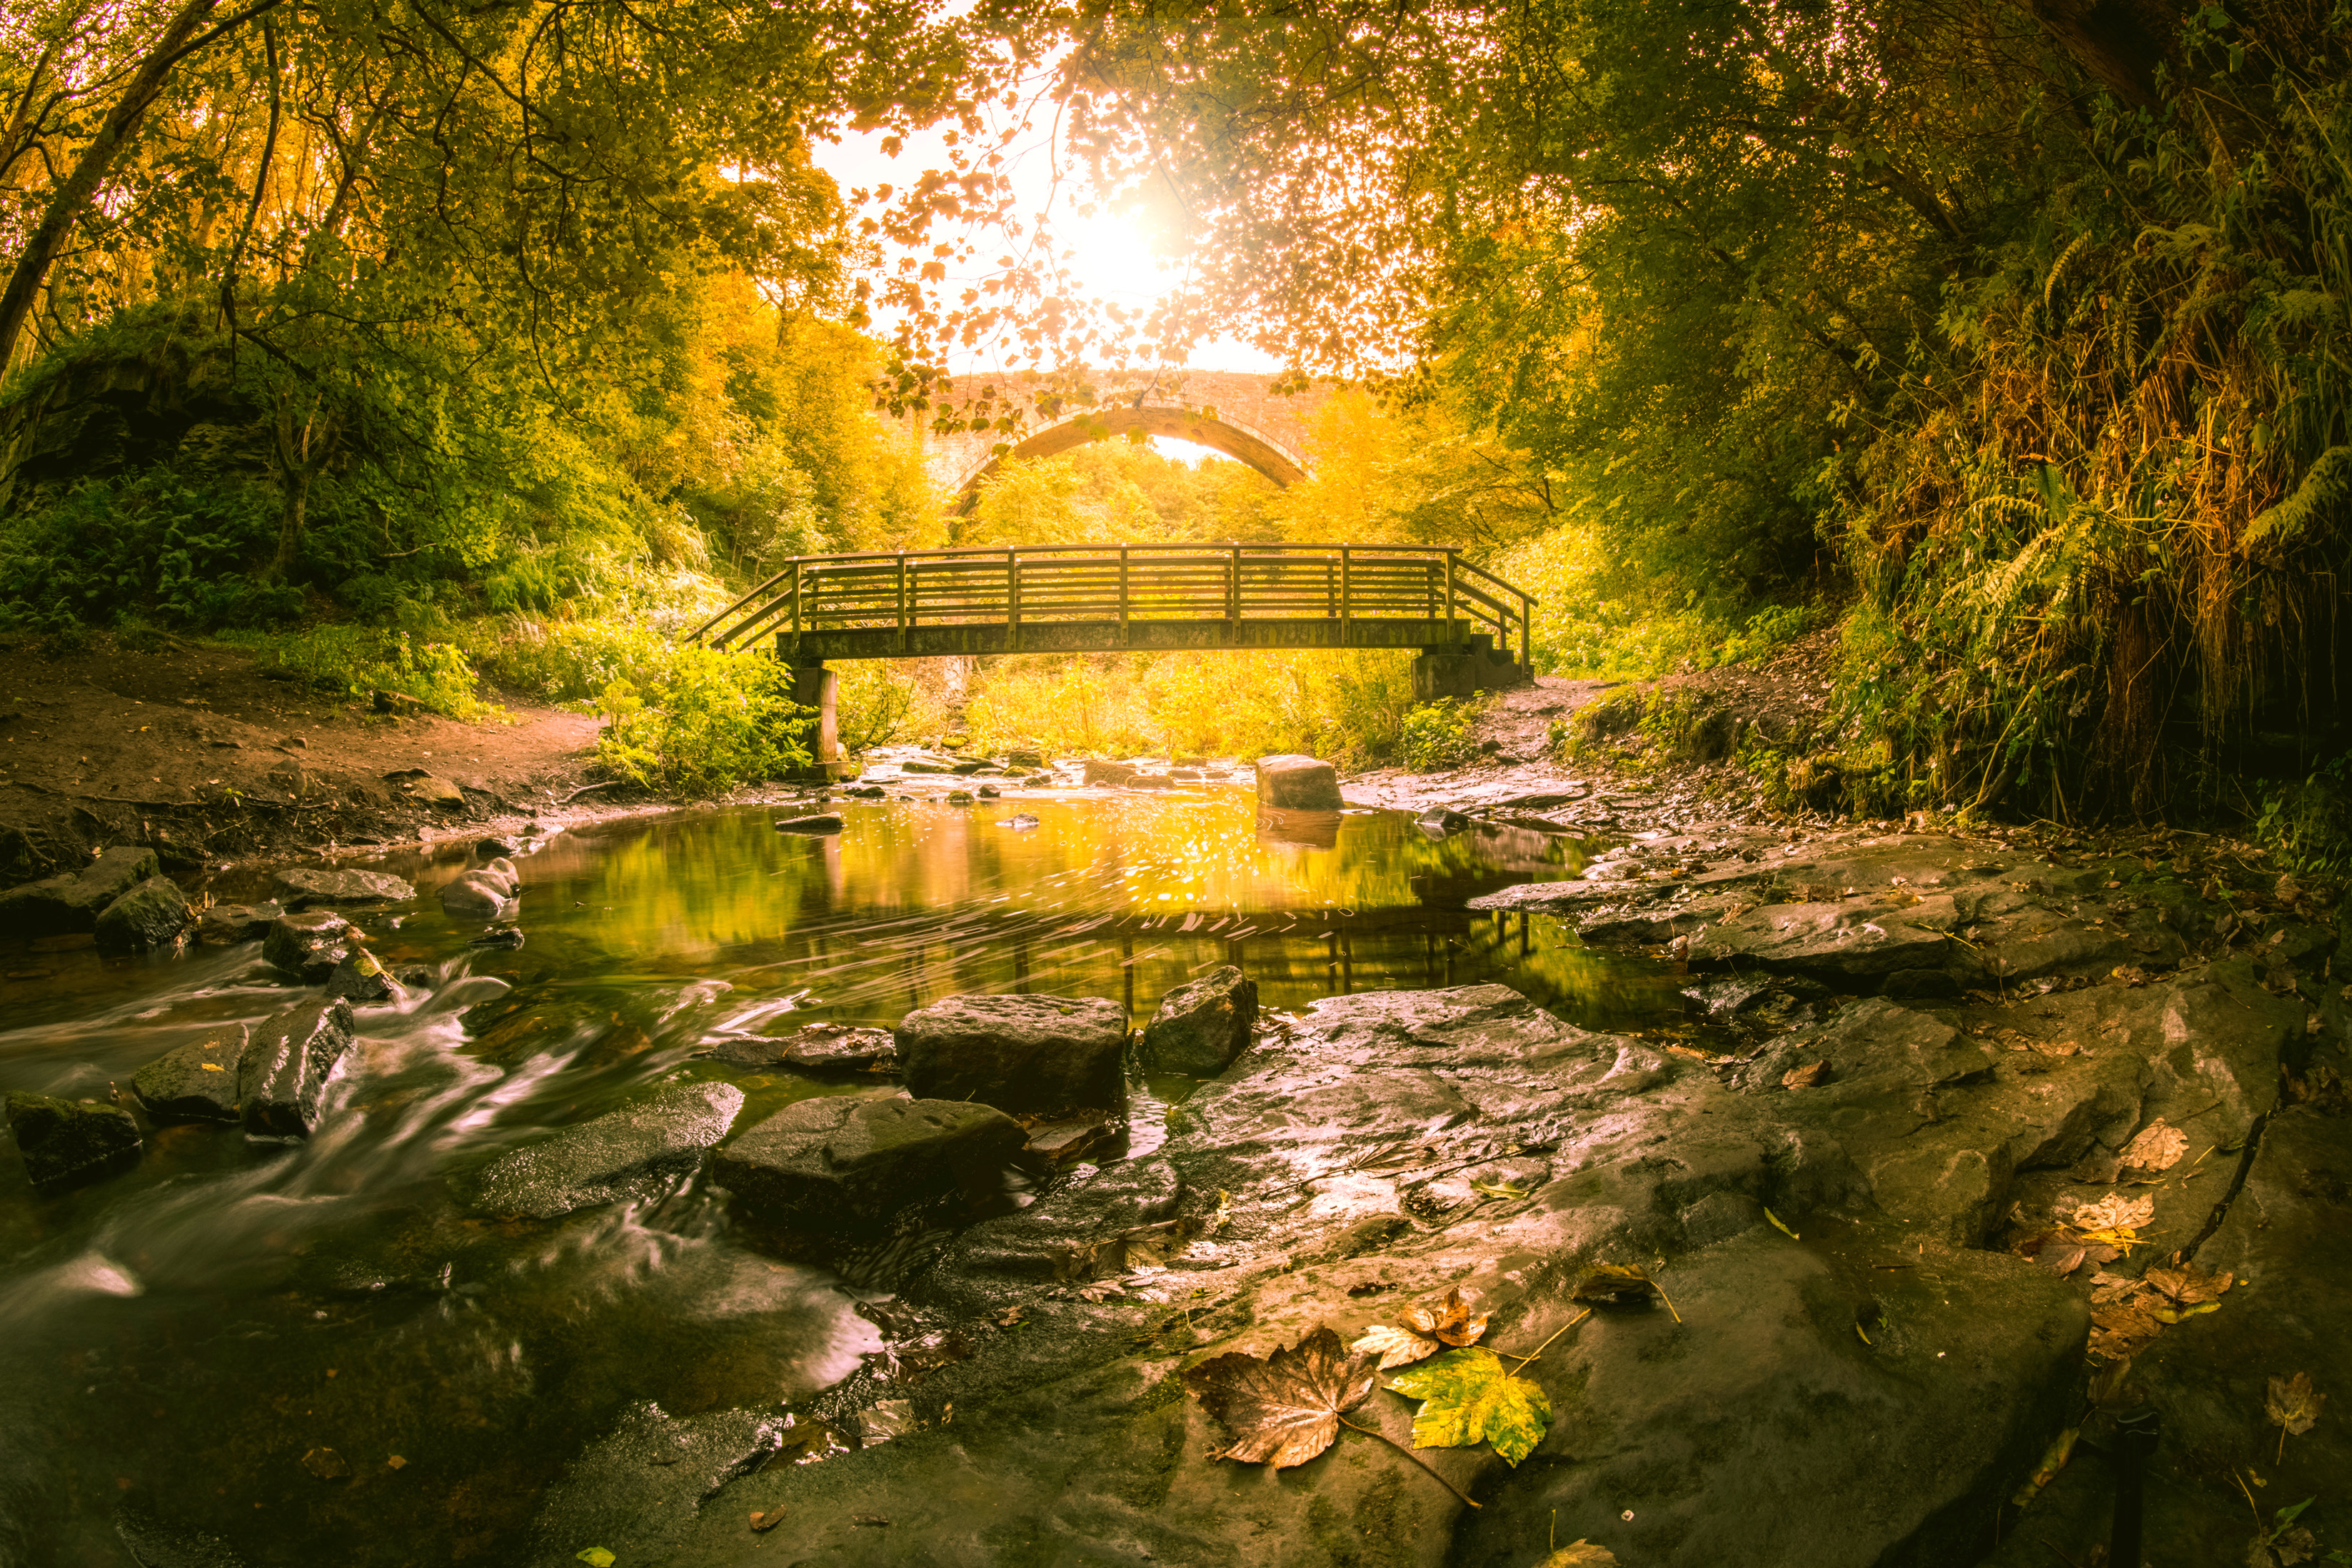
Fisheye lenses are incredibly popular for in-camera special effects as they provide a unique style of image, unobtainable with any credibility using software-based technique. The fisheye effect can certainly be simulated using filters and distortion tools, but for a true fisheye perspective a dedicated lens is required.
One of the issues with fisheyes, however, is their specificity; while fantastic for certain interior shots, the distorted edges are not well suited to portraiture or other scenes featuring straight edges. For this reason many photographers avoid investing in high grade optics, or find that they are unable to get enough use from these lenses to justify the outlay.
Read more:
• Best fisheye lenses
• Best cameras for landscapes
• Best lenses for landscapes
There are methods of getting around the challenges of distortion, however. With some key steps, and an understanding of how composition and camera angle influence the effect, it is possible to get the most from the ultra-wide angle of view that fisheye lenses are capable of providing.
By following the steps on this spread, you can use a fisheye for a greater range of subject matter and in a wider variety of environments. With some experimentation you might be surprised at the success achievable in some unexpected genres…
Assess the scene
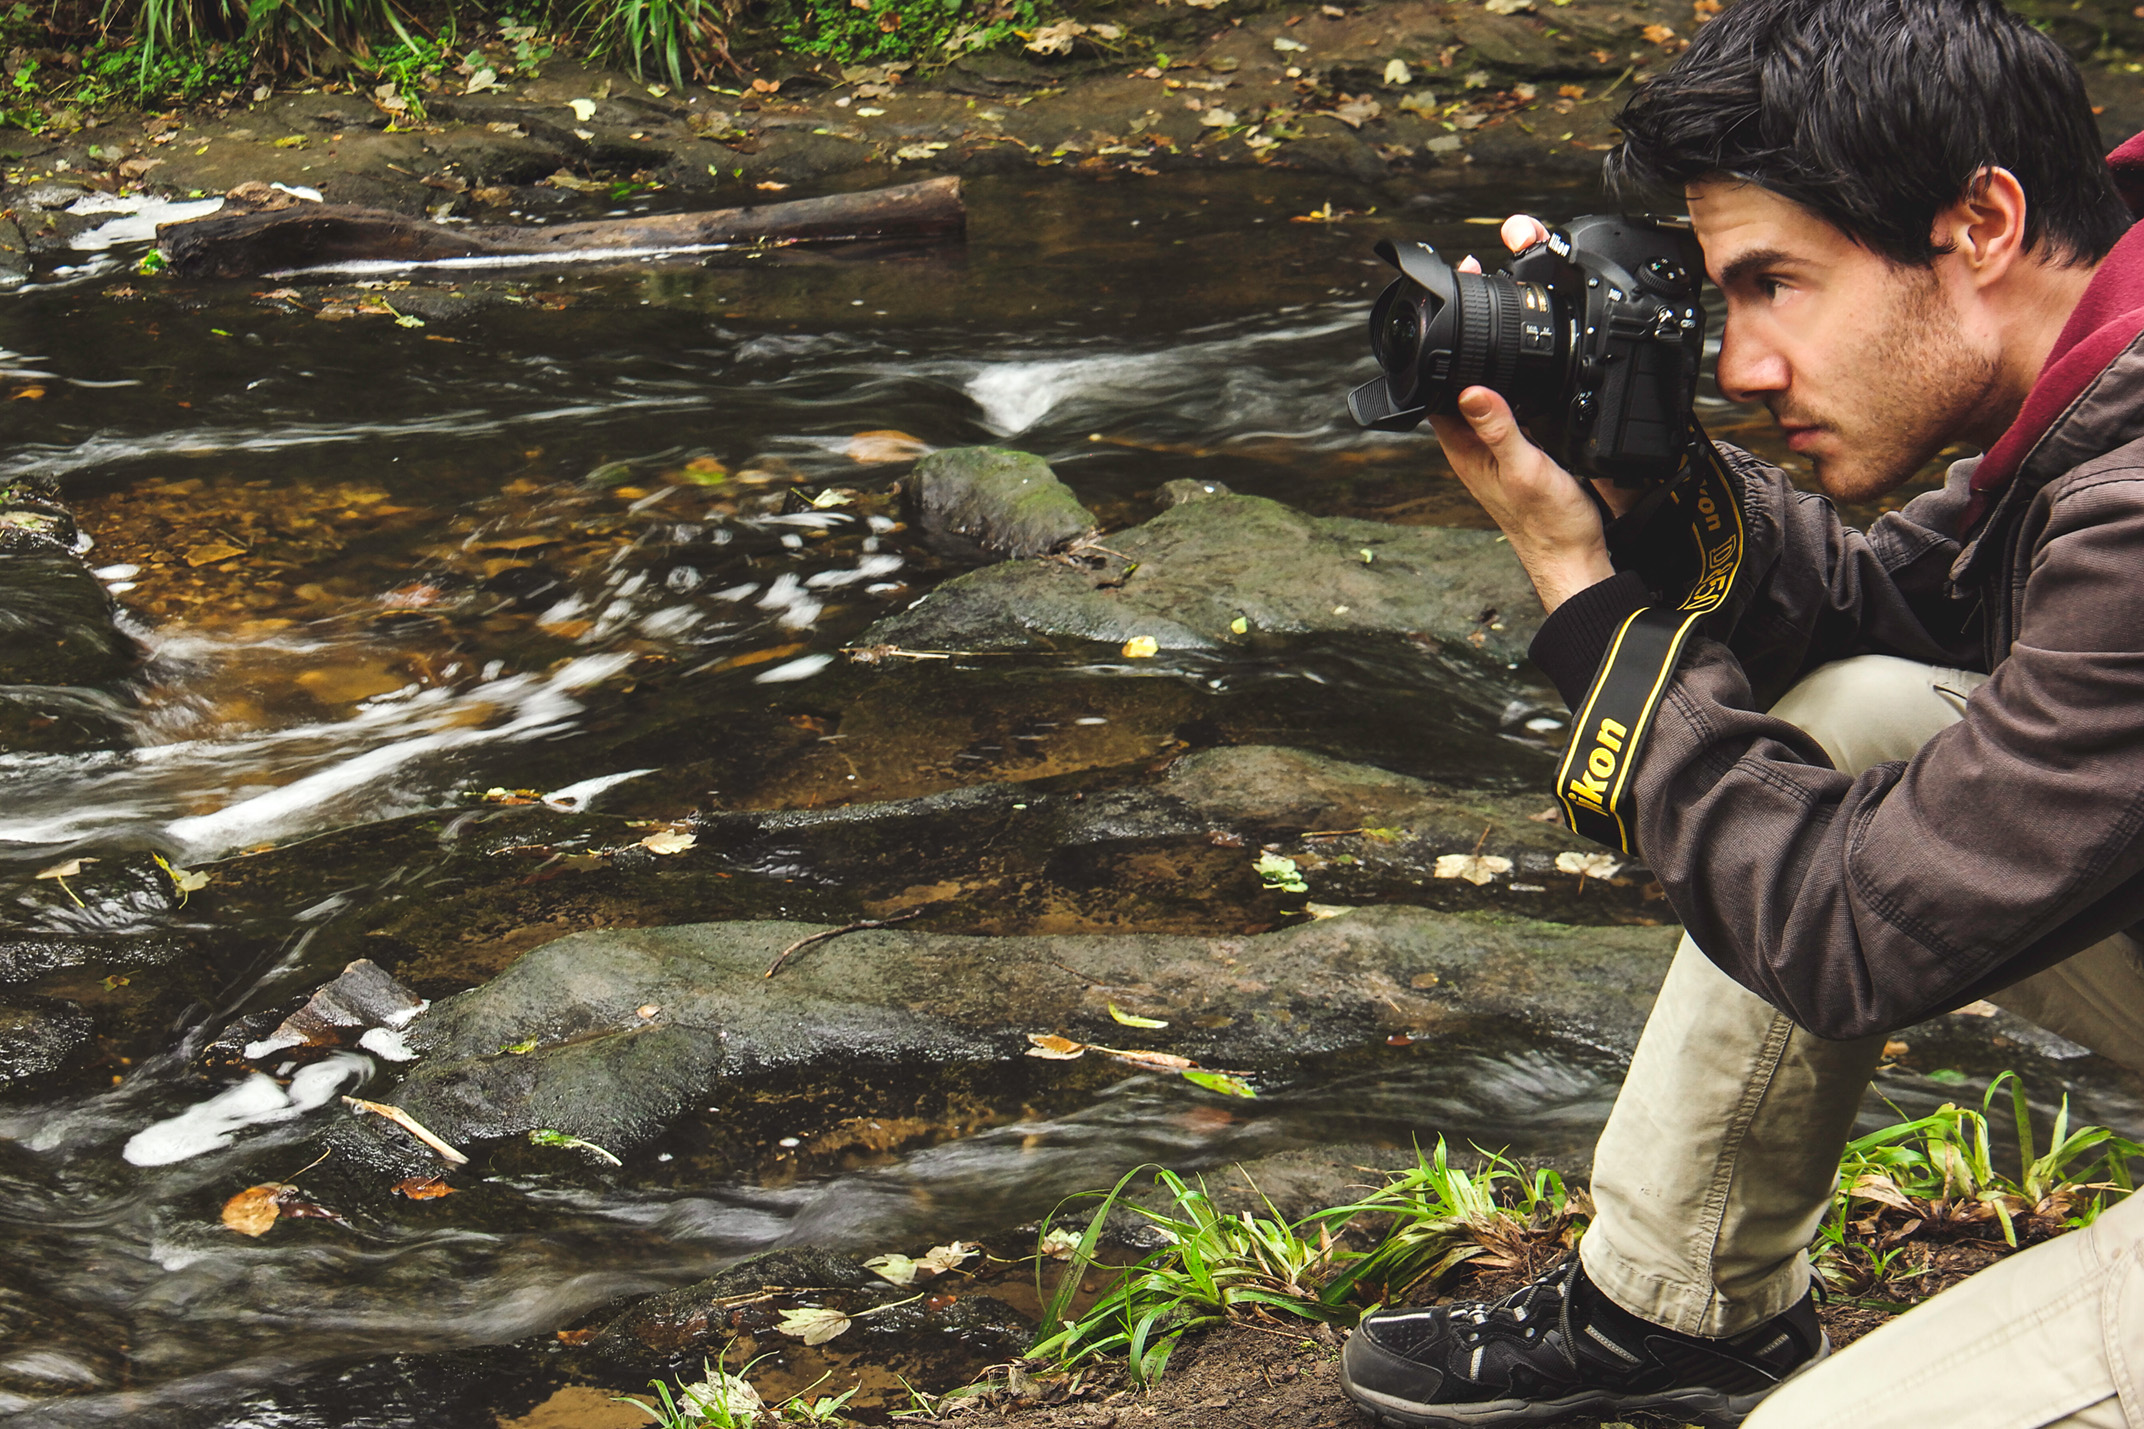
As with any ultra-wide lens be certain that you don’t produce an empty, distracting foreground, devoid of detail. Make sure that there is a feature to lead the eye to the main subject, for a balanced frame.
Set tripod height
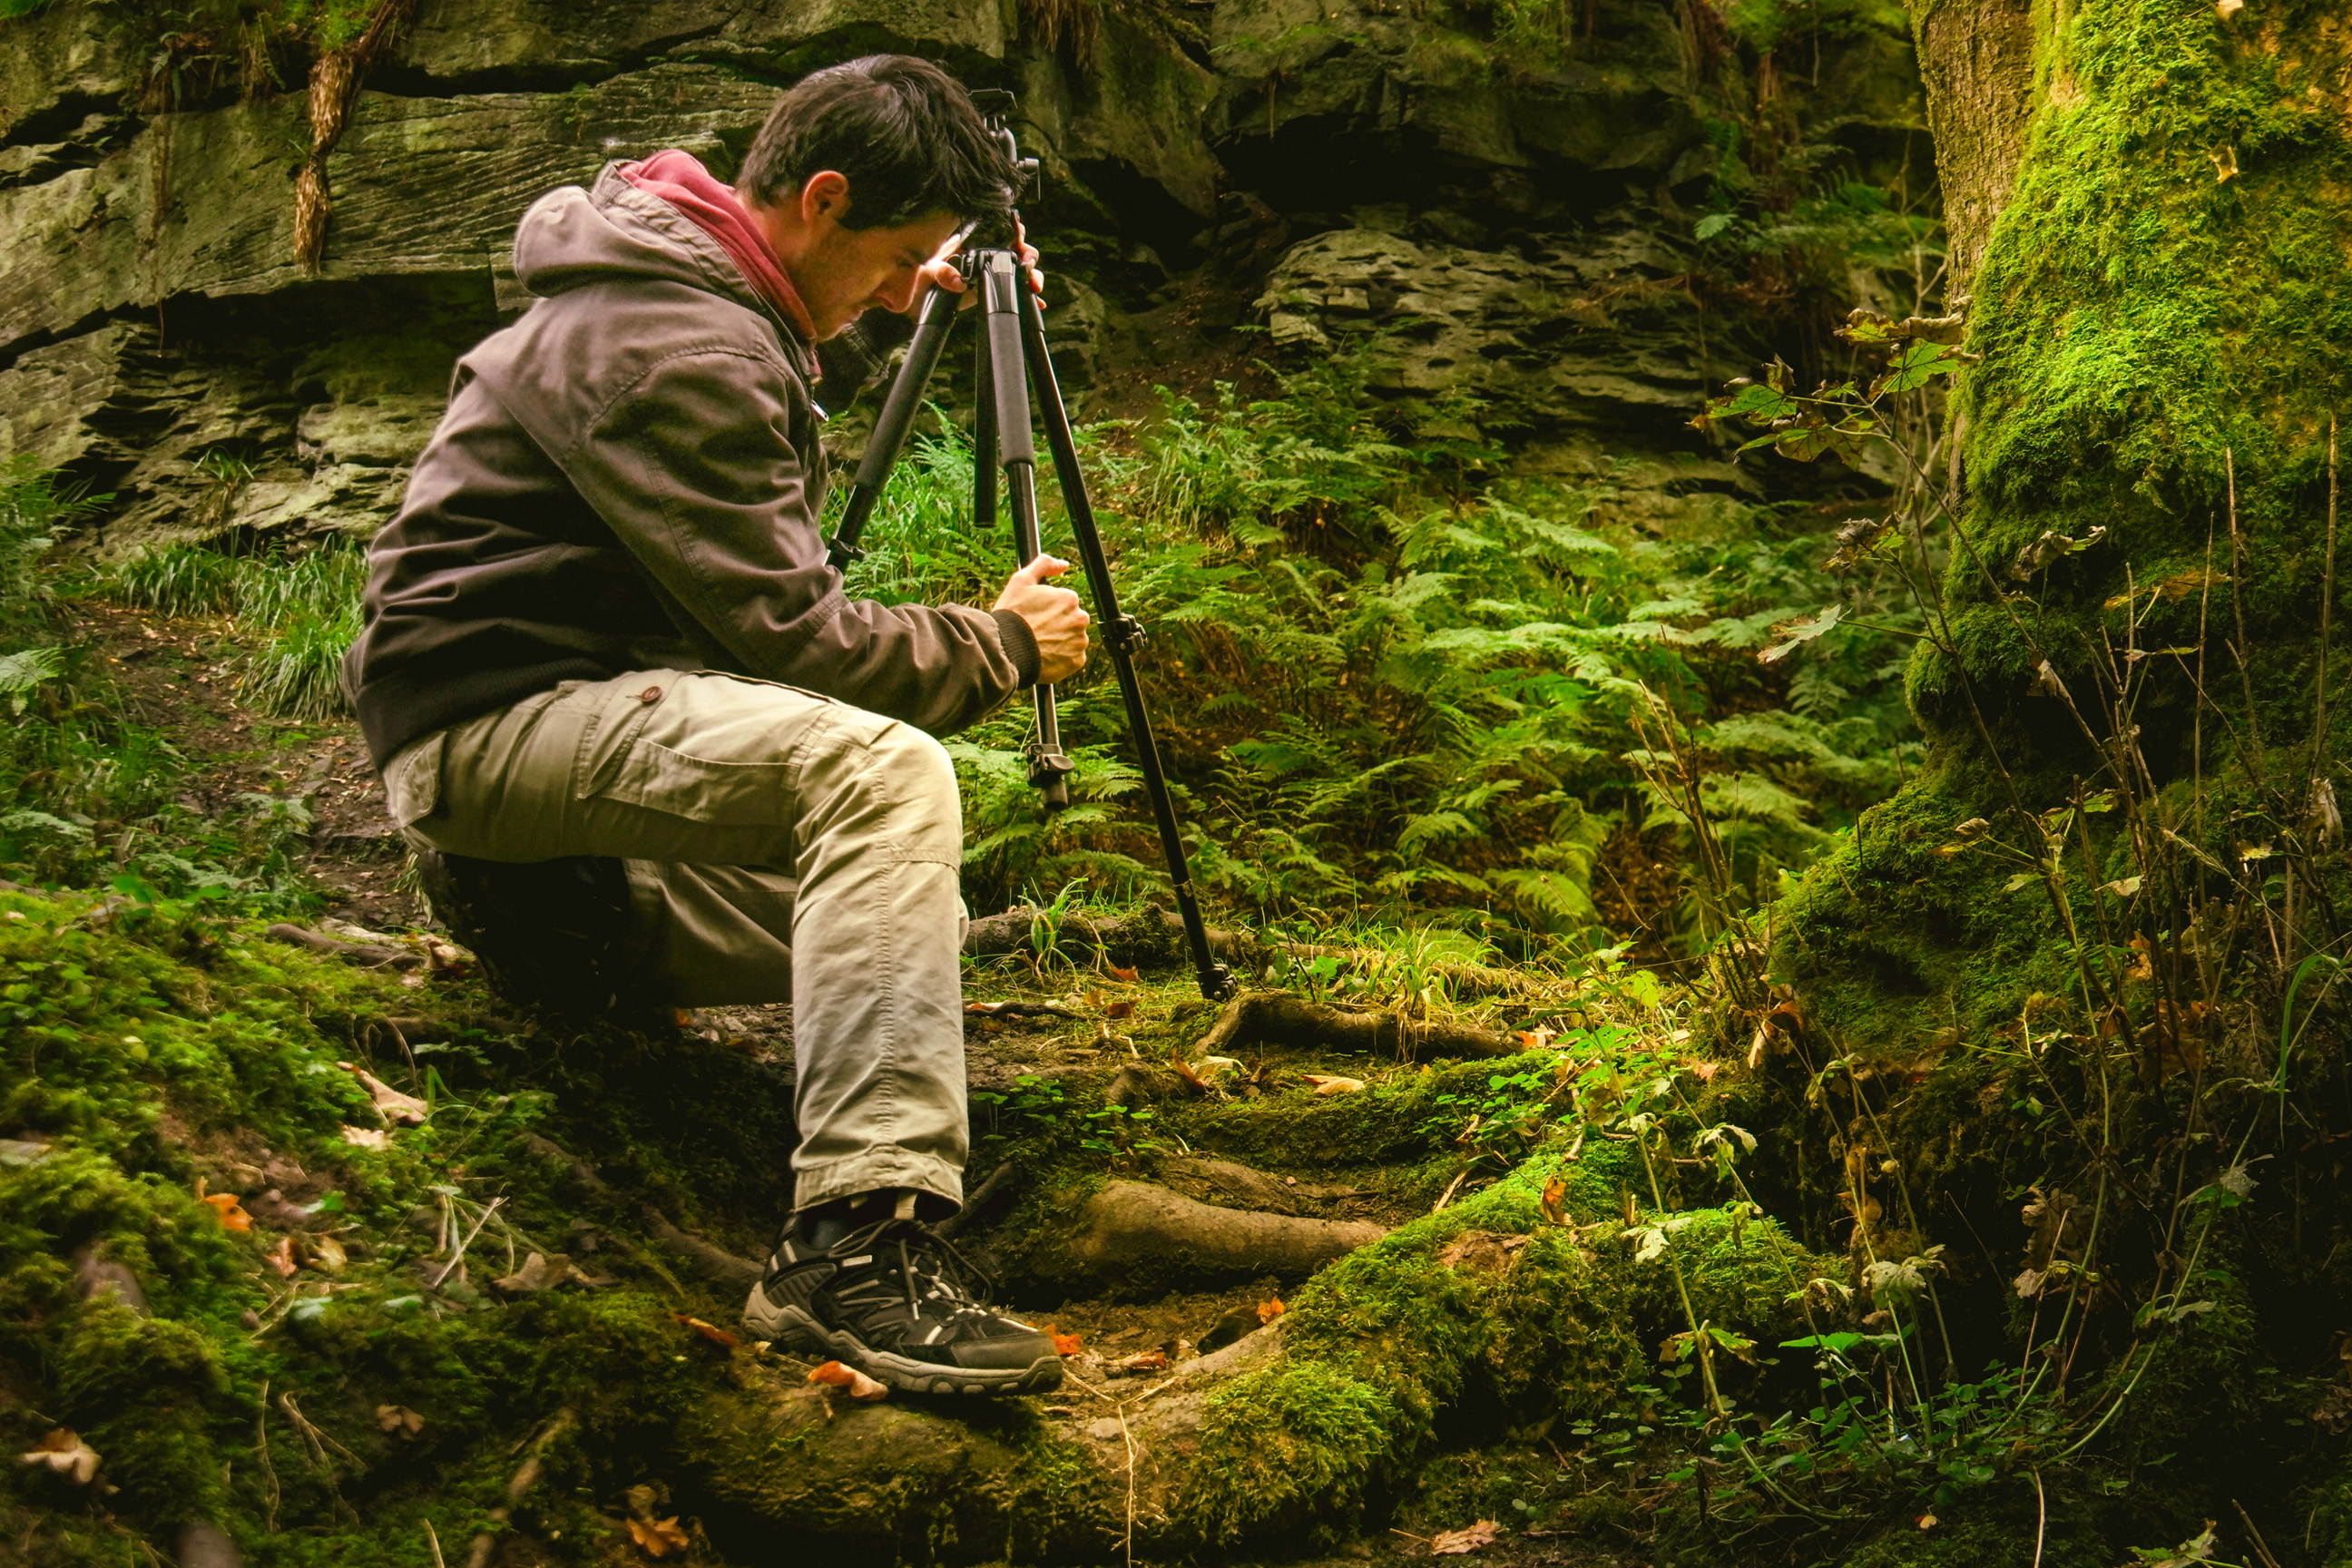
The distance from the lens and foreground elements, in addition to elements in the middle and backgrounds, will impact the strength of fisheye distortion. Balance foreground contribution with horizon placement.
Set focal length
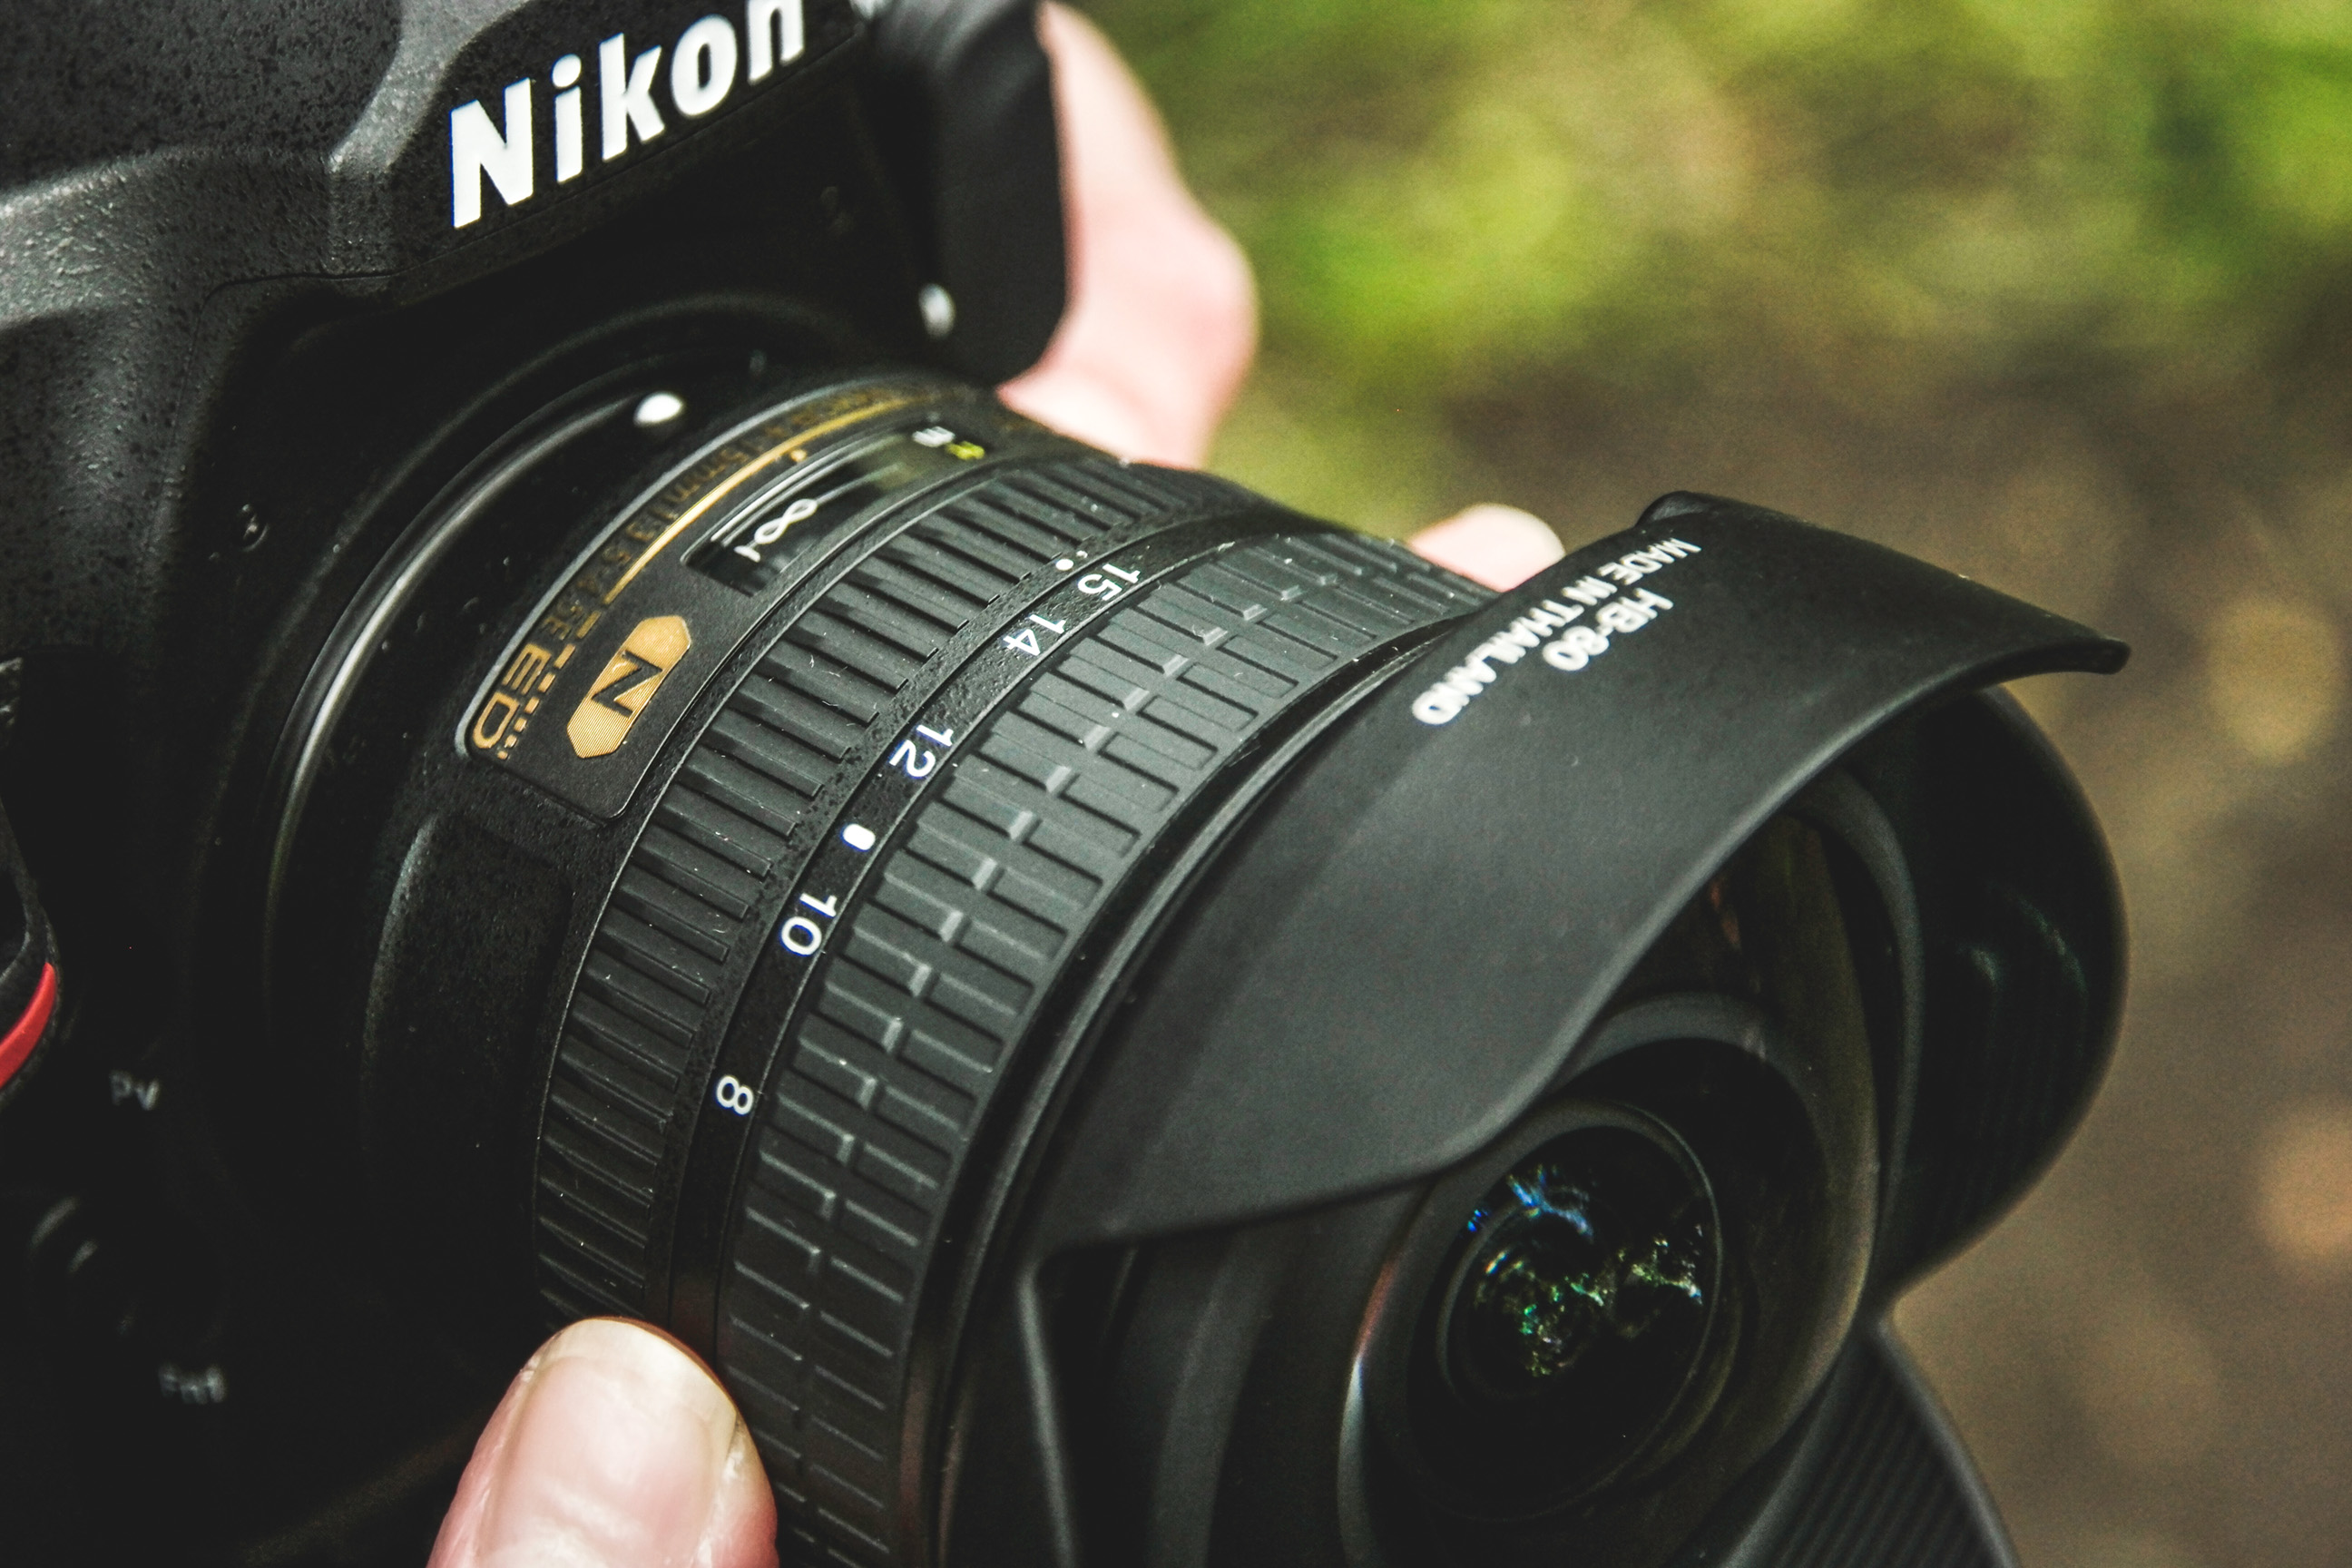
If using a zoomable fisheye with full frame coverage, like we did here, zoom in to the longest setting for a horizontal fisheye effect. We don’t want a circular fisheye look for landscapes, which the shortest focal length will provide.
Place the horizon
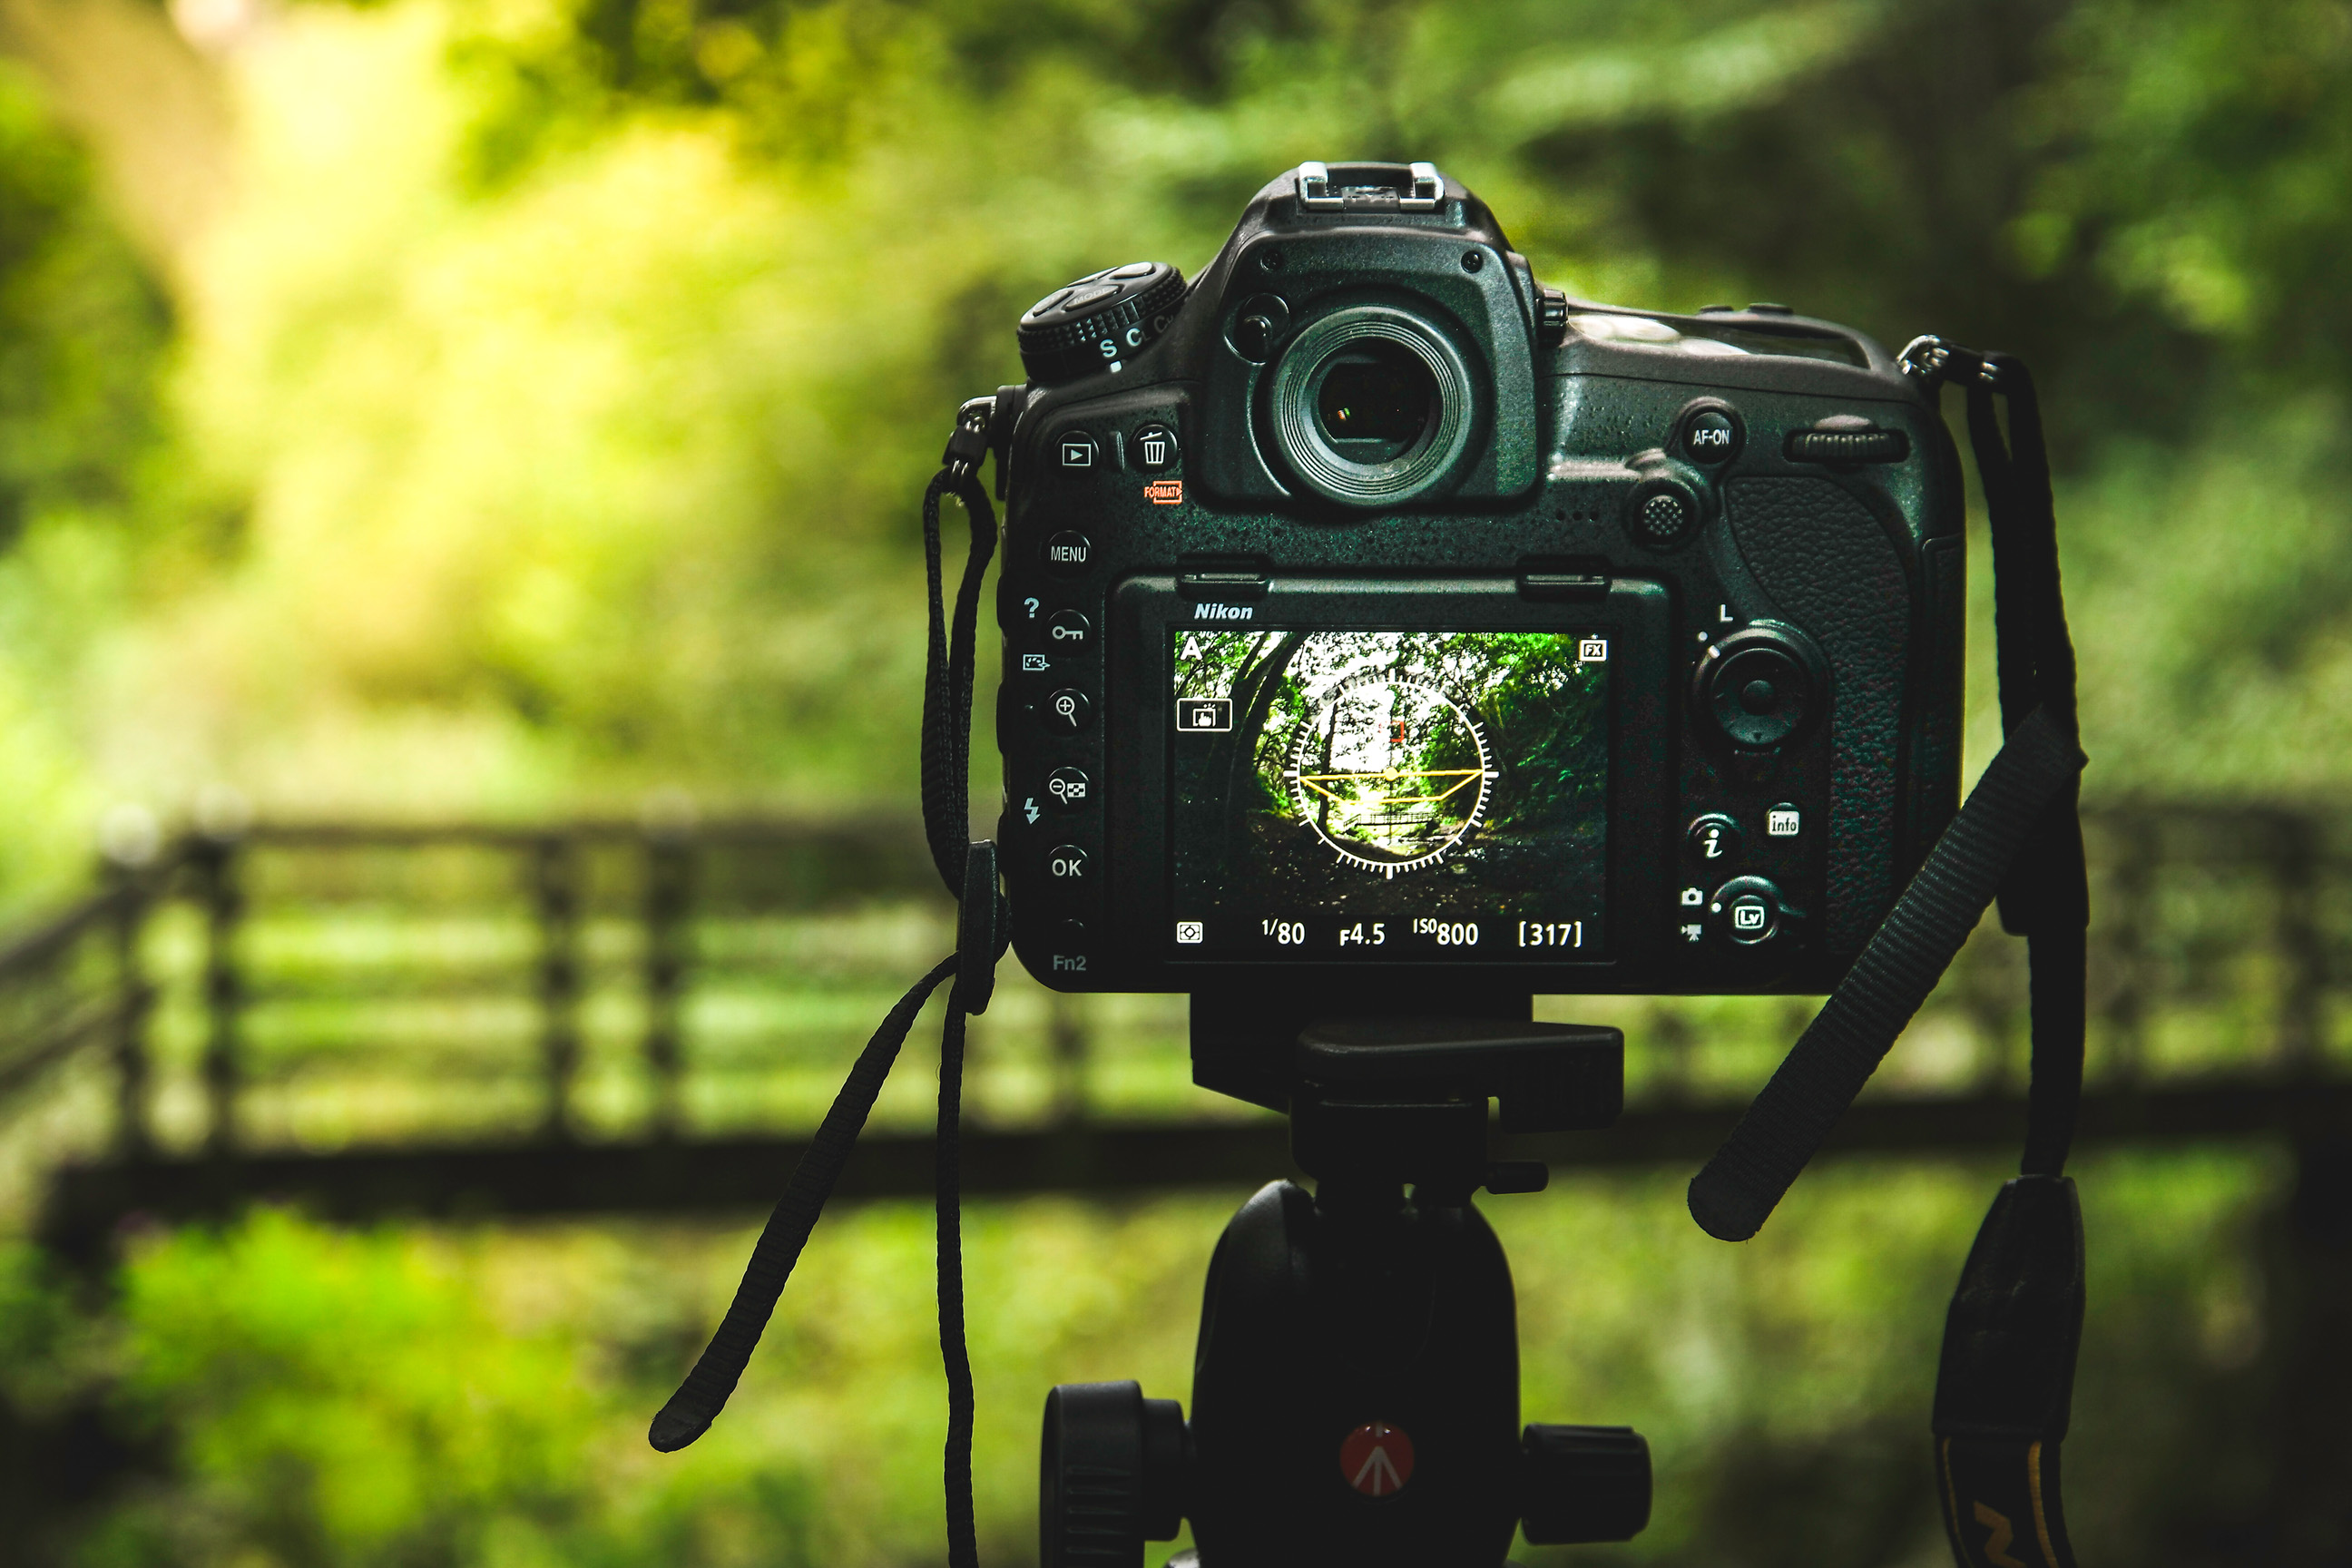
We need to keep the lens as level as possible to minimize the fisheye distortion. Work out where in the scene the horizon line falls, then place it in the frame's center, ensuring minimal lens pitch.
Watch the edges
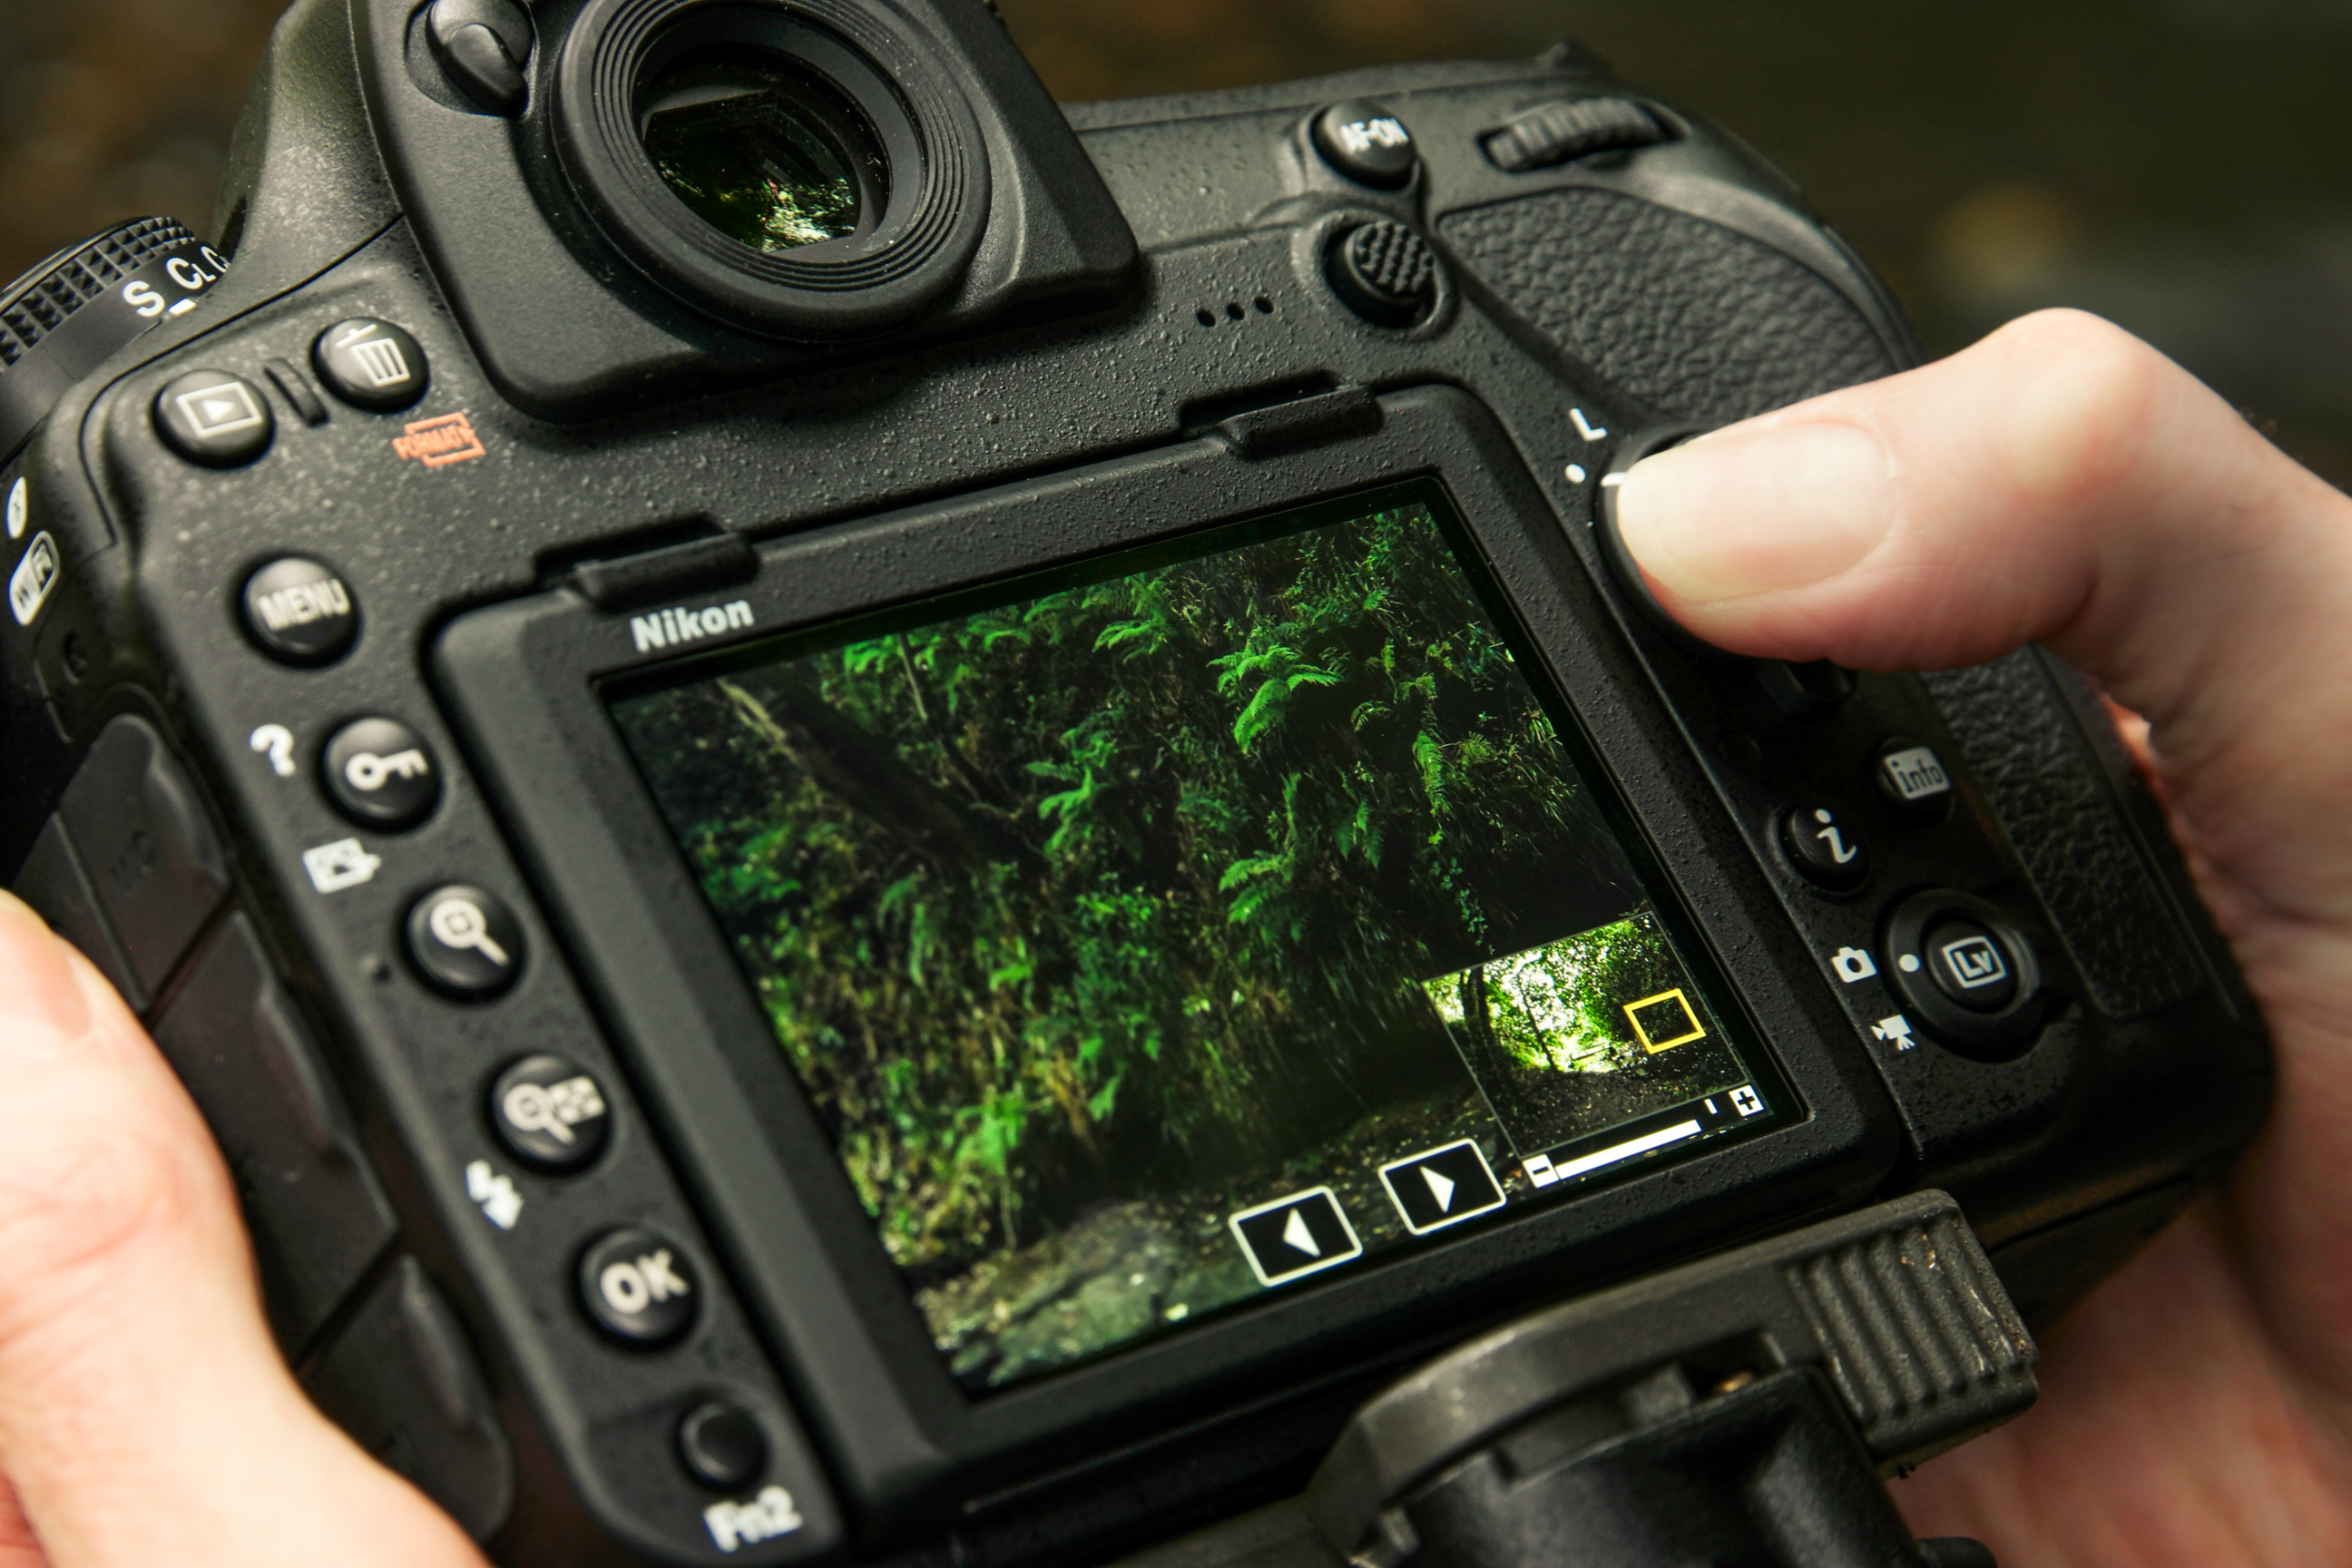
Distortion is most evident at the periphery of the frame, so take a test shot and zoom in on the edges of the image. Look for any extreme stretching or obvious bending of lines which will be distracting.
Adjust composition
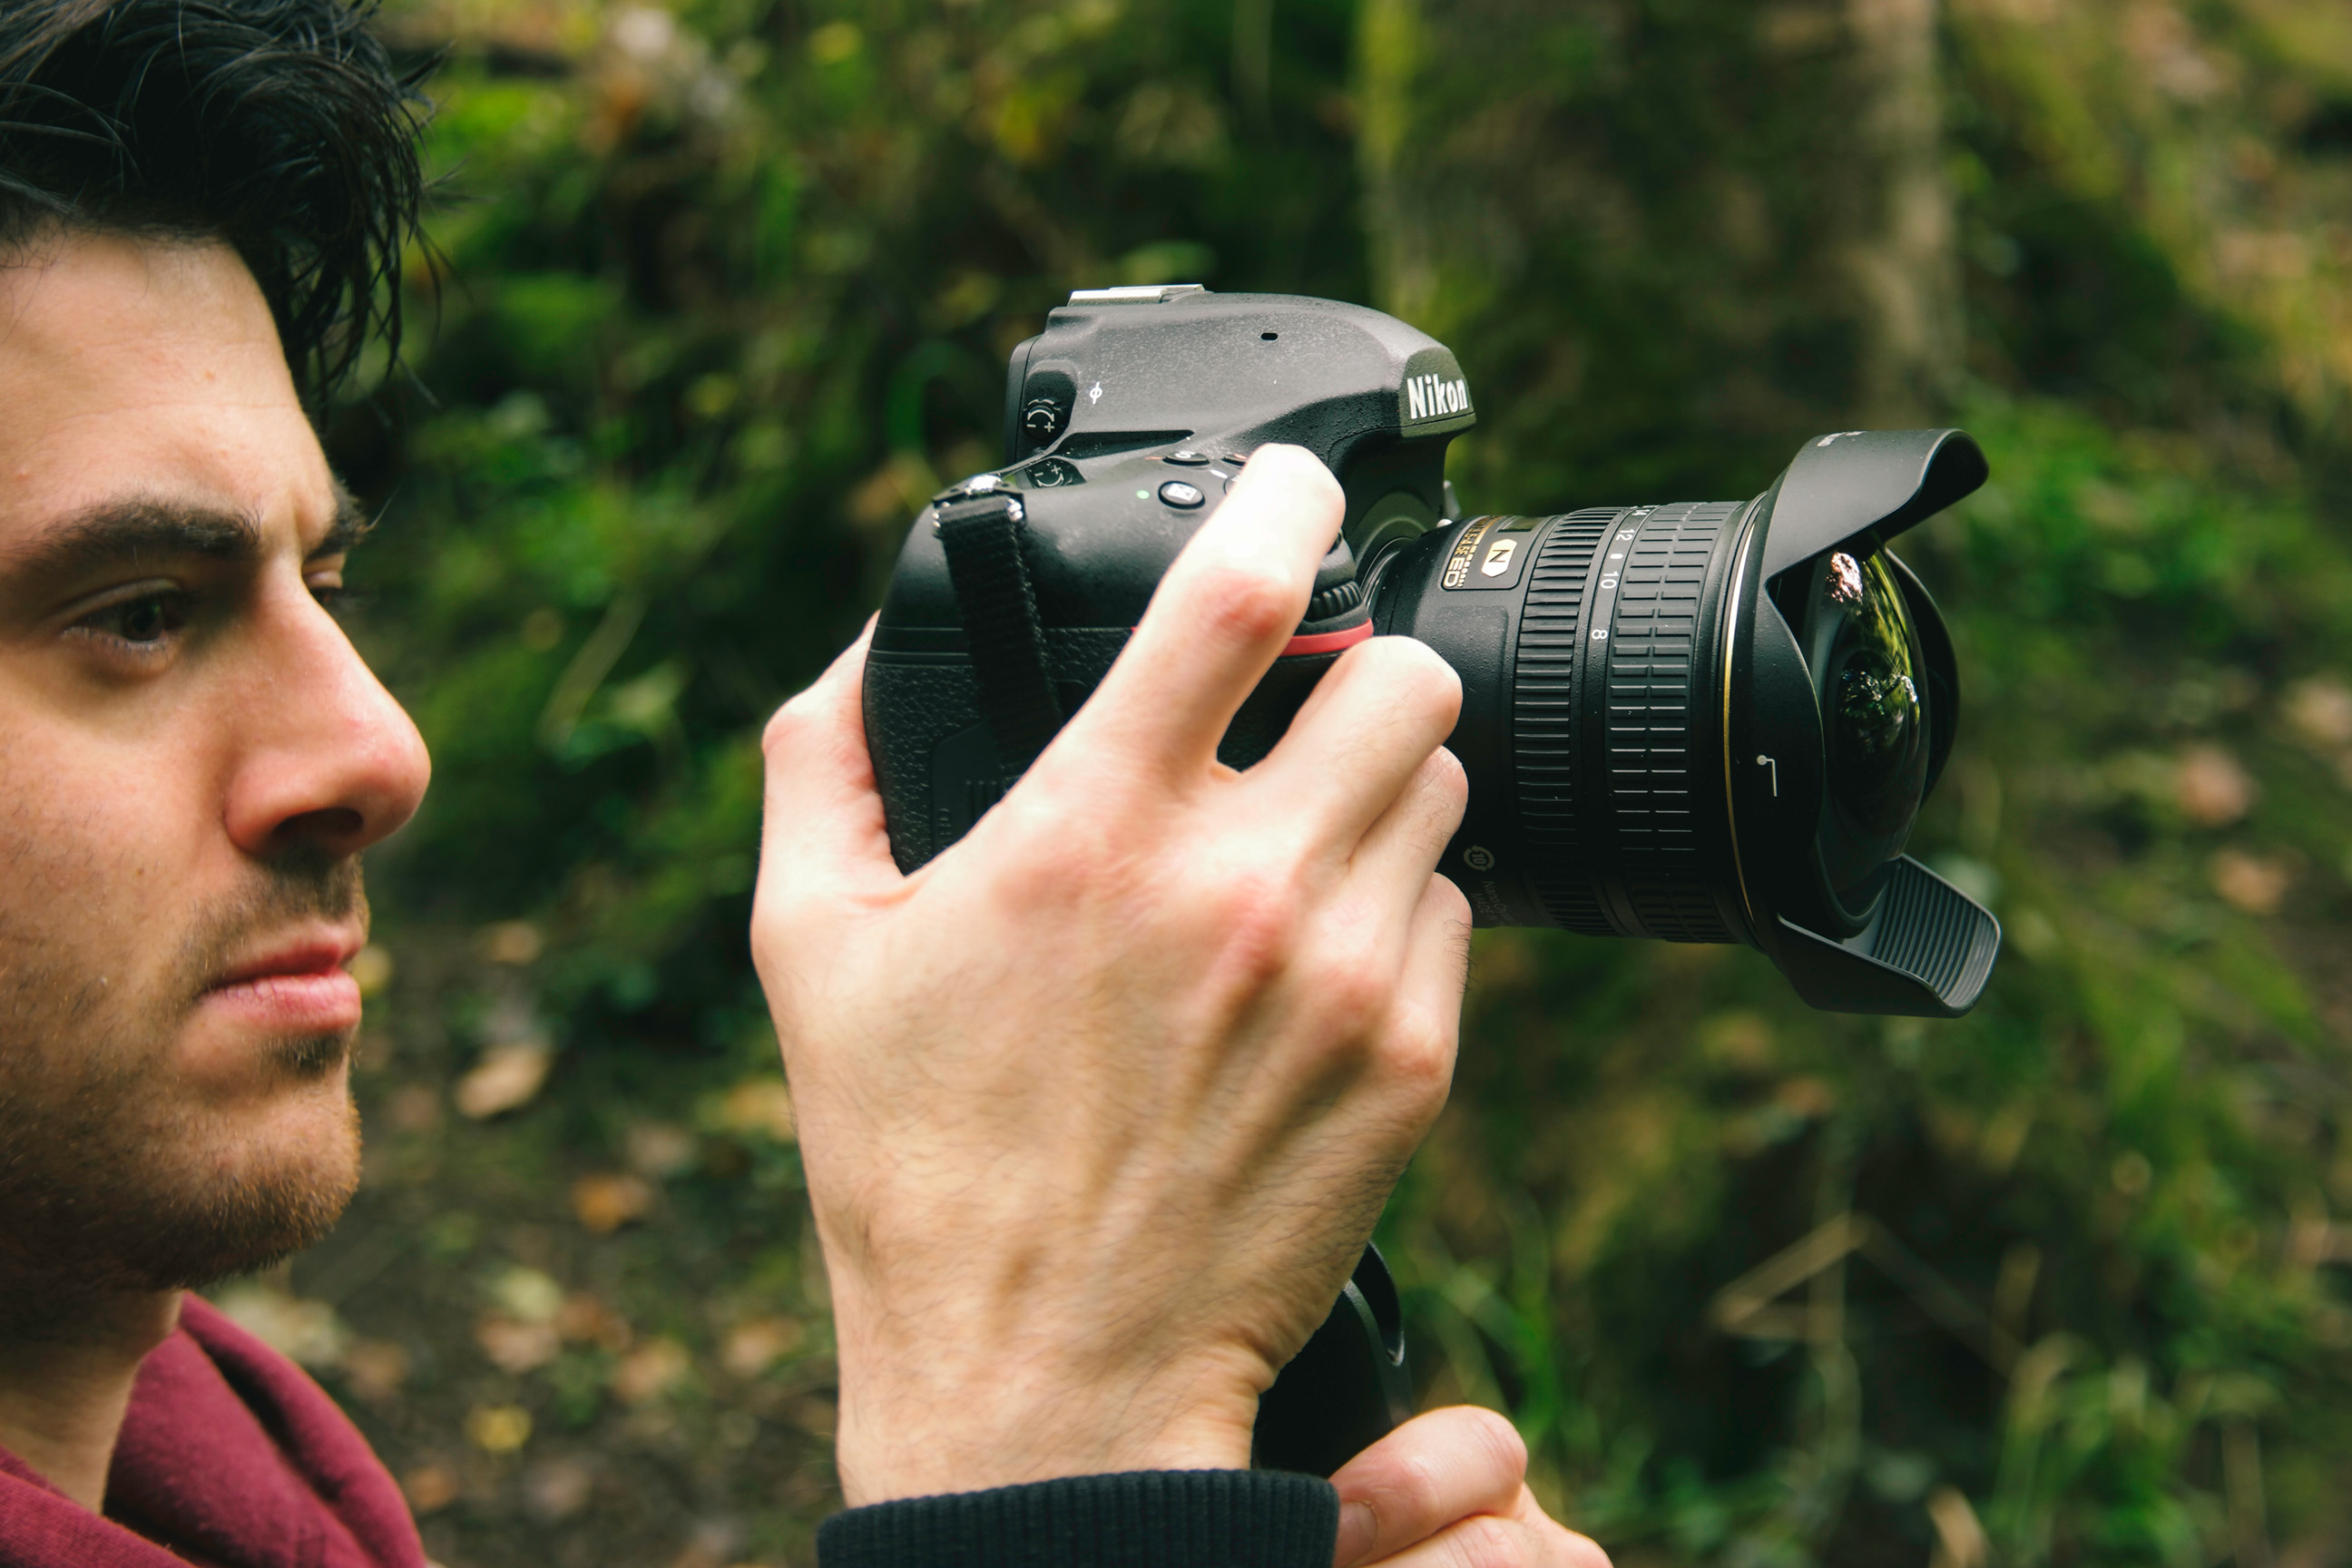
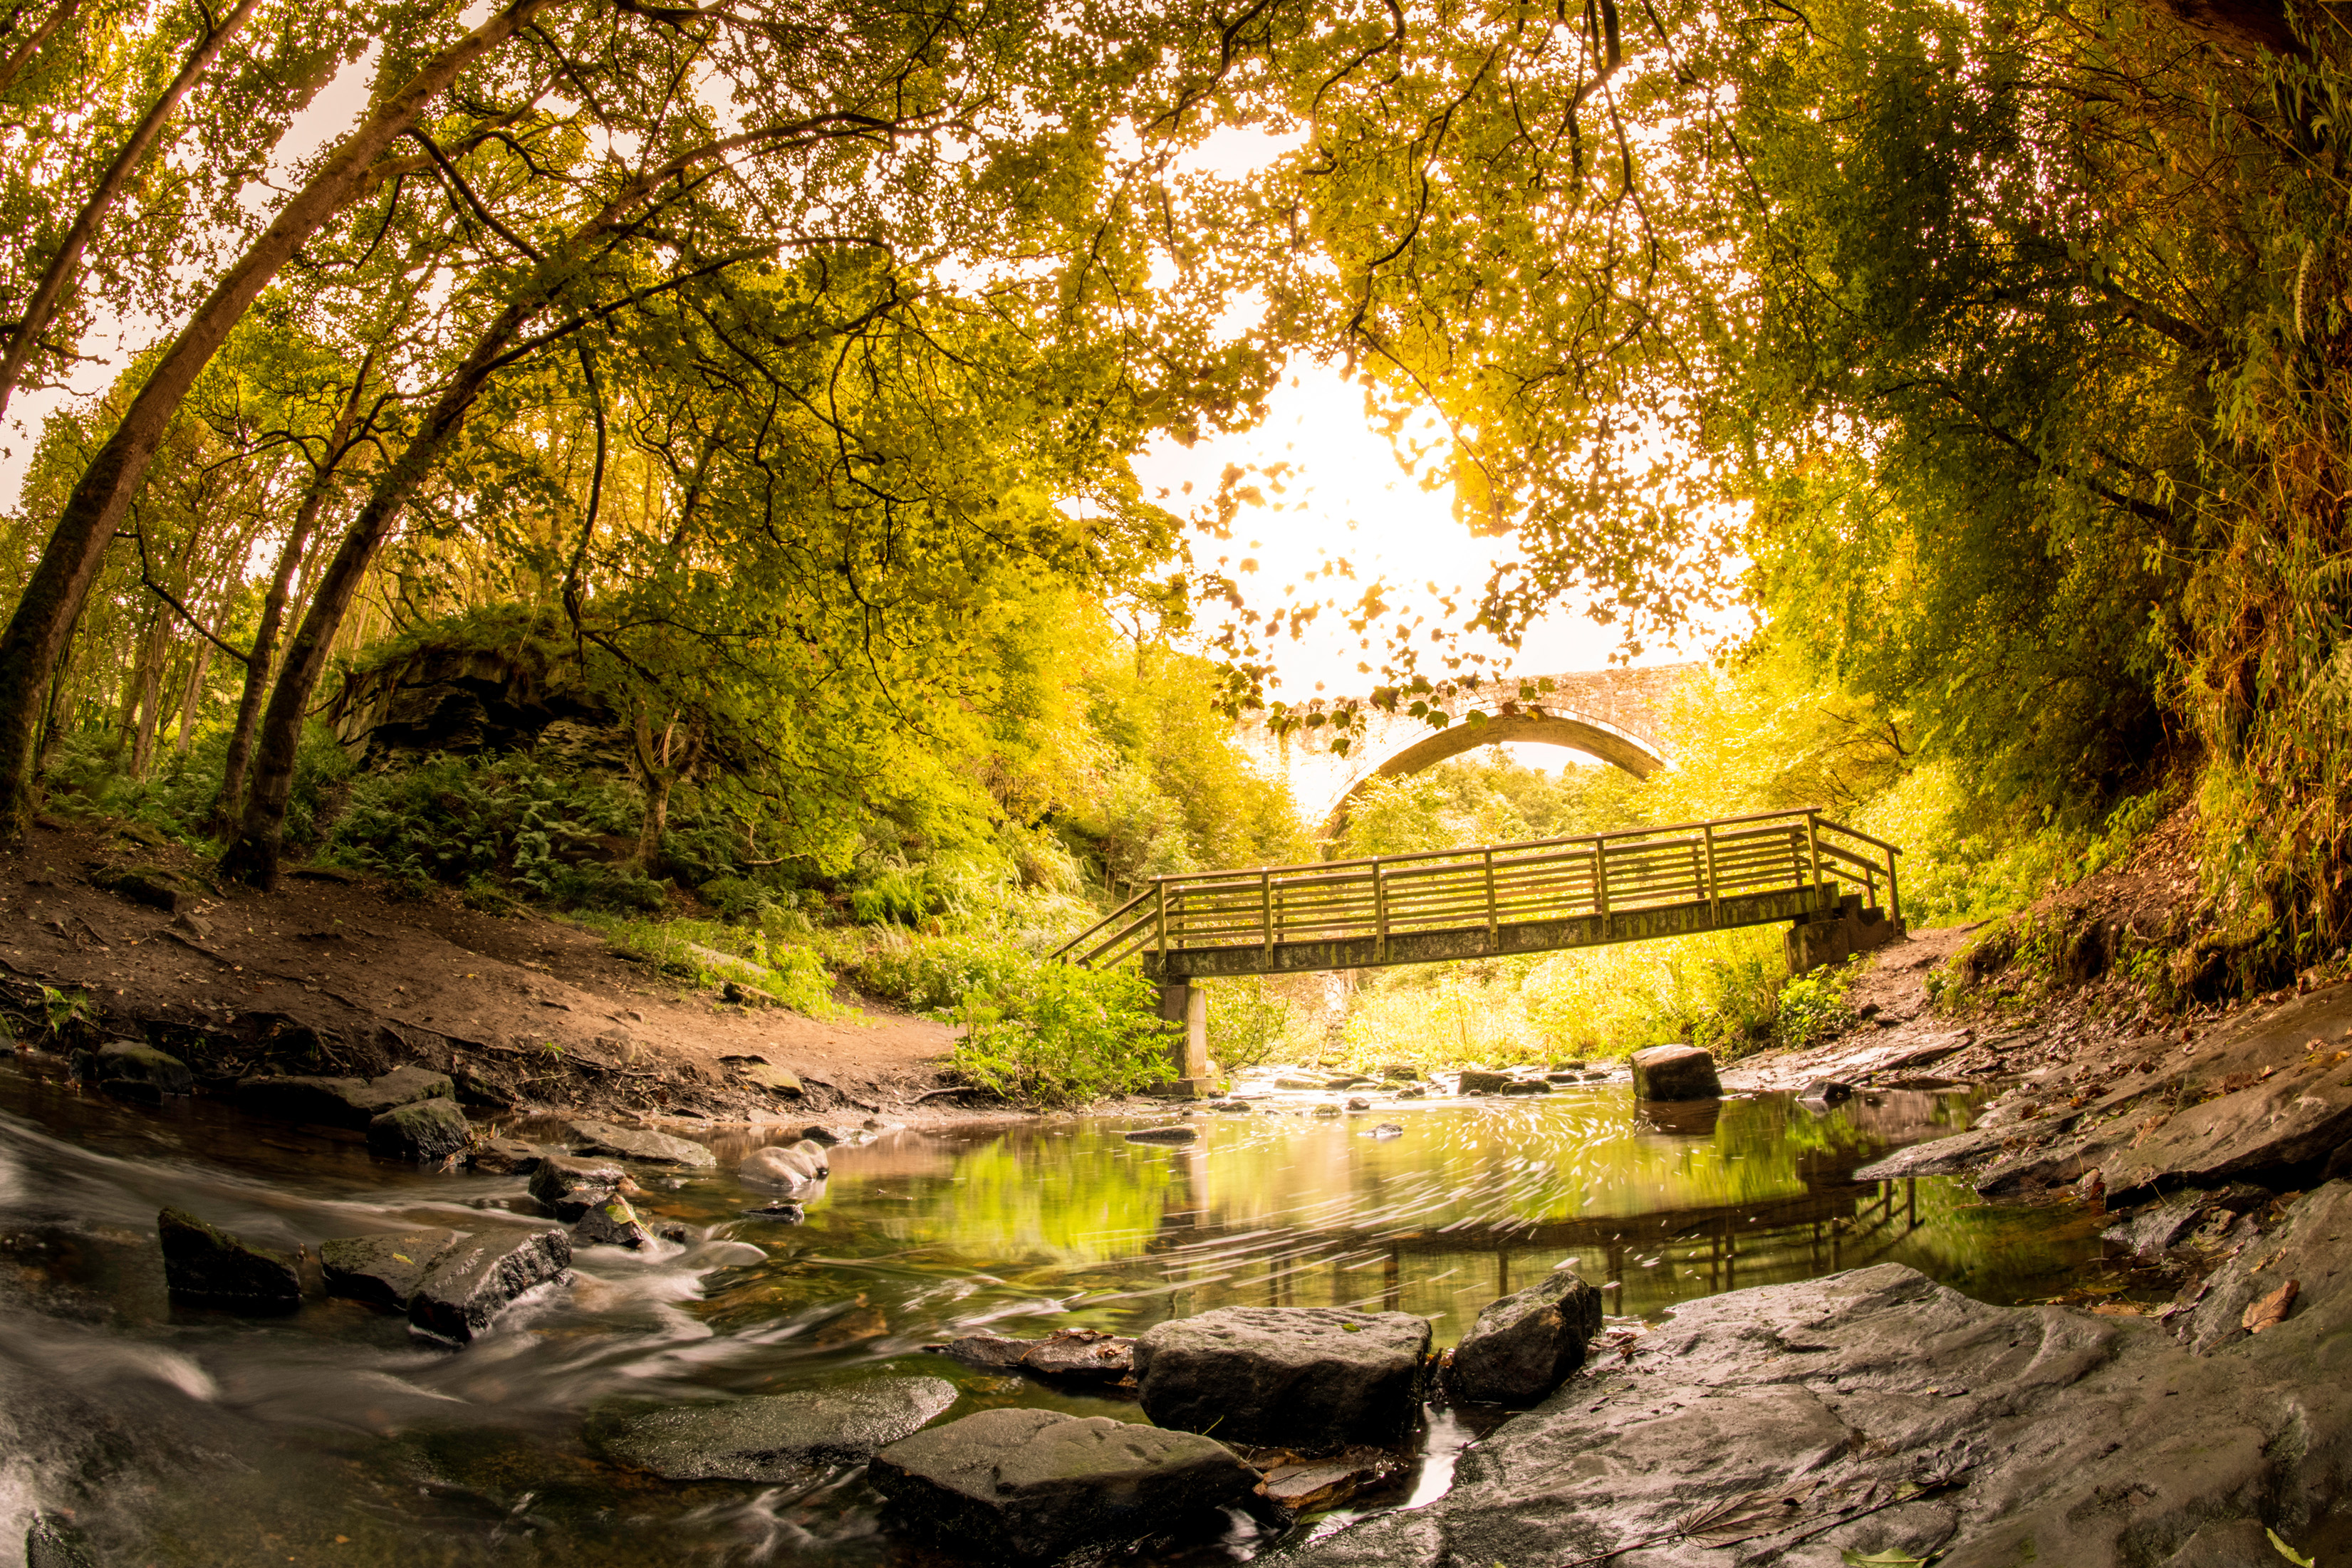
Recompose if necessary so that the scene appears wide, but with as few straight lines visible as is practical, which may give away the fisheye usage. Experiment with shooting position and horizon placement.

Get the kitbag essential for Enthusiasts and Professional photographers. Packed full of pro advice, tutorials, techniques, interviews and kit reviews, Digital Photographer Magazine will help you take your images to new heights.
Read more:
Fisheye lens camera tips: get great shots with a fisheye lens for Canon and more
Best wide-angle lens: ultra-wide zooms that get everything in the picture
Get the Digital Camera World Newsletter
The best camera deals, reviews, product advice, and unmissable photography news, direct to your inbox!
As the Editor for Digital Photographer magazine, Peter is a specialist in camera tutorials and creative projects to help you get the most out of your camera, lens, tripod, filters, gimbal, lighting and other imaging equipment.
After cutting his teeth working in retail for camera specialists like Jessops, he has spent 11 years as a photography journalist and freelance writer – and he is a Getty Images-registered photographer, to boot.
No matter what you want to shoot, Peter can help you sharpen your skills and elevate your ability, whether it’s taking portraits, capturing landscapes, shooting architecture, creating macro and still life, photographing action… he can help you learn and improve.
