Focus-stack your close-up photos the easy way with Nikon’s Focus Shift Shooting mode
Get your shots sharp from front to back with this tricked-up release mode
Sometimes you simply can’t get a sufficiently large depth of field to retain sharpness in a scene, from the closest foreground area to the background. Using a narrow aperture can only get you so far. Depth of field itself is governed by three factors – the focal length of the lens, the aperture and the focus distance. Use a wide-angle lens at a narrow aperture (large f/number) and more than a very short focus distance and you’ll get a large depth of field. For example, use a 24mm lens on a full-frame camera, set the aperture to f/16 and the focus distance to 1.5m, and everything should appear sharp in the resulting image from a distance of about 70cm to infinity, as measured from the camera’s image sensor, which equates to the focal plane. That should work for most landscape and architectural shooting scenarios.
The closer, the trickier
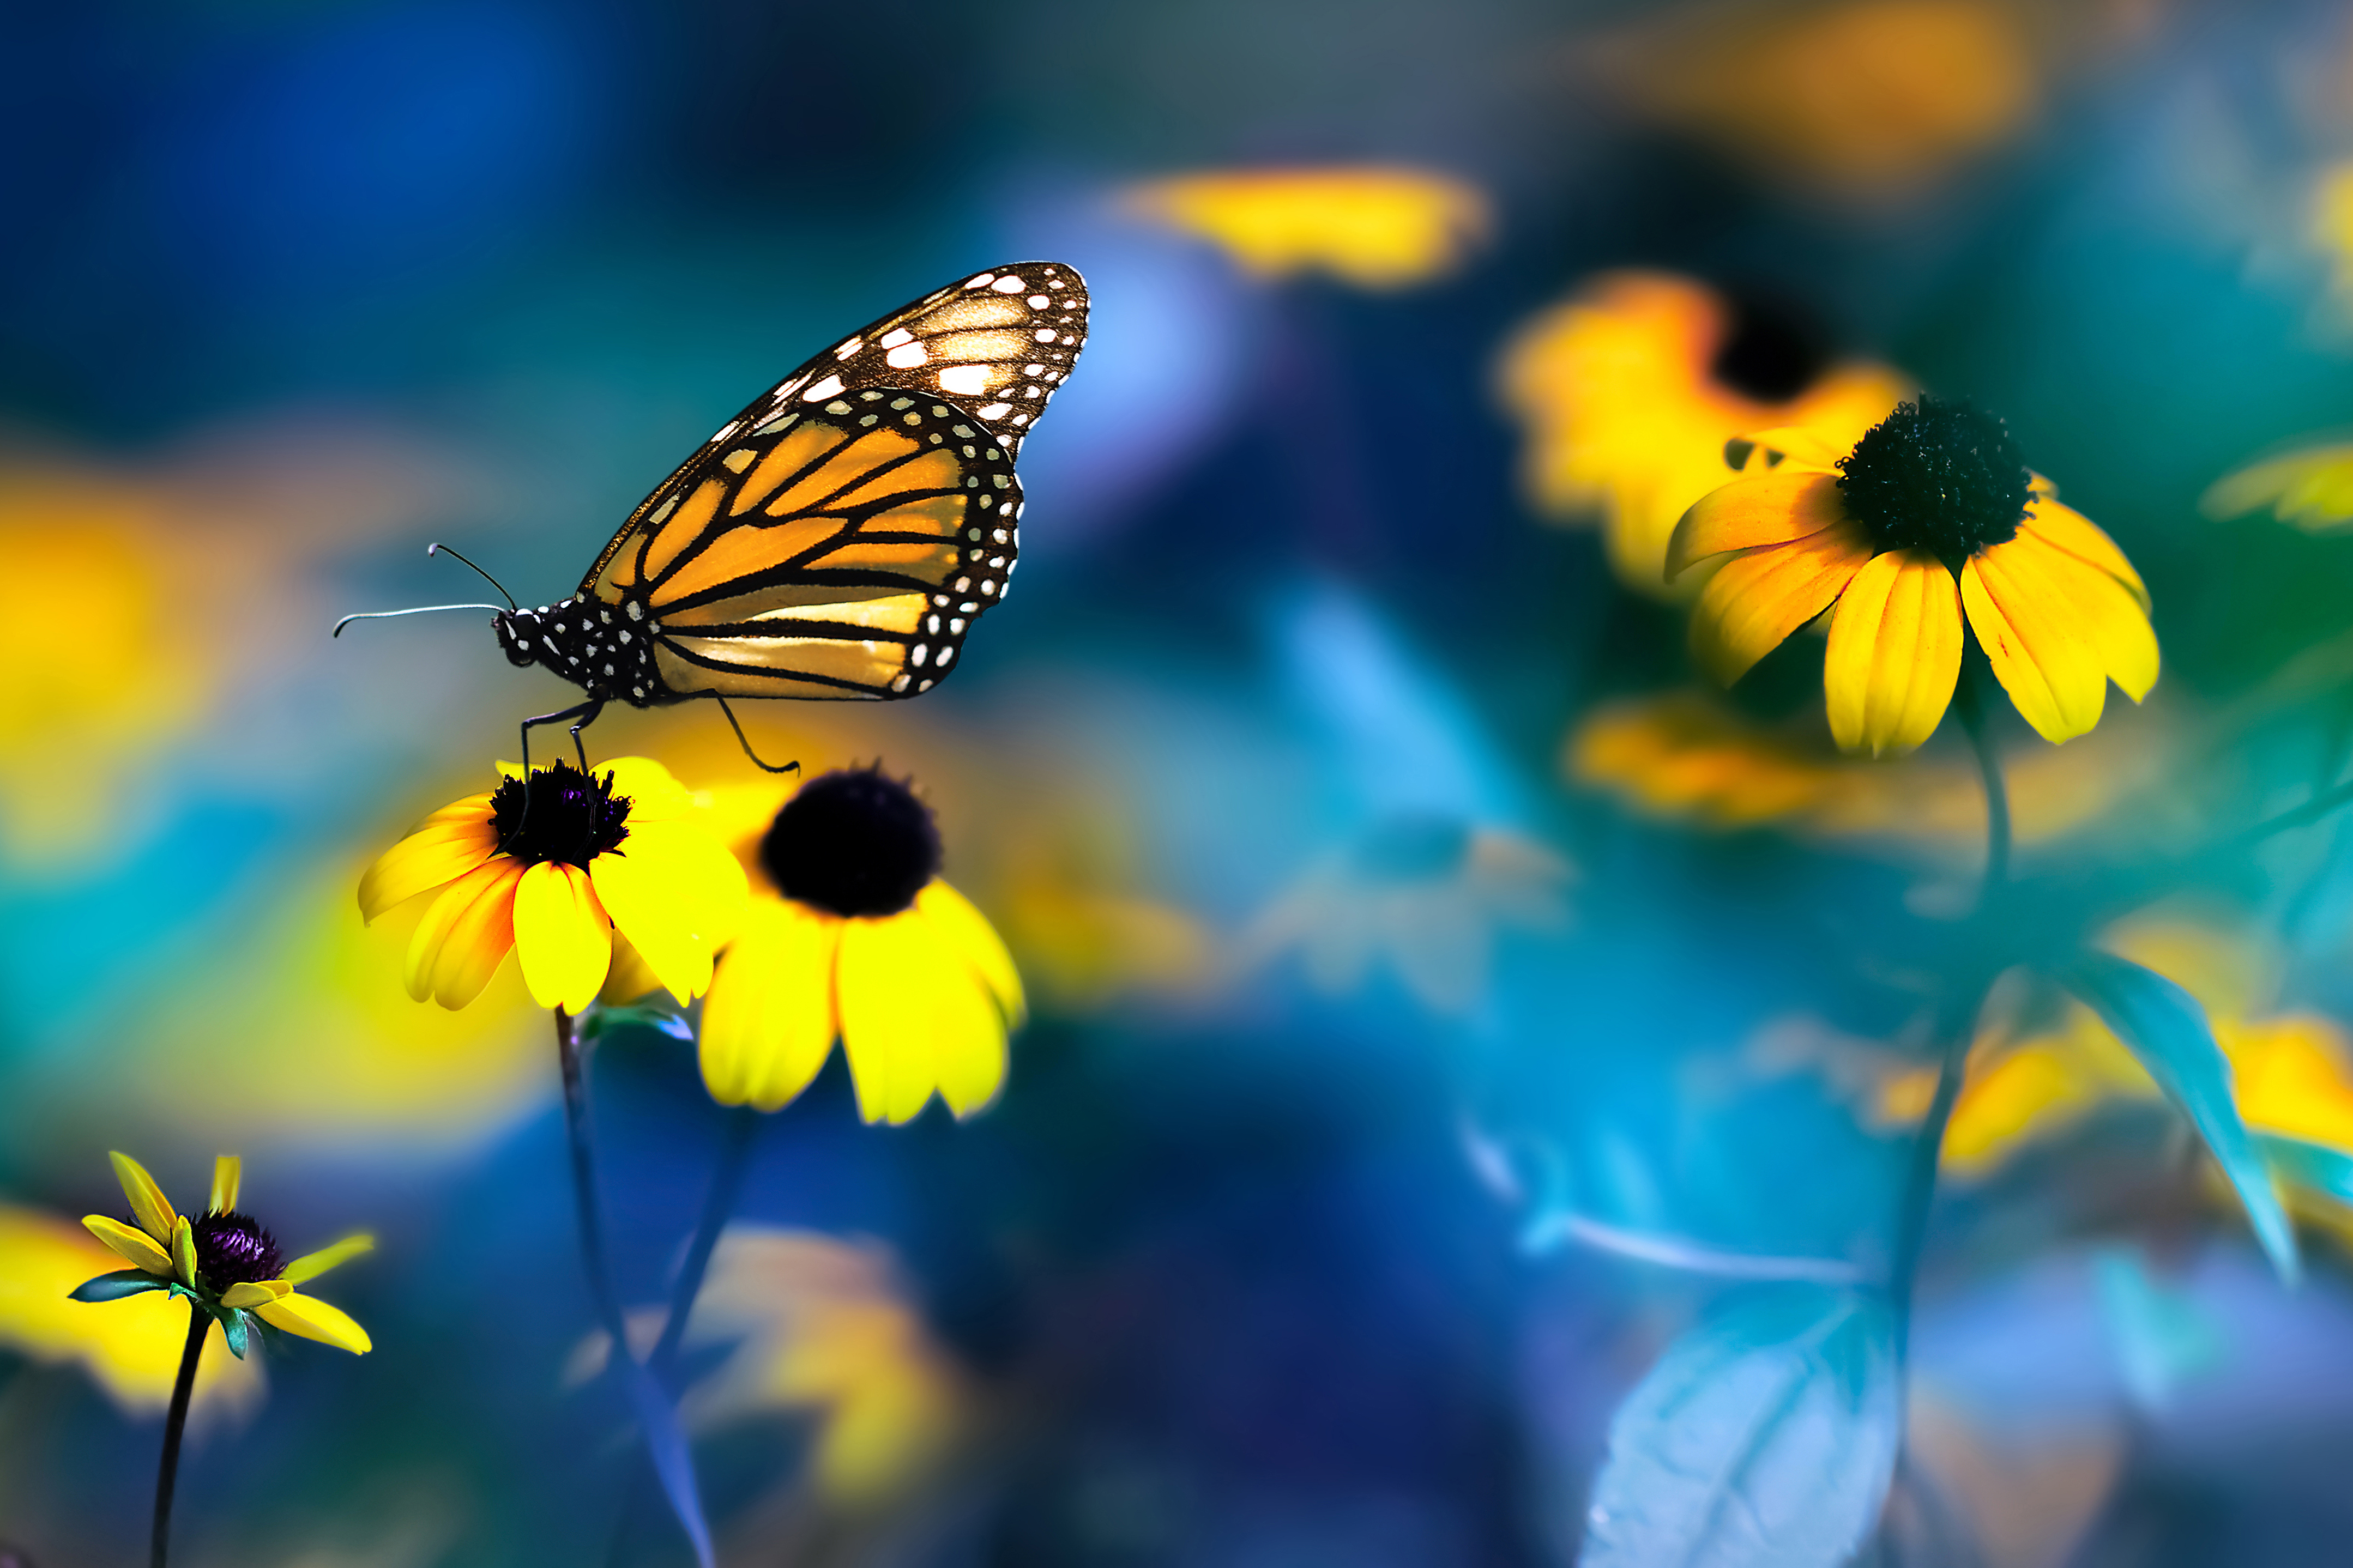
Getting a large depth of field is more problematic when shooting close-ups, for example with a macro lens. If you’re shooting with a Nikon Z 105mm macro lens at its shortest focus distance for maximum 1.0x magnification, the depth of field is barely more than 2mm in front of or behind the focus point. Macro lenses are generally designed to be ‘flat field’ optics with no field curvature. The focus distance remains the same from one side of the image frame to the other. That’s good news if you’re a stamp collector and want to shoot your collection. But most of us want to shoot 3D objects and, for extreme close-ups, the depth of field won’t be sufficient to get more than a small area looking sharp.
Some Nikon cameras have a Focus Shift Shooting menu option. This feature enables you to set up the camera to take a series of shots throughout which the focus point is automatically moved incrementally. You can later merge the sequence into a composite image with front-to-back sharpness, with a program like Photoshop.
On the menu
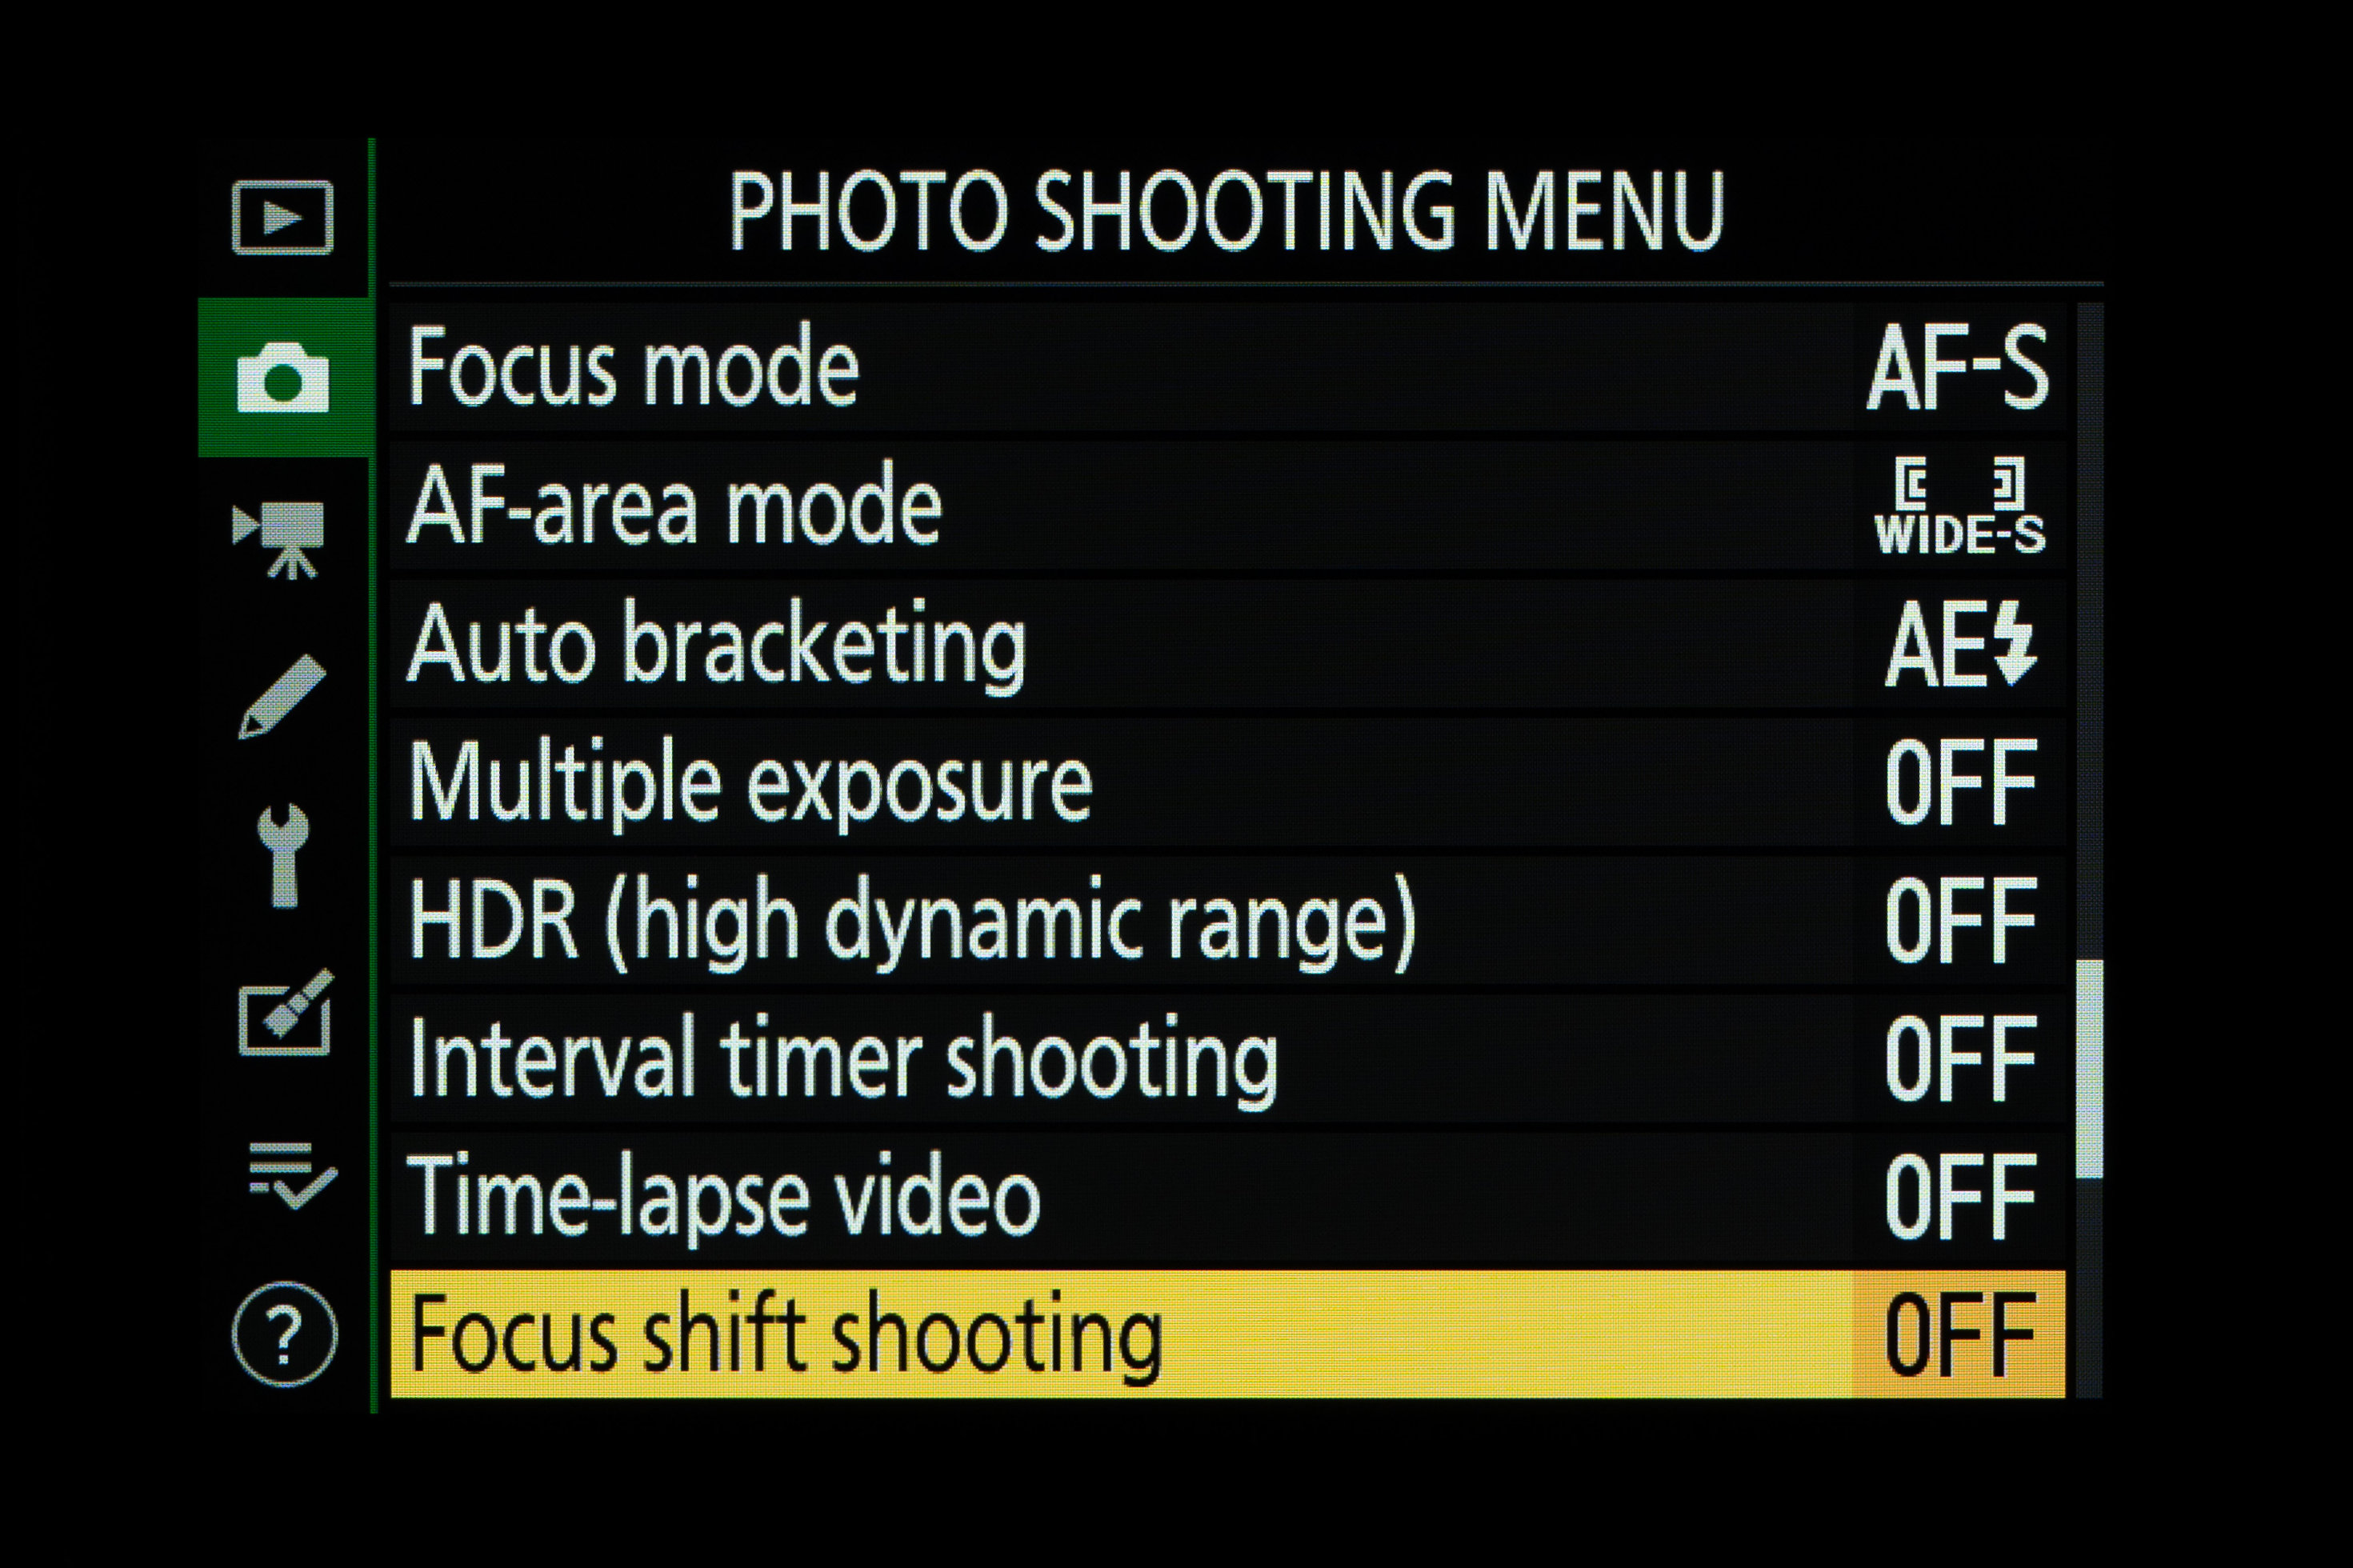
It’s important to keep the camera fixed throughout the process; you’ll need a tripod or other support and it’s best to fully charge the battery before you start, or to power your camera from an AC power adapter, compatibility allowing. Next, head to the Focus Shift option in the Photo Shooting menu, as featured in the D850 and all current Z system cameras apart from the Z 50.
Pick a number
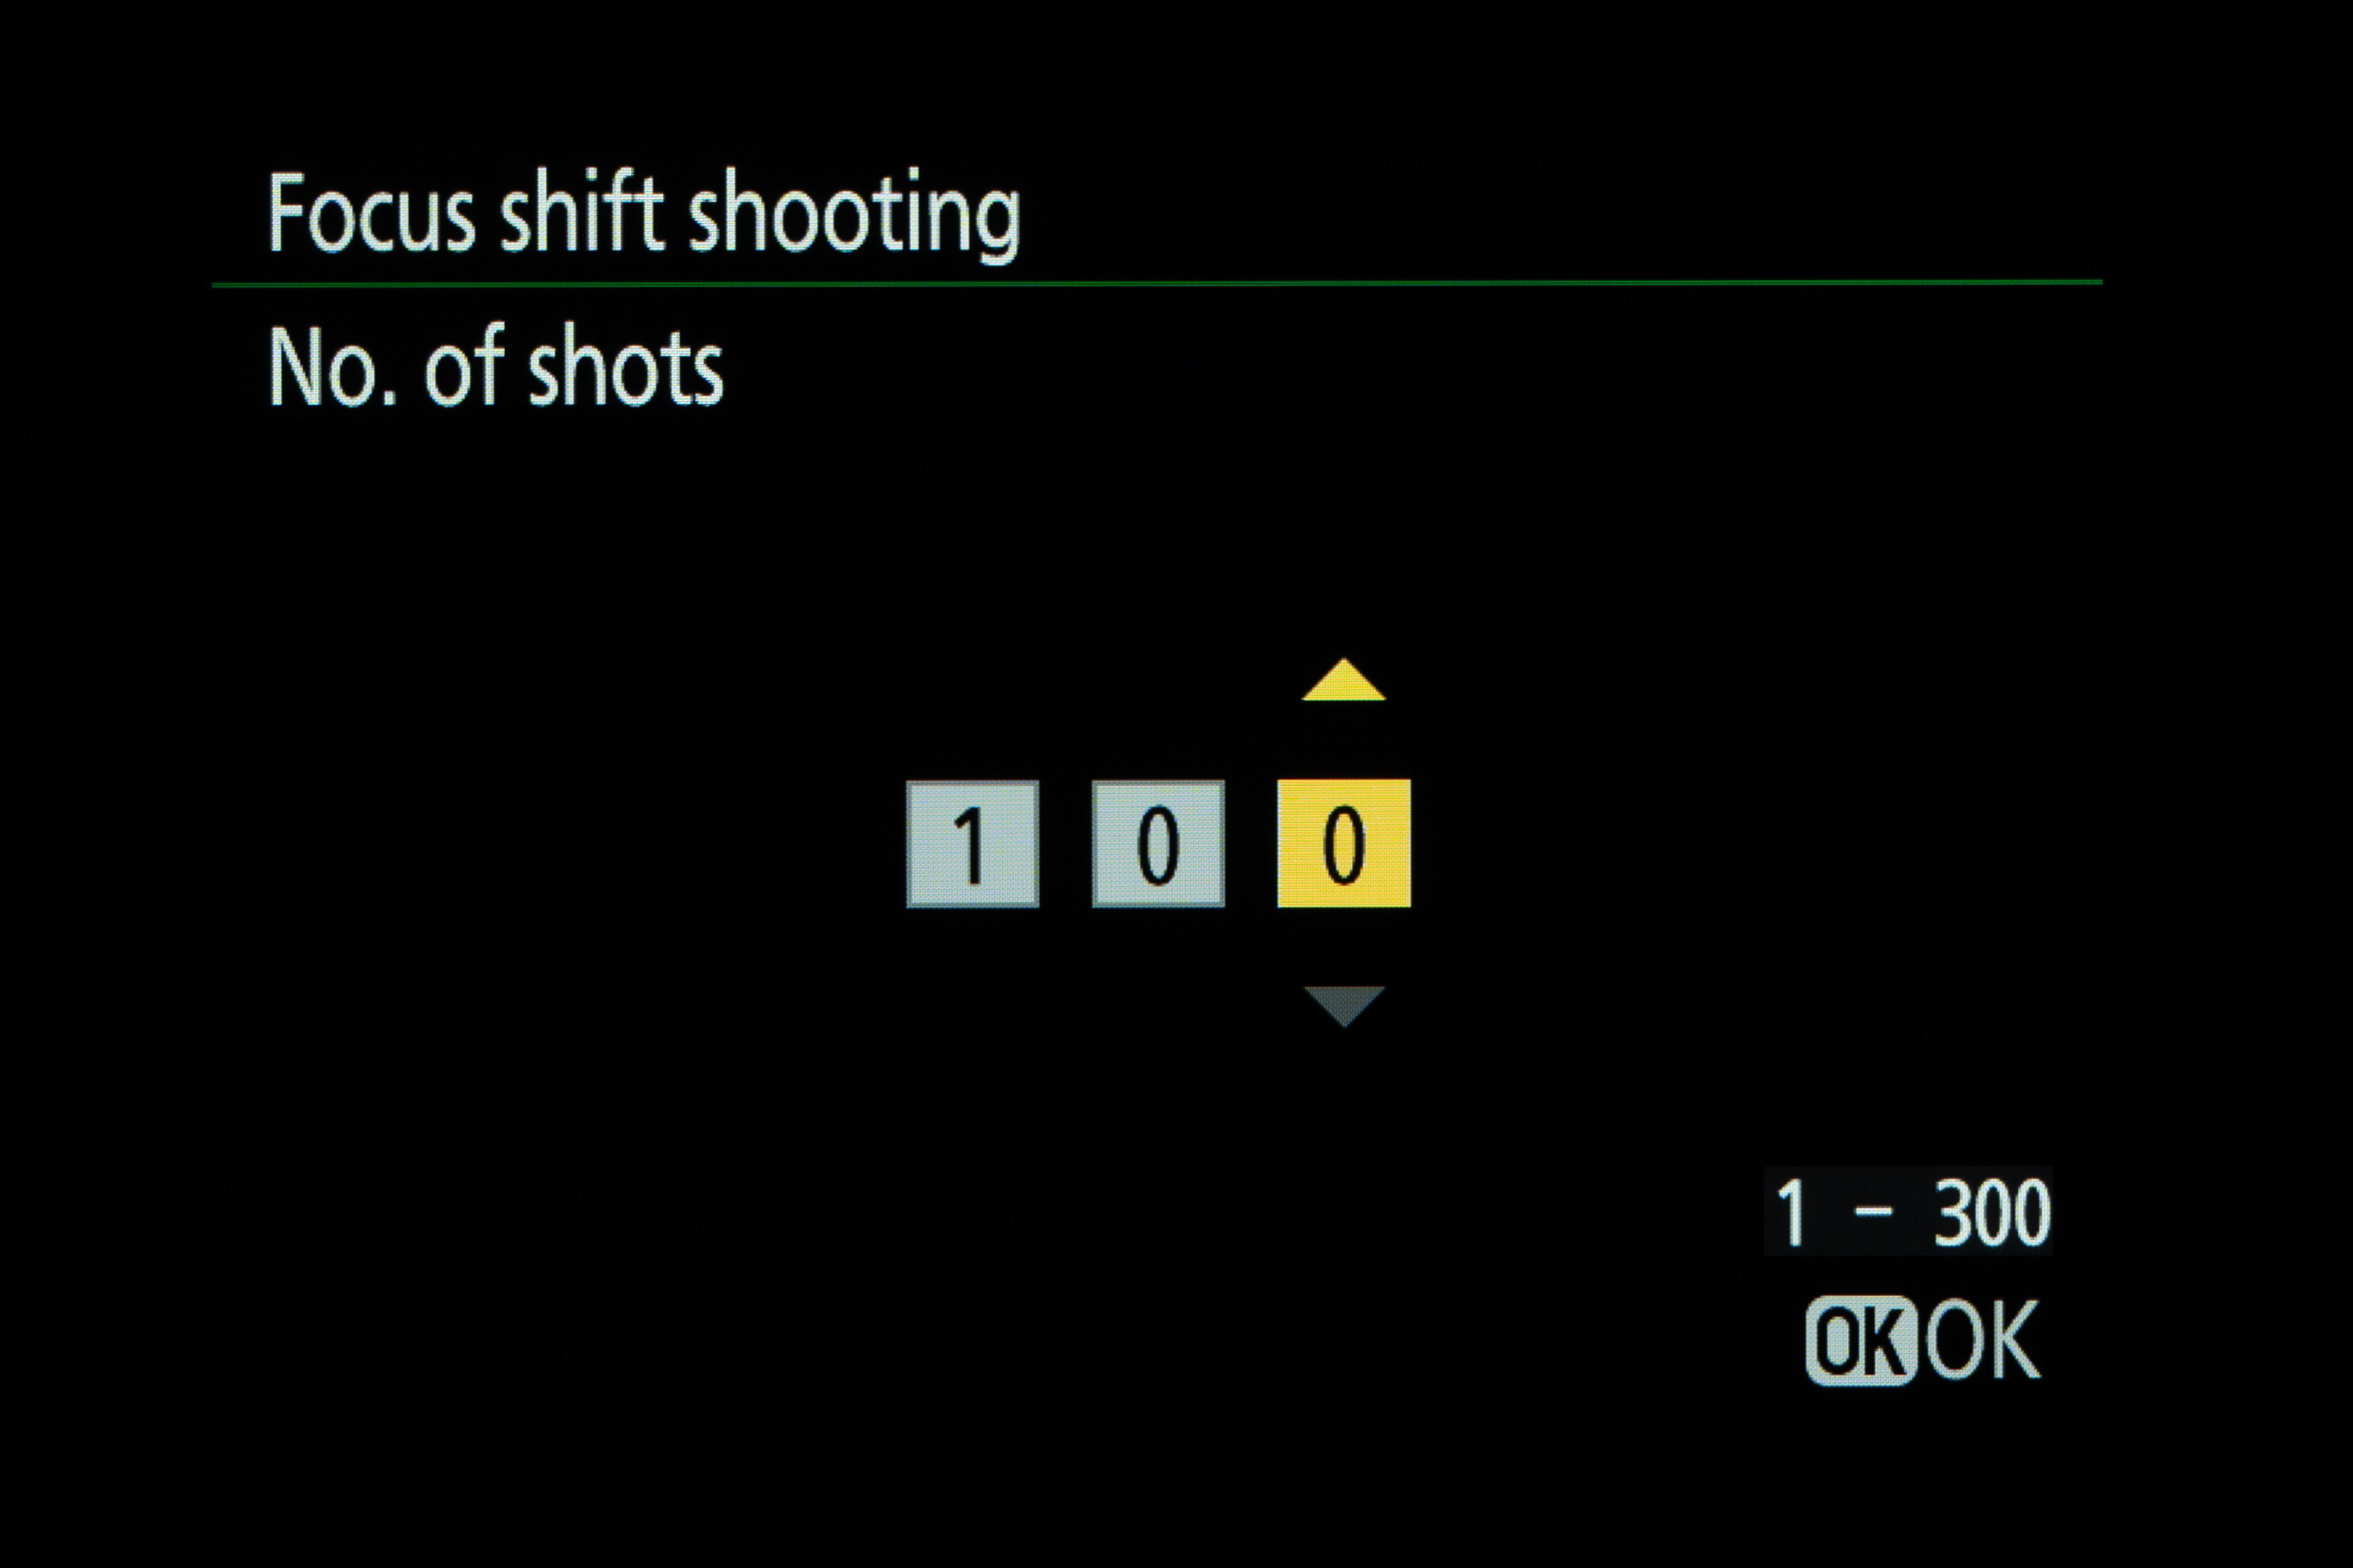
Play it safe and make sure you take plenty of shots in your sequence, but it’s context-sensitive. If you’re shooting a landscape scene with a wide-angle lens, half a dozen shots should be sufficient. For macro shots of bugs and other small objects, as many as 100 shots or more might be required. You can set the total number for the sequence in the ‘No. of shots’ section, up to a maximum of 300.
Keep in step
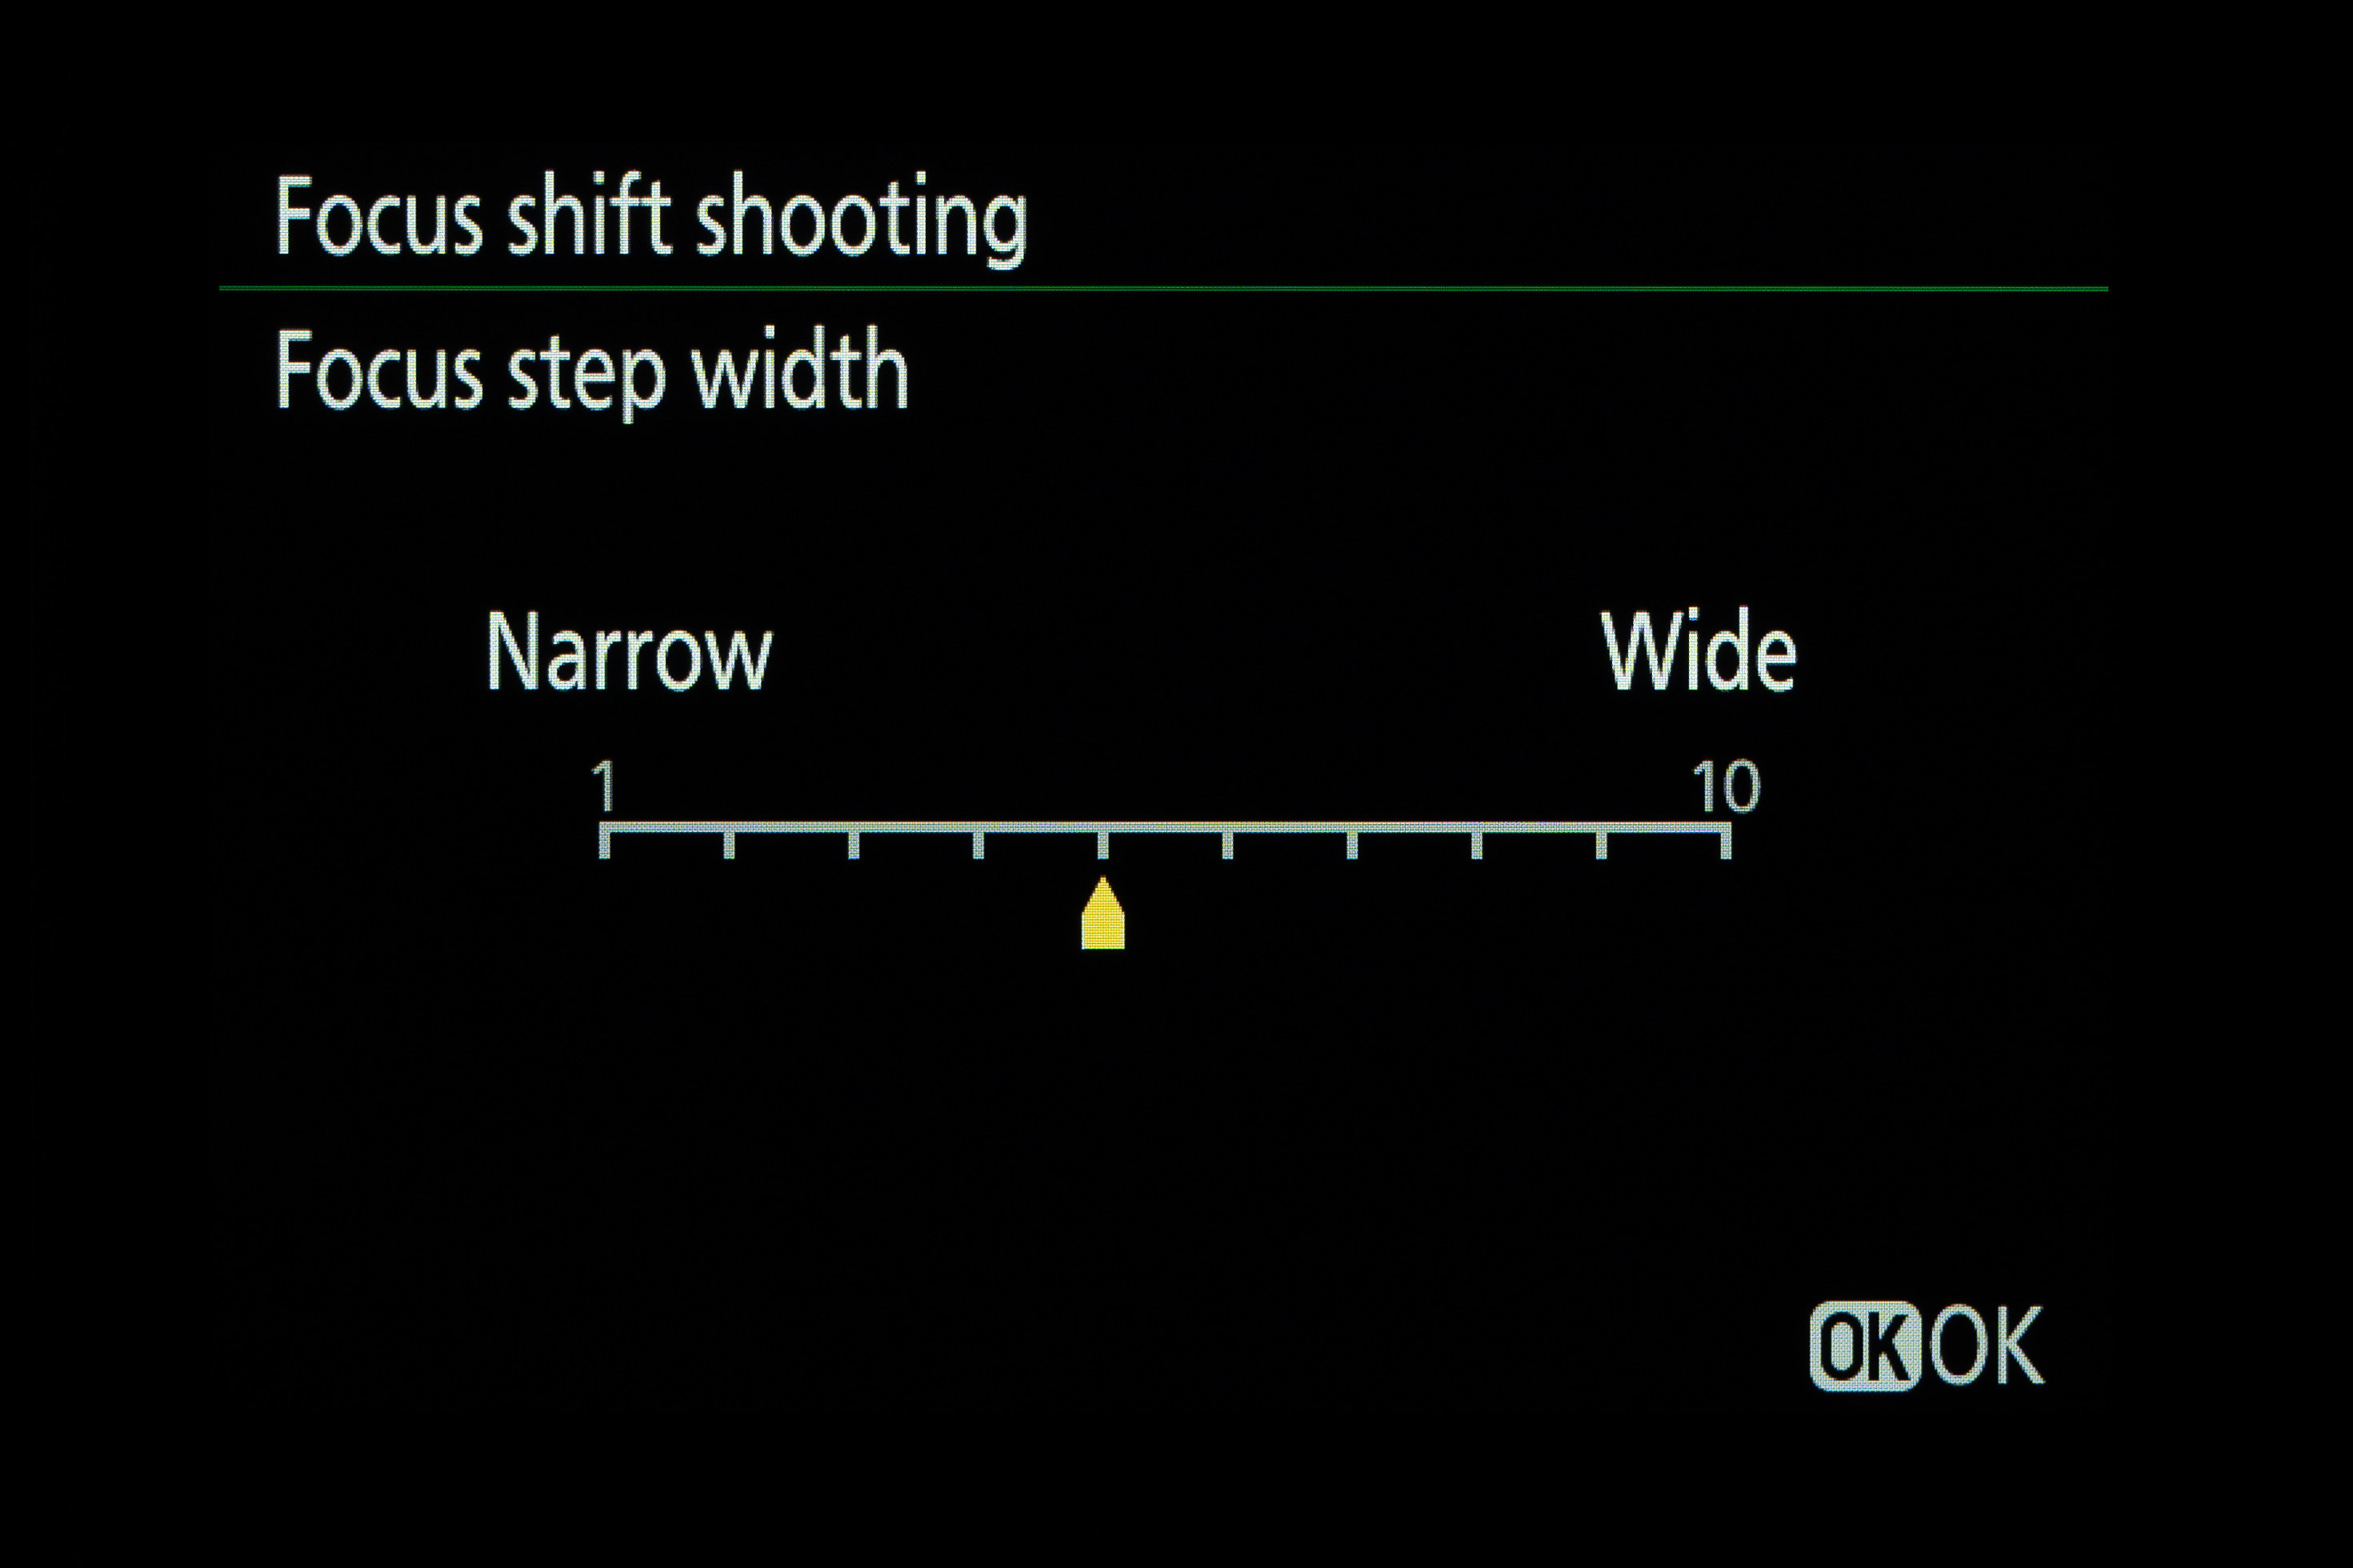
Set the amount by which the focus distance changes between each shot in the sequence, using the ‘Focus step width’ section. Smaller numbers indicate a ‘narrower’ change in focus distance, whereas larger numbers equate to a bigger step change. Make the adjustment using the left and right sides of the Multi selector pad on the rear of the camera. A setting of 5 is a good starting point.
Set the timer
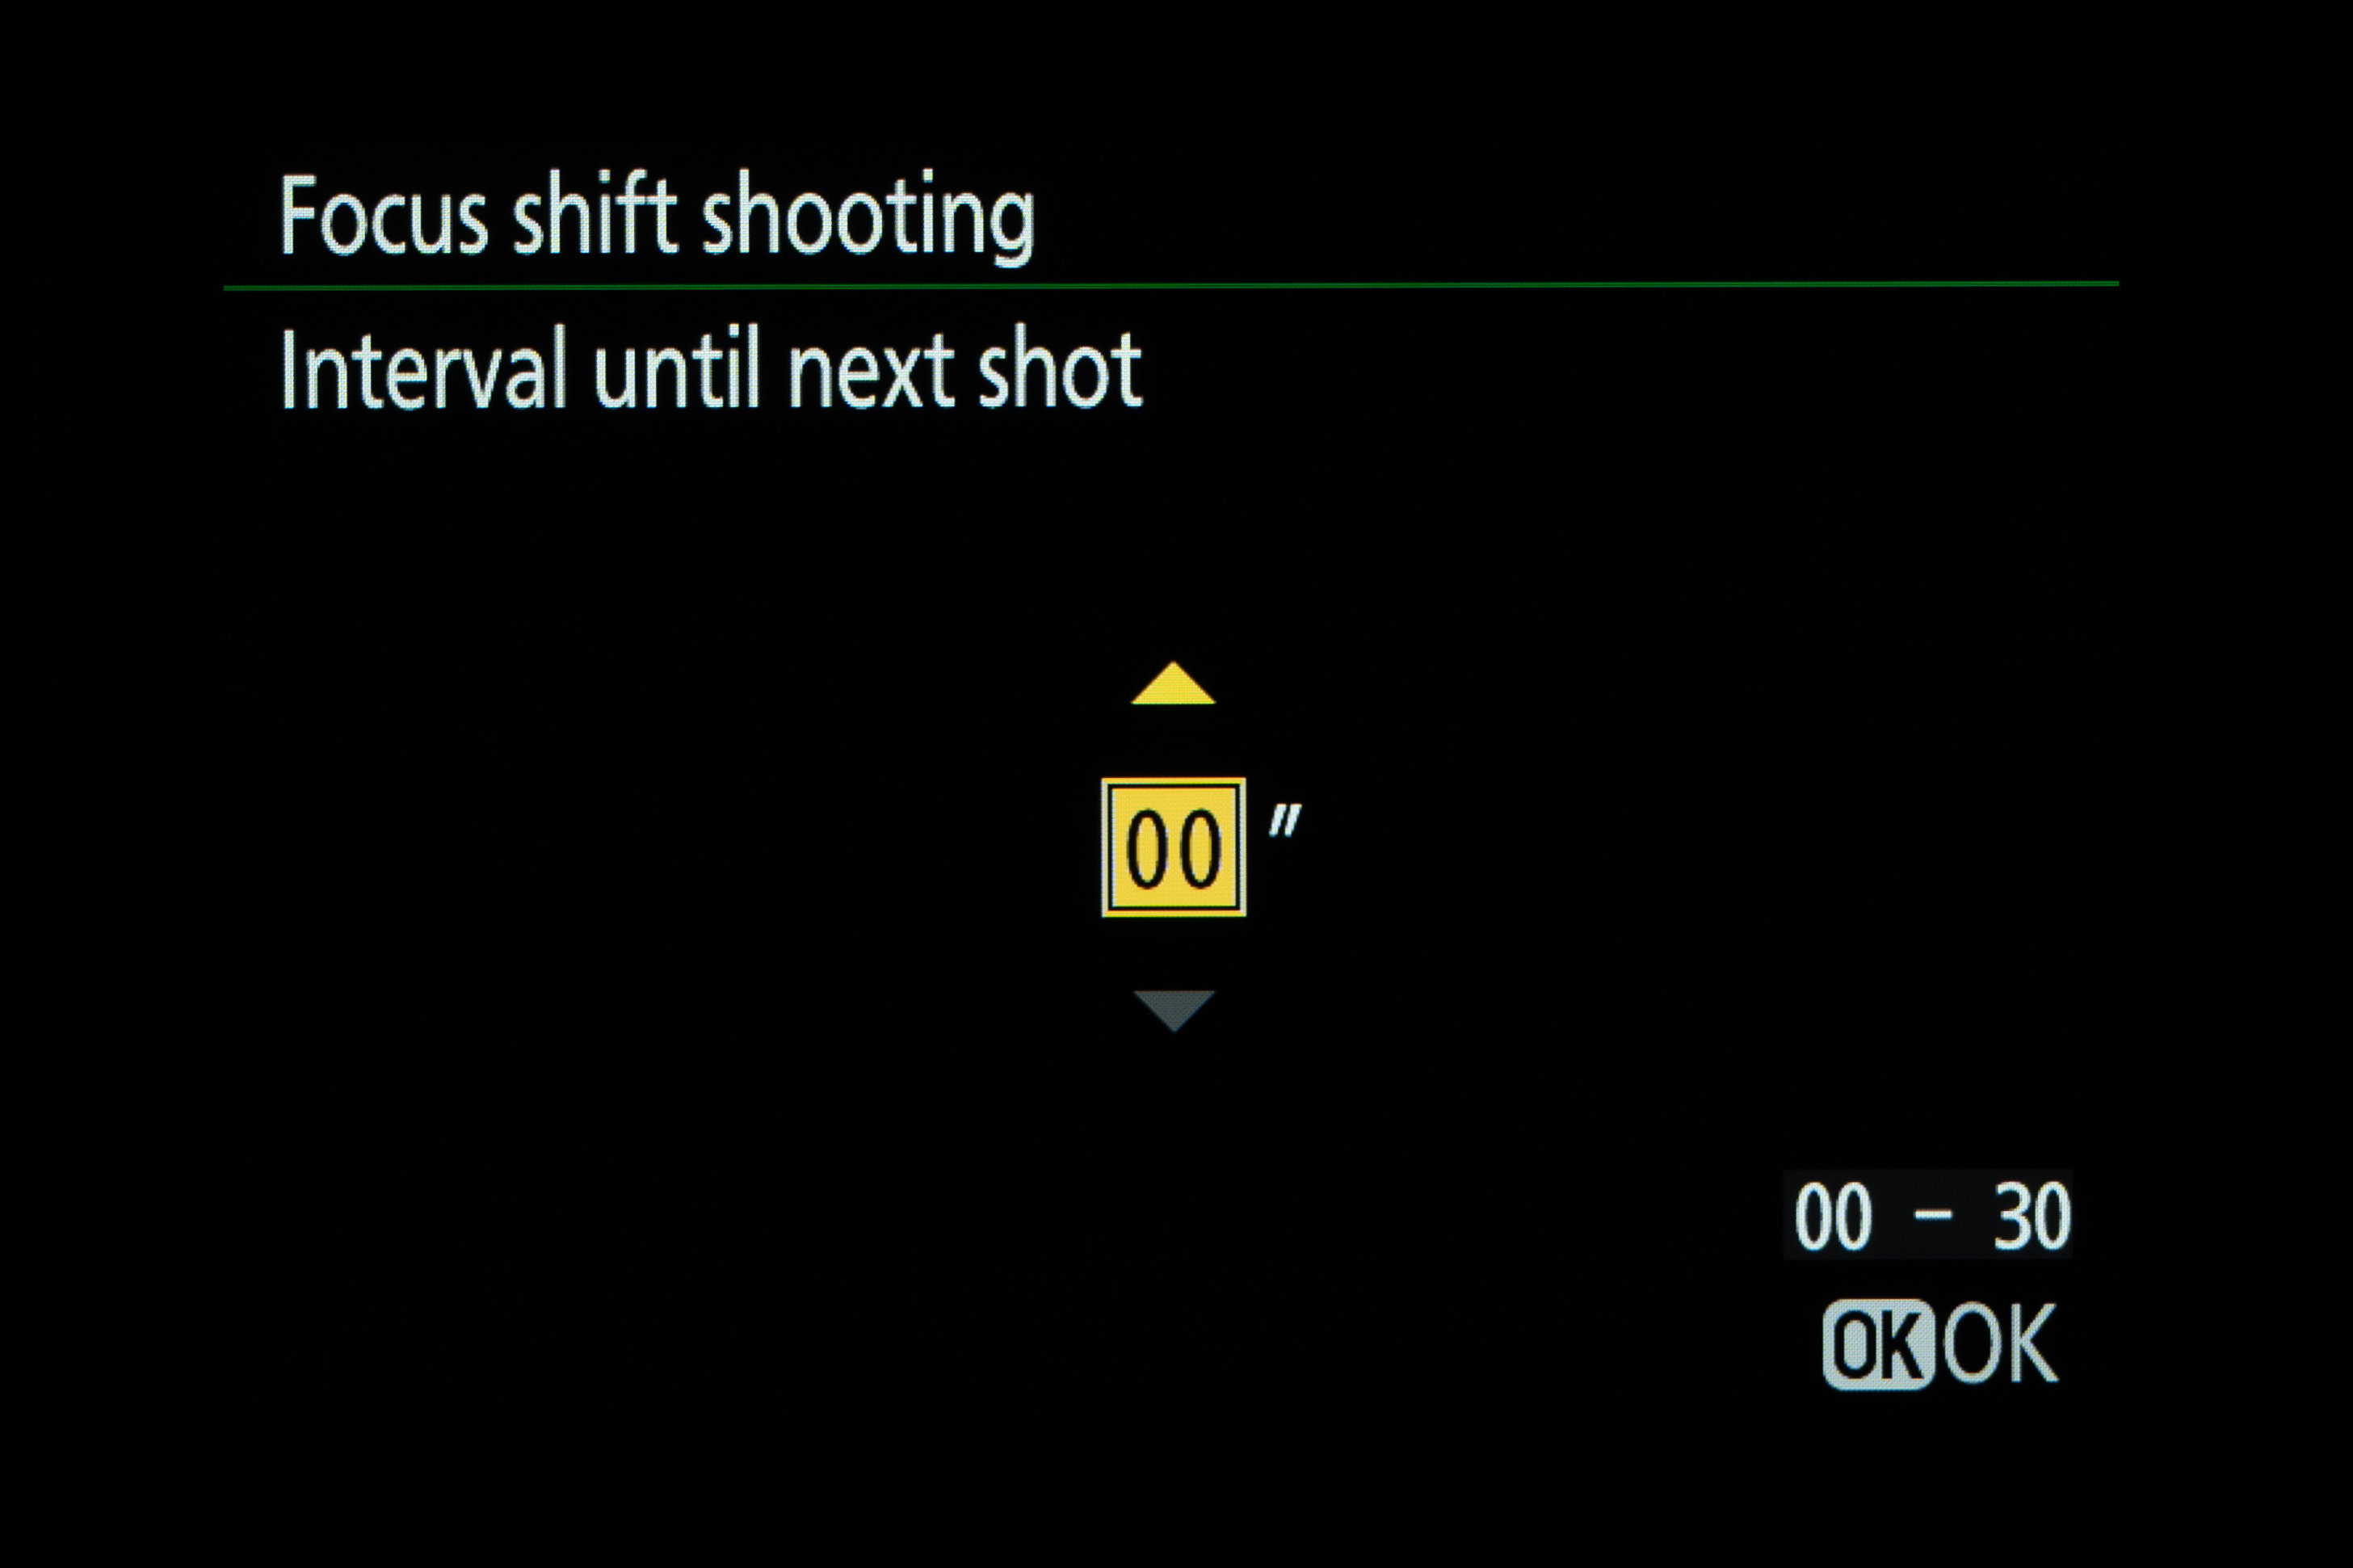
Next up, select the amount of time between each shot, using the ‘Interval until next shot’ section. You can typically set the interval timer to anything between 0 and 30 seconds. It’s often best to stick to 0, and you’ll find that your camera will shoot at a fast frame rate. If you’re using a flashgun, you’ll need to set a longer interval to give the flash enough time to recycle between shots.
Choose exposure settings
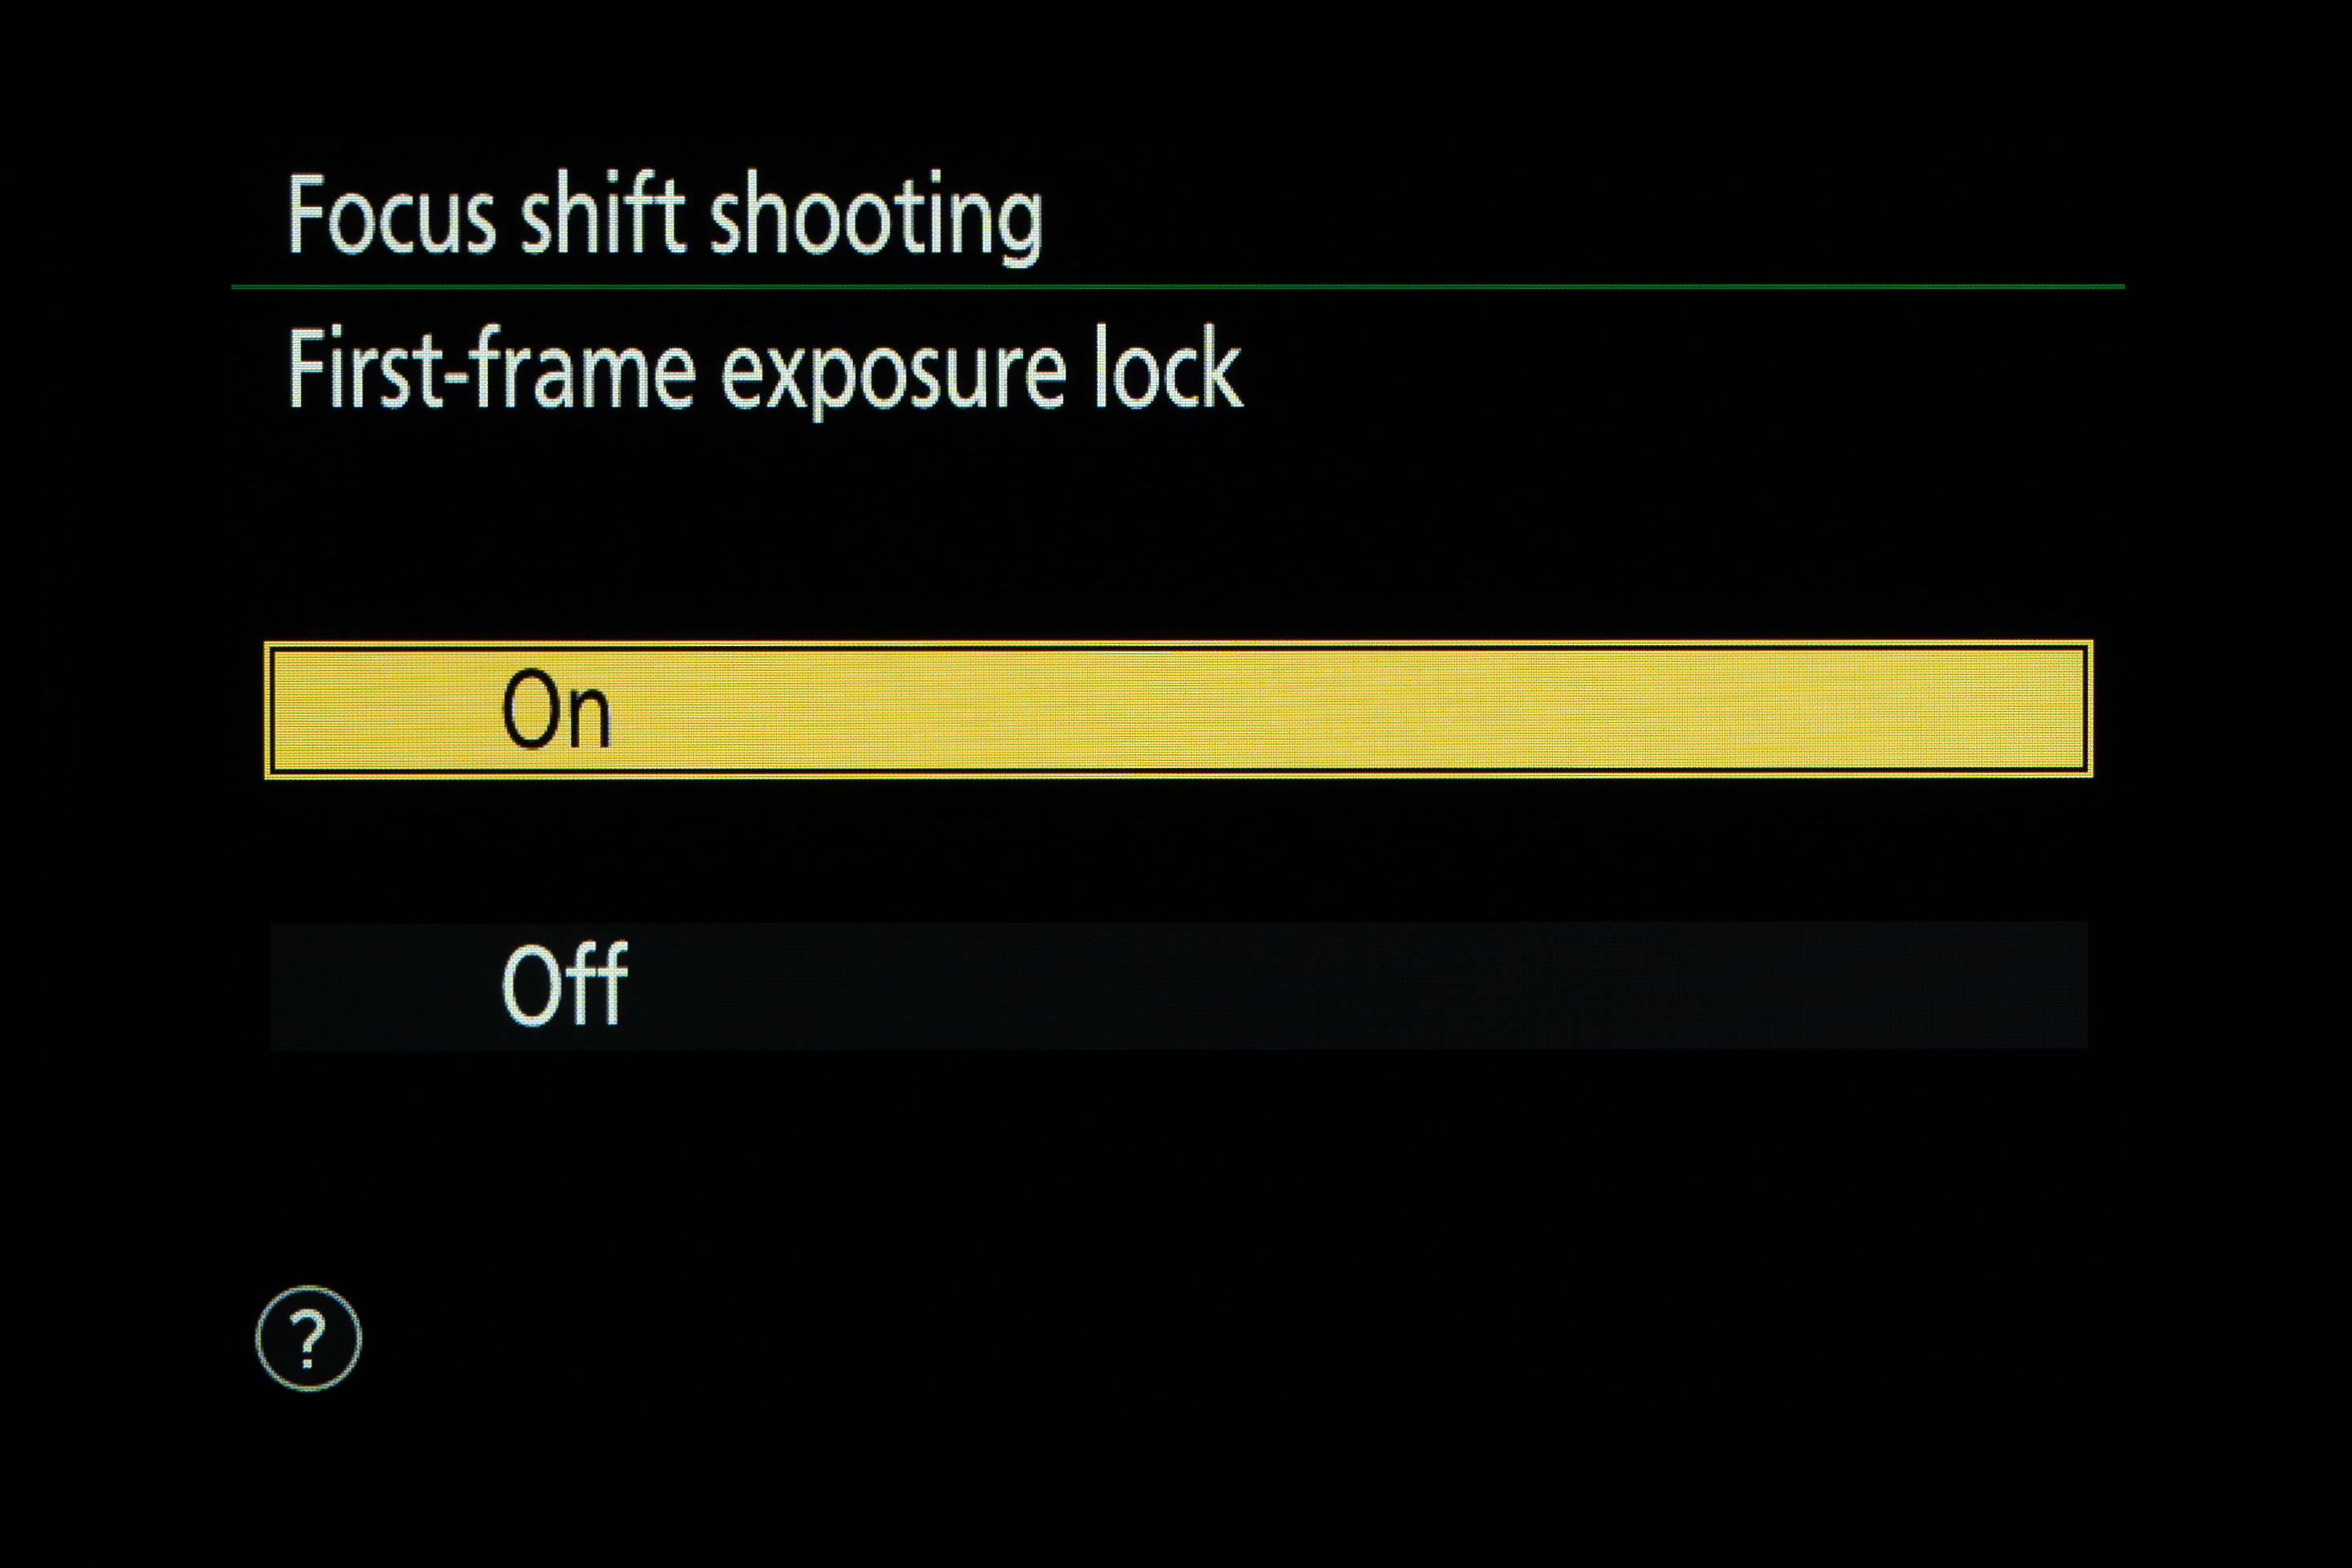
There’s an option to use ‘First frame exposure lock’. When ‘On’, this locks the exposure for every shot to the value used for the first frame. It can work well for the likes of landscapes where there might be small changes in lighting conditions in the sequence. For large changes in the brightness of lighting, or if there’s likely to be no change at all, switch the function to ‘Off’, for consistency.
Get started
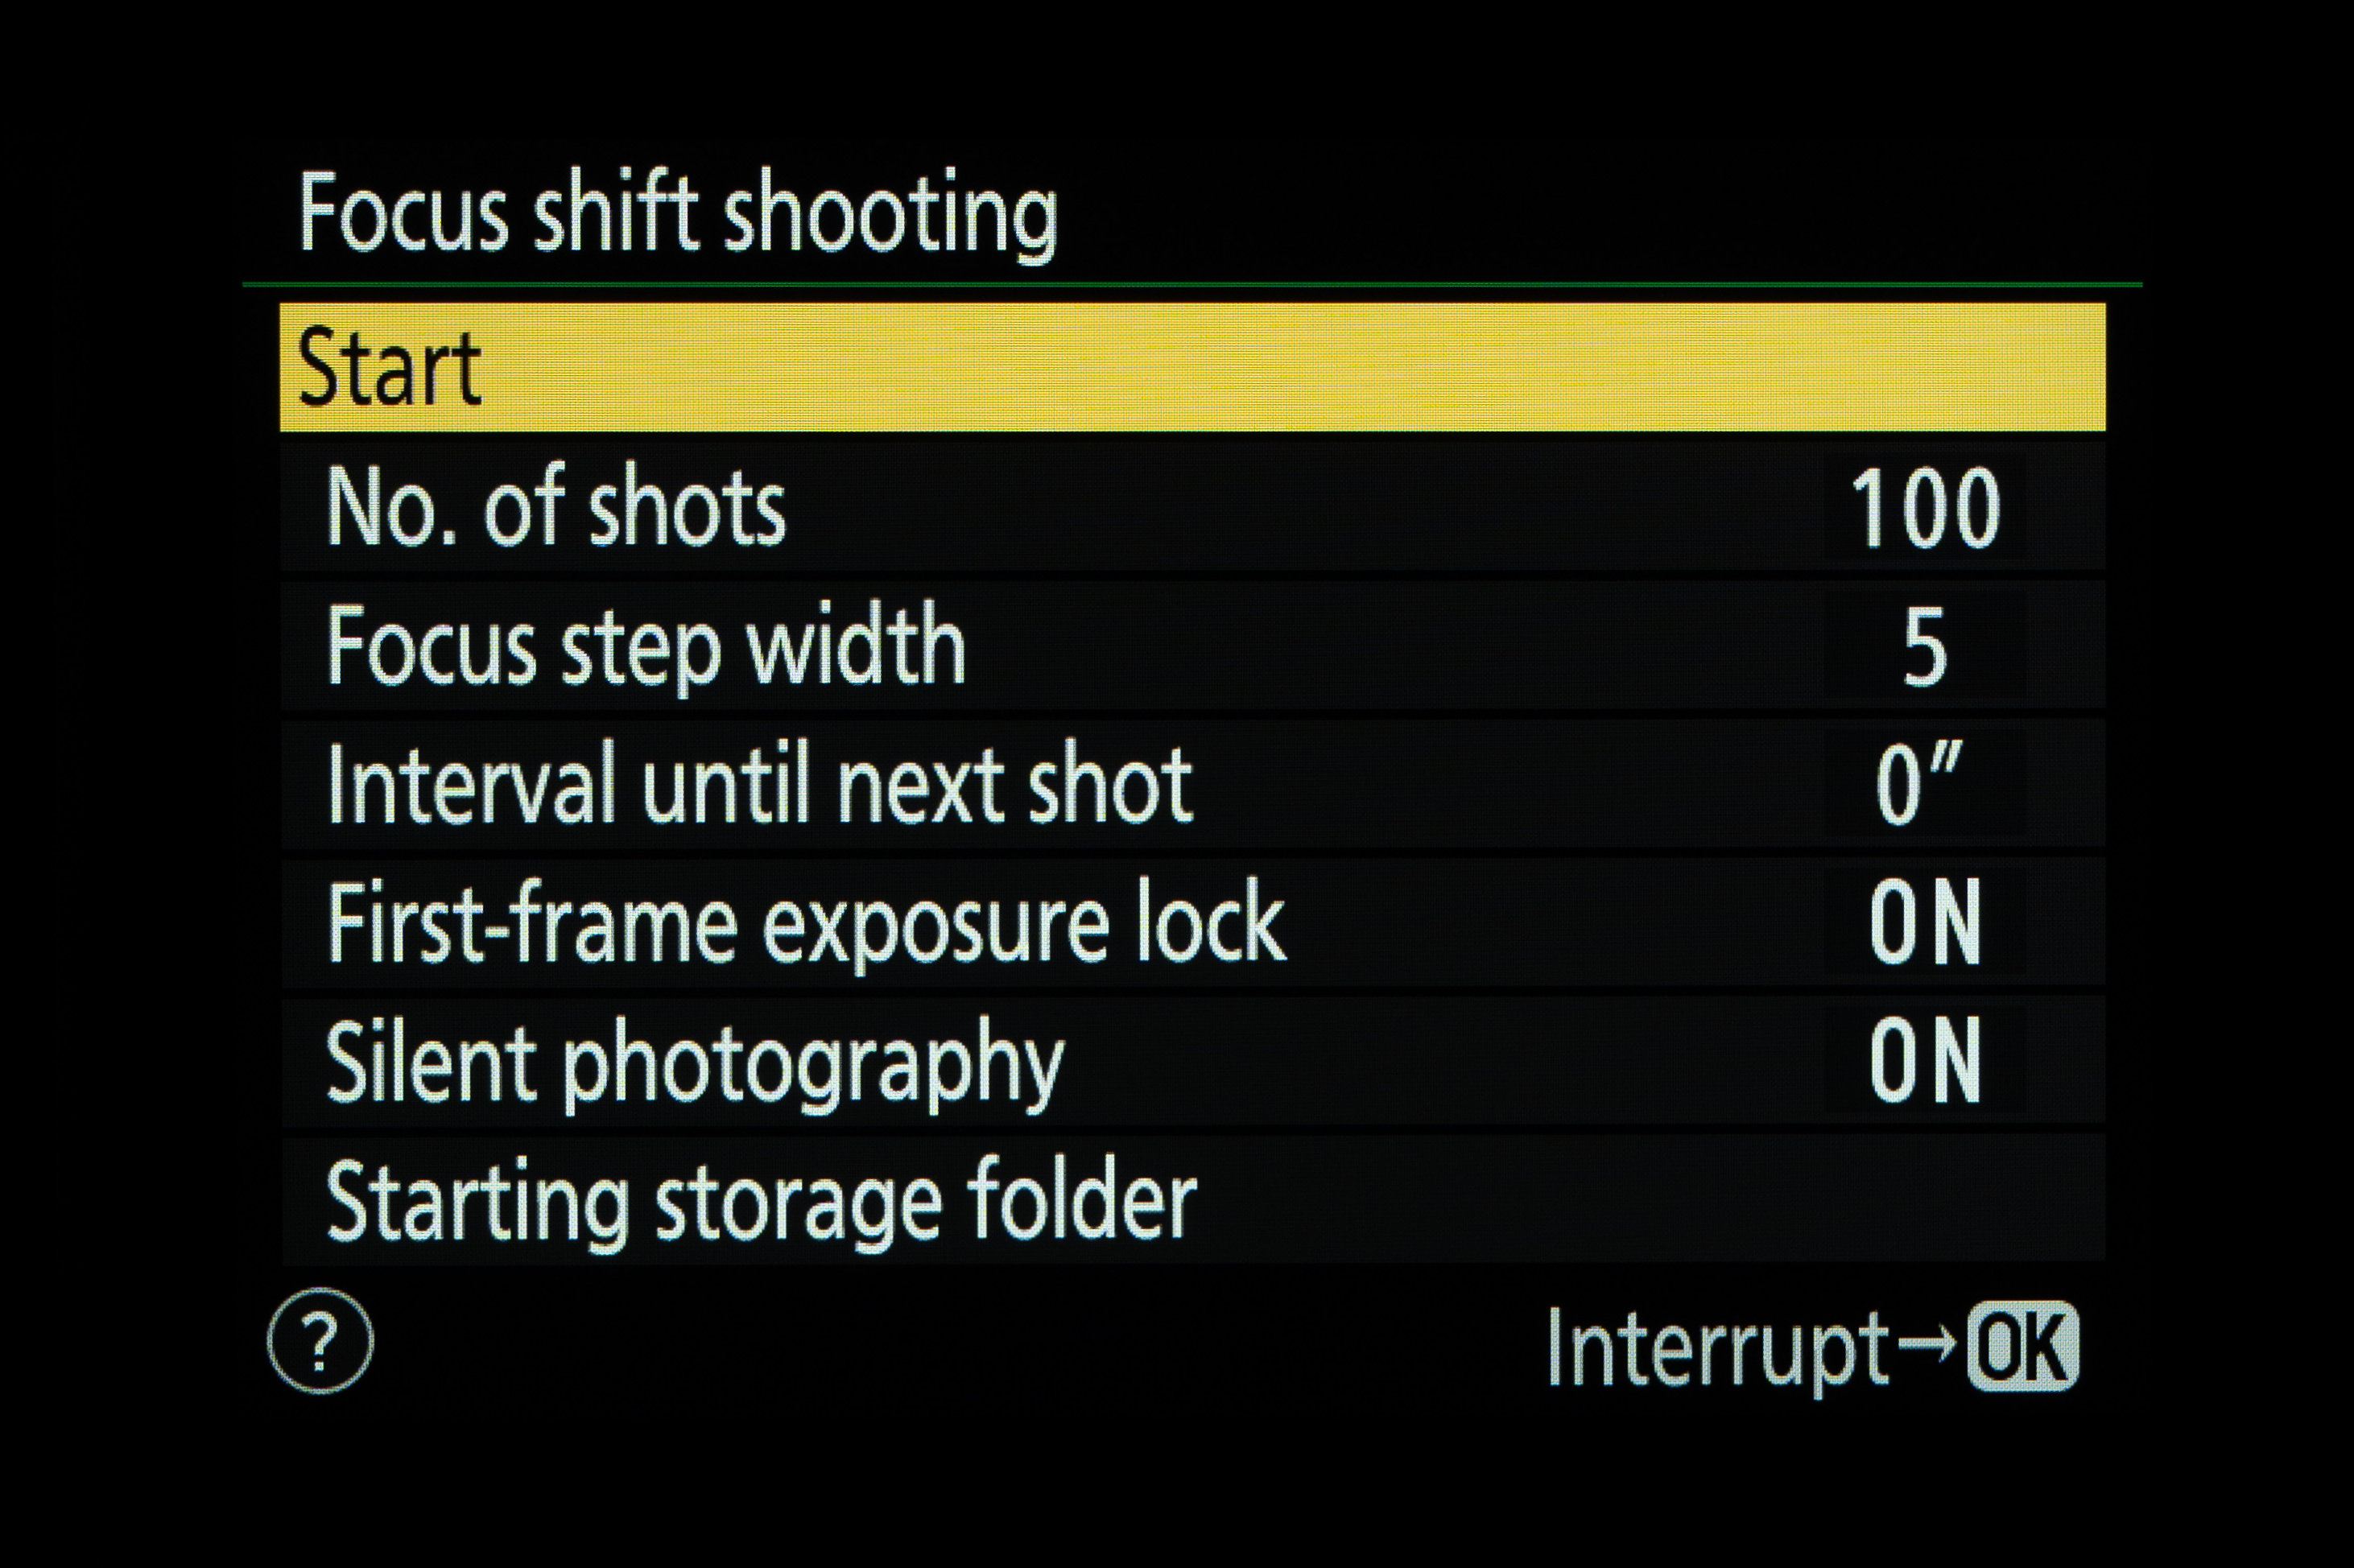
Further options include switching ‘Silent photography’ on or off, creating a new folder and resetting the file numbering. Be sure to switch off your camera’s Self-timer drive mode. Once you’ve made all your selections, focus the lens to the minimum distance required, highlight ‘Start’ and press the ‘OK’ button to begin. Pressing the ‘OK’ button again interrupts the sequence, if you need to.
N-Photo: The Nikon Magazine is a monthly magazine that's written by Nikon enthusiasts for Nikon enthusiasts, you can be sure that all the content is 100% relevant to you! So for the best Nikon-focused news, reviews, projects and a whole lot more, subscribe to N-Photo today – with our unmissable sub deal!
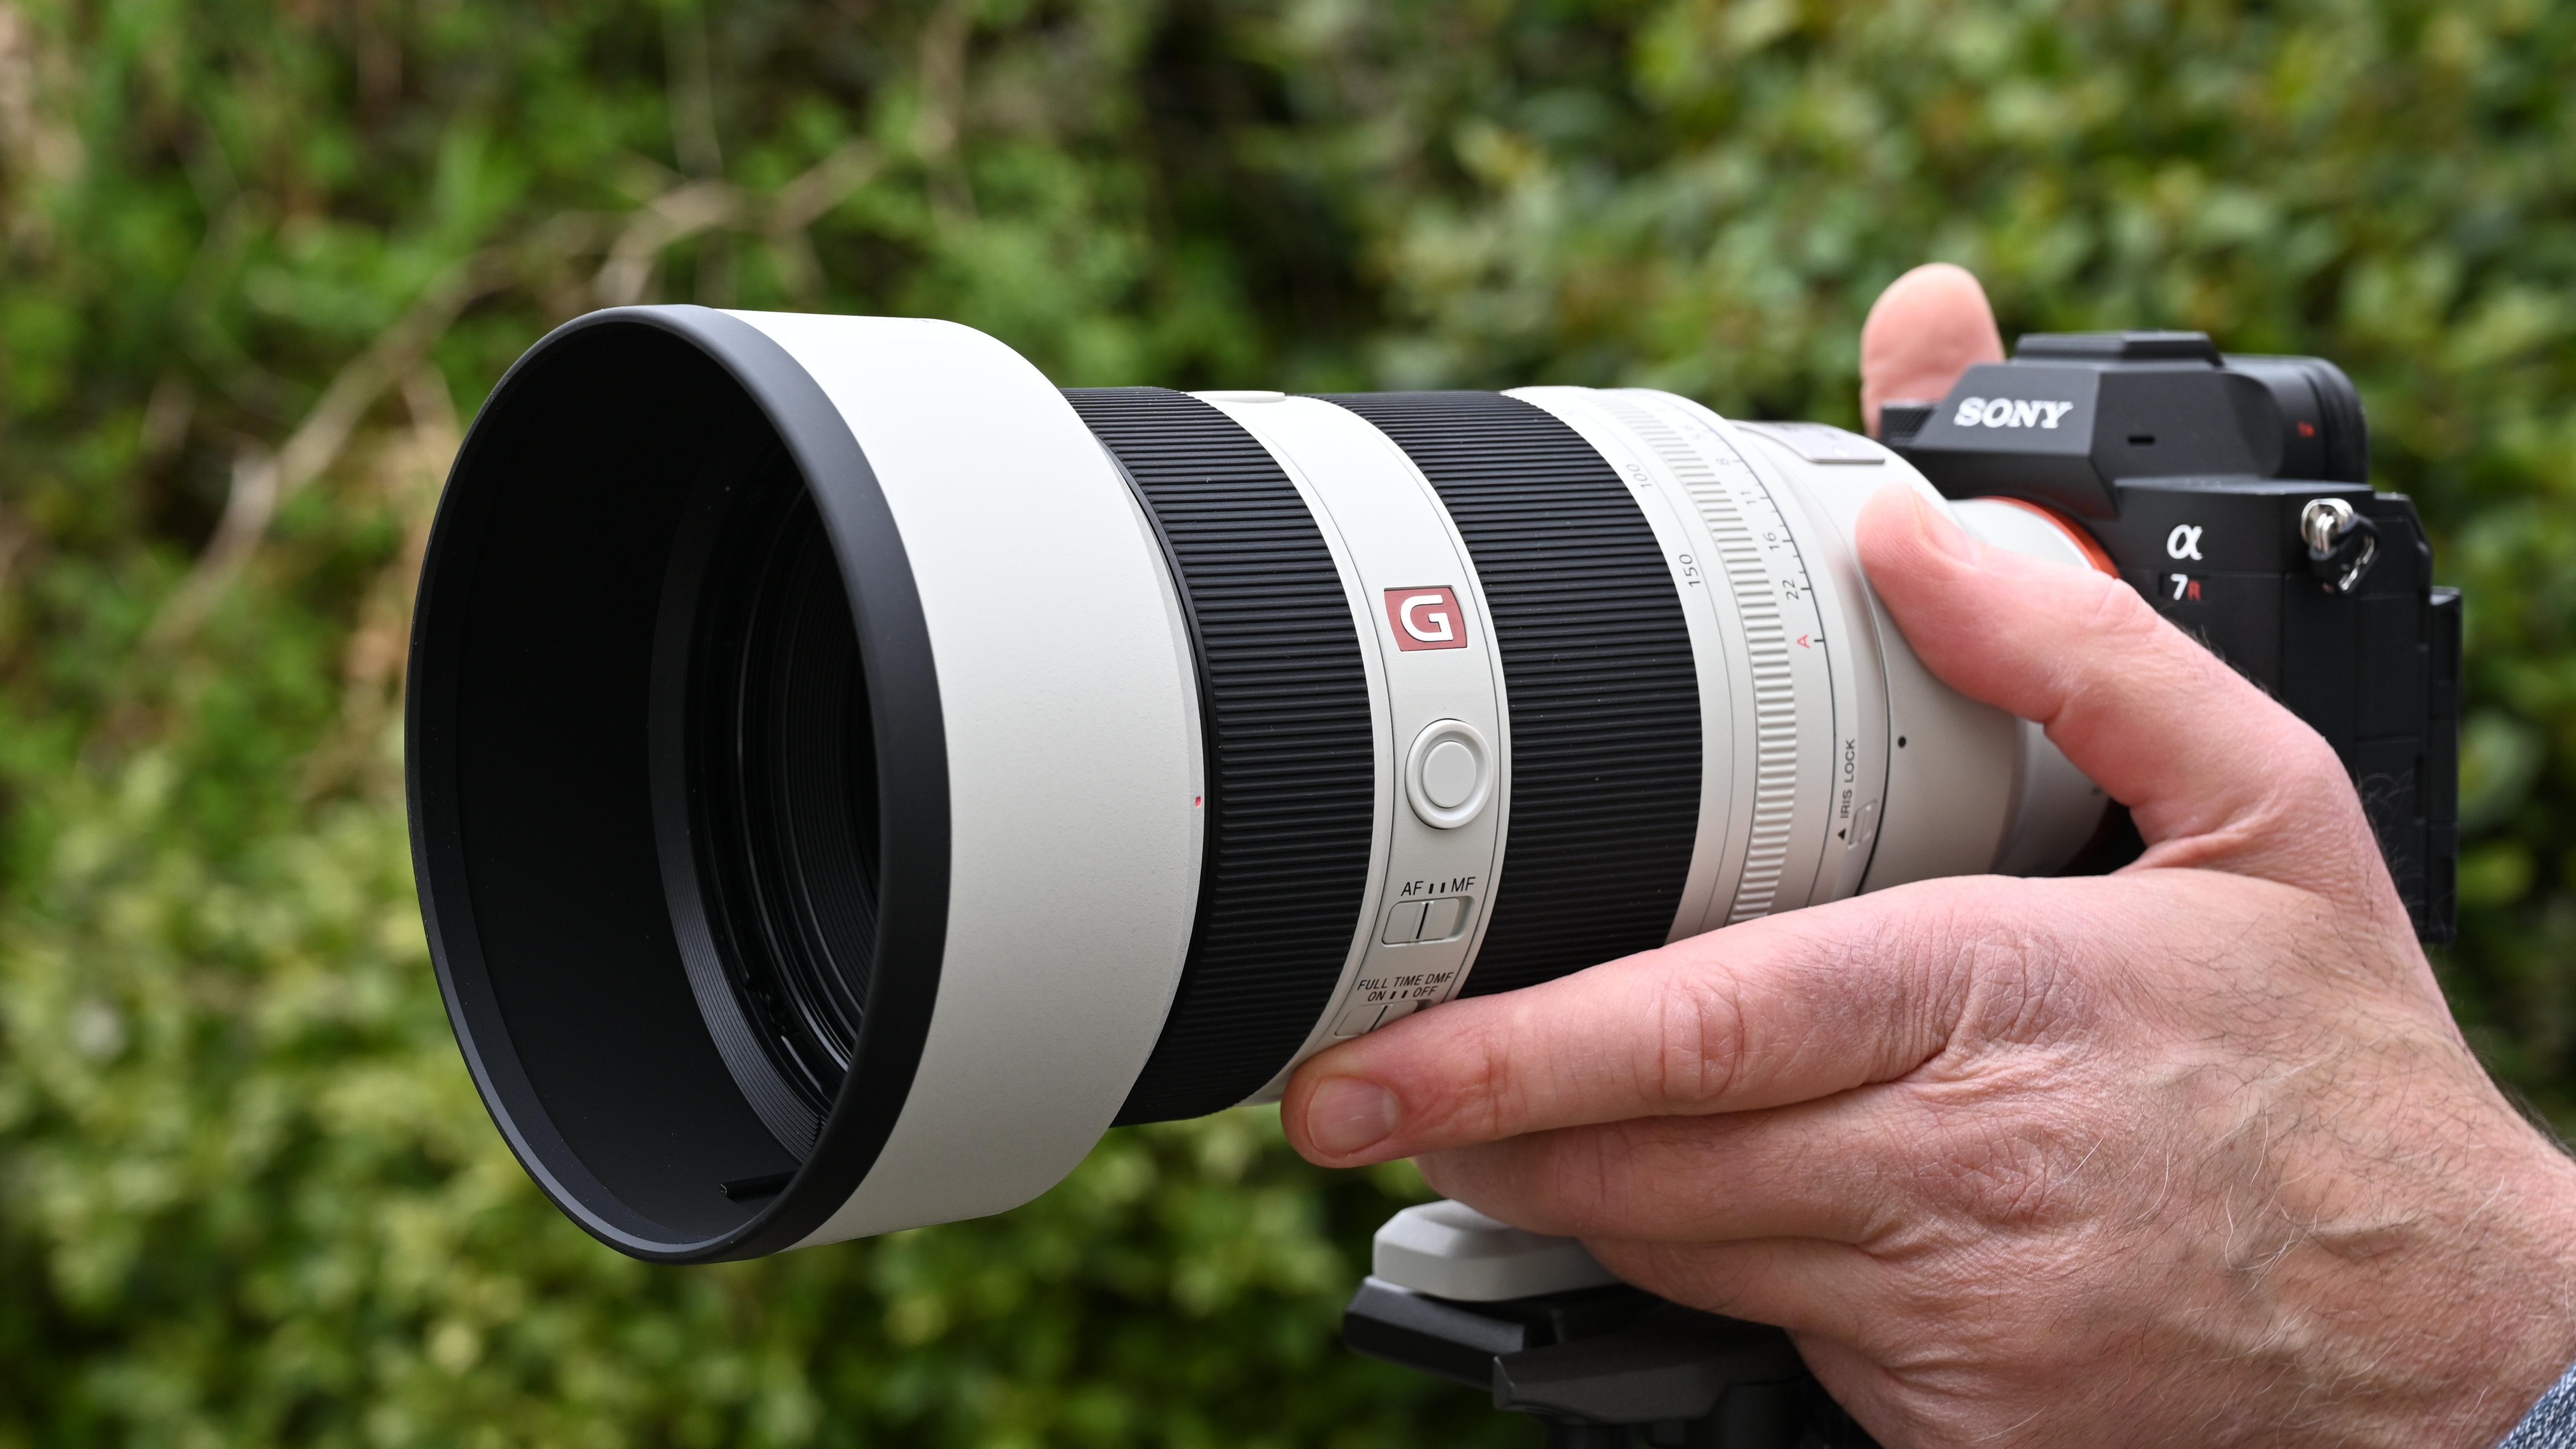
Take a look at the best Nikon lenses for DSLRs and mirrorless cameras, along with the best Nikon Z lenses tailor-made for the Z system.
Get the Digital Camera World Newsletter
The best camera deals, reviews, product advice, and unmissable photography news, direct to your inbox!
Matthew Richards is a photographer and journalist who has spent years using and reviewing all manner of photo gear. He is Digital Camera World's principal lens reviewer – and has tested more primes and zooms than most people have had hot dinners!
His expertise with equipment doesn’t end there, though. He is also an encyclopedia when it comes to all manner of cameras, camera holsters and bags, flashguns, tripods and heads, printers, papers and inks, and just about anything imaging-related.
In an earlier life he was a broadcast engineer at the BBC, as well as a former editor of PC Guide.
