How to shoot and edit double exposure photography
Learn to capture and merge several images into one, using editing software to create striking abstract portraits
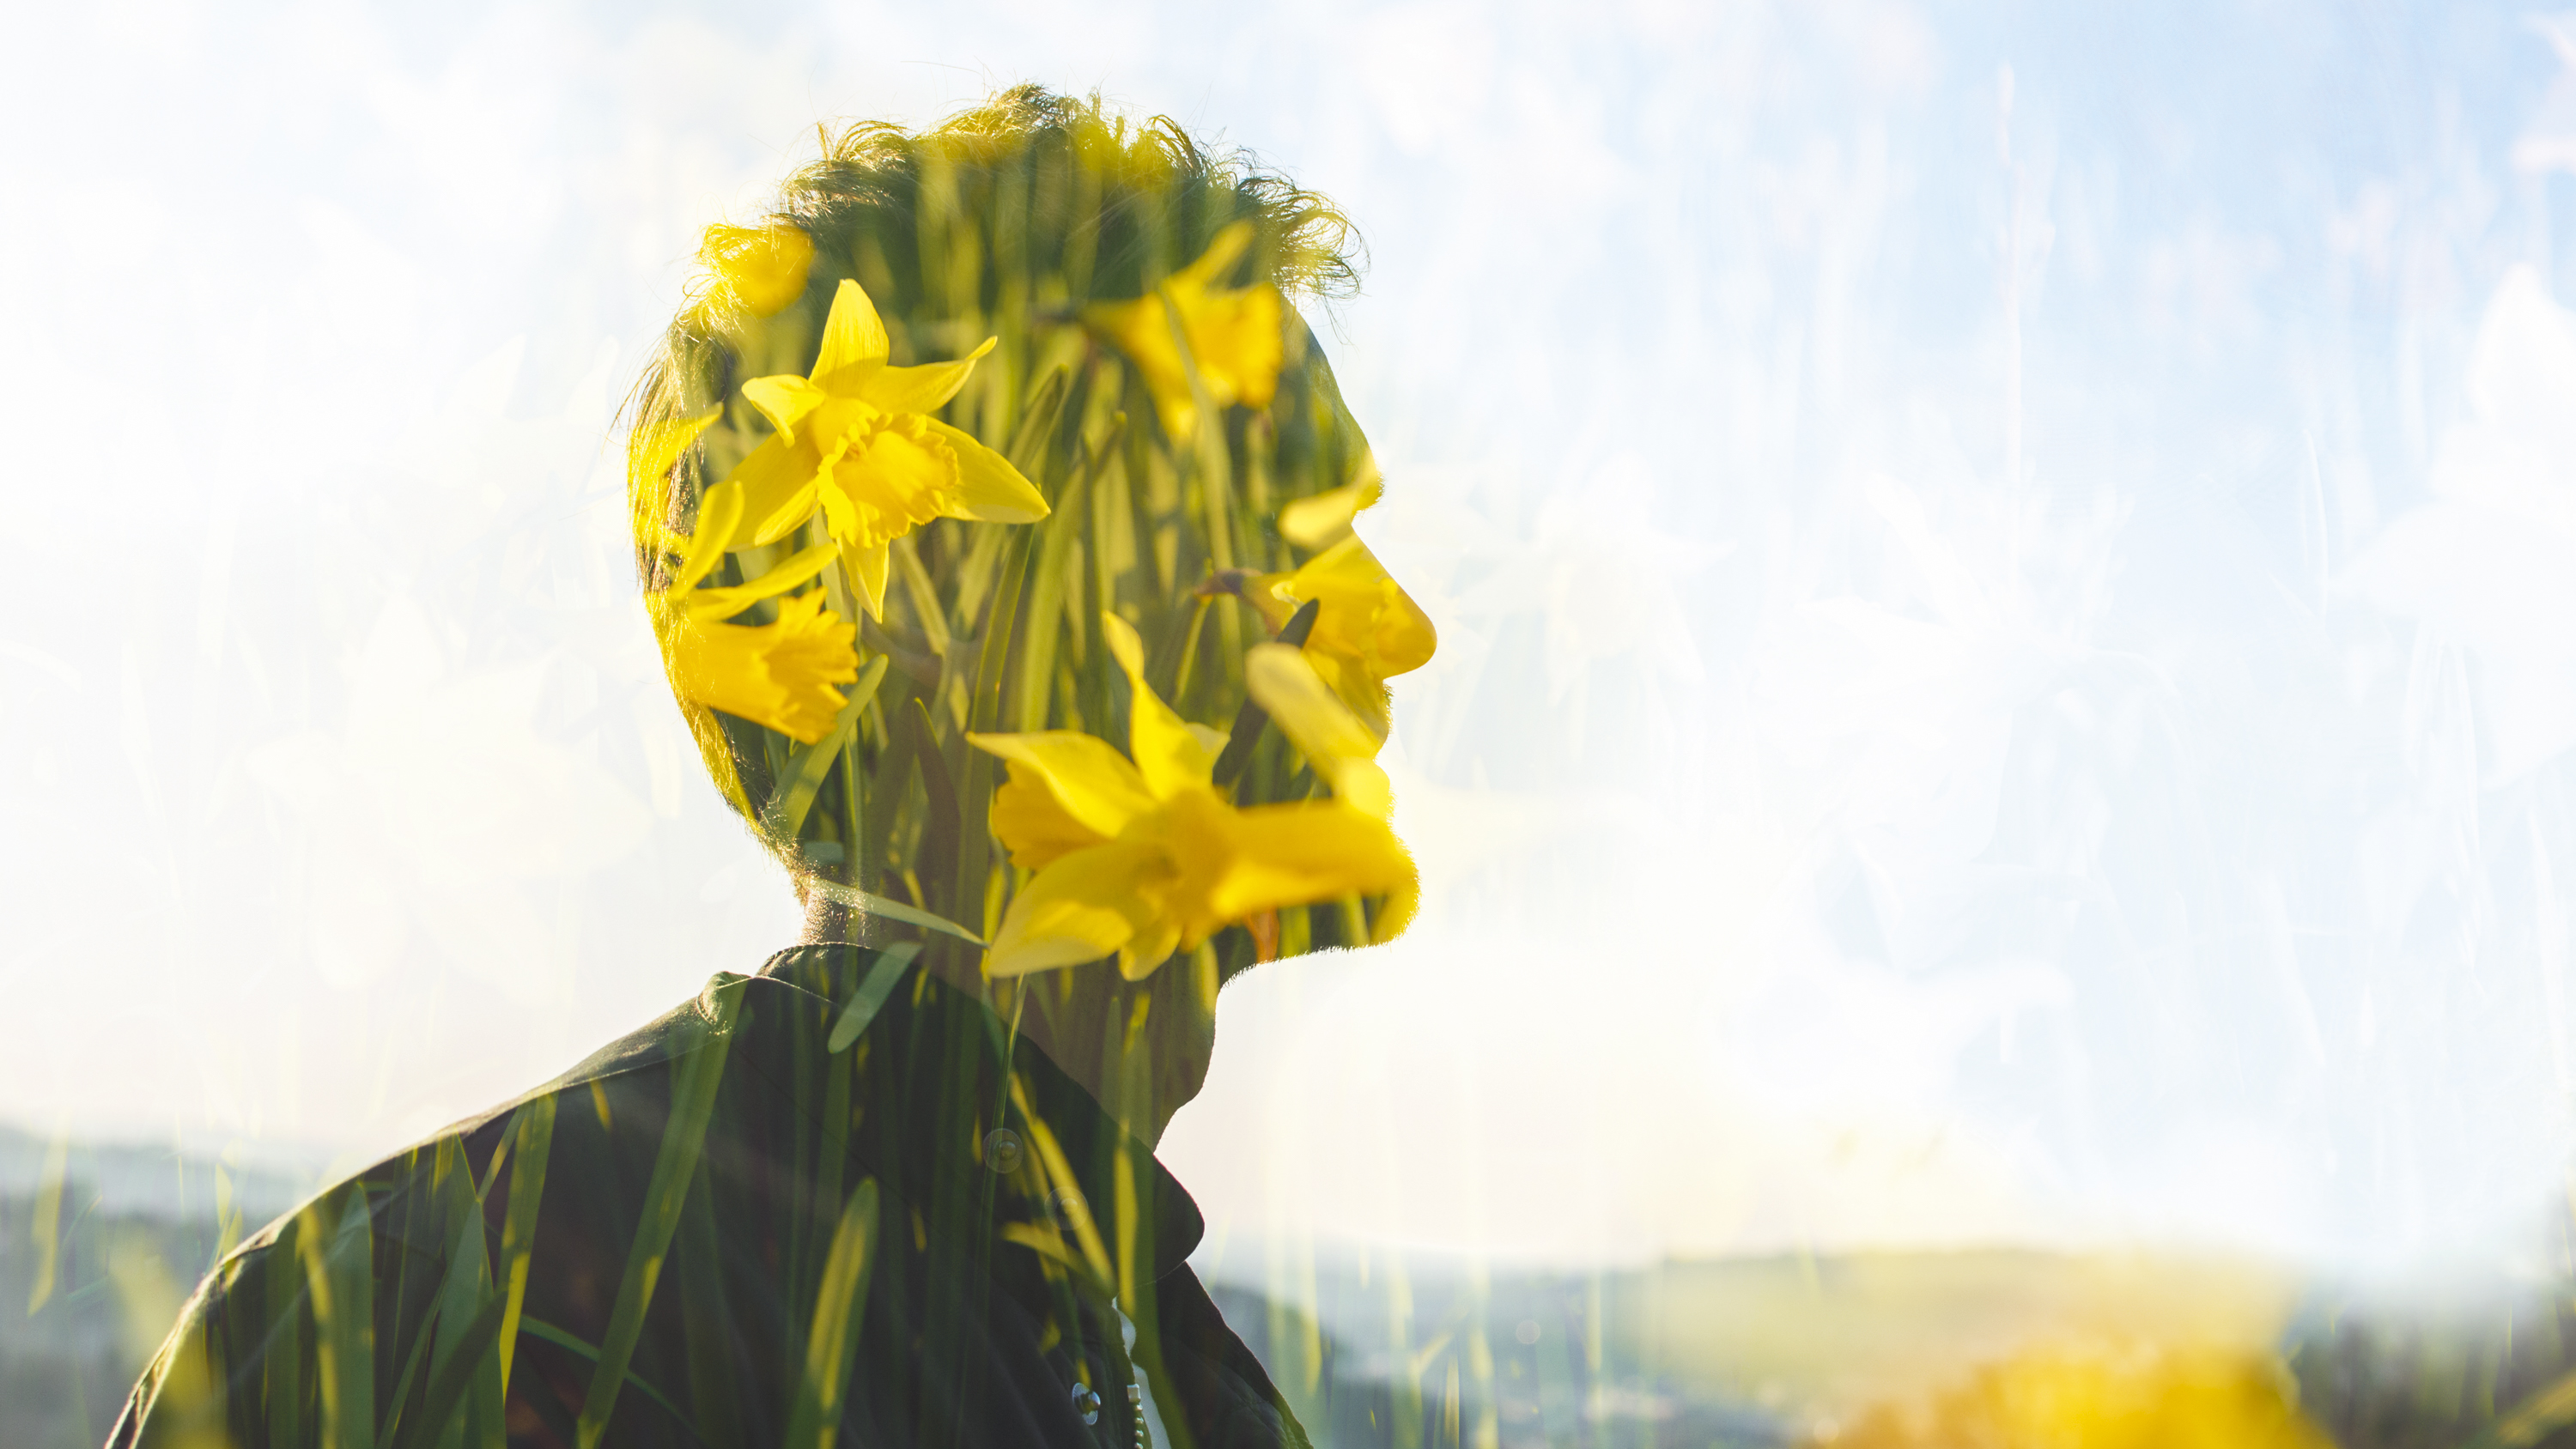
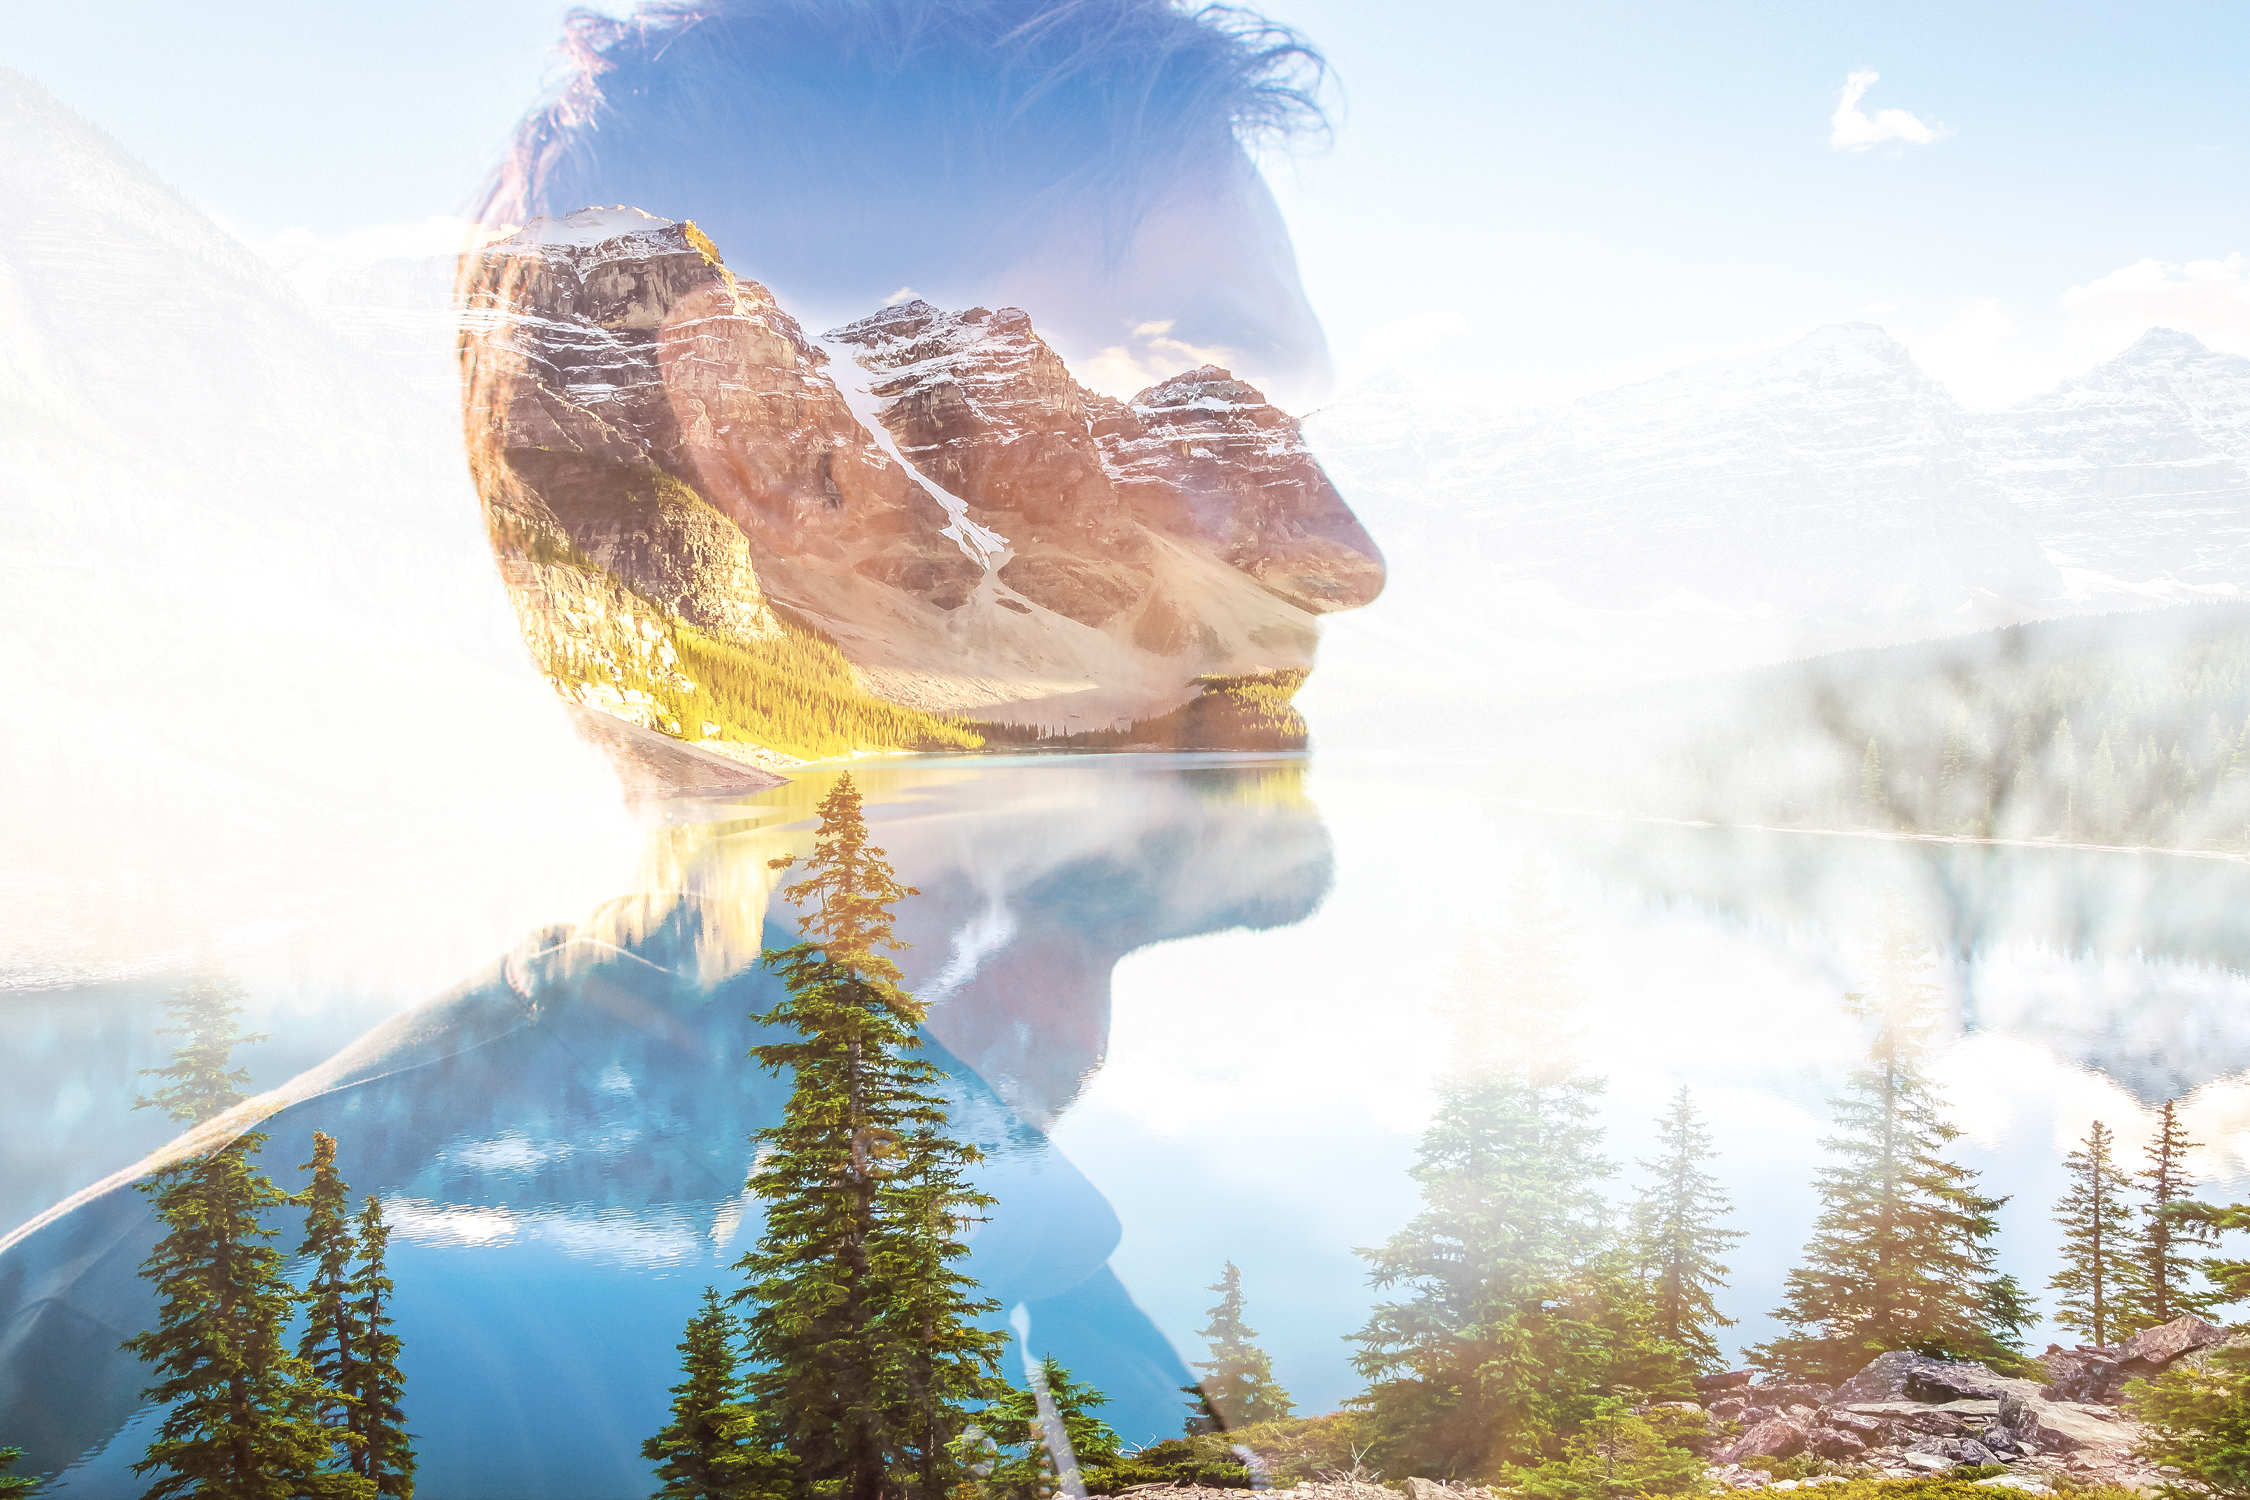
As a technique, double exposure photography is nothing new. It has existed since the early days of film when, traditionally, the same slide was exposed twice to produce a superimposed image. In the digital age, the effect can be reproduced using one of the best professional cameras with a dedicated Multiple Exposure mode. However, if your camera doesn’t have a dedicated mode, or you want more creative control over the final image, you can also mimic the effect in Adobe Photoshop – which is what we'll do here.
In this tutorial, discover how to shoot the best initial portrait image for this technique, as well as how to edit the two images in Photoshop for a striking and abstract result. One of the great things here is you don’t have to shoot your portrait and overlay images at the same time. If you have the perfect fill-in image within your archive, it’s easy to have a go – provided you have a camera with manual shooting modes and a willing subject.
Read more: what's the best photo editing software?
Follow this step-by-step tutorial, as we go through both the shooting and editing steps you need to merge two photographs together, with the help of some simple Photoshop blending modes.
Double exposure shooting steps
1. Set up camera
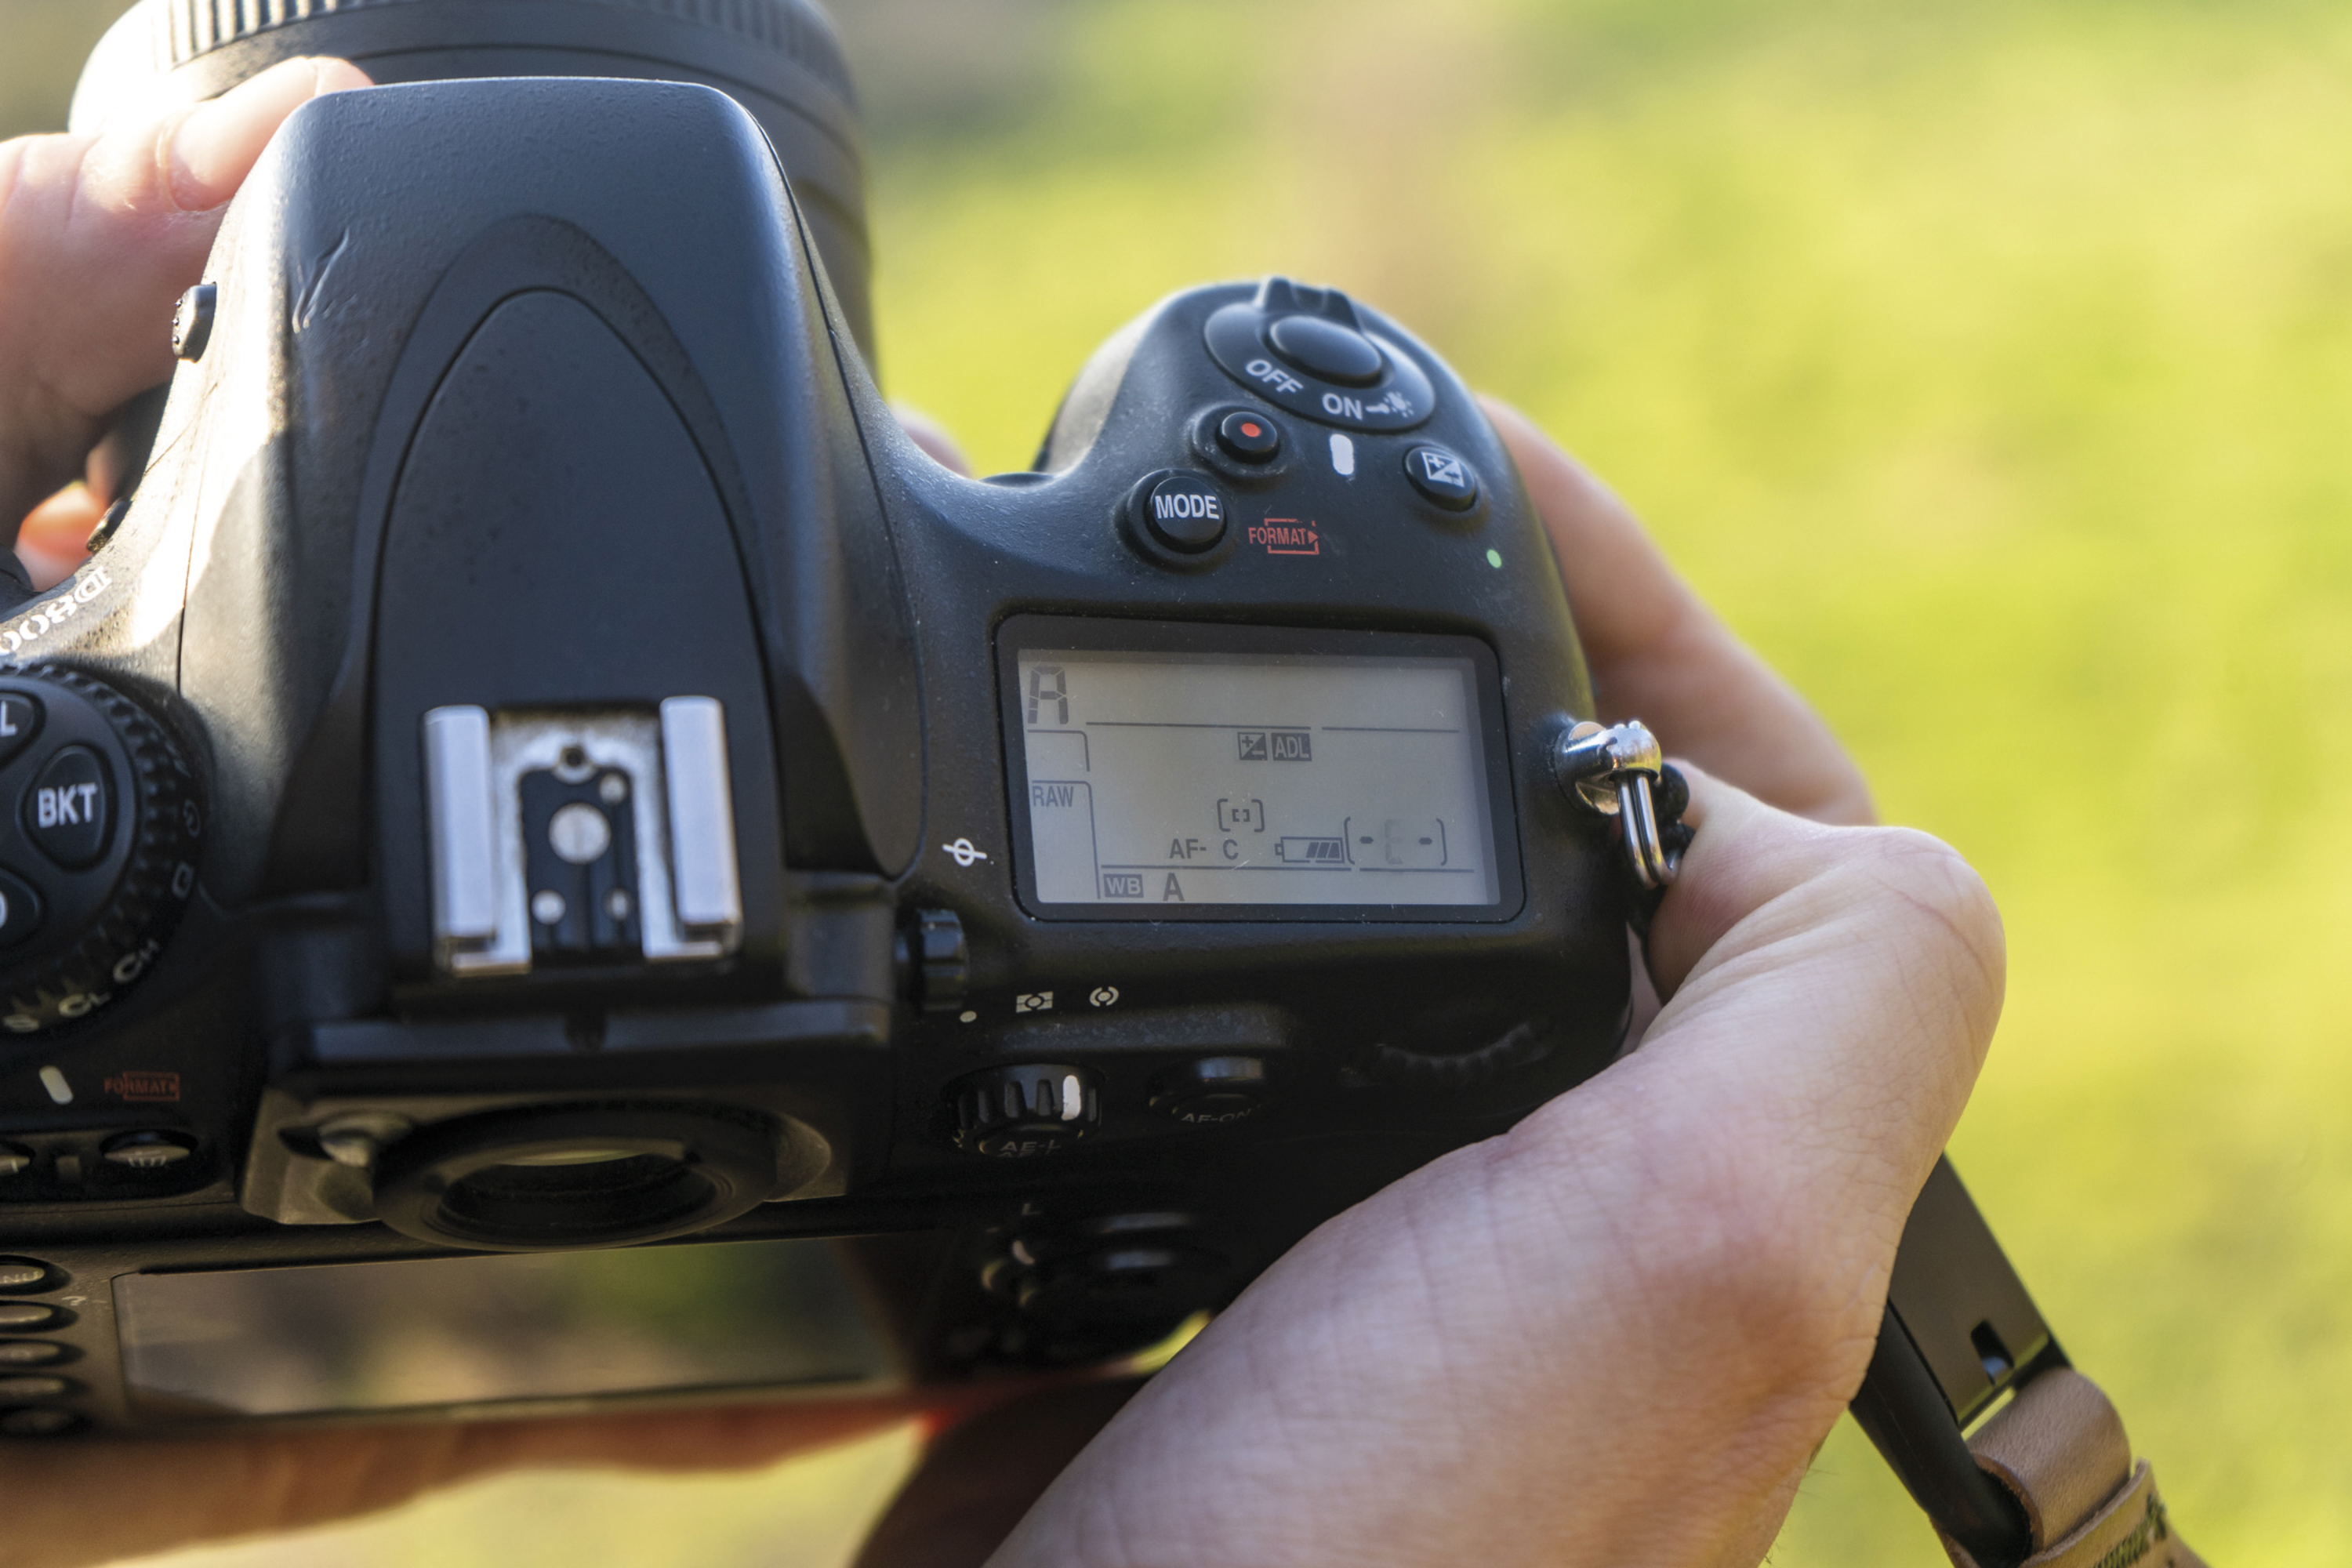
Switch your camera to Aperture Priority using the top dial. Select centre-weighted or spot metering – an easy way to expose the shot correctly for the subject. Make sure you’re using a suitable lens, a 50mm prime works well for this type of portrait shot.
2. Dial in settings
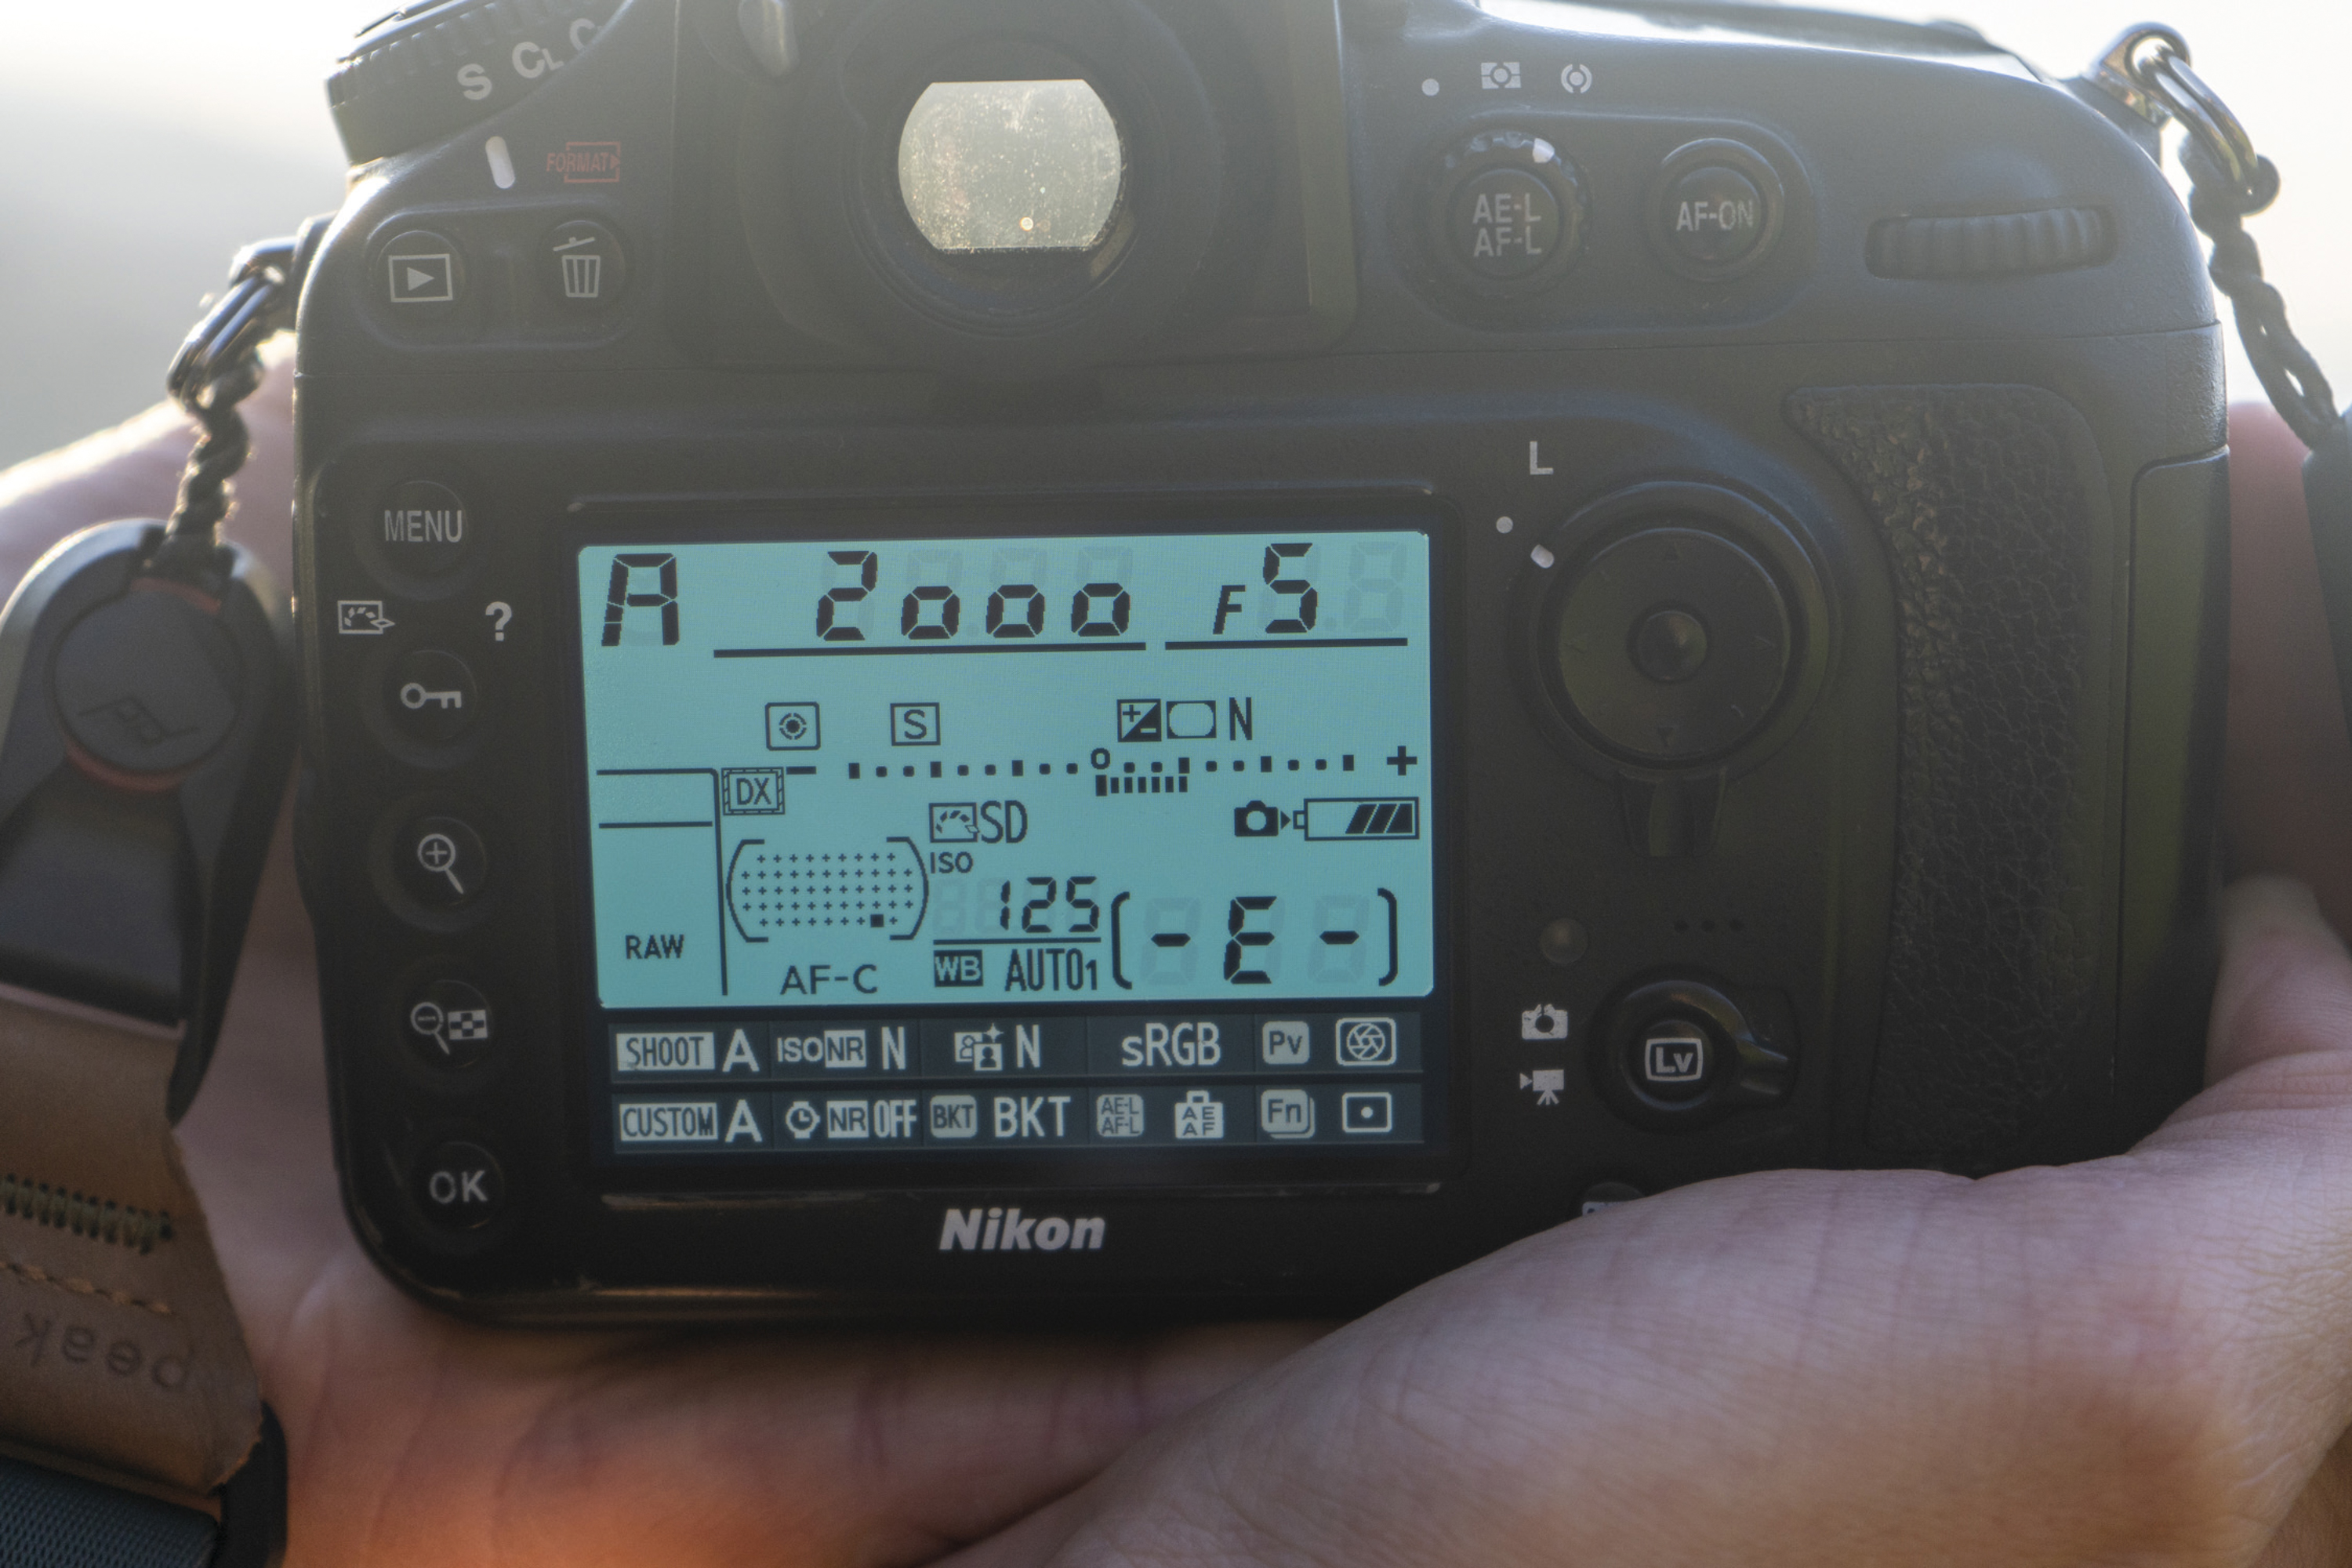
Set the ISO to the lowest value possible. You’ll be shooting against a bright background, so shouldn’t need to raise it any higher. Next, select an aperture of around f5, ensuring that your model’s whole face is in focus. If the exposure is too bright and the shutter too fast, narrow the aperture.
3. Arrange your subject
Position your subject against a bright background, such as the sky on an overcast or clear sunny day. They should ideally be side-on to you – a profile shot is more successful than a front-on face, as their features will be more identifiable in silhouette. Move yourself to avoid any messy background scenery, such as trees.
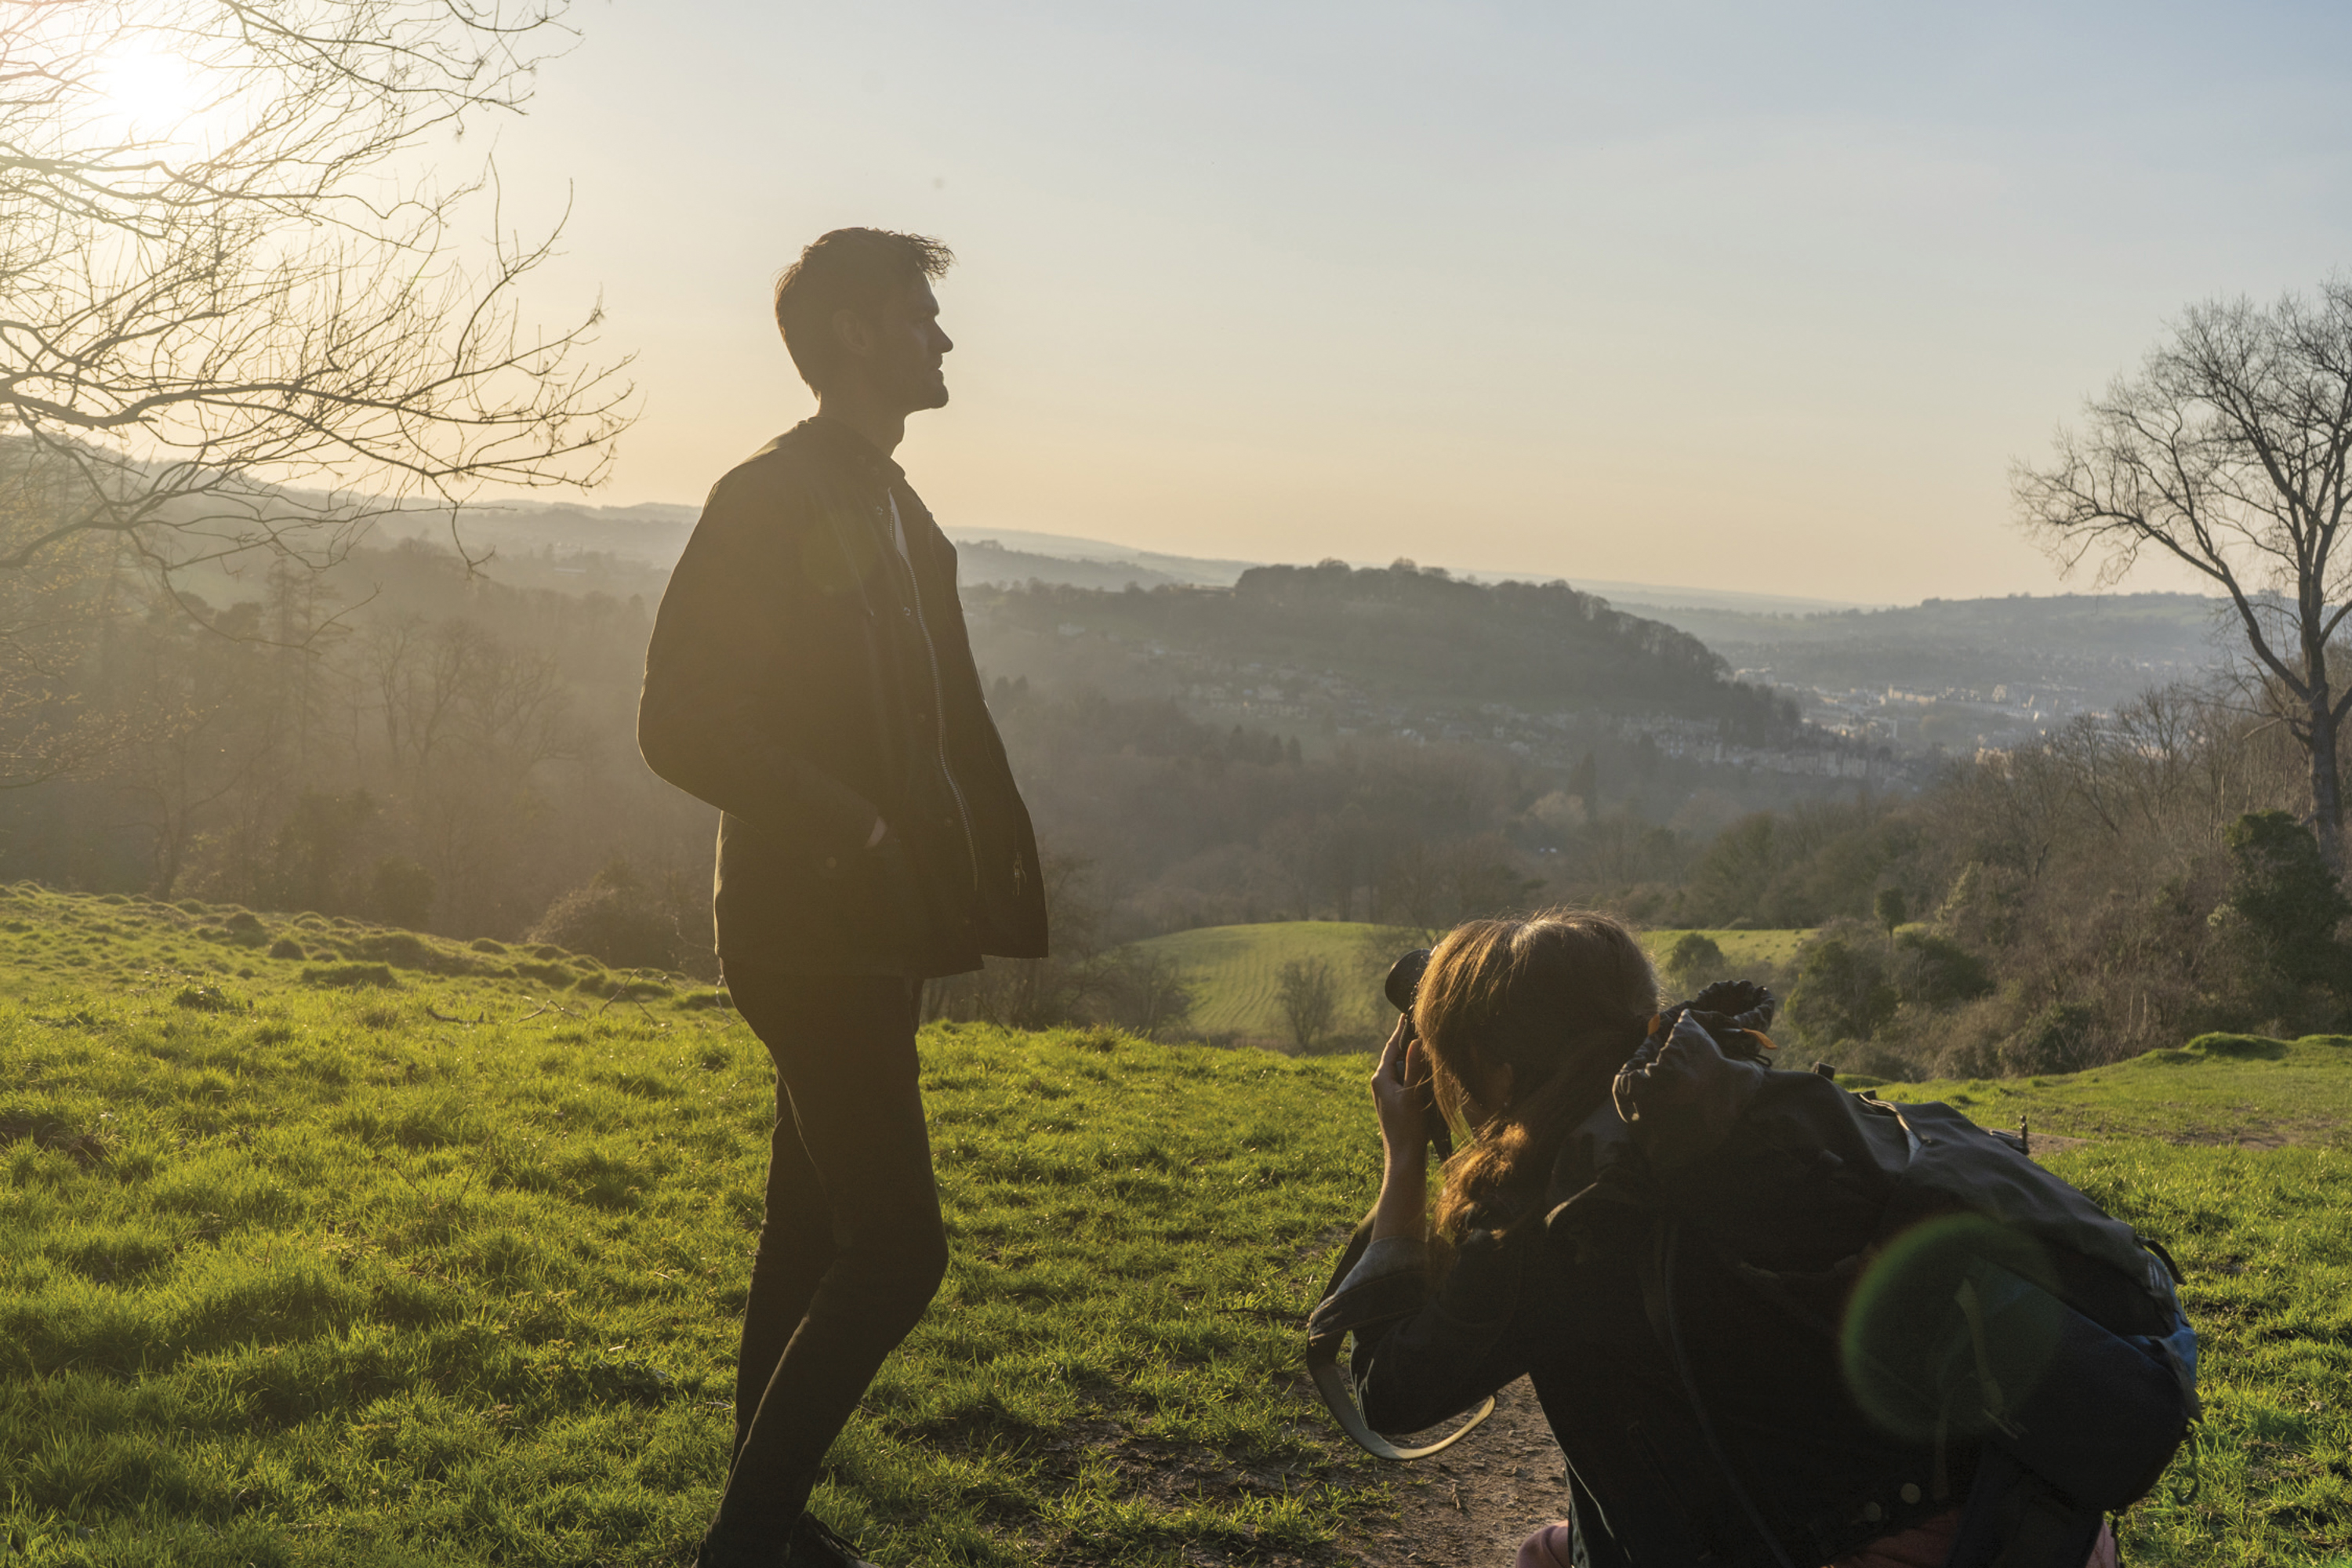
4. Set the focus
Lenses can sometimes struggle to focus properly when they are pointed at a bright light source, such as a white sky. If you find this is the case, switch to manual focus on the lens barrel and use the focus ring to ensure your subject’s face is sharp.
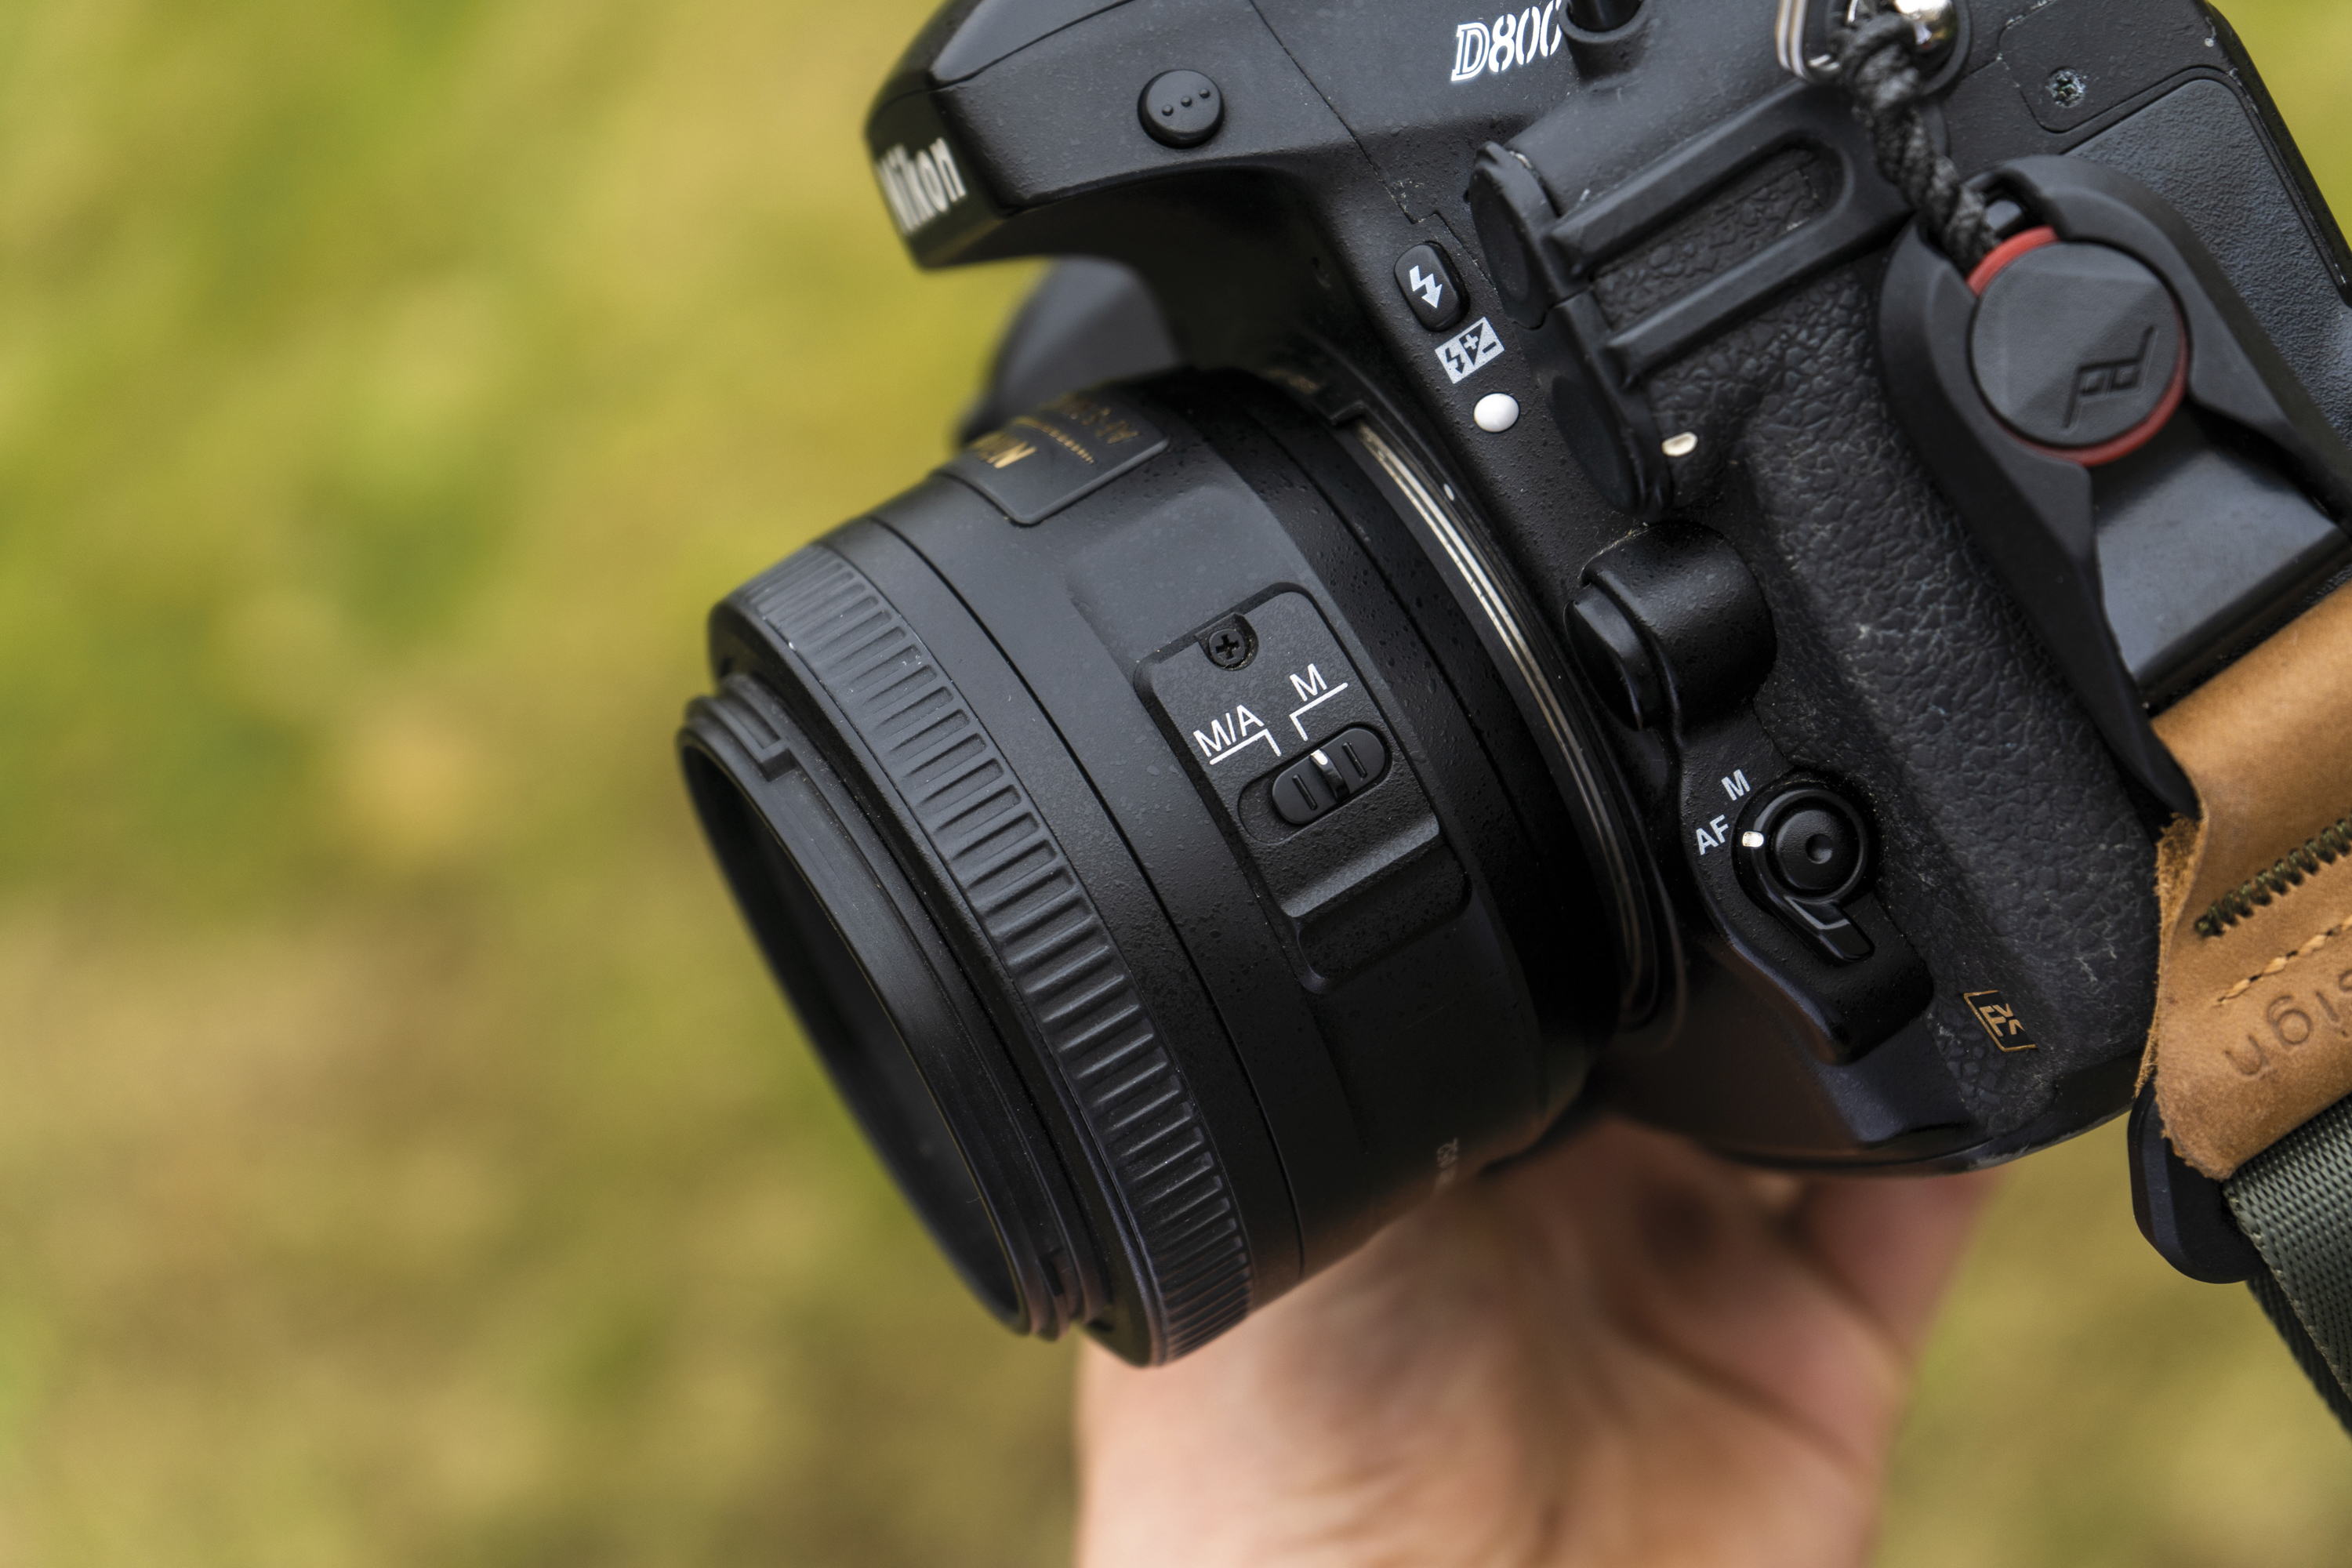
5. Frame and shoot
You can use the viewfinder or Live View to compose, but take a few test shots once you’ve set up. Whether you shoot portrait or landscape, check for distracting elements in the frame. Dial in positive exposure compensation if necessary, ensuring the camera overexposes the sky.
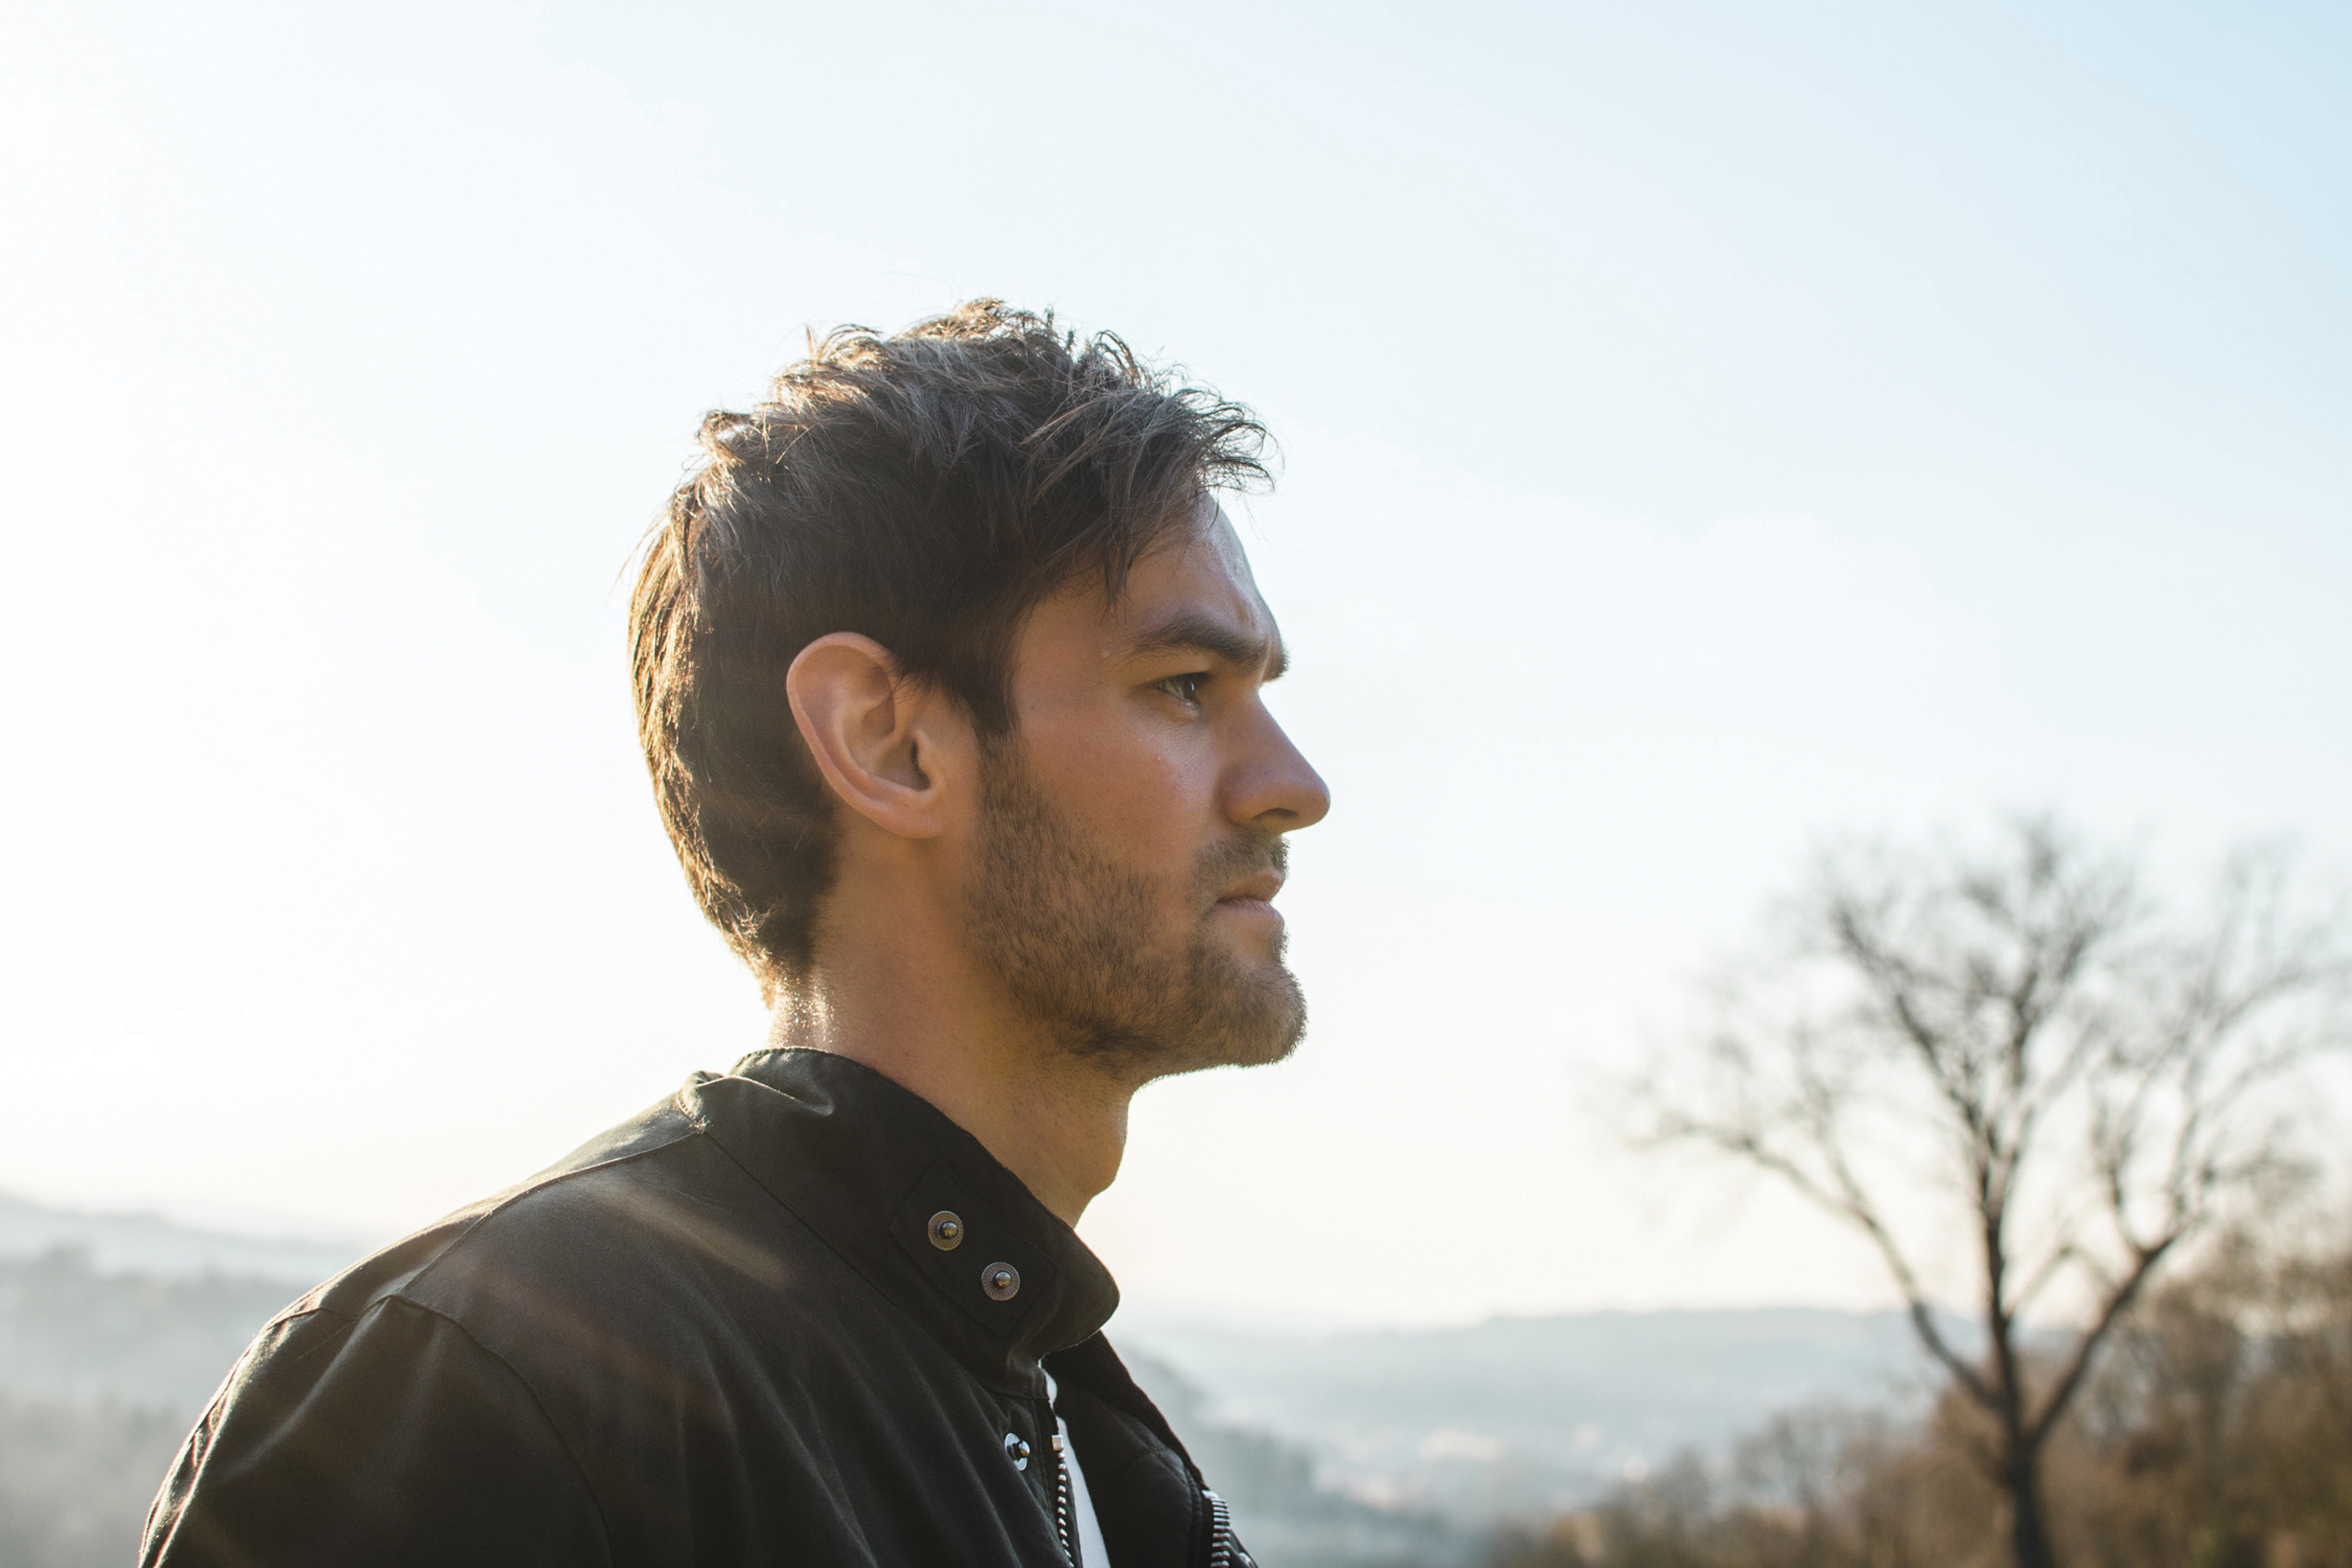
6. Shoot fill image
You can choose anything for the second photo but natural subjects, such as leaves and flowers, work best. Shoot a scene with interesting shapes or textures to effectively fill your silhouette image. Alternatively, select a pre-existing image you can use to overlay your portrait shot.
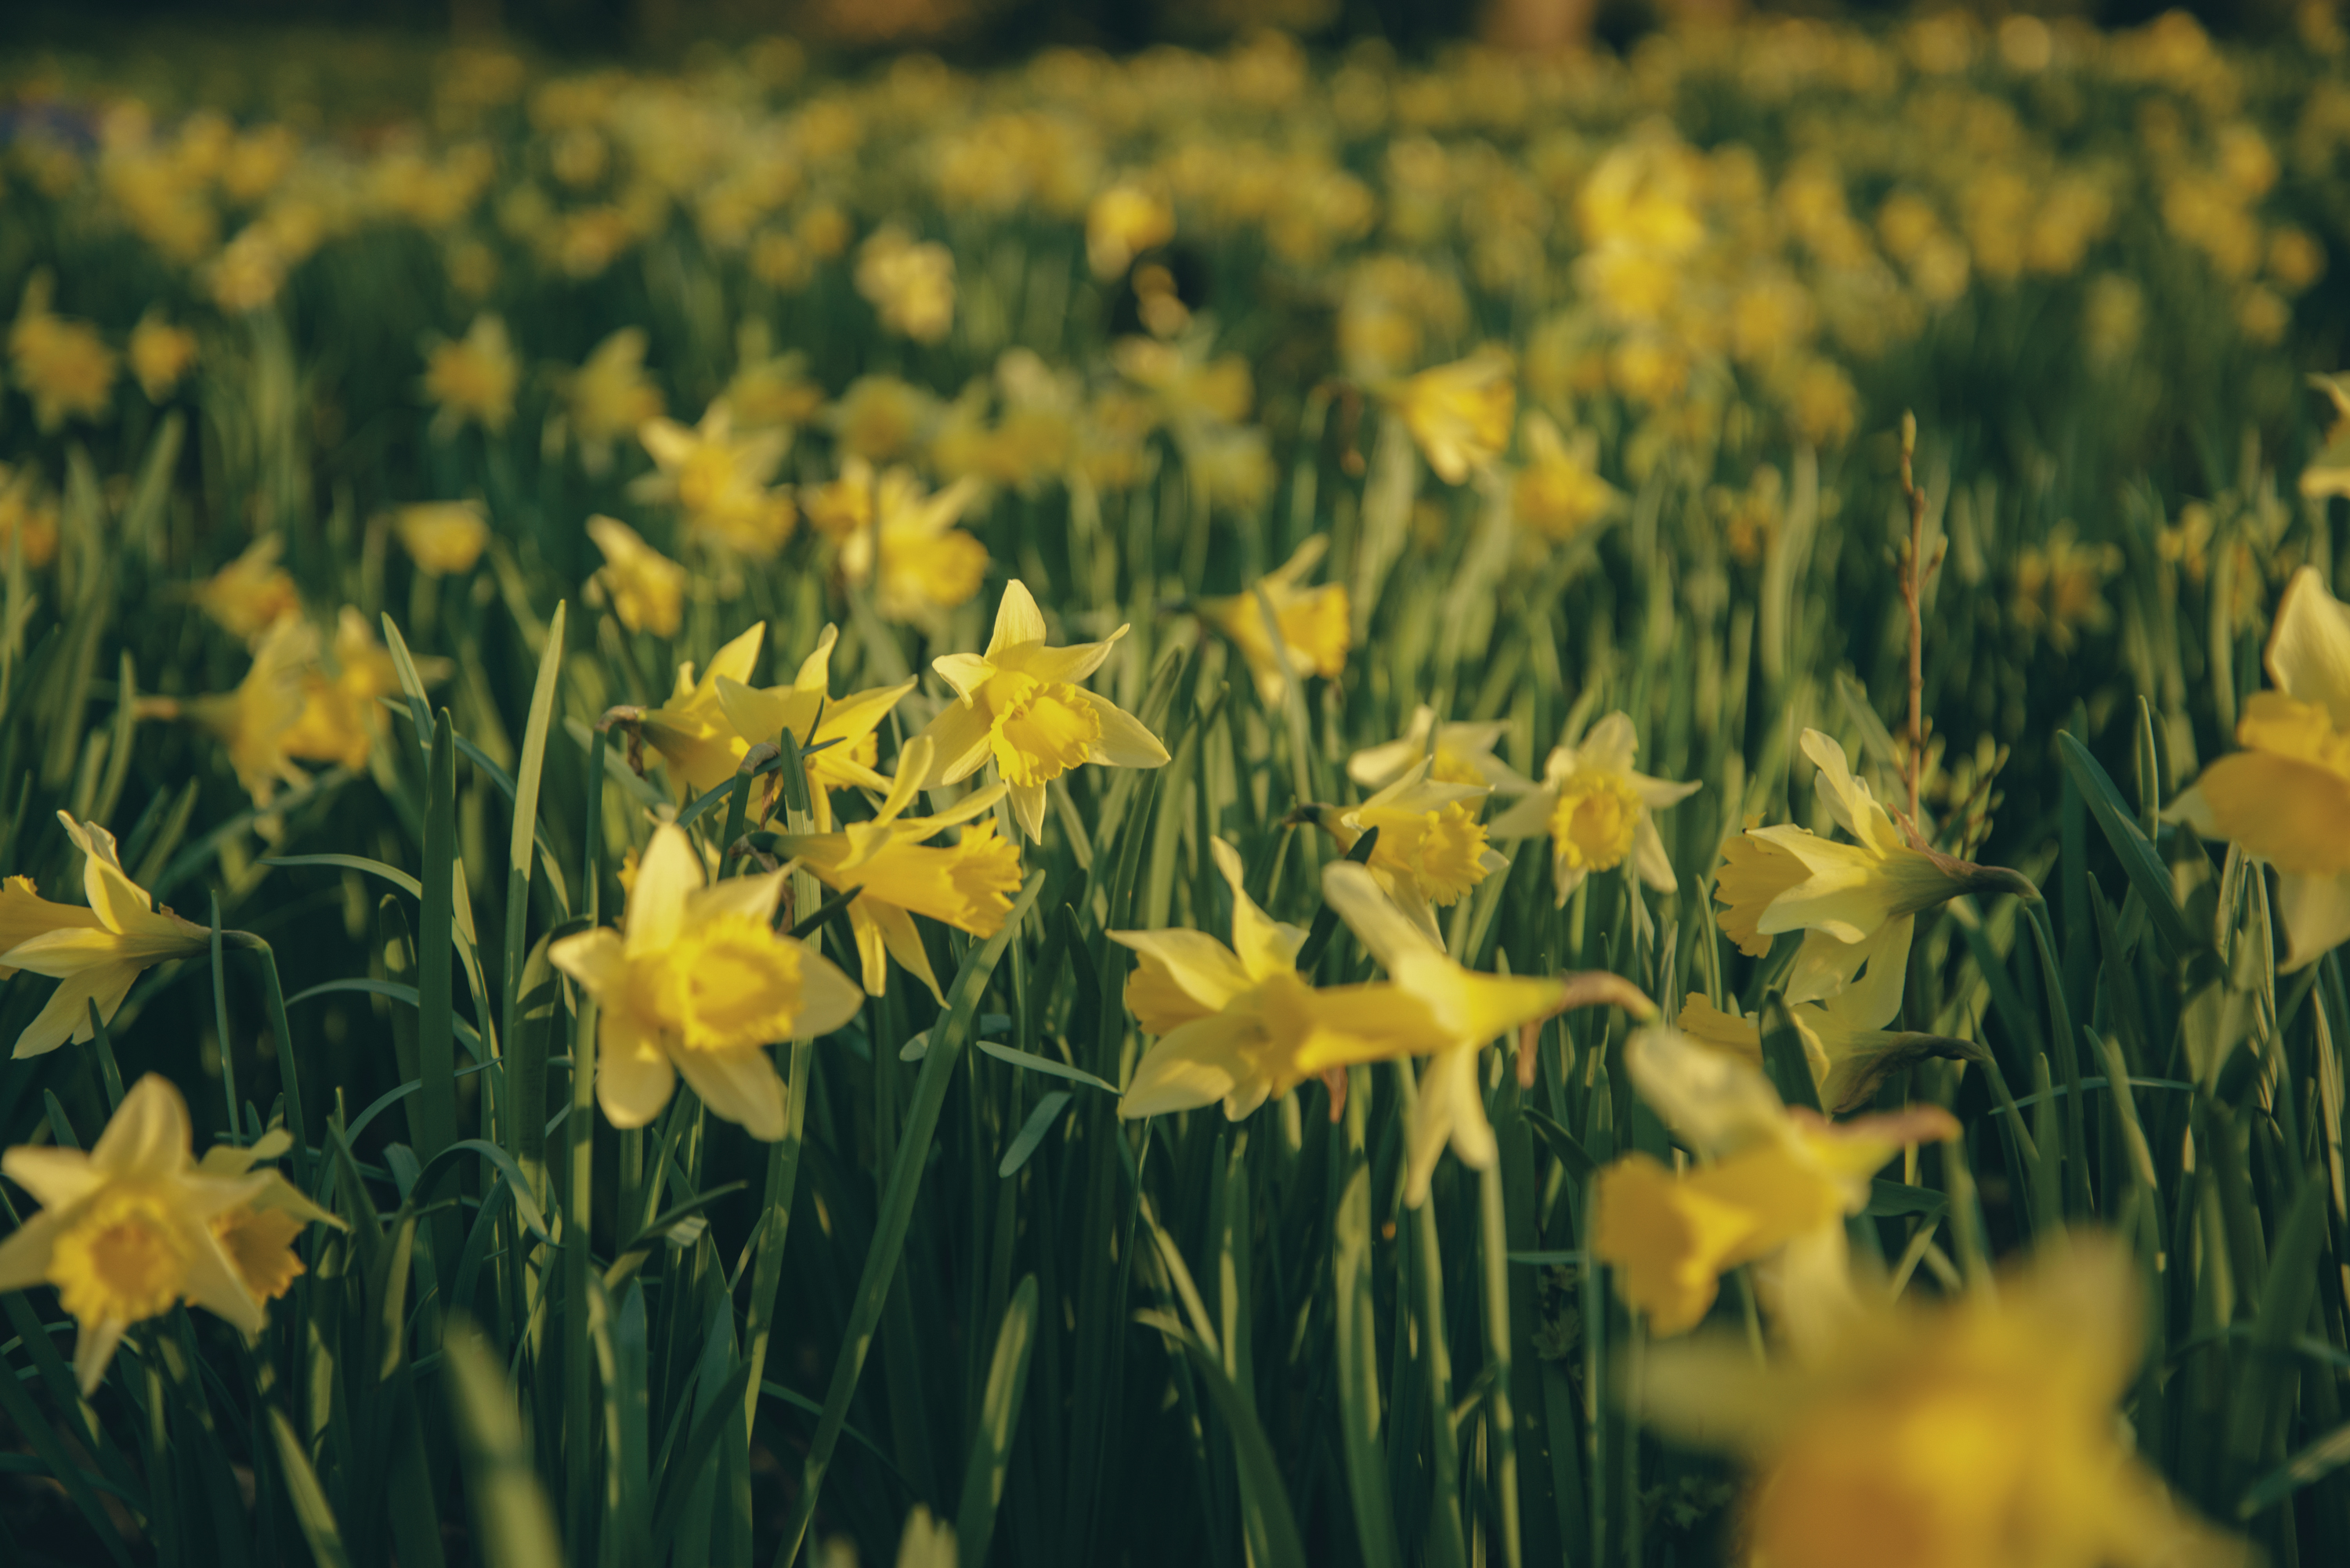
Double exposure editing steps
1. Get started
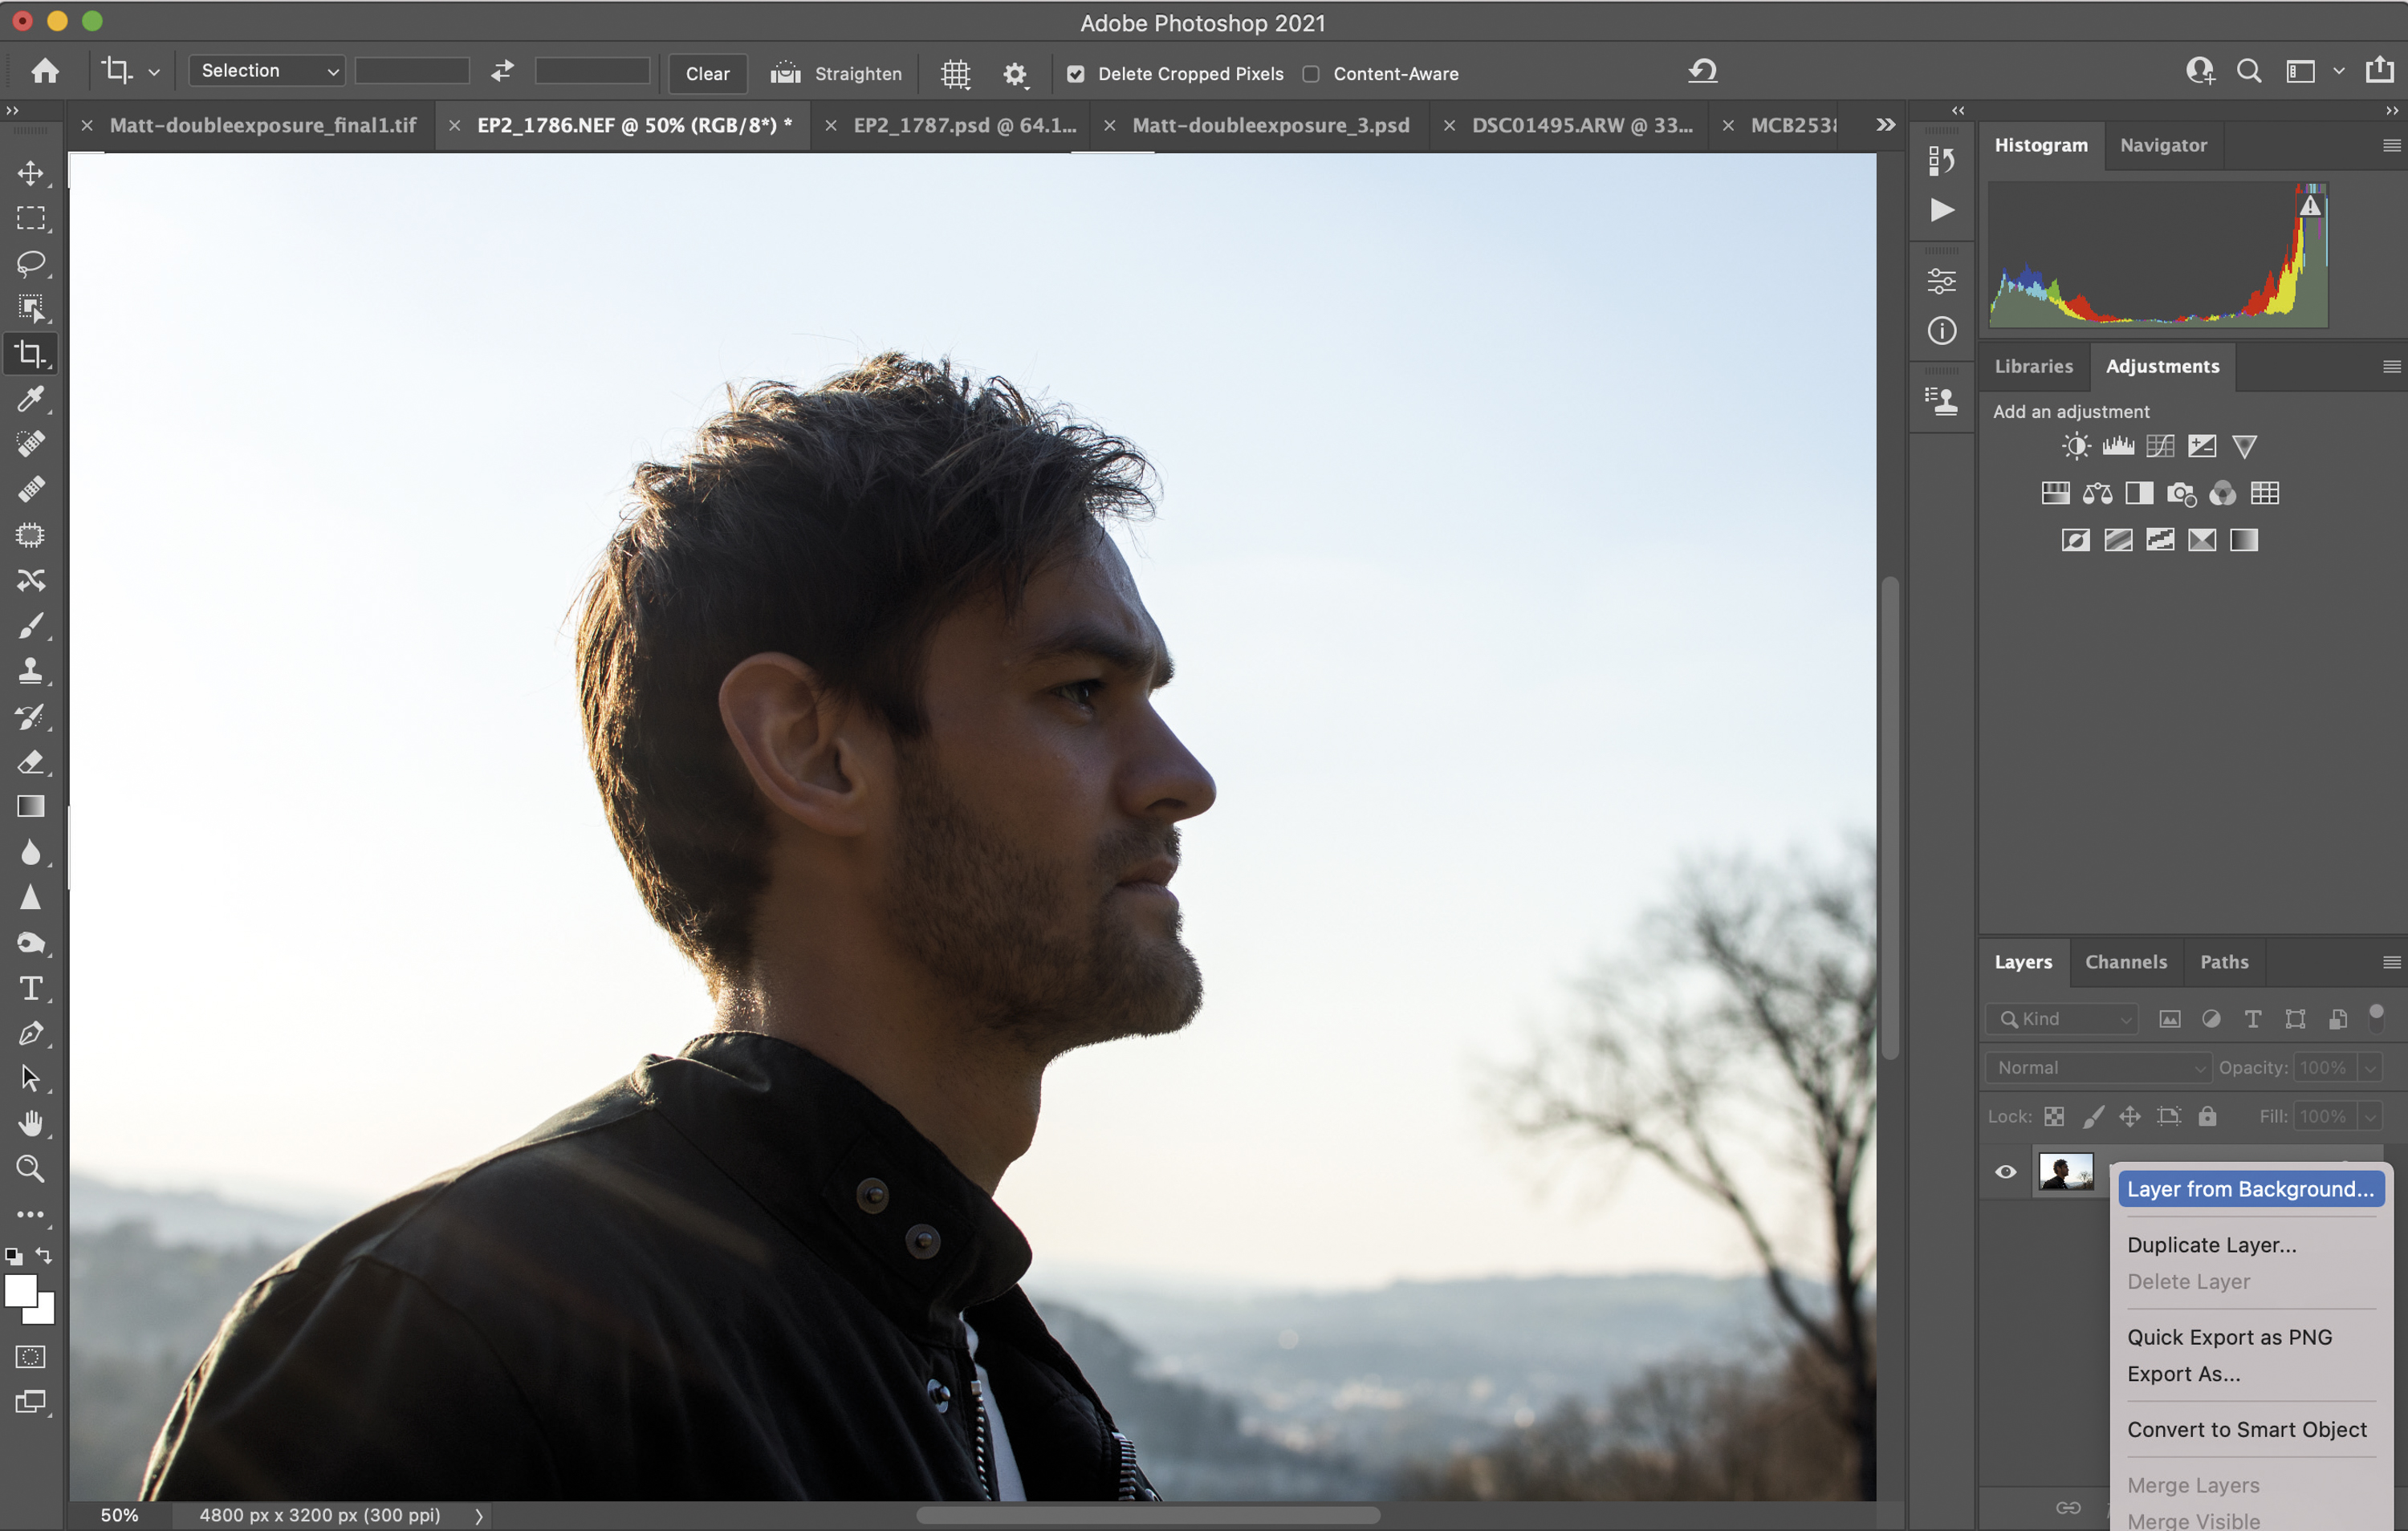
You can edit your portrait in the usual way in Camera RAW, but we opened it up from Adobe Bridge straight into Photoshop. Right Click on the layer and hit Layer From Background. Then go to Image>Adjustments>Levels to increase the brightness and contrast of the portrait.
2. Import second image
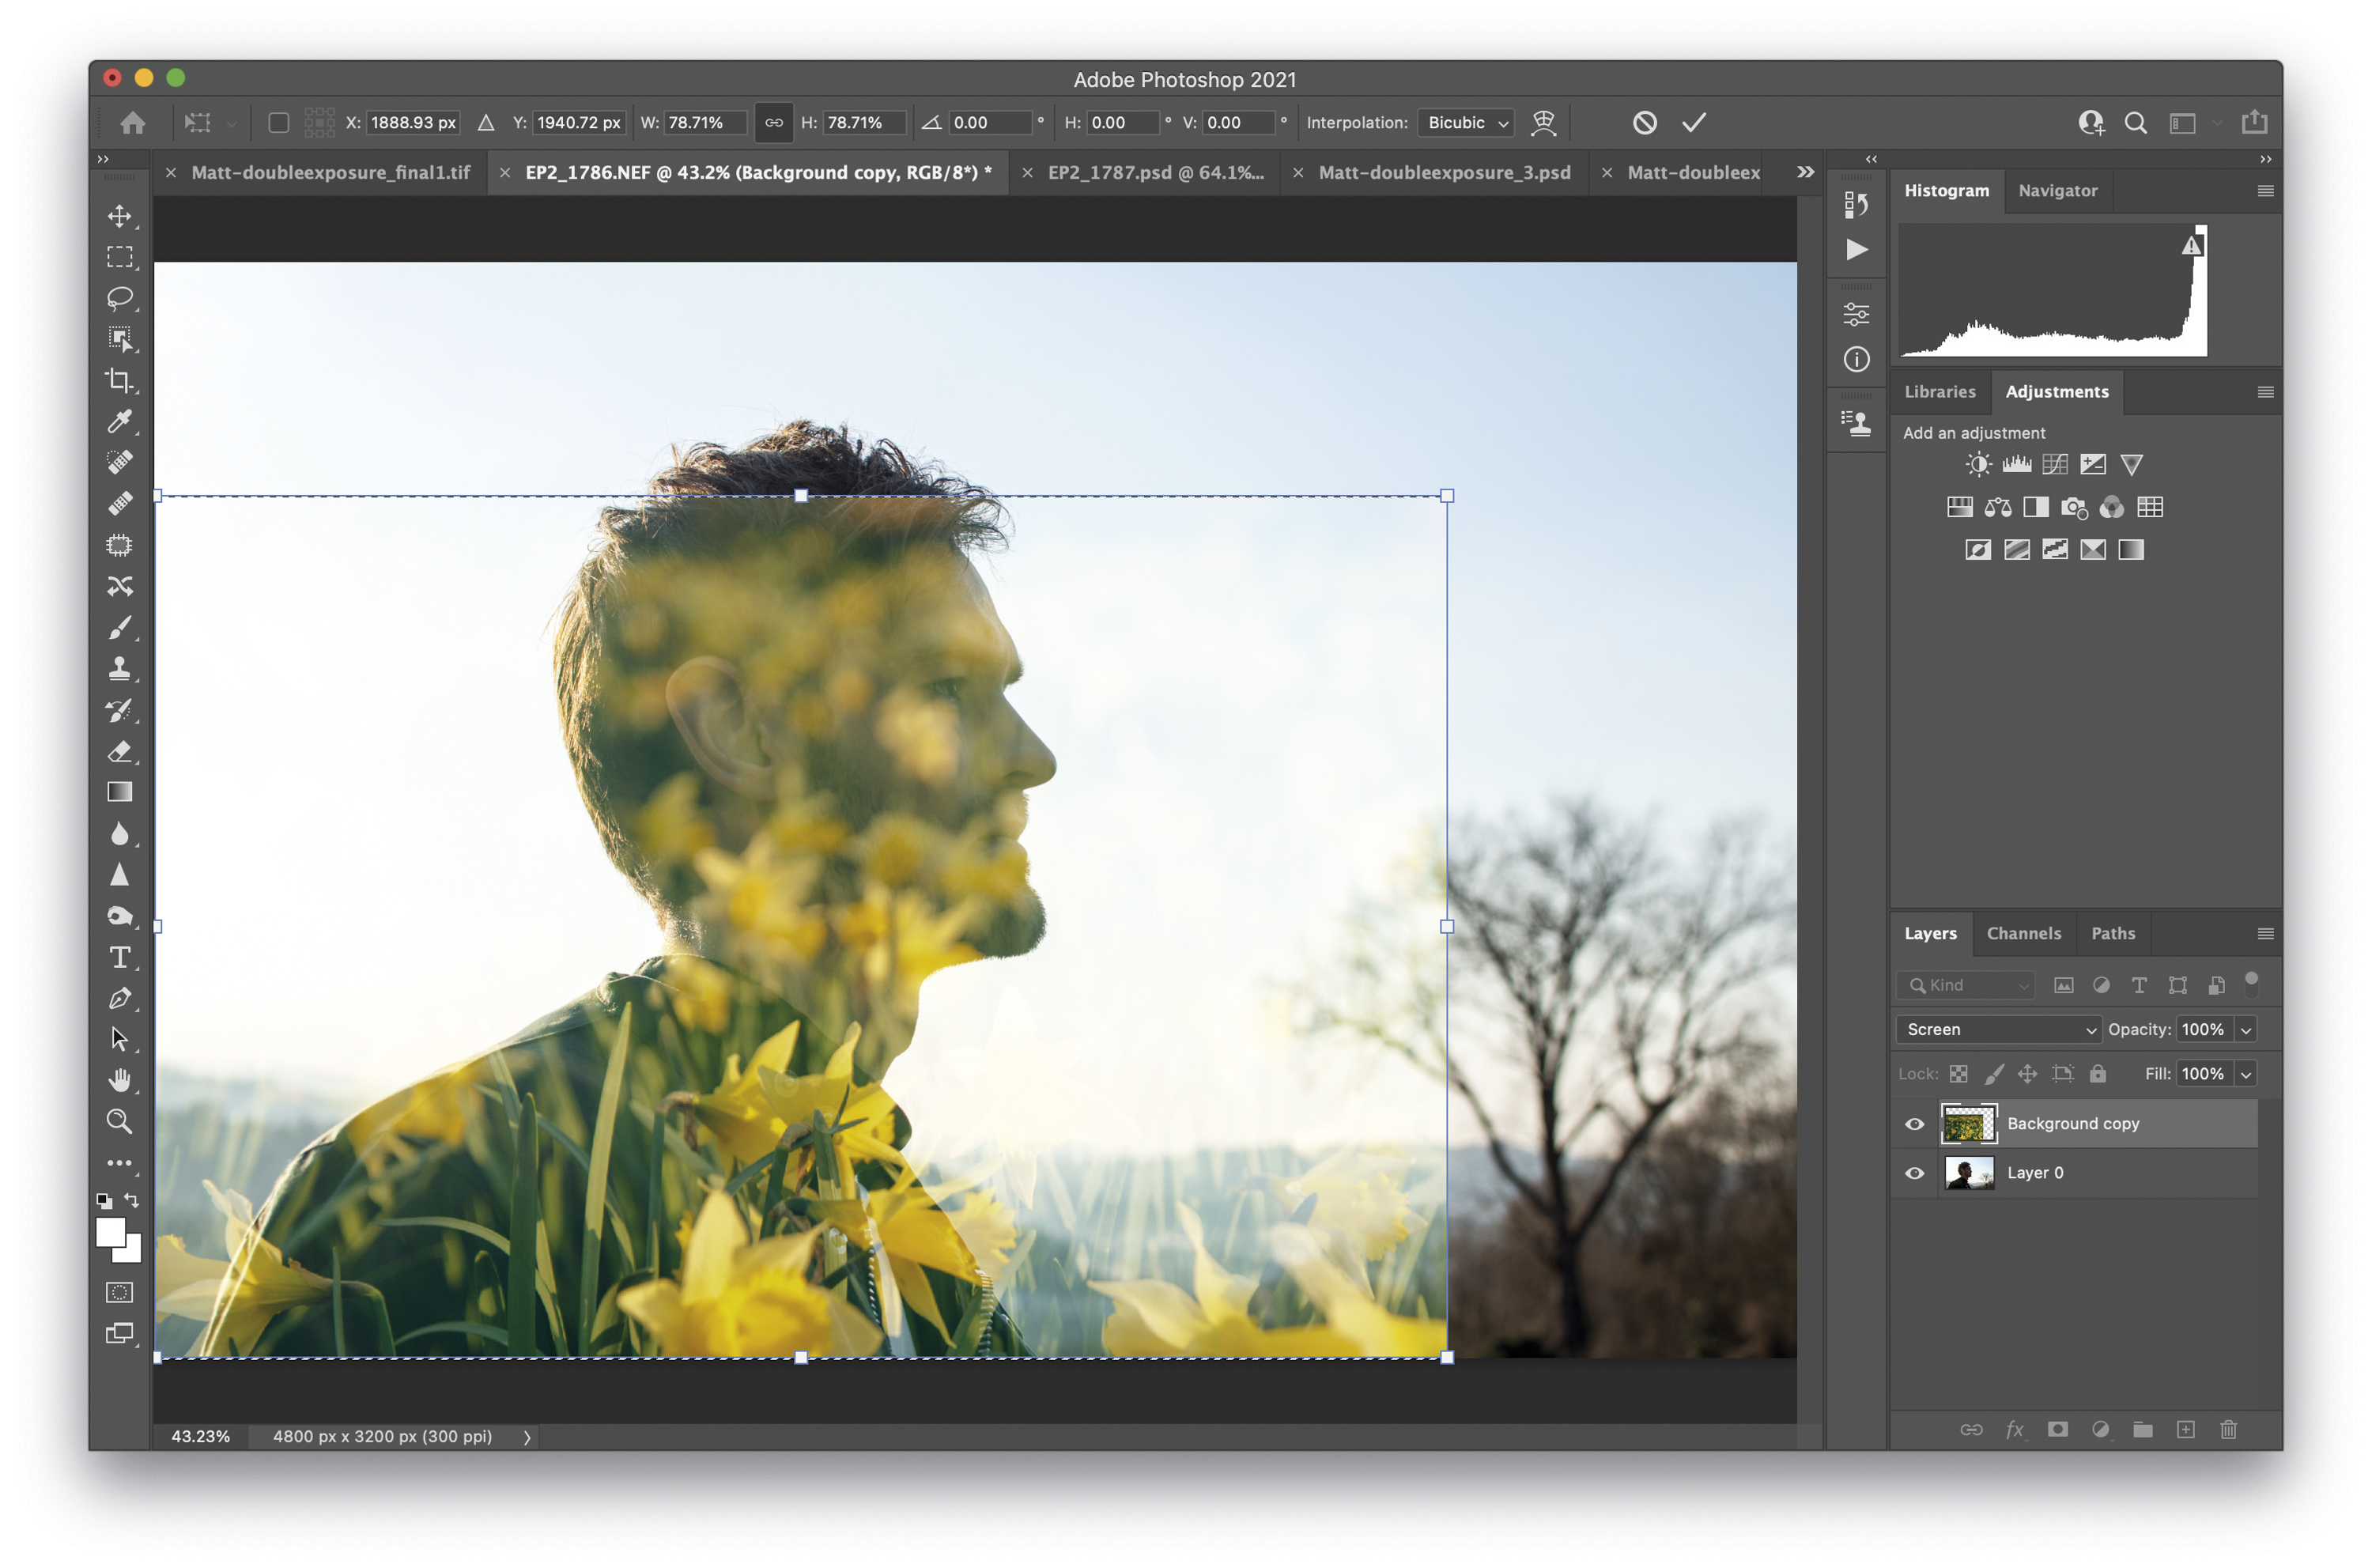
Open your fill image, go to Select>All and then Copy. Open your portrait shot and paste one image on top of the other. Go to Edit>Transform to Rotate, Scale and Flip your image (if needed) so that it covers your portrait. Use the Clone tool to remove distractions from either layer.
3. Blend and adjust
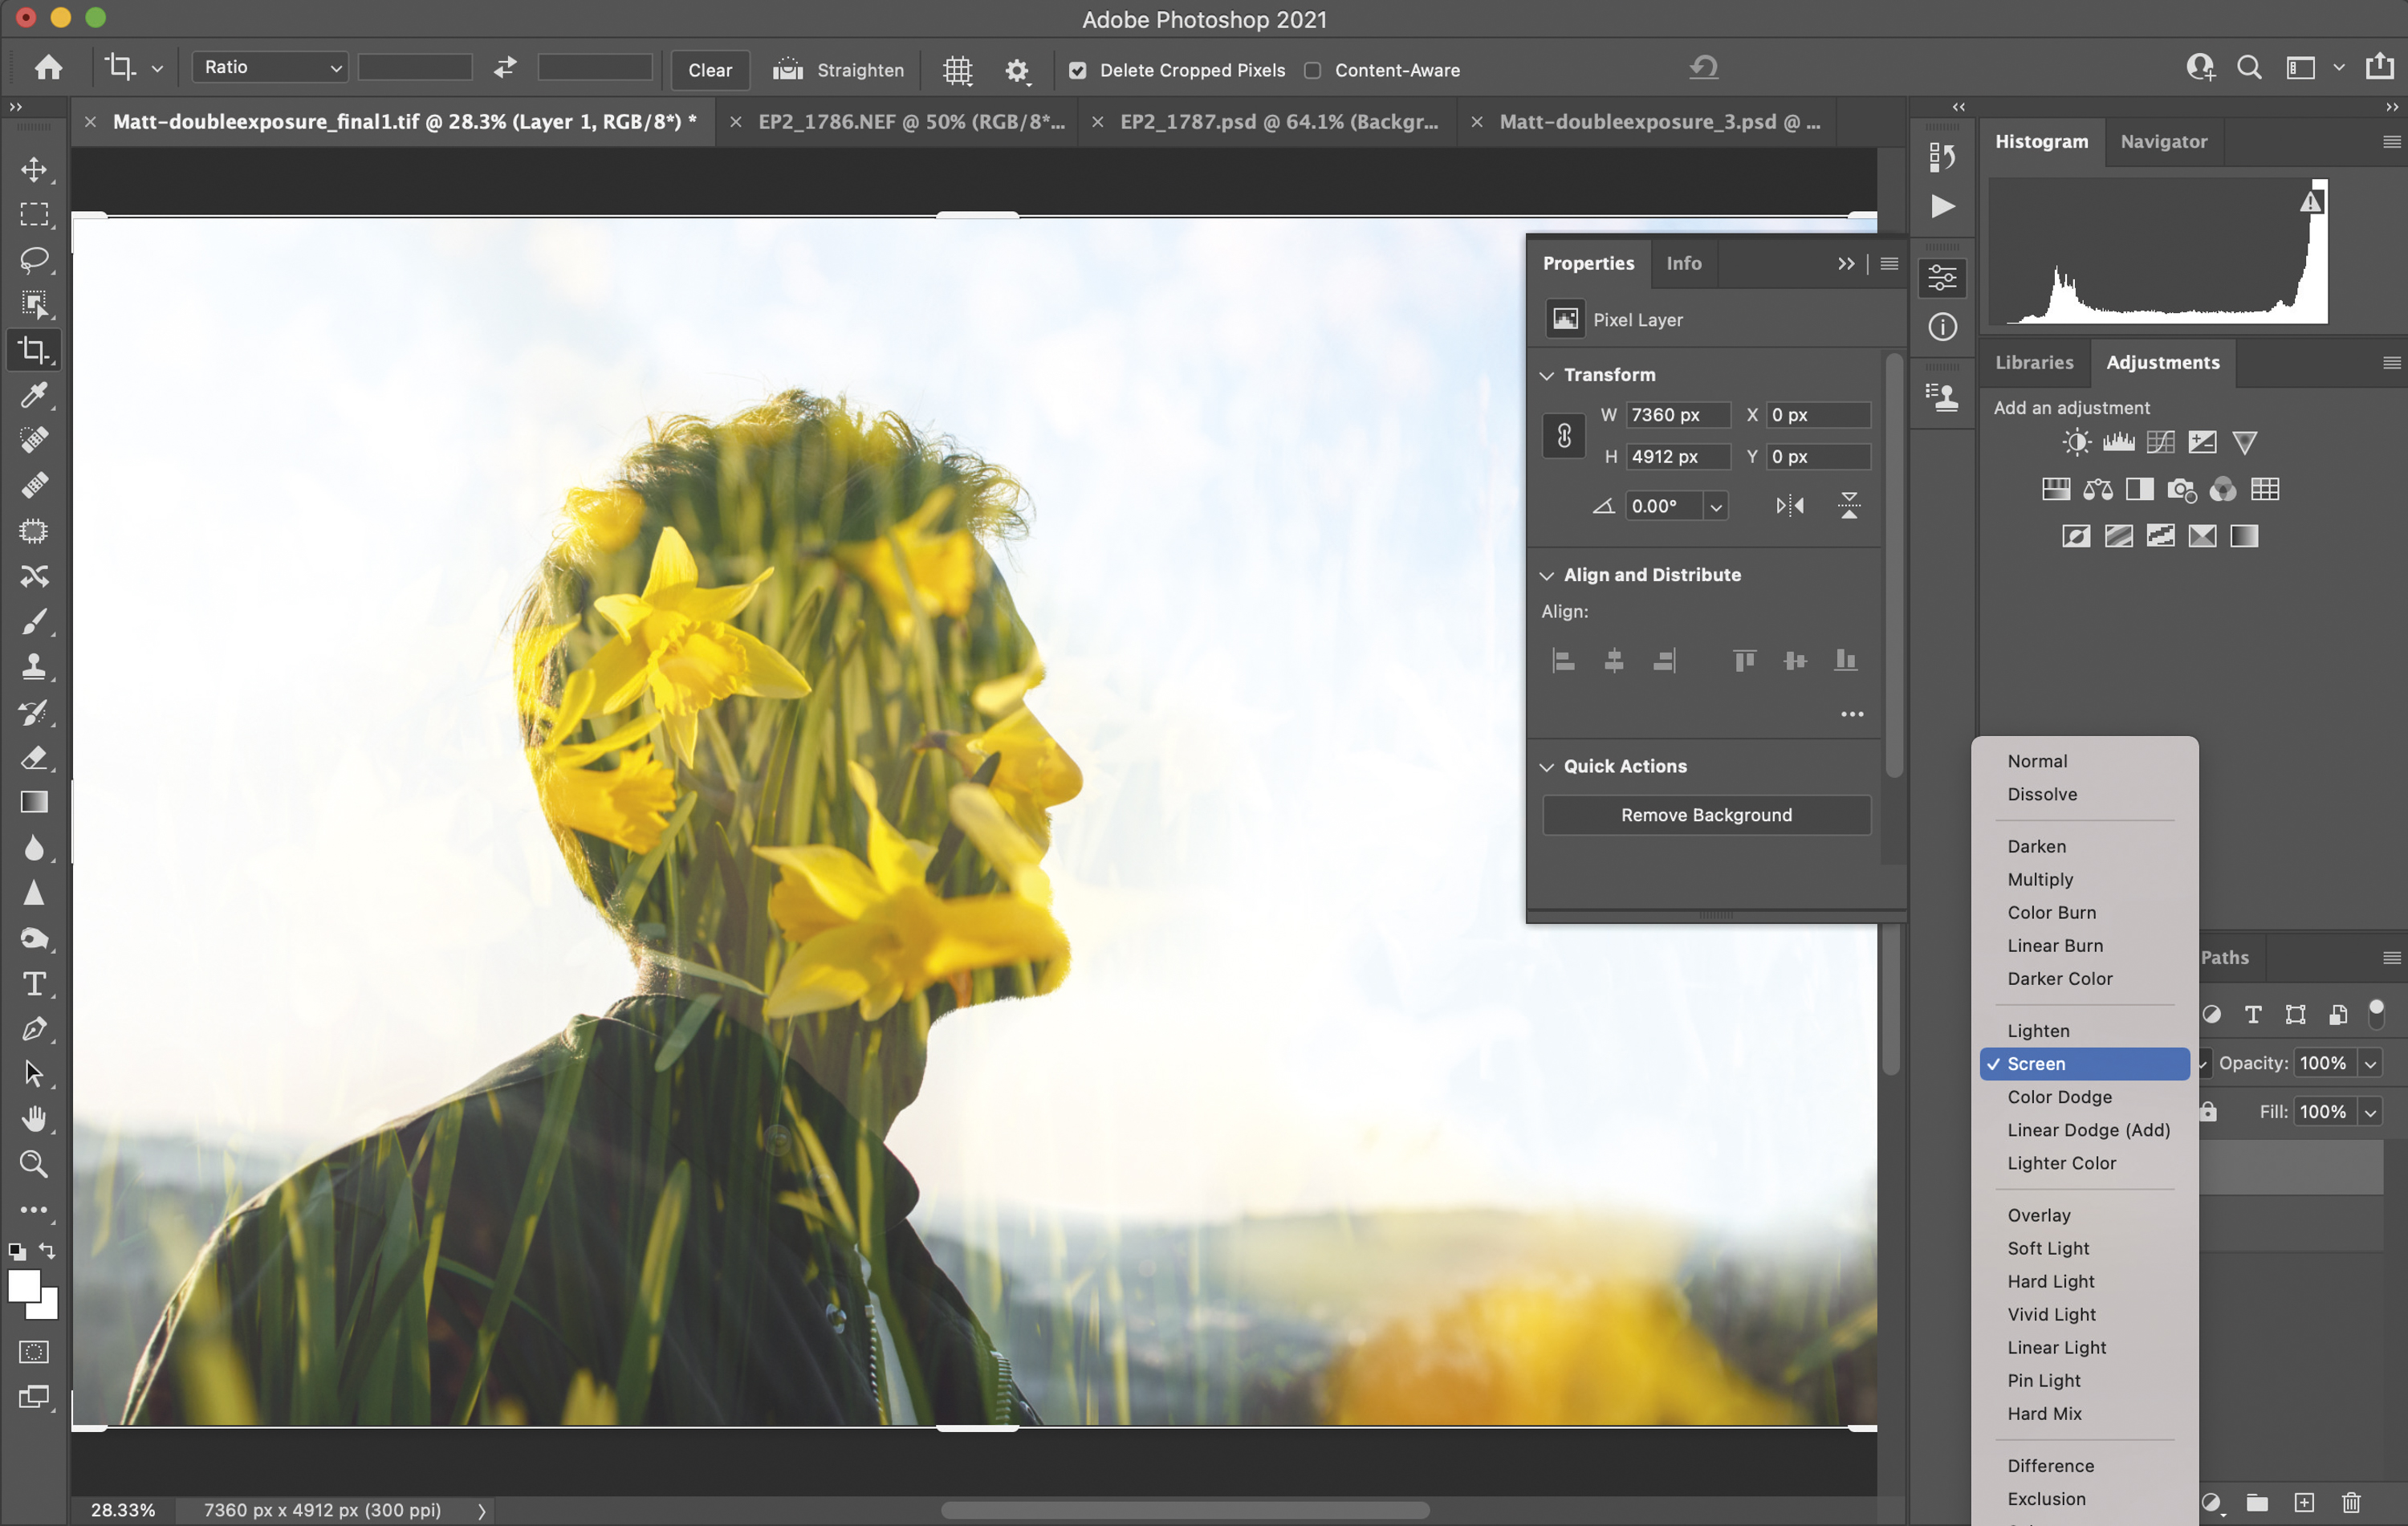
Select the top layer and change the Blend Mode to Screen – a great Blending Mode for brightening images. Once you have your basic double exposure, you can use the Move tool to reposition and resize the fill layer over the portrait, paying attention to what’s covering the features.
4. Bring out details
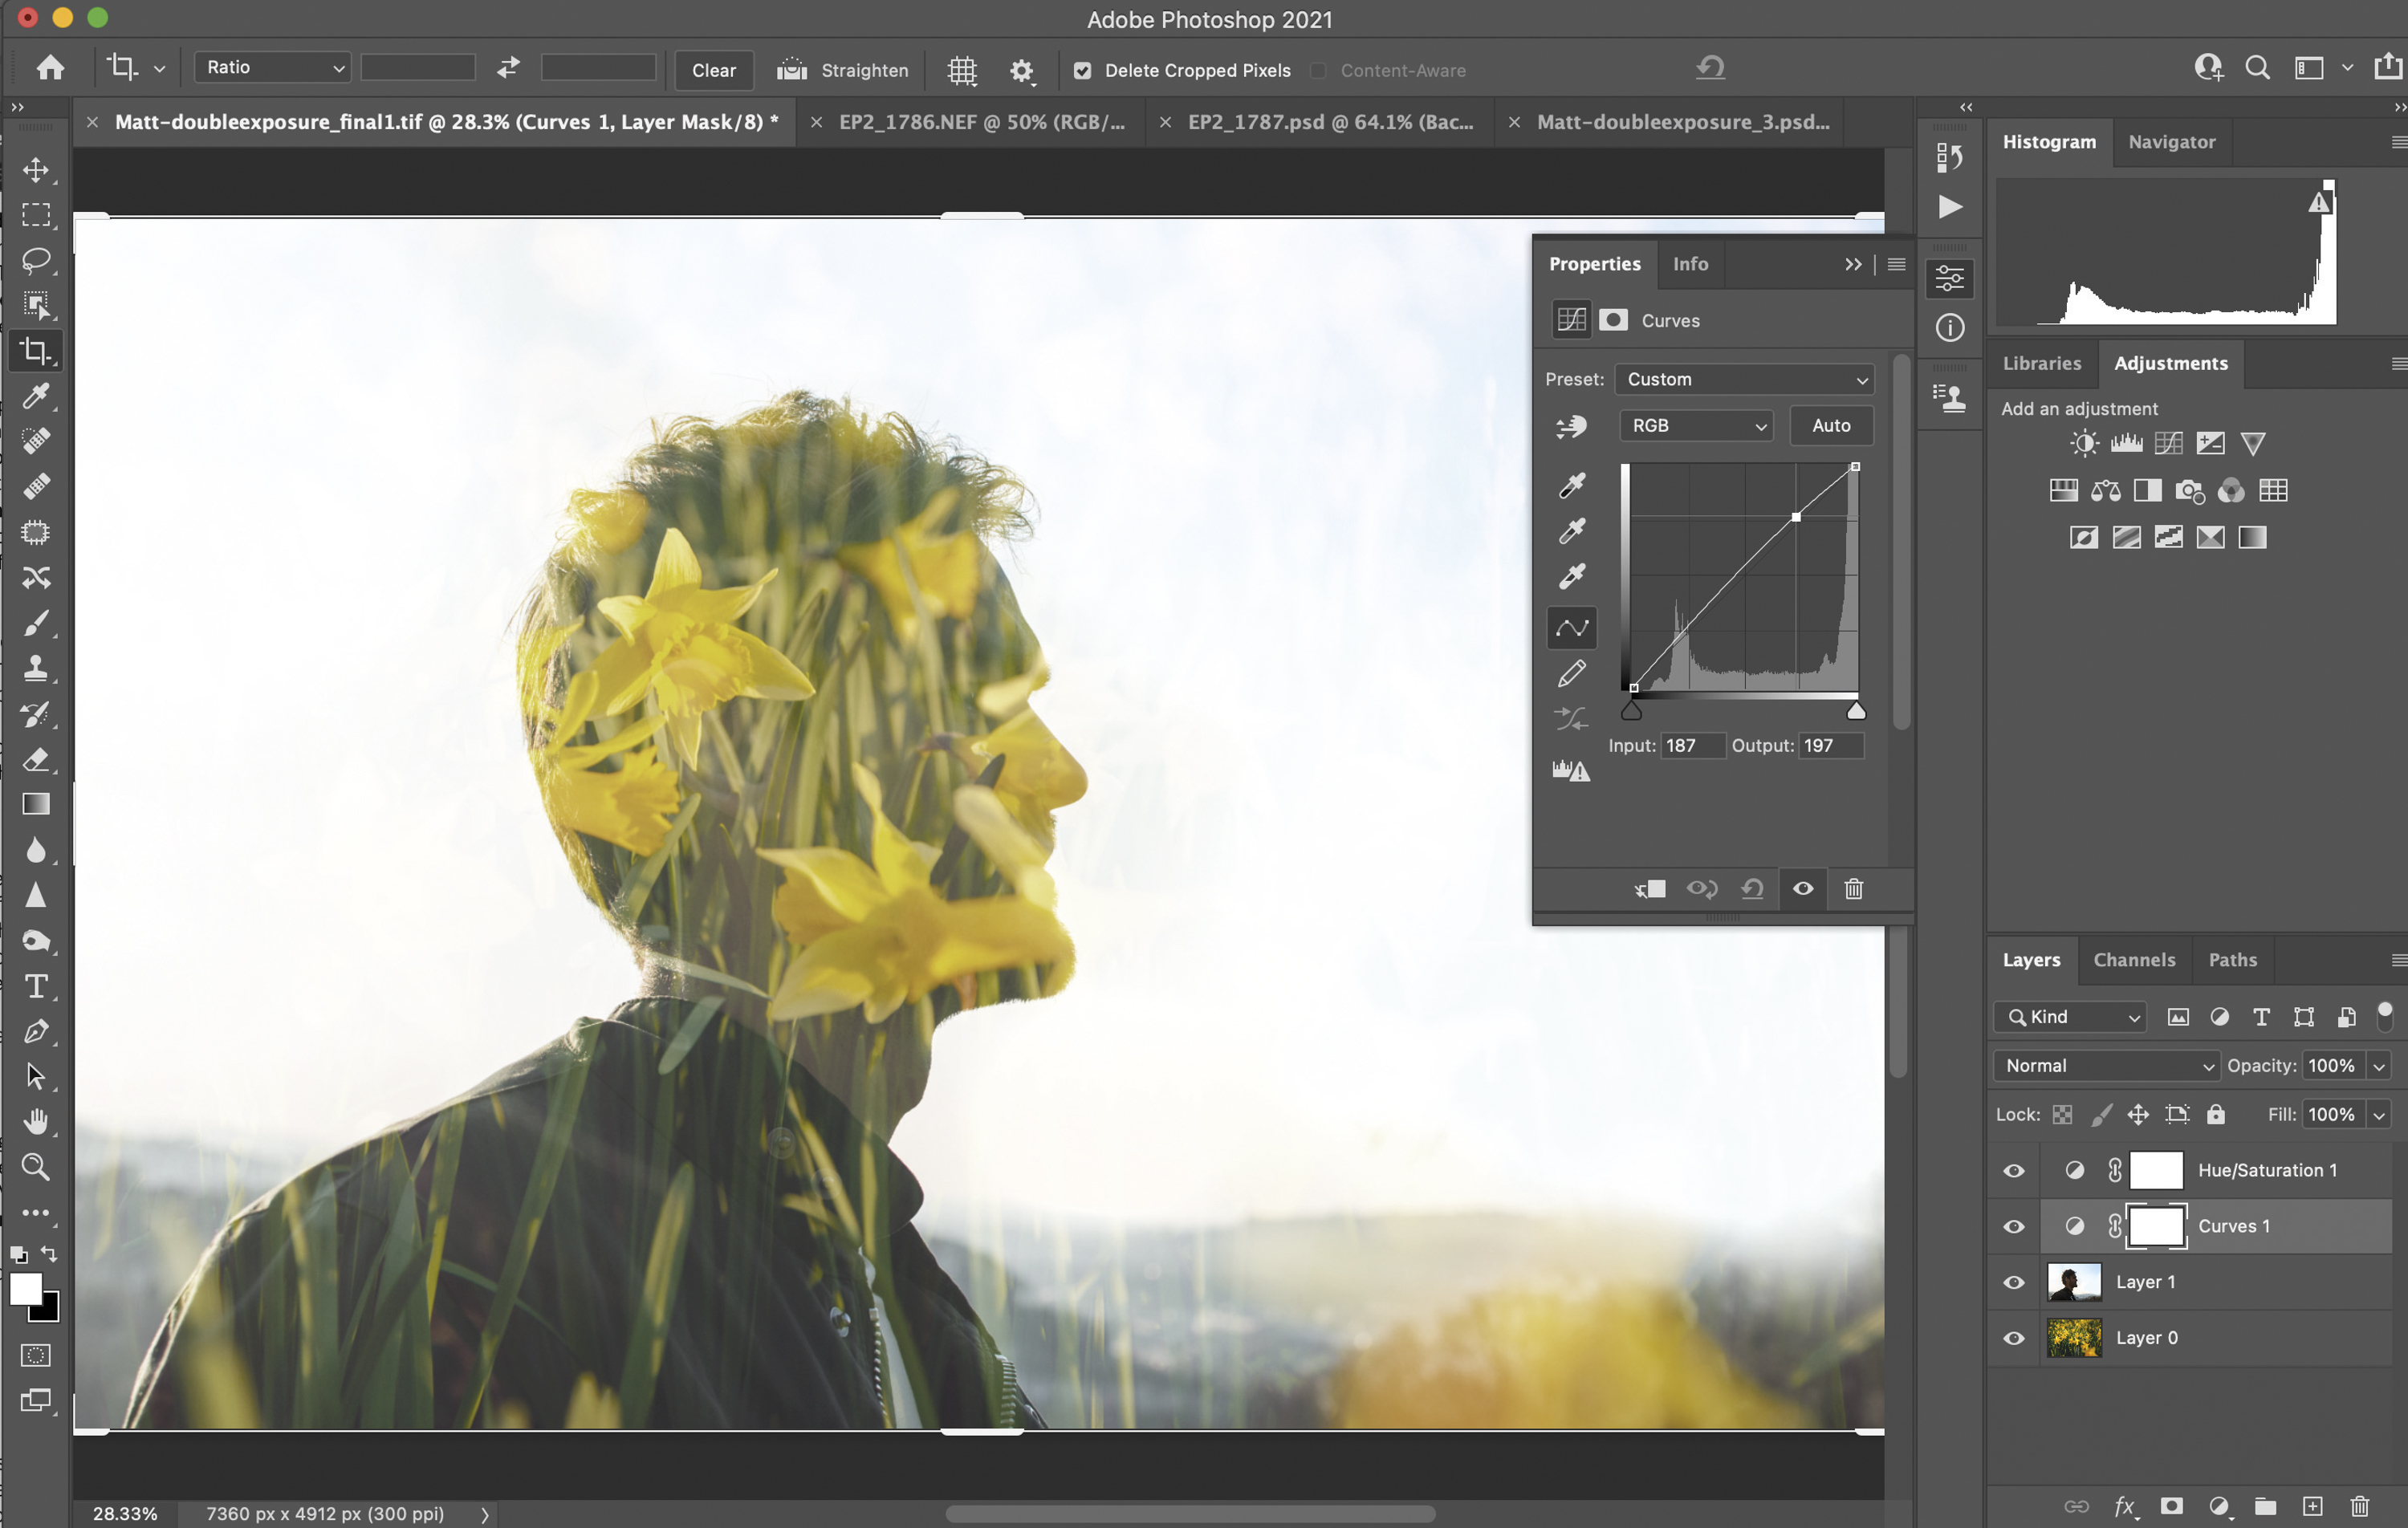
Create a Levels or Curves adjustment layer from the Layers palette to bring out detail in the mid-tones, or alternatively, use the Burn tool to darken the edges of your portrait and create a bolder outline to the face. Desaturating the entire face layer will produce a more subtle result.
5. Experiment
Once you have got to grips with the simple processing steps, try out new fill images – nature scenes such as this landscape are effective. Move the ‘fill’ image around to fill your portrait, and tweak the contrast so that you start to see more and less detail in the sky portion of your portrait.
Easy in-camera technique
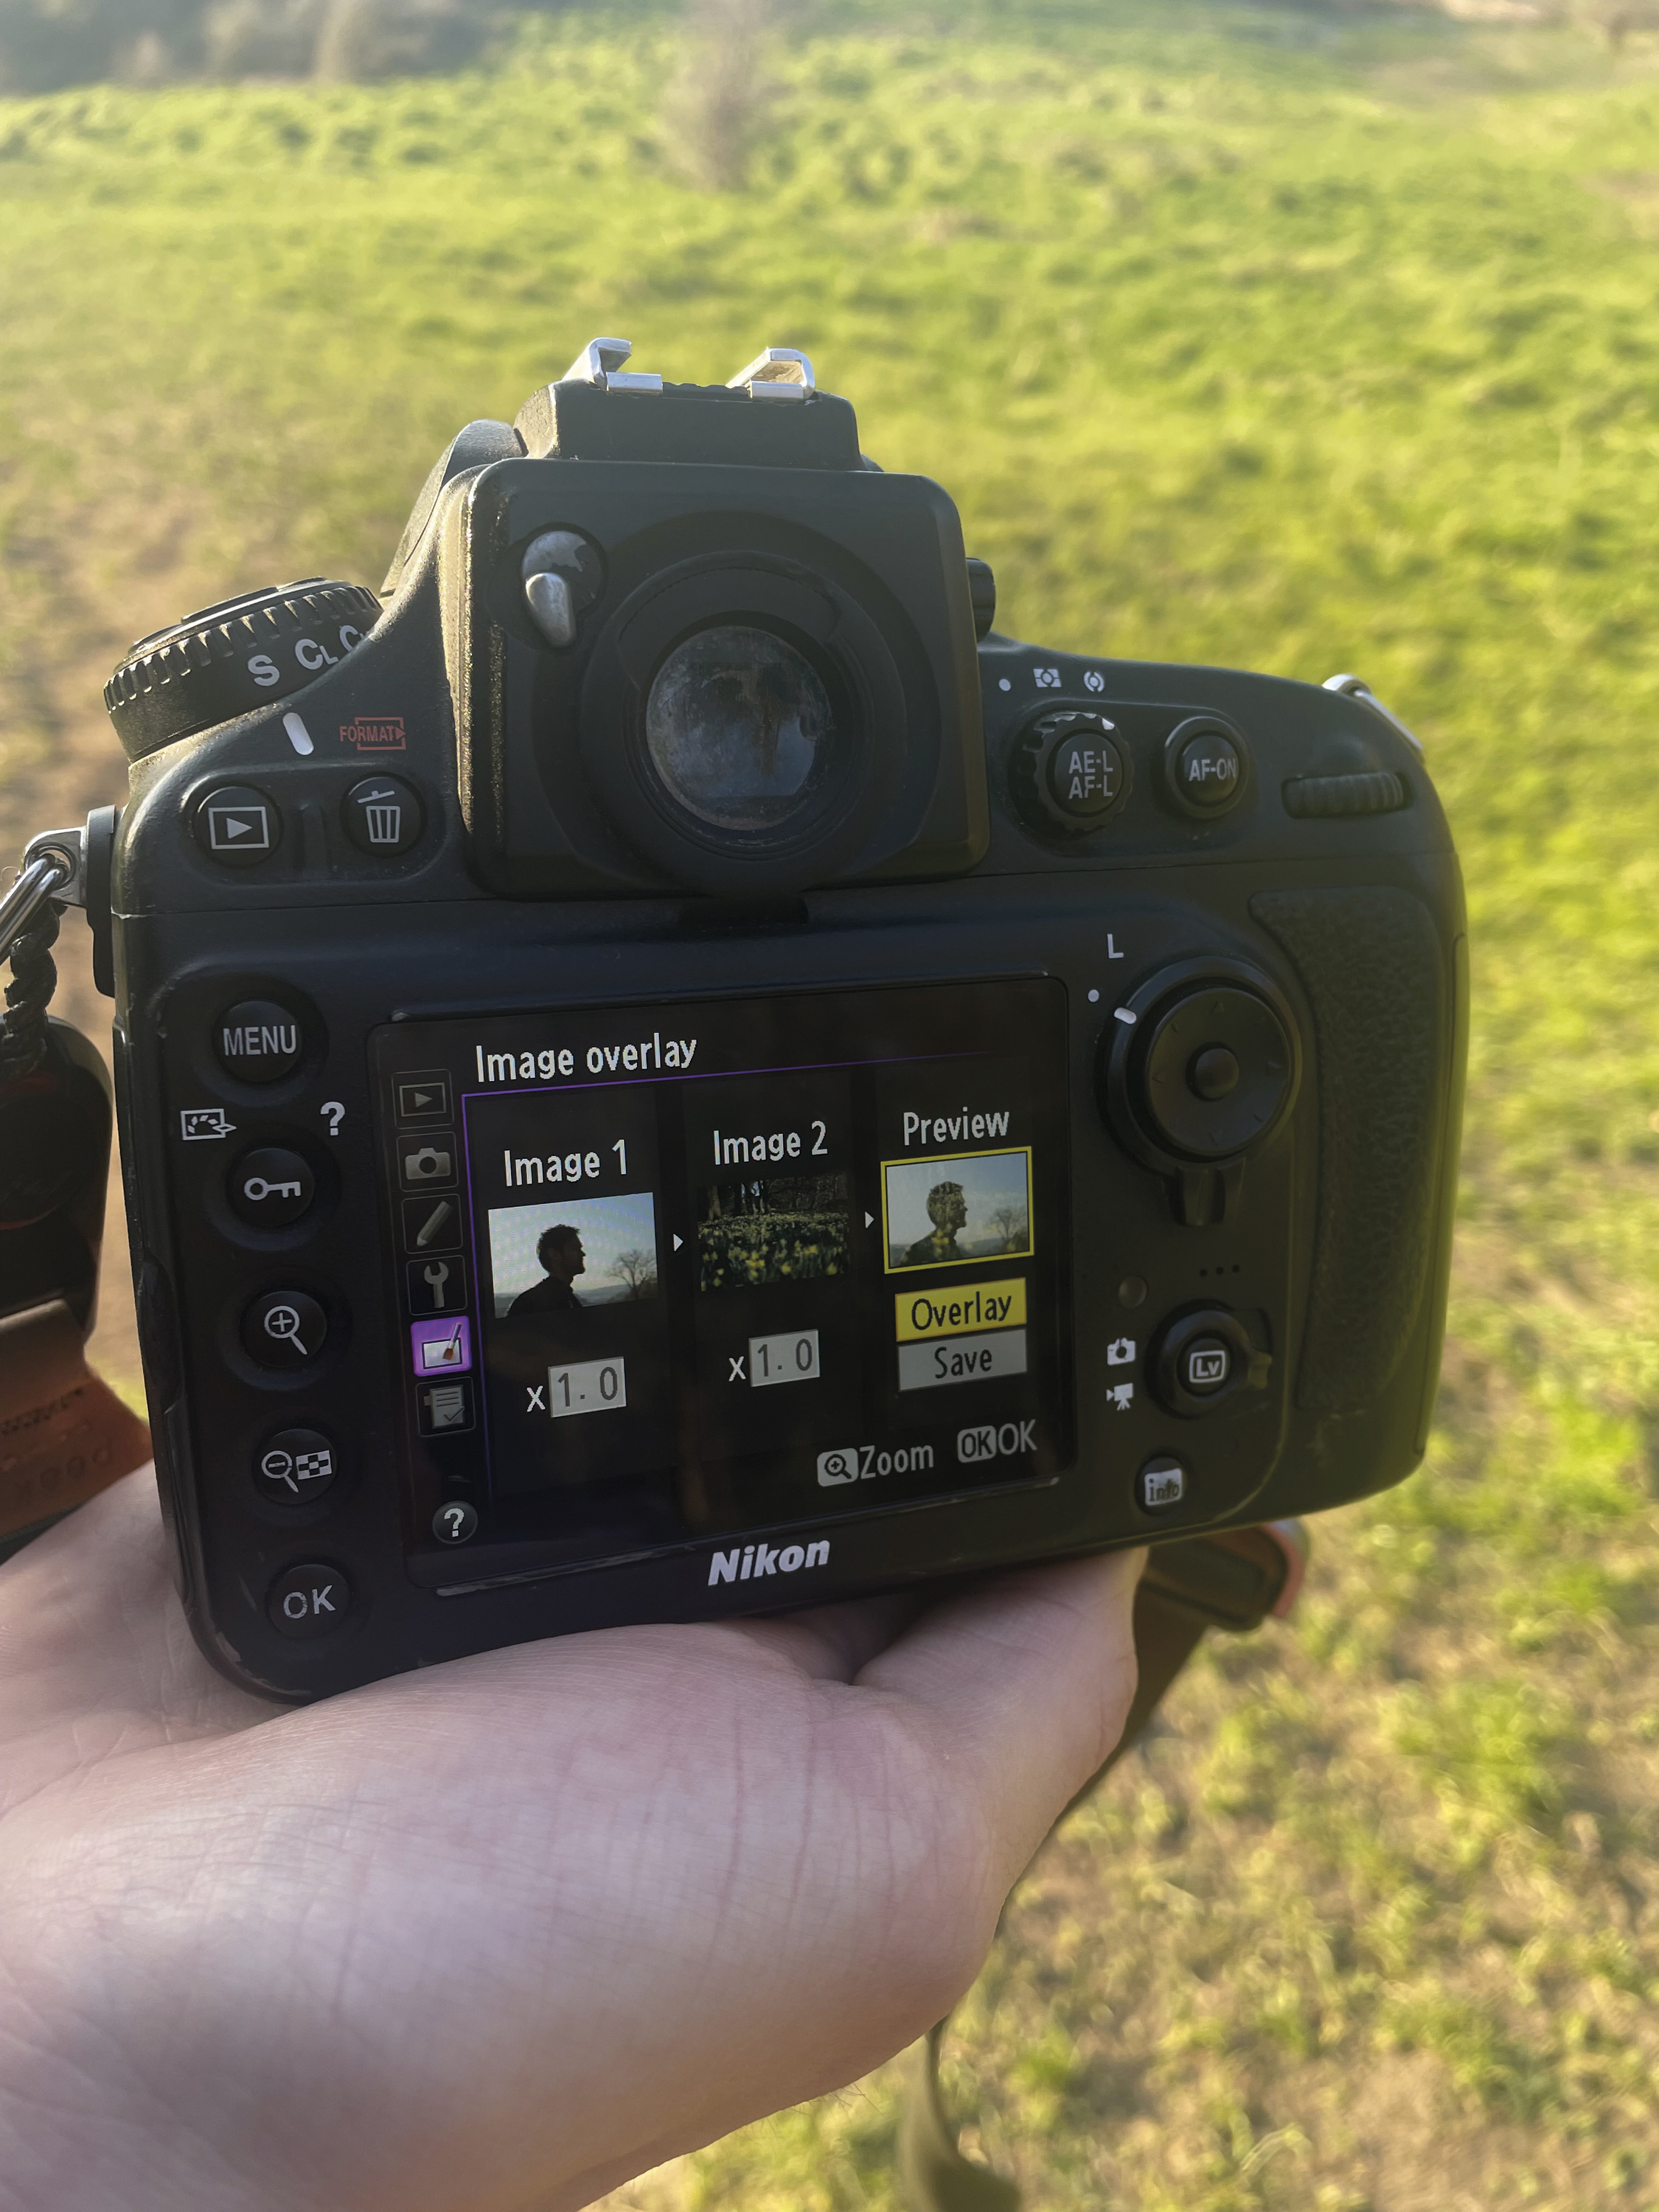
Modern cameras often have a myriad of extra functions buried in their menus; many of the high-end Nikon and Canon cameras enable you to perform the double-exposure technique in-camera. On a Canon, Navigate to the Shooting Menu, scroll down to find Multiple Exposures and press OK (Enable or Disable on a Canon system). From there, you can decide how many frames you want to shoot, and how you want the camera to expose your shots. On the Nikon D800 we were using, the feature is called Image Overlay. This enables you to pick two RAW images from the card, and the camera will convert them into one image for you instantly.
Read more
Use blending modes in Photoshop CC
Best cameras for beginners
Create a double exposure effect in Affinity Photo
Get the Digital Camera World Newsletter
The best camera deals, reviews, product advice, and unmissable photography news, direct to your inbox!
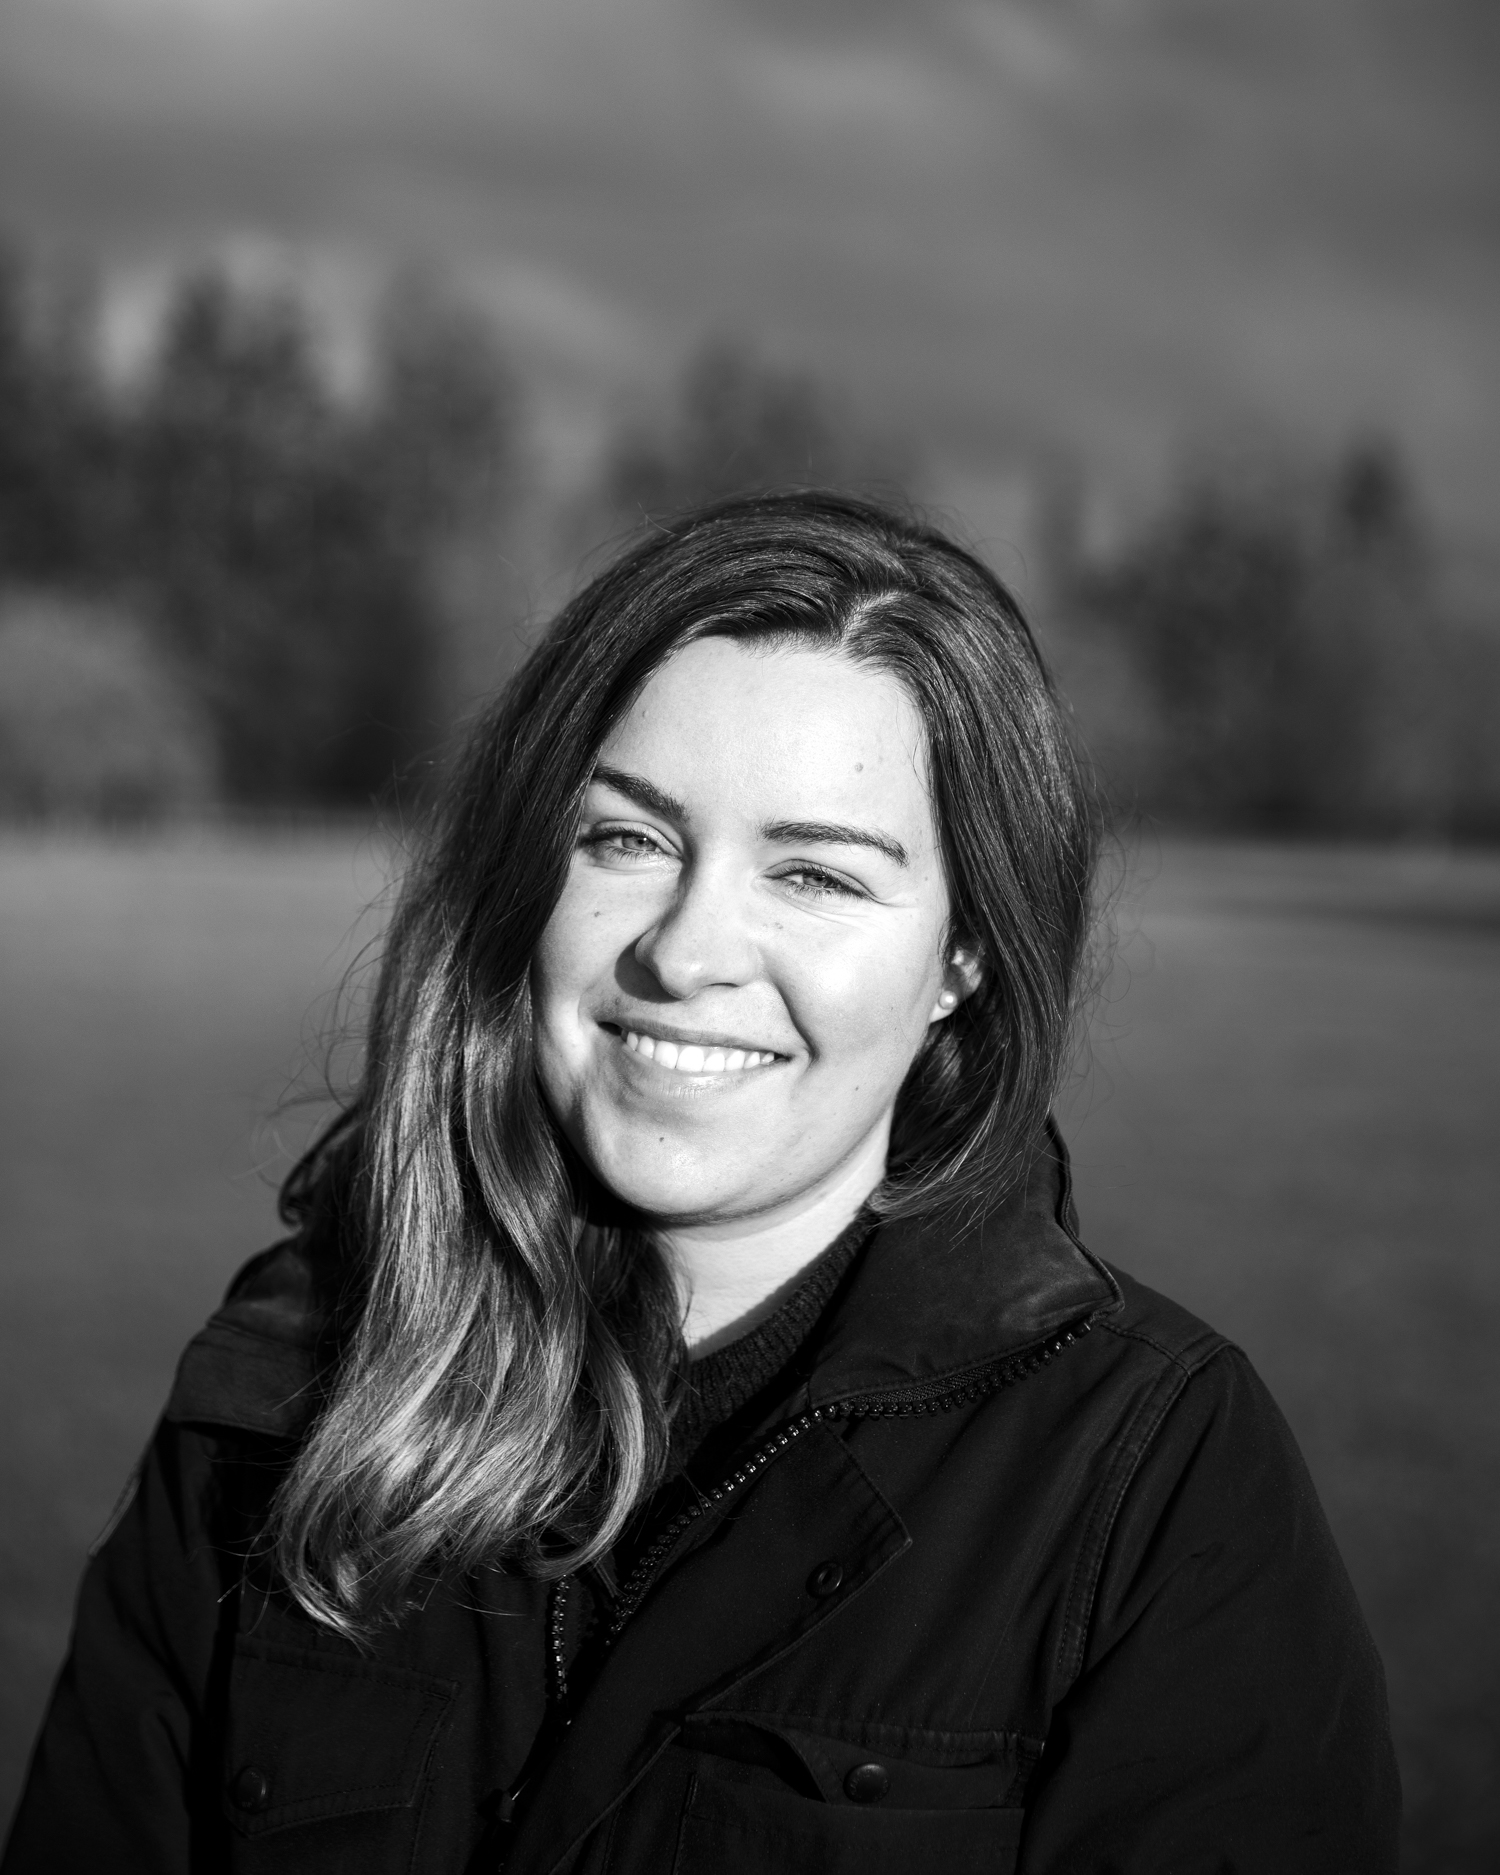
Lauren is a writer, reviewer, and photographer with ten years of experience in the camera industry. She's the former Managing Editor of Digital Camera World, and previously served as Editor of Digital Photographer magazine, Technique editor for PhotoPlus: The Canon Magazine, and Deputy Editor of our sister publication, Digital Camera Magazine. An experienced journalist and freelance photographer, Lauren also has bylines at Tech Radar, Space.com, Canon Europe, PCGamesN, T3, Stuff, and British Airways' in-flight magazine. When she's not testing gear for DCW, she's probably in the kitchen testing yet another new curry recipe or walking in the Cotswolds with her Flat-coated Retriever.
