Go off grid this autumn in search of epic landscape locations
Sam East explains how to work off grid and get the most out of your photographic trips
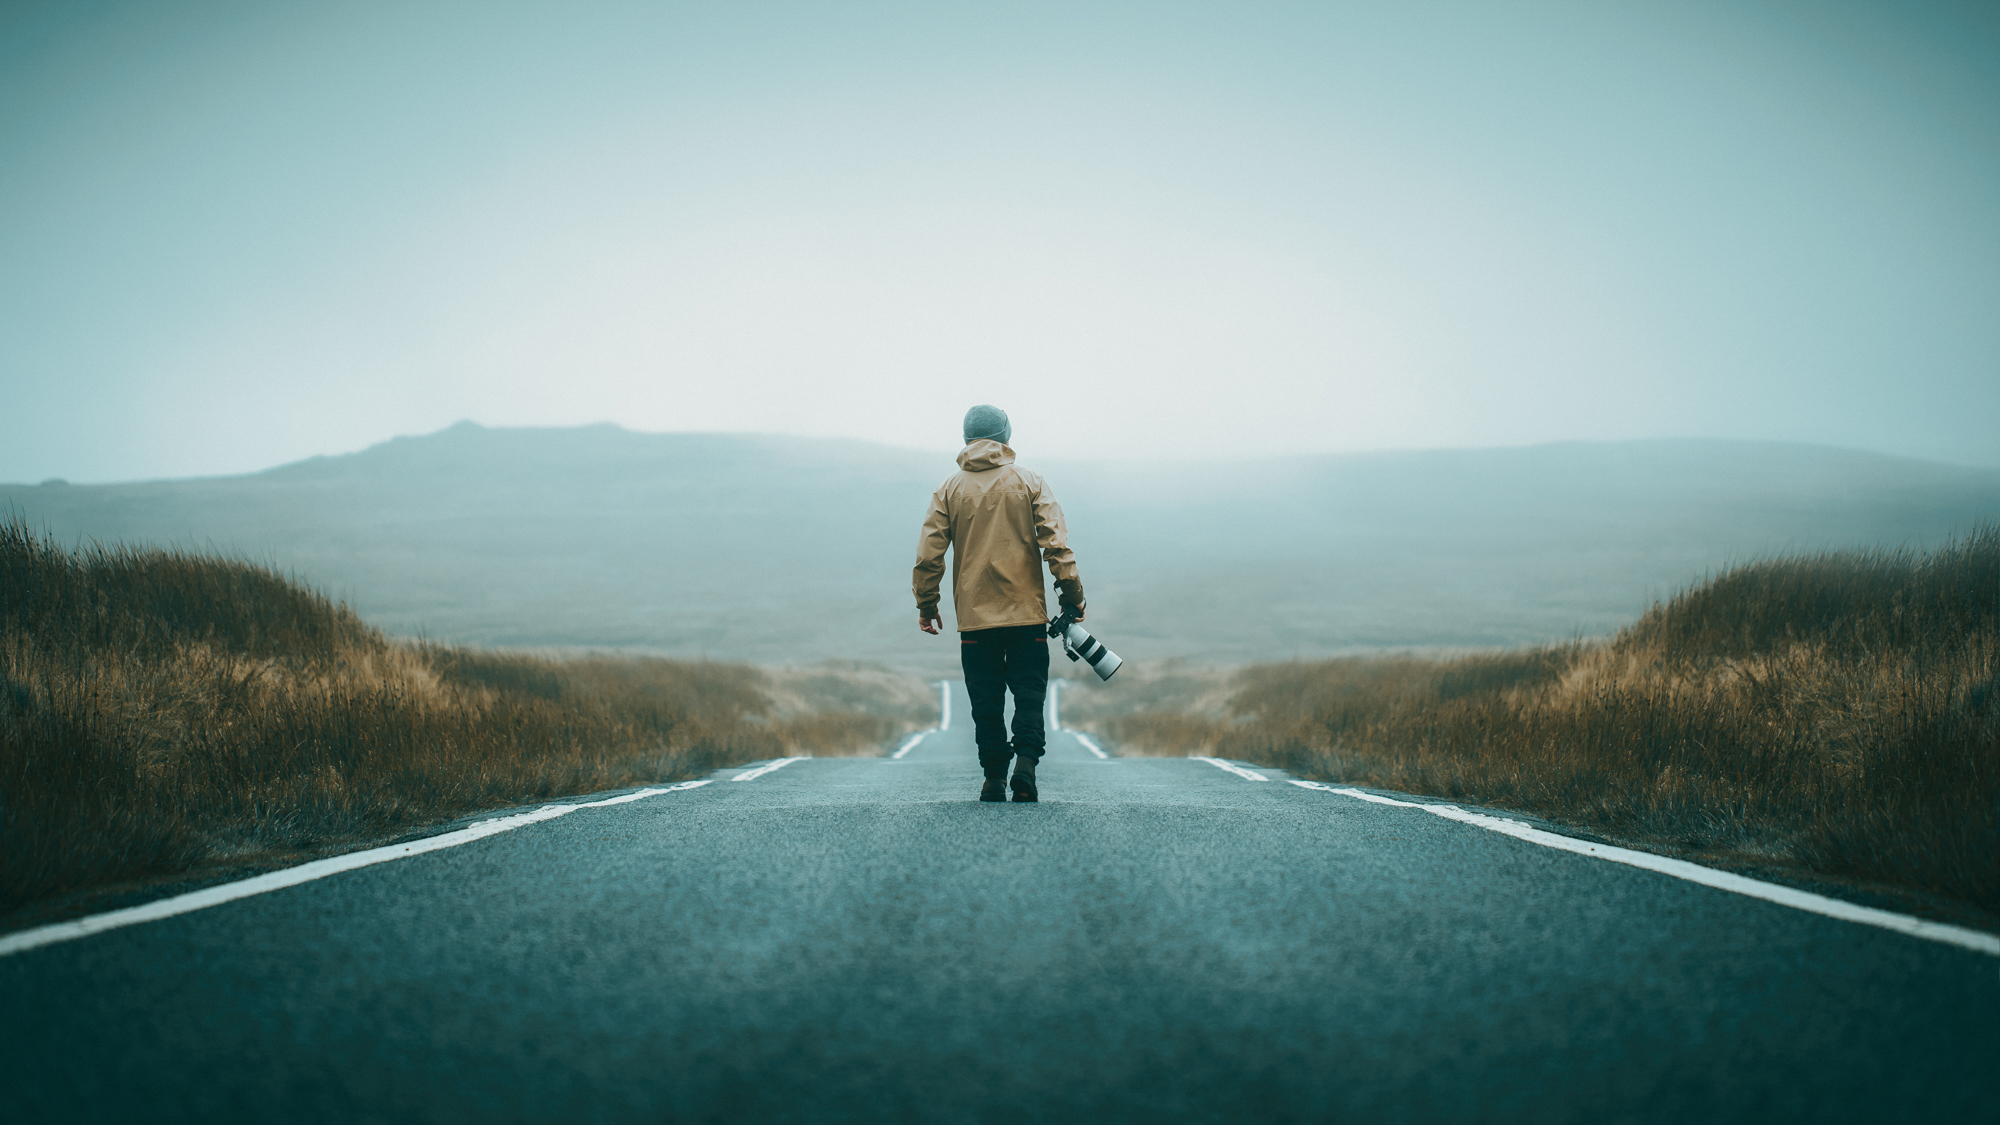
Having crafted a reputation for visually sleek and sharp photography that captivates audiences, British-born photographer and filmmaker Sam specializes in creating commercial, portrait, landscape and automotive imagery.
Visual storytelling is at the forefront of Sam’s work and stems from his love of motion pictures, where he also draws inspiration for his cinematic tones, colors and composition witnessed throughout his portfolio.
With nearly a decade of experience behind the camera, Sam is never far away from capturing split-second moments influenced by his perception of light, filled with emotion that visually arrests viewers – but a glance at his Instagram feed could tell you that. If you're into the outdoors like Sam, these are the best lenses for landscapes.
5 steps for shooting out on location
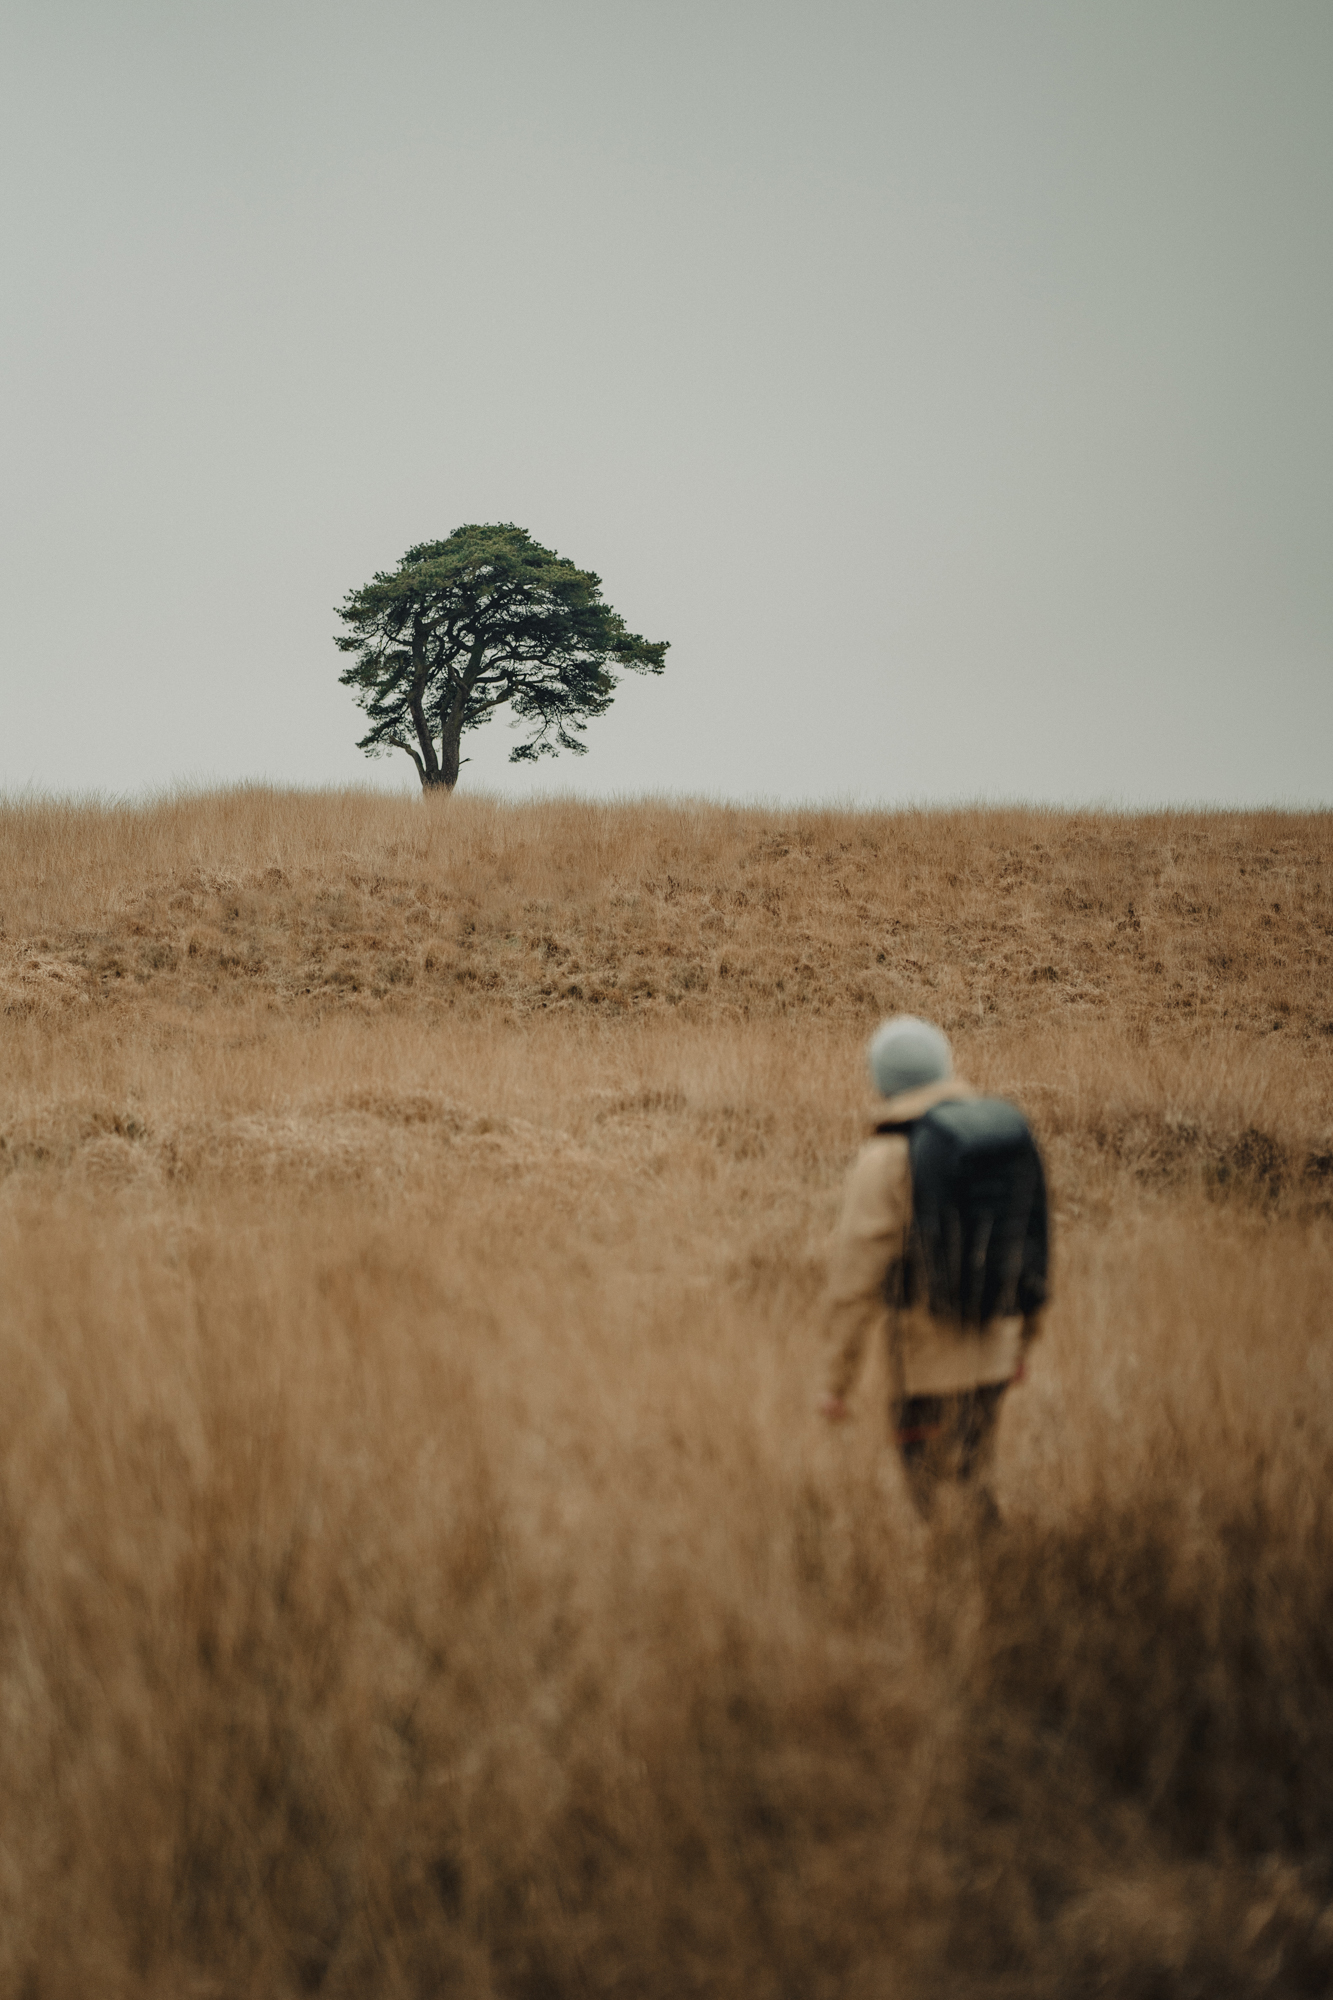
1. Scout the area
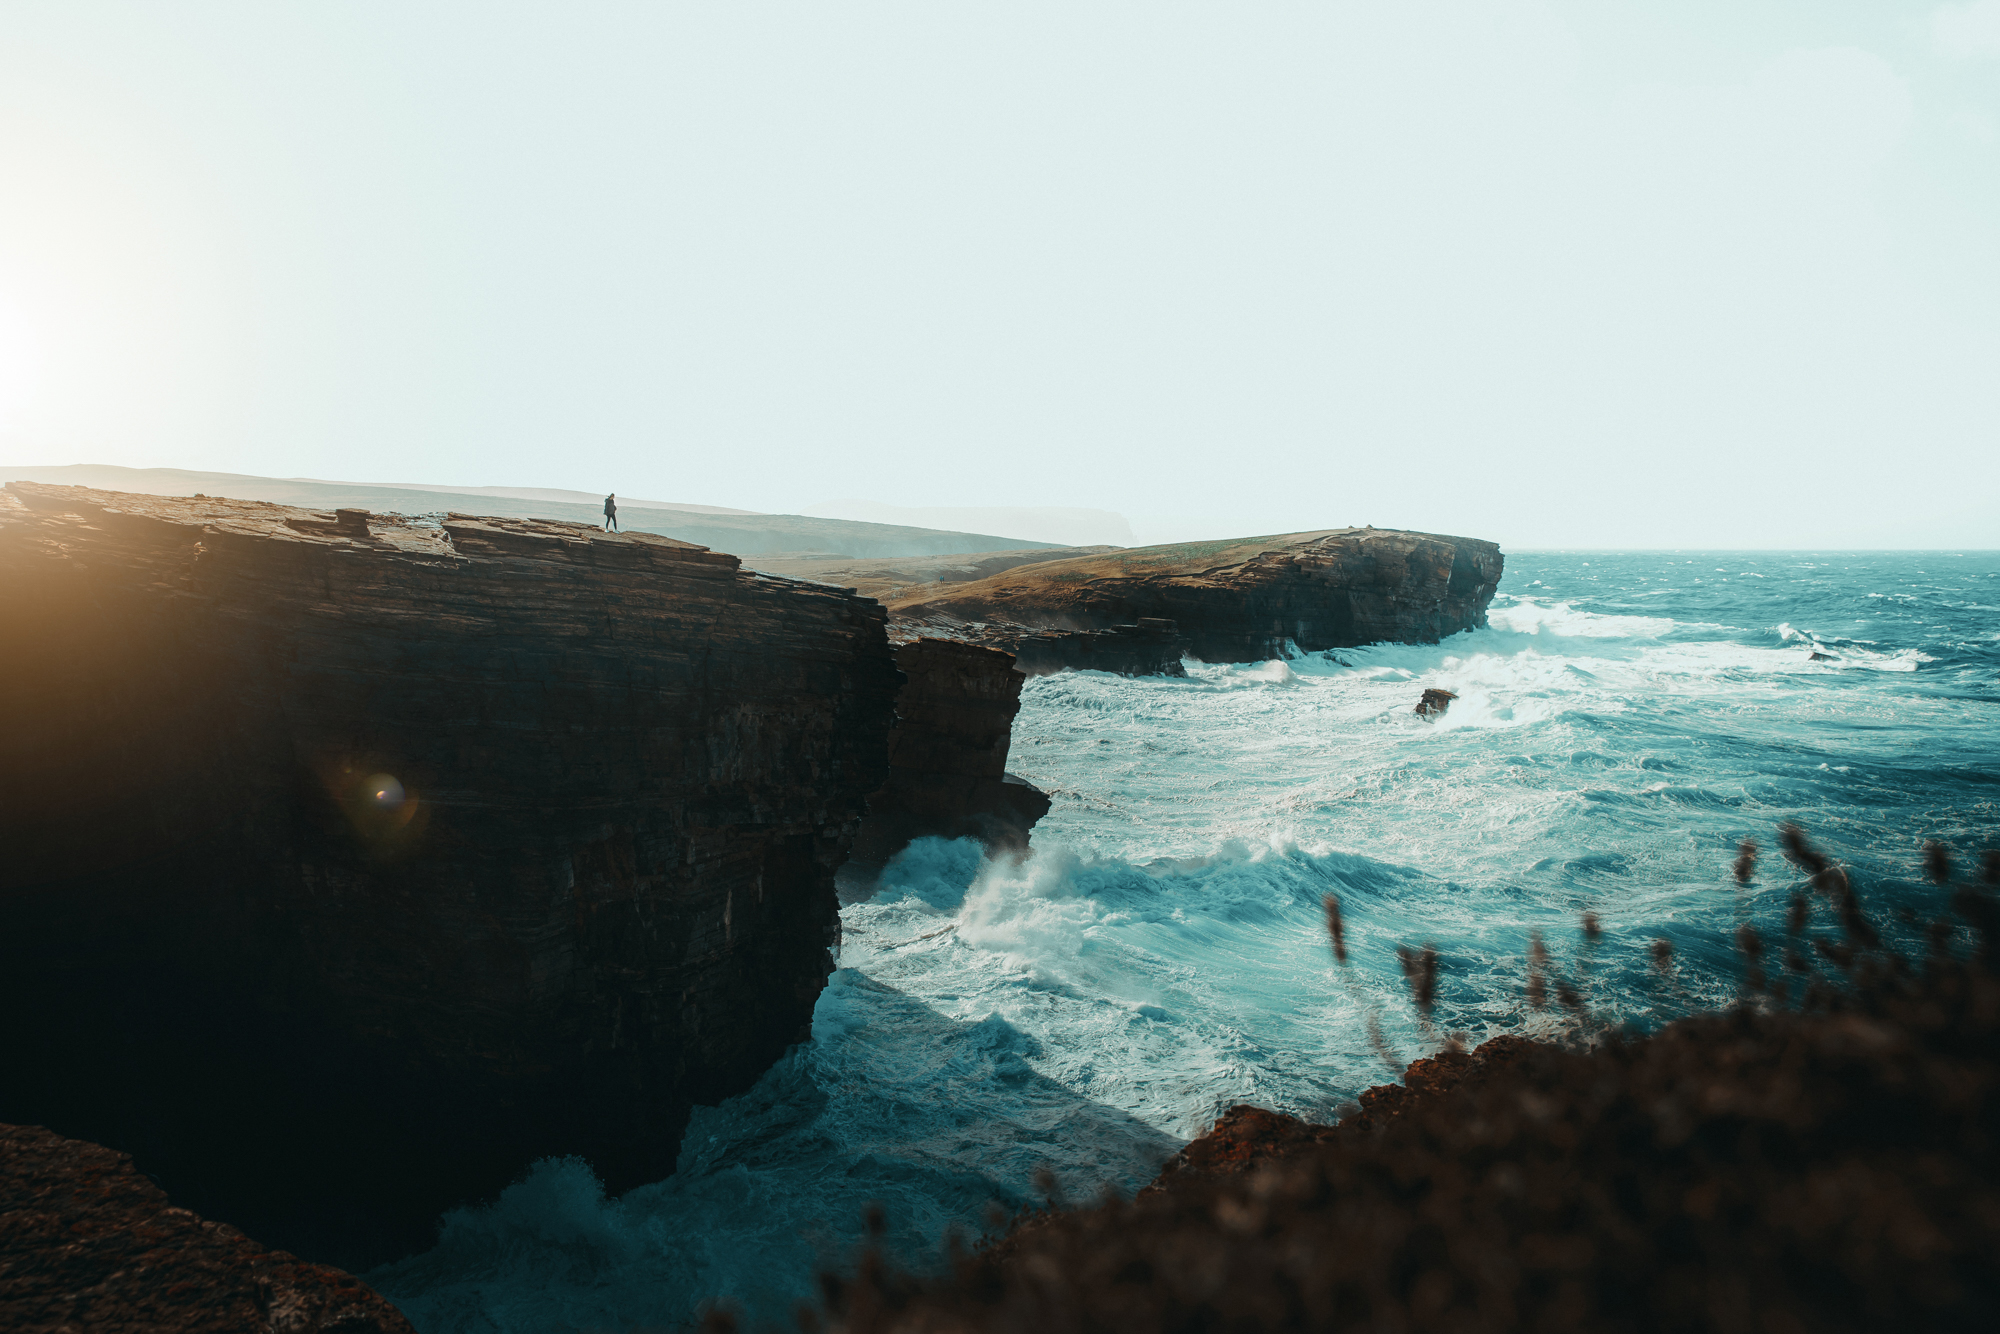
I’ll always be looking for a focus point to base my image around, such as a tree, wall, or old wooden gate. The majority of the time when I’m shooting landscapes, I like to adhere to the rule of thirds. Placing the key point of focus/subject of your image on one of the third lines just off-center usually makes for a visually pleasing image, and is easy on the audience’s eyes. It also leaves room for your landscape shots to take over the rest of the frame, helping the audience to understand scale and distance. You can get to grips with composition here.
2. Retaining highlight details
When shooting landscapes, my number one rule is to always underexpose the image to retain detail in the highlights (brightest parts of the image). Why do I do this? When it comes to post-processing your raw photo, it’s far easier to bring out the detail from the shadows than trying to recover completely blown-out highlights with no data.
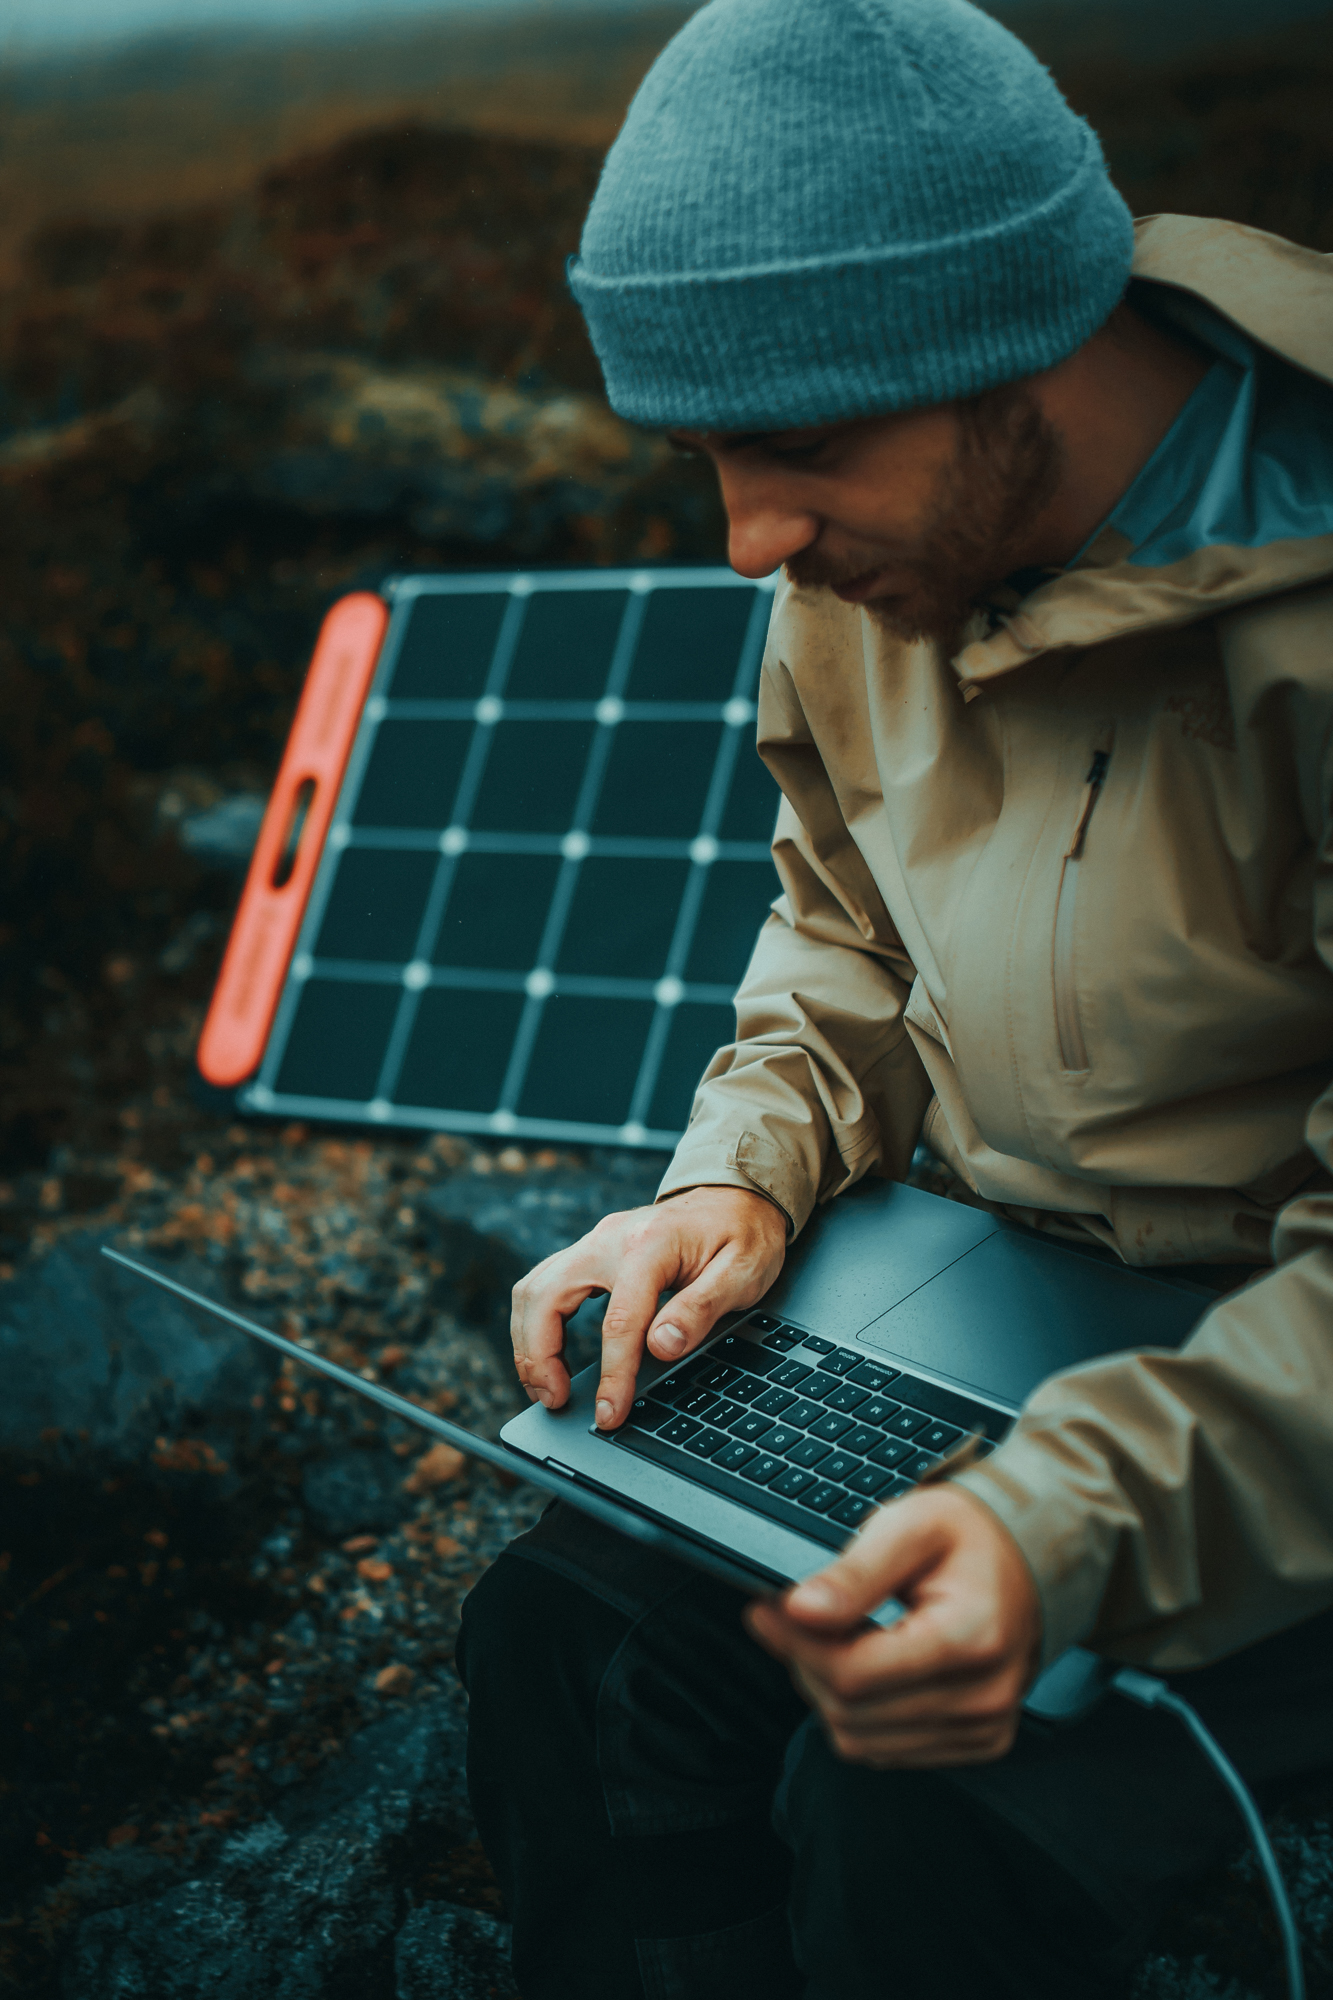
3. Stay powered up on location
When I find myself in more remote locations, I take my Solar Saga 100W solar panel. I find that reviewing images on a larger screen and doing basic edits on the move helps me get the image shot as best as possible. Not only that – I can also charge batteries and mobile phones if I’m out over a couple of days. These are some of the best solar chargers around right now.
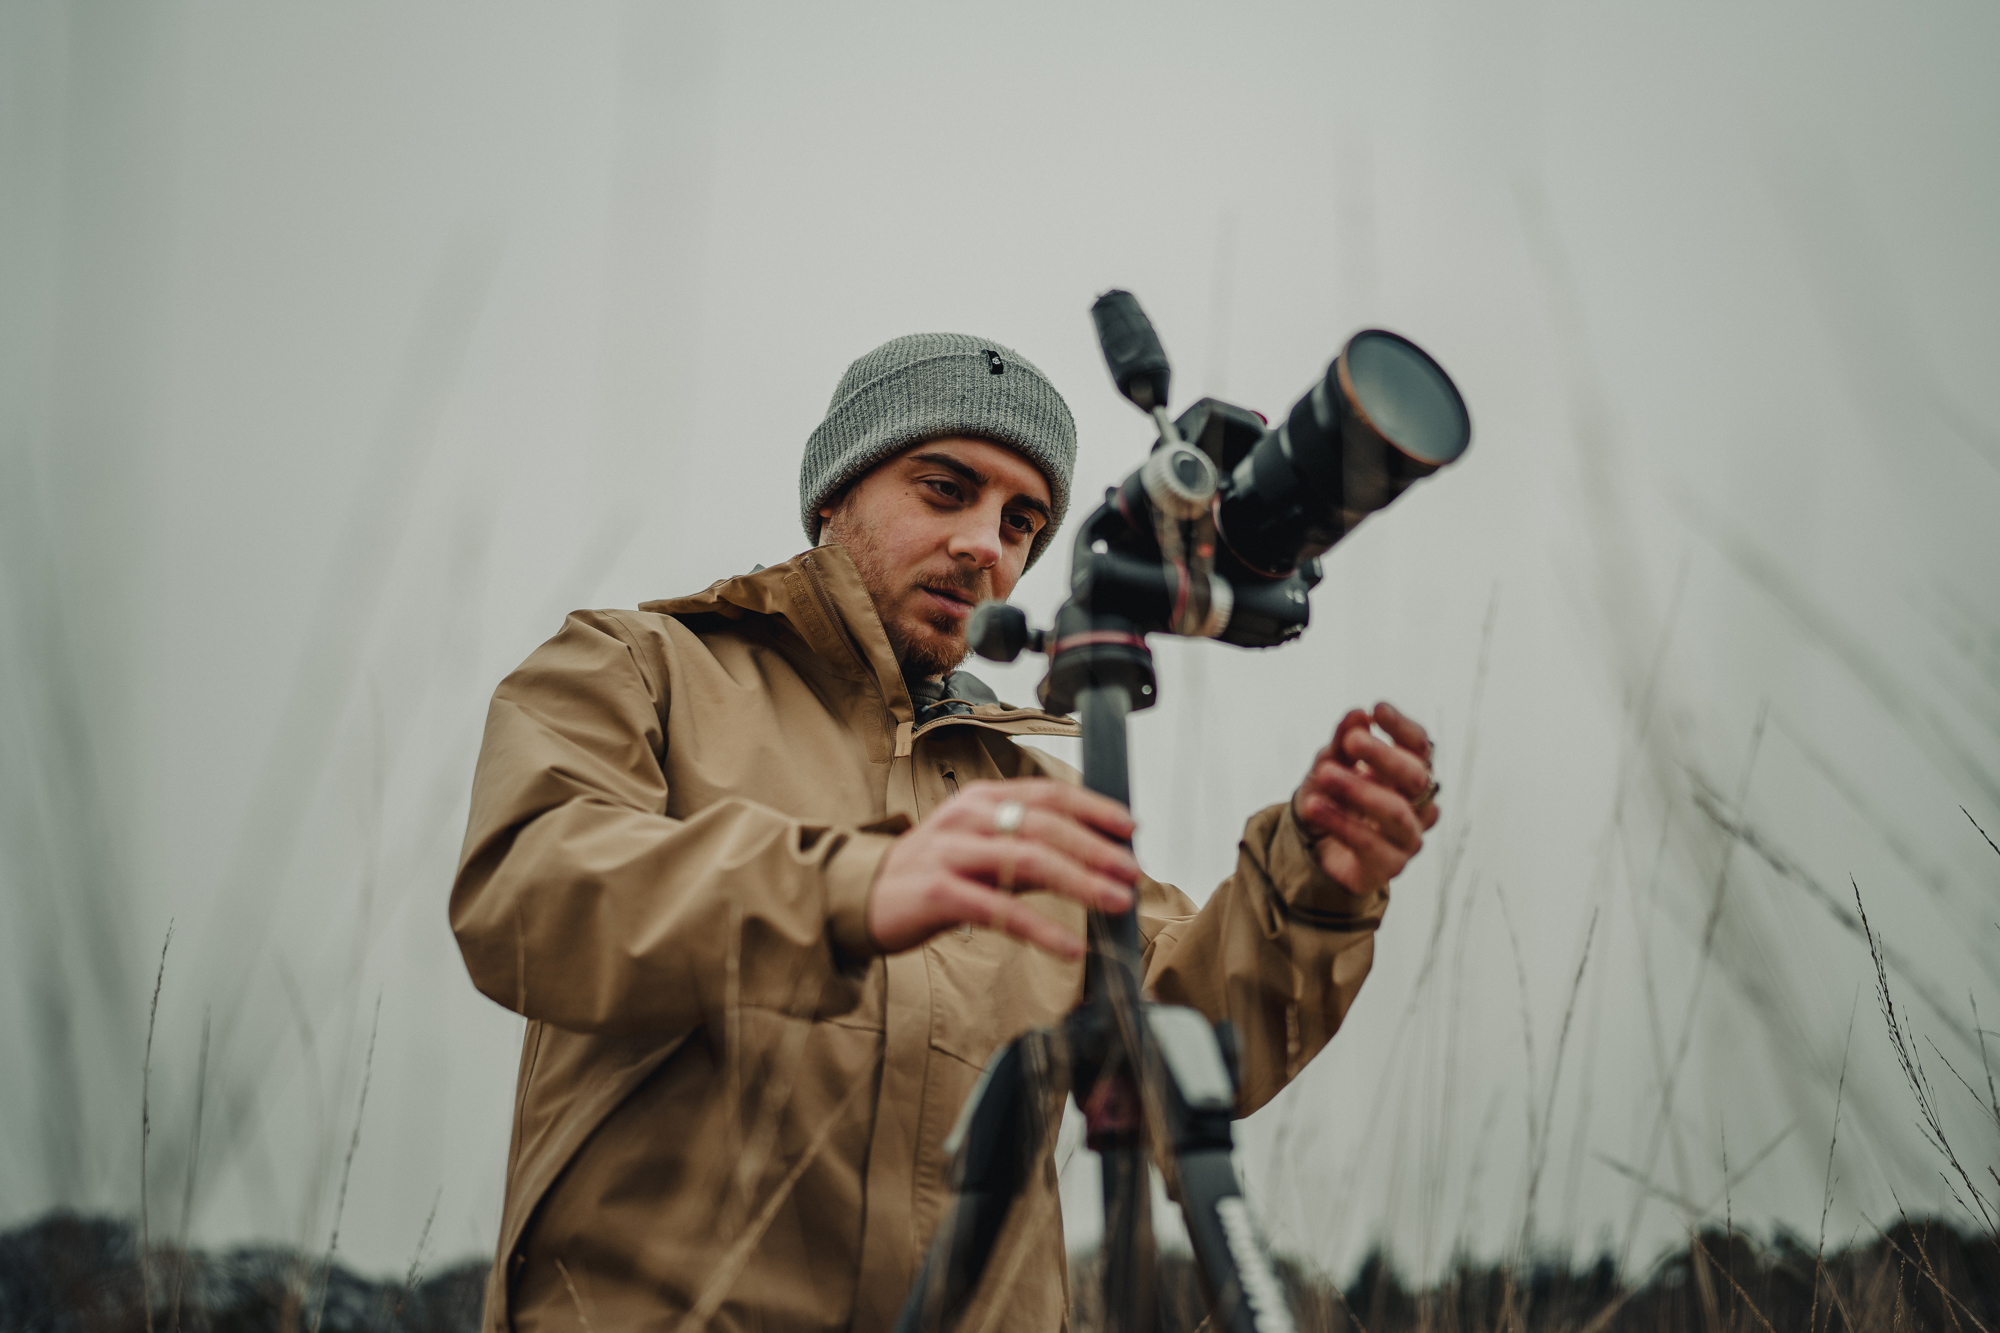
4. Use layers to create depth in your images
Depth can be achieved by teaming your aperture value with a wellplaced foreground element. For example, a lot of my landscape work involves the camera being low, and shooting with an element of the environment impinging on my frame – such as a leaf, stone or wall being out of focus will create the desired layers and add depth to the image.
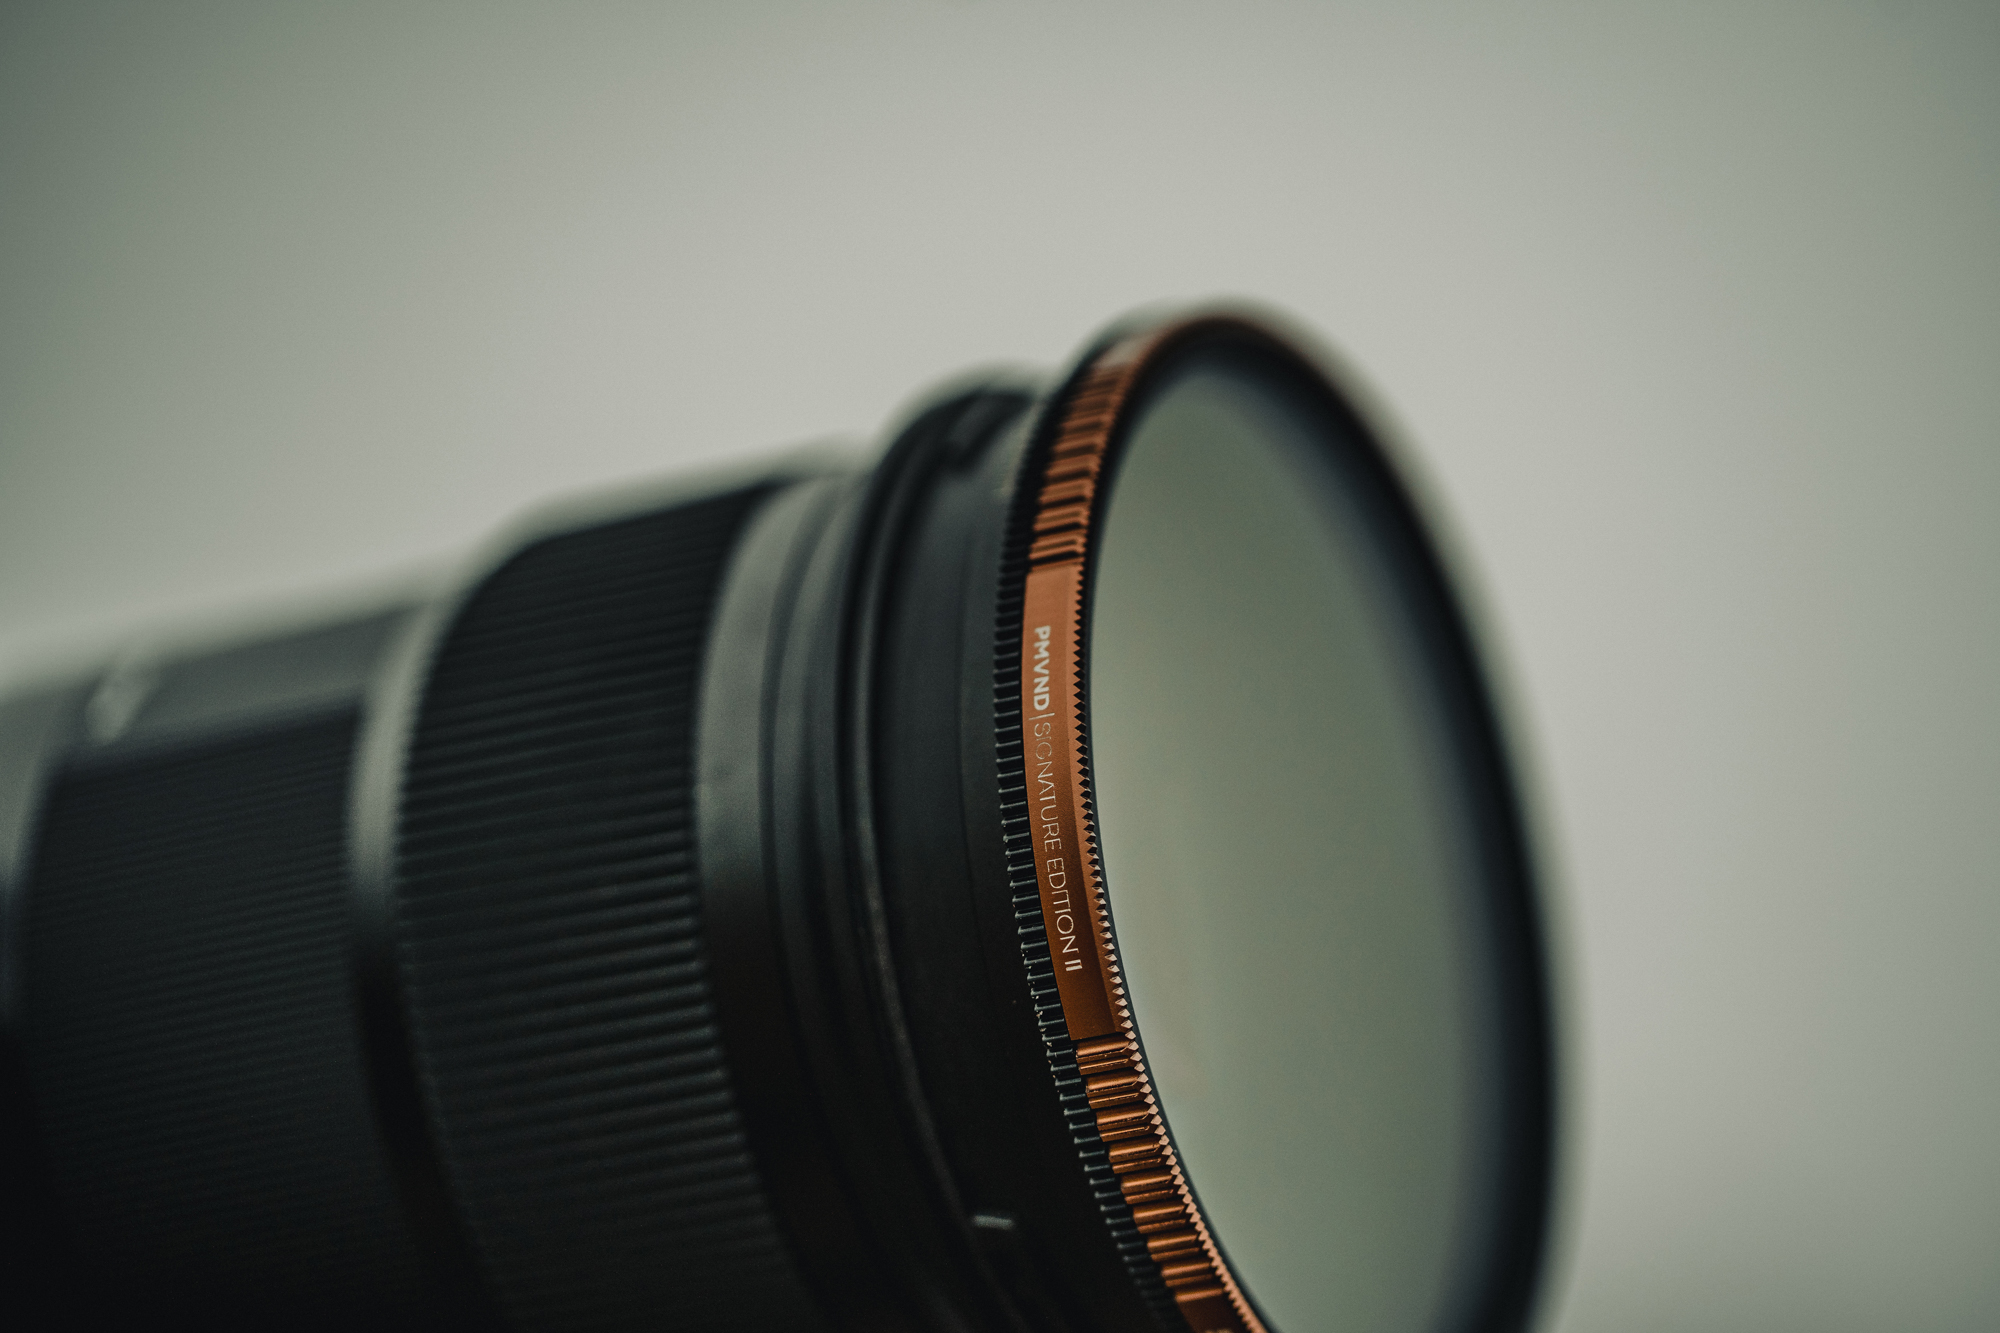
5. An ND filter can be invaluable
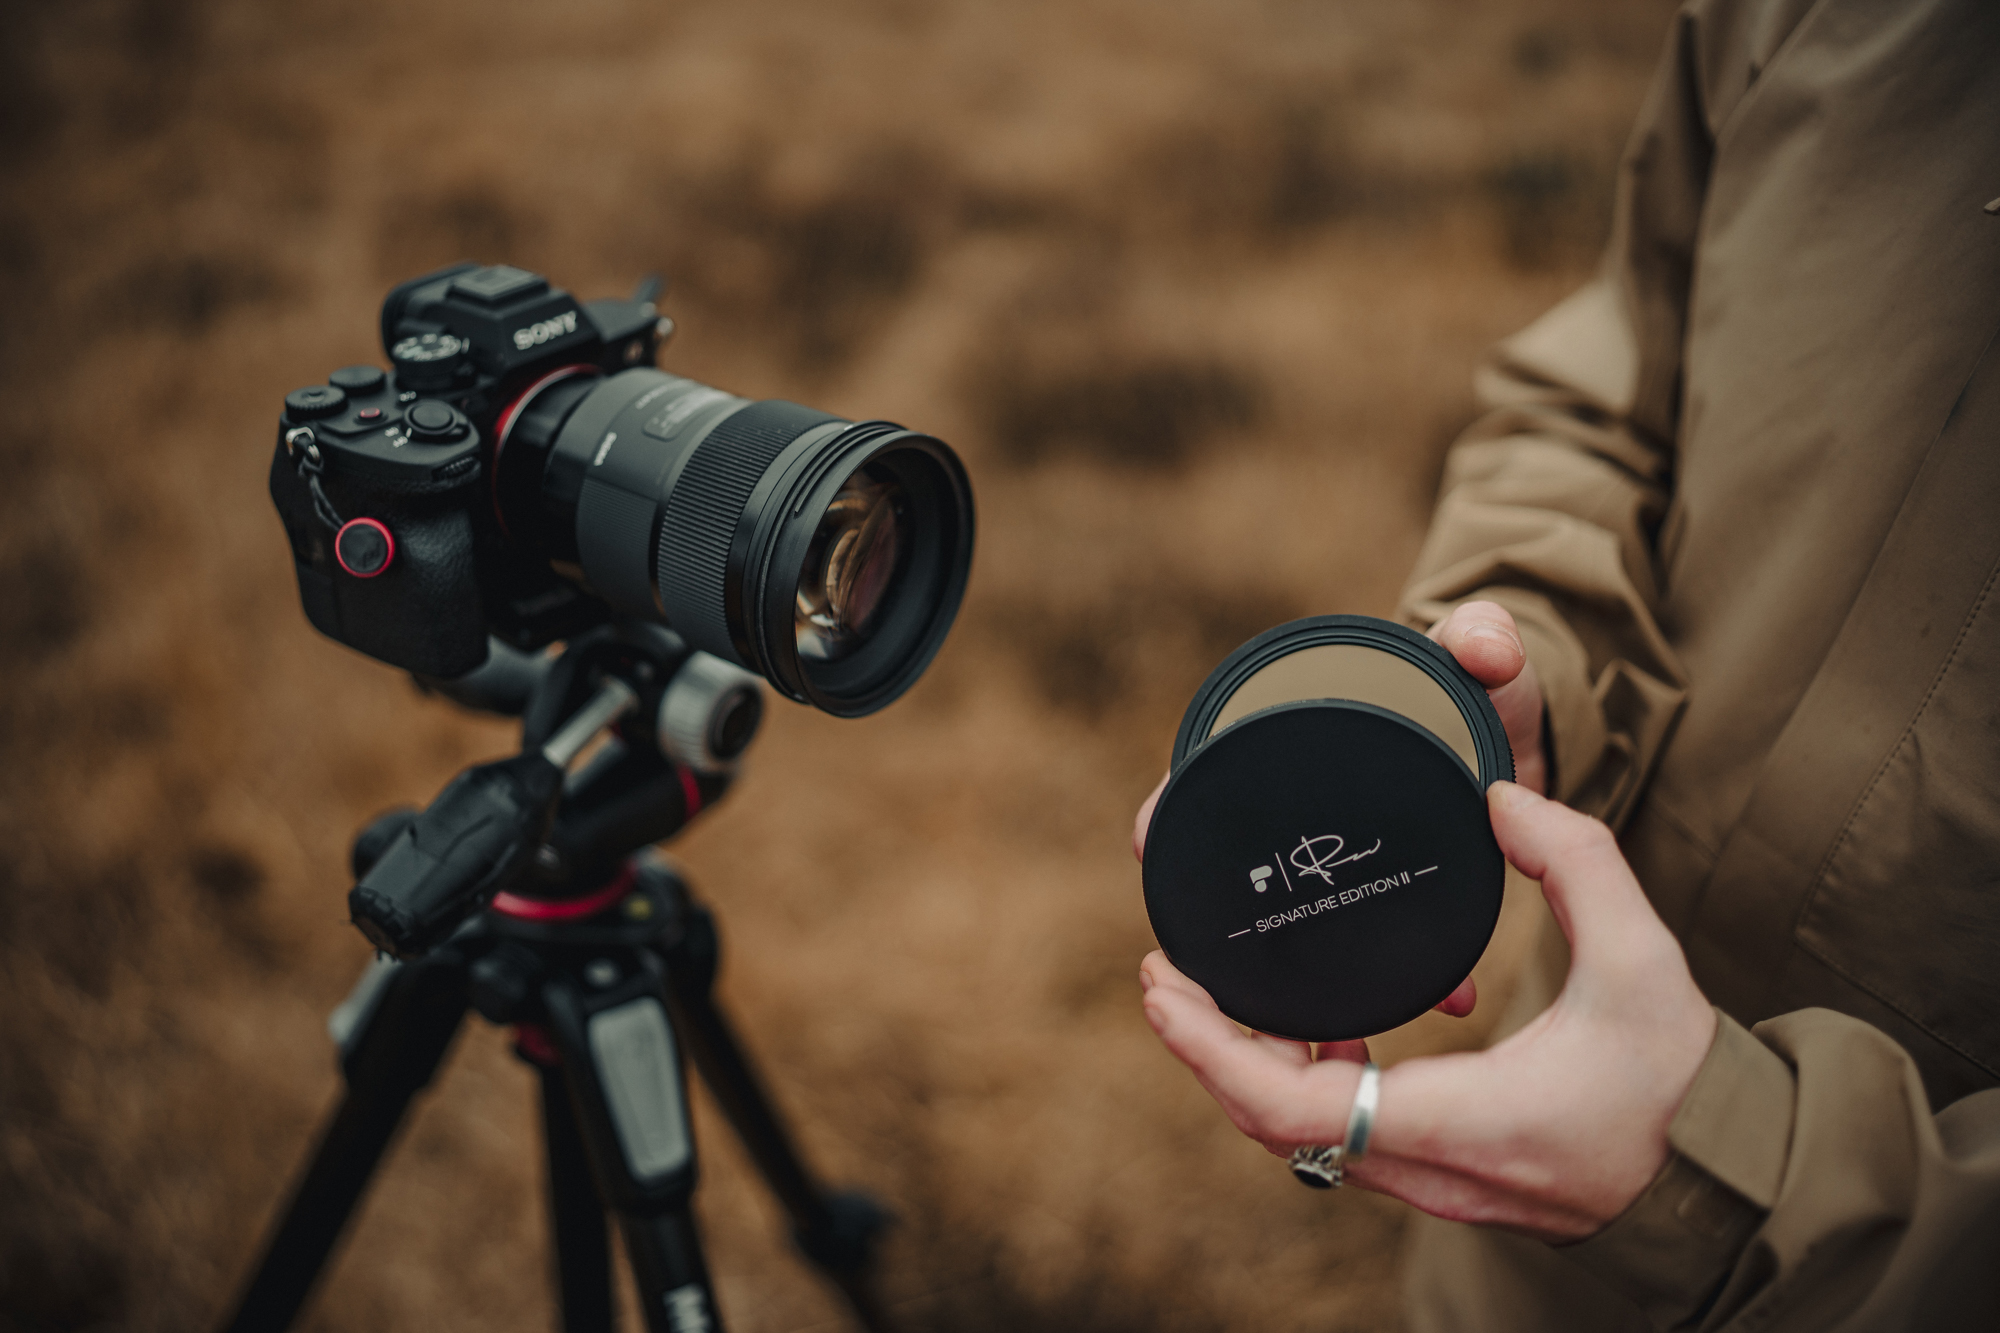
What does a neutral density filter do? As you rotate the front element of the filter, it reduces the amount of light hitting your sensor, enabling you to keep the aperture wide open to allow a shallow area of focus in even the brightest of conditions. I use the Polar Pro Peter McKinnon Signature Edition II Variable ND 2-5 stop, and it has been an invaluable bit of kit in my bag for a while now.
These are the best Sony A7 III deals, and we've also got an expert Sony A7 III review. You might also want to check out the best lenses for the Sony A7 II.
Get the Digital Camera World Newsletter
The best camera deals, reviews, product advice, and unmissable photography news, direct to your inbox!
Alistair is the Features Editor of Digital Camera magazine, and has worked as a professional photographer and video producer.
