Hollywood trickery! Turn the daytime to night in-camera
Think like a Hollywood filmmaker and learn this creative in-camera special effect, for producing atmospheric night-like scenes
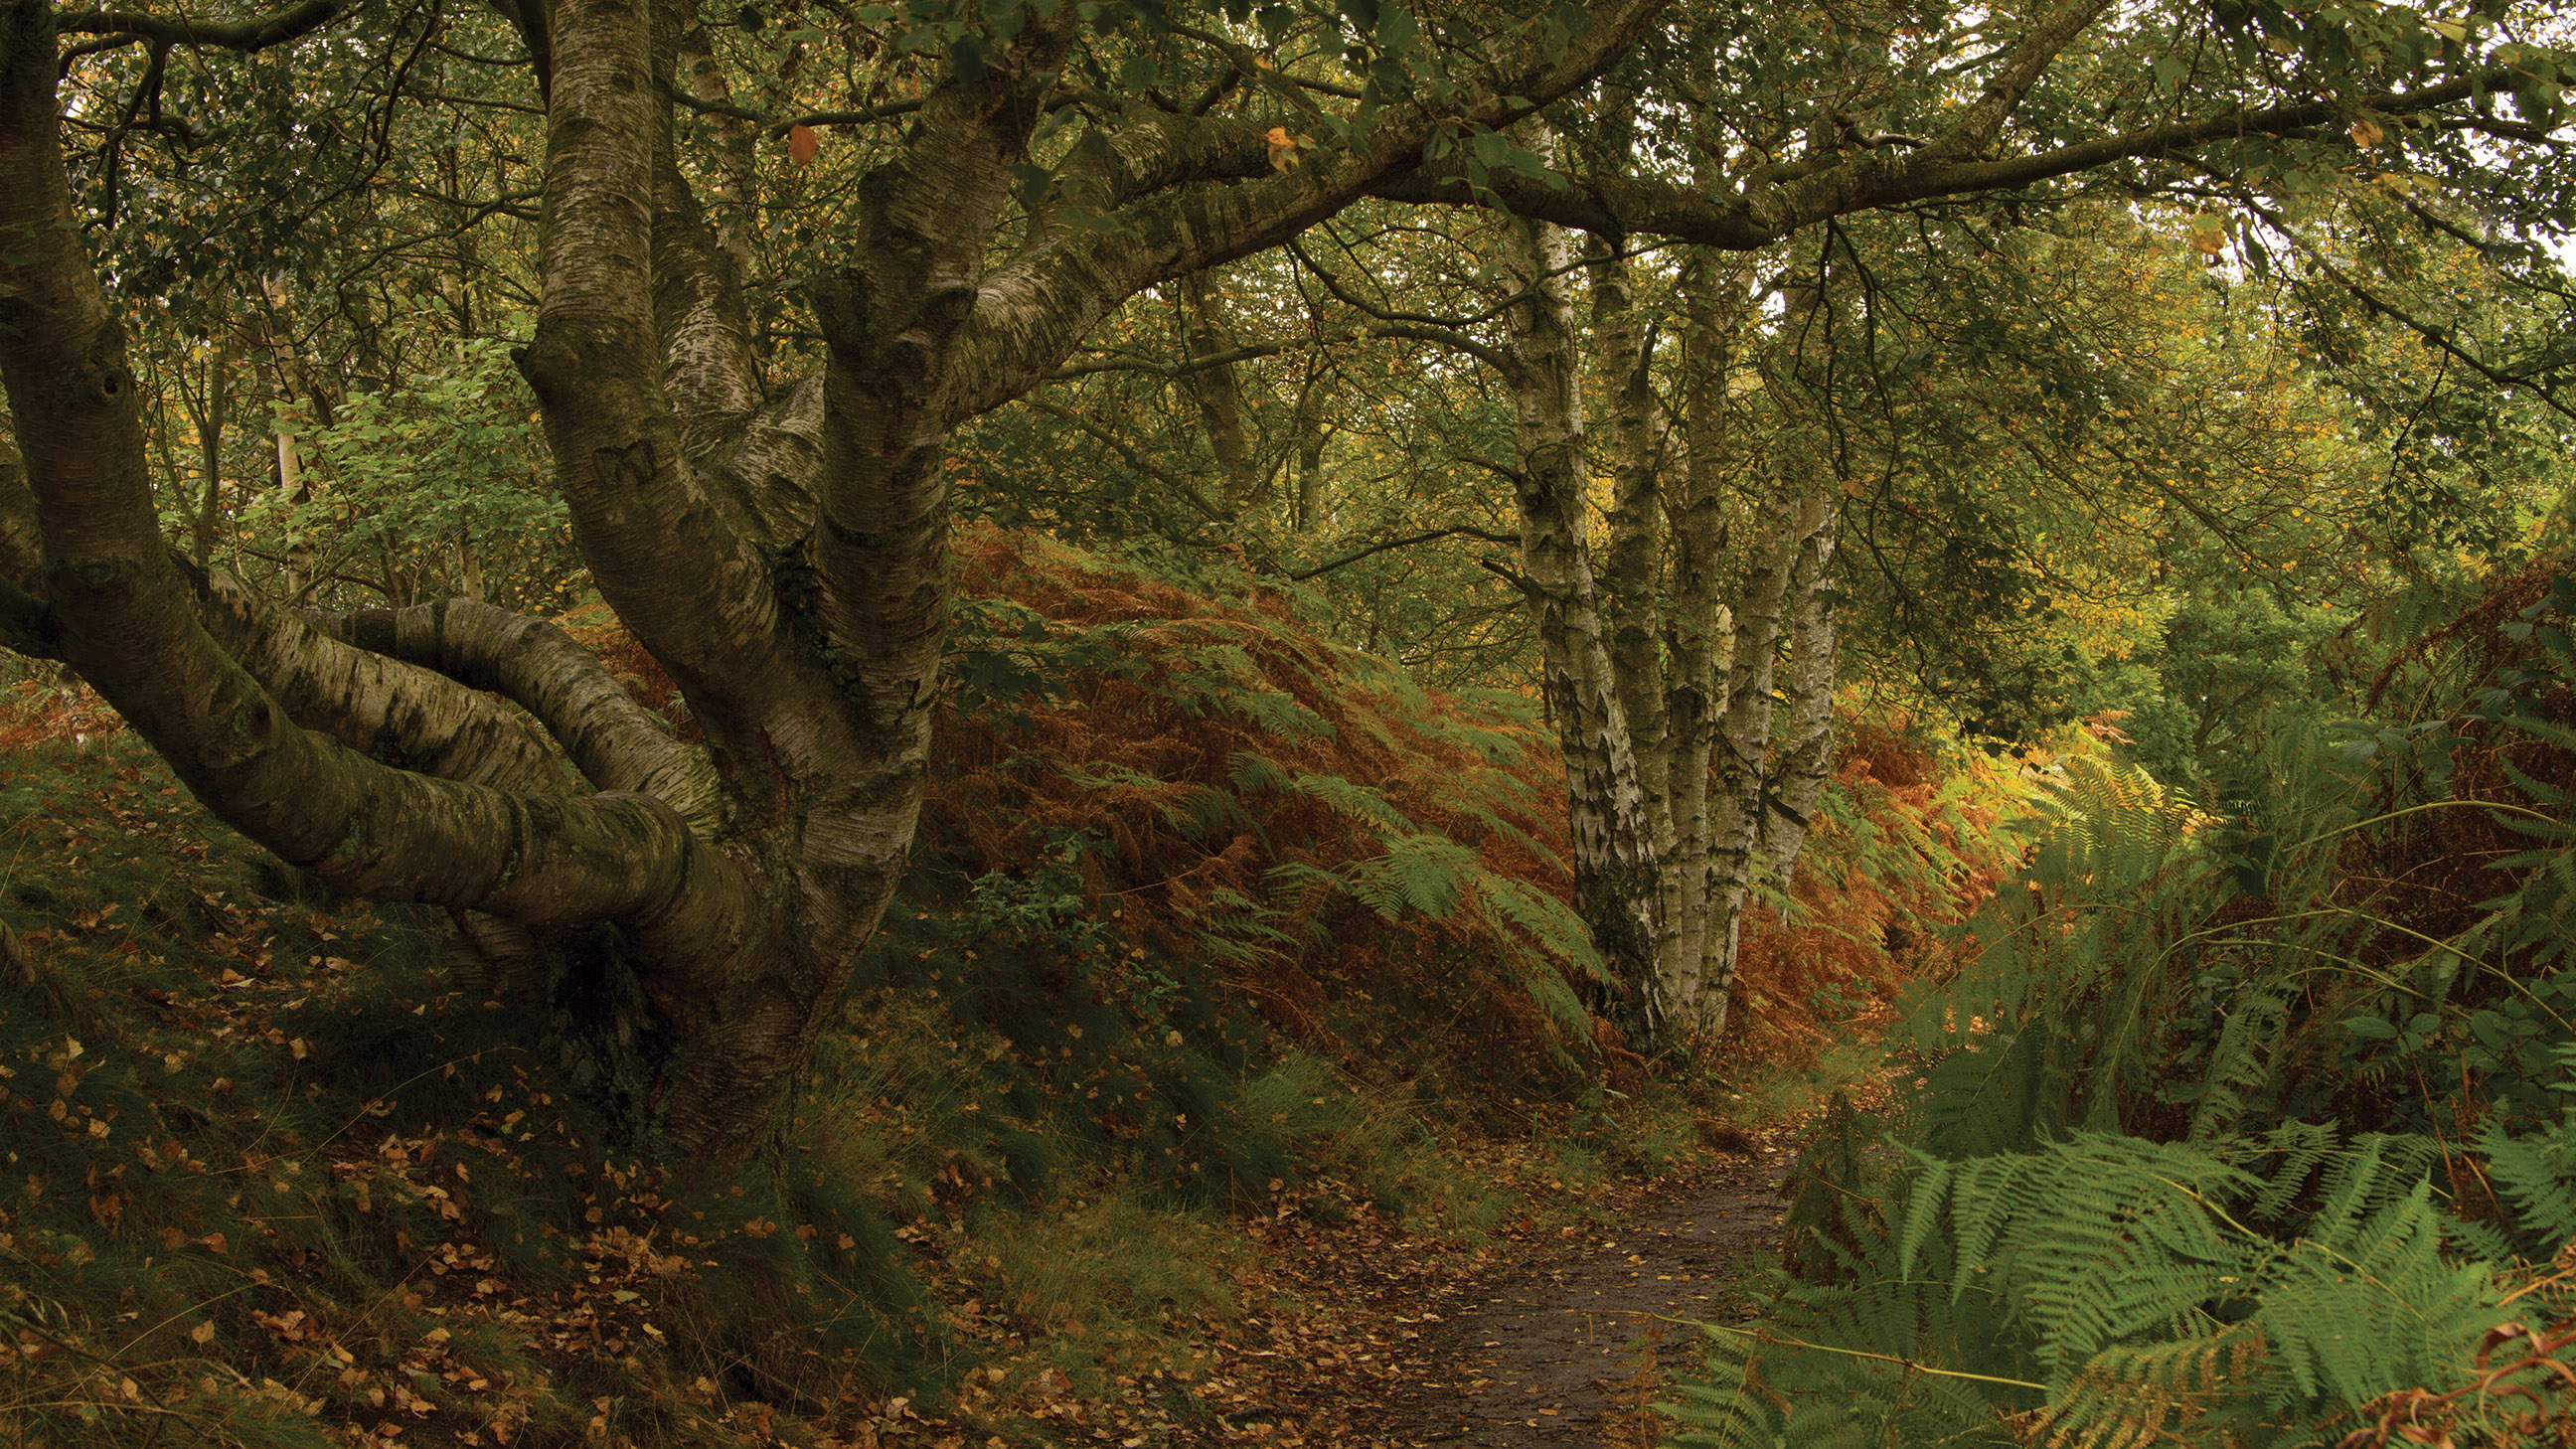
Shooting at night can produce extremely atmospheric images, with deep shadows and strong contrast complimenting a predominance of cool hues. However, the low light conditions can introduce many challenges, with camera shake and difficult focussing working to degrade image quality.
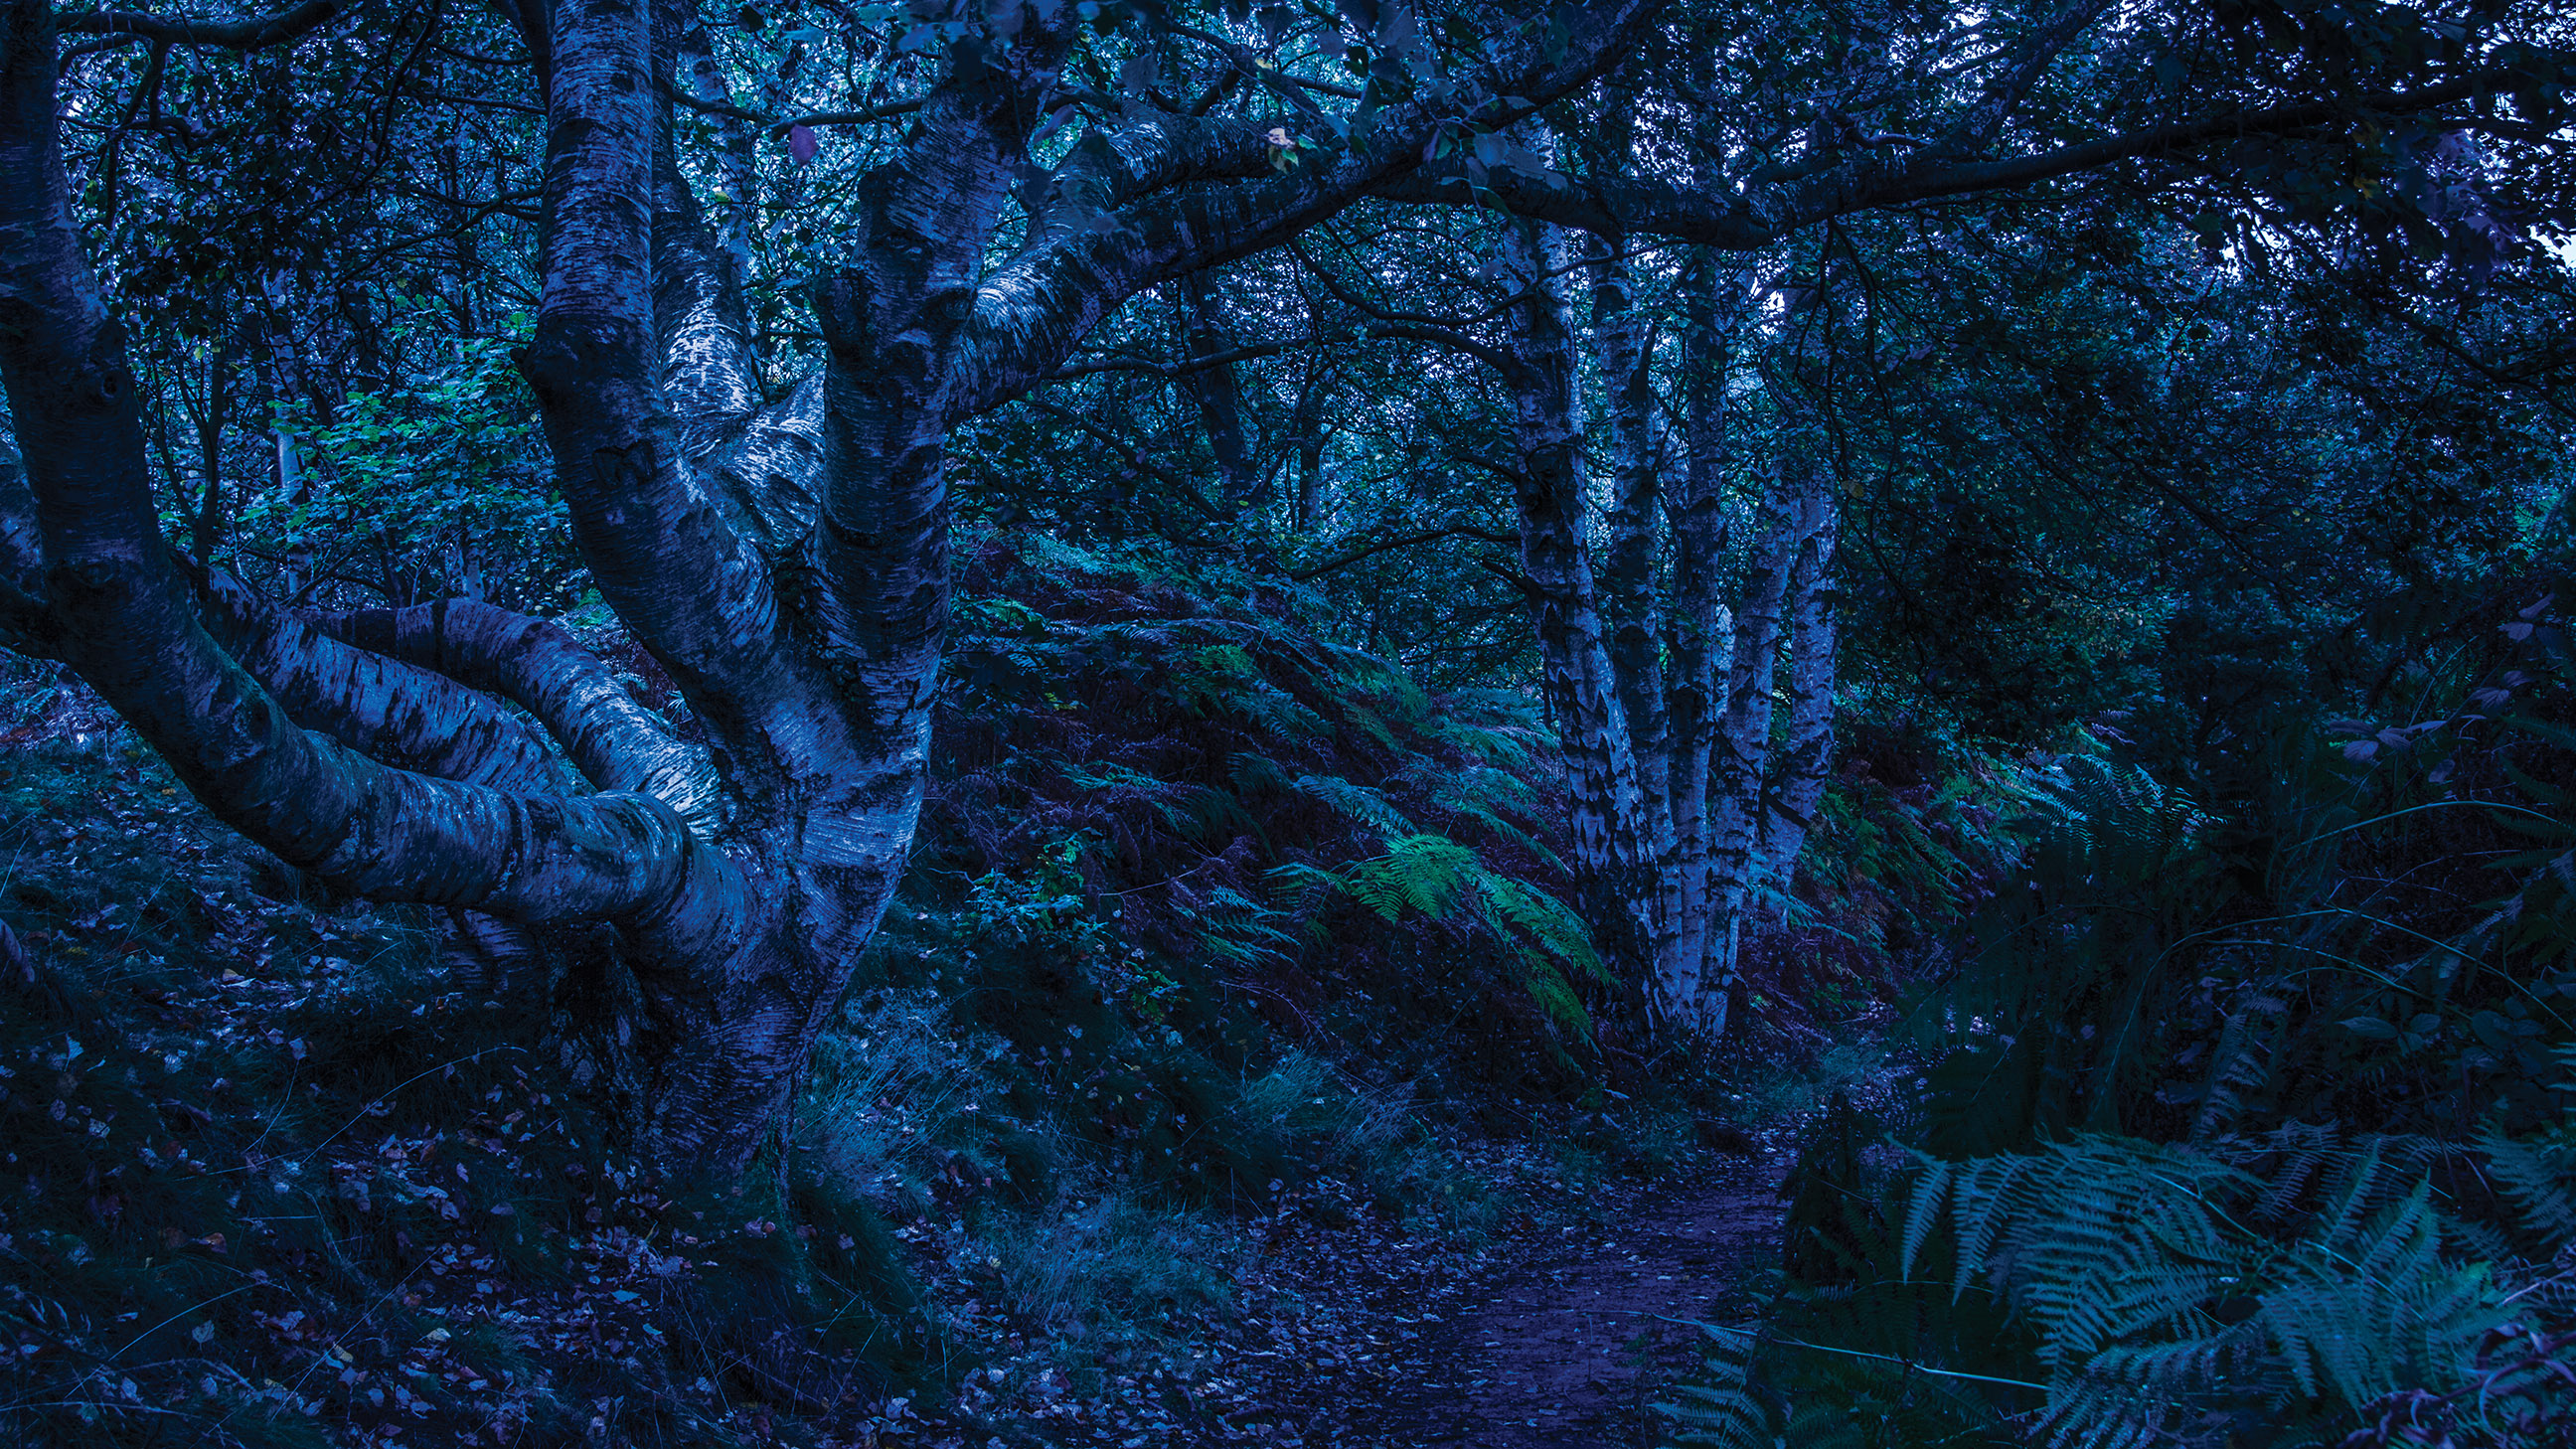
A creative solution is to shoot during the day, when ambient light is in greater supply and then adjust exposure and colour to produce a ‘fake’ nighttime effect. This is a technique commonly employed in cinema camera work and which, using a sharp eye, can be identified in many blockbuster films.
The concept is to underexpose the image, by stopping down the aperture or, more often, by pushing up the shutter speed, thereby cutting ambient light and producing a darker mood. White balance control is then used to introduce a cool colour bias, to simulate evening lighting.
For the effect to work, the light present must be diffused - any direct sunlight will give away the actual time of day and spoil the tone of the image. This is a common mistake photographers make when trying the technique for the first time. Shooting on a cloudy day will ensure the look is credible and will make exposure easier to calculate. For subject matter, wooded landscapes or environmental portraits make engaging images.
1- Find a shaded location
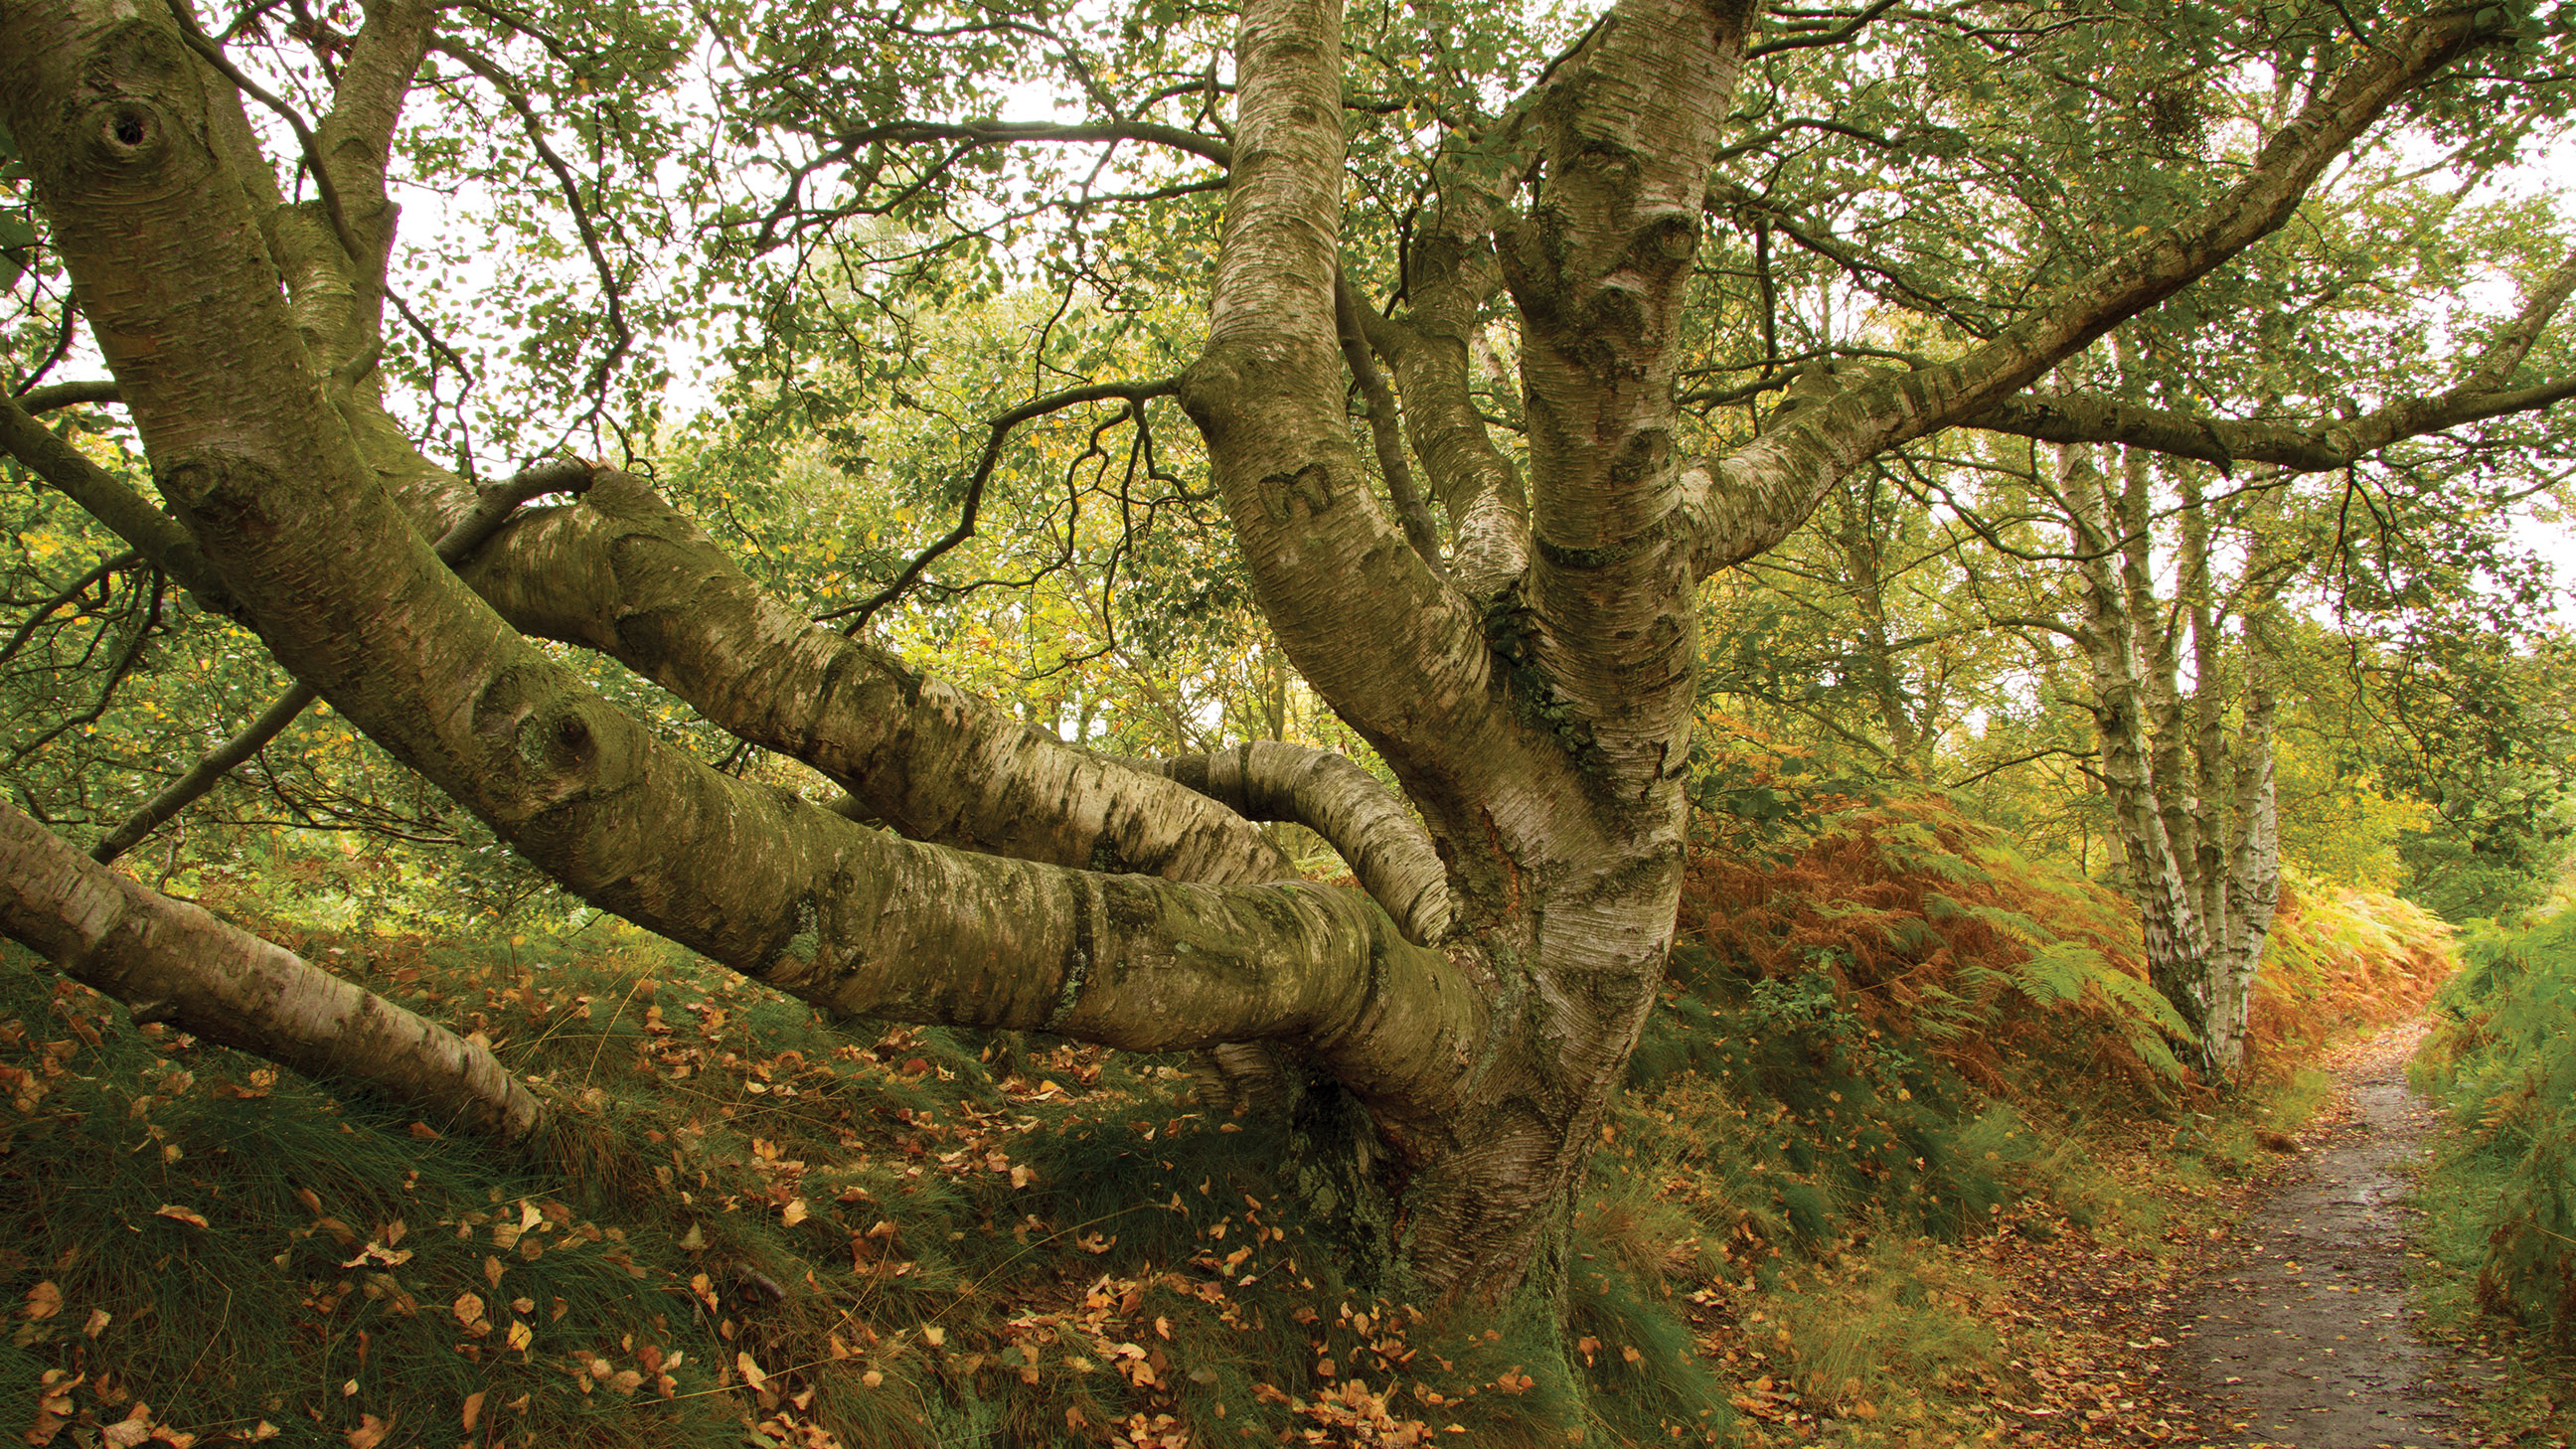
Either wait for an overcast day or locate a scene which is not touched by direct sunlight. Woodland landscapes are often shaded and with the sky composed out, readily suit the evening-like atmosphere.
2- Switch to aperture priority
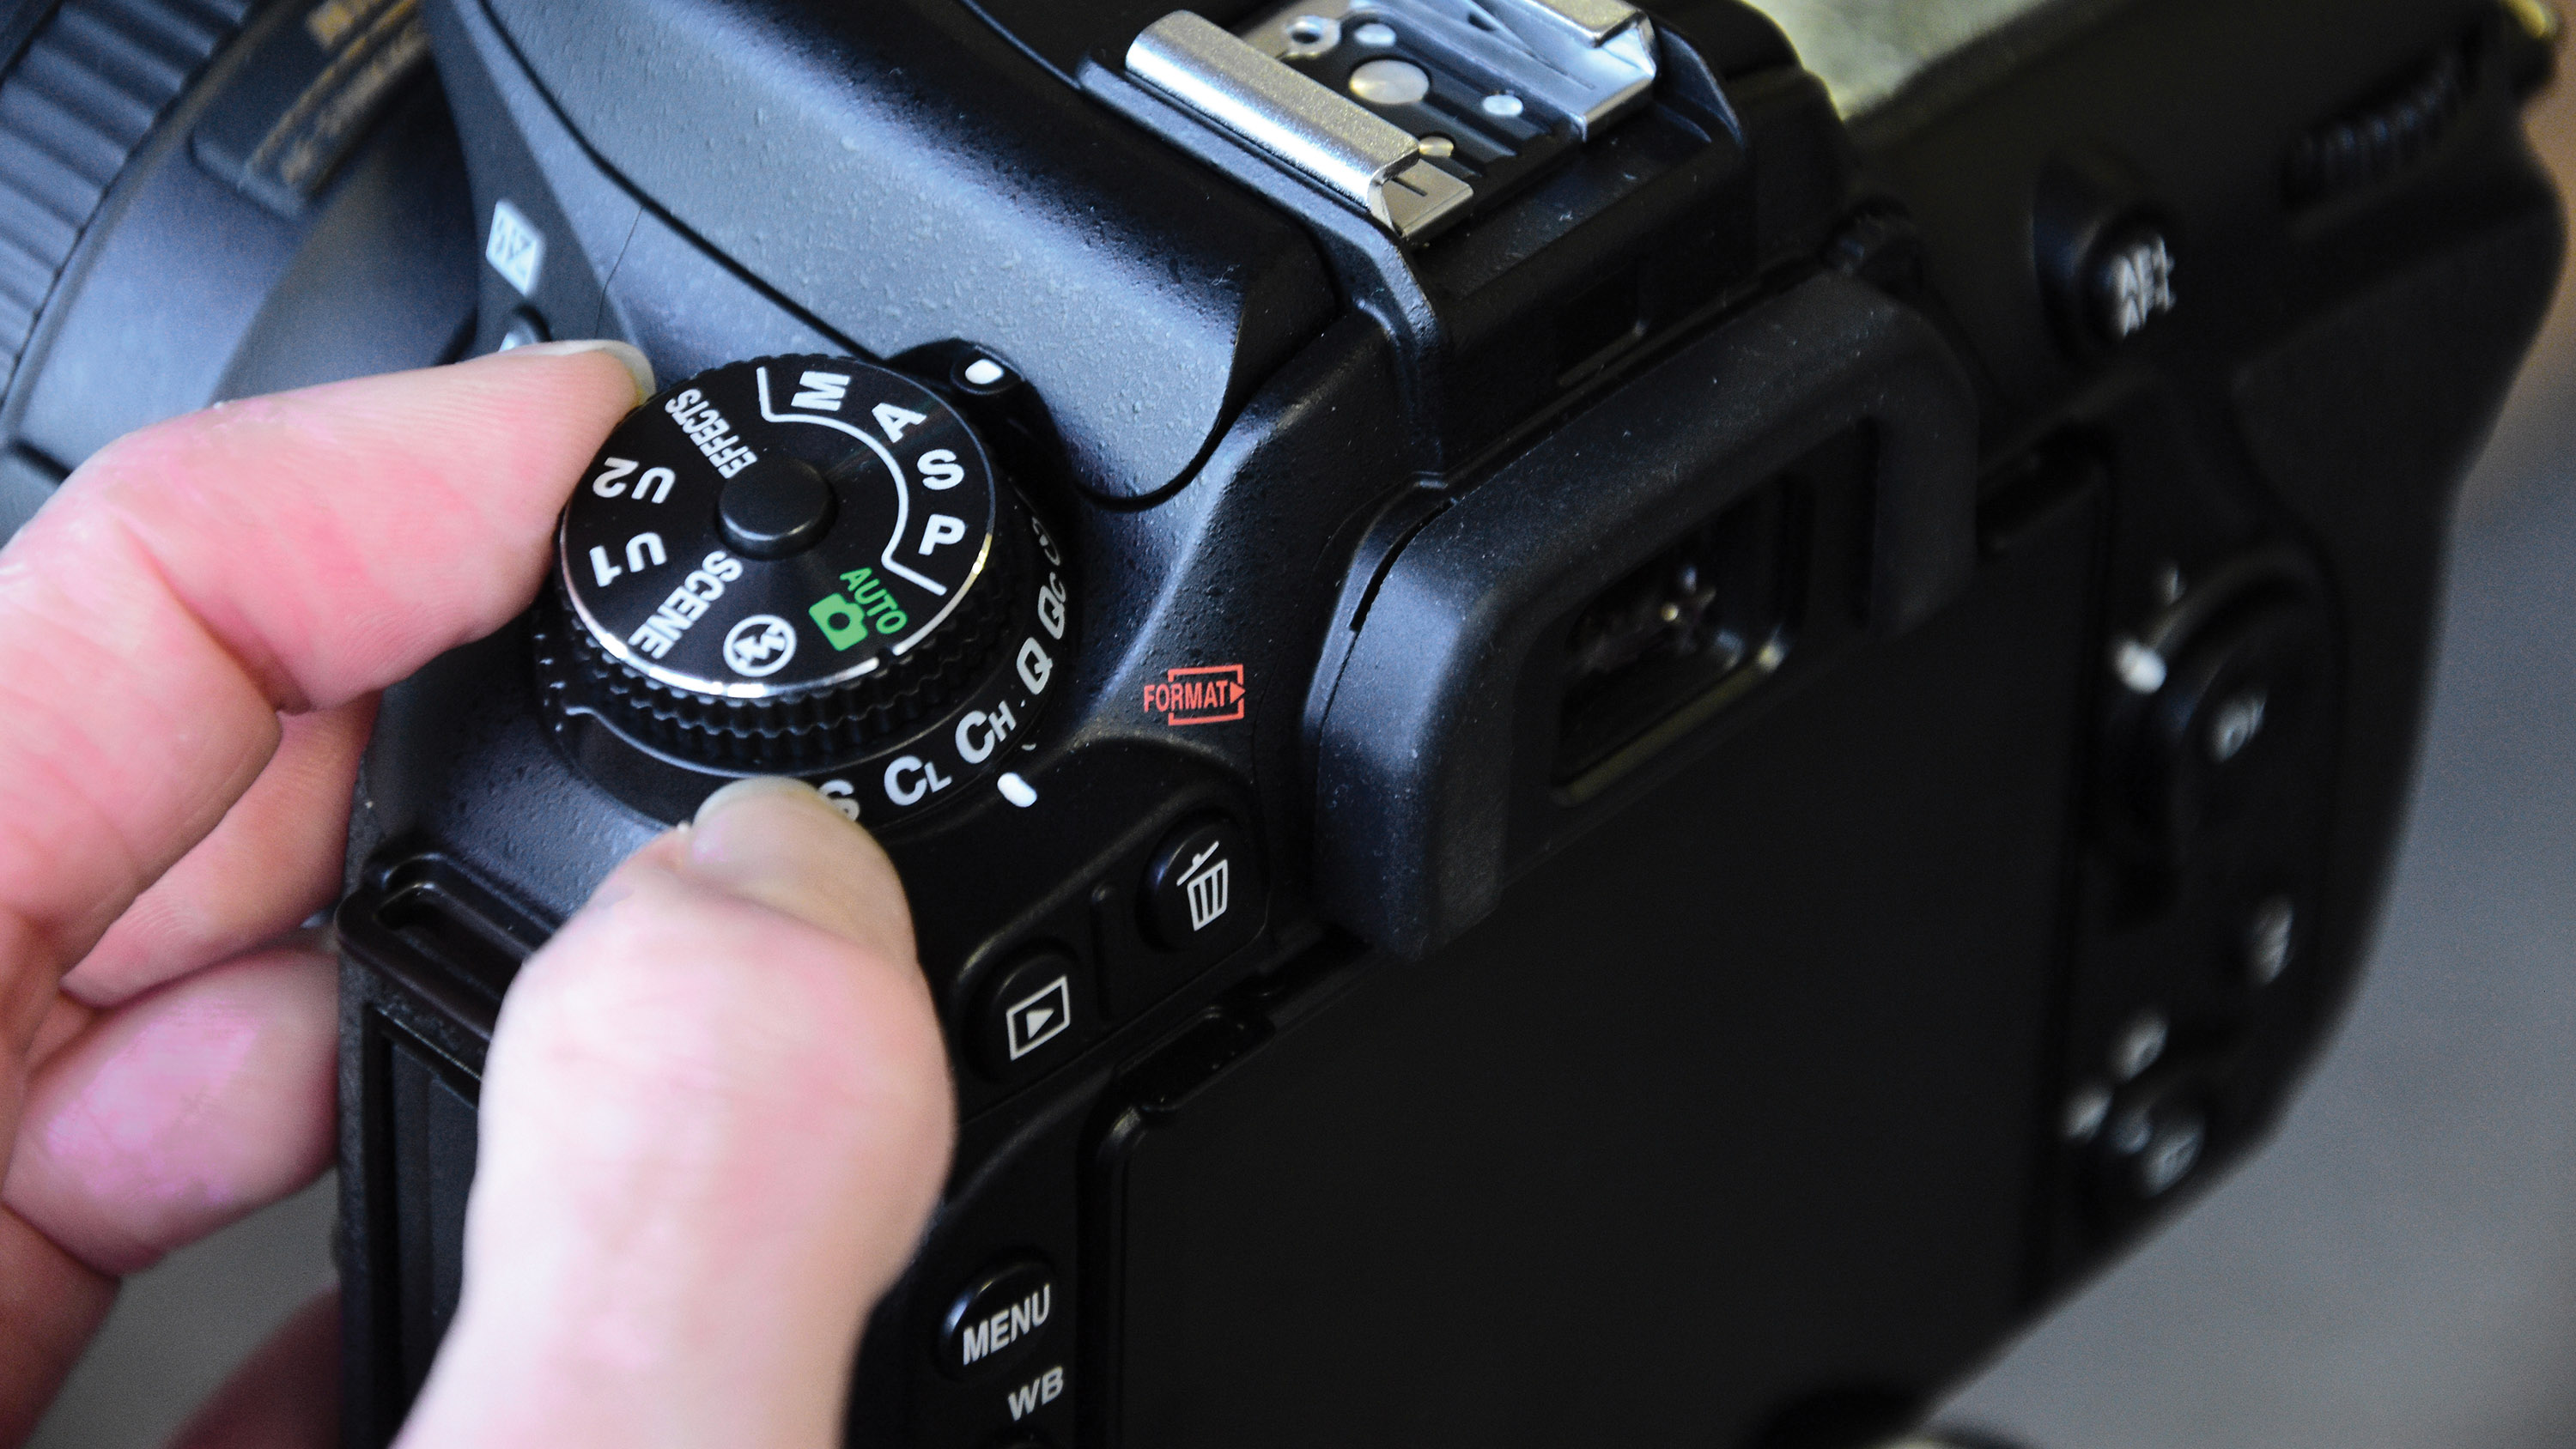
Choose A or Av from the mode dial and select an f/stop to produce appropriate depth-of-field for your scene. In this case f/11 was needed to ensure all of the trees from front to back were in focus.
3- Choose nighttime colours

Choose a Tungsten or Fluorescent white balance preset to tone the image with a blueish cast, replicating the lighting and colour of late evening. Try a subtle effect first and adjust later if necessary.
4- Turn out the lights
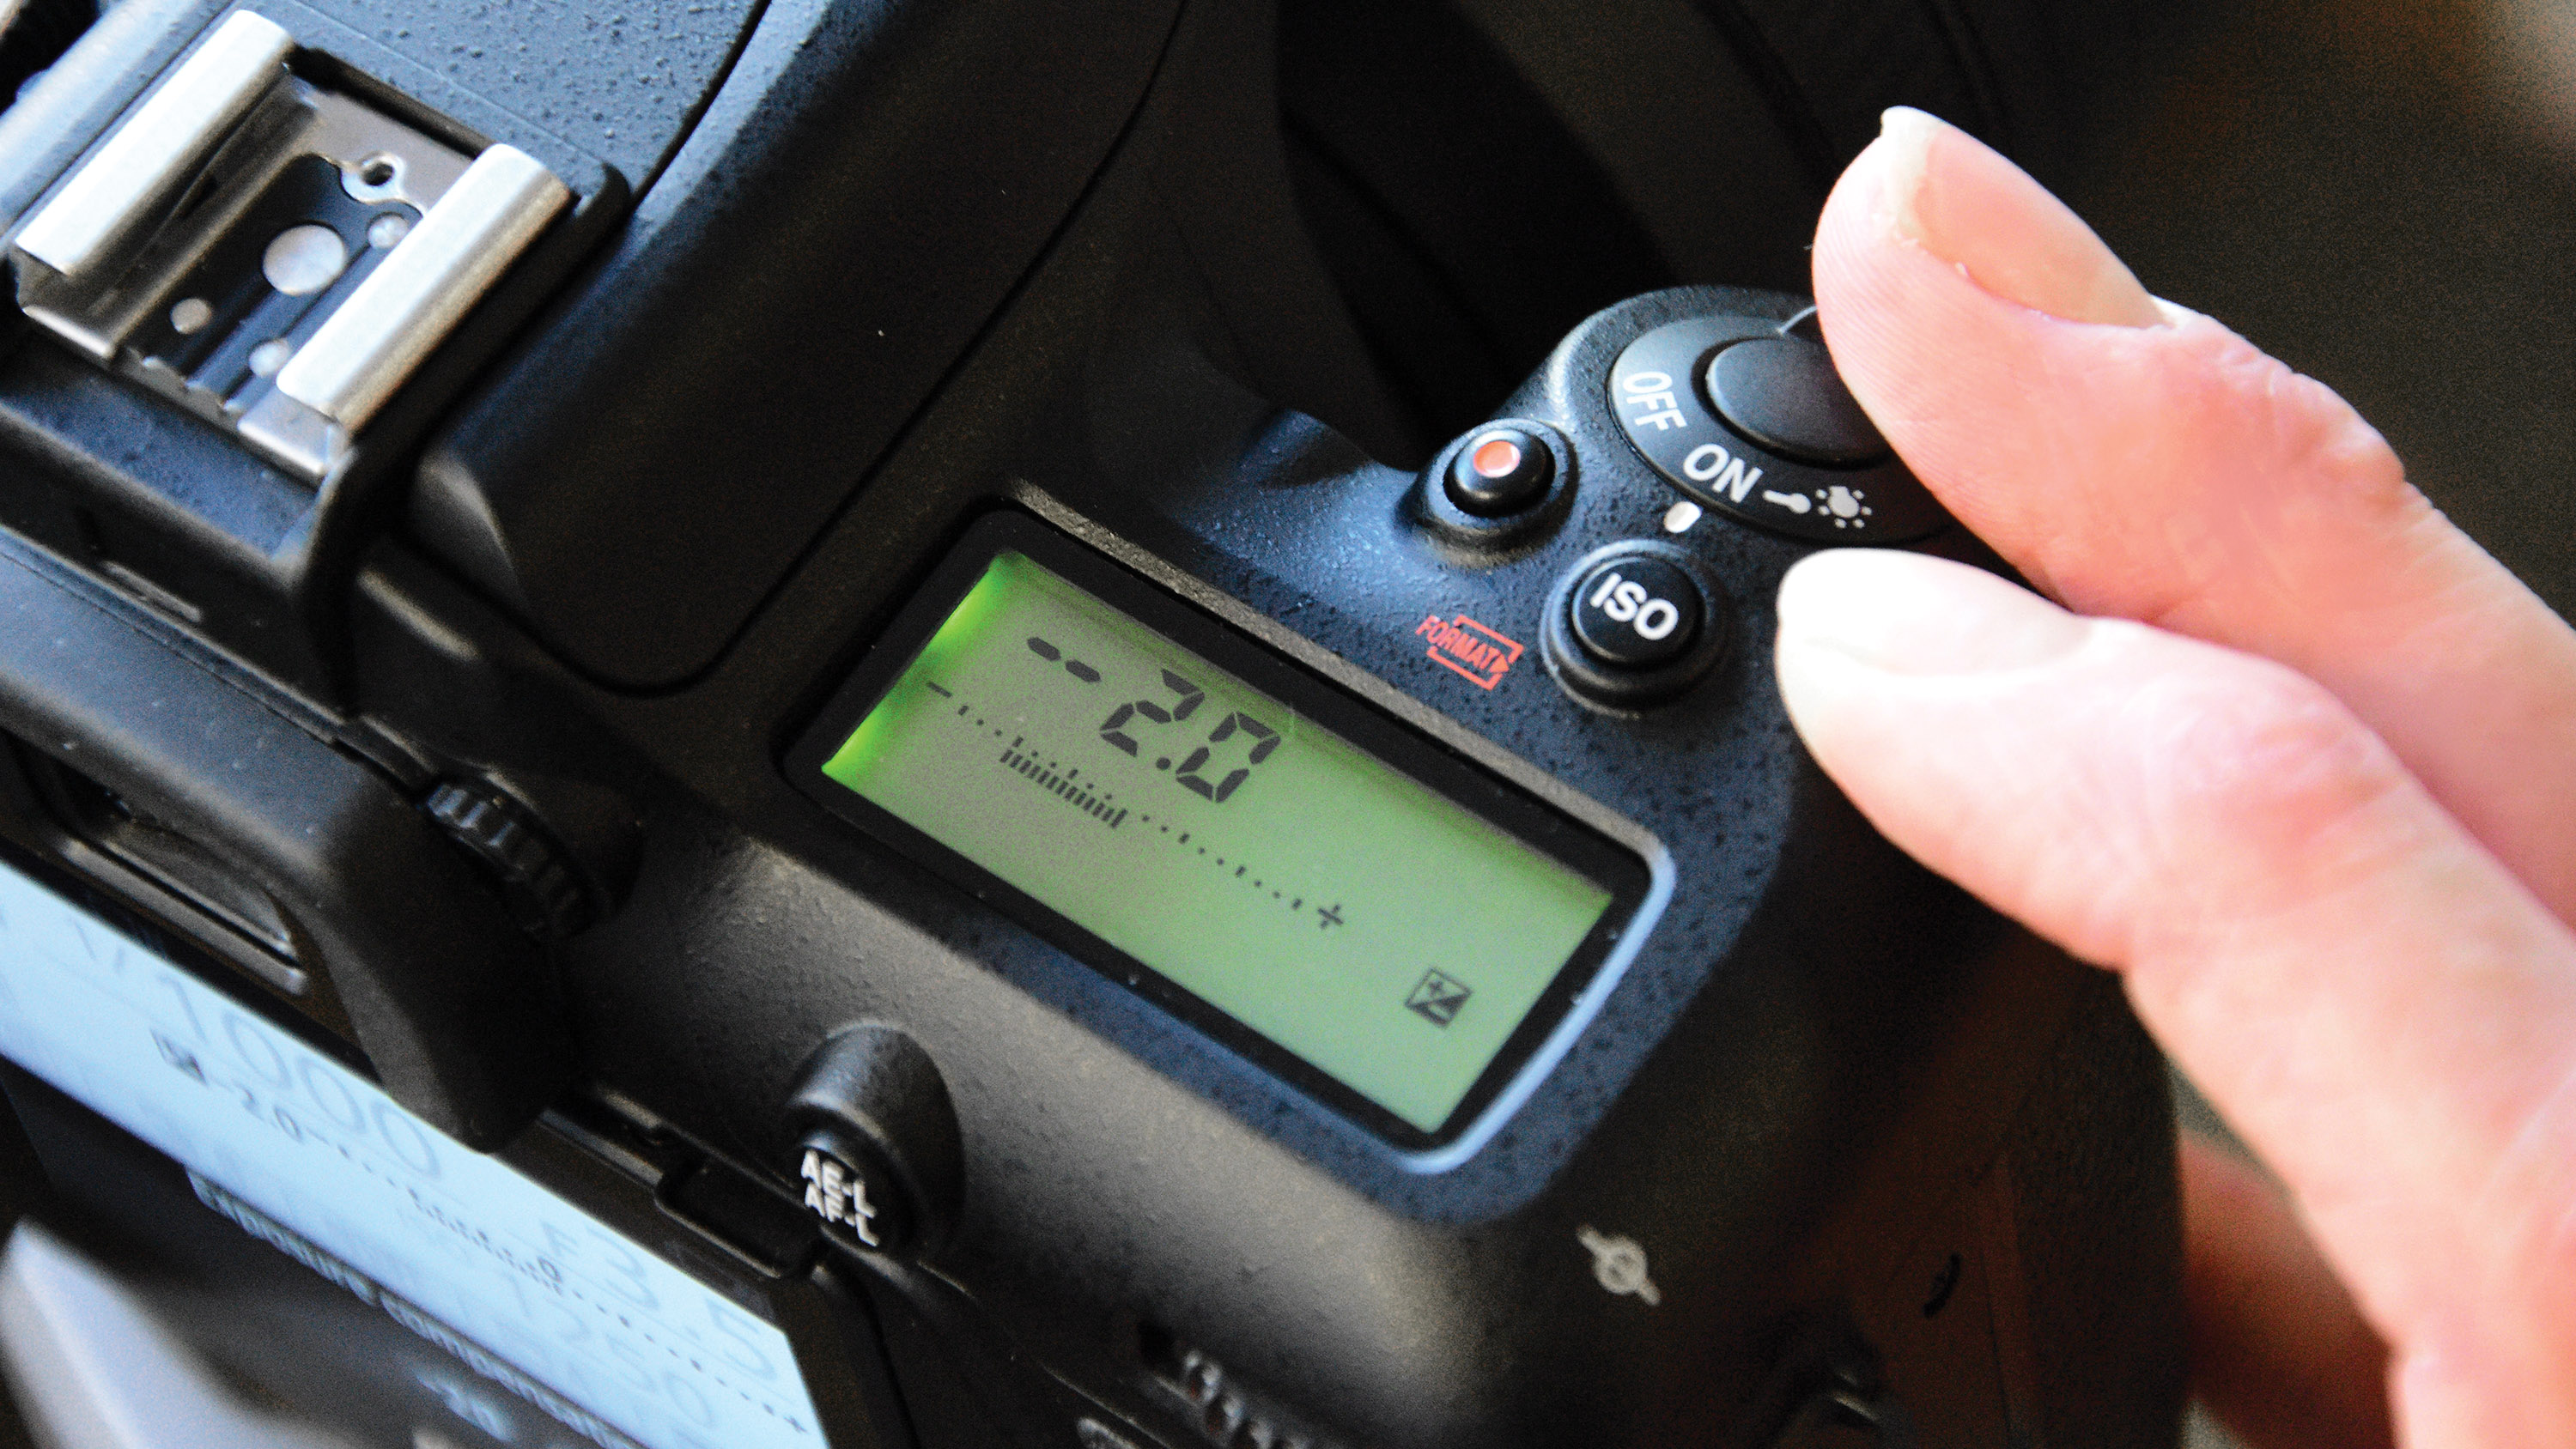
Use exposure compensation to reduce the exposure and darken the image. Start at -2EV to deepen shadows, giving the impression of minimal ambient light flooding the scene. Use -3EV for a stronger effect.
5- Raise the ISO
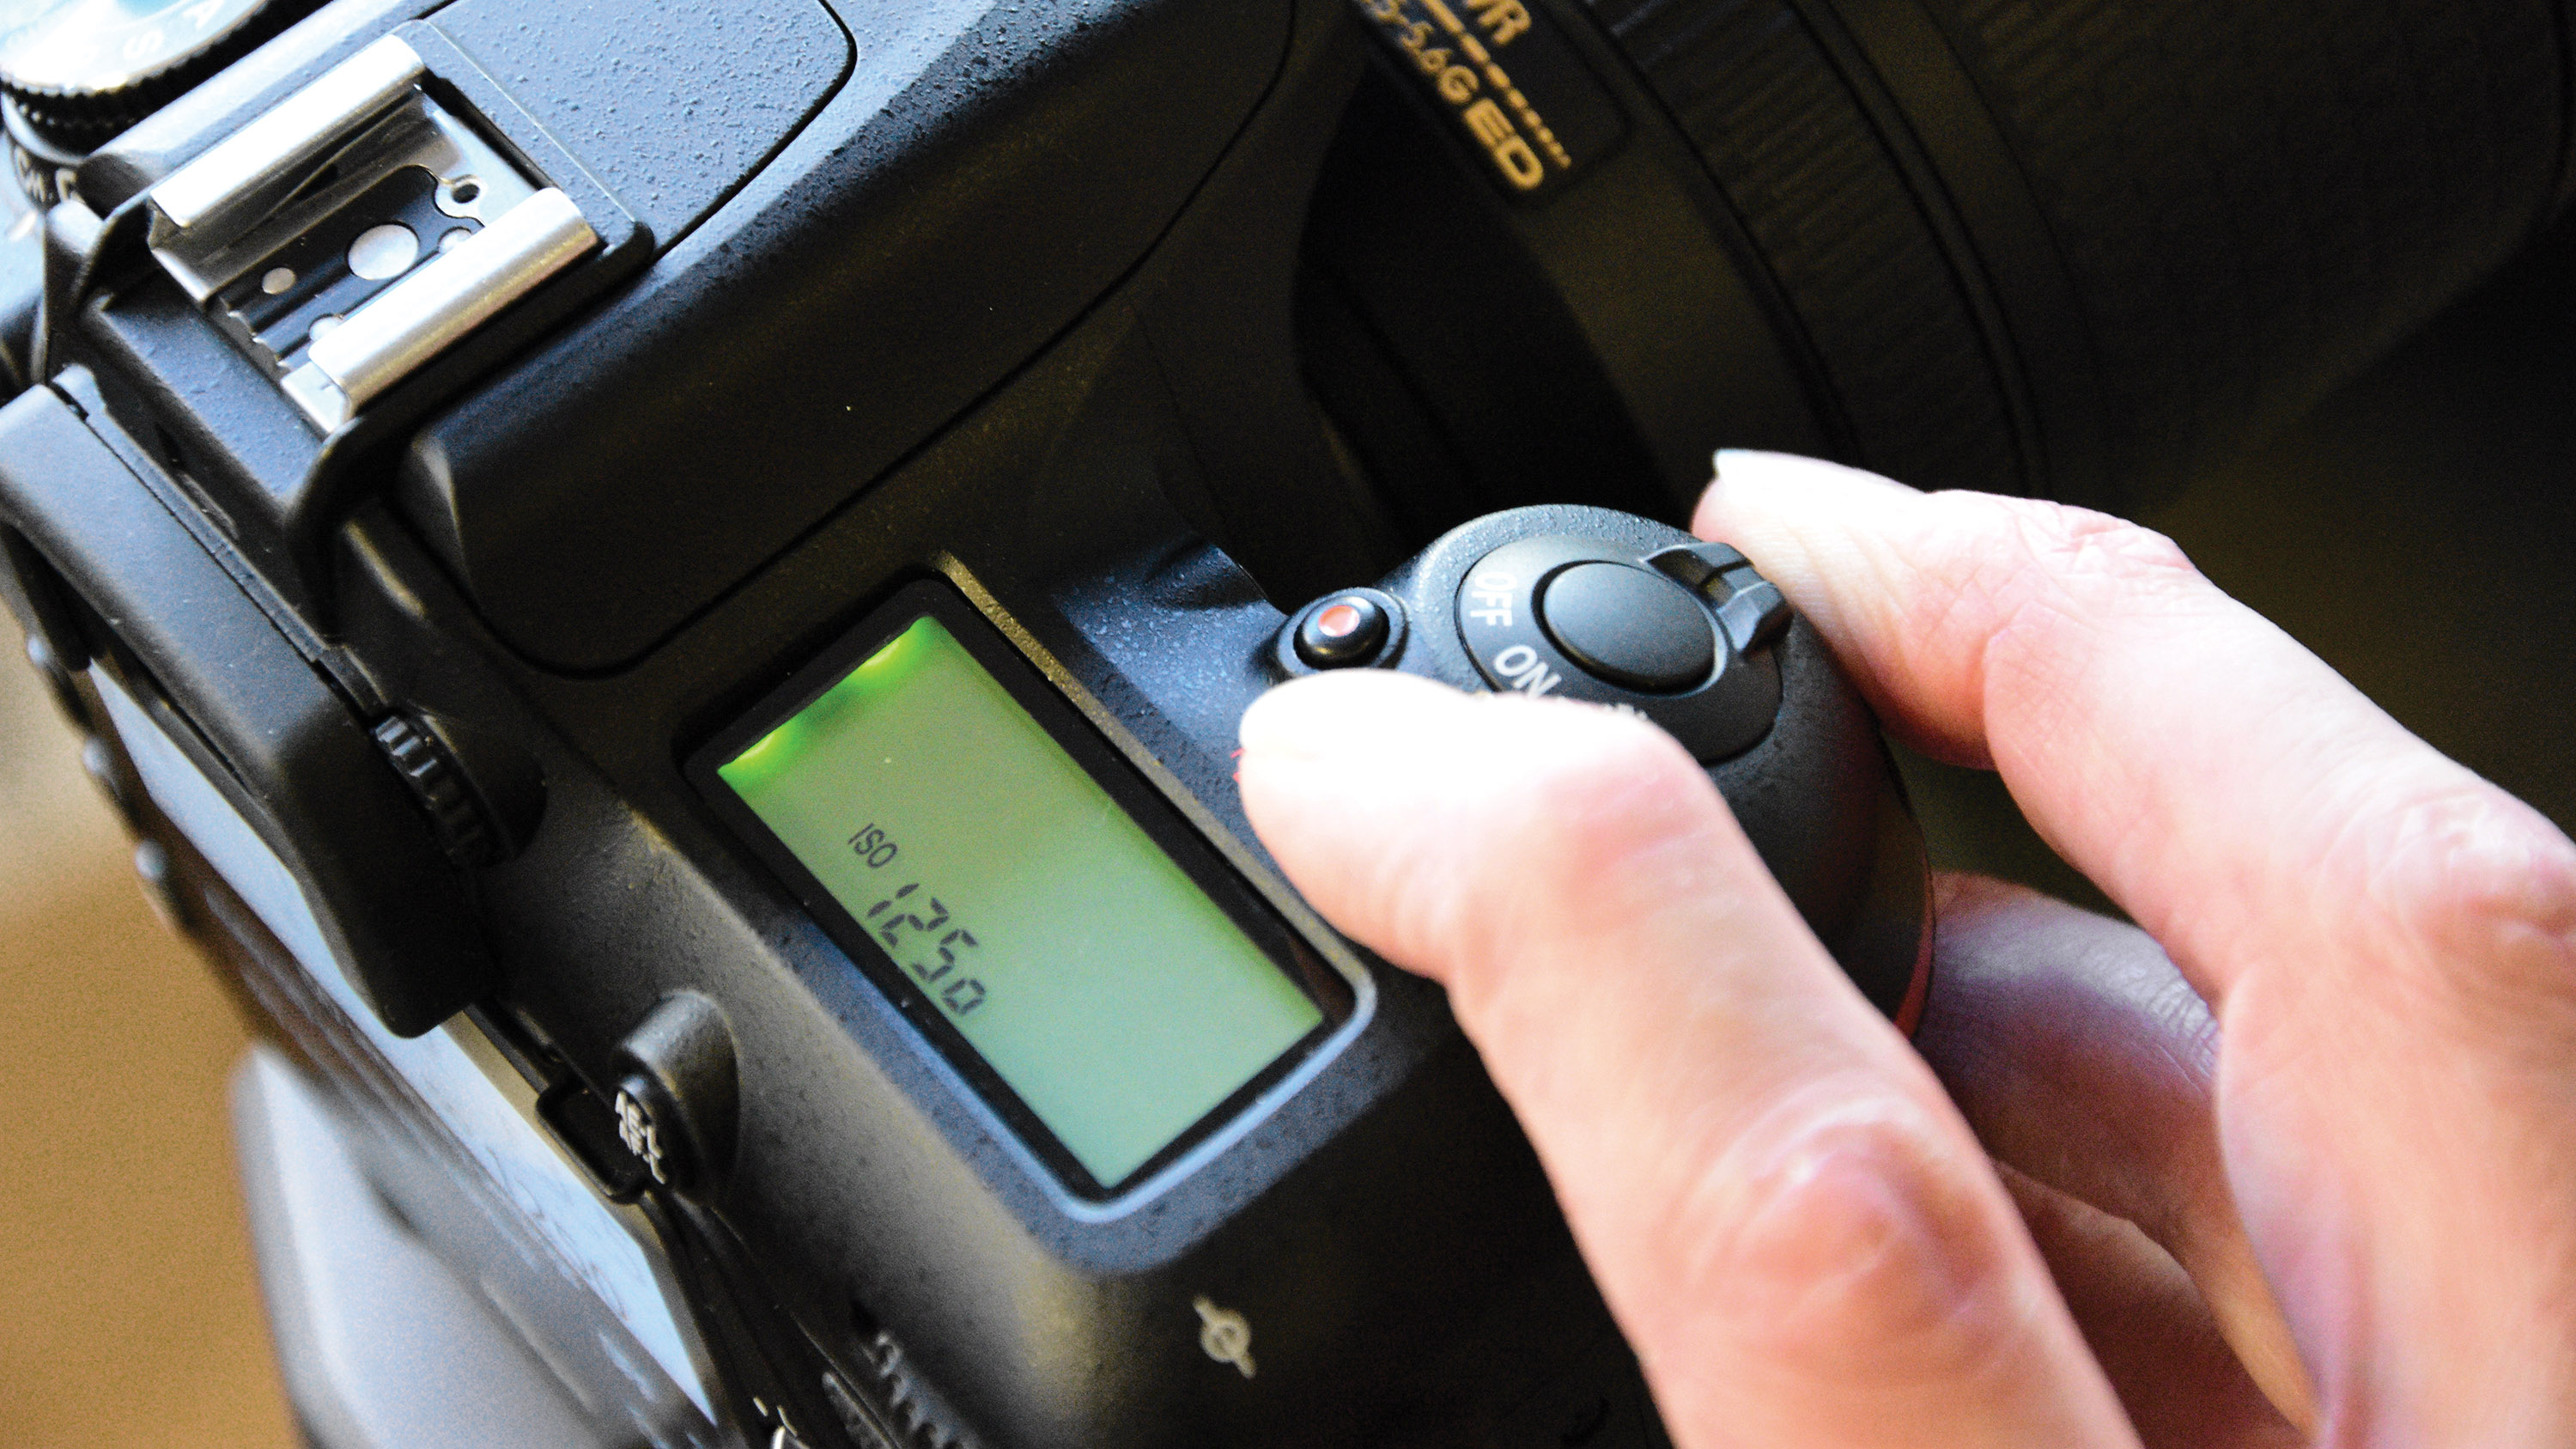
An effective optional effect is to intentionally add some image grain by using a higher ISO. This further pushes the feel of the image being shot in low-light and adds to the filmic scene atmosphere.
6- Adjust colour temperature
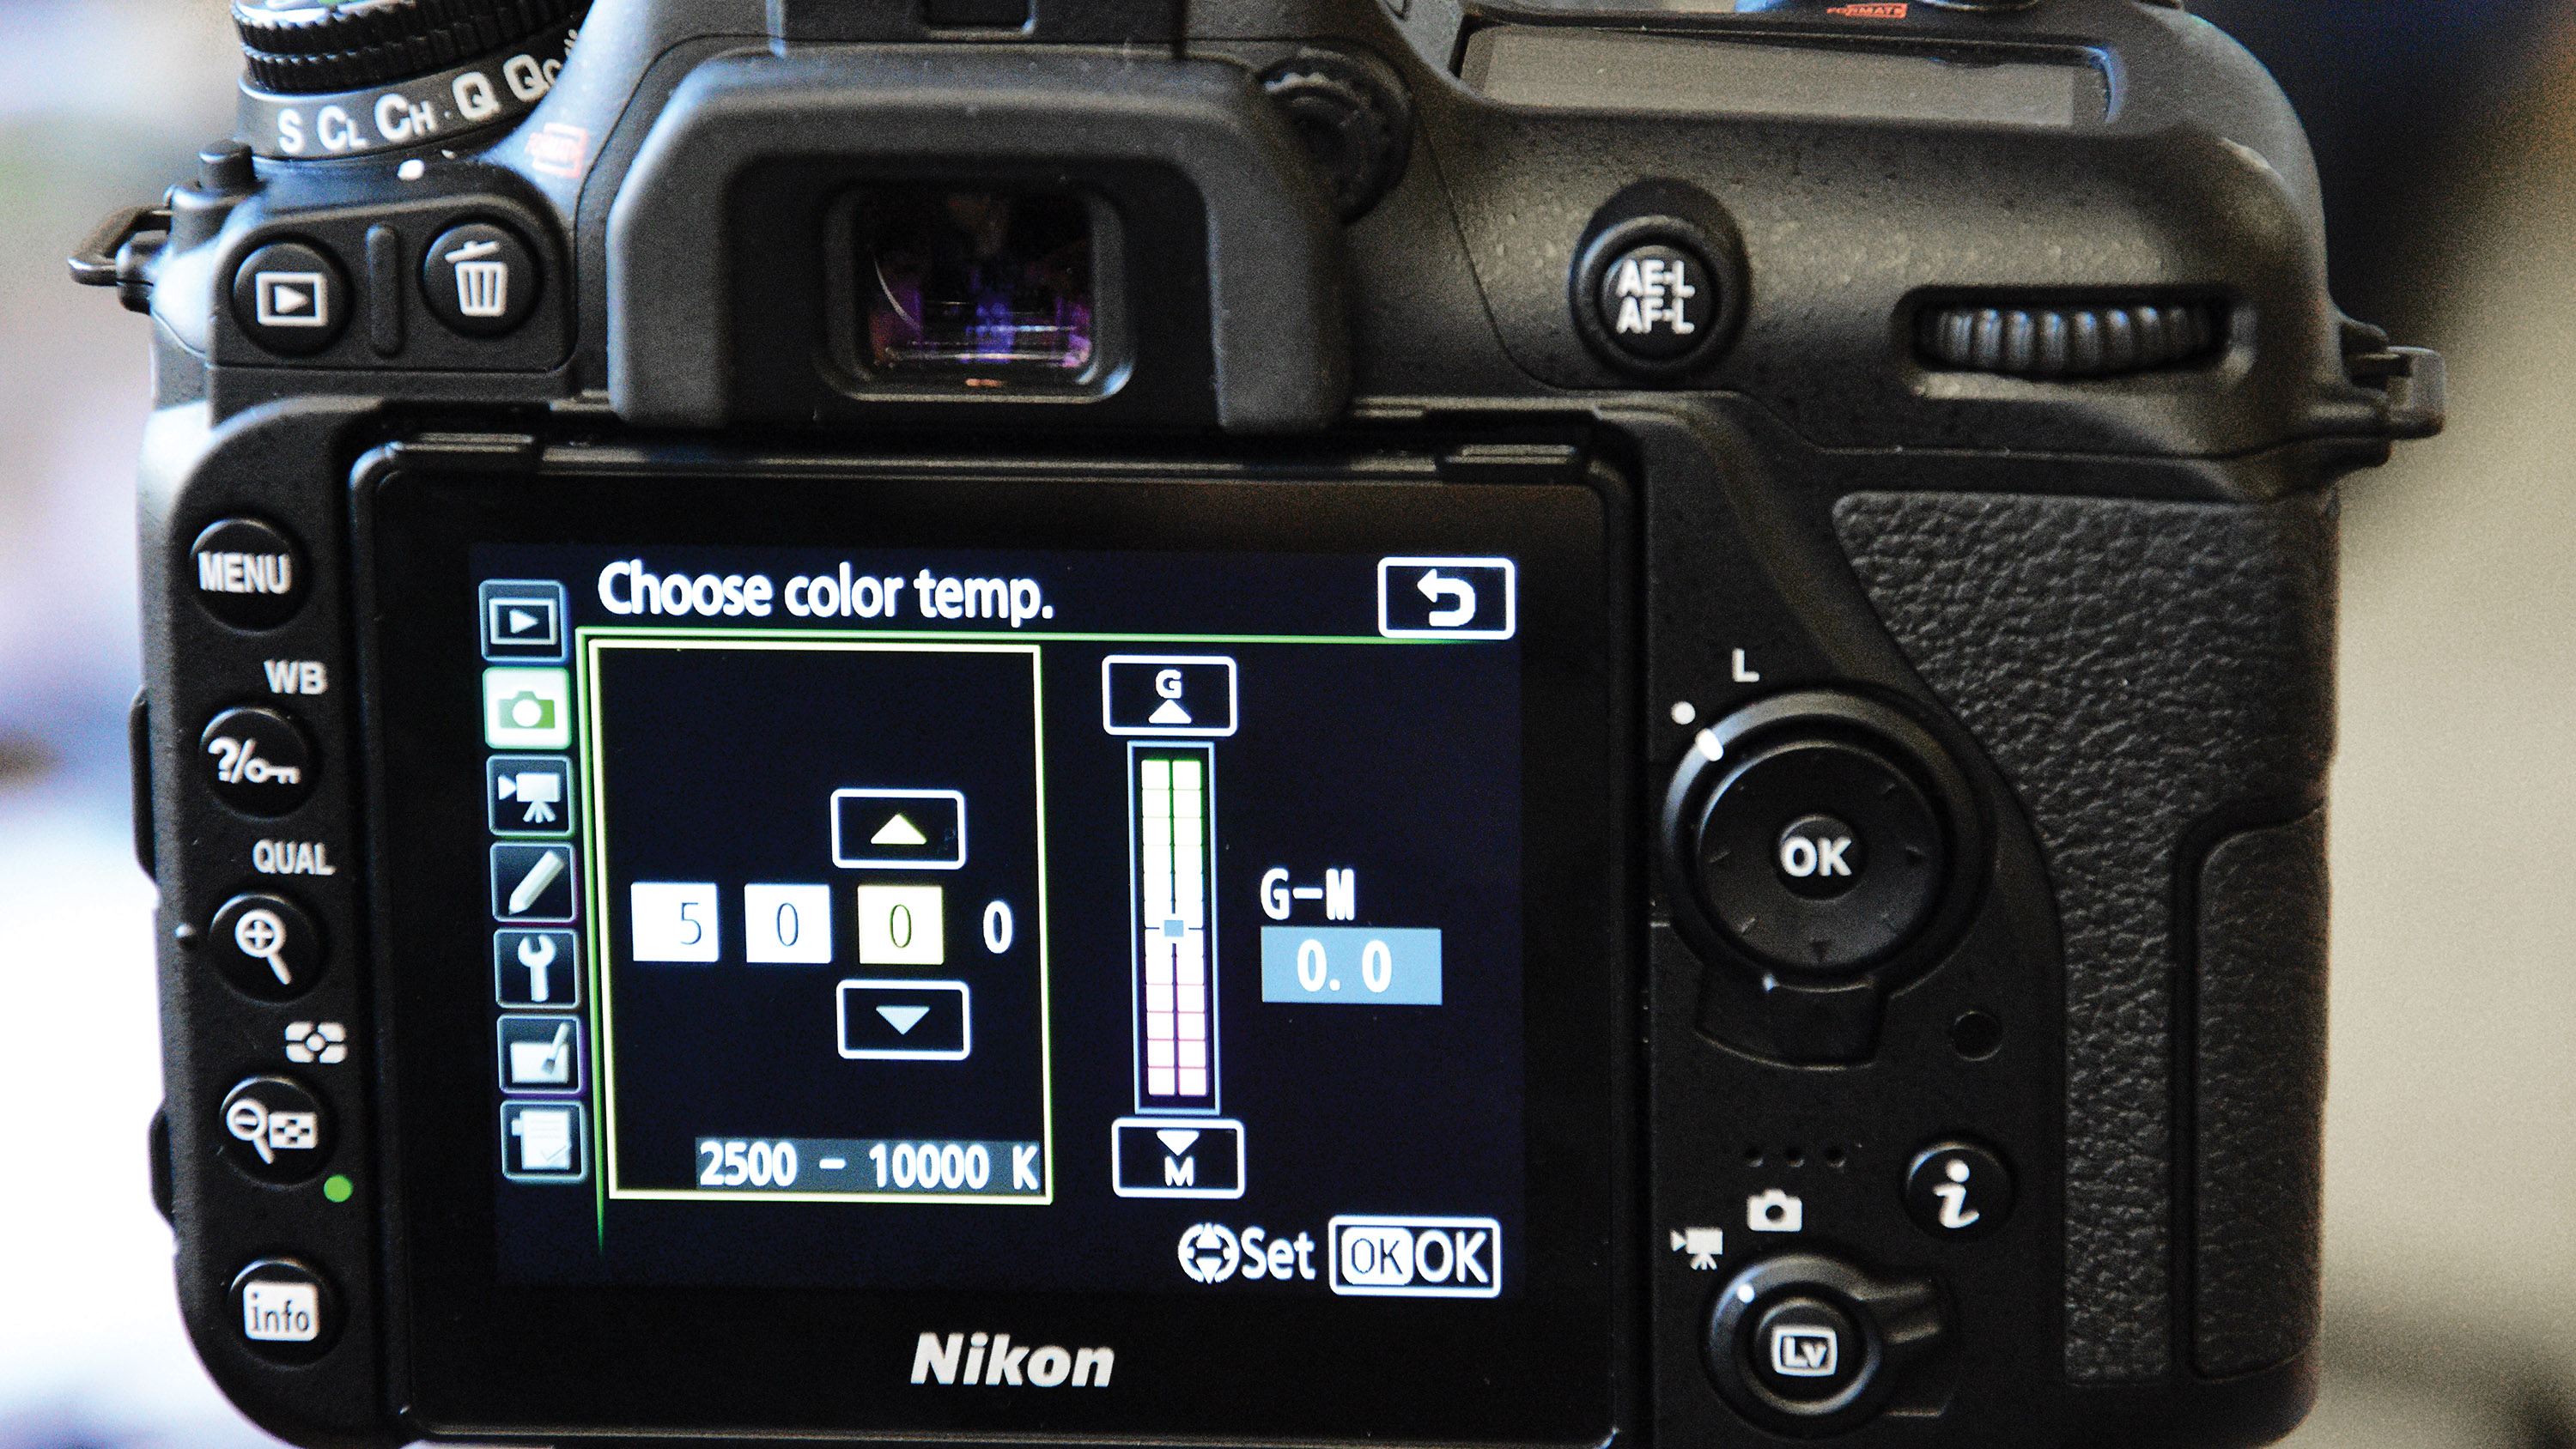
To customise the cool cast, use a specific colour temperature if neither white balance preset provides the strength you want. Start with a value of around 2500K and increase this if the cast is too strong.
Read more
A night with the stars: how to shoot amazing astrophotography
Lightroom series part 16: Enhance a night-time photograph with Lightroom
The best light pollution filters in 2021 for astrophotography and star gazing
Get the Digital Camera World Newsletter
The best camera deals, reviews, product advice, and unmissable photography news, direct to your inbox!
As the Editor for Digital Photographer magazine, Peter is a specialist in camera tutorials and creative projects to help you get the most out of your camera, lens, tripod, filters, gimbal, lighting and other imaging equipment.
After cutting his teeth working in retail for camera specialists like Jessops, he has spent 11 years as a photography journalist and freelance writer – and he is a Getty Images-registered photographer, to boot.
No matter what you want to shoot, Peter can help you sharpen your skills and elevate your ability, whether it’s taking portraits, capturing landscapes, shooting architecture, creating macro and still life, photographing action… he can help you learn and improve.
