"Holographic" photos! Create striking, vibrant abstracts with creative cross-polarization
This video shows you how to make colorful, eye-catching abstract photographs with a few plastic props and a polarizing filter
Watch video: Creative cross-polarization
Many of us are now accustomed to using circular polarizing filters on our lenses. They’re useful for enriching colors in landscapes – especially blue skies and foliage – and invaluable for cutting through reflections or atmospheric haze. But polarizers aren’t just for lenses; something magical happens if we polarize our light source, too.
This is called cross-polarization, and the technique is simple. We need both the light entering our camera and the light emitting from our source to be polarized light. It’s a classic technique that has many uses, both practical and creative. Cross-polarization can result in photos with zero reflections and glare, which makes the technique useful for practical things such as dental photography – because eliminating the glare allows for clearer pictures of teeth.
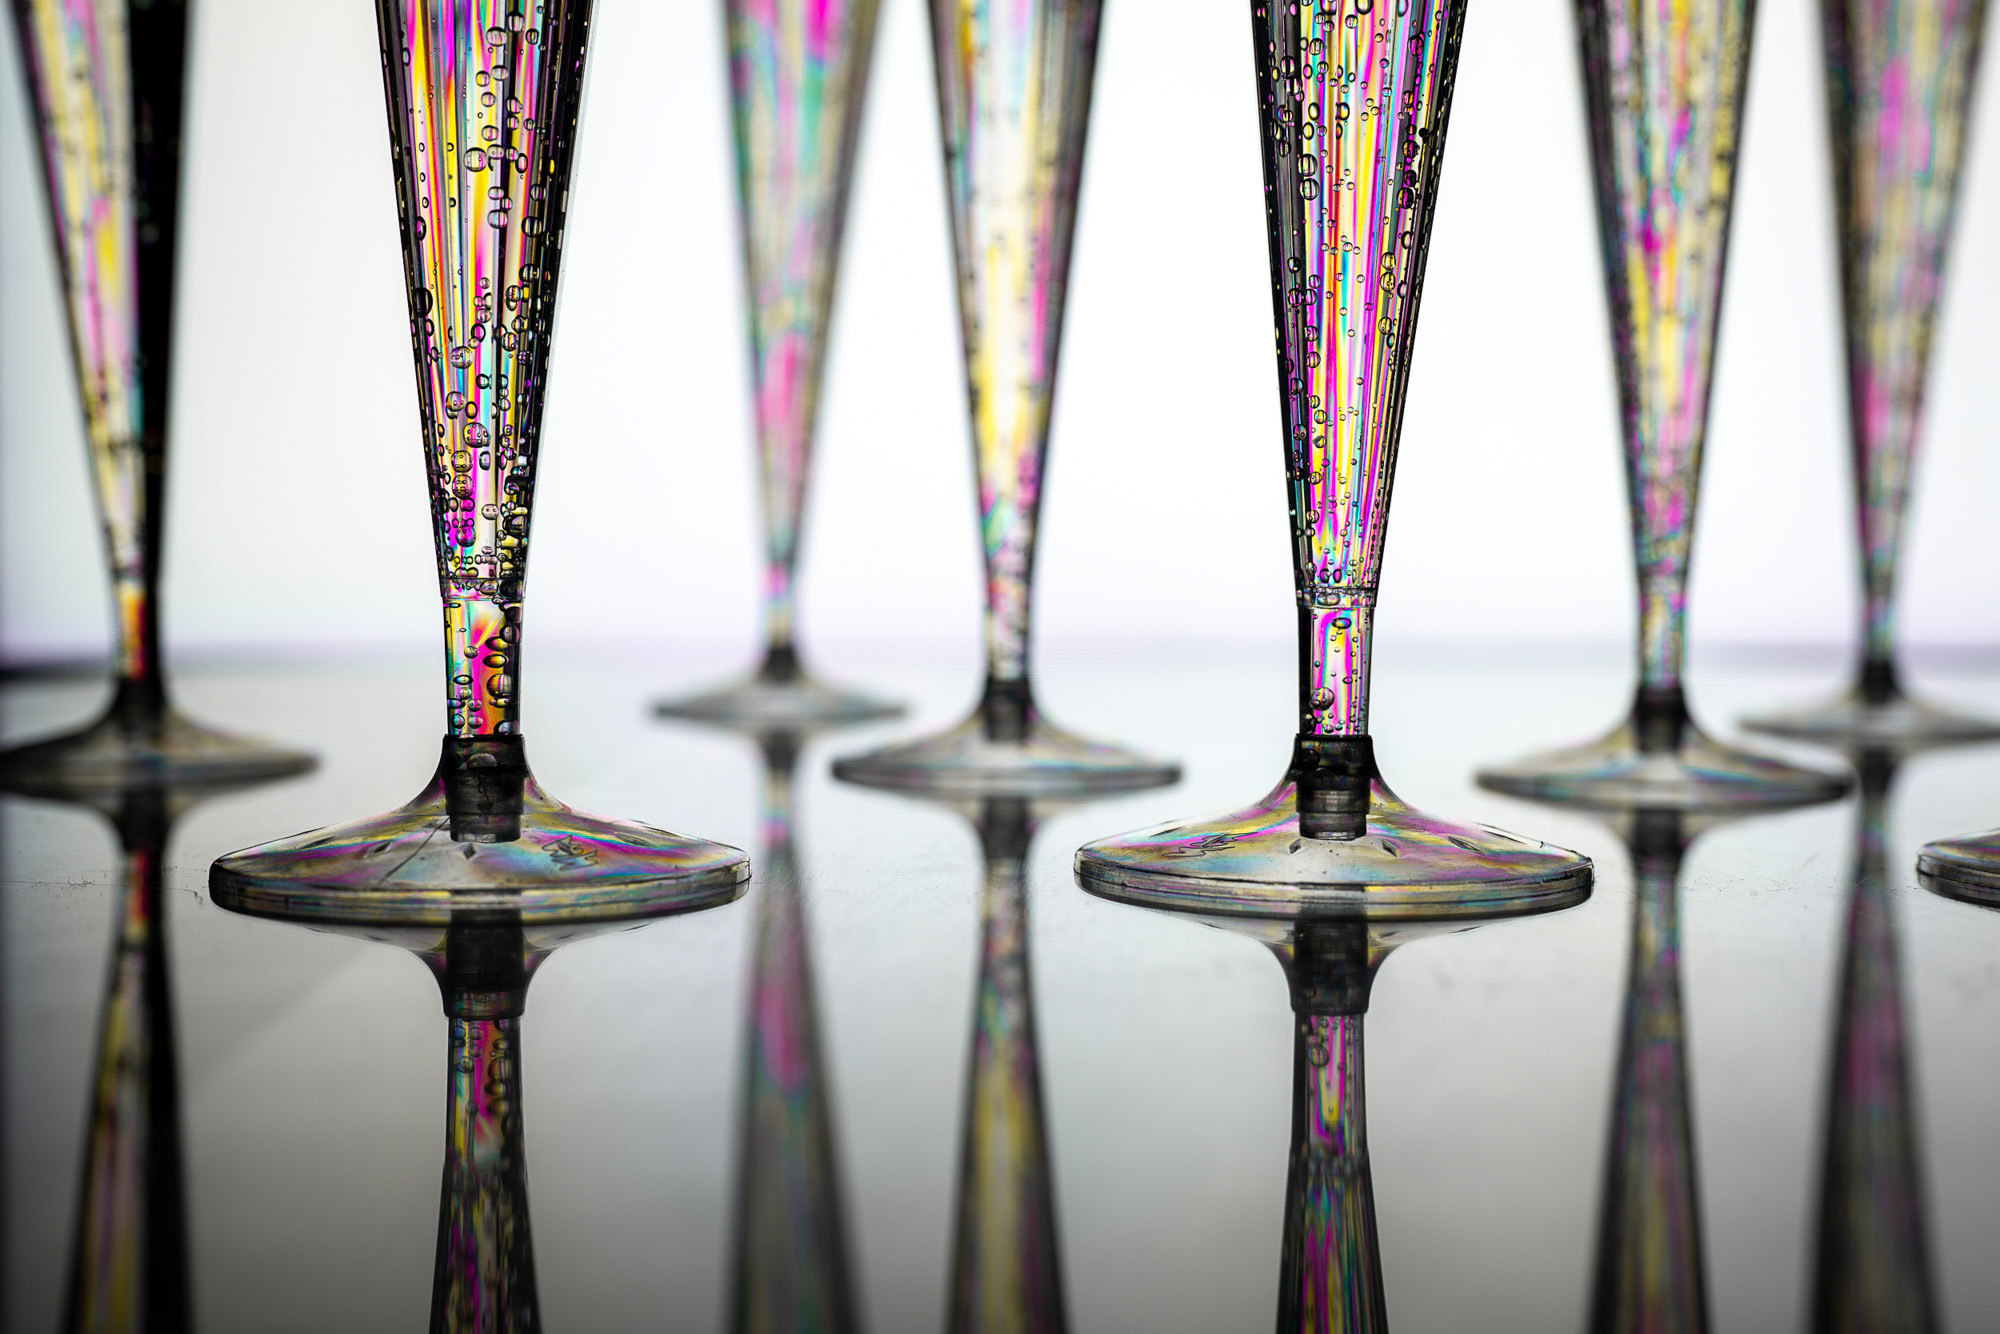
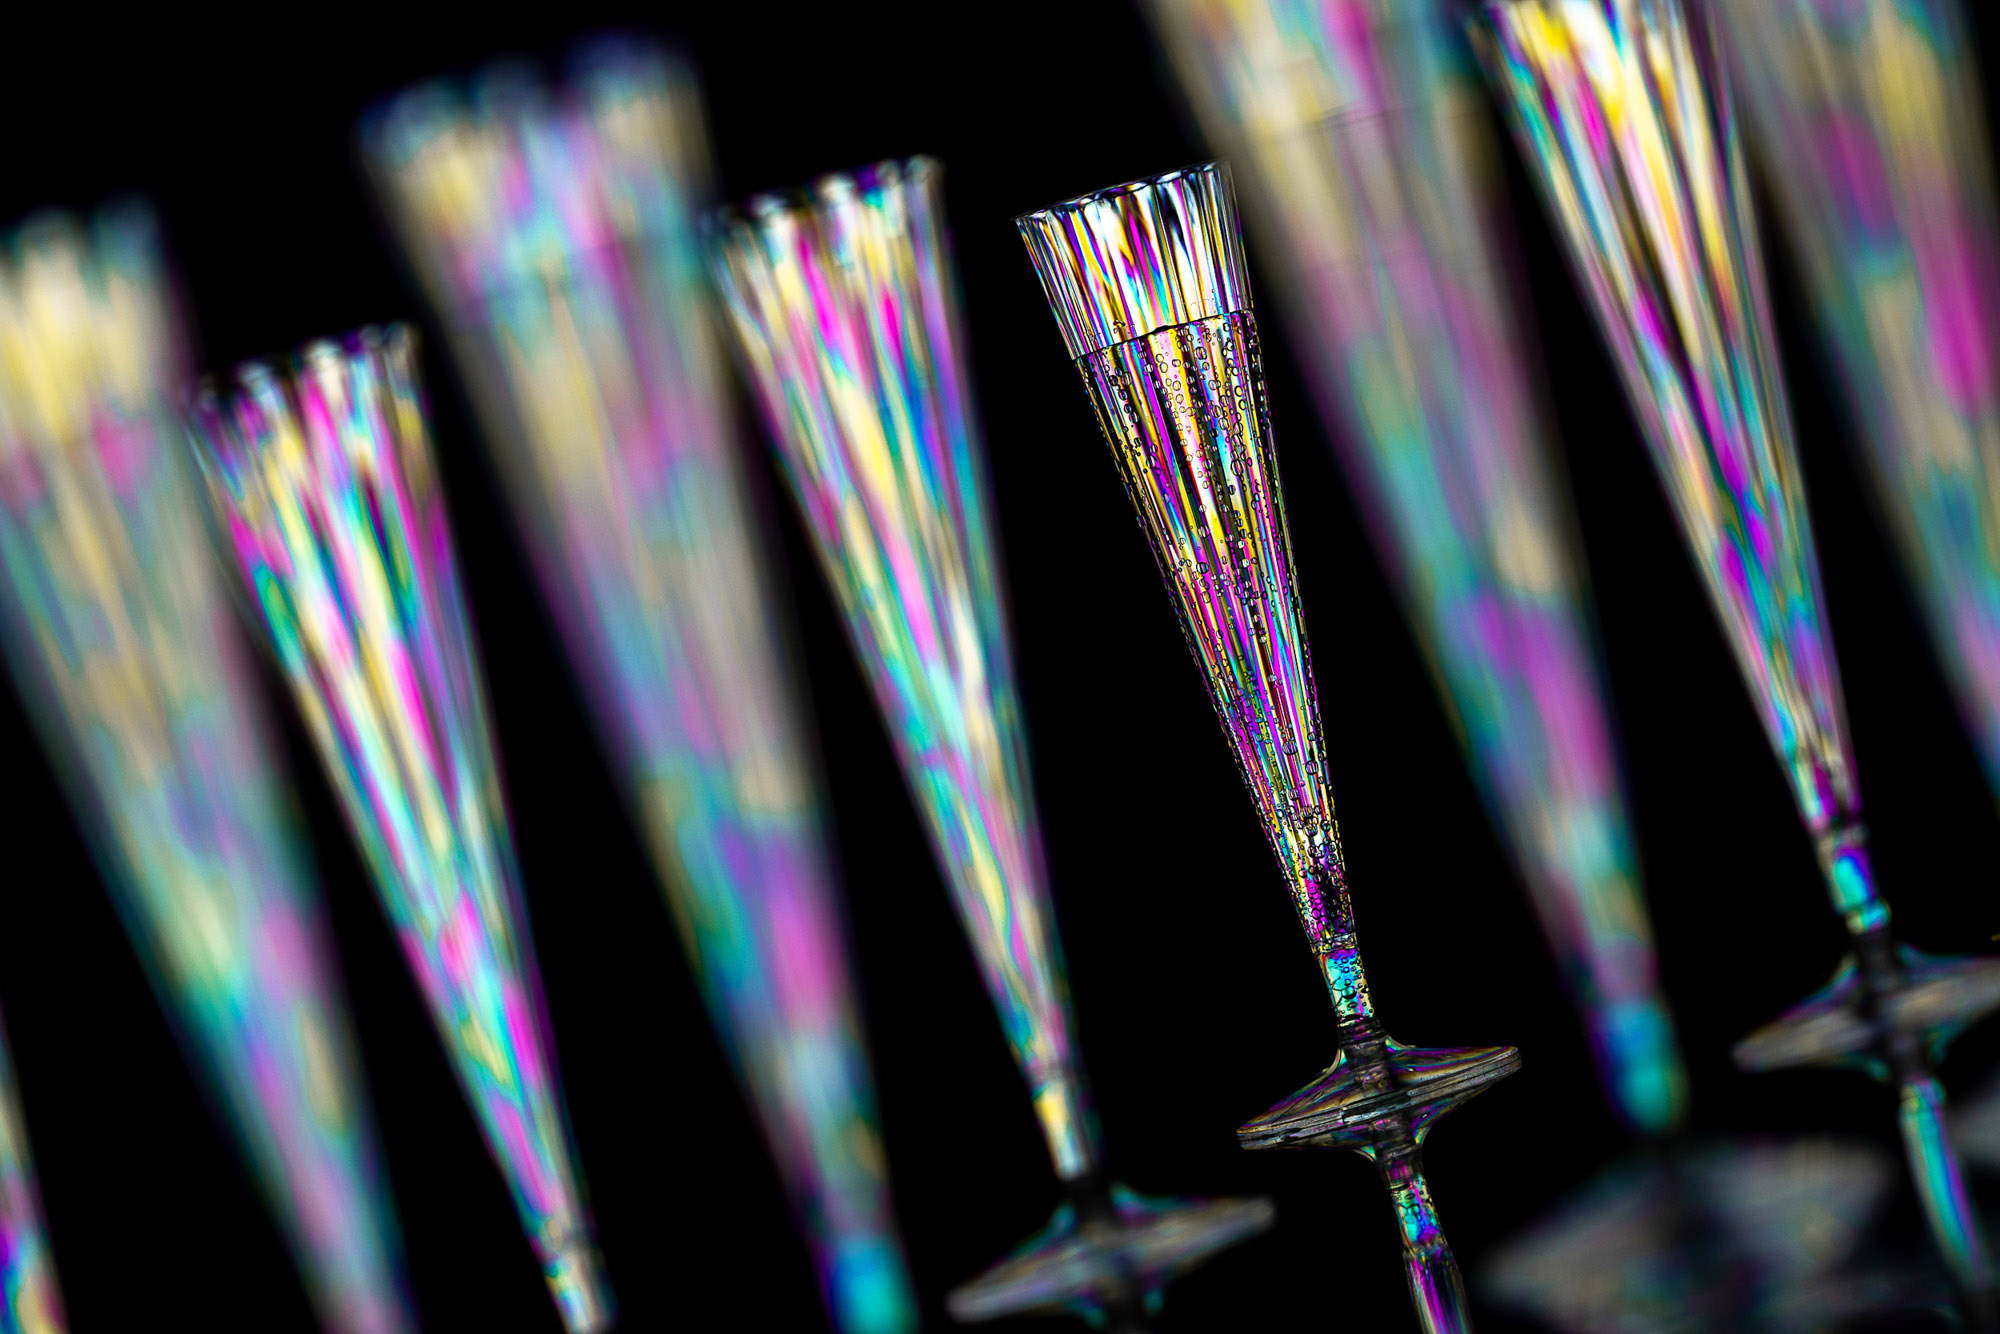
But if you want to get creative, it also enables you to capture otherworldly color spectrums. Captured under cross-polarized conditions, any hard, clear plastic objects (like the plastic champagne flutes here) are transformed into vivid, rainbow displays of color. You probably have everything you need to get started at home. As well as a polarizing filter for your lens, you’ll also need a polarized light source.
Most LCD screens emit polarized light, so it’s fairly easy to get set up in front of a laptop or a large TV. The only other thing you need is an array of hard, clear plastic objects and a surface to place them on, like Perspex or glass. It takes minutes to set up and is great fun.
1. Choose white or black
One of the most magical things about the project is how the TV or laptop screen behind the plastics can be made either totally black, white or something in-between, depending on the rotation of the circular polarizing filter. So try rotating the filter to change the contrast and create a range of interesting effects.
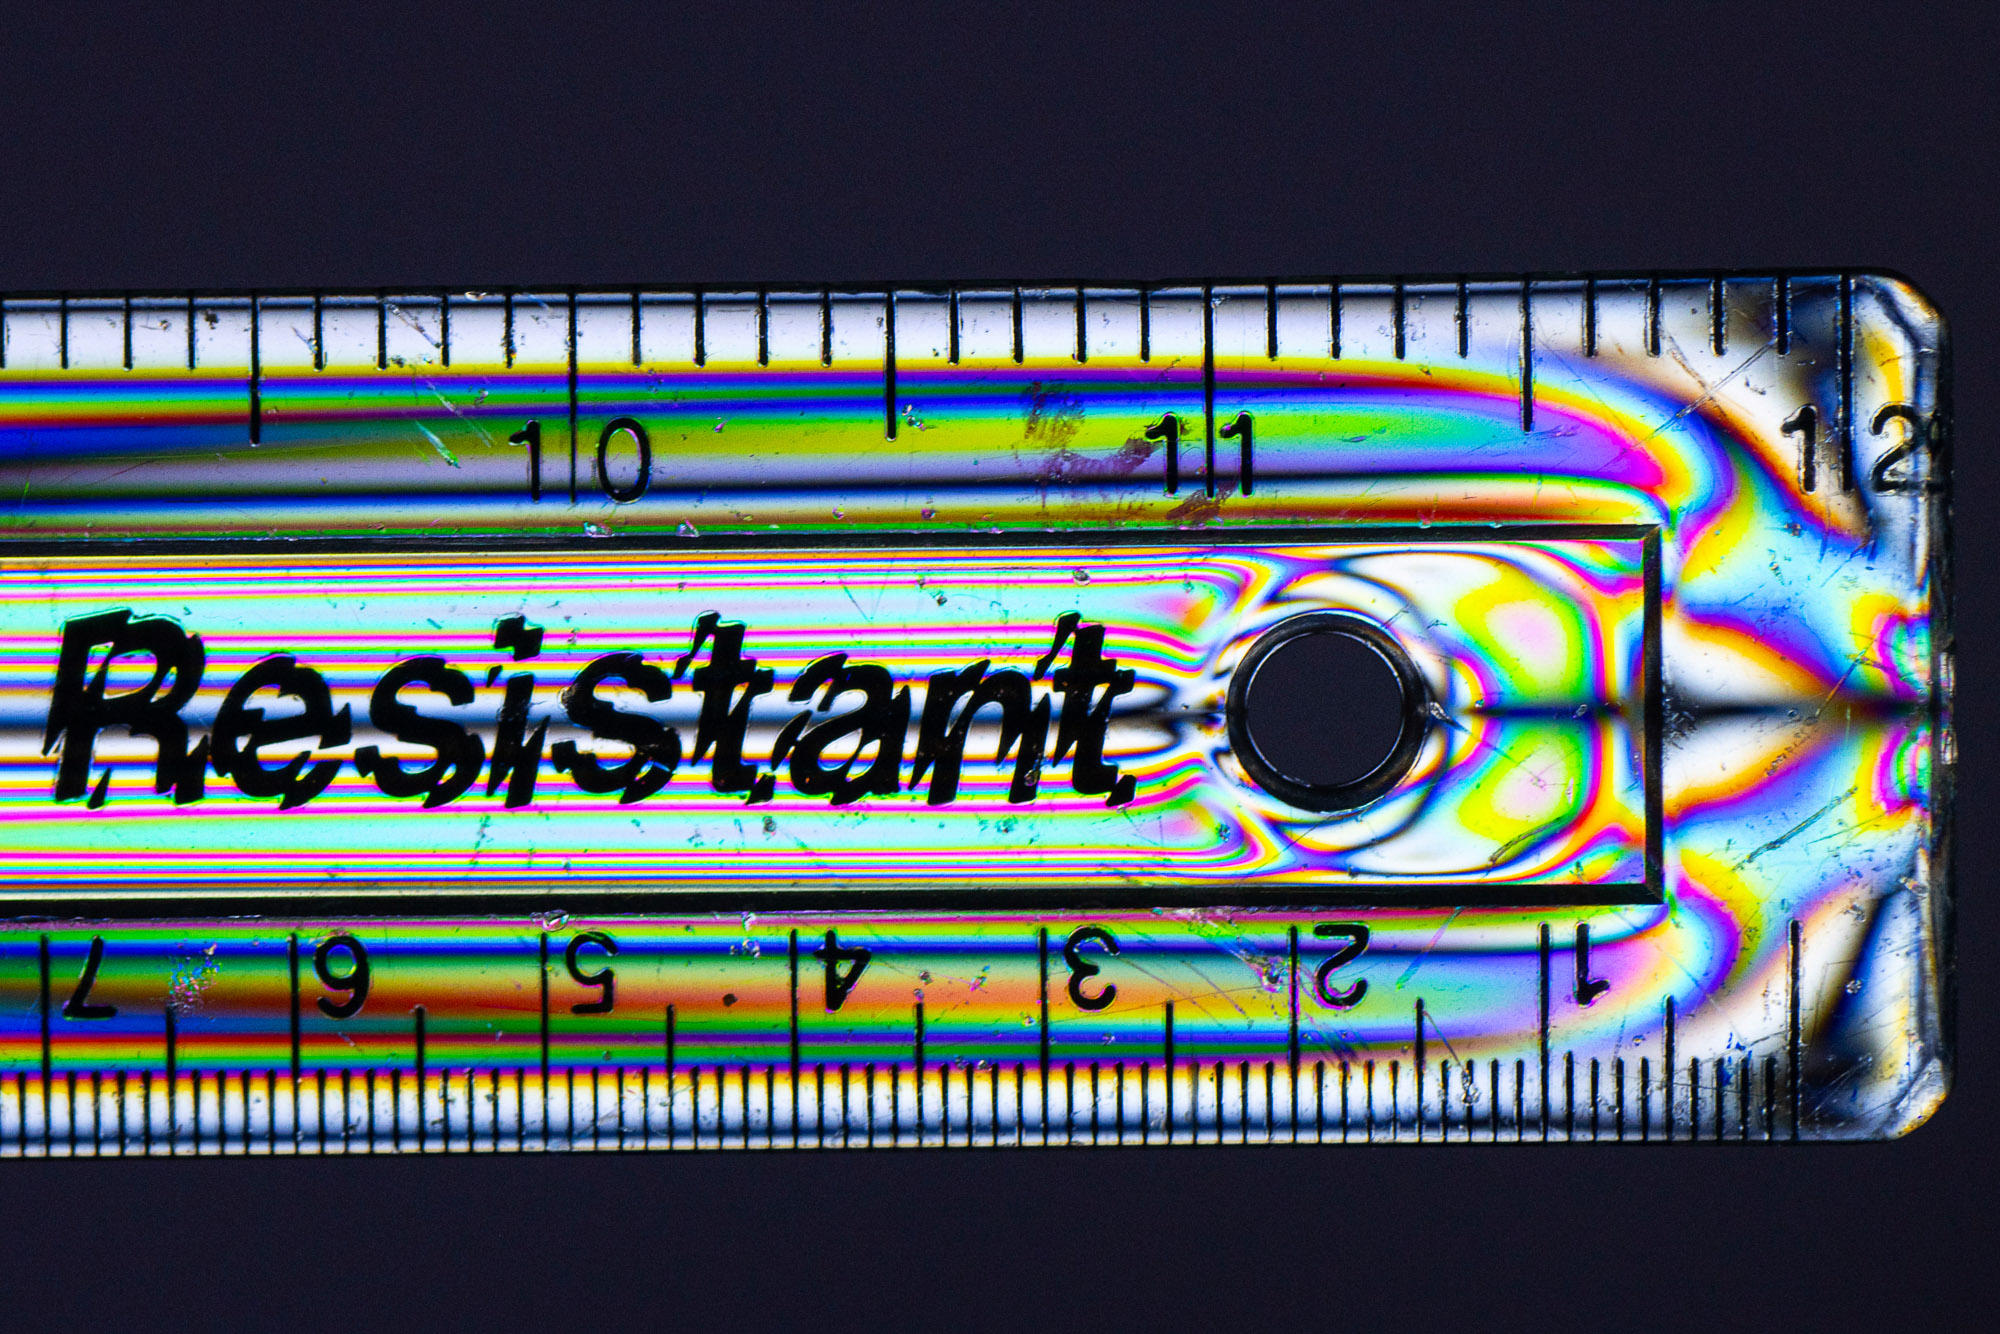
2. Use different plastics
Root around the house and you’re likely to find all sorts of interesting objects that can be transformed into a vibrant still life subject, thanks to cross-polarization. Arrange the objects so that the screen lights them from behind and, if the plastic is suitable, you’ll be treated to a colorful spectrum.
The best camera deals, reviews, product advice, and unmissable photography news, direct to your inbox!
3. Try a macro lens
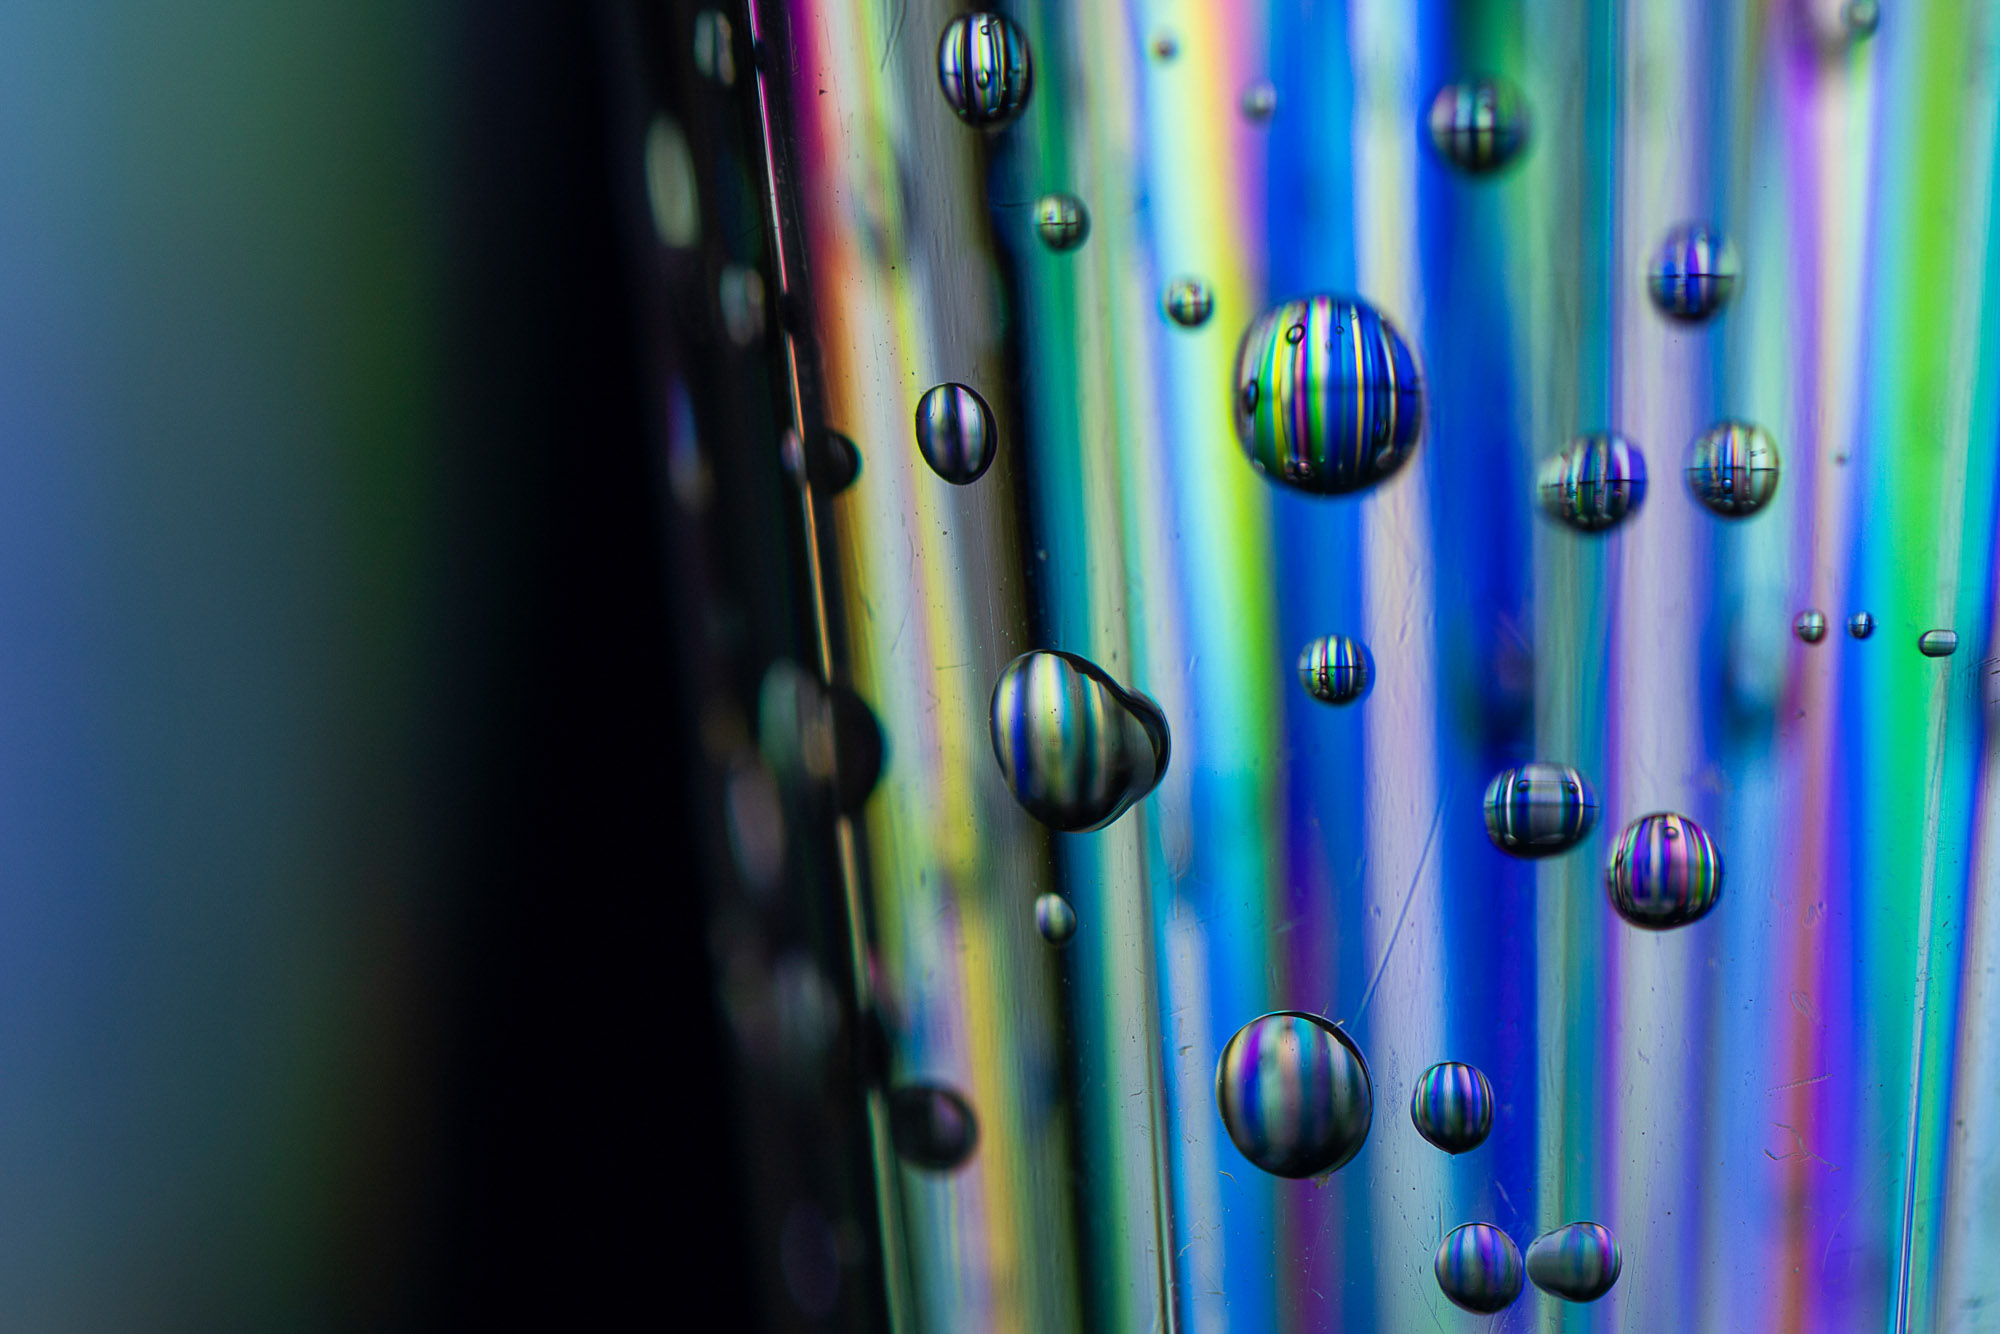
If you have a macro lens, this is a great time to experiment with extreme close-ups. Go in tight on parts of the plastic object, like the bubbles in the champagne flute here. Use a fairly narrow aperture like f/11 to expand your depth of field so that more of the close-up details are in focus.
4. Create depth
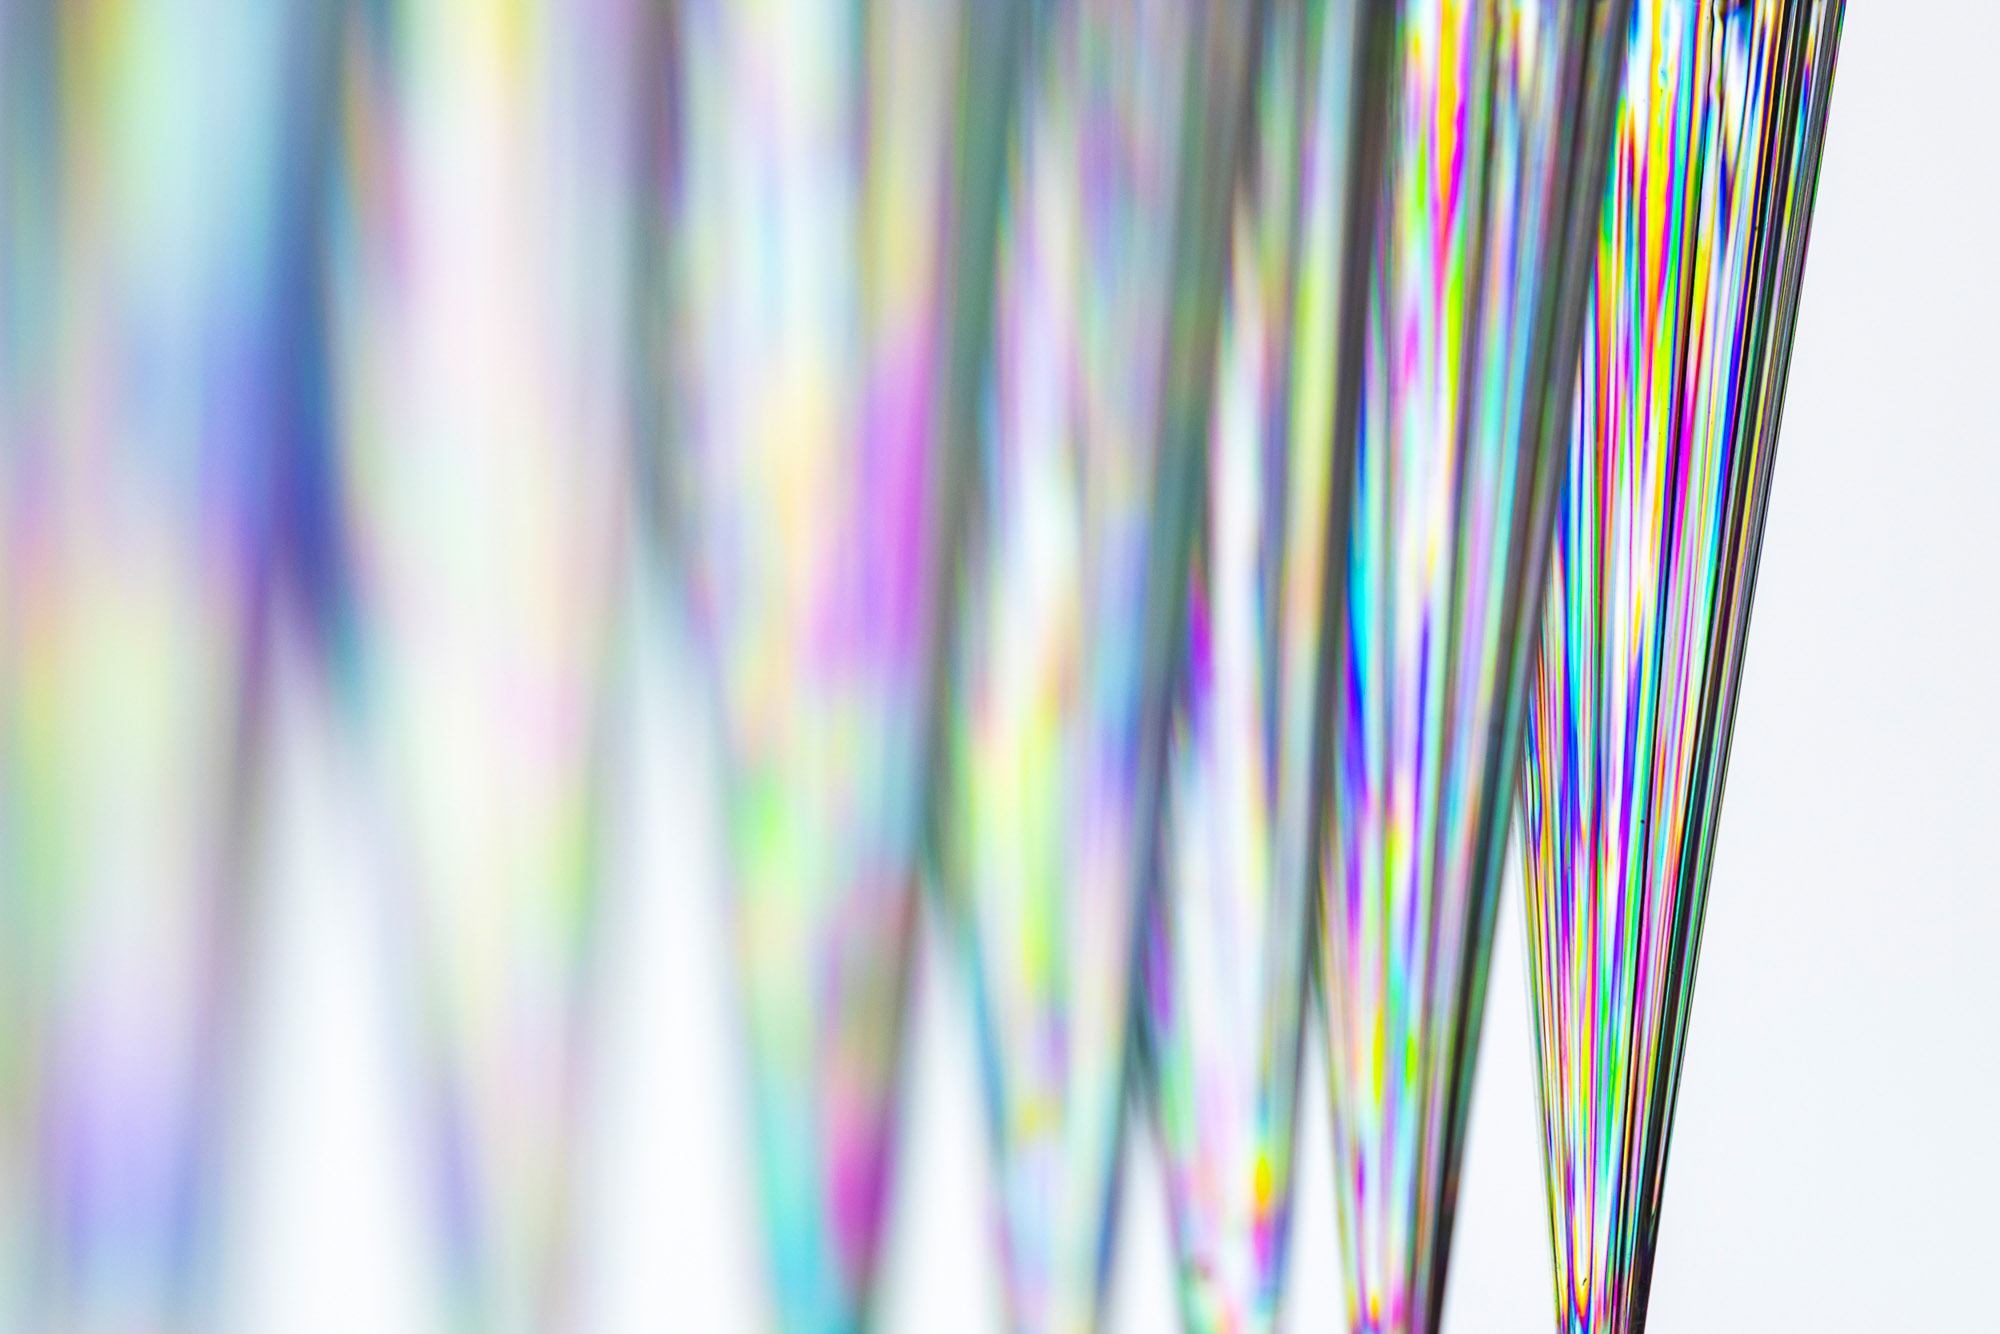
The great thing about using a TV for your polarized backlighting is that – as long as it’s a fairly large screen – you can arrange your plastic objects at different distances to create a sense of depth in your cross-polarized photos. Here, by focusing on the last in a line of flutes, we get lovely foreground blur.
5. Experiment with tilt
When capturing an array of similar objects like this it’s worth experimenting with pattern-like arrangements, perhaps by spacing them all at equal distances. Try tethering your camera to a laptop or your phone to help you arrange things. Once done, an intentional tilt to the camera can lead to a dynamic composition.
6. Shoot a long exposure
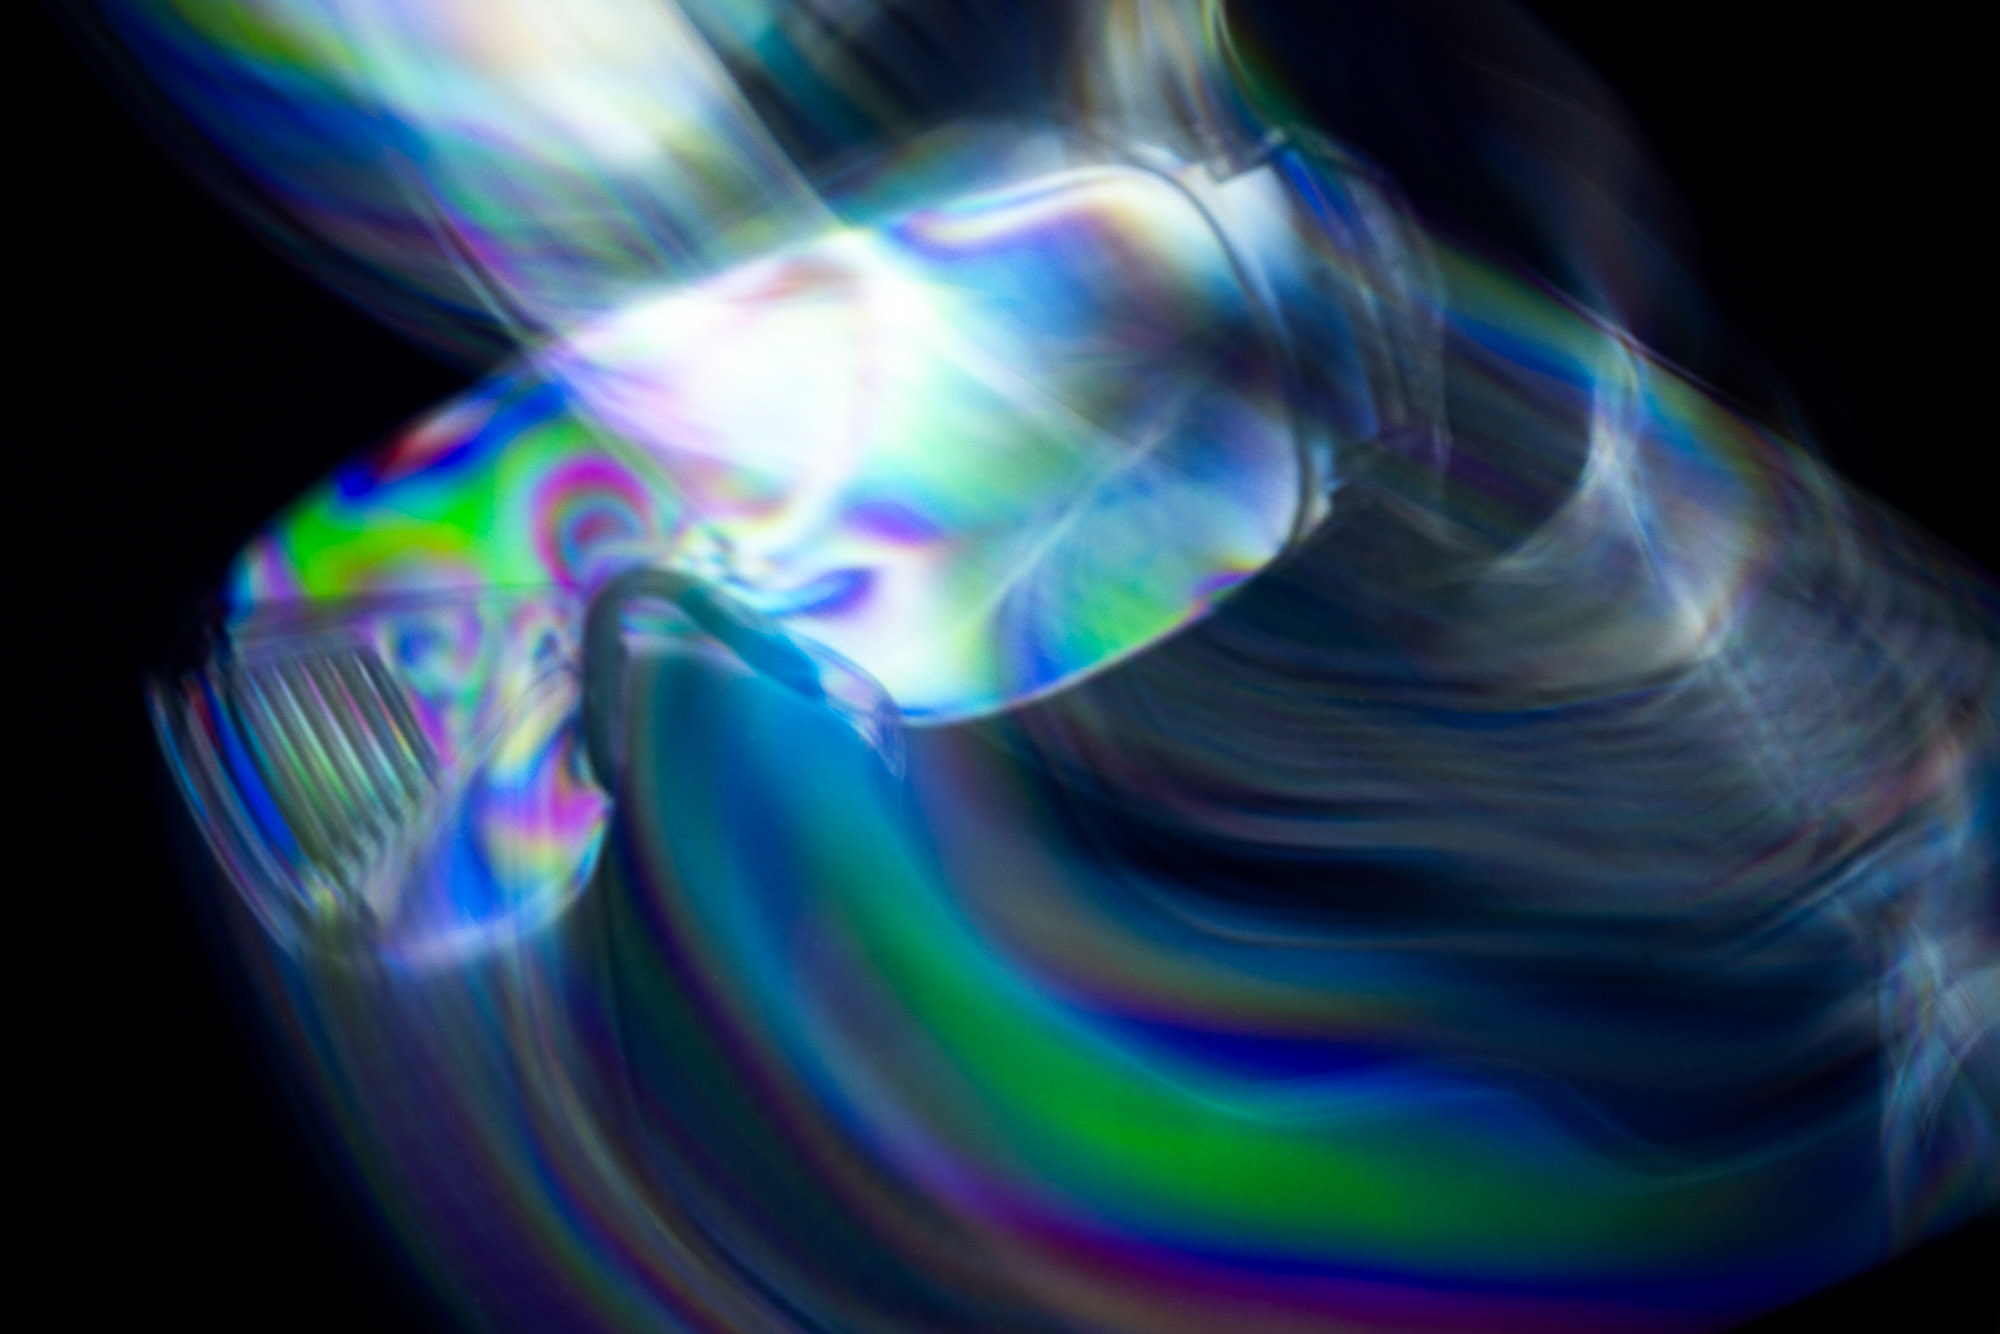
You can create interesting blur effects by slowing down your shutter speed and moving the plastic object during the exposure. This was shot at 2 seconds, aperture f/16, ISO100. This will only work with a black background, so first rotate your polarizer to make the TV screen go black.
7. Master the Channel Mixer
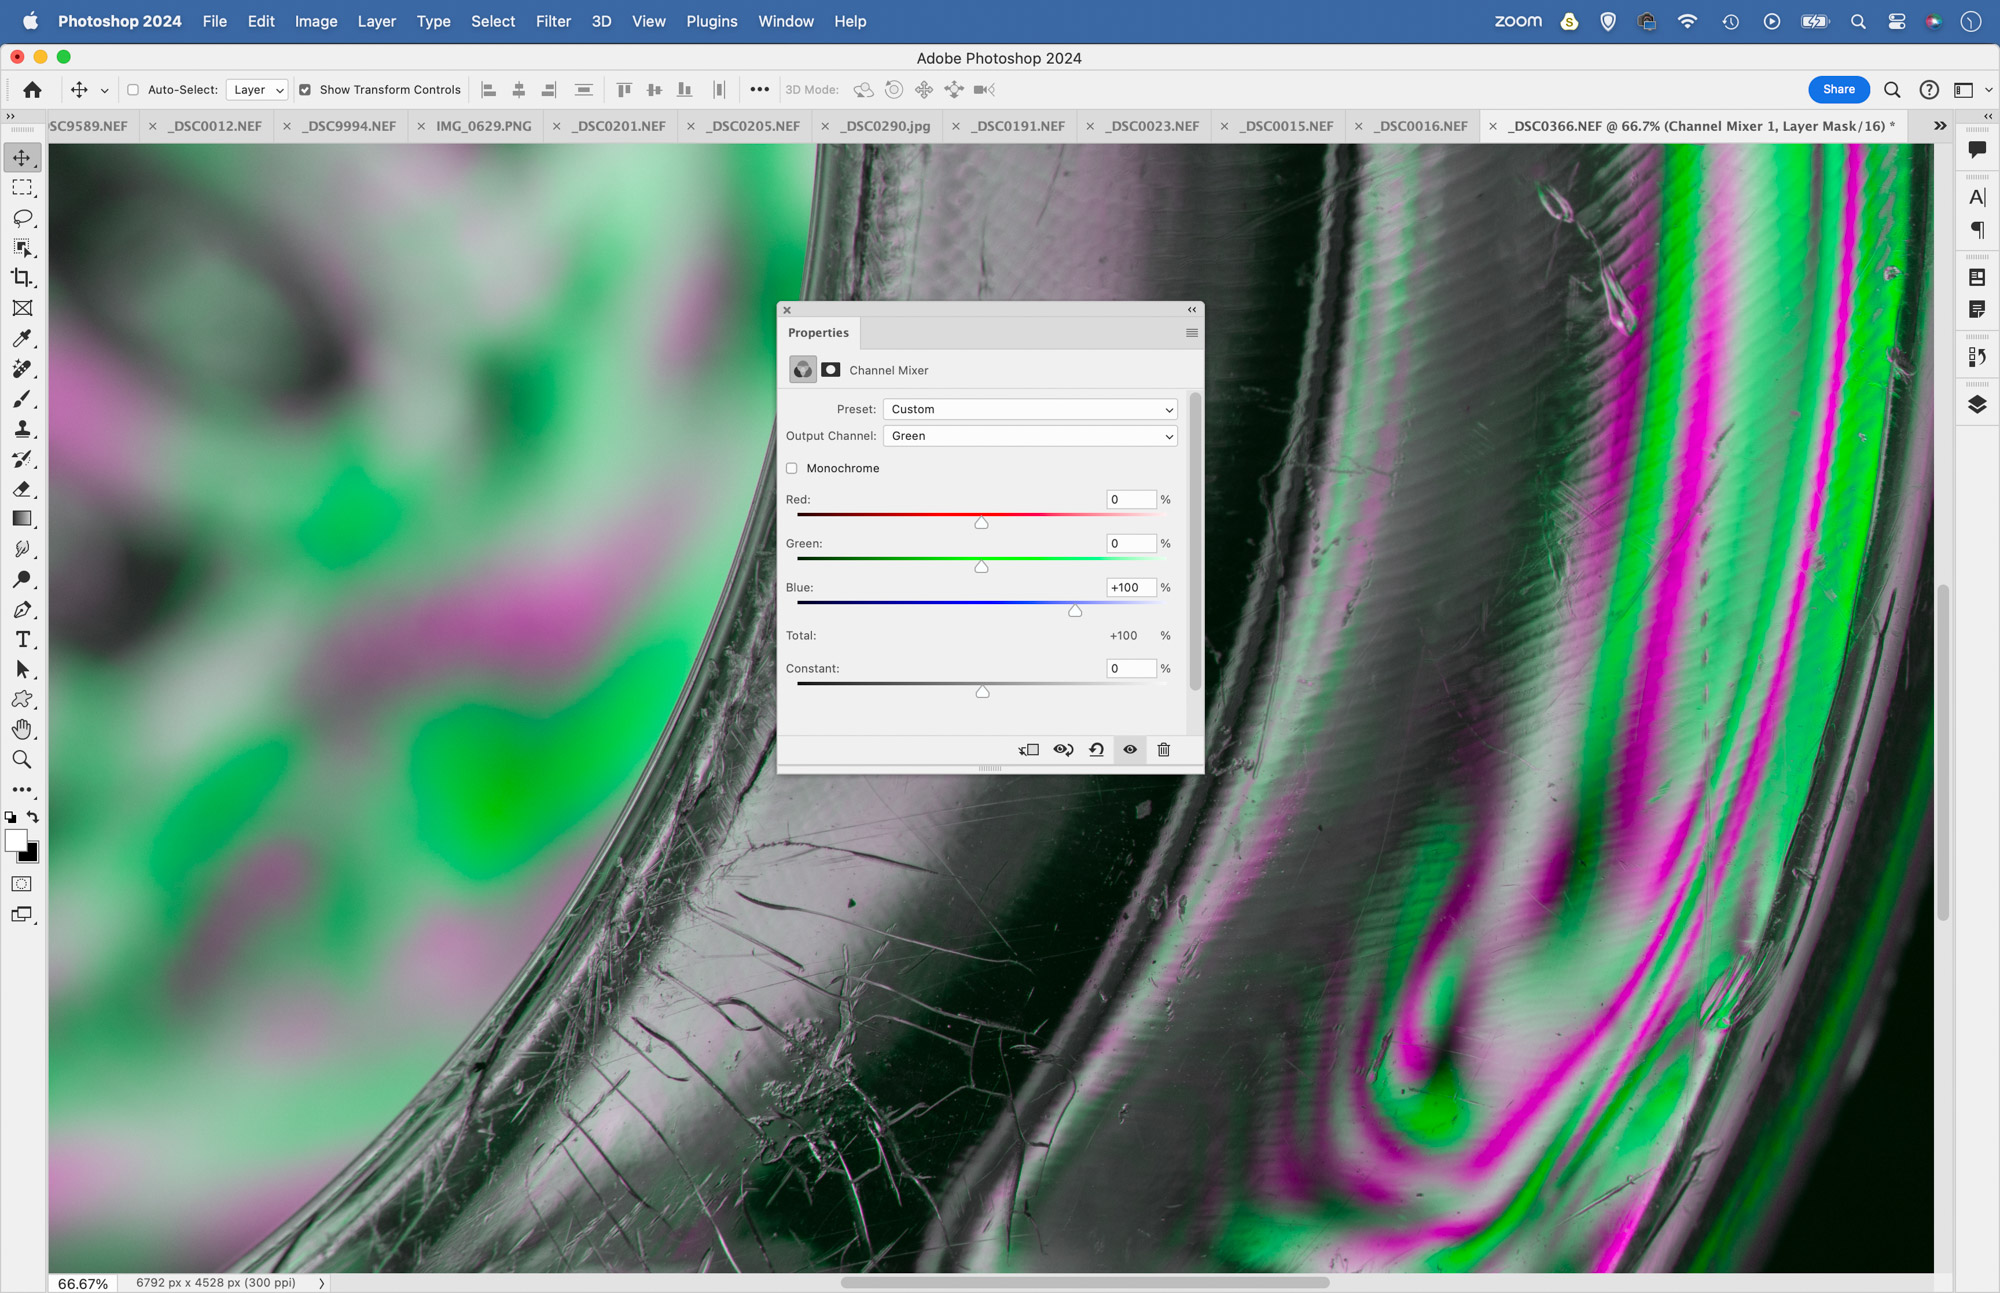
Photoshop’s Channel Mixer Adjustment Layer is great for creative color shifts. Use the dropdown menu to target the RGB channels and experiment with values. The combined value for each channel should be around +100. For instance, on the Blue channel you could use R -100, G 0, B +200.
8. Use the Color Mixer
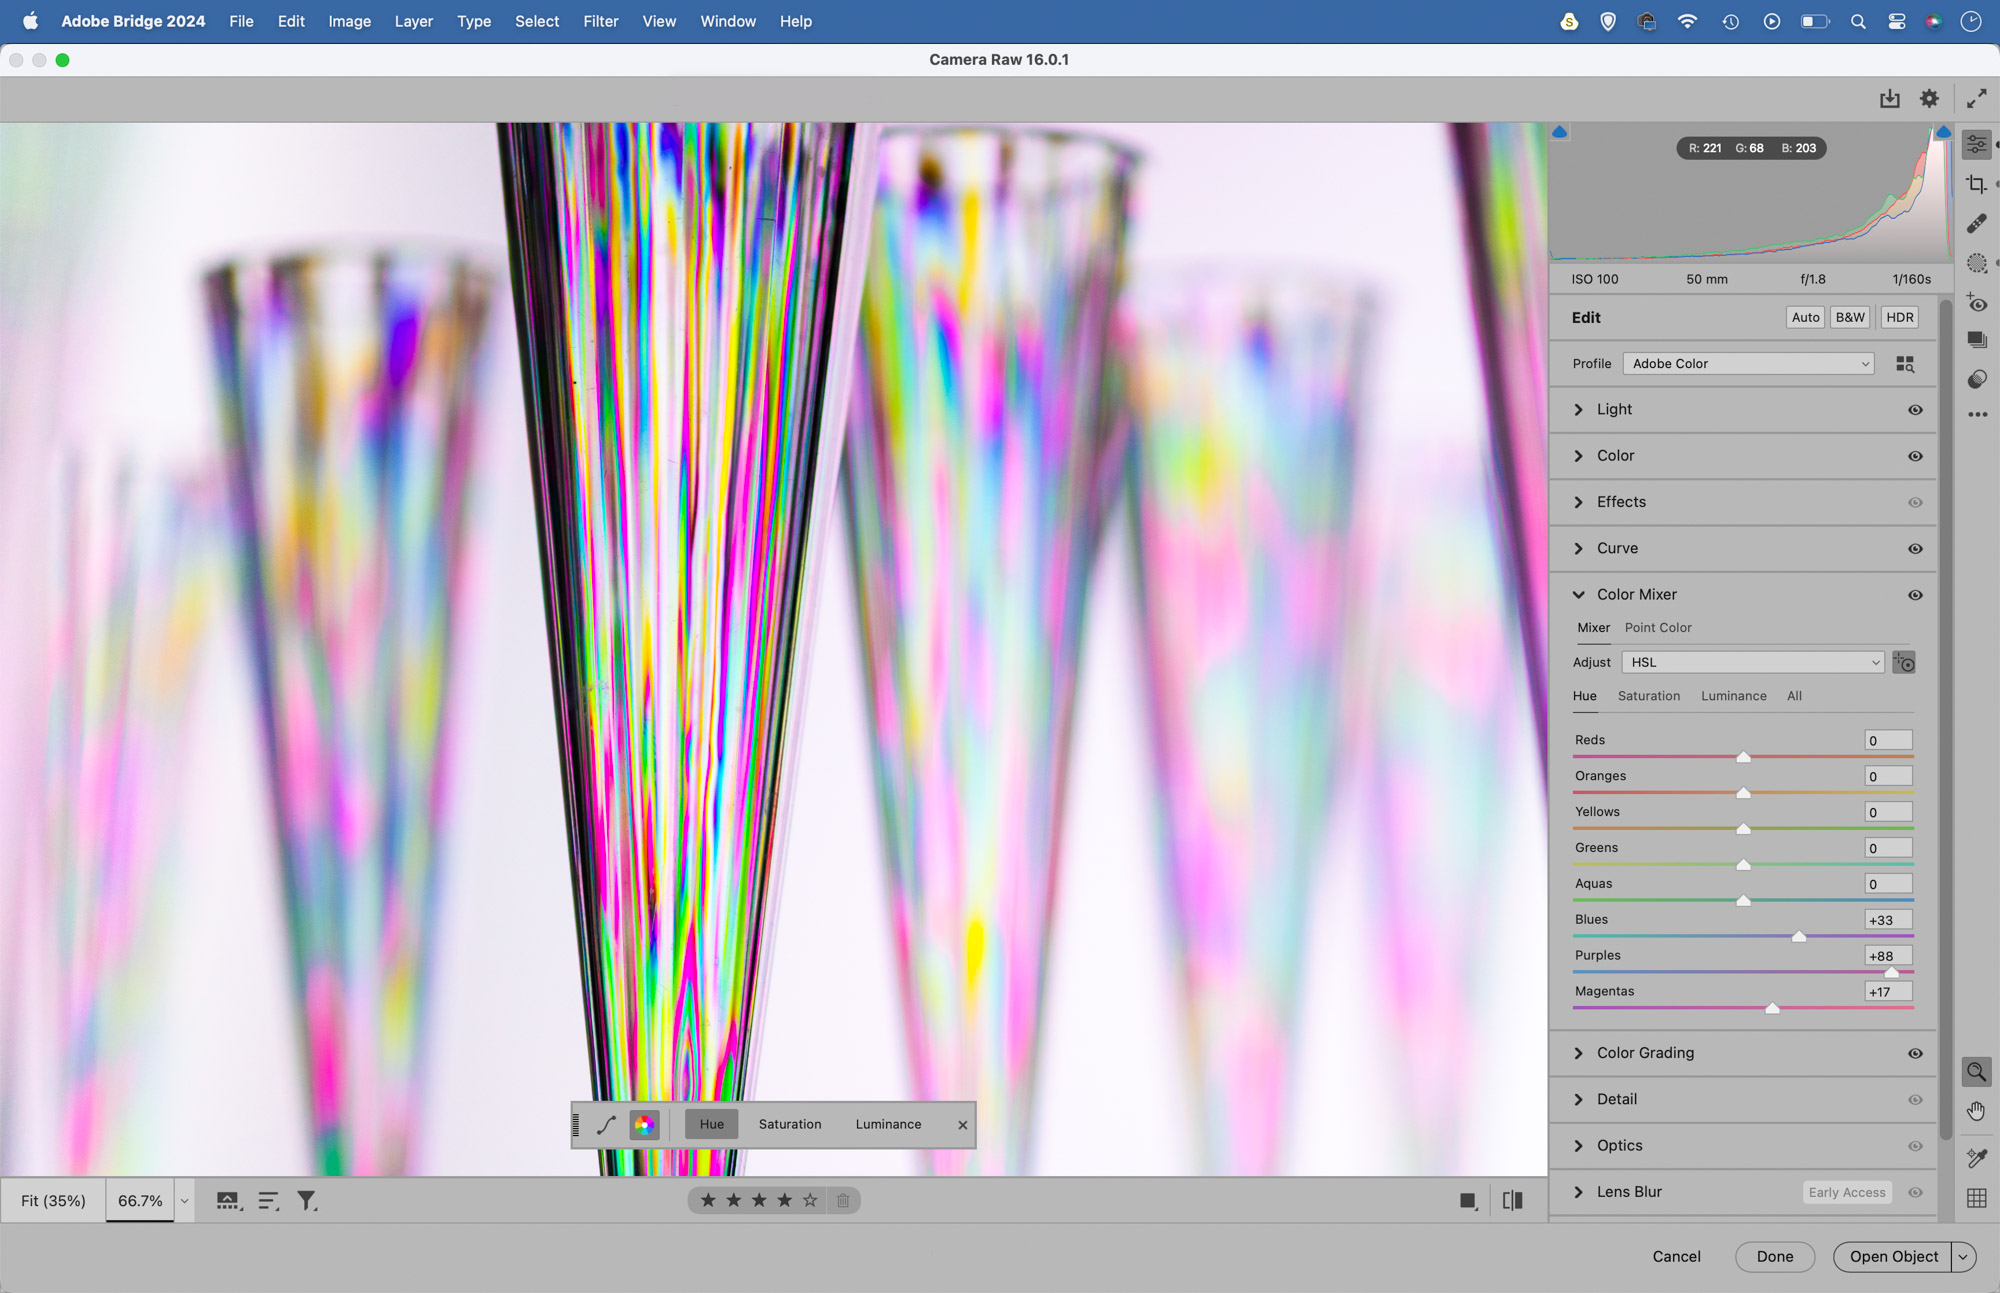
The Color Mixer Panel in Camera Raw / Lightroom is one of the easiest tools for making color changes. Go to the Hue tab then grab the target tool and drag over colors in the image. You can also adjust the color saturation. For further control, experiment with the Point Color options.
9. Color the backdrop
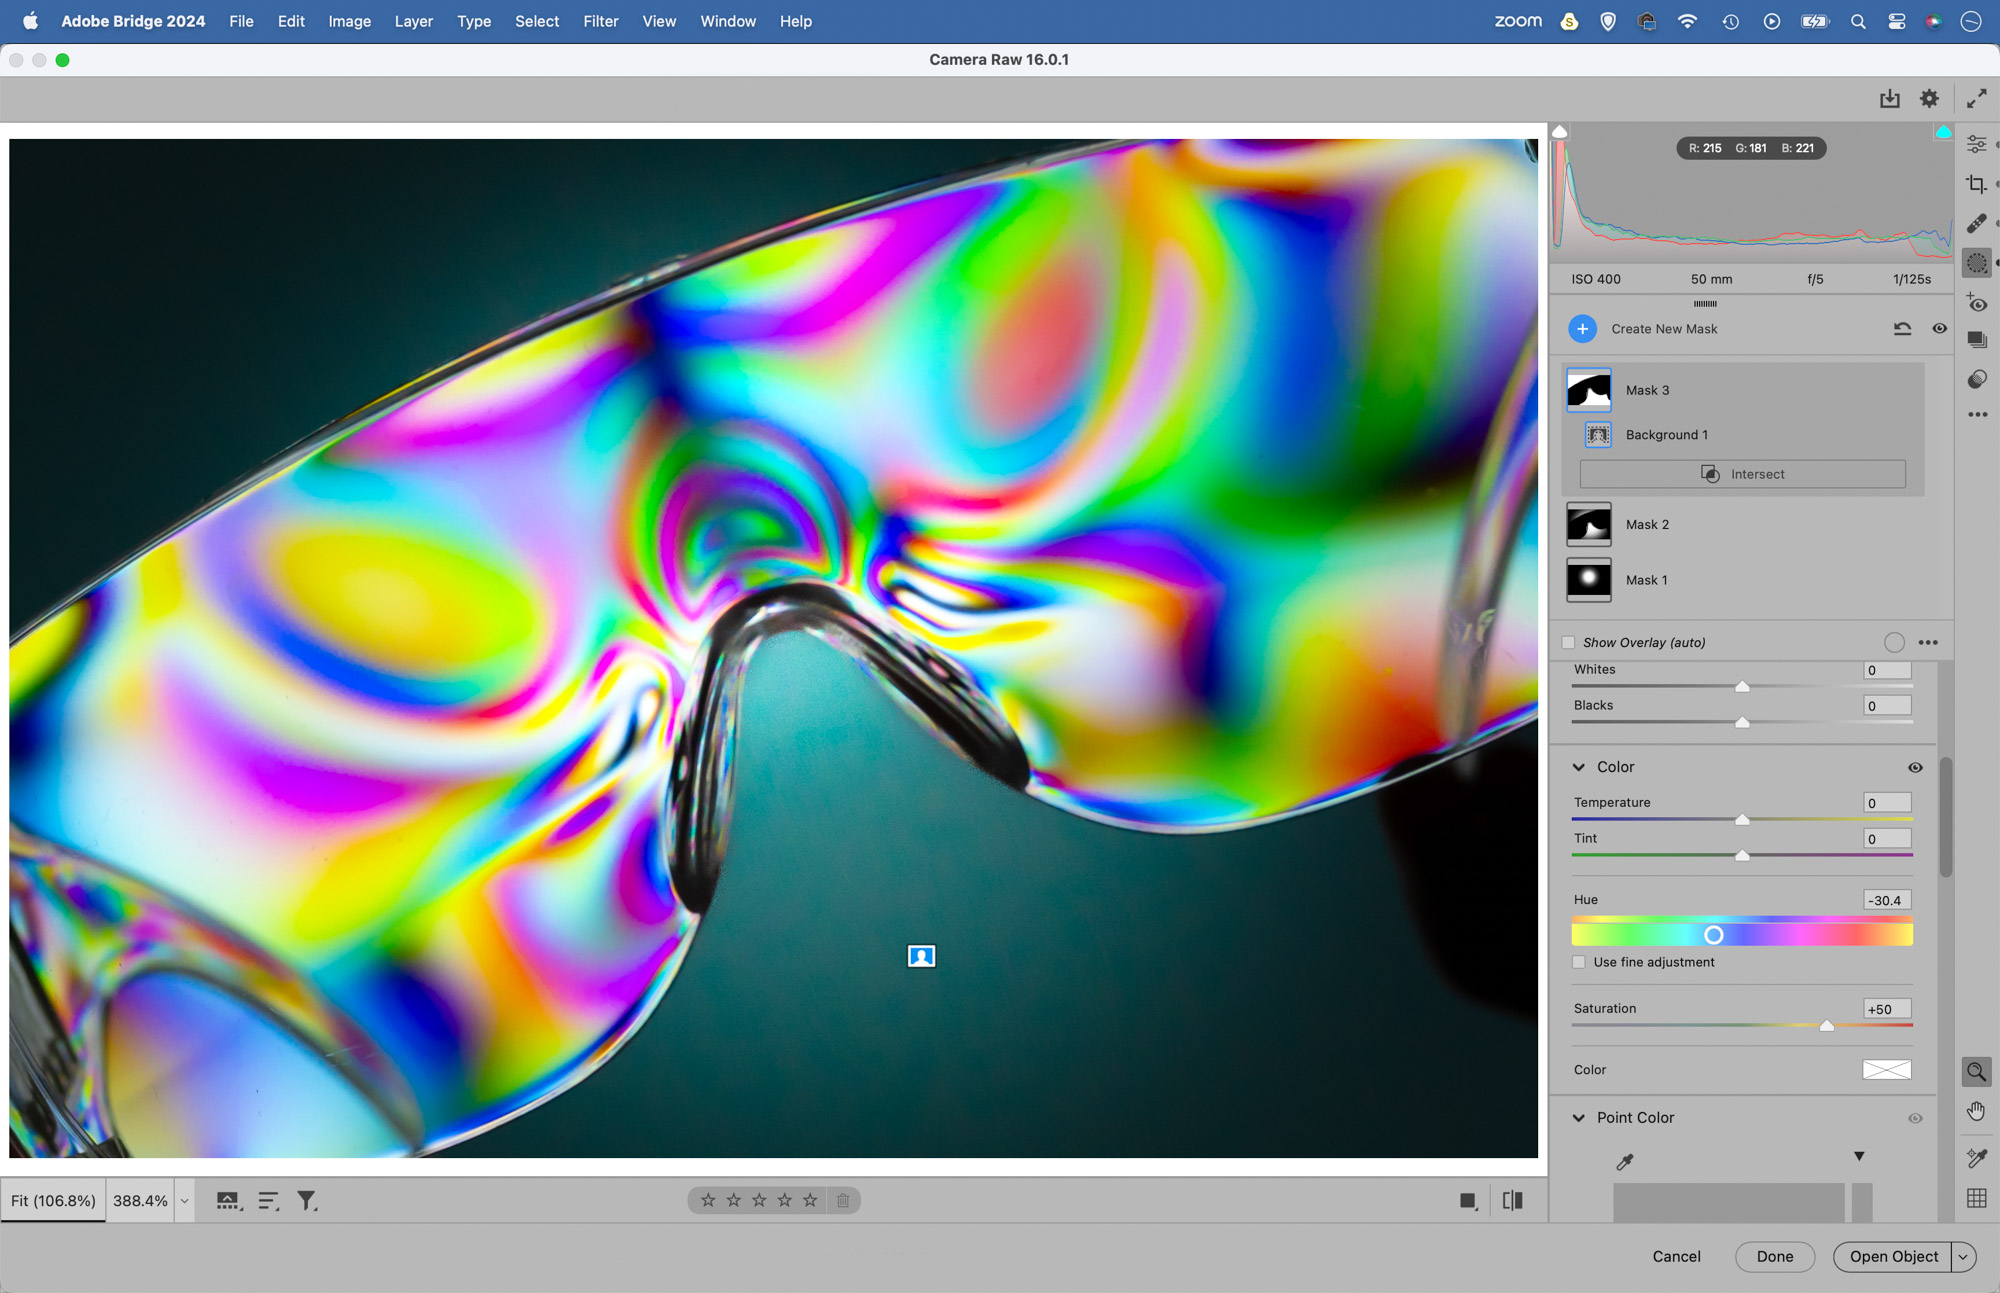
A twist of your circular polarizer can turn the background black or white. But something in between will give you a grey that can be colorized. Open into Camera Raw or Lightroom, go to the mask panel and choose Select Background, then use the Hue control to change the color.
10. Get crafty with cross-polarization
Start to experiment with cross-polarization along with other creative techniques and you can come up with all kinds of interesting artwork. For instance, why not try combining the cross-polarization technique with a bit of craftwork?
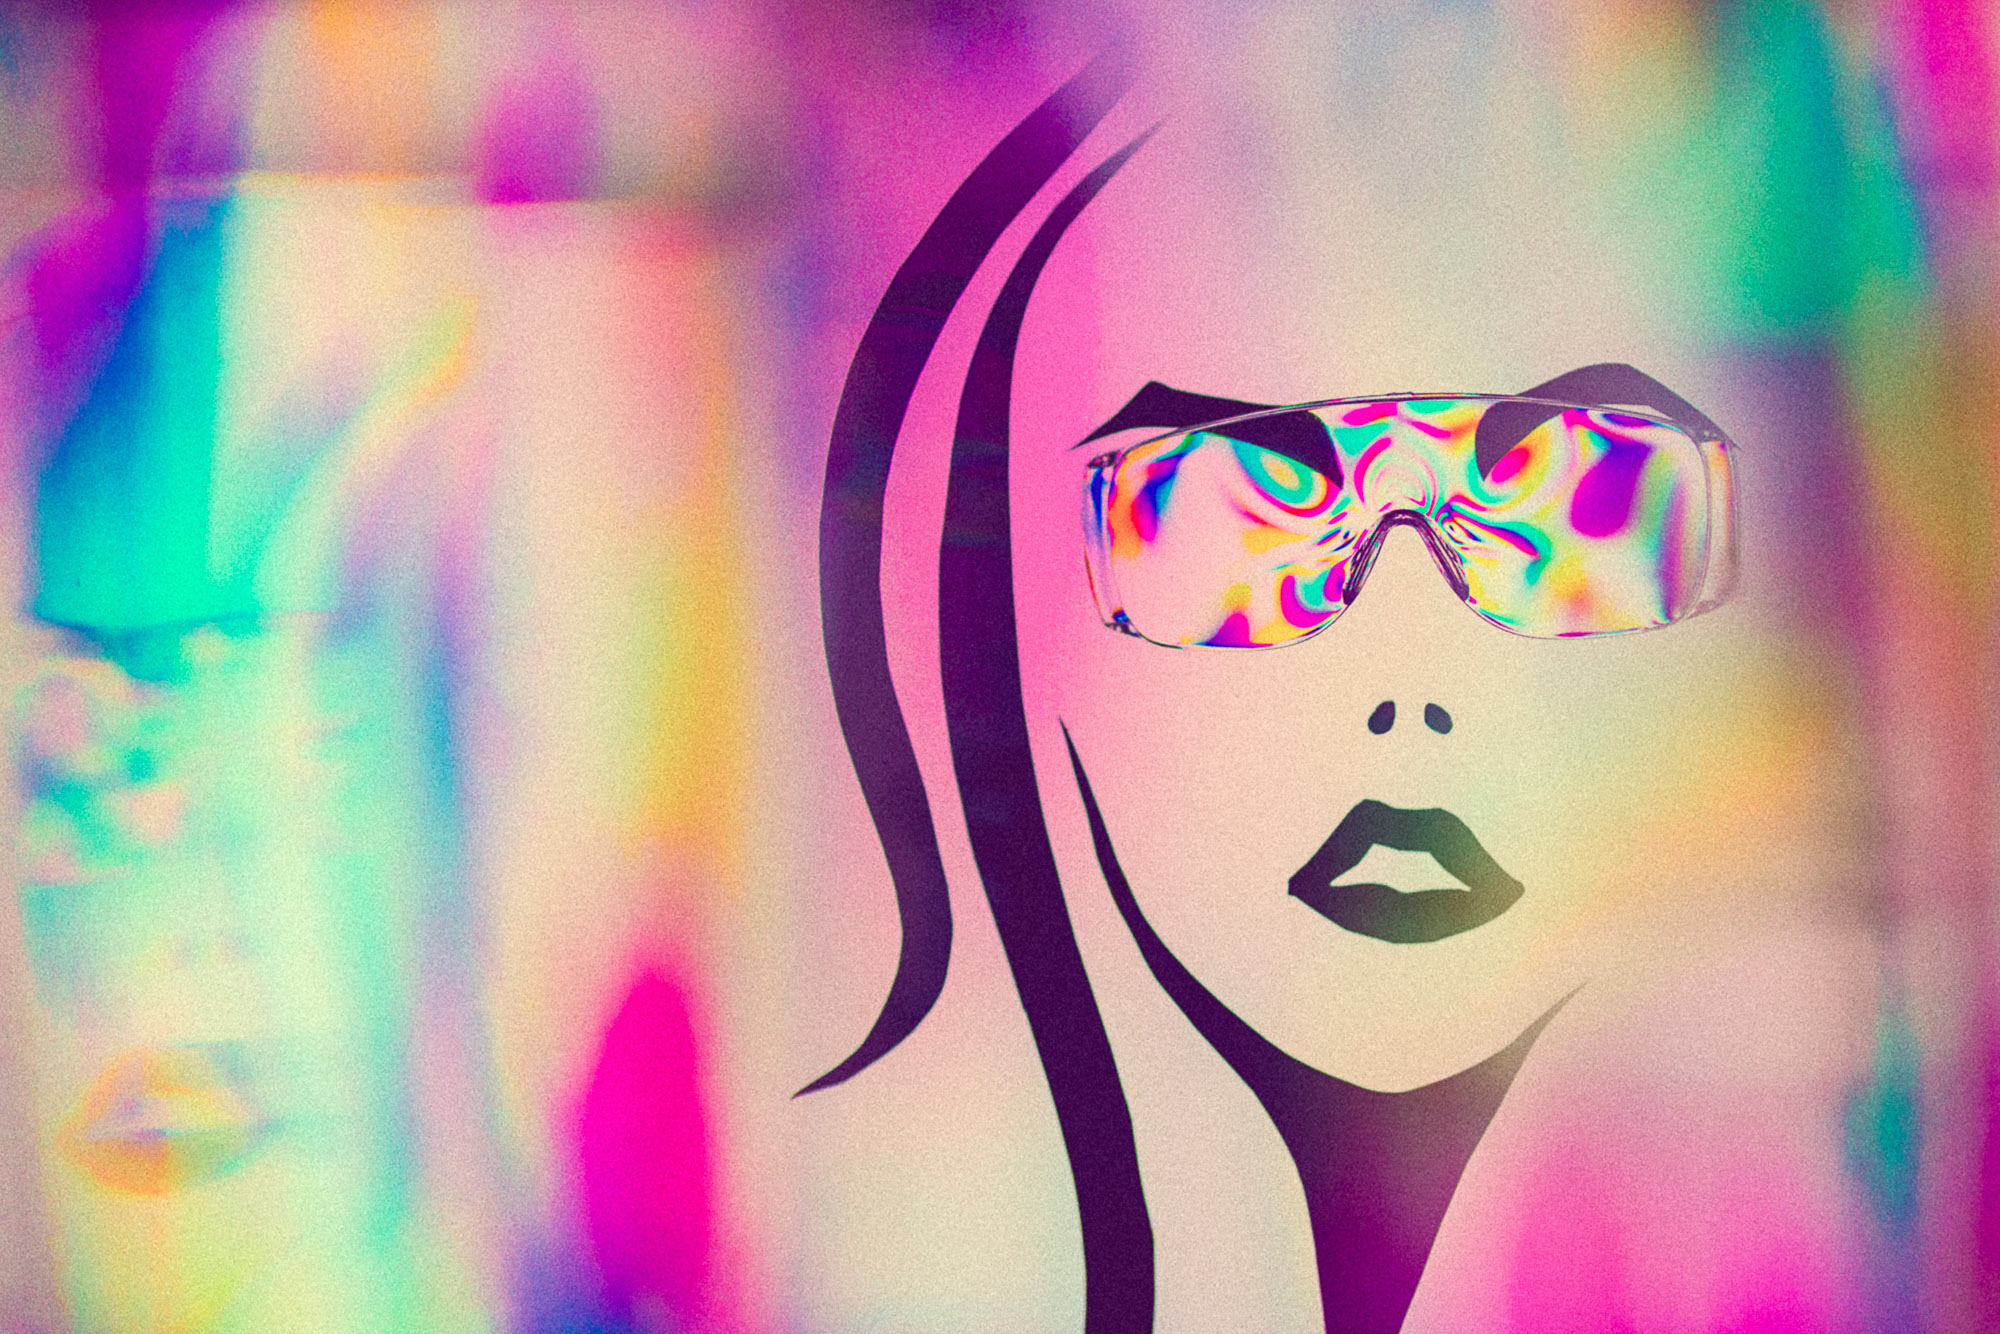
For this image we cut out a few shapes from a sheet of black paper, then stuck them to our board of Perspex (now placed vertically and held in position with a clamp). We then stuck a pair of plastic goggles to the board, and experimented by placing other plastic objects very close to the camera lens to create blurry, out-of-focus colors in the foreground.
Of course, the TV screen needs to be captured as white for this to work, so we need to rotate the circular polarizer on the lens until we have a bright backdrop rather than a dark one.
PhotoPlus: The Canon Magazine is the world's only monthly newsstand title that's 100% devoted to Canon, so you can be sure the magazine is completely relevant to your system. Every issue comes with downloadable video tutorials too.
If you're serious about scenery, take a look at the best cameras for landscape photography along with the best lenses for landscapes.
The lead technique writer on Digital Camera Magazine, PhotoPlus: The Canon Magazine and N-Photo: The Nikon Magazine, James is a fantastic general practice photographer with an enviable array of skills across every genre of photography.
Whether it's flash photography techniques like stroboscopic portraits, astrophotography projects like photographing the Northern Lights, or turning sound into art by making paint dance on a set of speakers, James' tutorials and projects are as creative as they are enjoyable.
He's also a wizard at the dark arts of Photoshop, Lightroom and Affinity Photo, and is capable of some genuine black magic in the digital darkroom, making him one of the leading authorities on photo editing software and techniques.
