Home photography ideas: Atmospheric rays of light using a fog machine
Make atmospheric shafts of light in your portraits with some help from a fog machine and a speed light
Watch video: Home photography ideas – Rays of light using a fog machine
Photography projects at home
• Home photography ideas
Useful home photography kit
• Best tripods
• Best lighting kits
• Best reflectors
• Best macro lenses
There’s something magical about rays of light. They create a wonderful sense of atmosphere, whether seen on a misty morning walk as the sun breaks through gaps in the trees, or inside a dusty room pierced by shafts of light from the window. And we can make use of this atmosphere to enliven our portraits.
Although we think of them as ‘light rays’, it’s not really possible to photograph a ray of light. What we’re actually seeing is the light illuminating very minute particles in the air. So the key to creating these rays is to fill the air with particles, whether it be in the form of steam, mist, dust or smoke.
In this project, we’ve made use of an inexpensive fog machine (less commonly known as a smoke machine). The other main consideration is the light; sunlight is ideal but, of course, there’s no guarantee that the sun will shine through the right window when you want it to, if at all!

On our shoot, there was no chance of late afternoon sunbeams, so we made our own. Using a flashgun fitted with an orange gel and positioned outside the window, we can make it look as if sunshine is streaming in.
Light rays can look very cinematic. So they’re the perfect addition to an atmospheric portrait, and great fun to try out with the kids. We set up a child’s bedroom for our shoot, but you can try this out in any room with a window and a blind.
• Best online photography courses
Set up: create rays of light

01 Smoke
We need to fill the air with particles, as these catch the light and create our rays. A smoke machine is an inexpensive way that you can do this. The mains-powered one we used cost about £30, plus a little extra for the liquid it needs to create the smoke.
02 Backlighting
To make smoke – or any other airborne particle – show up, backlight it by moving the light behind the subject, angled towards the camera. Our speed light is positioned outside the window, but if you prefer to use the sun you’ll need the right time of day.
03 Blinds
To split the light into separate shafts you’ll need some venetian blinds or shutters. That being said, you can try all sorts of other shapes, like slatted panels for example. Or you could simply craft your own by cutting some holes in a piece of cardboard.
04 The subject
Whenever we backlight a subject like this only the edge of their figure will be illuminated, and any parts of the body facing the camera will be in deep shade. So a side-on pose is often best, with the face angled towards the light. Strong silhouetted body shapes also work.
05 Light rays
To create shafts of light it’s important that the quality of light is hard. Soft, diffused light wouldn’t work. The smaller a light source, the harder the shadows. So we need a small, strong source of light like the direct sun, or a speed light fired bare, like this.
06 Flash trigger
When using a speed light through a window we need to trigger it using radio triggers. An optical slave wouldn’t be ideal here, as they rely on line of sight. Our speed light outside the window is fitted with a receiver, while the transmitter sits on the camera’s hot shoe.
Use flash to mimic golden hour
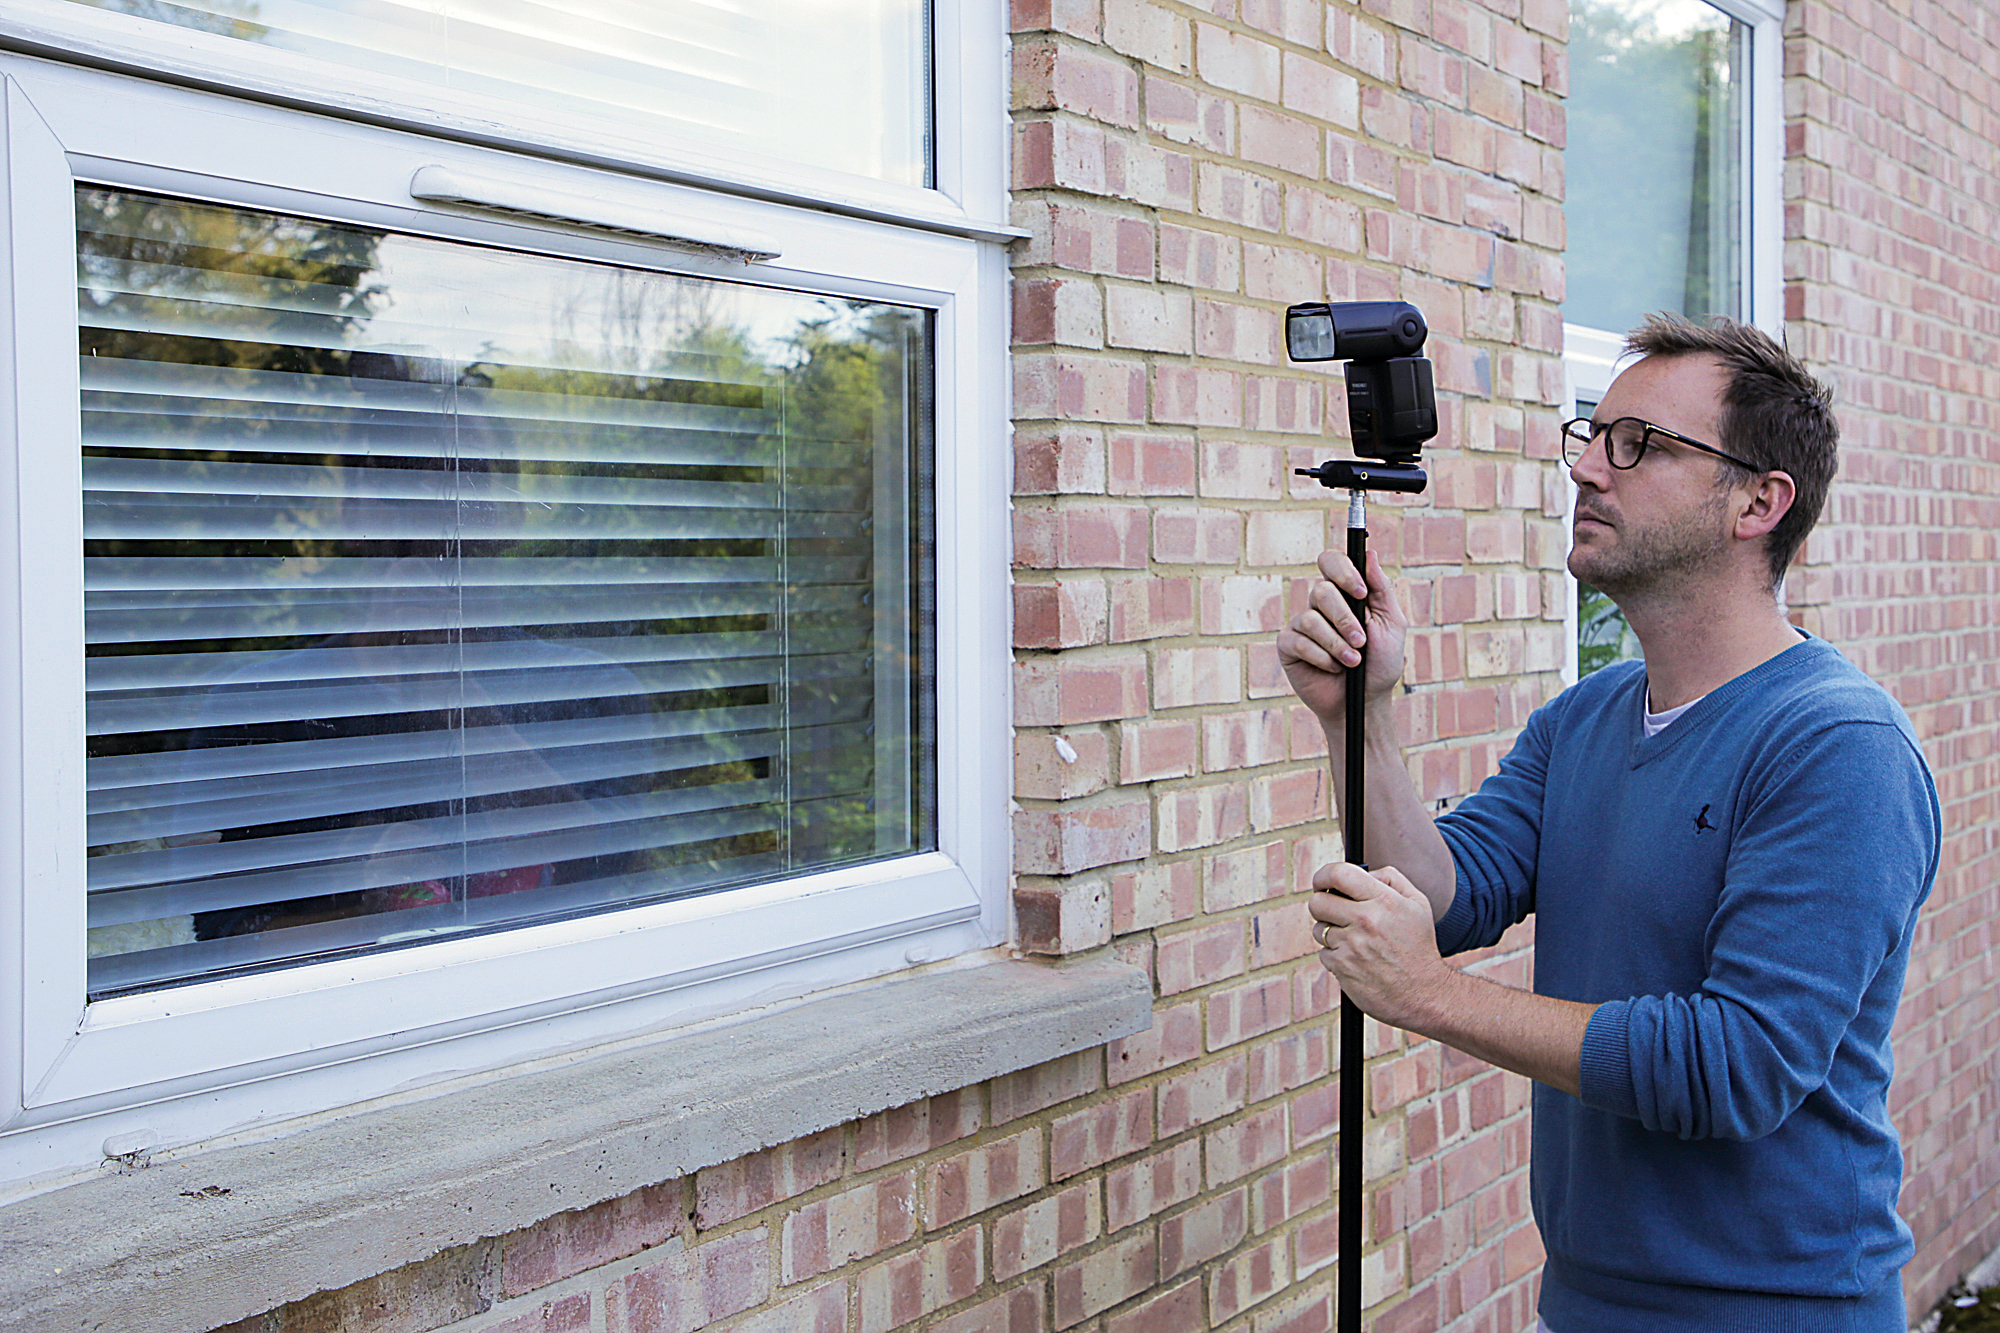
01 Position outside the window
A speed light placed outside the window enables us to recreate sunlight. We used a Yongnuo flash here, fitted with a radio receiver so that we can fire it remotely. Keep the height of the flash low, and play with the positioning to see how it affects the shafts of light.
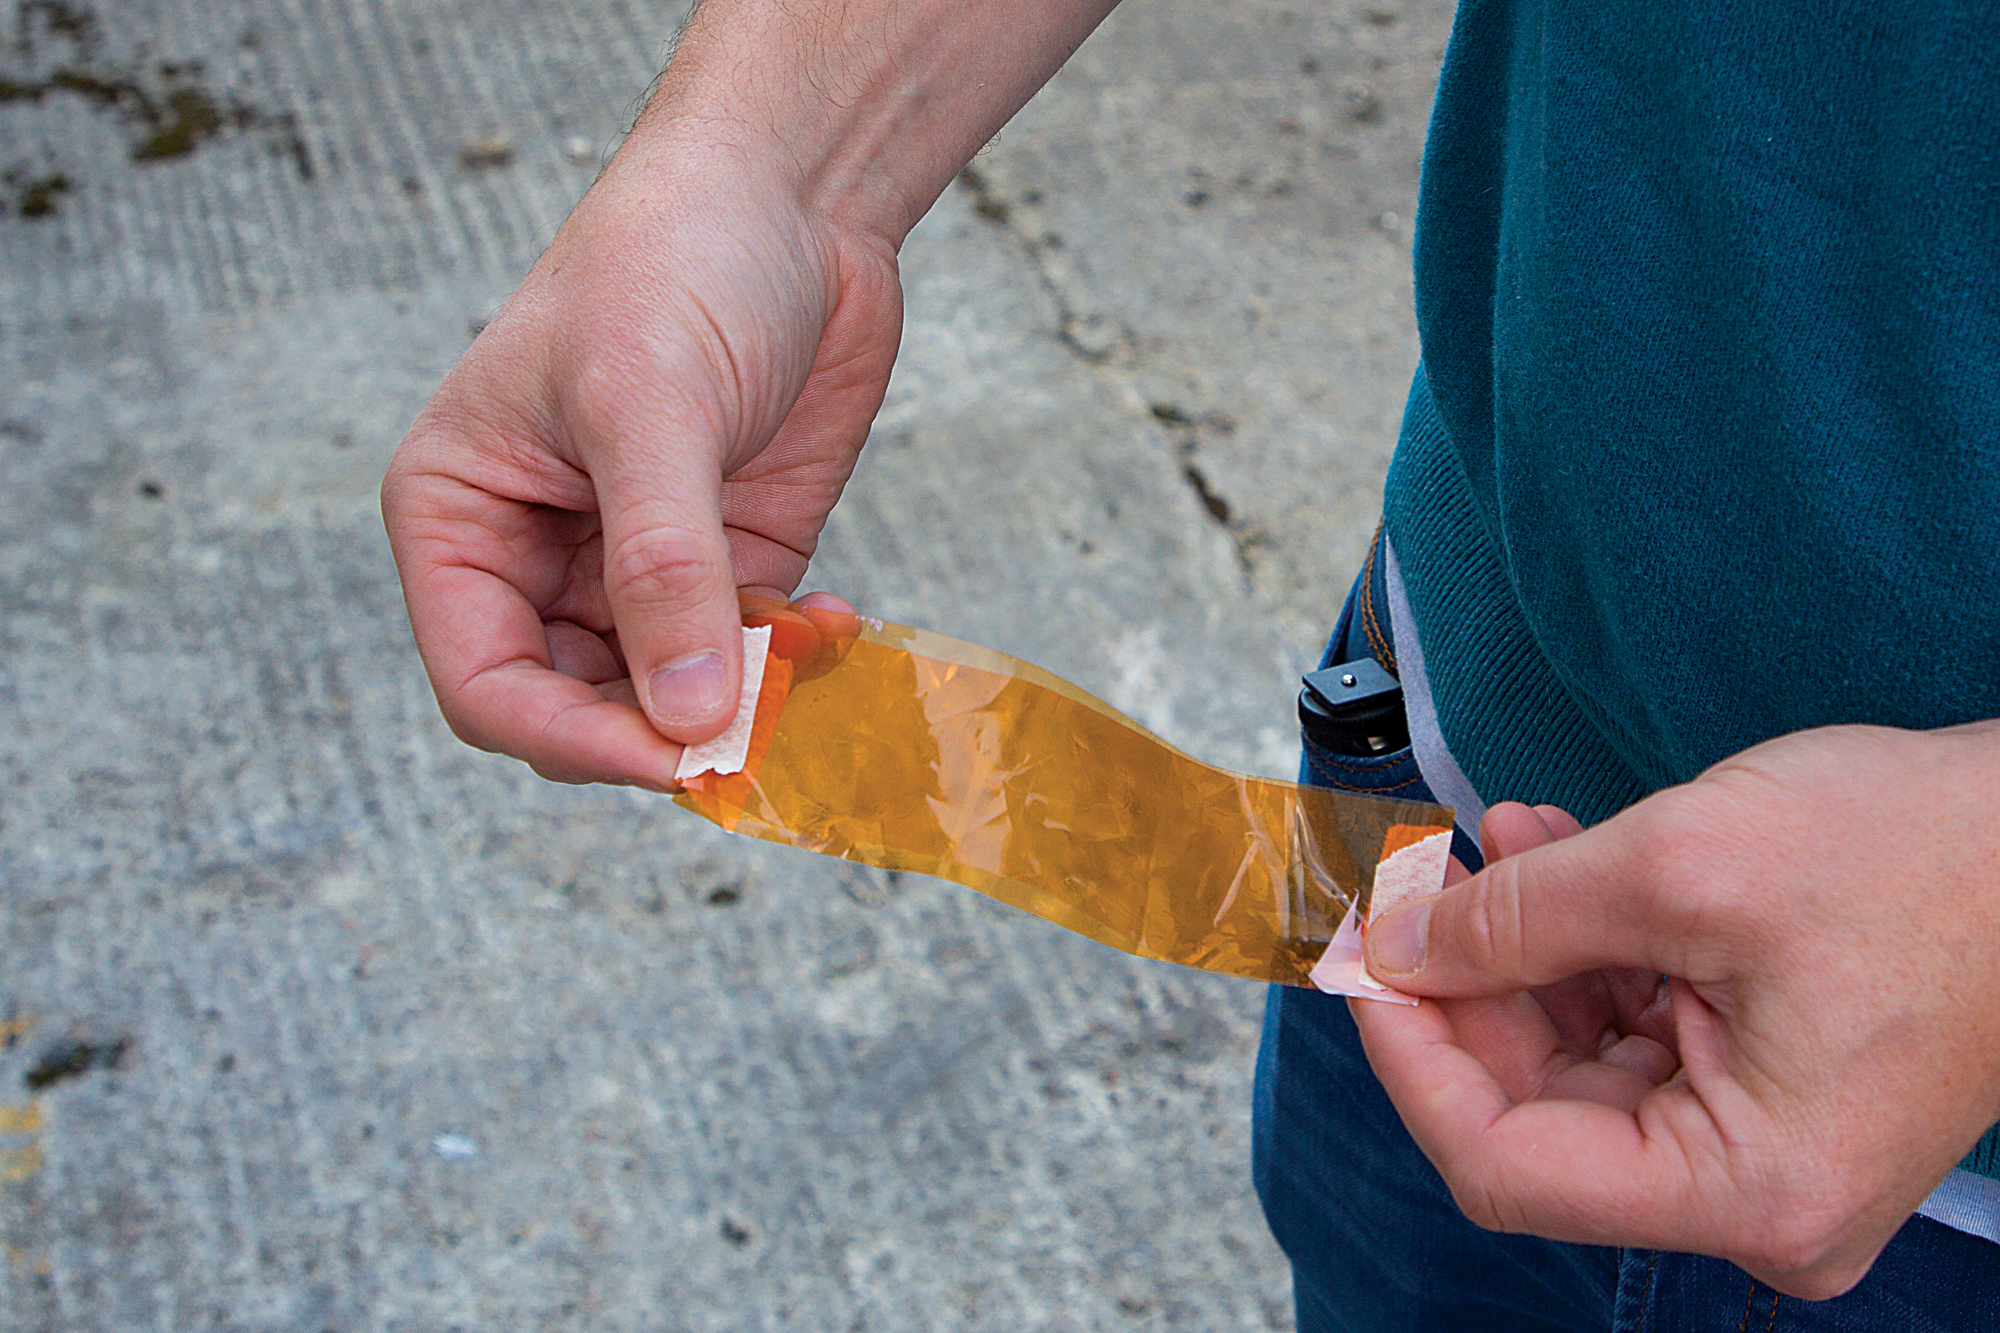
02 Add CTO gel
A CTO (color temperature orange) gel will warm the light emitted by the flash, giving it the feel of low-angle direct sunshine. We taped the gel to the front of the speed light with masking tape. You can double up the gel if you want stronger tones.
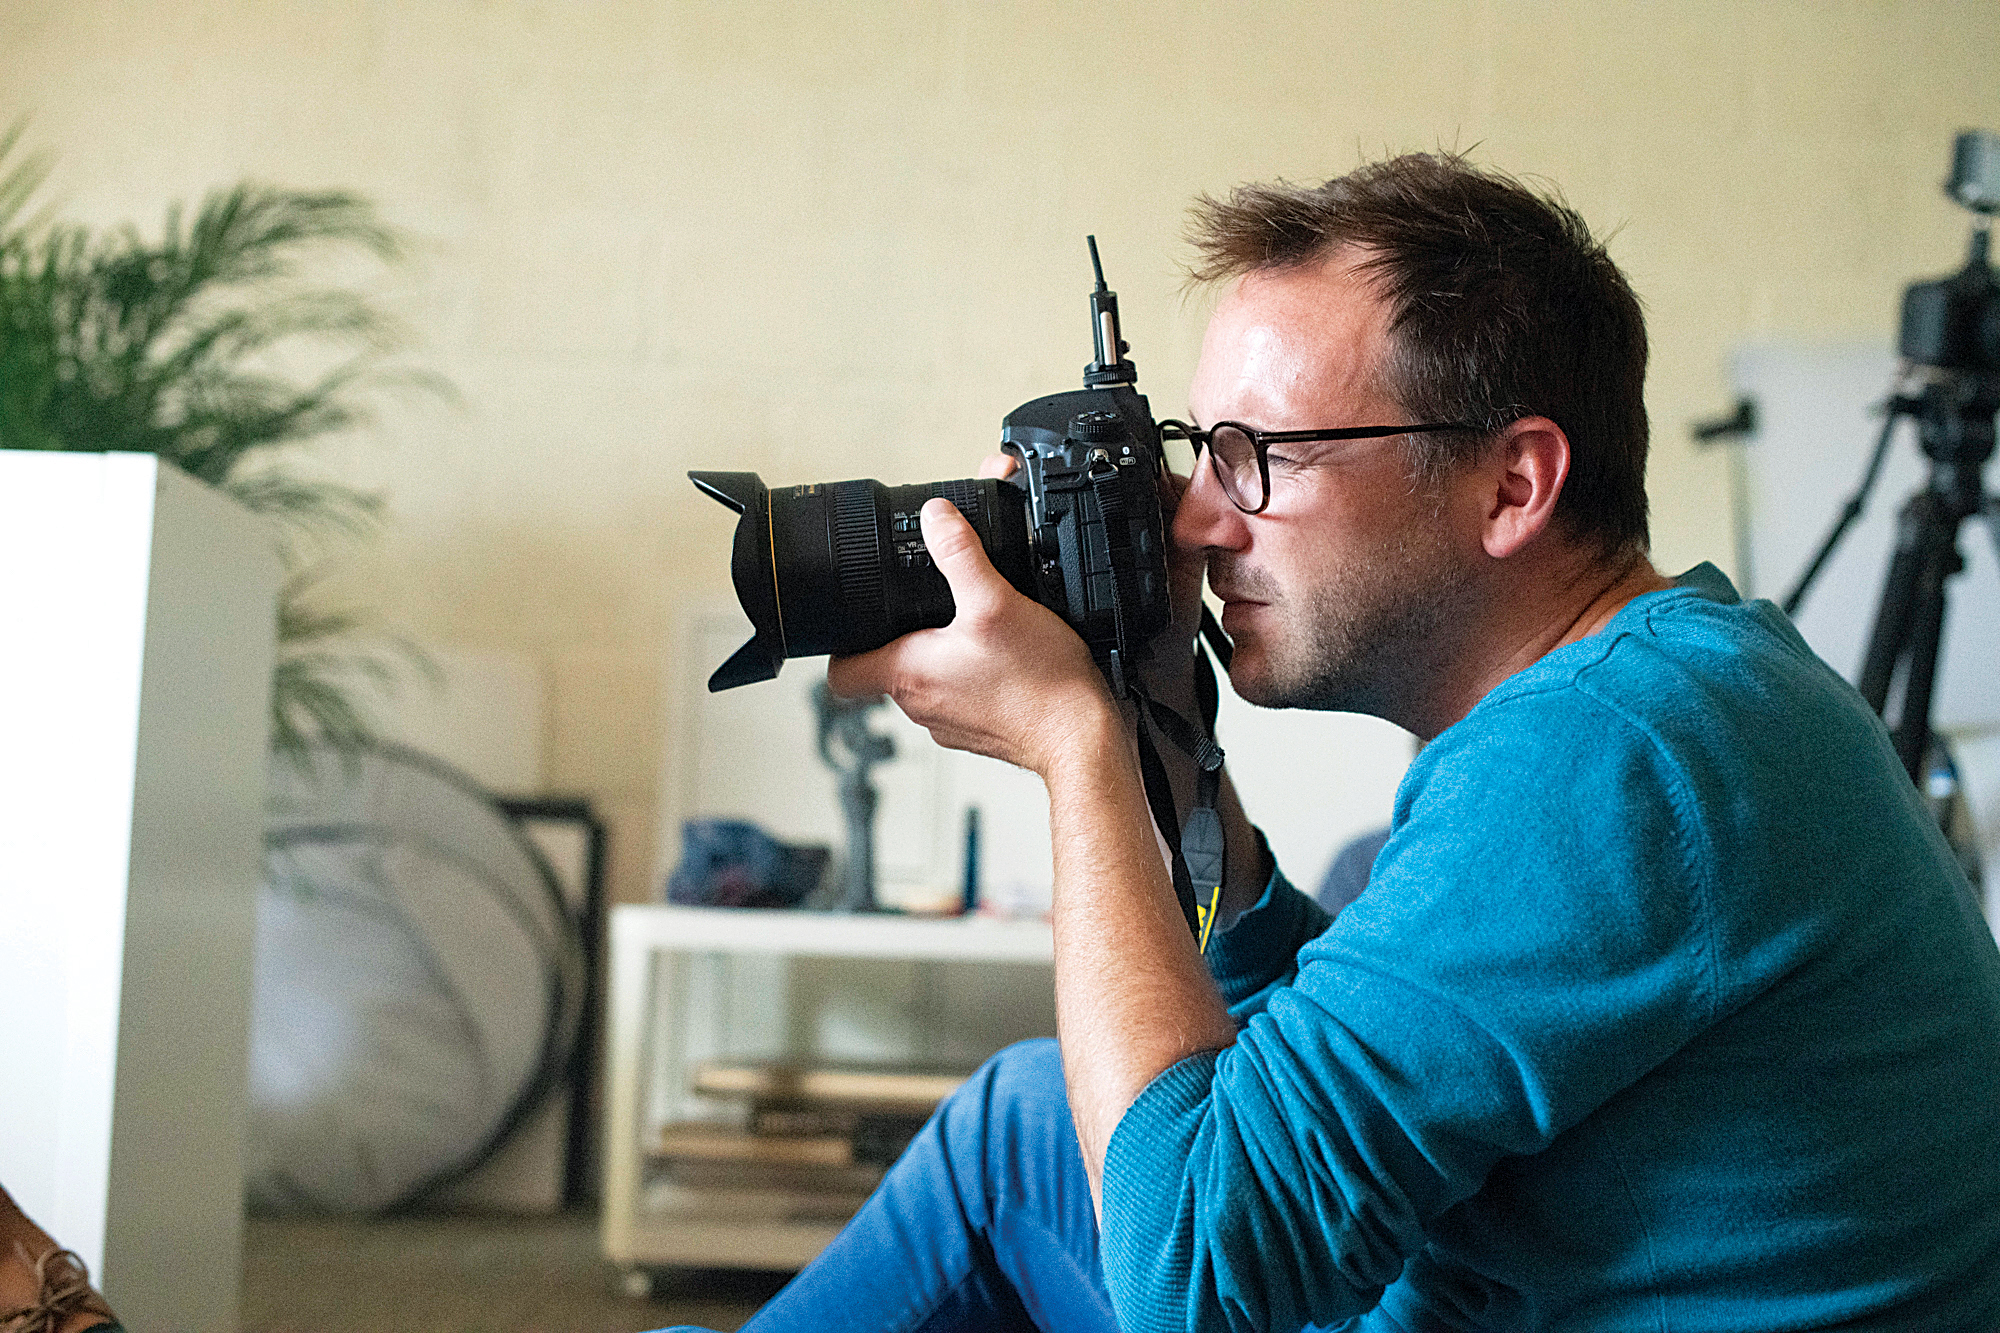
03 Set white balance to shade / indoor
A shade or indoor white balance setting will warm up the tones in the scene, giving it a golden hour feel. Of course, it helps if you shoot in Raw as you have the freedom to change the white balance after the shoot with the same results as if you’d set it at the point of capture!
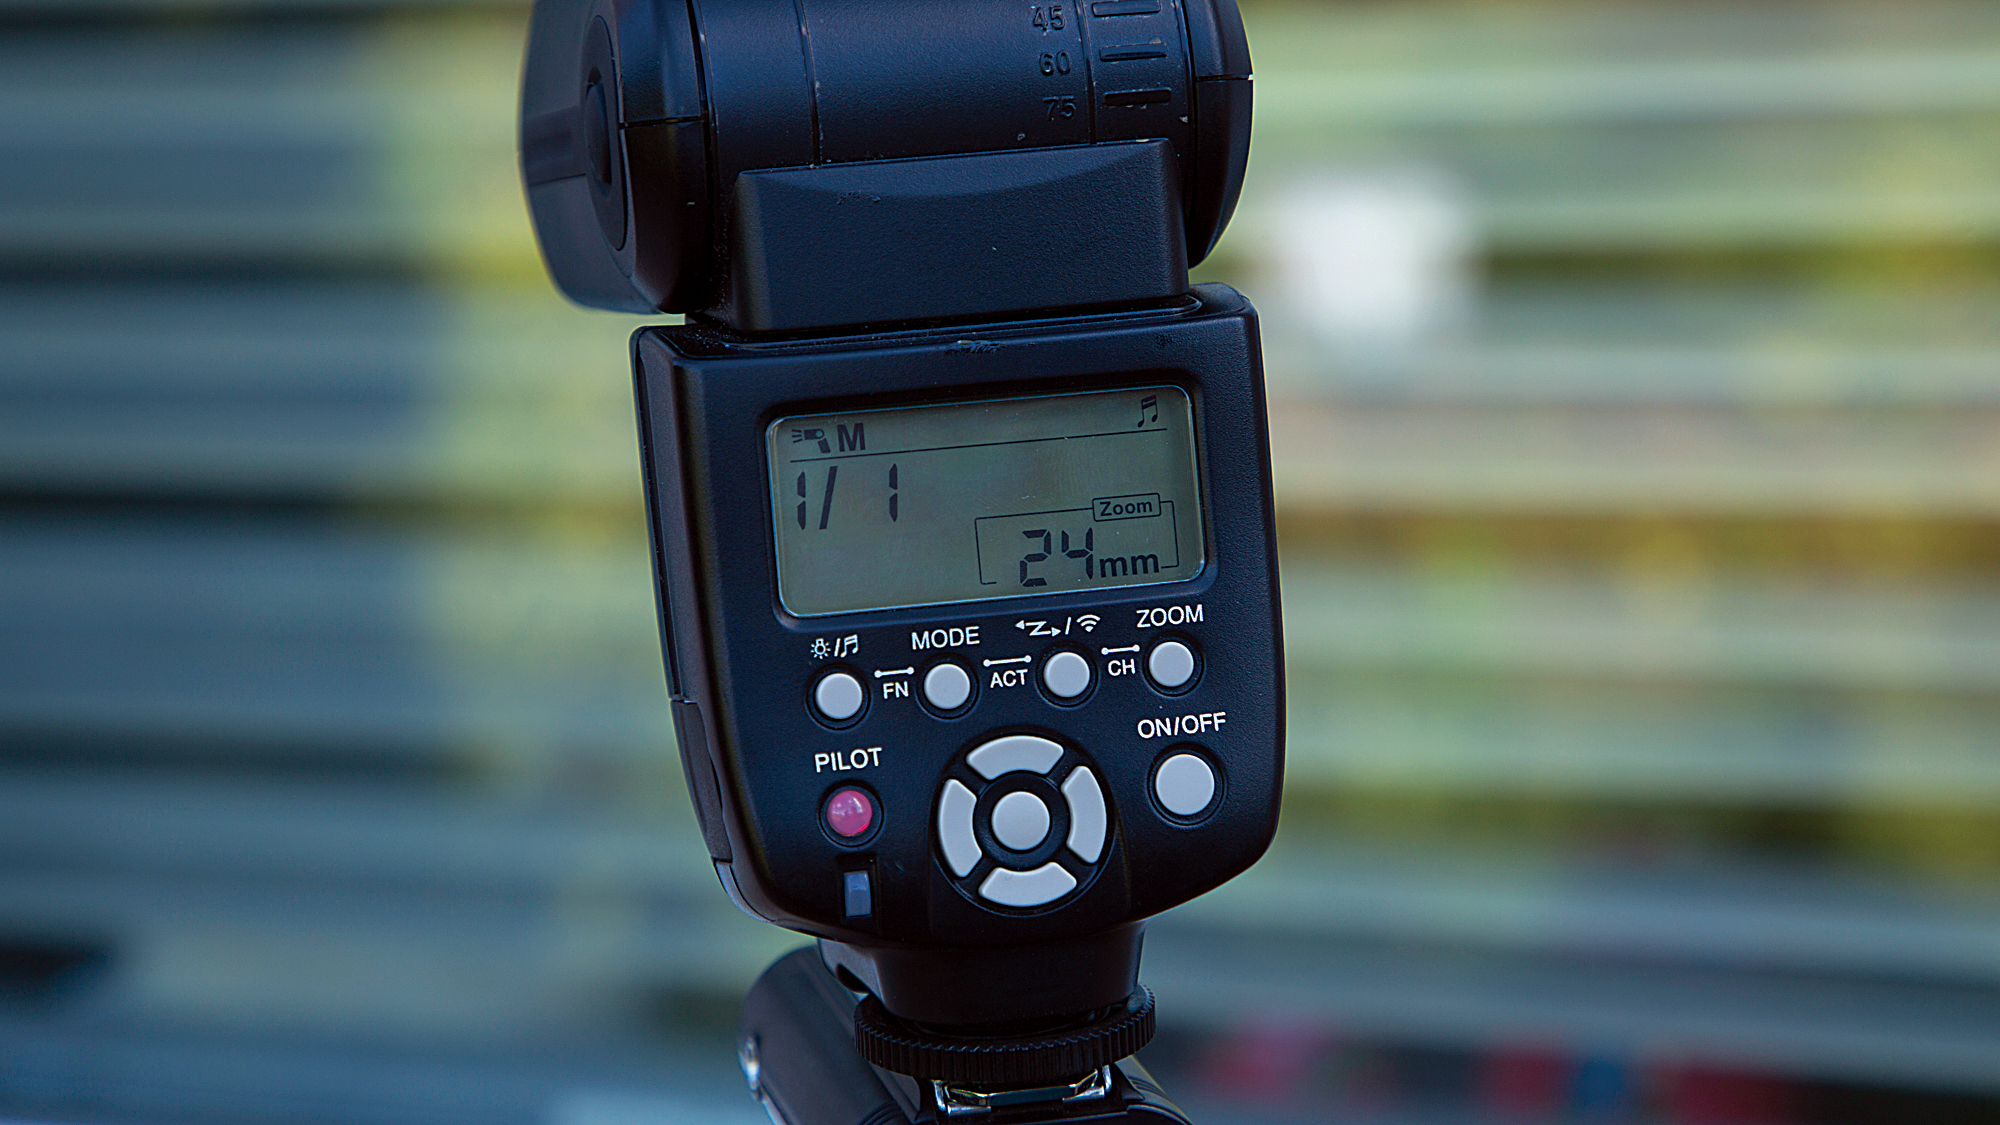
04 Full flash power
We need to keep the flash power high so that it overpowers the ambient light in the room. To do so, begin by setting the flash to manual mode and dial in full 1/1 power. Set the flash zoom to a low focal length (we used 24mm here) to give a wide spread of light.
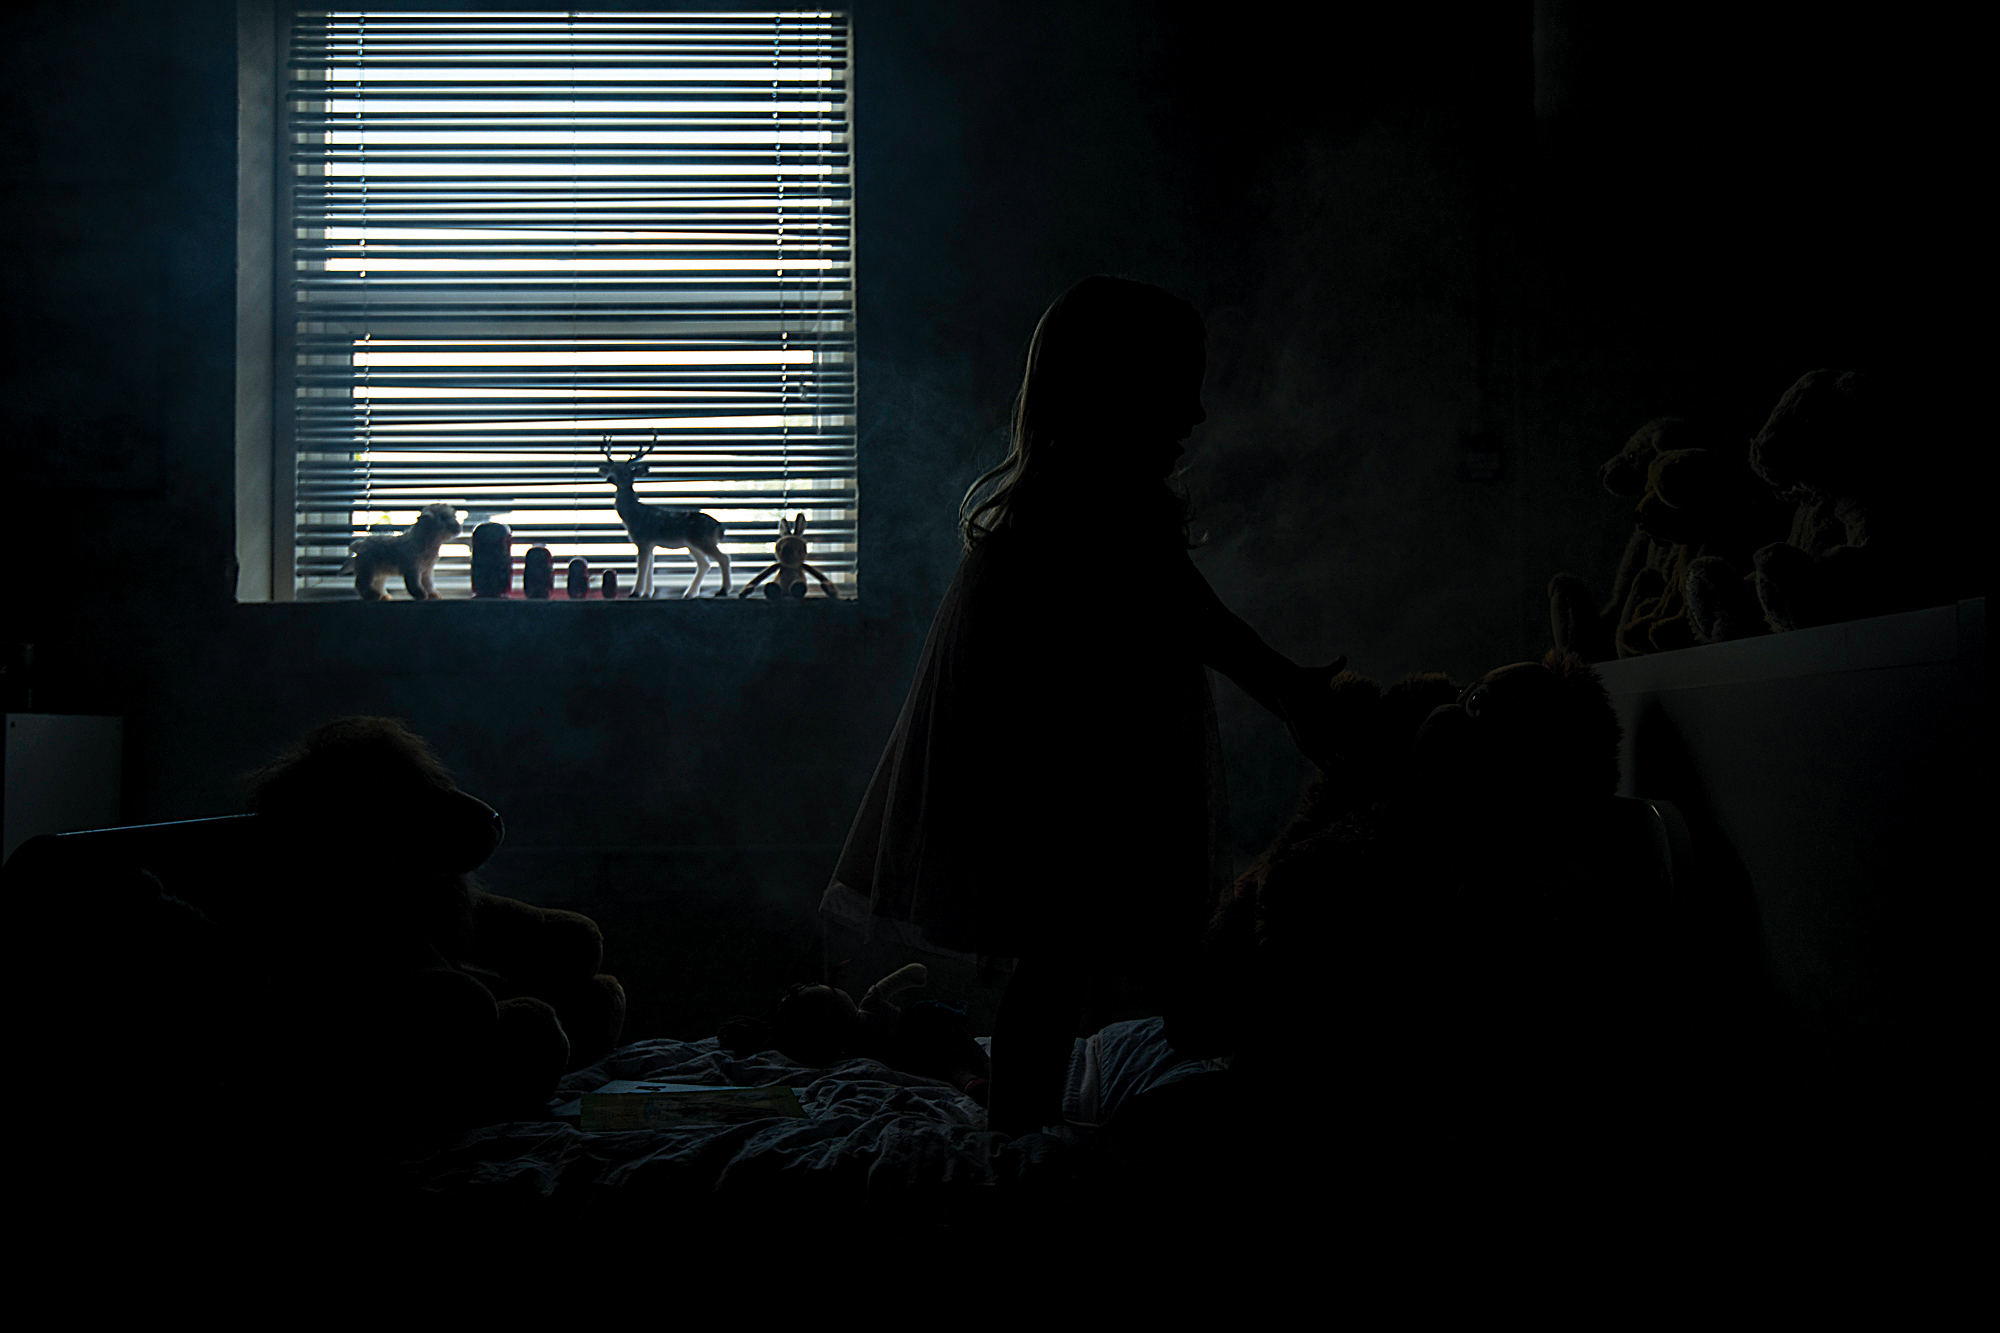
05 Go dark
We need to keep everything dark except the parts lit up by the flash, which means that your image should be in darkness without your speed light firing. Set your camera to manual and start with these settings: 1/250 sec, f/8, ISO100. This should underexpose the ambient lighting, as you can see here where the flash didn’t fire.
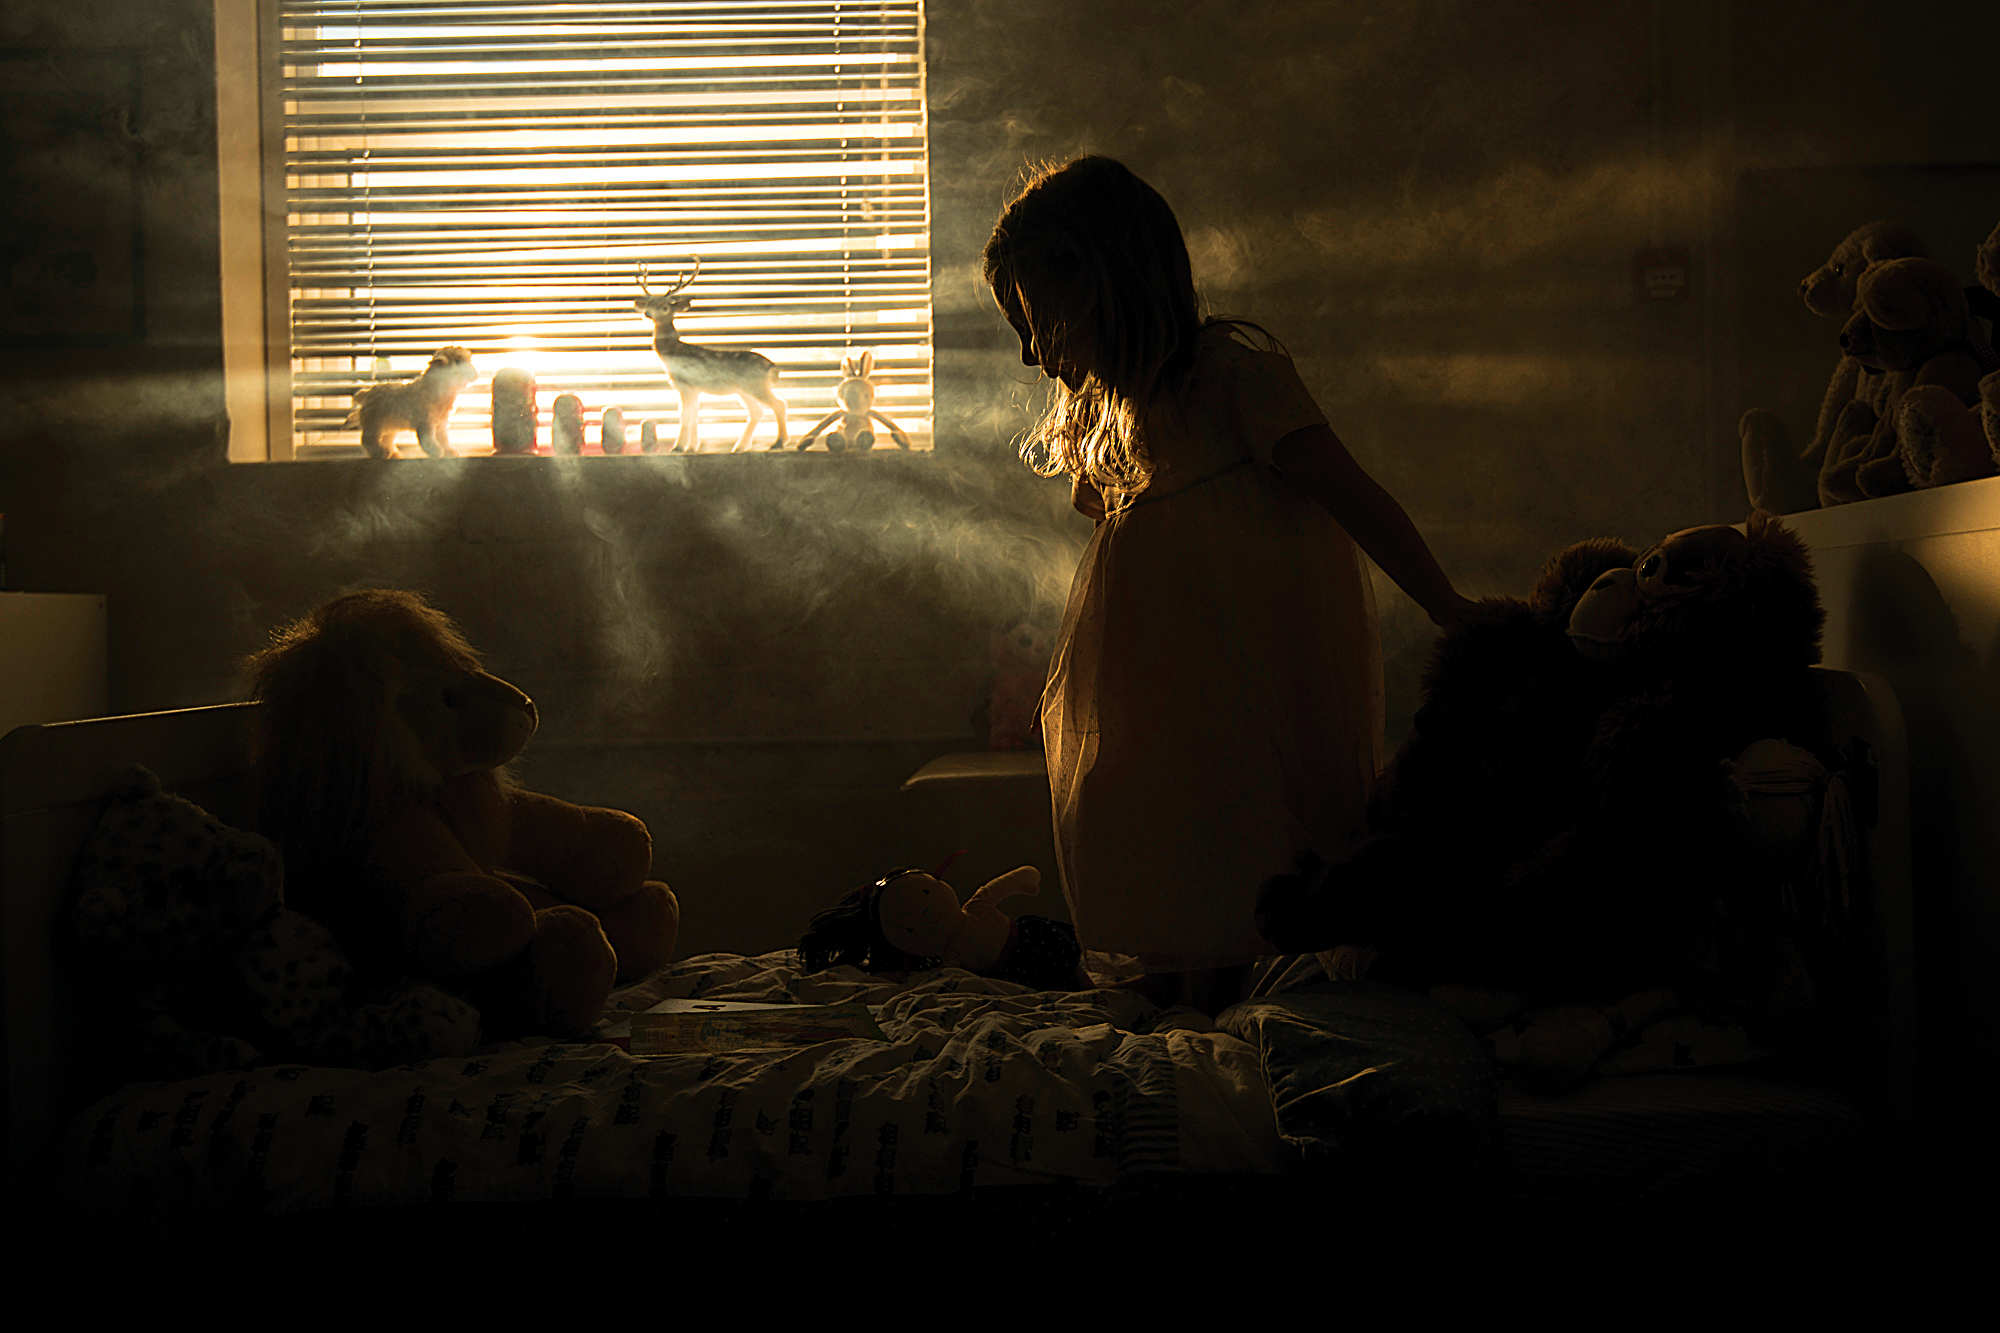
06 Let there be light
With the flash turned on and at full power, the smoke will be lit up from behind and the light will catch the edge of the subject, creating the atmospheric backlighting and dark setting that we need for the rays of light to show up clearly.
N-Photo: The Nikon Magazine is a monthly publication that's entirely dedicated to Nikon users. For the best news, reviews, projects and more, subscribe to N-Photo today!
Read more:
The best flashgun: the best strobe units for Canon cameras, Nikon and more
The best flash diffusers, softboxes and modifiers for your speed light
Gobo lighting: tips for dramatic portraits and film noir photography
Get the Digital Camera World Newsletter
The best camera deals, reviews, product advice, and unmissable photography news, direct to your inbox!
The lead technique writer on Digital Camera Magazine, PhotoPlus: The Canon Magazine and N-Photo: The Nikon Magazine, James is a fantastic general practice photographer with an enviable array of skills across every genre of photography.
Whether it's flash photography techniques like stroboscopic portraits, astrophotography projects like photographing the Northern Lights, or turning sound into art by making paint dance on a set of speakers, James' tutorials and projects are as creative as they are enjoyable.
He's also a wizard at the dark arts of Photoshop, Lightroom and Affinity Photo, and is capable of some genuine black magic in the digital darkroom, making him one of the leading authorities on photo editing software and techniques.
