Home photography ideas: Be like Mike with a selfie worthy of The Last Dance!
Has Netflix' The Last Dance got you itching to shoot some hoops? Create a one-man basketball scene with this project!
Watch video: Home photography ideas – A selfie worthy of The Last Dance!
Photography projects at home
• Home photography ideas
Useful home photography kit
• Best tripods
• Best lighting kits
• Best reflectors
• Best macro lenses
If you've been glued to Netflix' The Last Dance documentary featuring Michael Jordan and the Bulls' quest for a sixth NBA Championship, you might be in the mood to grab your camera and shoot some sports photos. With the current social distancing, though, how can you safely get all the players and referees on court?
Simple, you have to be like Mike and become a one-man team!
In this project we’ll use multiple exposures to fill every position on the court, from the players to the officials (and even a photographer on the baseline!), and then composite them together in Photoshop to create a single, seamless image.
• 10 best online photography courses

You can shoot this wherever your hoop is set up, whether it's your driveway or the back yard. A tripod is essential, as all the shots need to be taken from the same position for our post-production purposes, and you’ll also need a wide-angle lens to capture it all.
We grabbed a selection of different jerseys and sneakers, as well as additional outfits for the referees and courtside photographer, to make each character look as different as possible. There’s no reason that you can’t have all your players wearing the same uniform, though – a player competing against clones of him or herself could make an equally great image!
Once all our shots are taken, we’ll use a little layer masking magic in Photoshop to piece them together into a one-man team worthy of the GOAT himself.
On the court
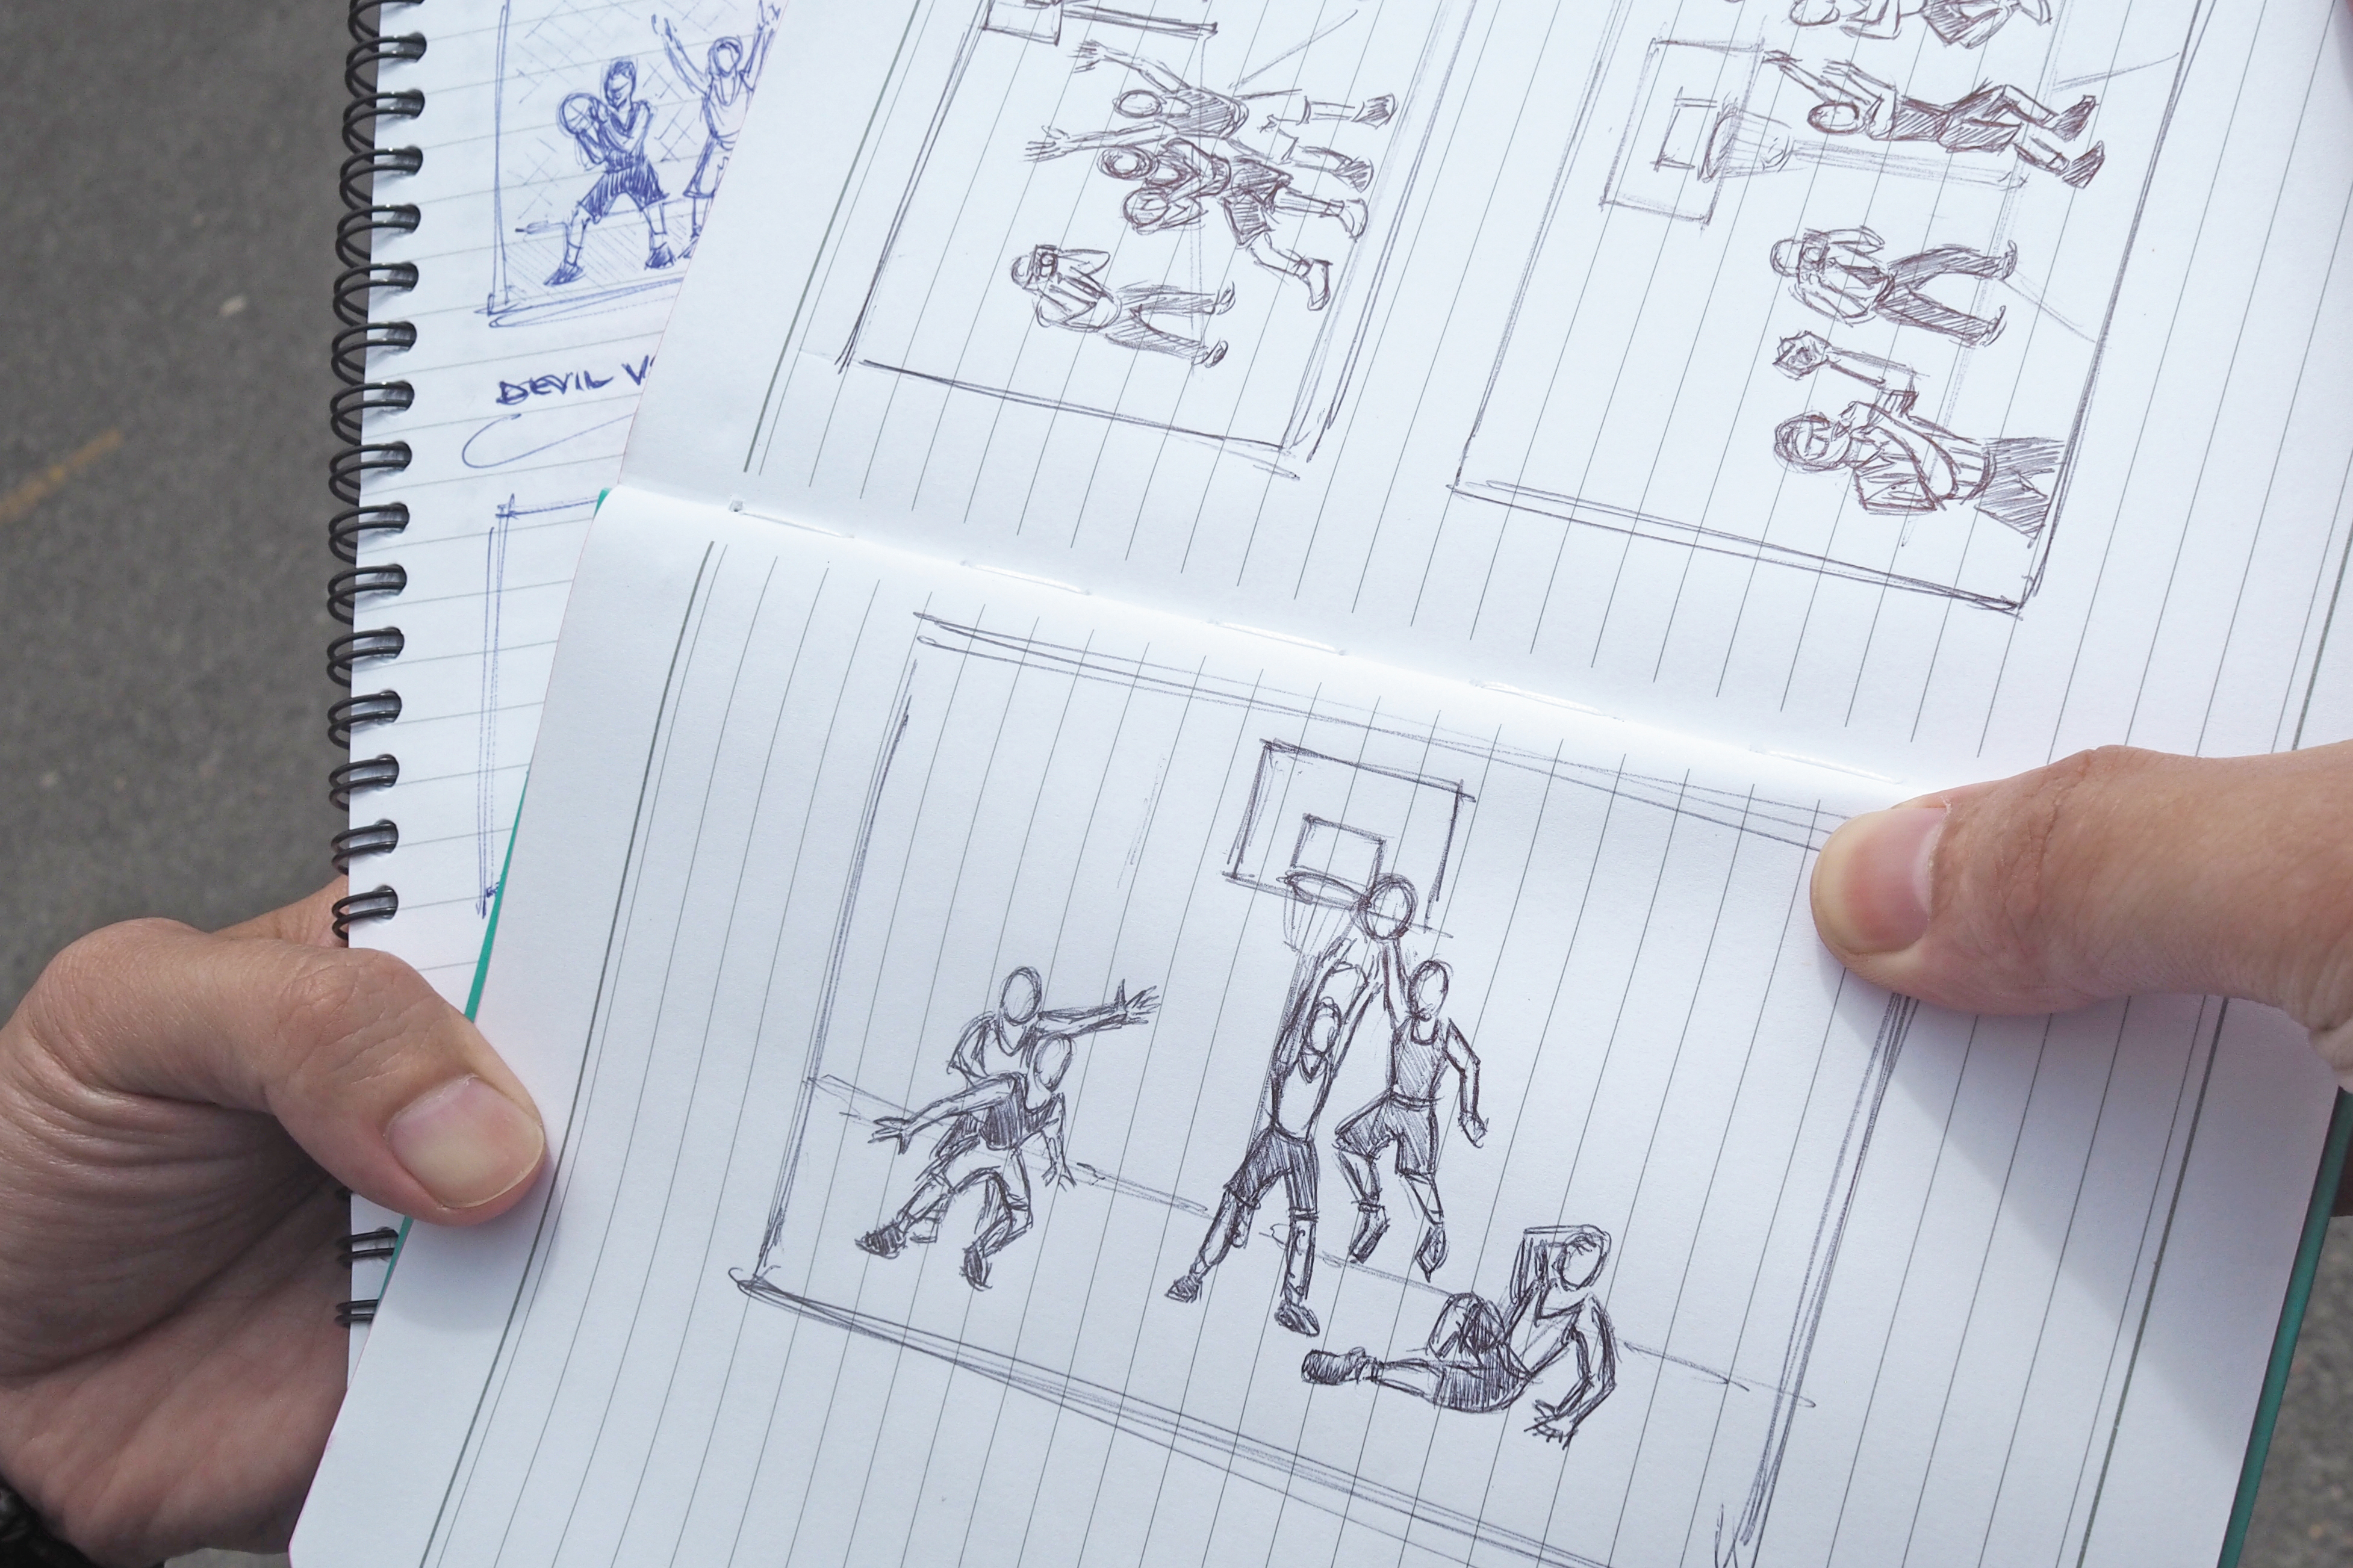
01 Draw up a game plan
While pre-planning helps on every shoot, here it really is vital because you’re creating an image from multiple layers and you need to build them all yourself. Use reference photos from magazines or sketch some concepts to pre-visualize your scene.
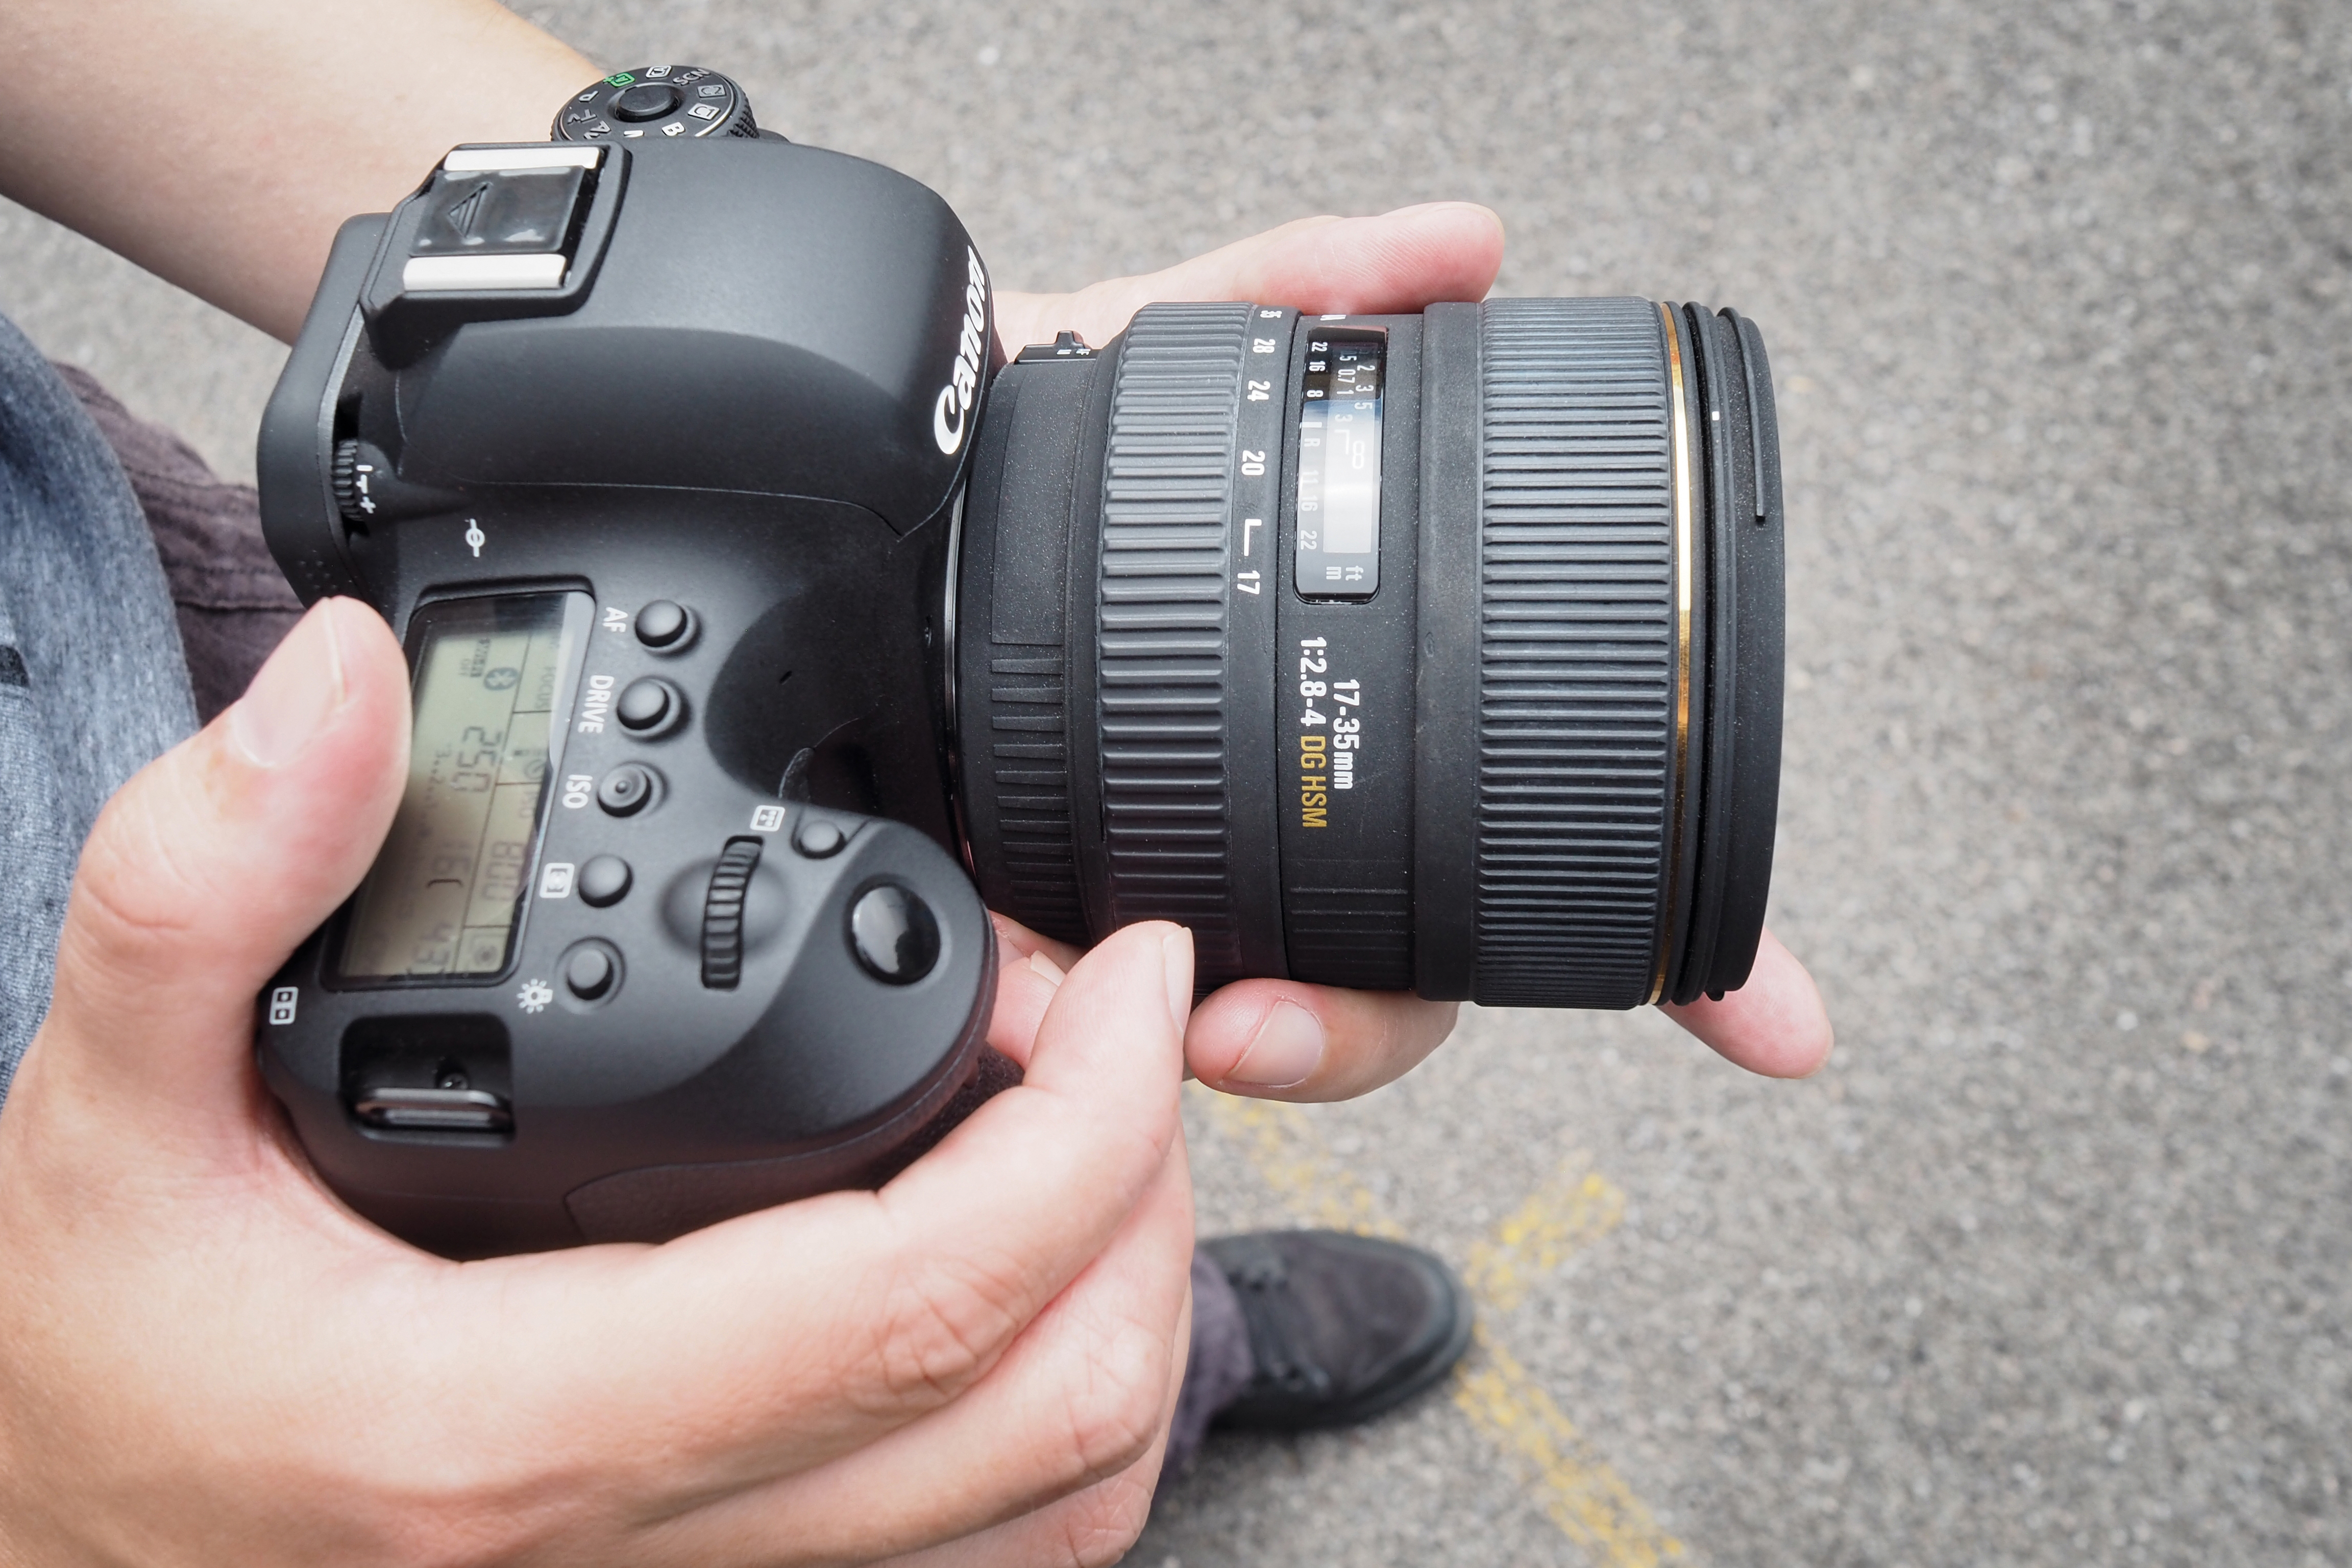
02 He's wide open!
Okay, that's a bit misleading – you don't want to shoot with a wide-open aperture, but you do want to use a wide-angle lens to get everything in frame. Be mindful of distortion at the edges of the image; to save extra editing, you can always shoot a bit wider and crop in afterwards. We’re shooting at (fittingly enough) 23mm.
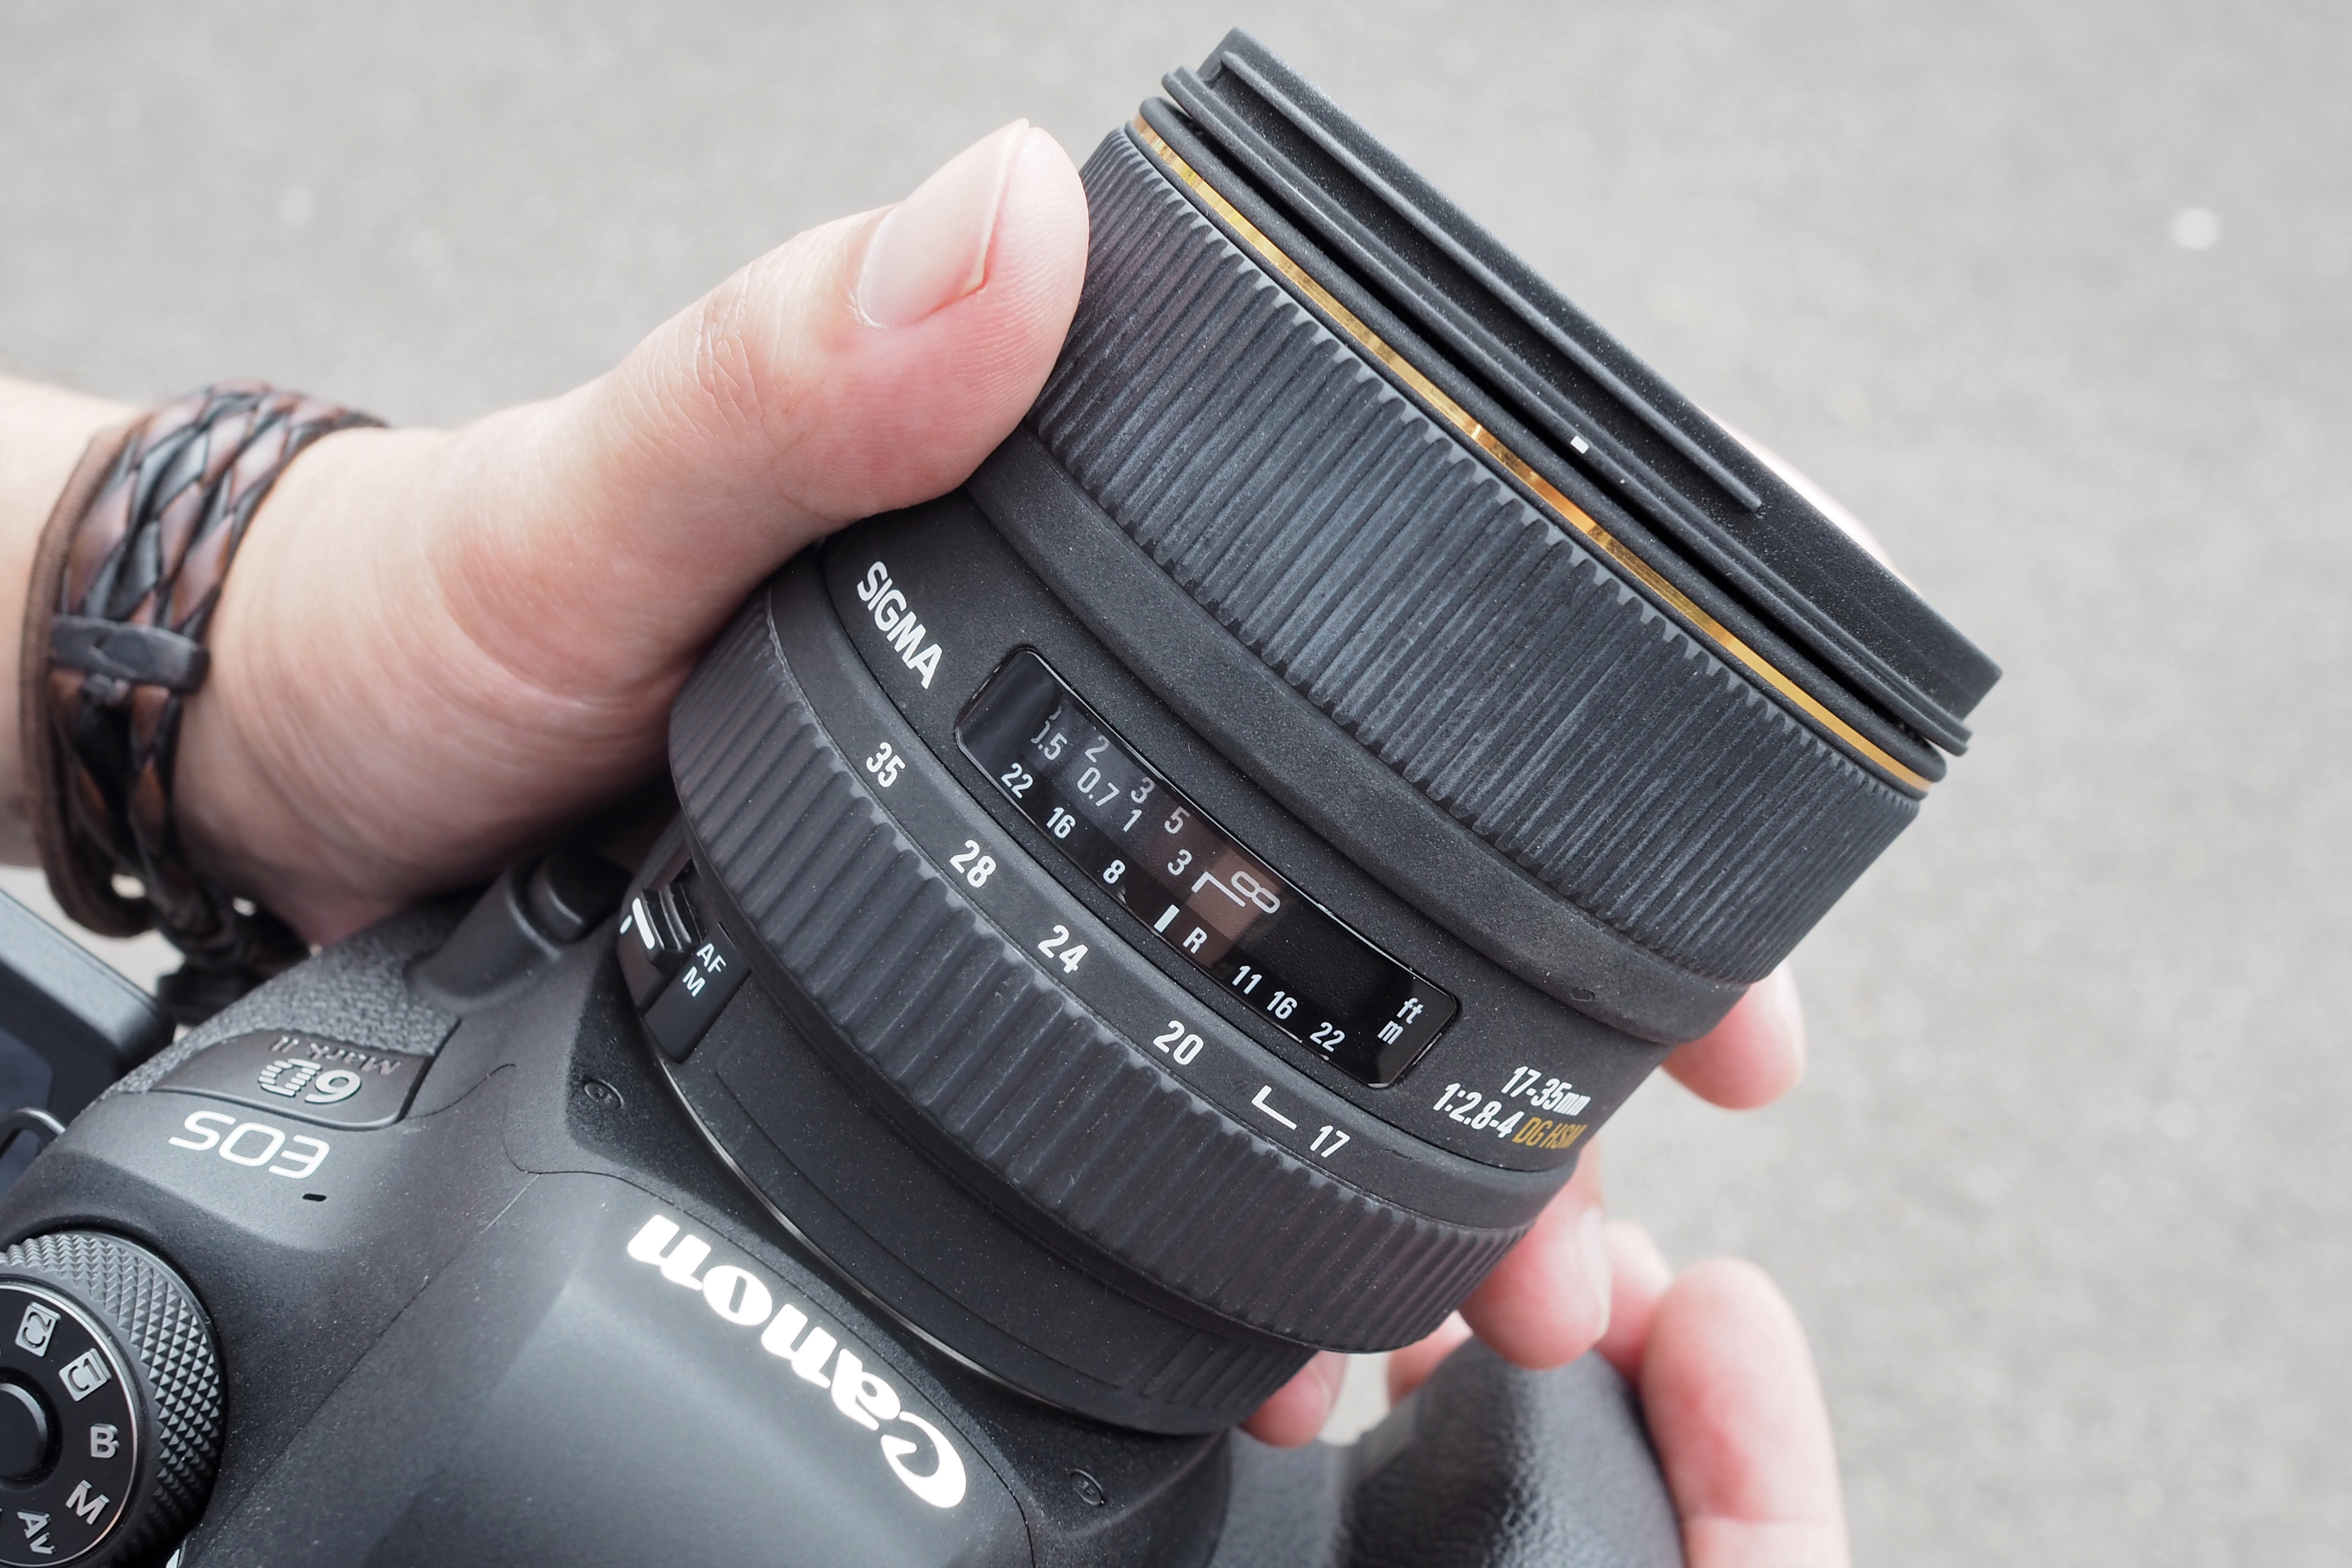
03 Stay focused
Because not all our layers are going to be on the same plane, we’re focusing to infinity to keep everything in focus. We’re also shooting with a smaller aperture of f/16 to create a large depth of field, to ensure that all our characters stay sharp no matter where they are in the scene.
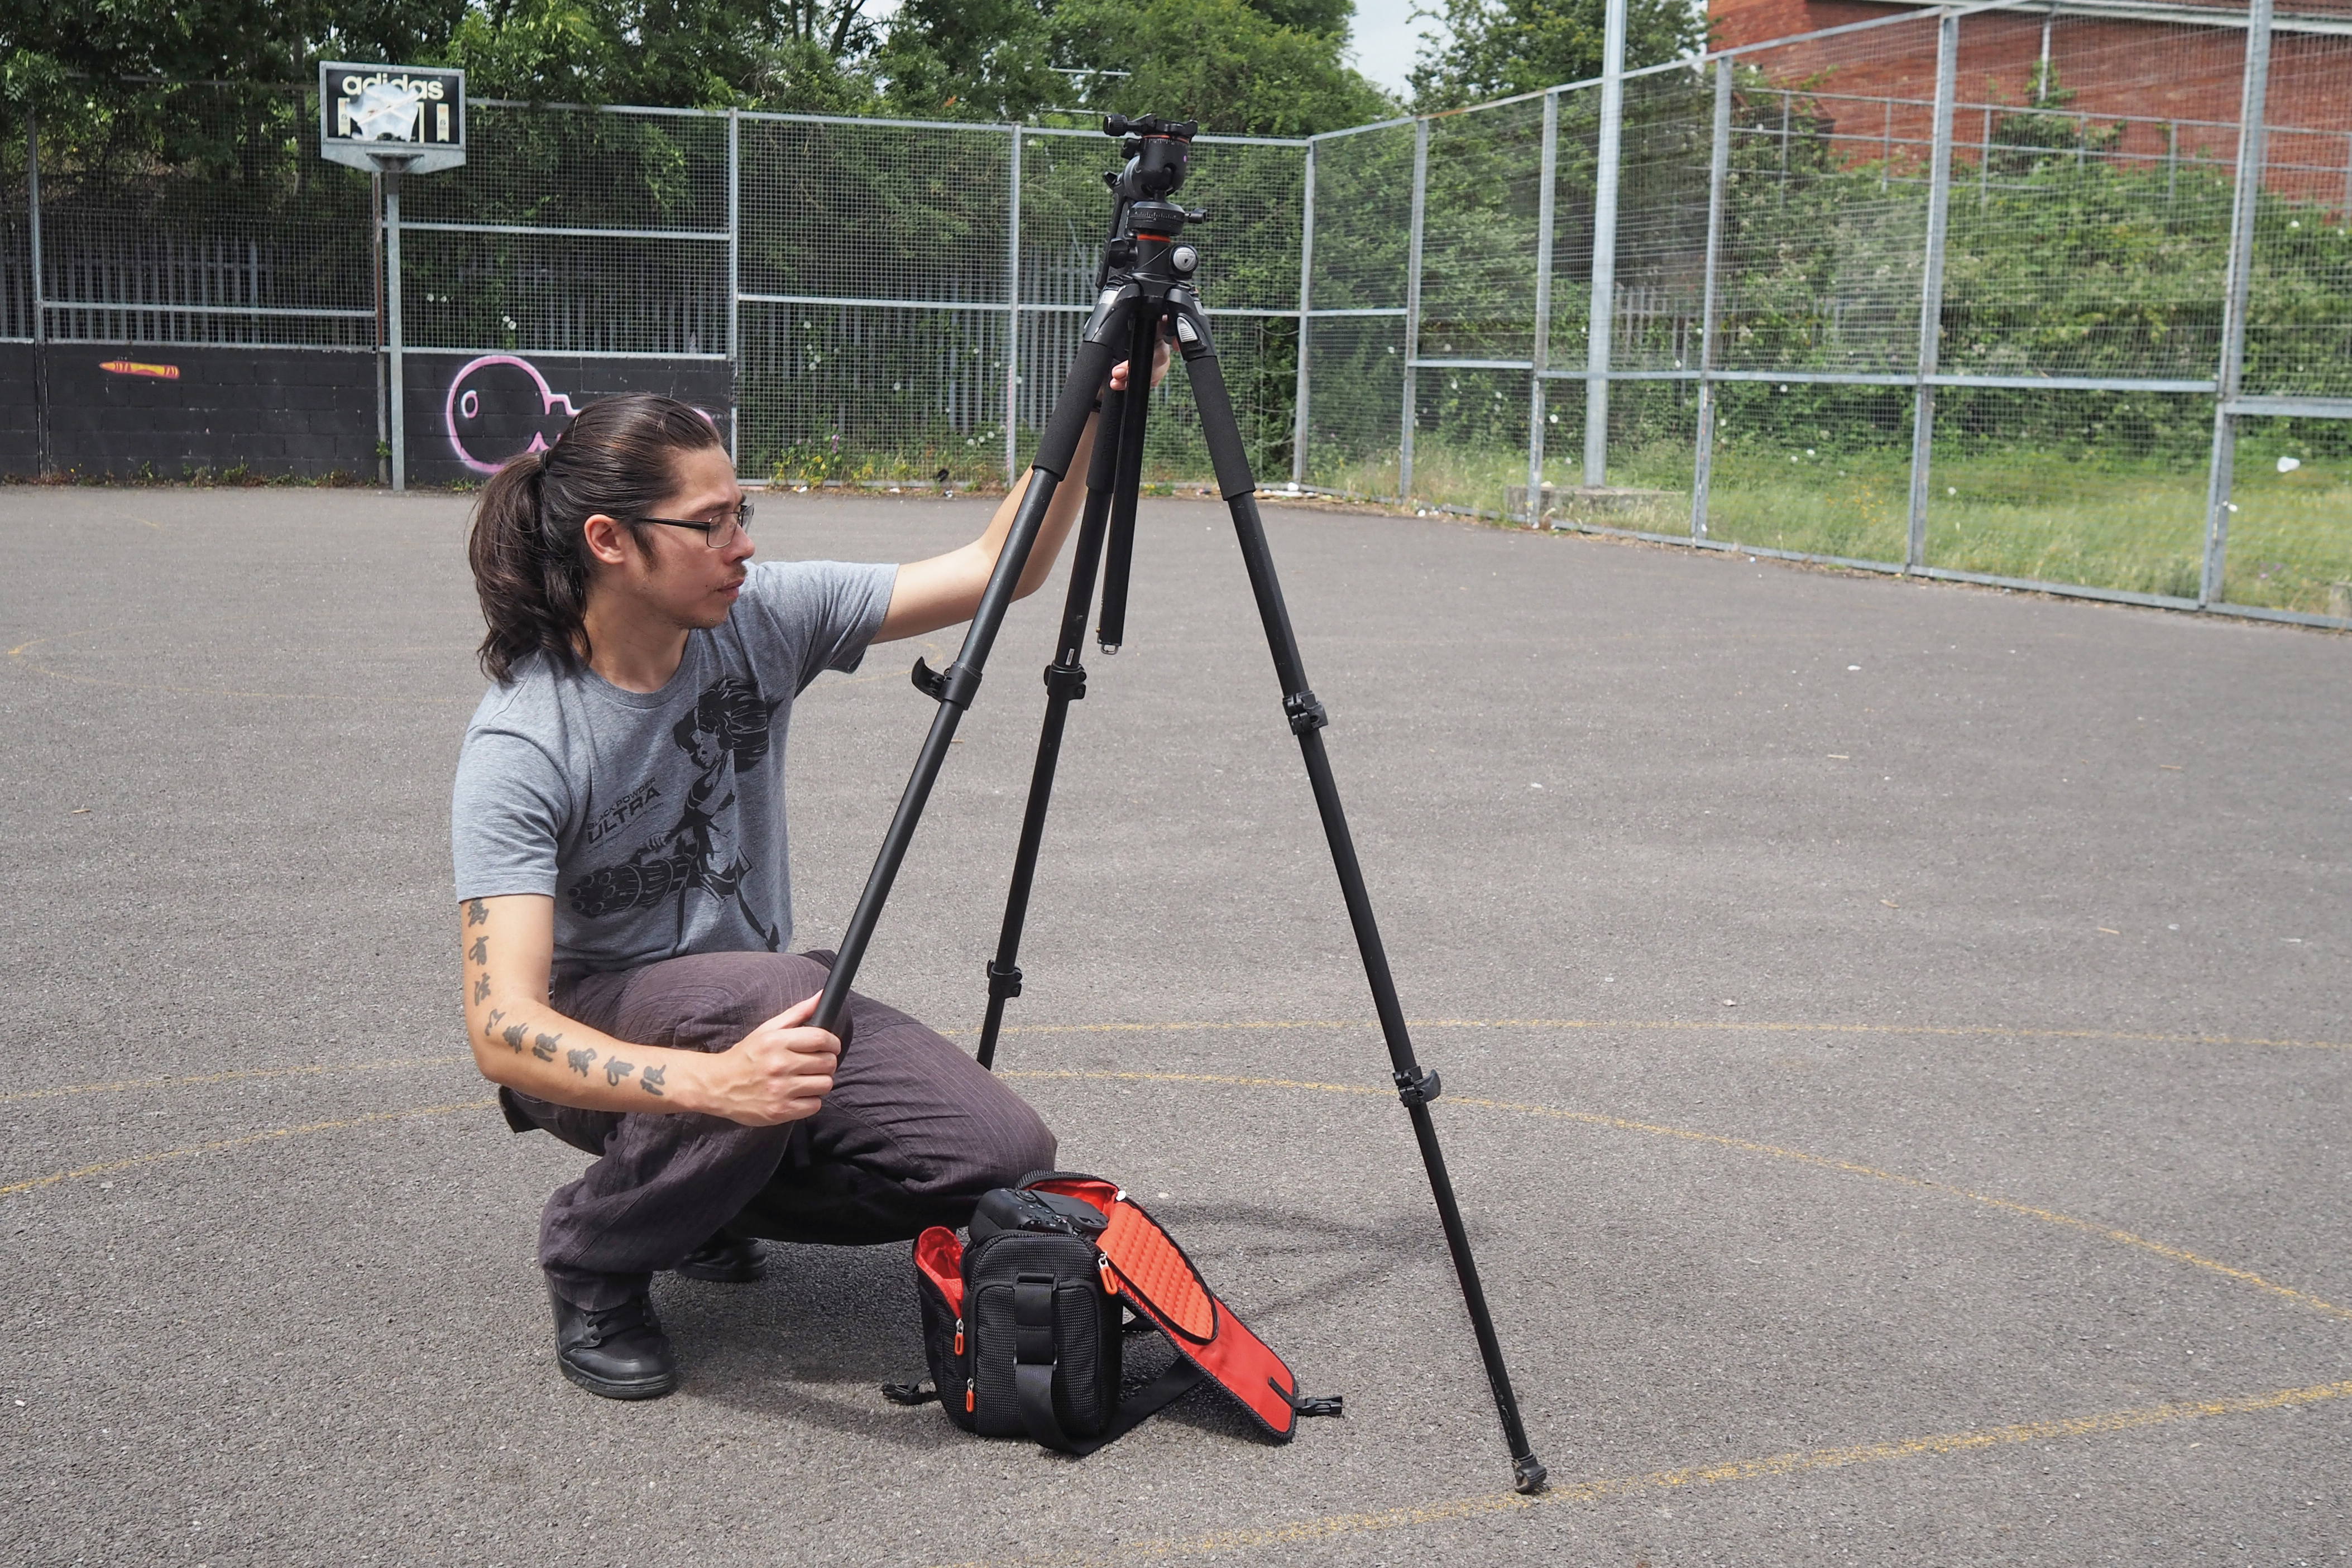
04 Shot consisitency
Since you’ll be shooting multiple exposures to composite together later, you’ll need a tripod so that all your shots are taken from the same spot. You’ll also need to take an empty ‘background plate’ to work with (a shot of your scene without anything else in it), so do this first.
05 In the pocket
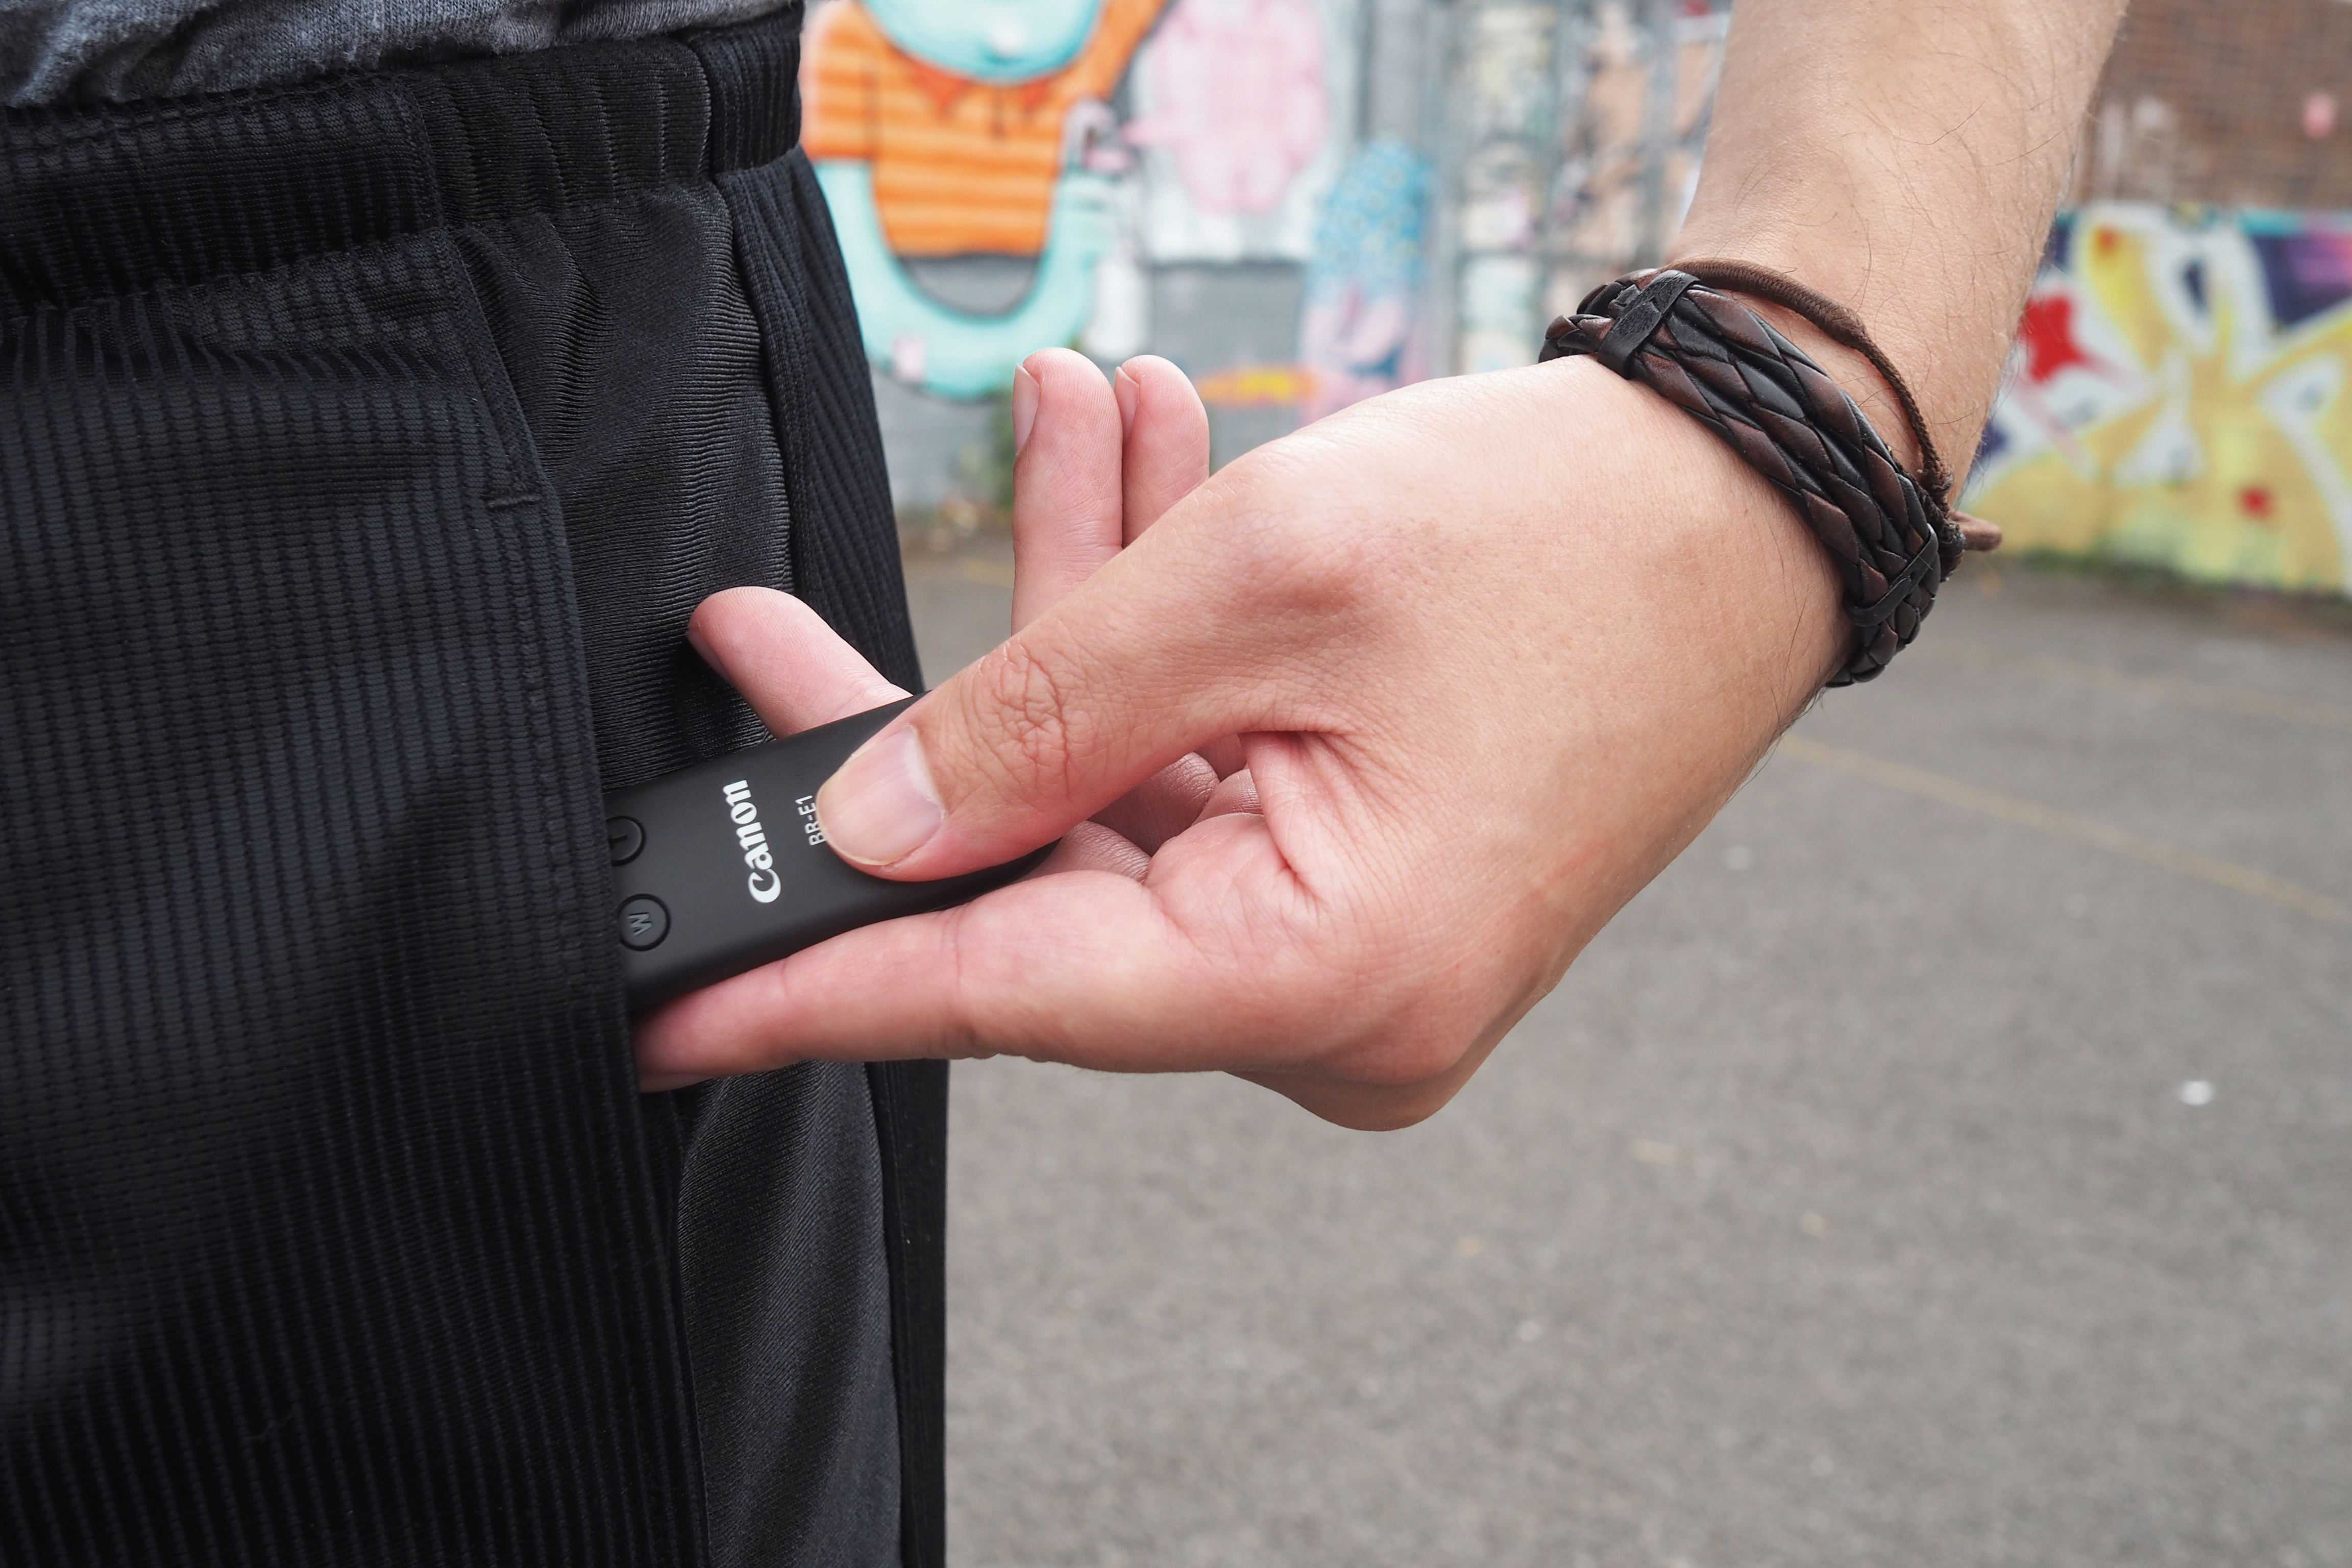
We’re using a remote shutter release, the Canon Wireless Remote Control BR-E1, with a two-second timer so that it can be hidden in our shorts before the camera fires. If you don’t have a remote, you can use your camera’s self-timer.
06 Xs and Os
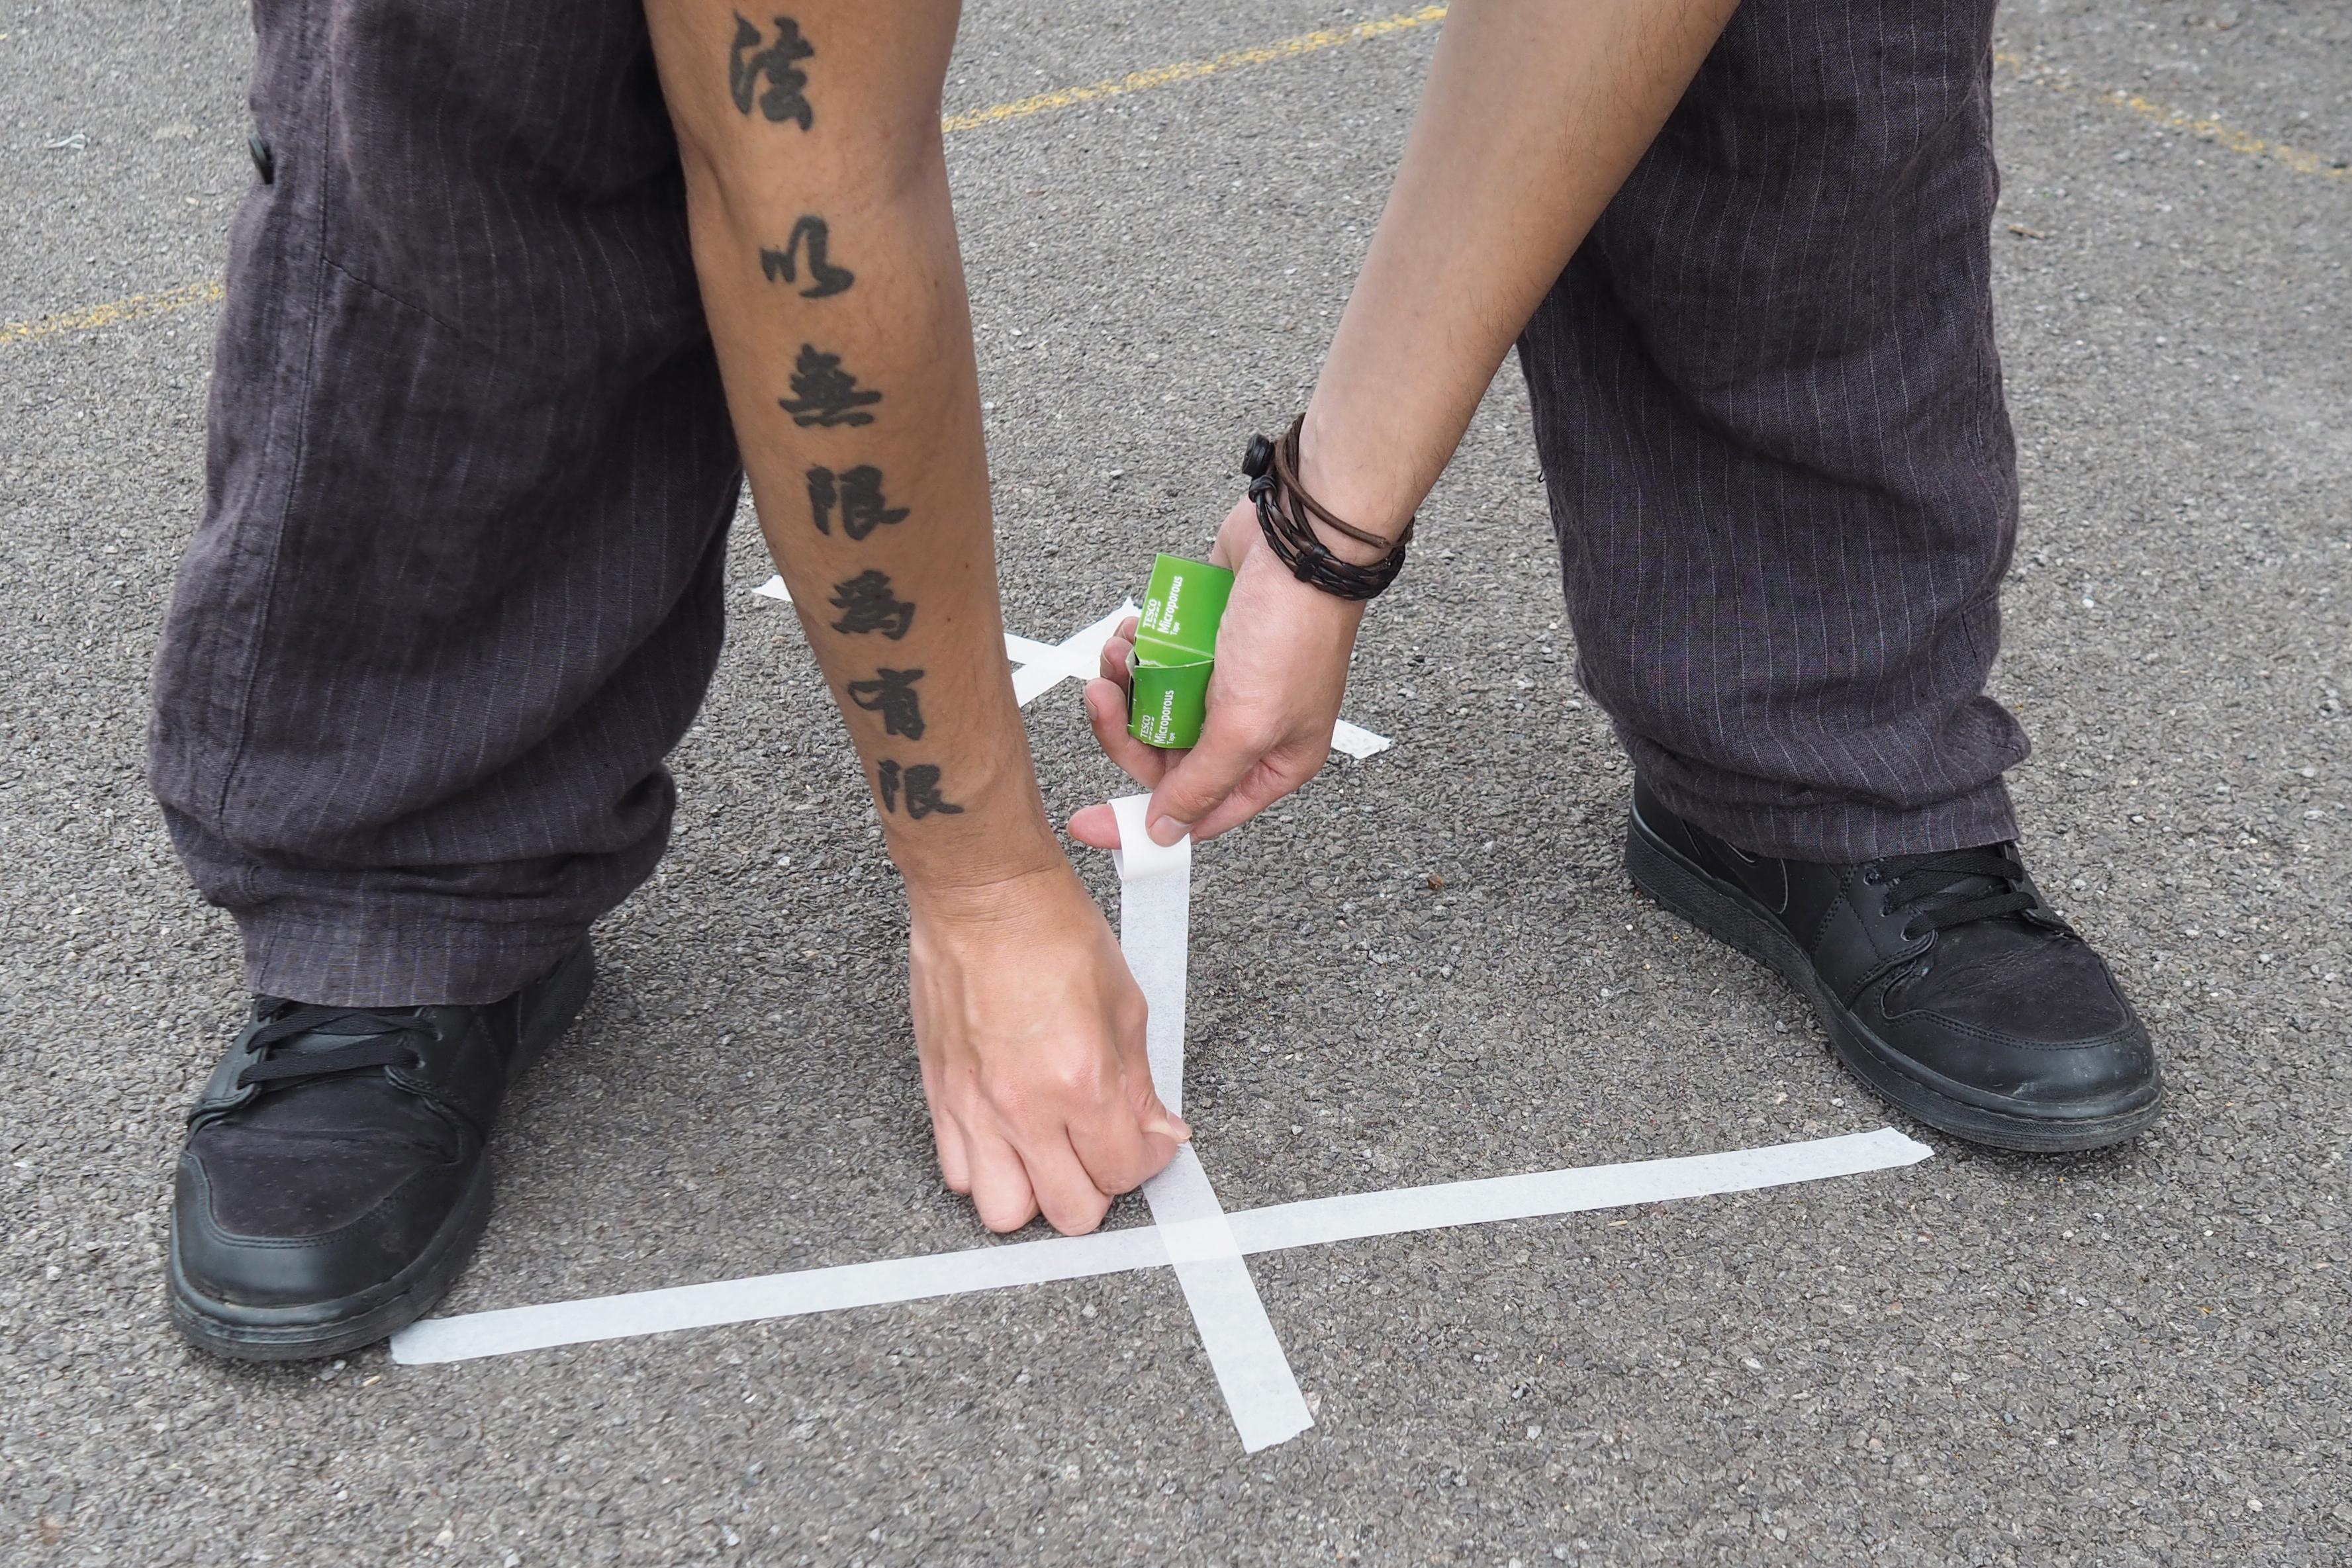
We’re using masking tape to create marks for each position, so we know exactly where each player is going to stand (and ensures that there’s no overlap when we comp them all together later). And then it’s the fun part: shooting the individual frames for the image!
In the post (production)
01 Best shots
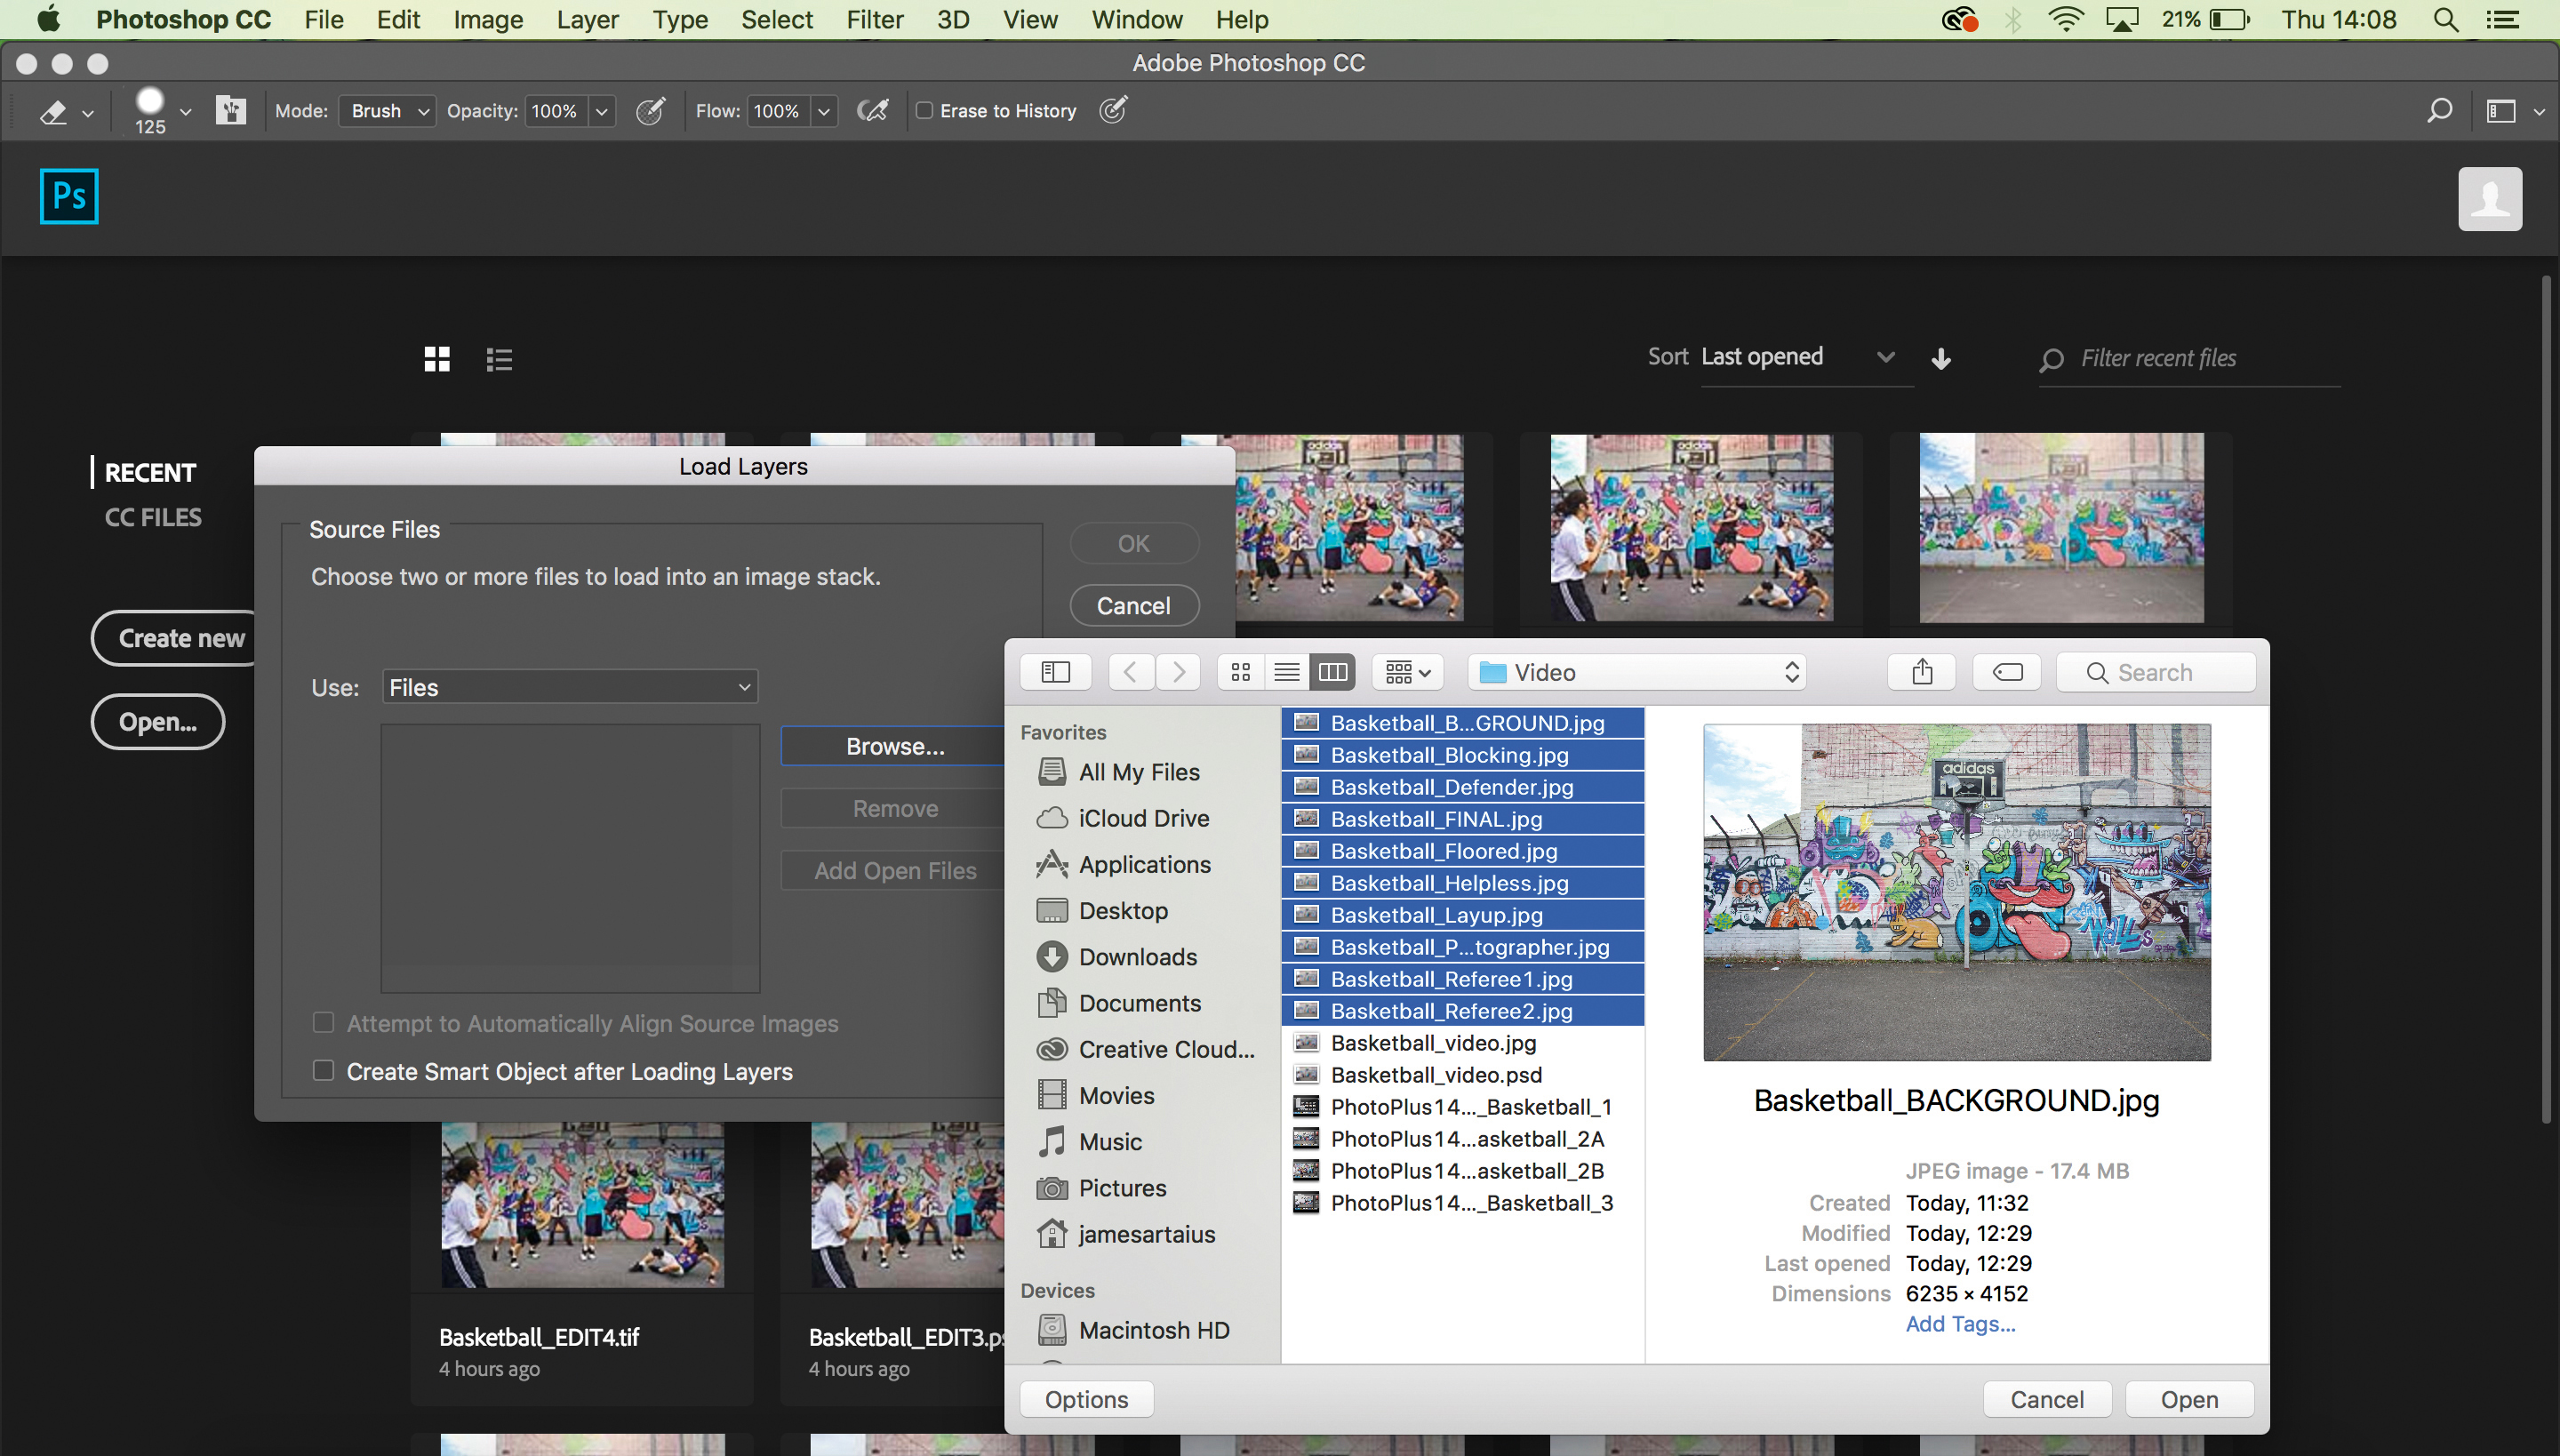
Narrow down your favorite image of each character. Once you’ve selected your top shot from each position, open Photoshop and click File>Scripts>Load Files into Stack. Now select them and click OK, and they will all open in a single file with layers for each image.
02 Layer masks
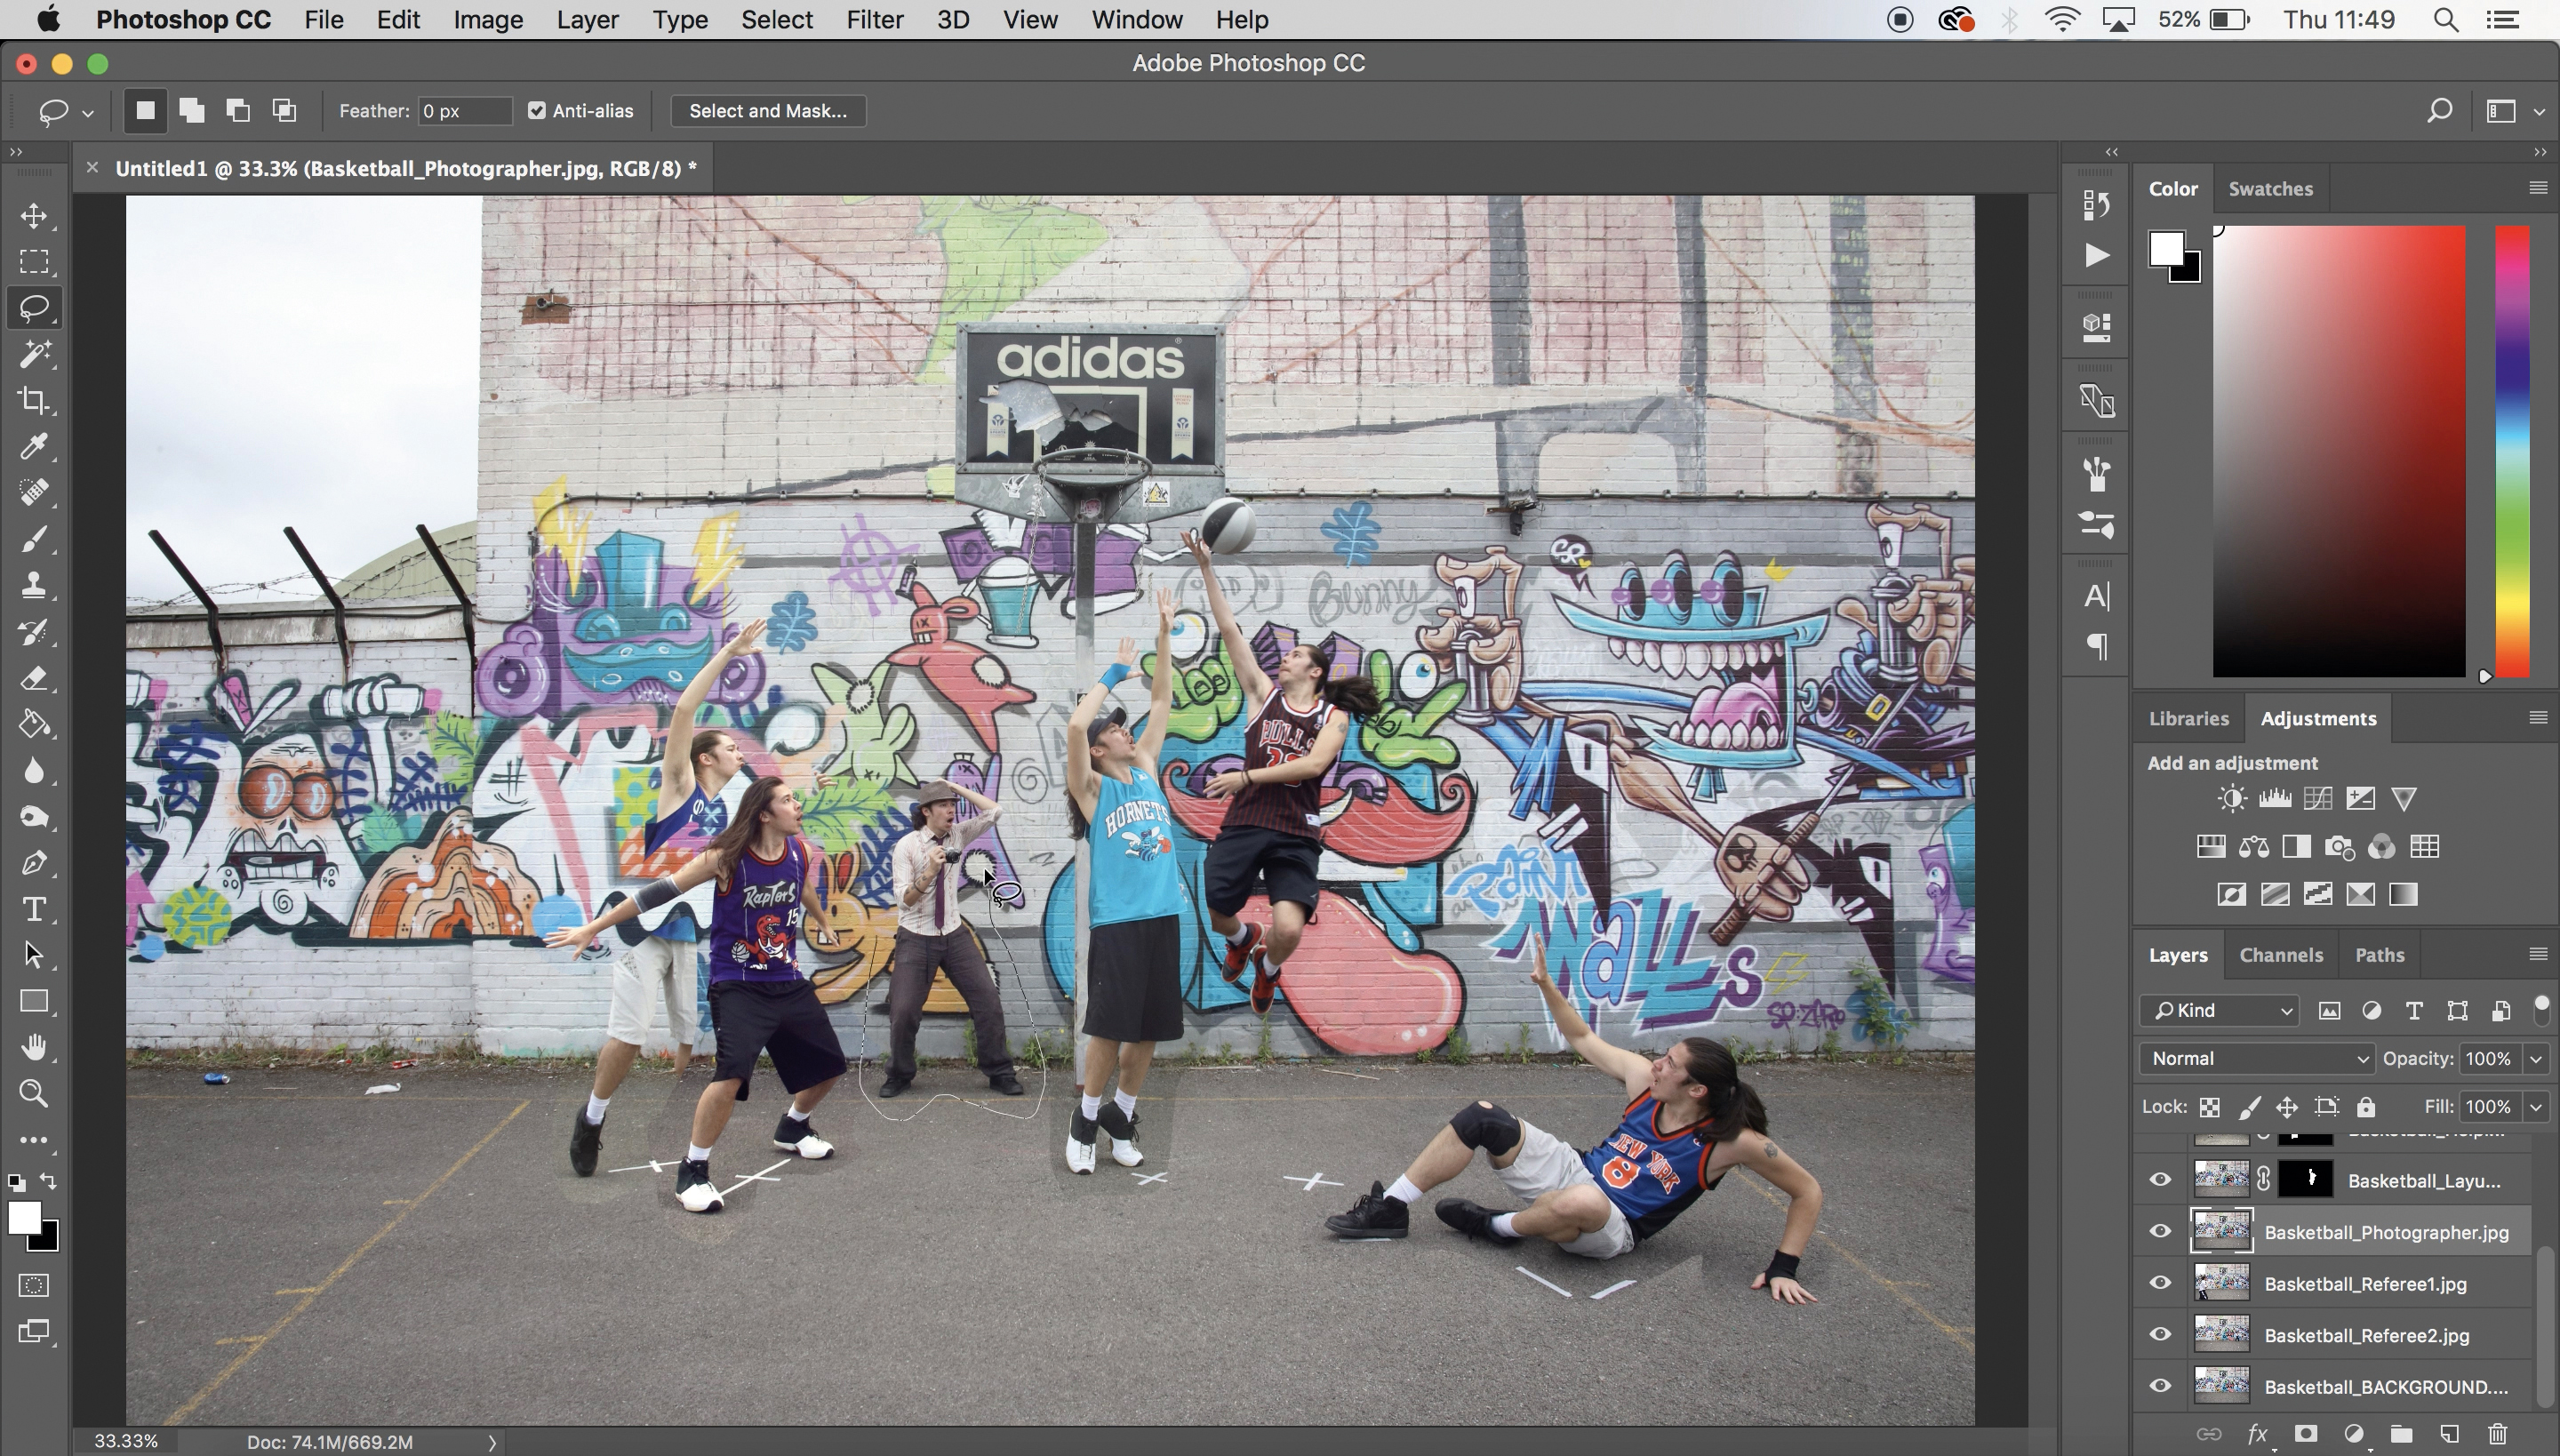
For each layer, use the Lasso tool to loosely trace around the character (don’t worry about being too precise at this stage), then create a layer mask by clicking the button in the Layers Panel. Once you’ve done this for all your layers, you will have rough cutouts of each character.
03 In the paint
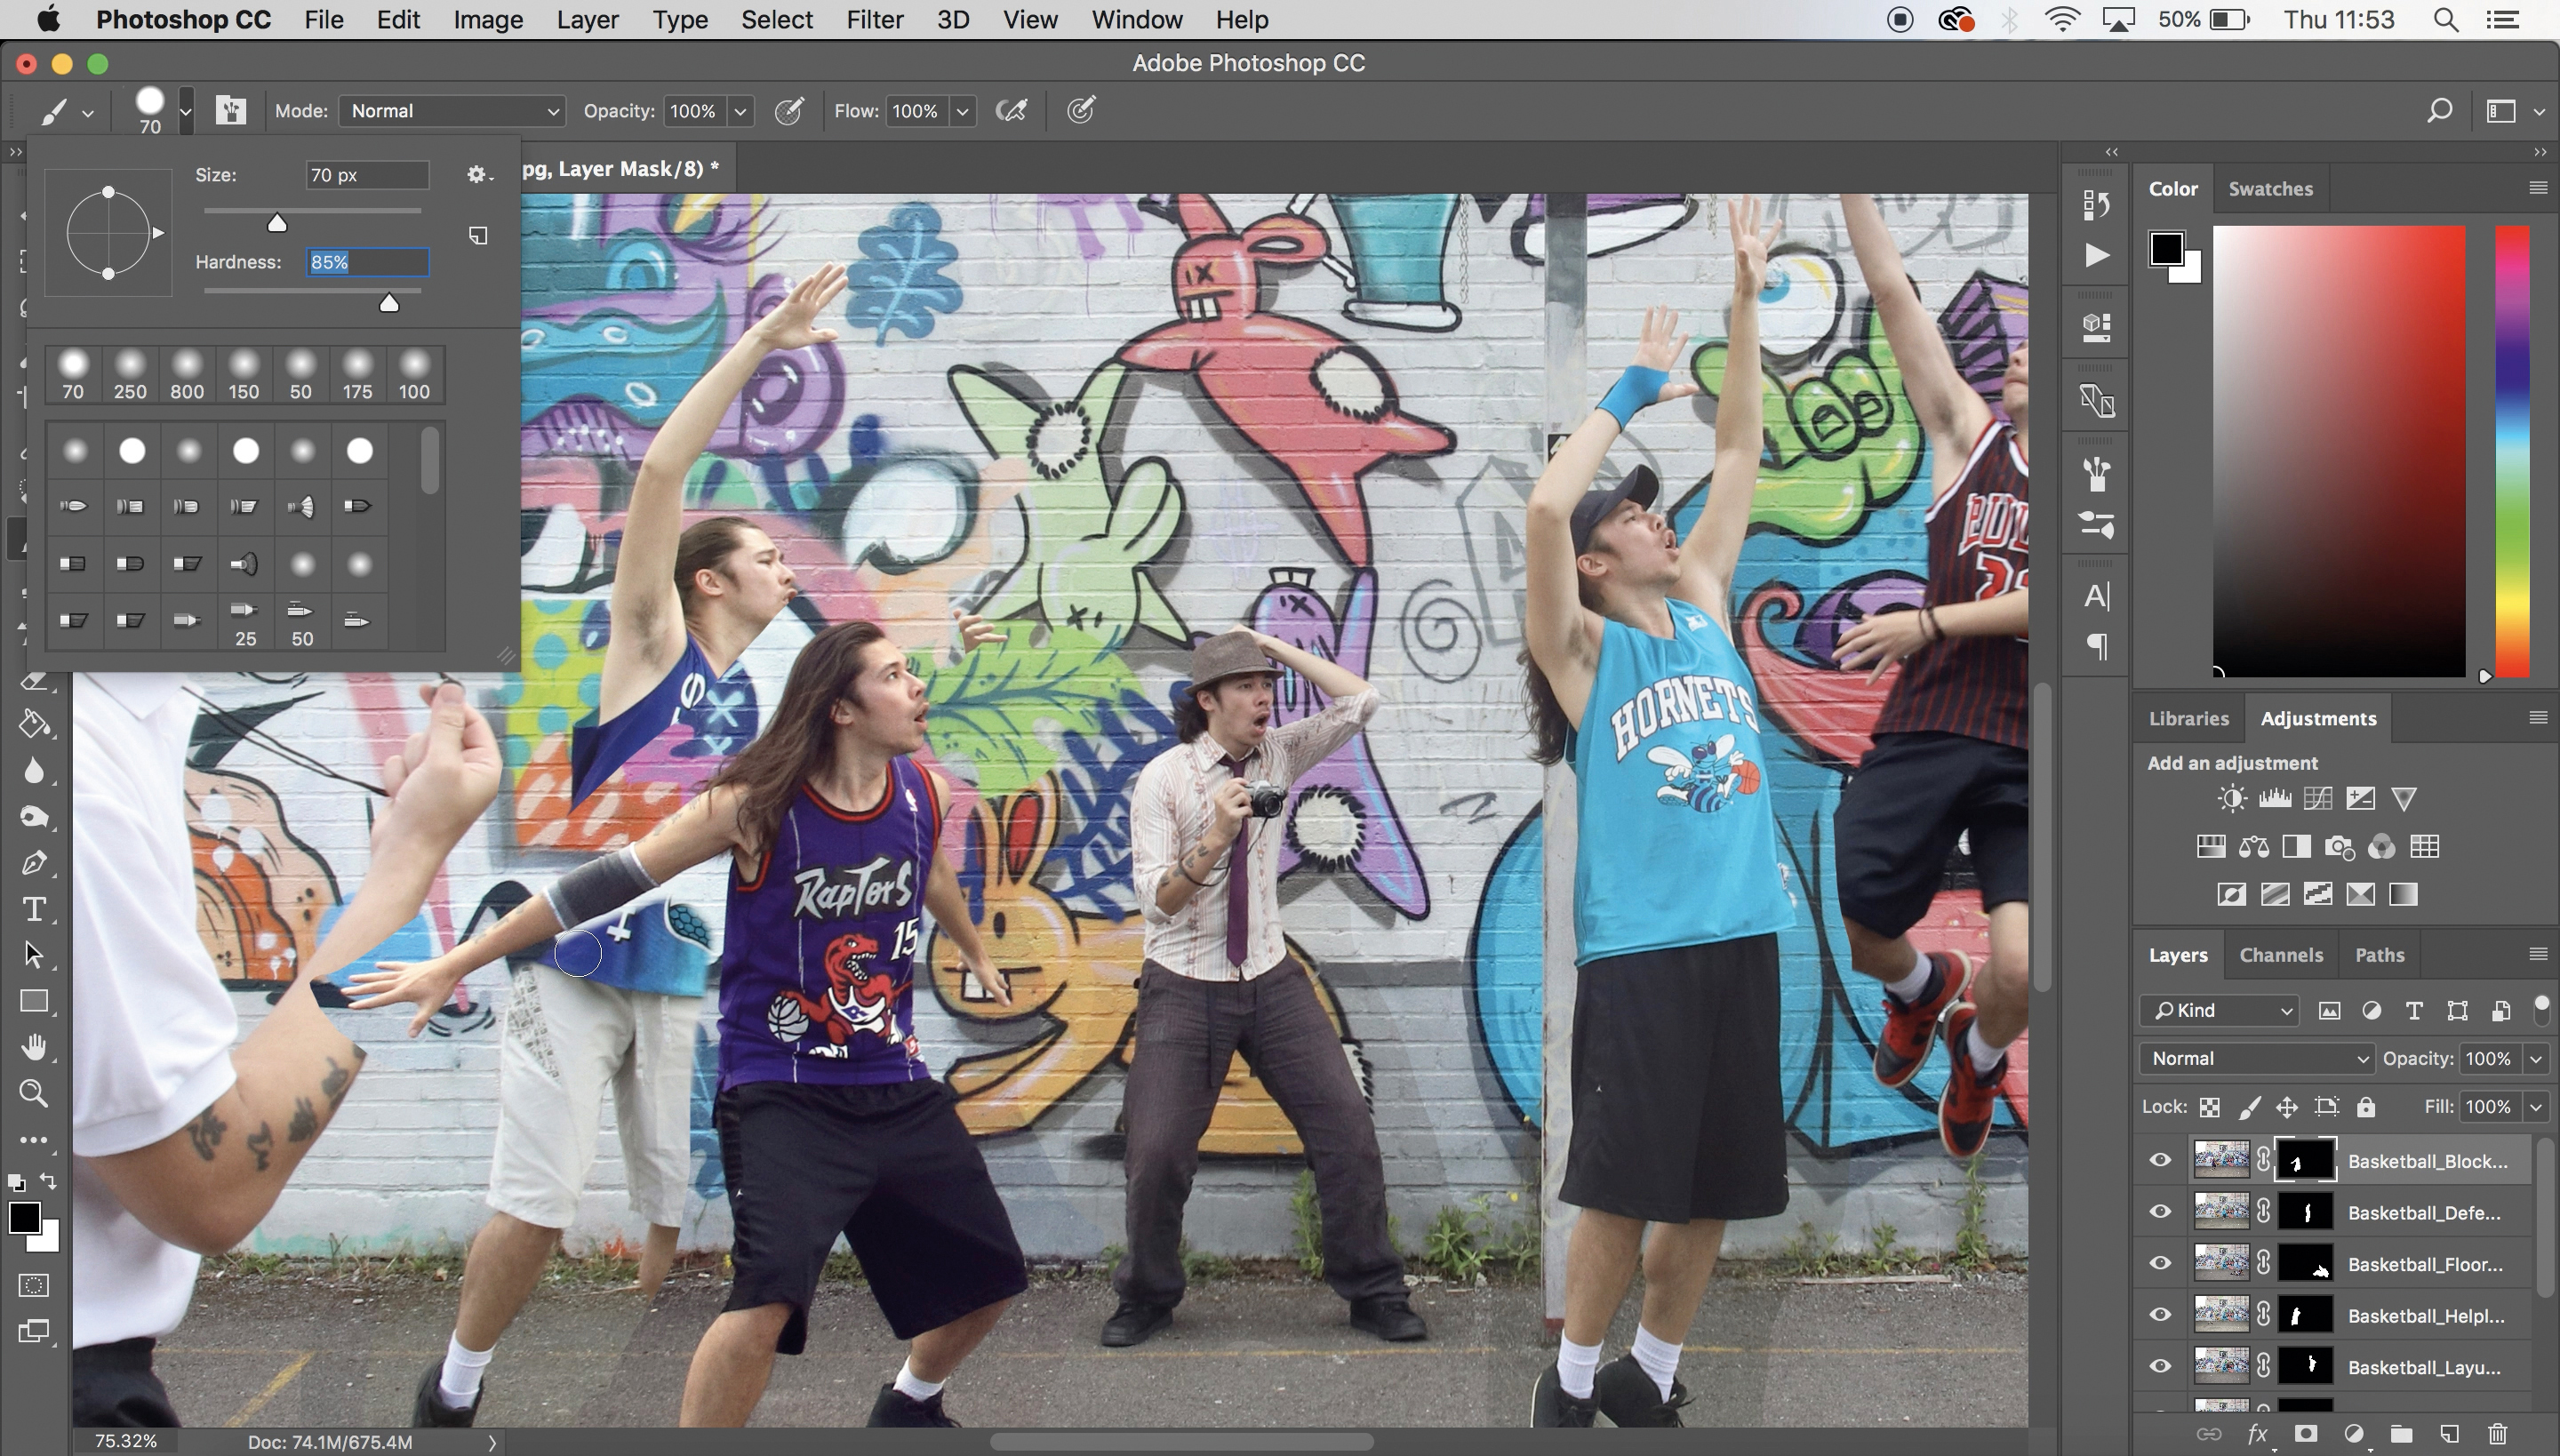
From your cutouts, you will see where you need to mask more precisely to create a seamless scene. For each layer, click on the mask thumbnail and use the Brush tool to tidy up your masks – painting with black will hide the layer, while painting with white will reveal it.
04 Buzzer beater
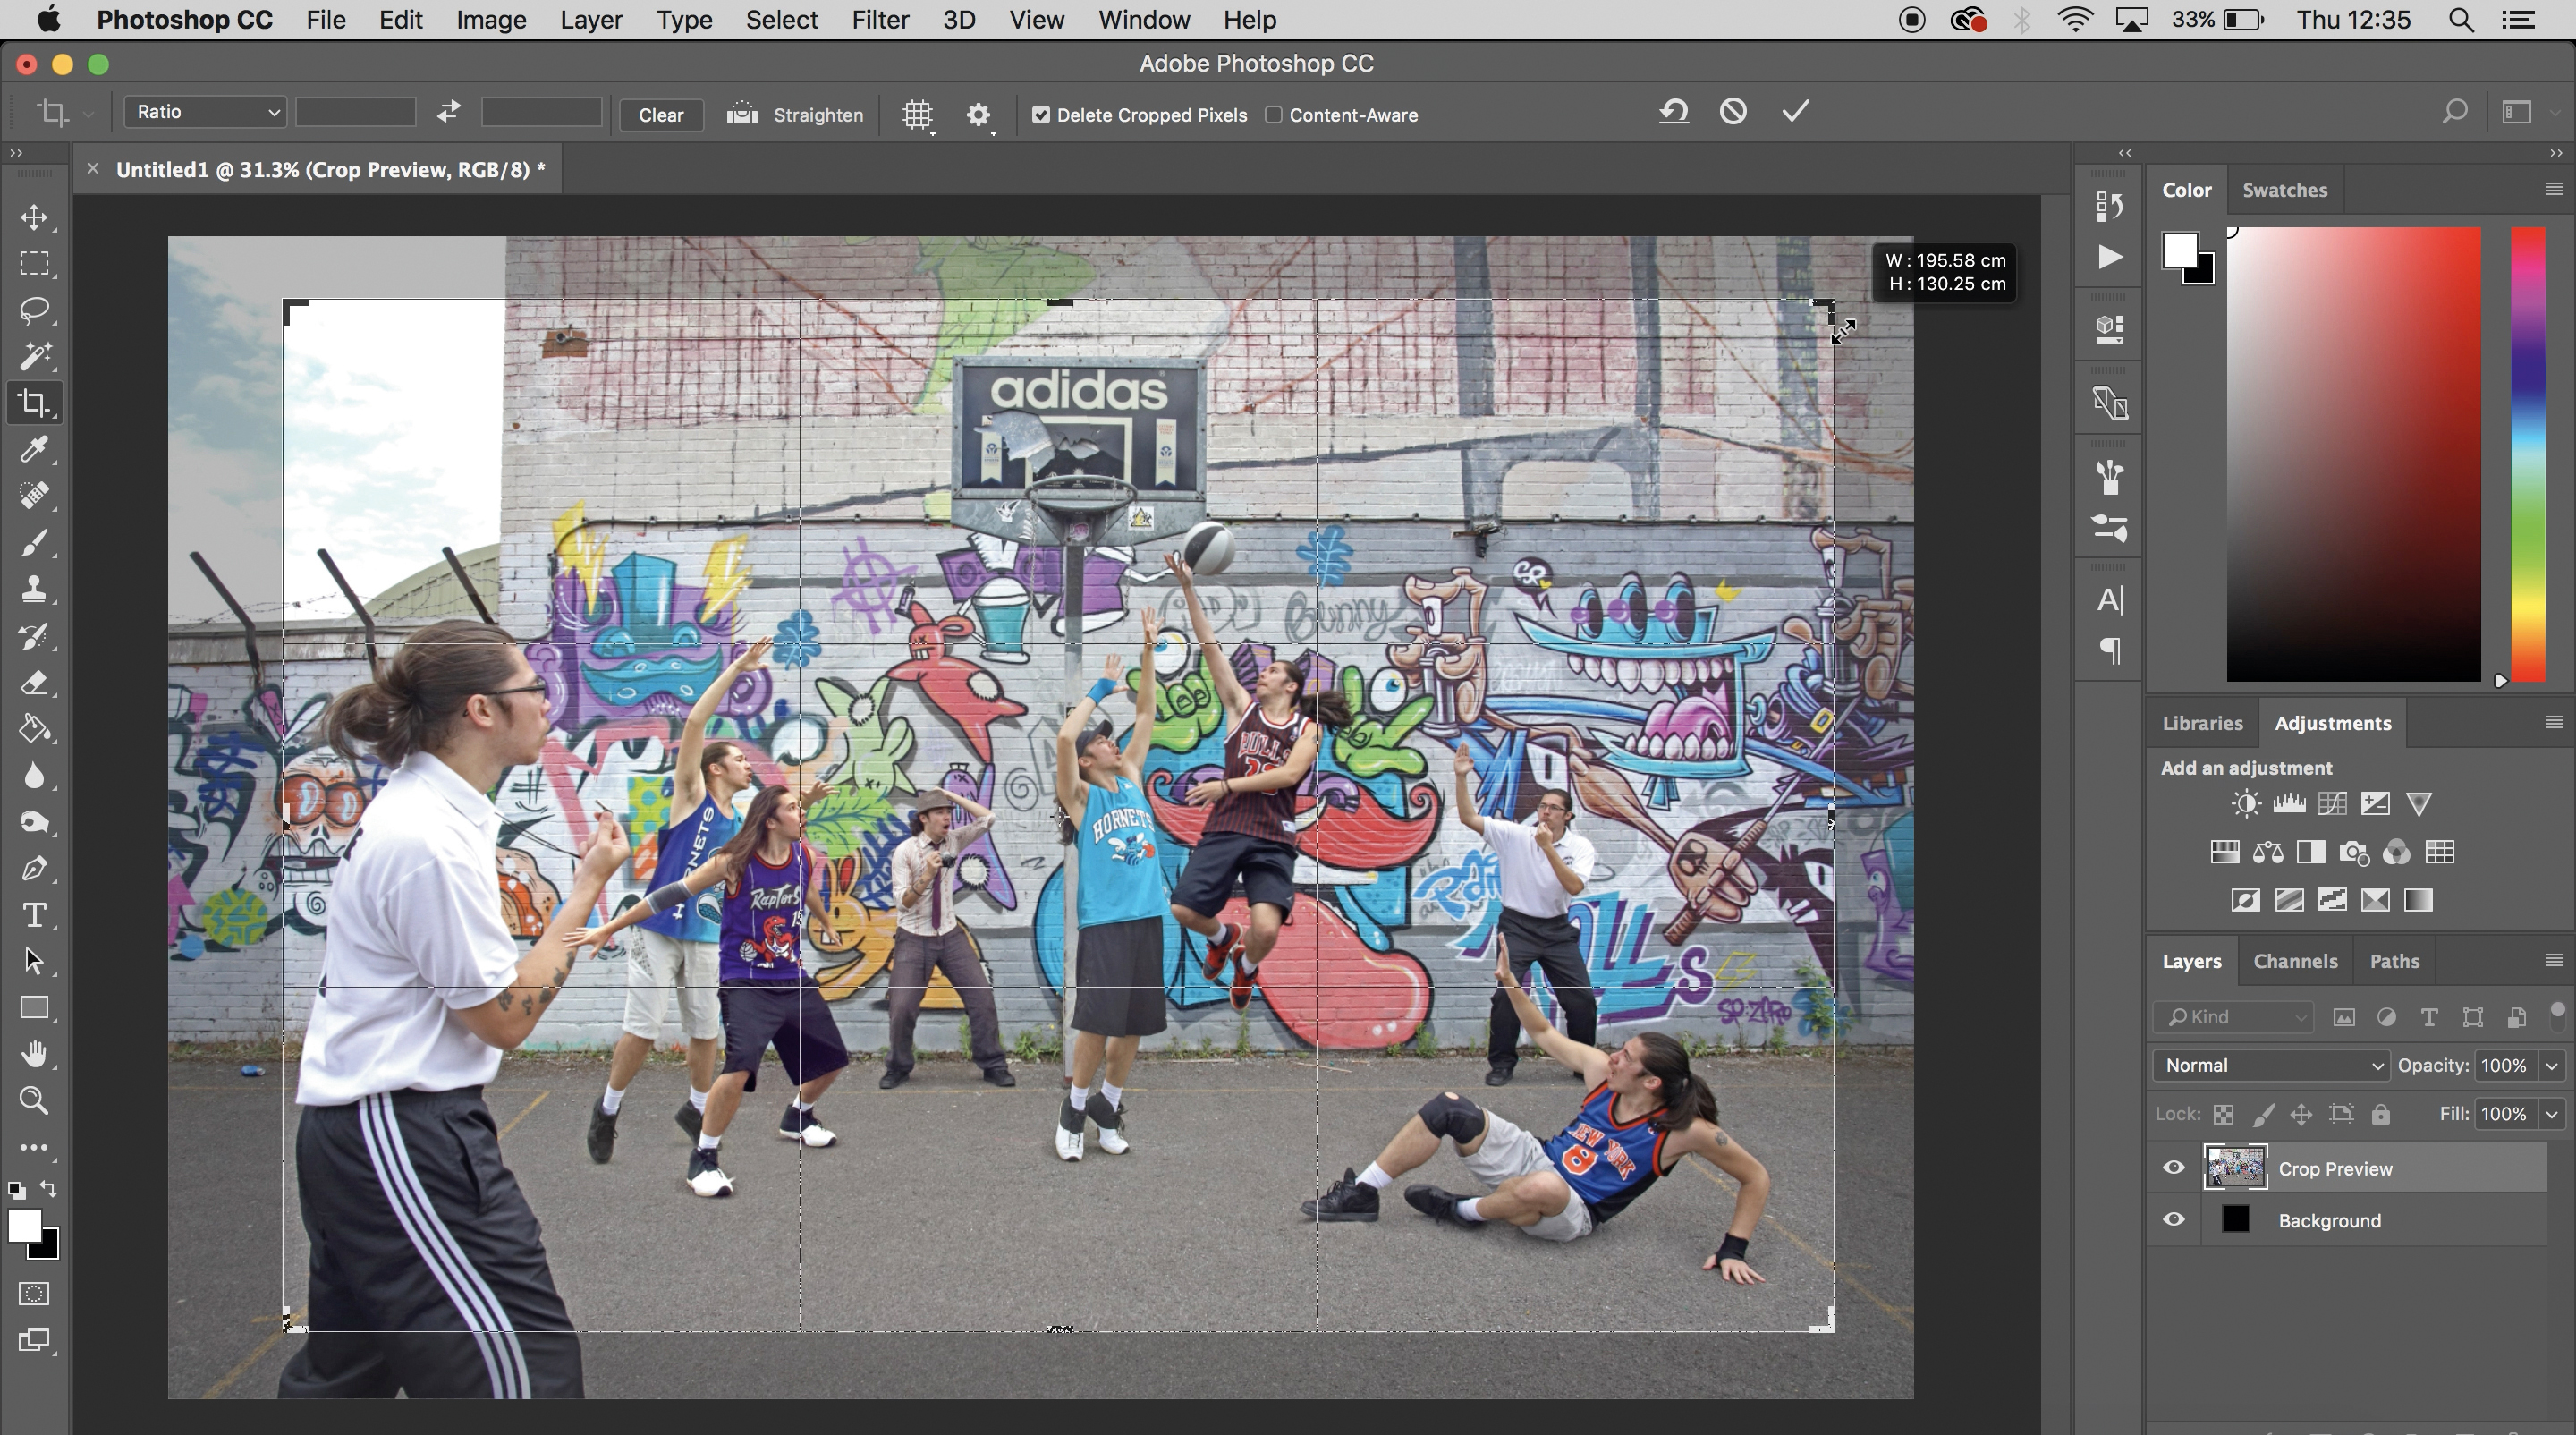
When all your masking is finished, simply flatten the image by clicking Layer>Flatten Image so that all your characters are on a single layer. Now’s the time to do any final edits – adjusting the levels, boosting the contrast, clarity and so on – before saving your image. And now you should have a game-winning shot!
Read more:
Best wide-angle lens in 2020: ultrawide zooms that get everything in the picture
The best photo editing software: image editors for novices through to pros
The best photo-editing laptops in 2020: top laptops for photographers
Get the Digital Camera World Newsletter
The best camera deals, reviews, product advice, and unmissable photography news, direct to your inbox!
James has 22 years experience as a journalist, serving as editor of Digital Camera World for 6 of them. He started working in the photography industry in 2014, product testing and shooting ad campaigns for Olympus, as well as clients like Aston Martin Racing, Elinchrom and L'Oréal. An Olympus / OM System, Canon and Hasselblad shooter, he has a wealth of knowledge on cameras of all makes – and he loves instant cameras, too.

