Watch video: Home photography ideas – Bespoke bokeh effects
Photography projects at home
• Home photography ideas
Useful home photography kit
• Best tripods
• Best lighting kits
• Best reflectors
• Best macro lenses
When you're stuck shooting at home, it can be a real challenge to get an exciting-looking background. Even when you're shooting macro images, having just a plain white wall behind your subject just feels a little bland.
With this project, you can add some bespoke bokeh background blur – which means that you can add some customized creativity to your images, so your macro scenes don't all look like they've been shot in your kitchen!
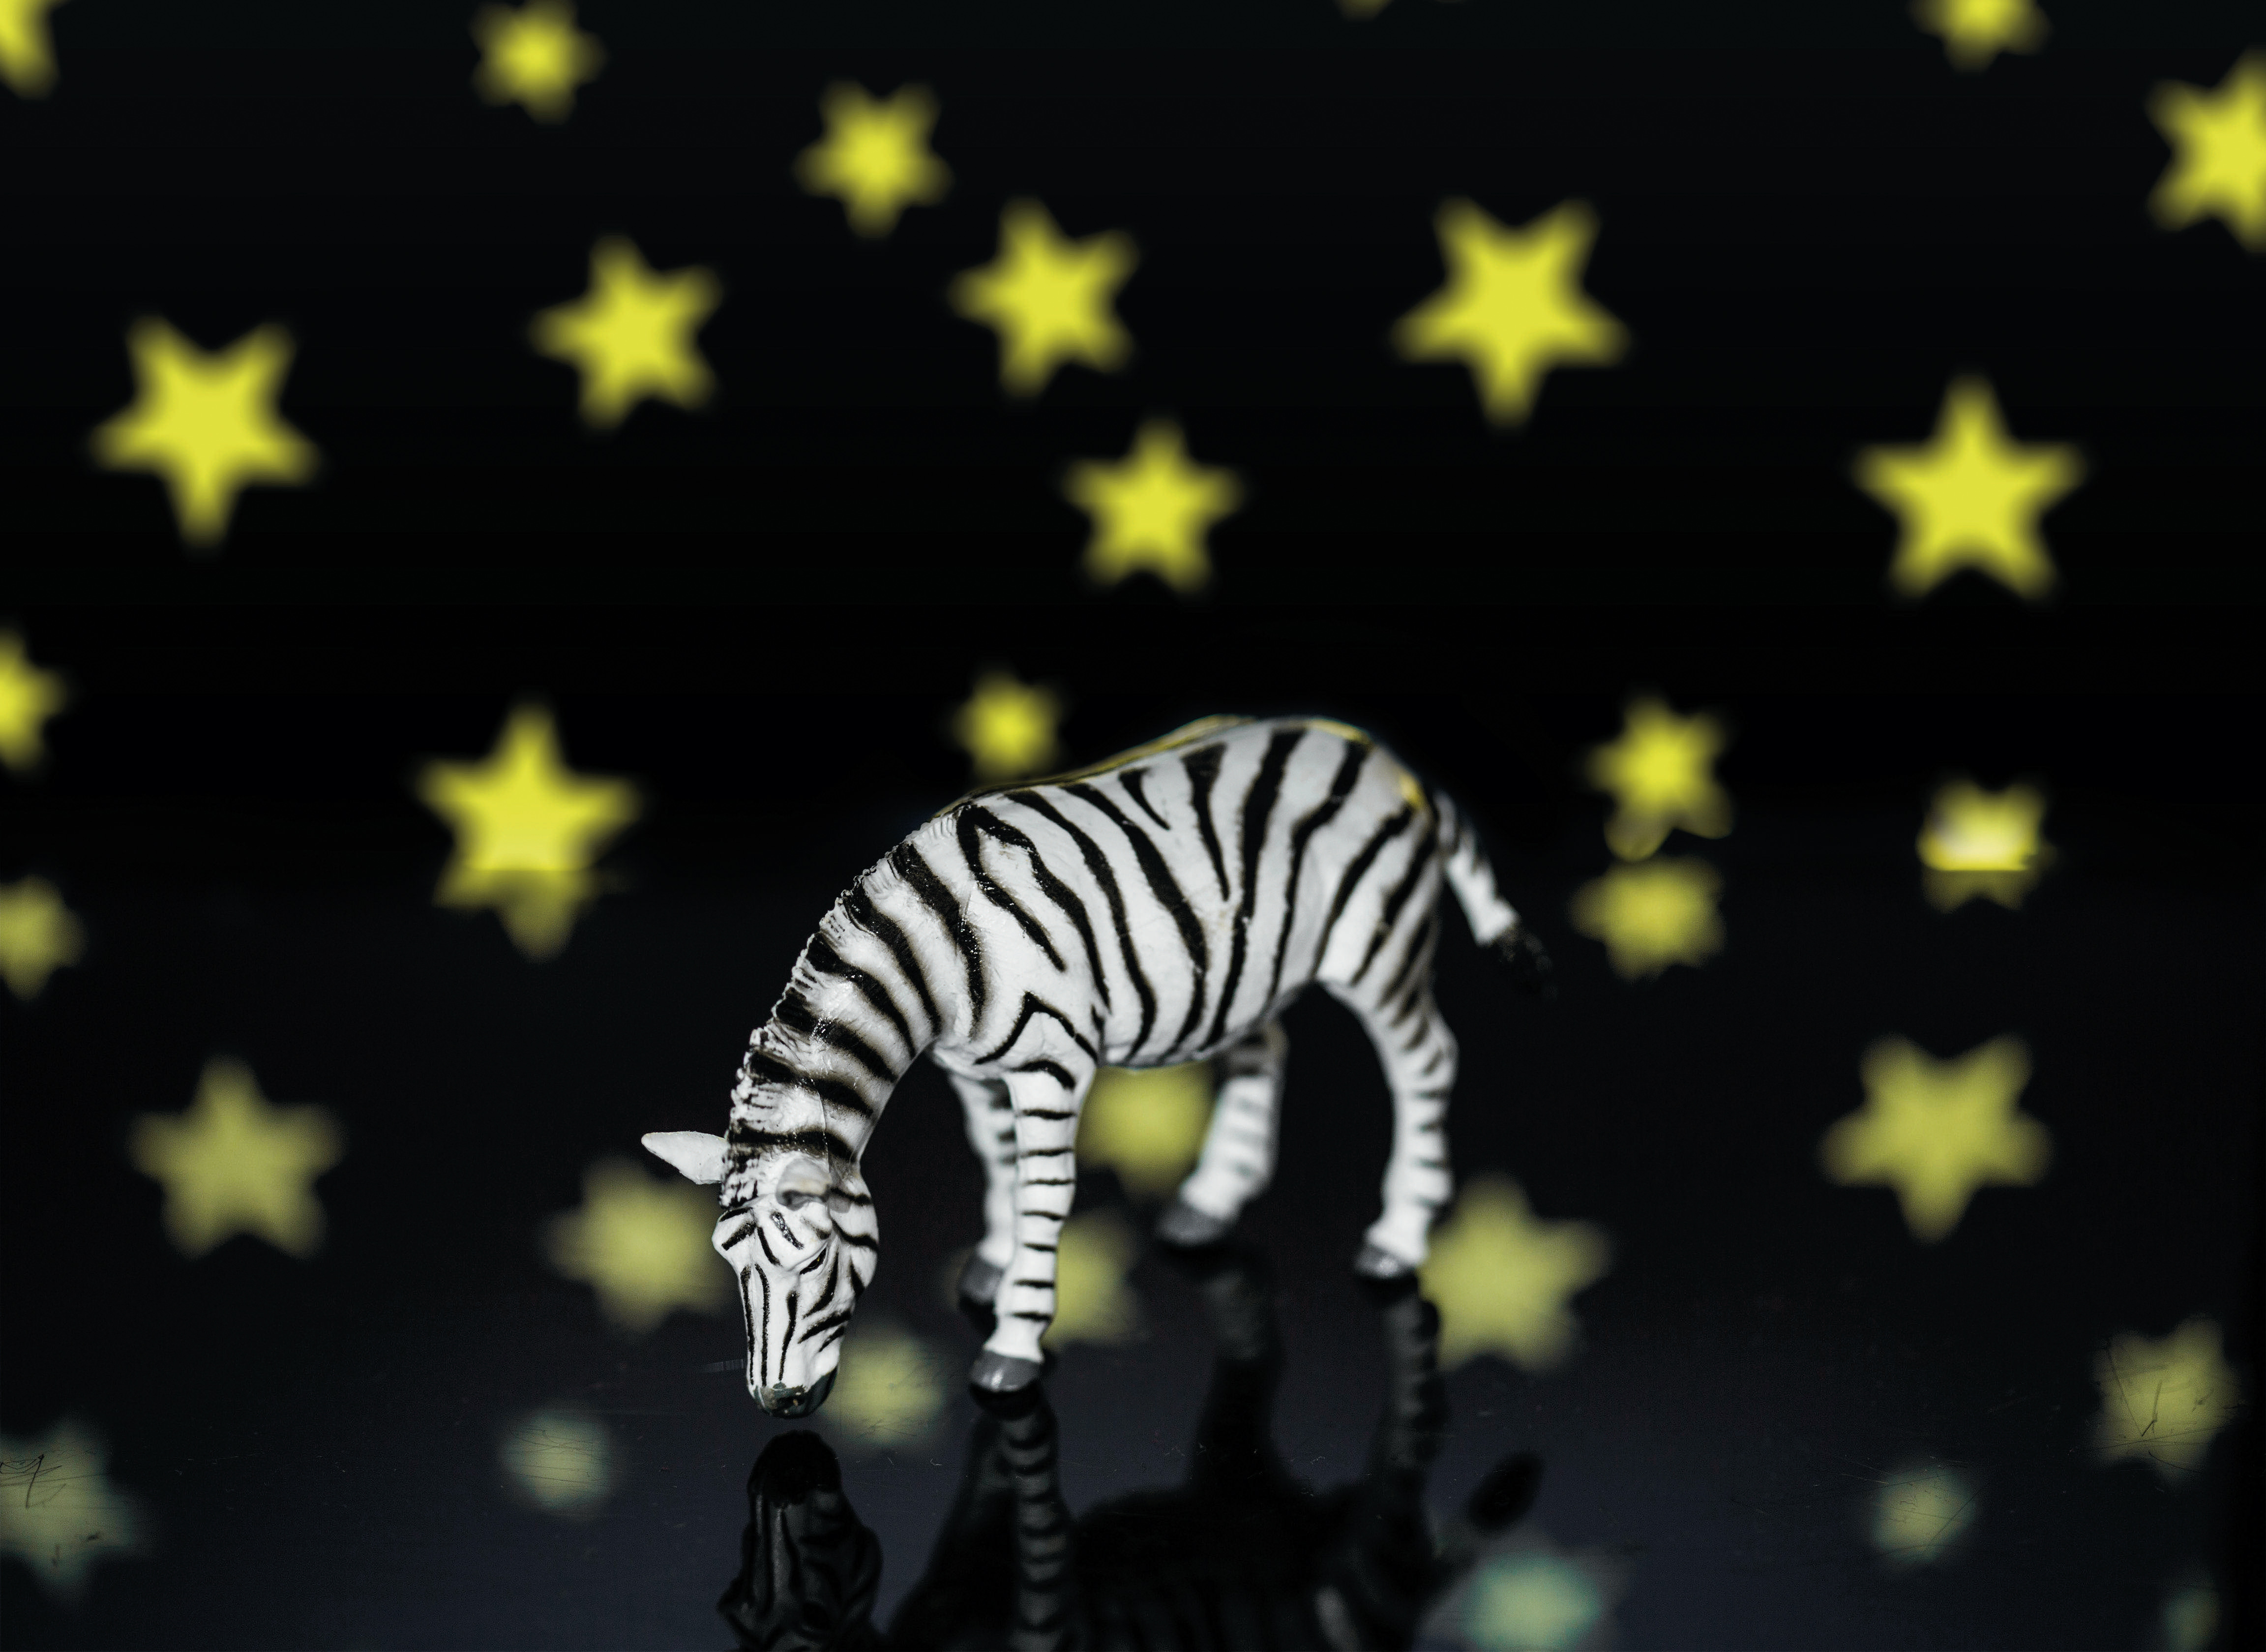
In some cases, such as shooting flowers, having a subtle and indistinct background might be all you need to add some extra depth to your images. If you're shooting miniature animals, you might use this effect like a miniature green screen to add them to a safari scene (check out our DIY green screen photography tutorial to see how you can take this technique to the next level).
And of course, you can choose an incredibly bold background – like the one we've used here – to add an eye-catching special effect to your shots. All you need is a macro or telephoto lens and a laptop or tablet, so let's get started…
• Read more: What is bokeh?
Make your own bokeh

01 The background
Open the above image full-size (by clicking the widget at the top-right) and then save it to your computer. Now open the file and make it full-screen on your laptop, tablet or TV – or, alternatively, try a web search for a pattern or background of your choice.
02 Place the board
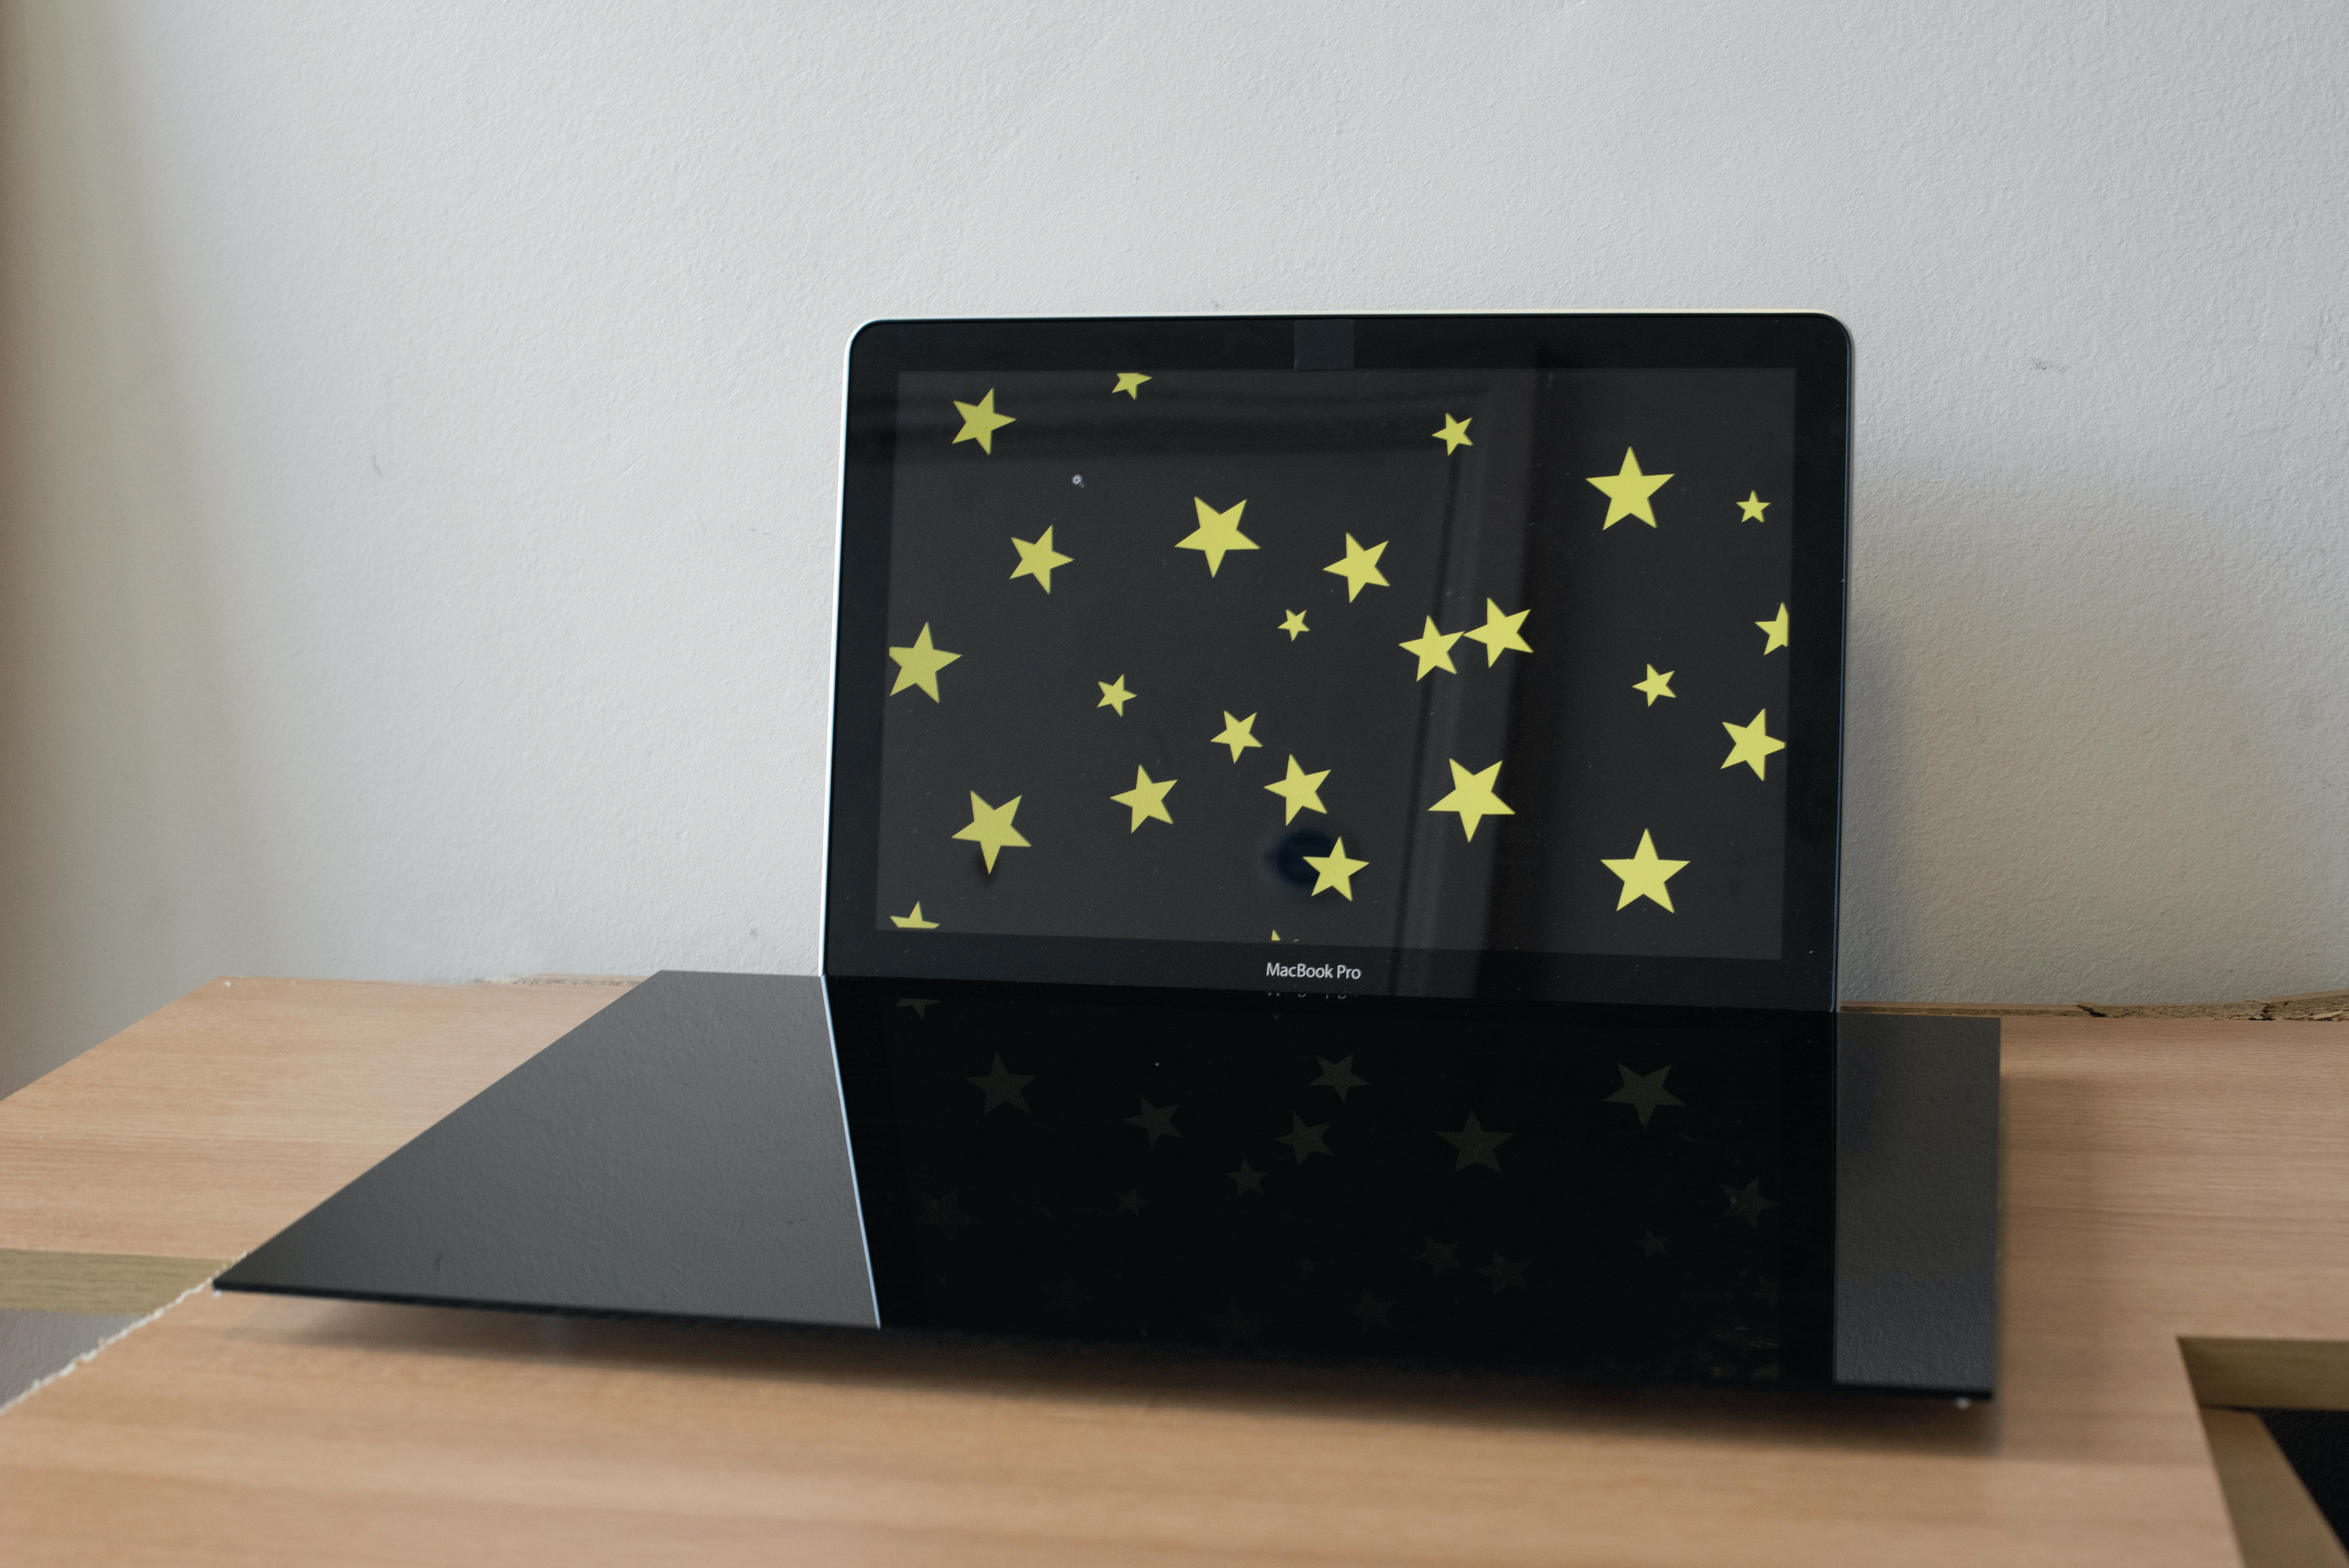
We've placed a black acrylic board on our laptop keyboard to reflect the background, though you could use a mirror or another reflective surface. This also provides a stable, flat surface on which to place your subject. Moving the figure further away from the screen will increase the blurriness of the background.
03 The lens is key
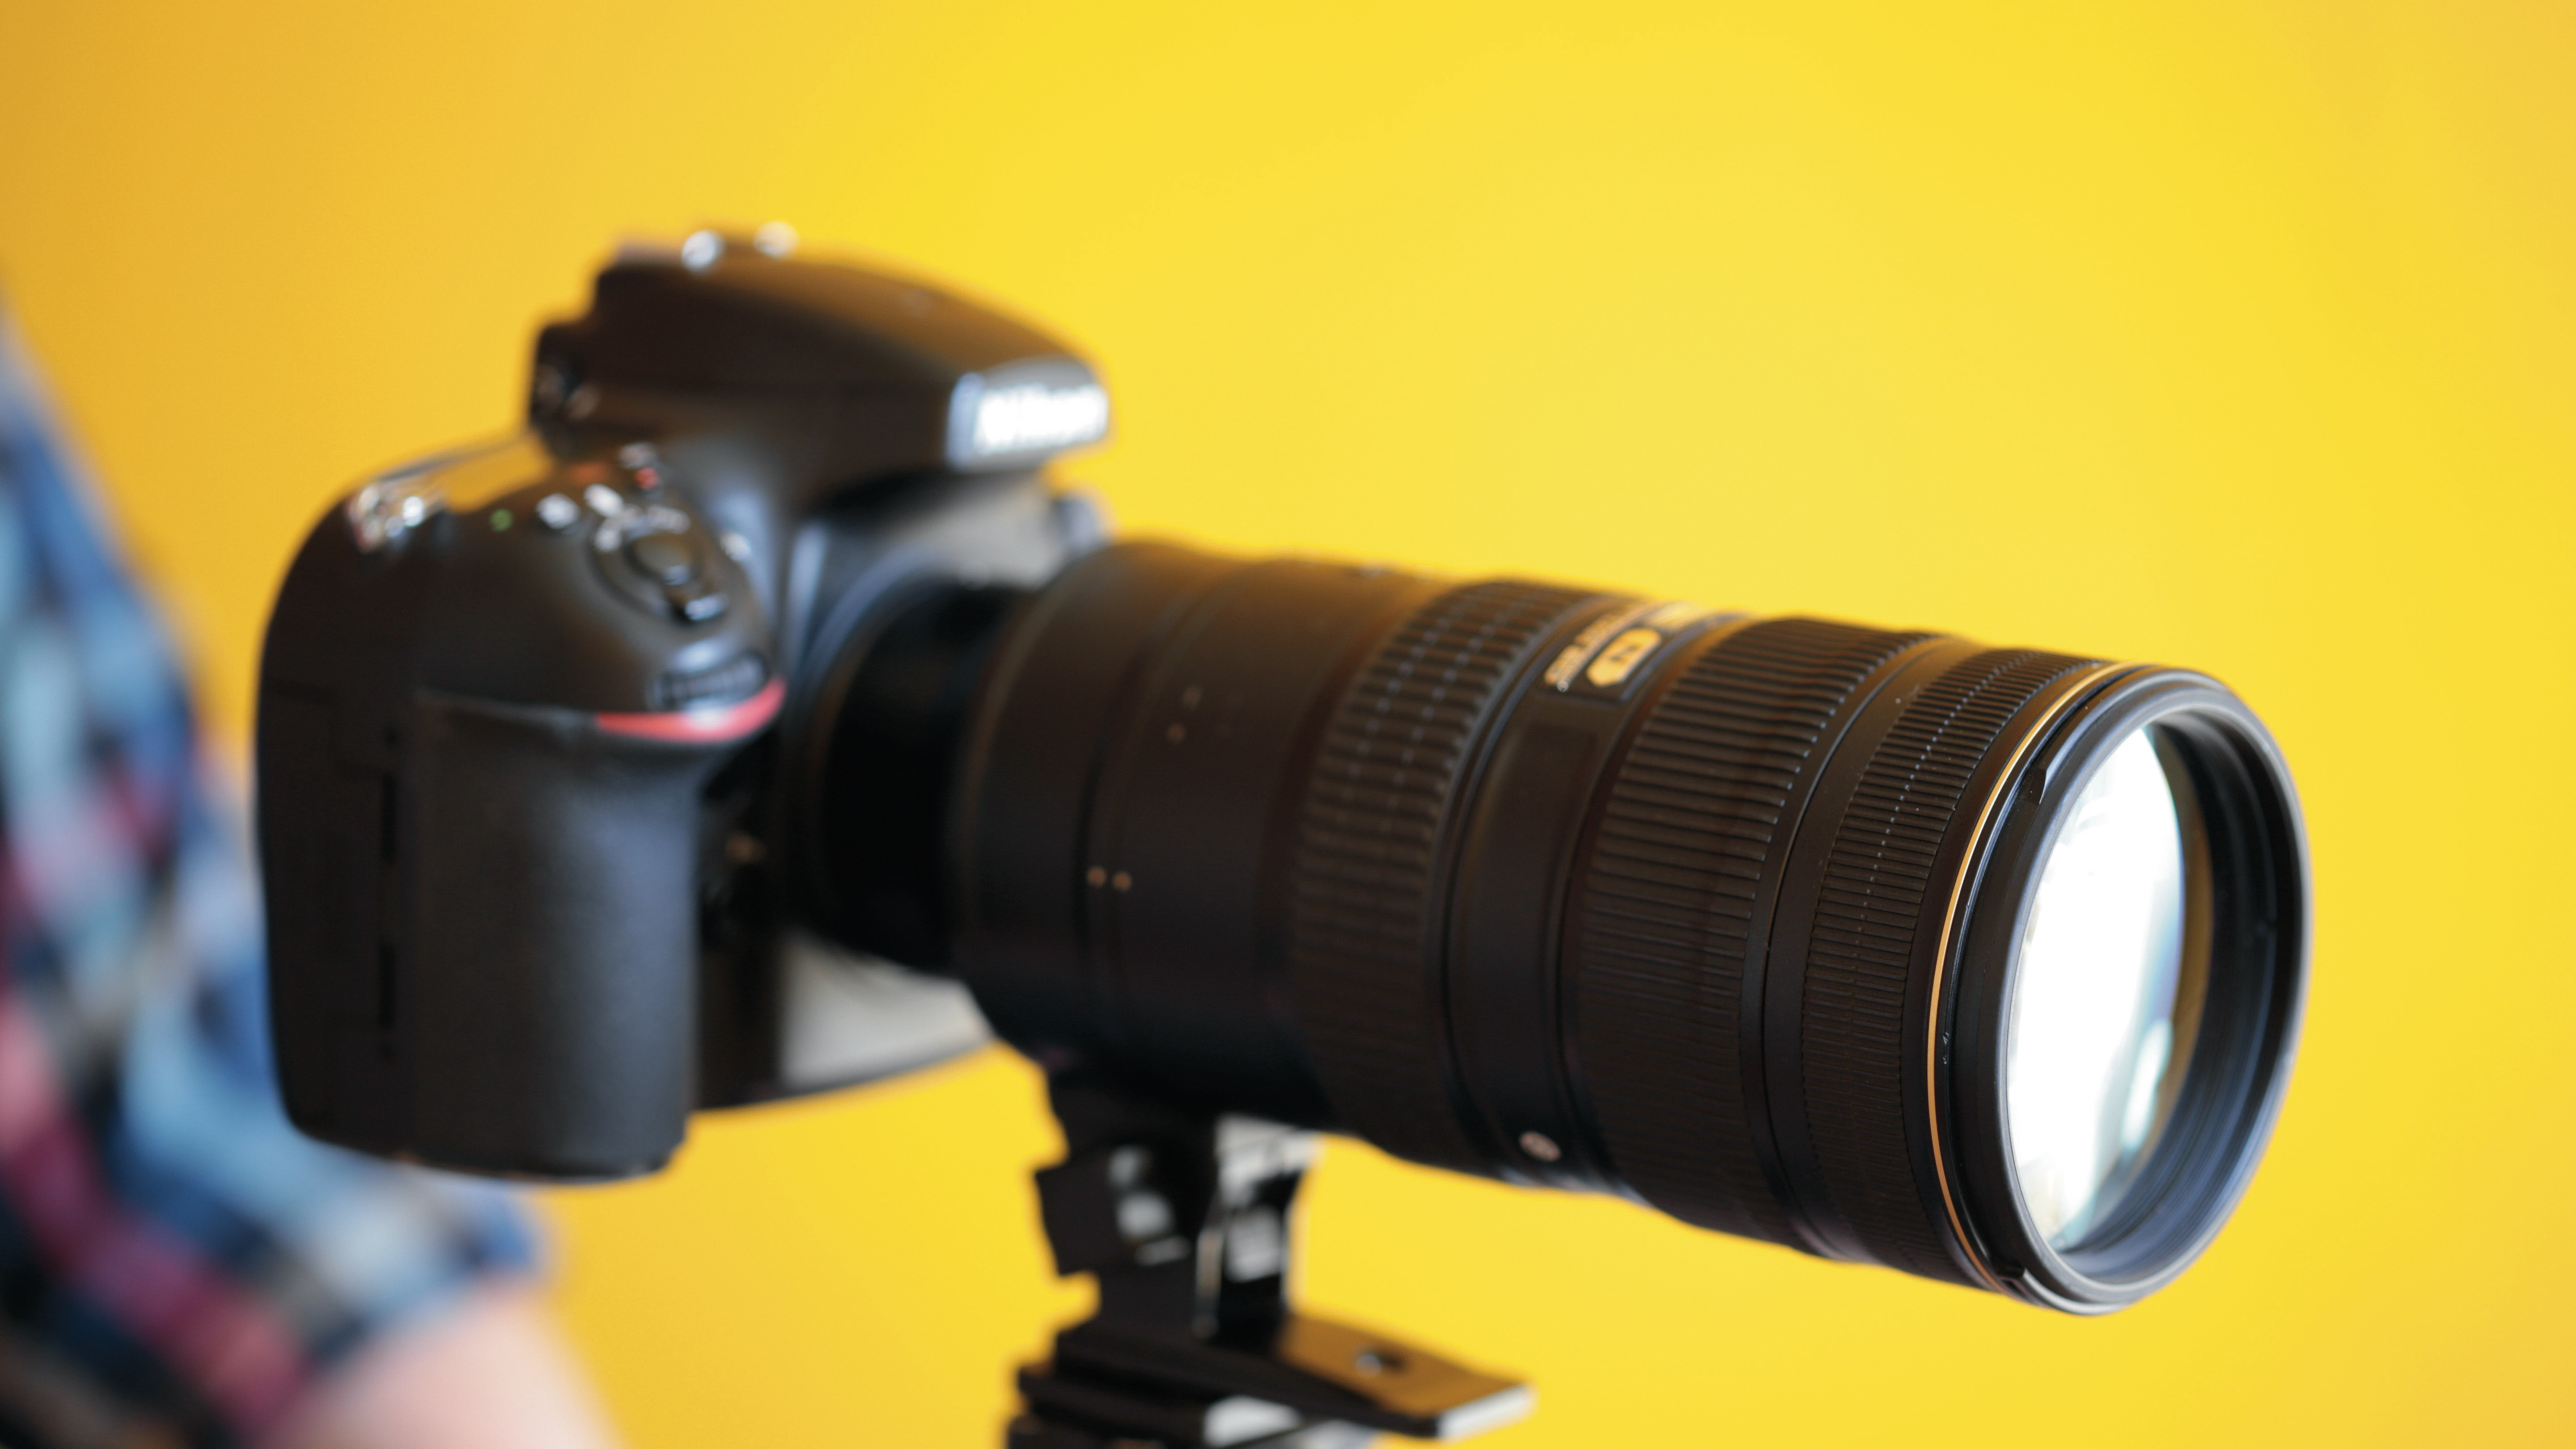
The longer your focal length, the more the background will blur due to the perspective compression that occurs in longer lenses – and the wider the aperture, the greater the effect too. We used a 70-200mm f/2.8 lens, mounted on a tripod to keep it rock-solid.
04 Starry settings
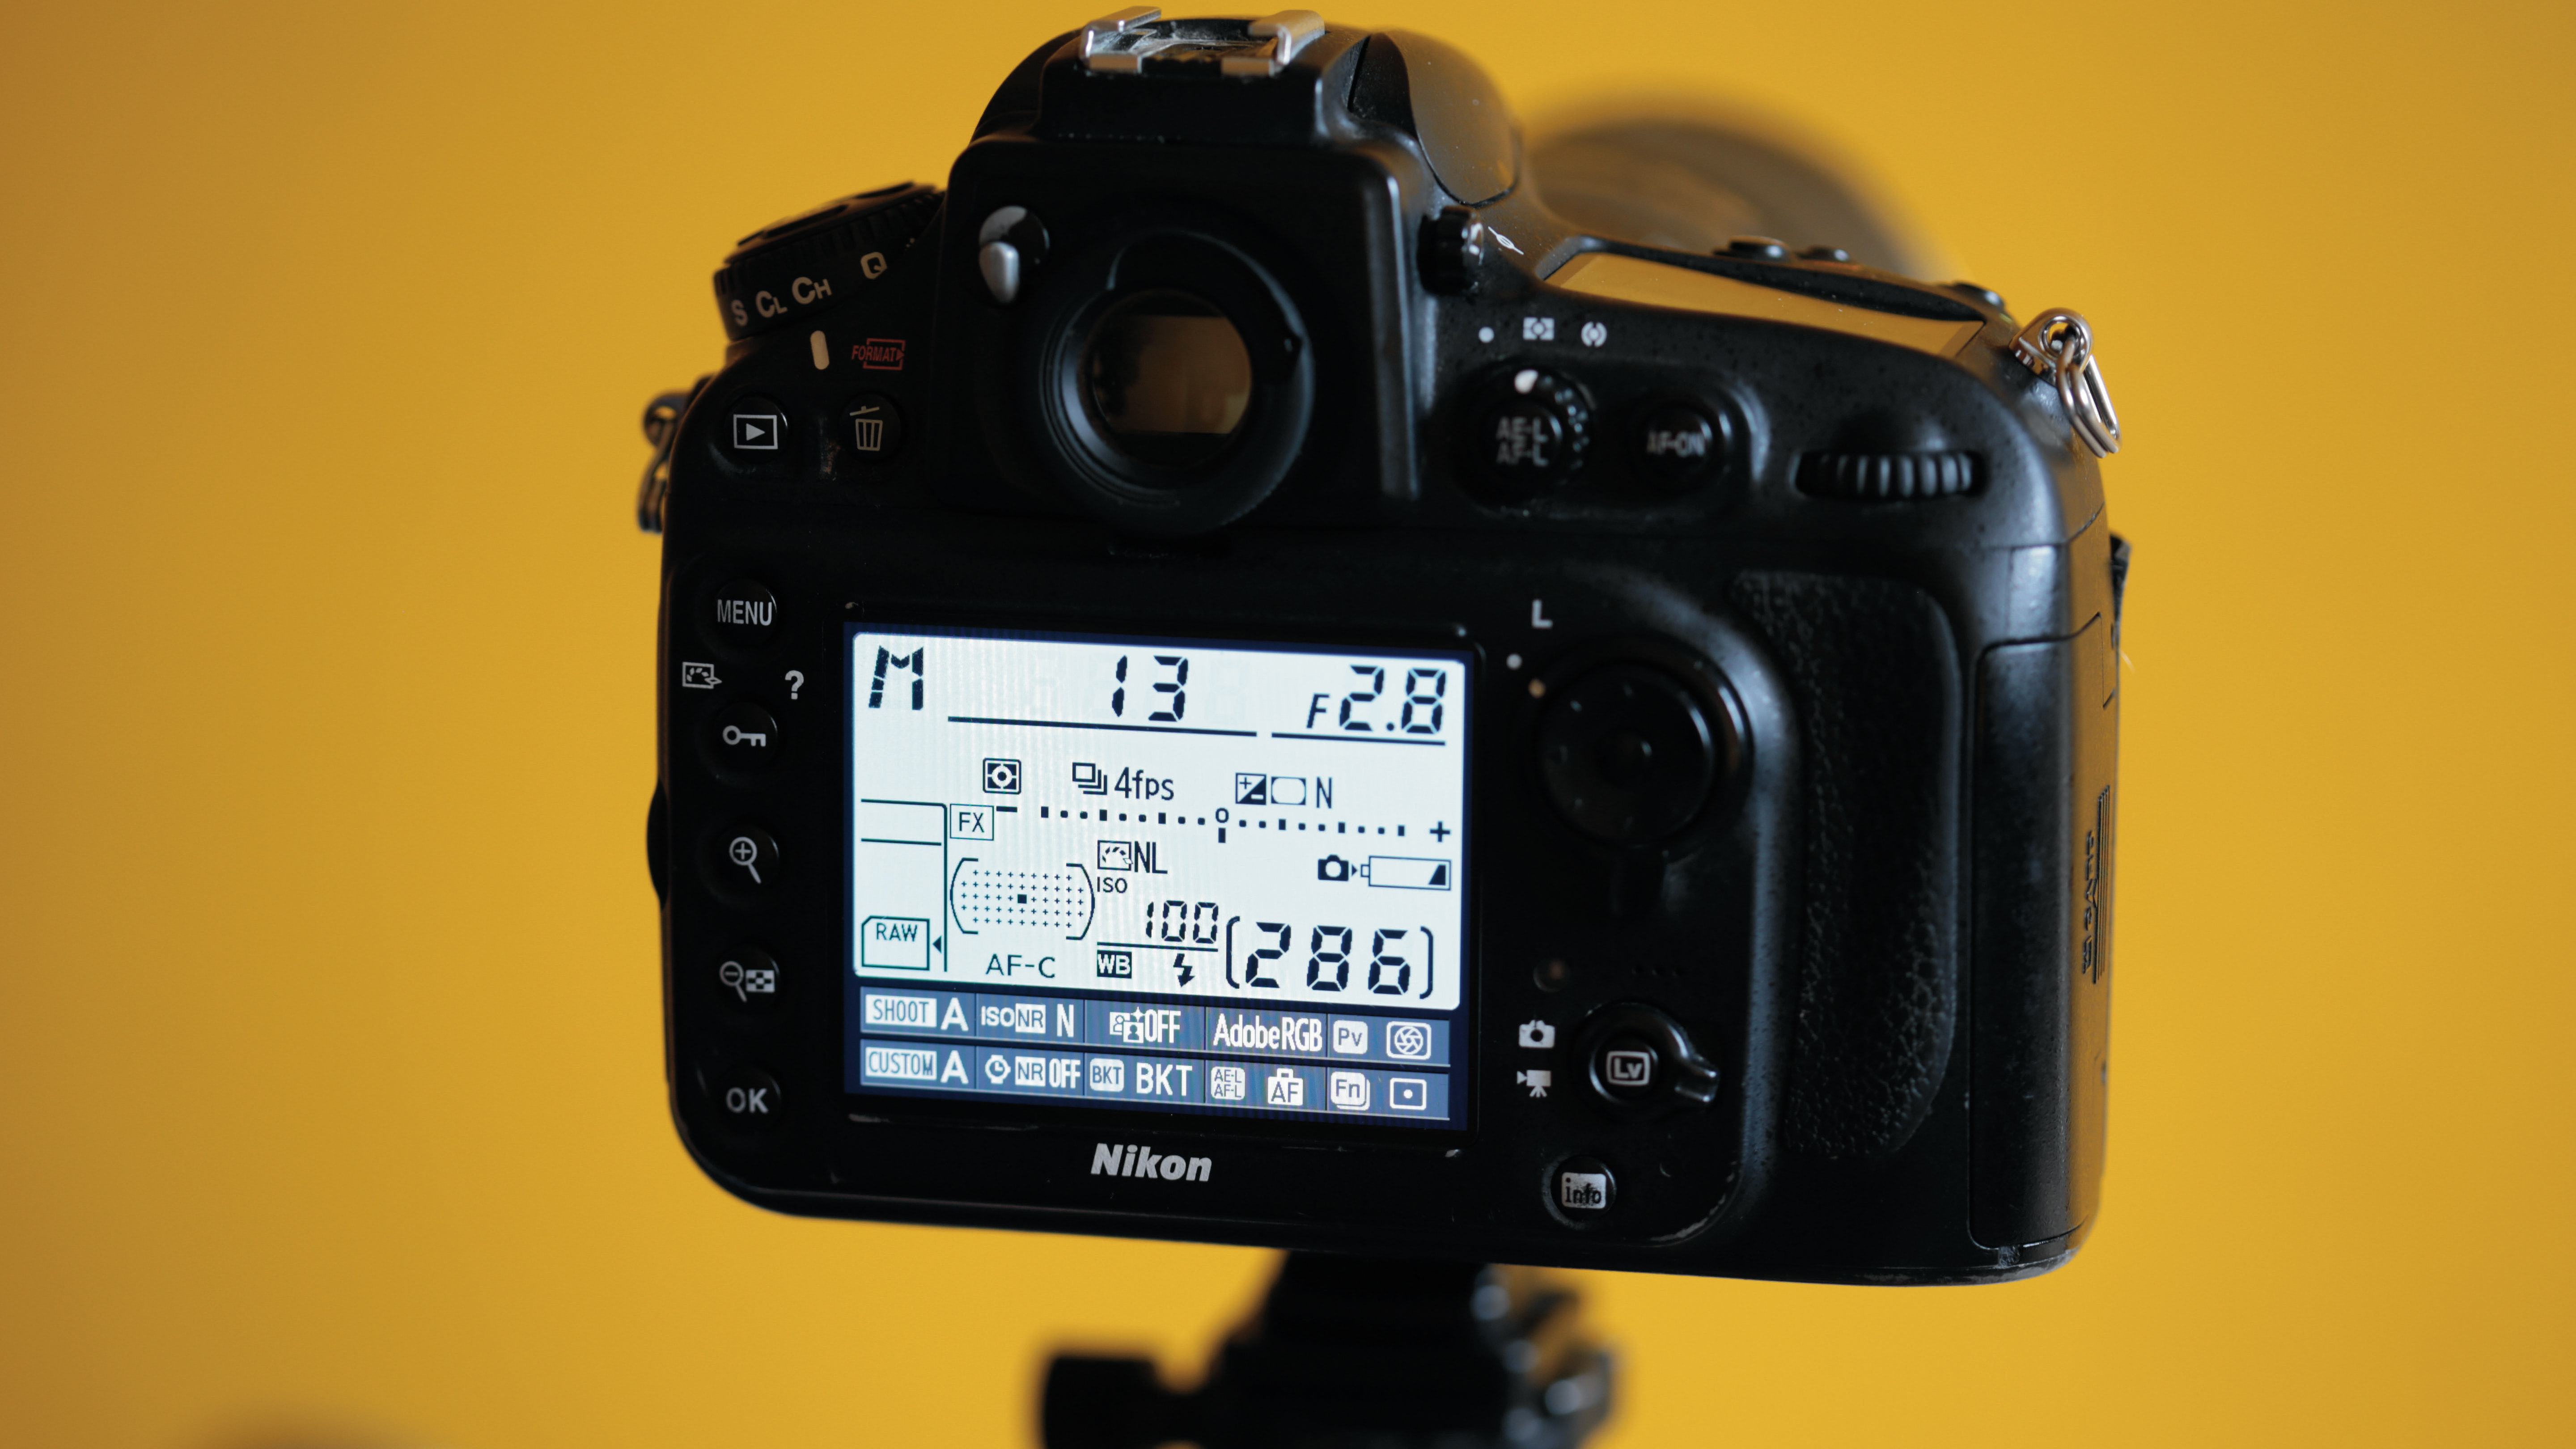
Shooting in manual mode, use the widest aperture available on your lens to produce a shallow depth of field. Use the lowest possible ISO on your camera, and you can also employ a long shutter speed since you're using a tripod.
05 Get in focus
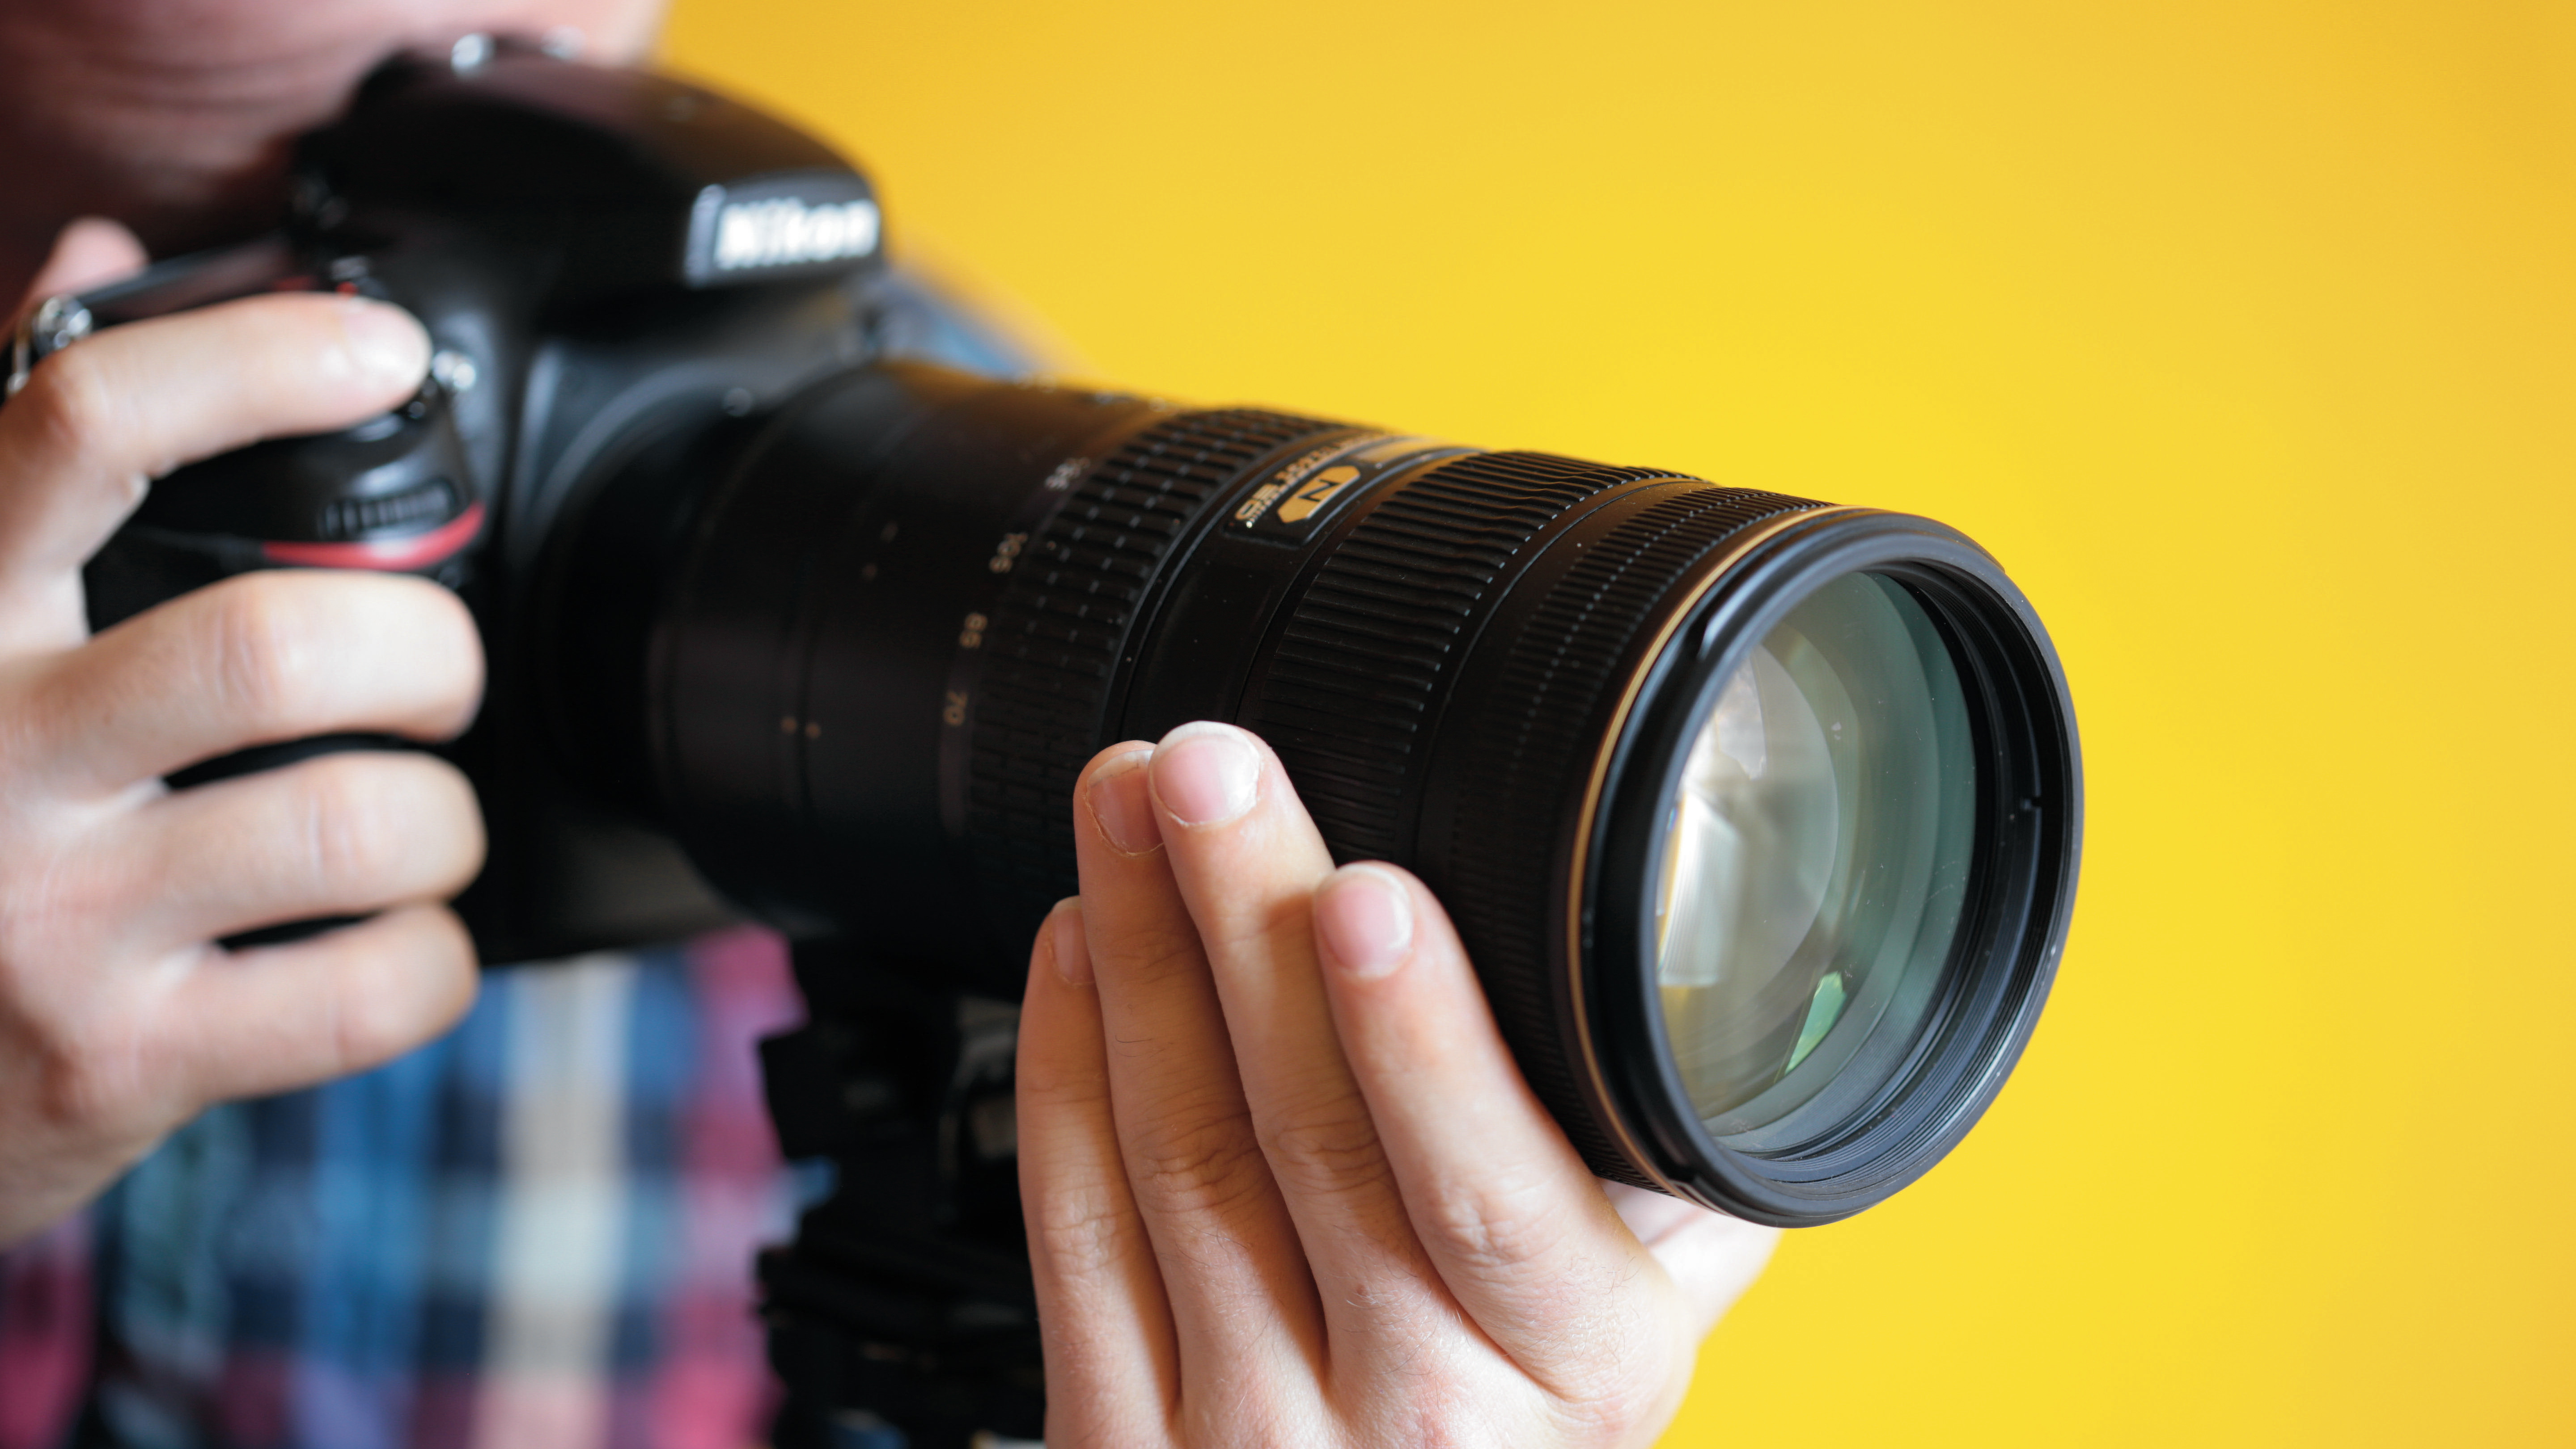
In order to truly emphasize your object and throw the background out of focus, engage autofocus and move the focus point over the closest corner of your object. You might find it easier to do this with a plain white screen, as the AF will then lock on to contrasty edges.
06 Take it further
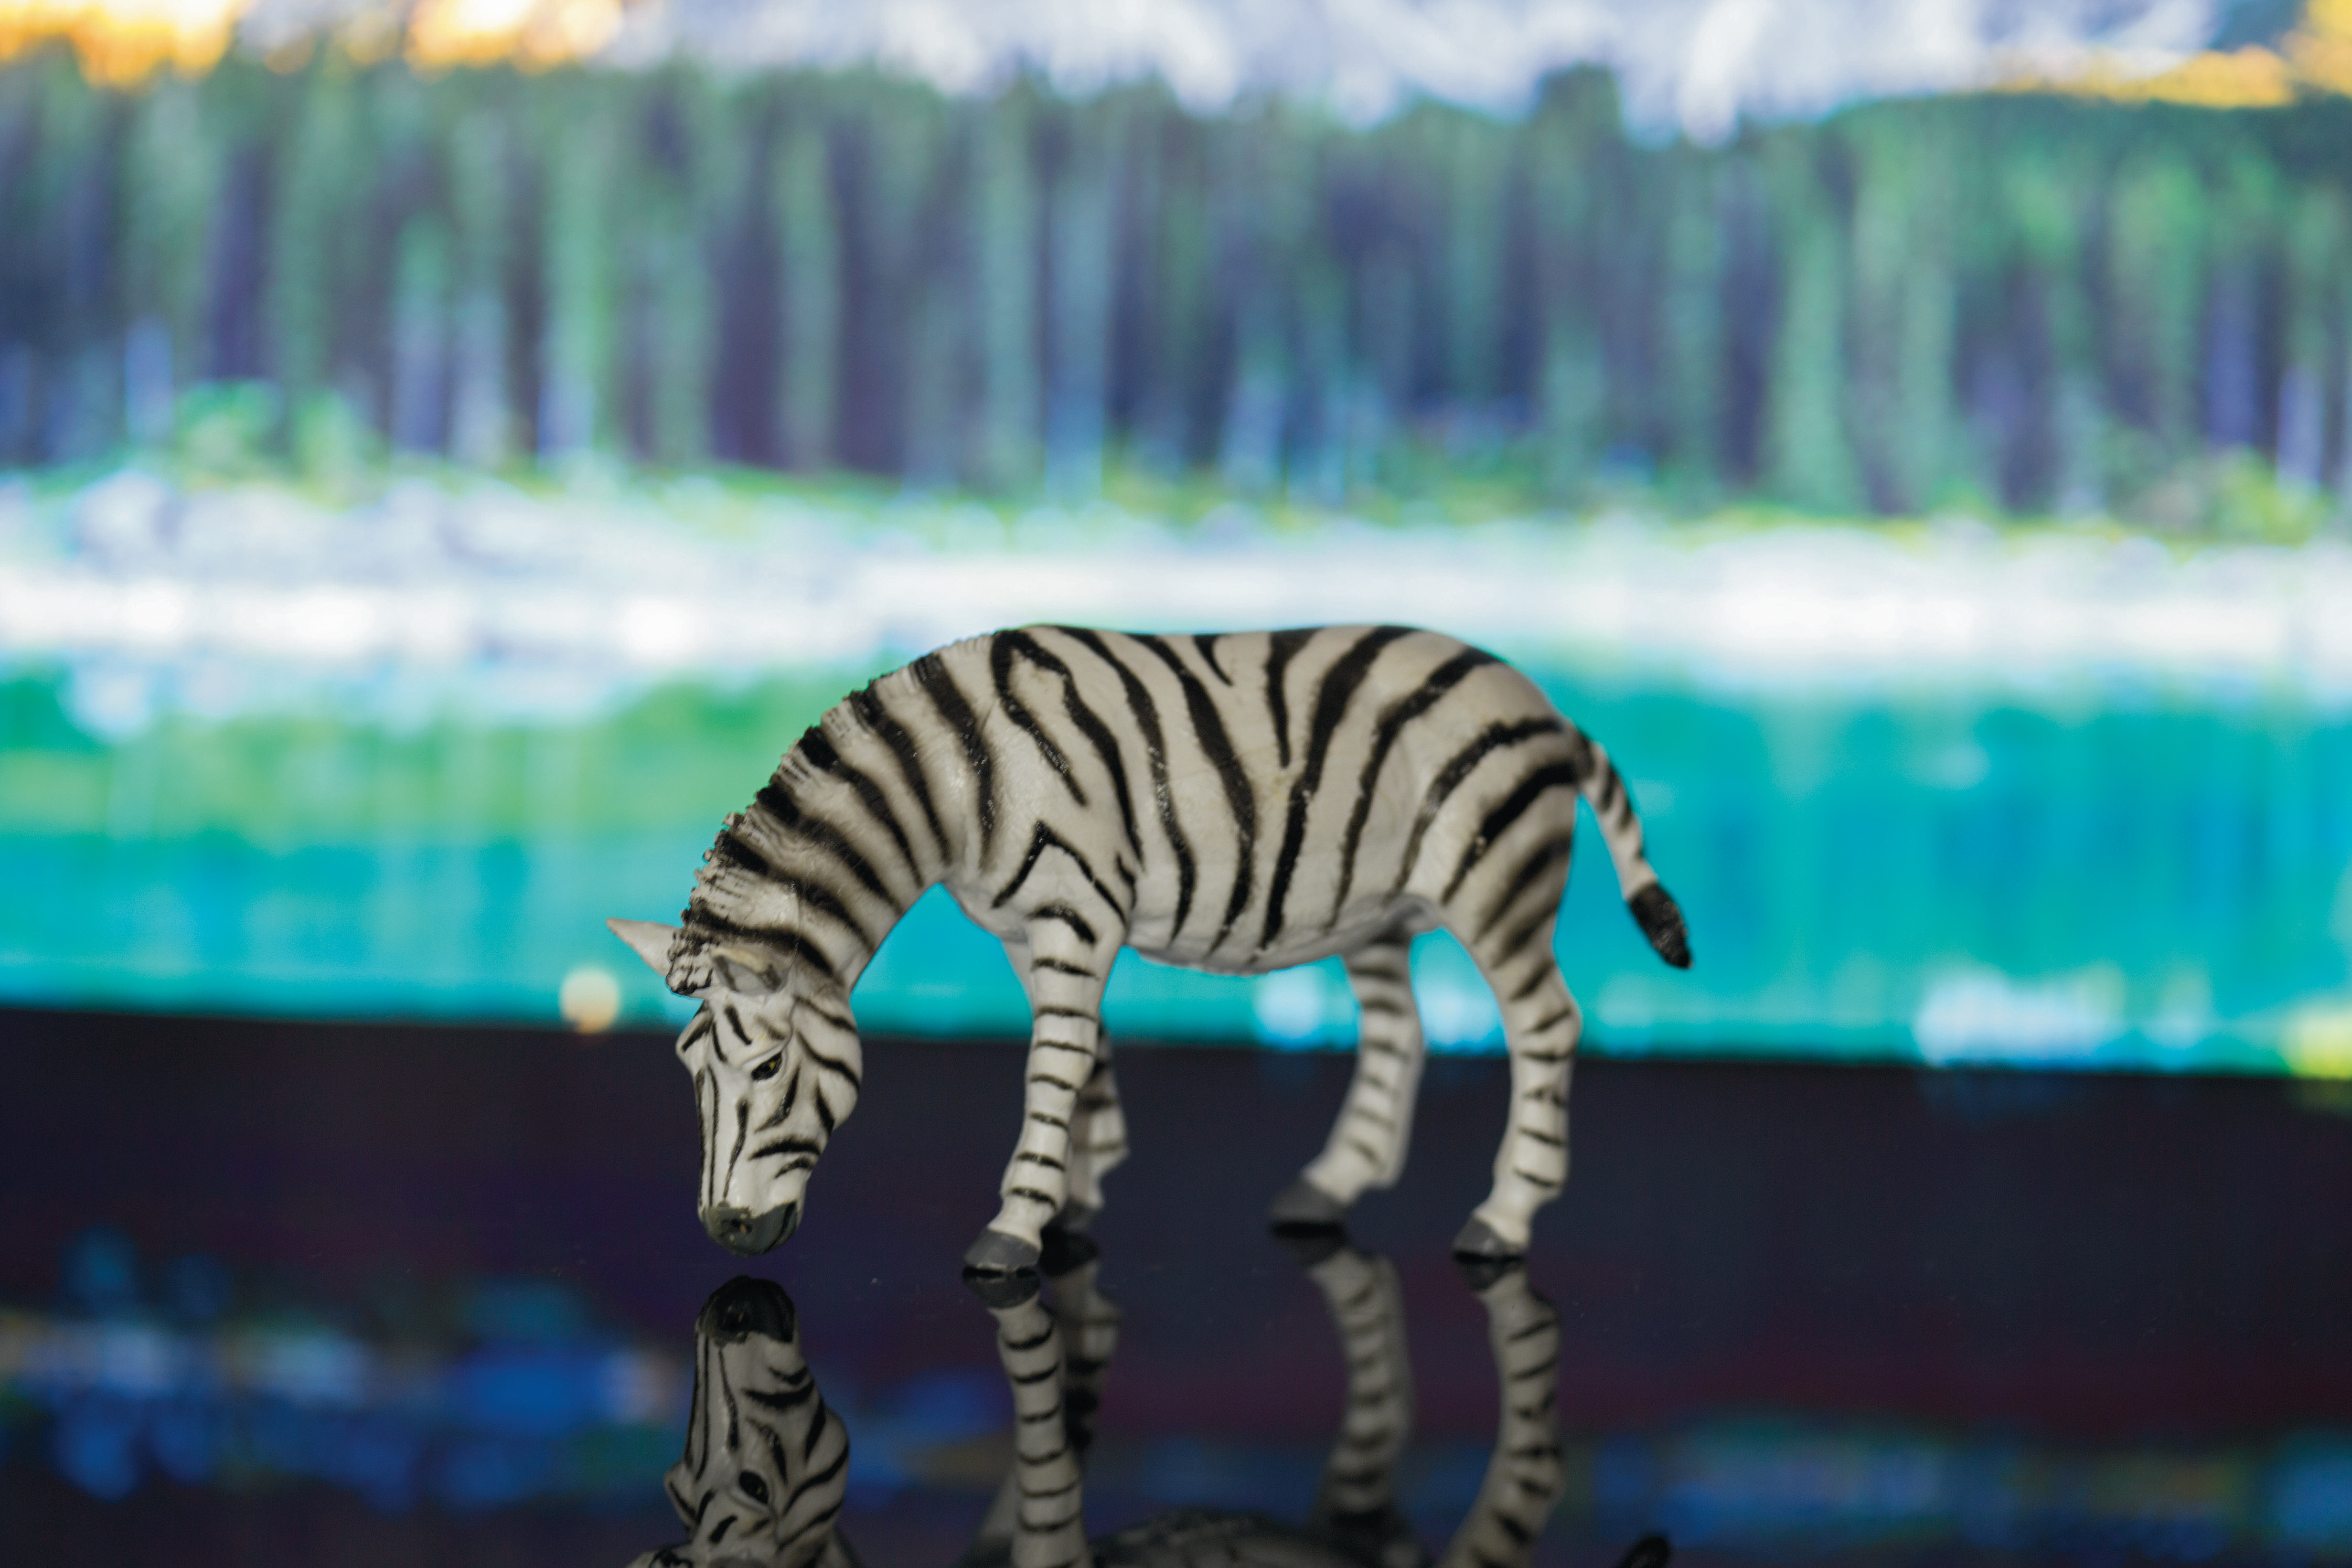
Once you have your scene set up and settings dialled in, try taking a few shots, adjusting the positioning of your subject. Now you can start getting adventurous, and try using bolder and more creative scenes!
N-Photo: The Nikon Magazine is a monthly publication that's entirely dedicated to Nikon users. For the best news, reviews, projects and more, subscribe to N-Photo today!
Read more:
The best 70-200mm lenses: top constant-aperture zooms
10 best online photography courses – from beginner guides to masterclasses
215 photography tips, video tutorials and techniques to take photos of anything
Get the Digital Camera World Newsletter
The best camera deals, reviews, product advice, and unmissable photography news, direct to your inbox!
N-Photo: The Nikon Magazine is a monthly publication that's entirely dedicated to Nikon users. As a 100% independent magazine, you can be assured of unbiased opinion from a trustworthy team of devoted photography experts including editor Adam Waring and Deputy Editor Mike Harris.
Aimed at all users, from camera newcomers to working pros, every issue is packed with practical, Nikon-specific advice for taking better photos, in-depth reviews of Nikon-compatible gear, and inspiring projects and exciting video lessons for mastering camera, lens and Photoshop techniques.
Written by Nikon users for Nikon users, N-Photo is your one-stop shop for everything to do with cameras, lenses, tripods, bags, tips, tricks and techniques to get the most out of your photography.

