Home photography ideas: Capture flower photos outside with a DIY studio
Make your own DIY studio to help diffuse light and create beautiful flower photography in your garden
Watch the video: Home photography ideas – shoot flower photography outside
Being confined to our homes and back yards can make it tricky to indulge our camera creativity. However, there is a veritable shooting gallery to be found in many gardens – and with the pleasant weather that lots of us are currently enjoying, it's a great opportunity to explore floral photography at home.
However, while fair weather makes for a pleasant afternoon in the garden, it can also mean harsh shadows and blown out highlights in your photo. Luckily, we've got a great DIY studio technique to help diffuse light for a beautiful floral still life.
• Get more Home photography ideas
• 10 best online photography courses
Our solution is to take control of the lighting by using a light tent. This acts as a large diffuser, which you can place over the flower you’re shooting to produce softer, lower-contrast lighting. You can either buy a light tent or make your own out of translucent white plastic.
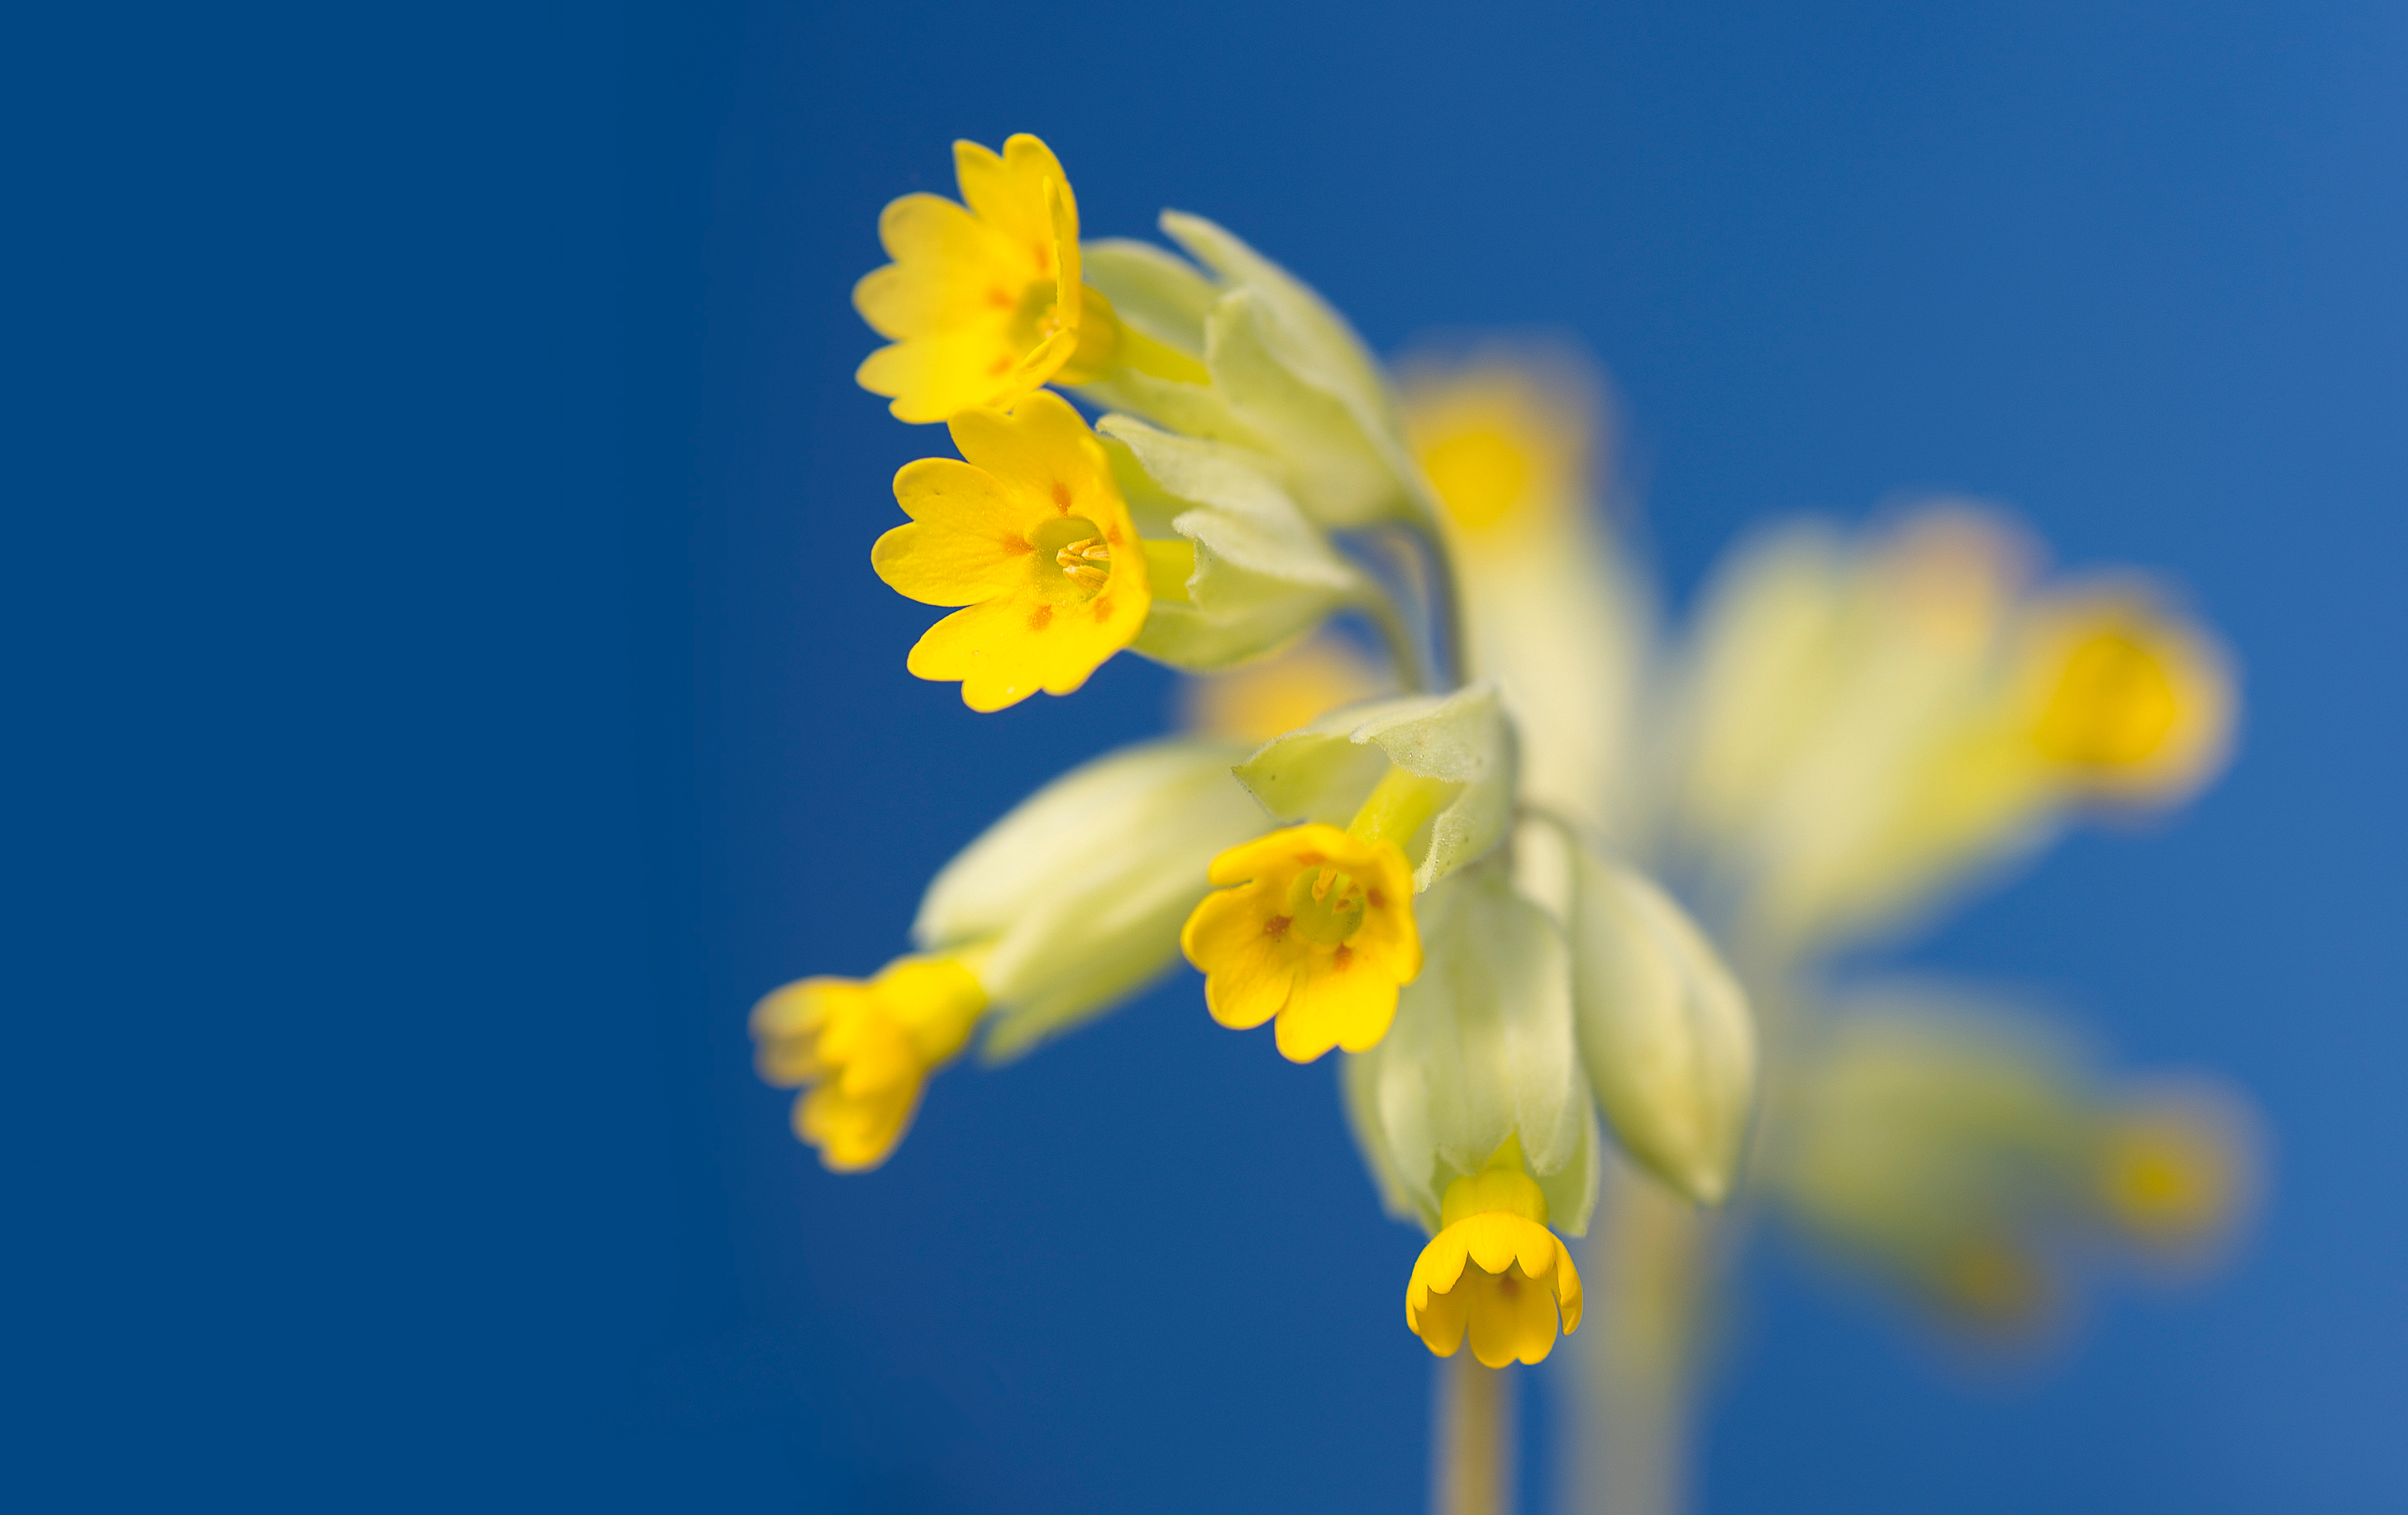
As well as diffusing direct sunlight, light tents are ideal for adding more controlled light on dull, overcast days, when the whole scene can otherwise look too flat. To do this you need to put the tent over your chosen flower, as before, but use an off-camera flash positioned outside the tent to simulate sunlight. Instead of the harsh, high contrast light you’d normally get from using flash, the translucent walls of the light tent diffuse it to produce a even, soft light on the flower.
Using a light tent also enables you to control the background. You can use the white material of the tent as a backdrop or place a piece of colored card behind the object you’re shooting for a more colorful image. Because the subject is enclosed, using a light tent can even reduce the possibility of subject movement on windy days.
The best camera deals, reviews, product advice, and unmissable photography news, direct to your inbox!
Commercially produced light tents are available, and these start at very reasonable prices. However, you can also make your own out of any solid, translucent white plastic. We made a DIY version out of three semi-opaque white A4-sized ring binders, and used duct tape to join them together to form a foldable enclosure…
01 Get your light tent
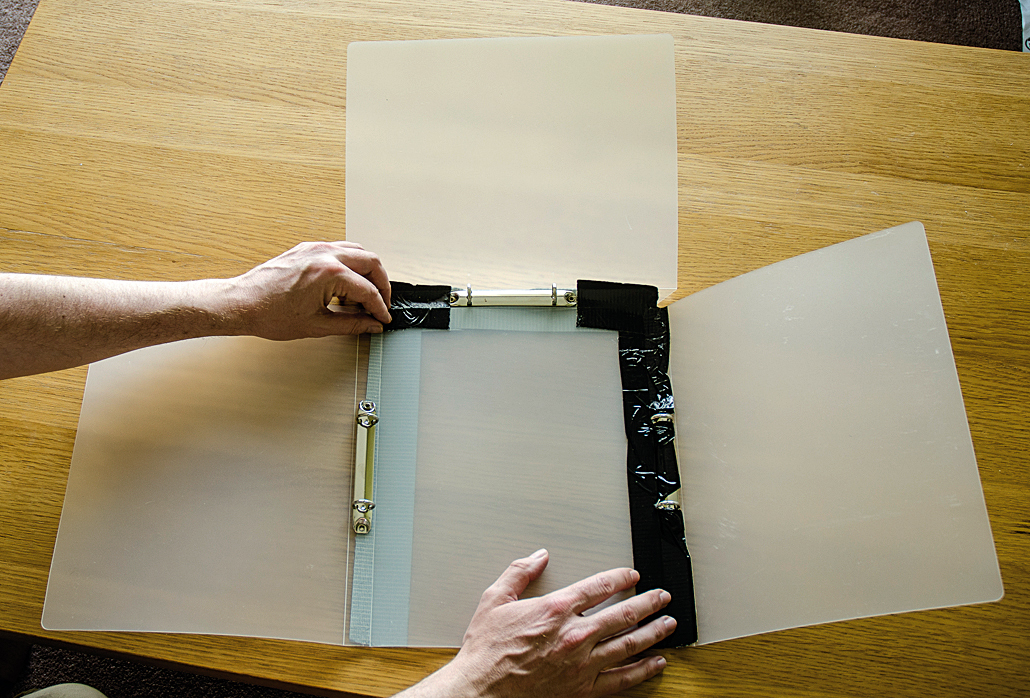
To build a light tent like this you’ll need three ring binders. Join two together with duct tape to produce the main three sides. Cut one of the flaps off the third file, and then attach it to the middle of the three existing sides to form a ‘roof’. Alternatively, the best light tents start at reasonable prices.
02 Position your subject
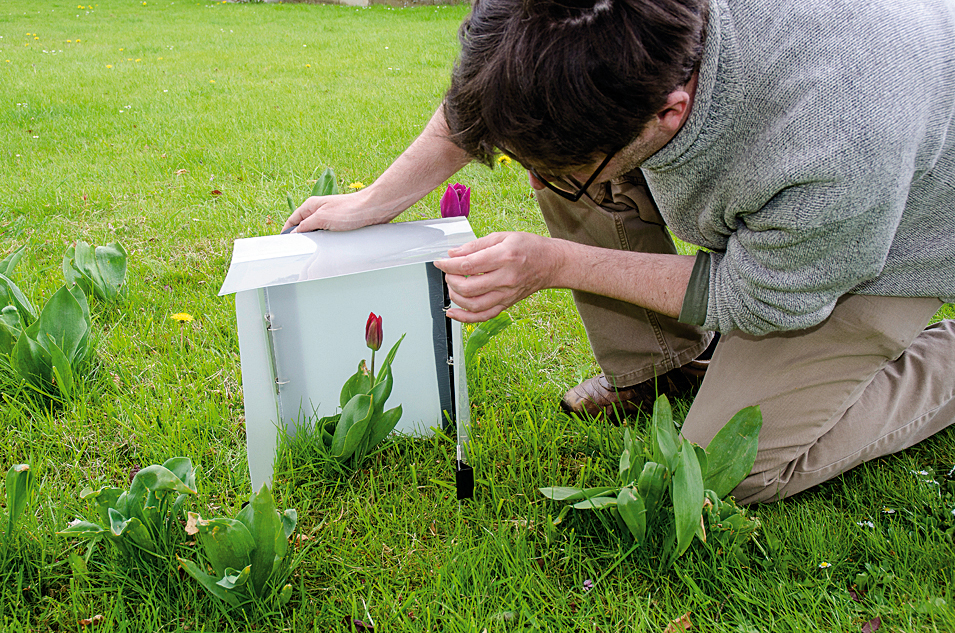
Position the light tent over the subject, ensuring that the light falling on the flower is diffused over the area that you want to shoot, and the opening that you will use to shoot through is positioned so that you can create a good composition of the flower.
03 Set up your camera
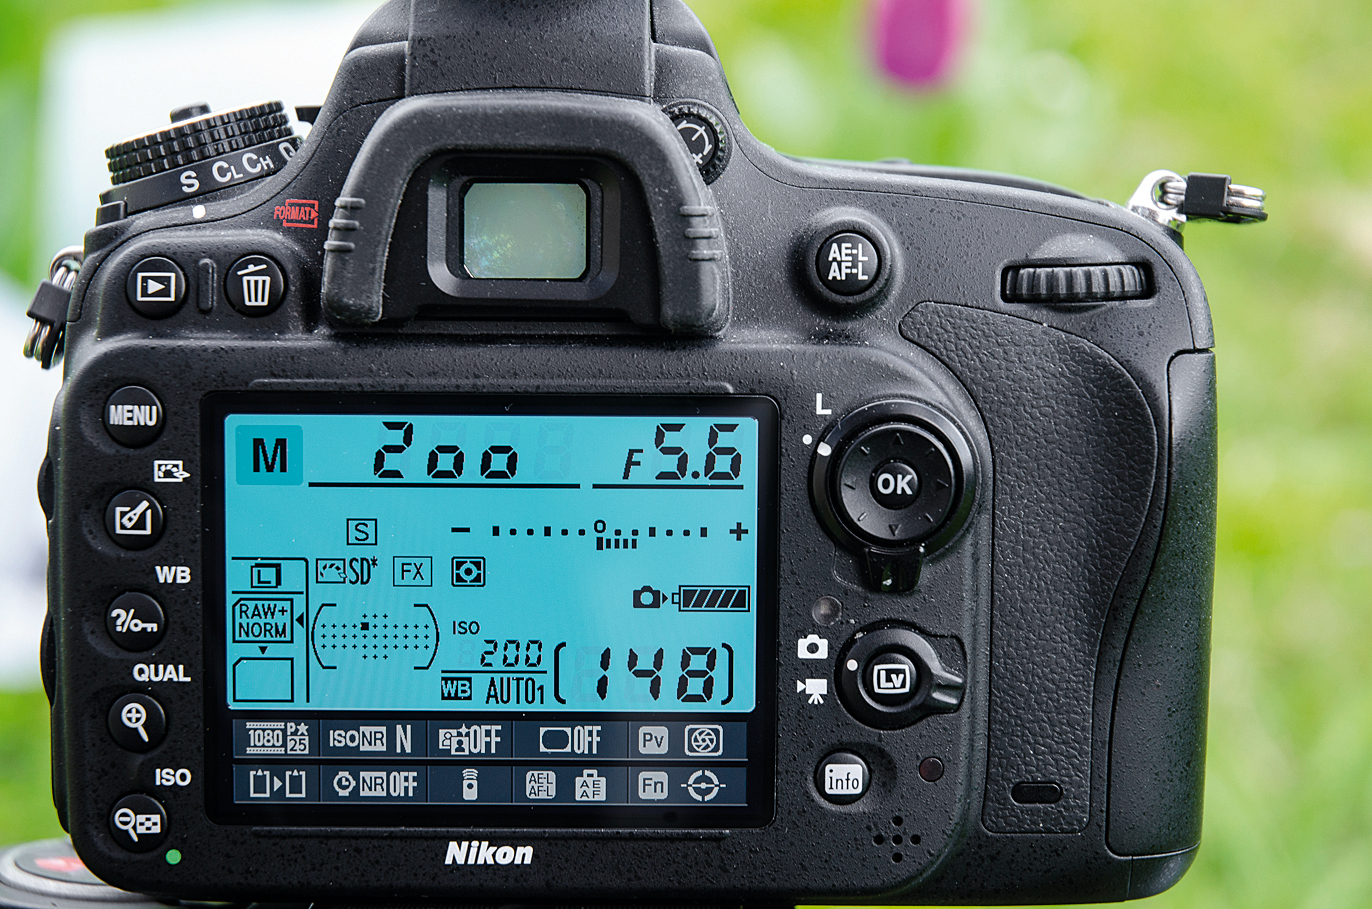
Once the light tent is in position, set your camera to manual exposure mode and select an aperture of f/5.6, then set the shutter speed to 1/200 sec so you’ll be able to use the camera handheld, and set the ISO to 200. Take a test shot to check the exposure, and if it’s too light reduce the ISO.
04 Choose a background
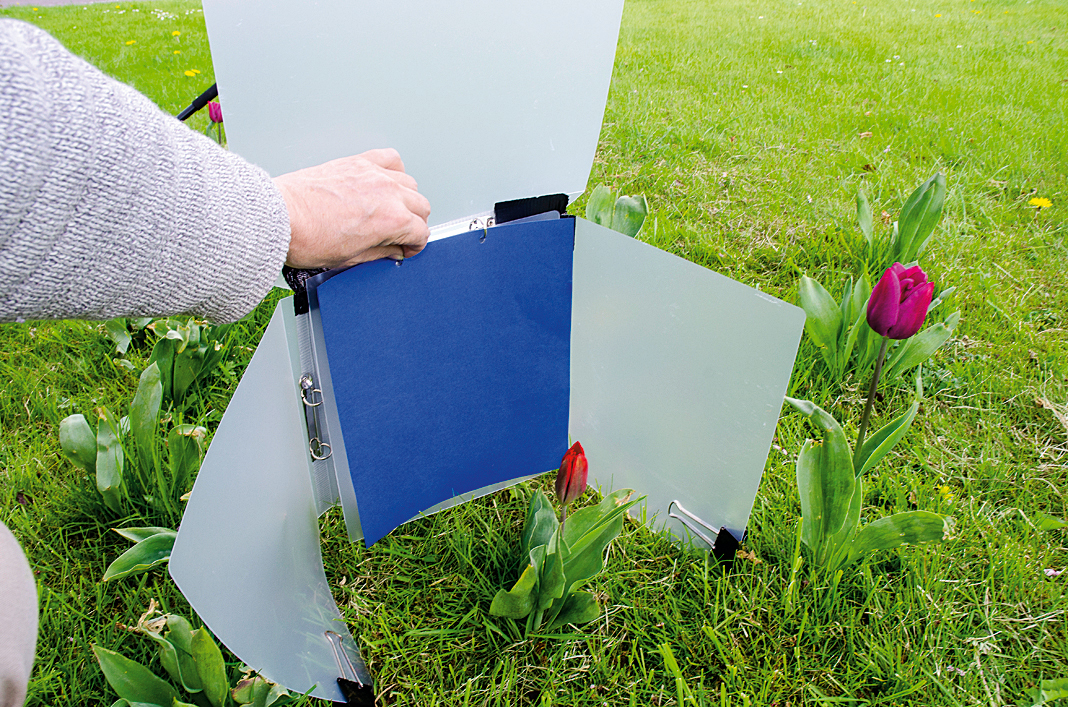
You can shoot simple, effective images using the white material of the light tent as a background, or for more color you can use a piece of A4 card or stiff paper in a color that suits your subject. Try using blue or green for the most natural-looking results.

Top tips: Useful accessories
Eager to try this floral still life technique? Take a gander through our list of useful accessories to elevate your DIY studio photos to the next level.
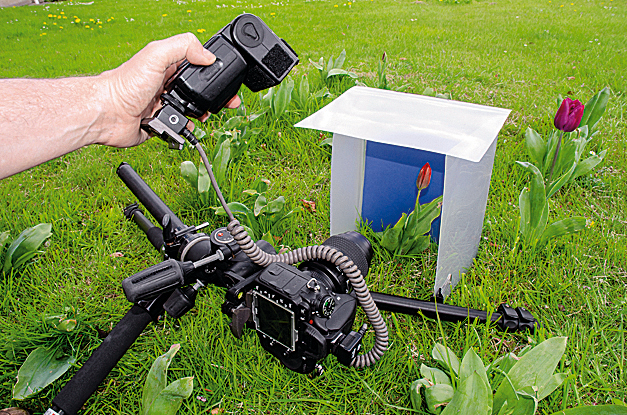
01 Off-camera flash cord
The cheapest and easiest way to use TTL flash off-camera is to use a cord such as the Nikon SC-28 that we're using here.
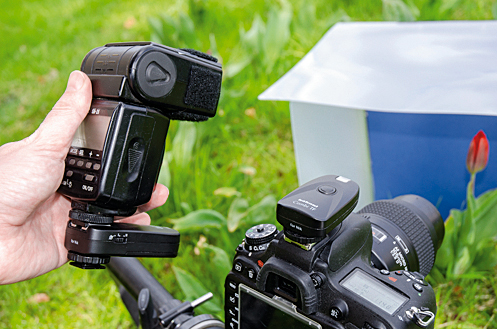
02 Off-camera triggers
Alternatively, radio triggers are a great way to take your flash off-camera without having to worry about leads getting tangled up.
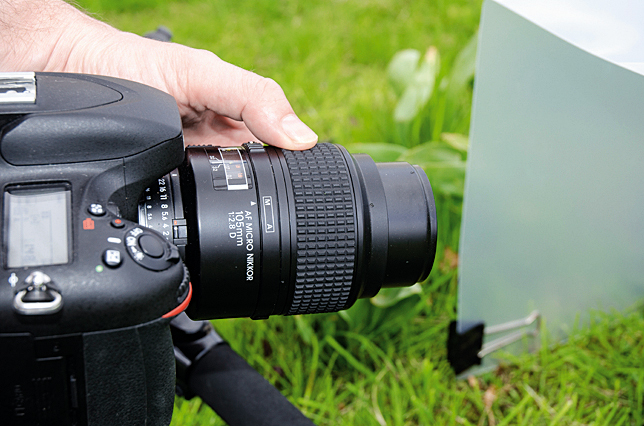
03 Macro lens
Getting close enough to shoot flowers can be tricky with a normal lens, so use a macro lens – we're using the Nikon 105mm f/2.8 Macro.
• Read more: Best macro lenses
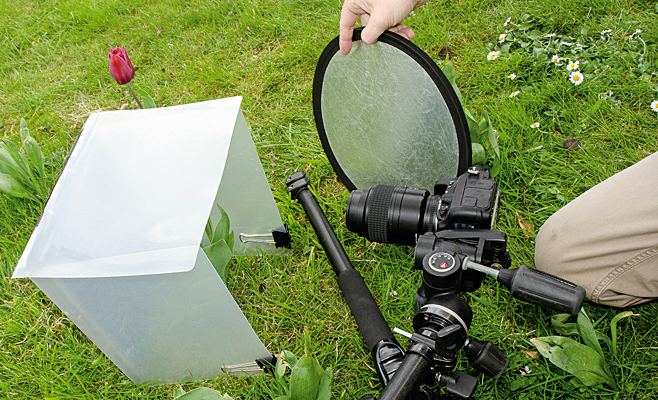
04 Reflector
Even when you are using a light tent, a reflector can be handy for bouncing light back towards the flower to bring out even more detail.
• Read more: Best reflectors
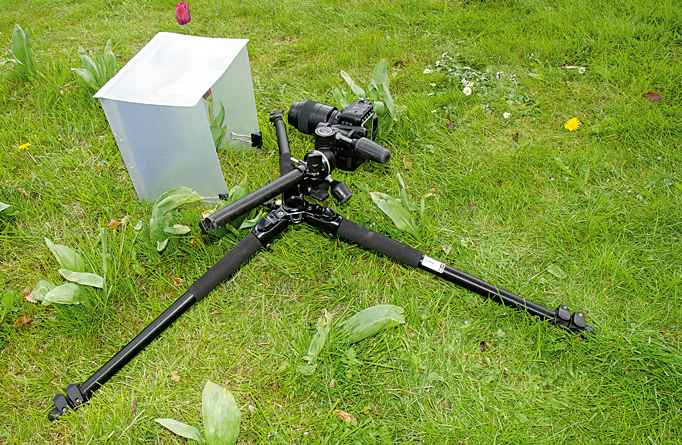
05 Tripod
If you find it difficult to get sharp results handheld, use a tripod. Make sure that it will allow you to place the camera as low as possible.
• Read more: Best tripods

Read more:
The best macro lenses in 2020: get closer to your subjects than ever before!
Photography tips and techniques videos
The best lighting kits for home studio or location photography
I’ve been interested in the art and craft of photography since I pestered my parents to buy me a ‘proper’ camera aged about 10. Armed with my new Zorki 4k camera, I set out on a photographic journey that continues to this day.
I learned the ‘nuts and bolts’ of the craft by doing a photographic degree at the University of Westminster, and have been involved in the photographic industry since then. For the last 12 years I have combined taking photos with writing articles and features for some of the UKs best-selling photographic magazines, including Practical Photography, Digital Camera and N-Photo. During this time I have also had two photography books published by Rotovision, on color and composition, and spent three years as a professional car photographer, working for evo magazine.
All of this means that I have experience of shooting almost every type of subject, but I always come back to my first love – landscapes (and particularly the British landscape. I know live in on the Isle of Skye in Scotland.
