Home photography ideas: Creative nude lighting with a projector
Get creative with your nude shots and light subjects with colors and patterns from a projector
Watch video: Home photography ideas – Bubbly bokeh shots
Photography projects at home
• Home photography ideas
Useful home photography kit
• Best tripods
• Best lighting kits
• Best reflectors
• Best macro lenses
Nudes are among the most challenging of photographic subjects. It’s not just that they can take you out of your comfort zone. There’s also the challenge of finding an unusual concept; a strong concept can elevate the nude into the category of fine art, and prevent it from being just another photo of a naked person.
One way to achieve this is with lighting. We’re using a projector – a novel, versatile light source. When patterns are displayed across a body, we can make vibrant, extraordinary nude photos.
• 10 best online photography courses
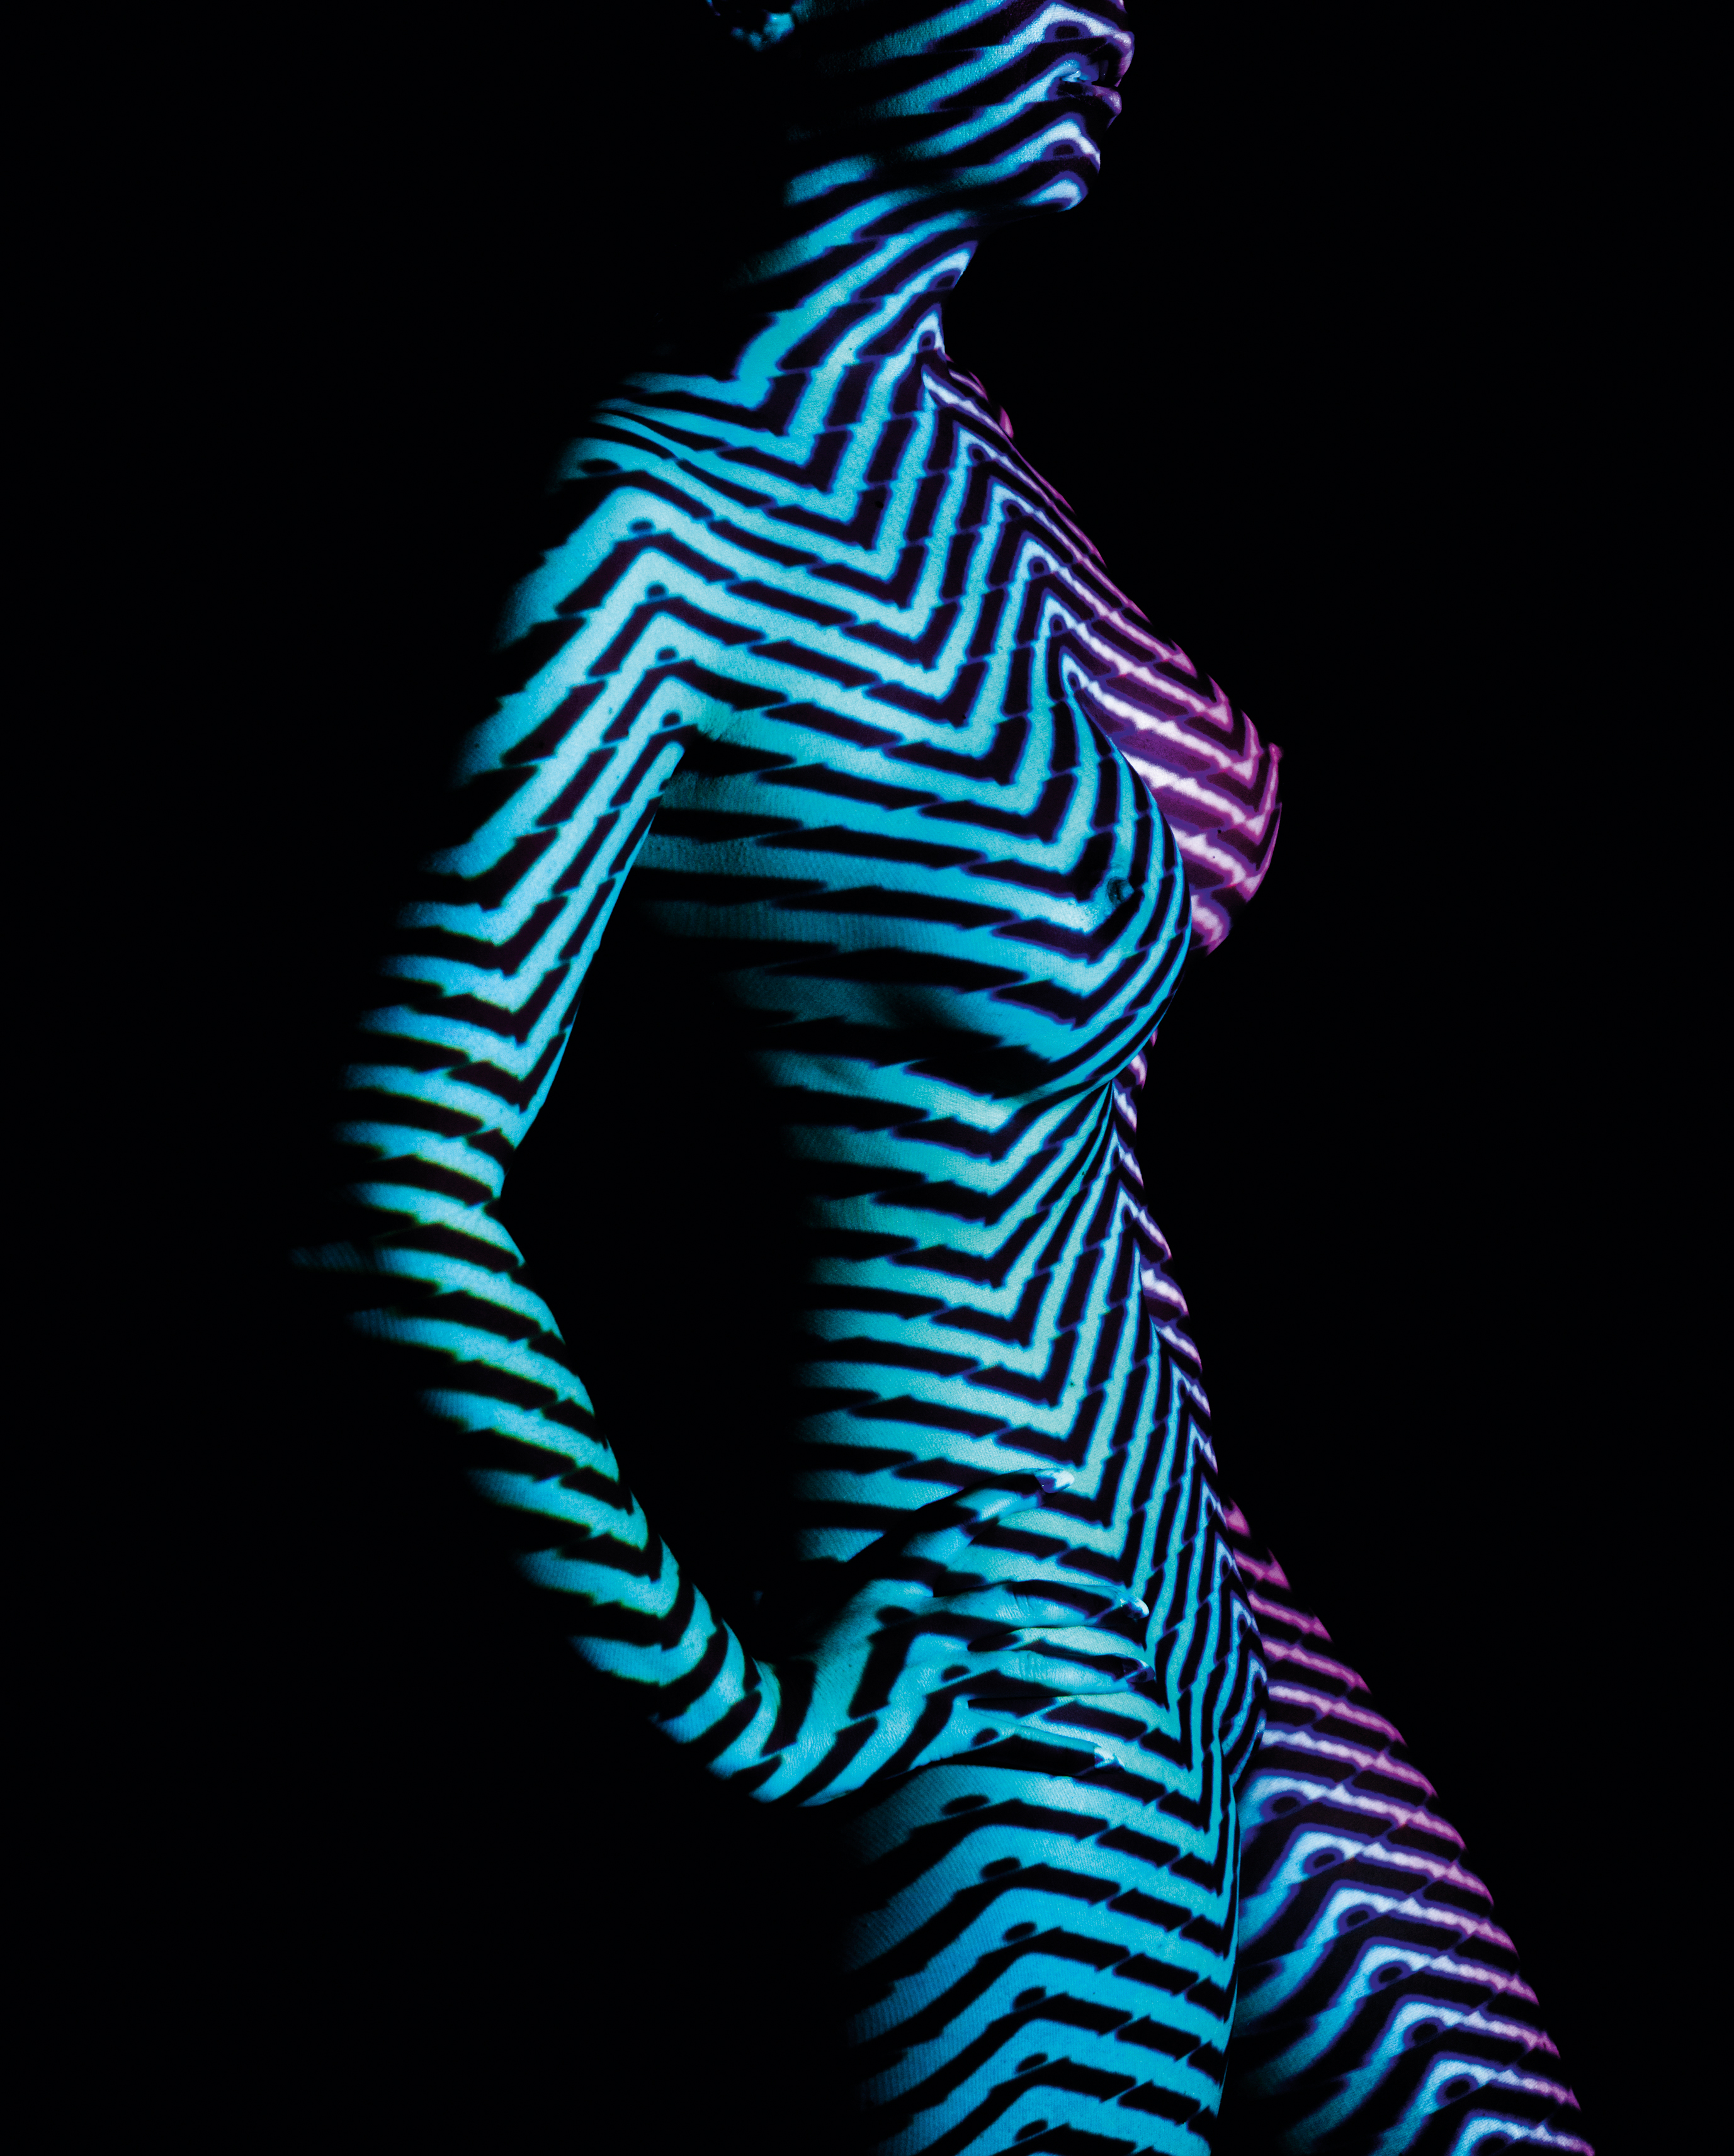
Lighting is crucial in nude photography as it emphasizes the shape of the body. Our projector gives another dimension to the lighting by enabling us to shine colors and patterns across the figure.
Of course, projectors are not designed to be a light source, so we need to adapt our camera. We’ll explain how, along with a few tips and tricks to help you with this unusual technique that’s full of creative potential.
If you don't already own one, check out our guide to the best projectors for photography and video – they're fantastic way to share your images massive and en masse. And of course, they're great for creative projects like this!
Get your gear set up
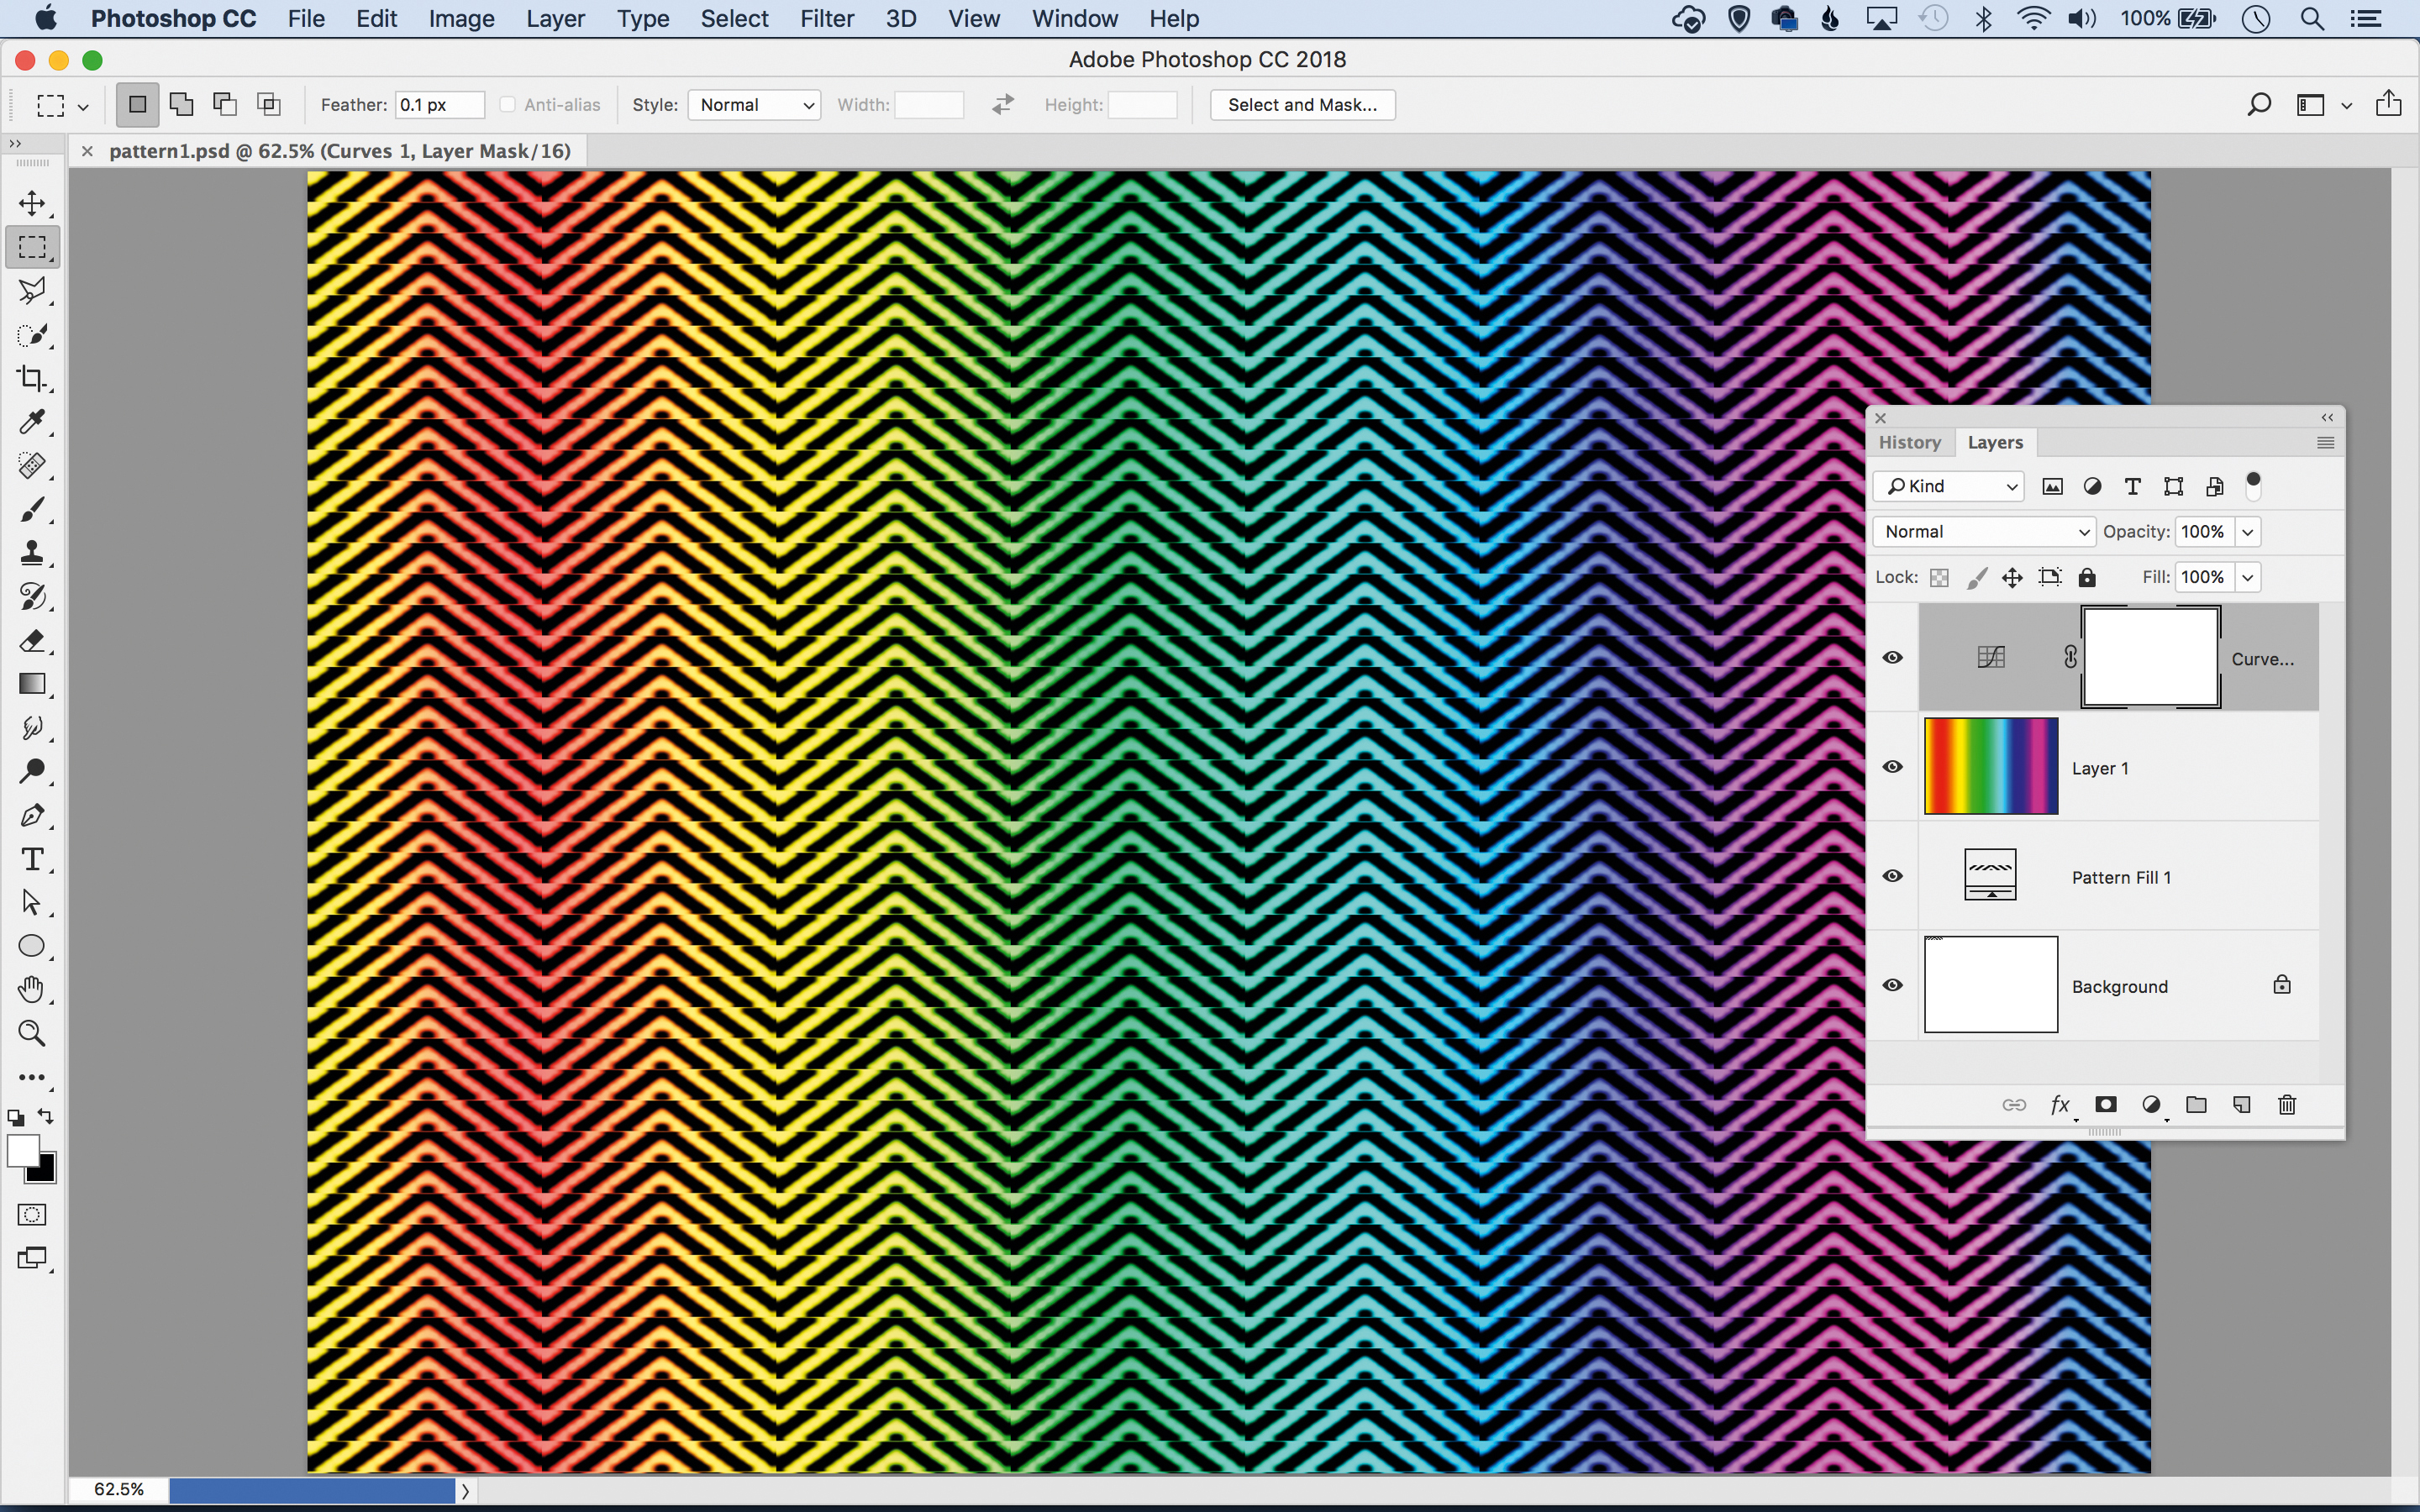
01 Make a pattern
You need an array of patterns to shine on your subject, and we used Adobe Creative Cloud to download free ones. Use patterns with black areas, as this results in empty black space between the colors that fall across the body, giving an abstract effect.
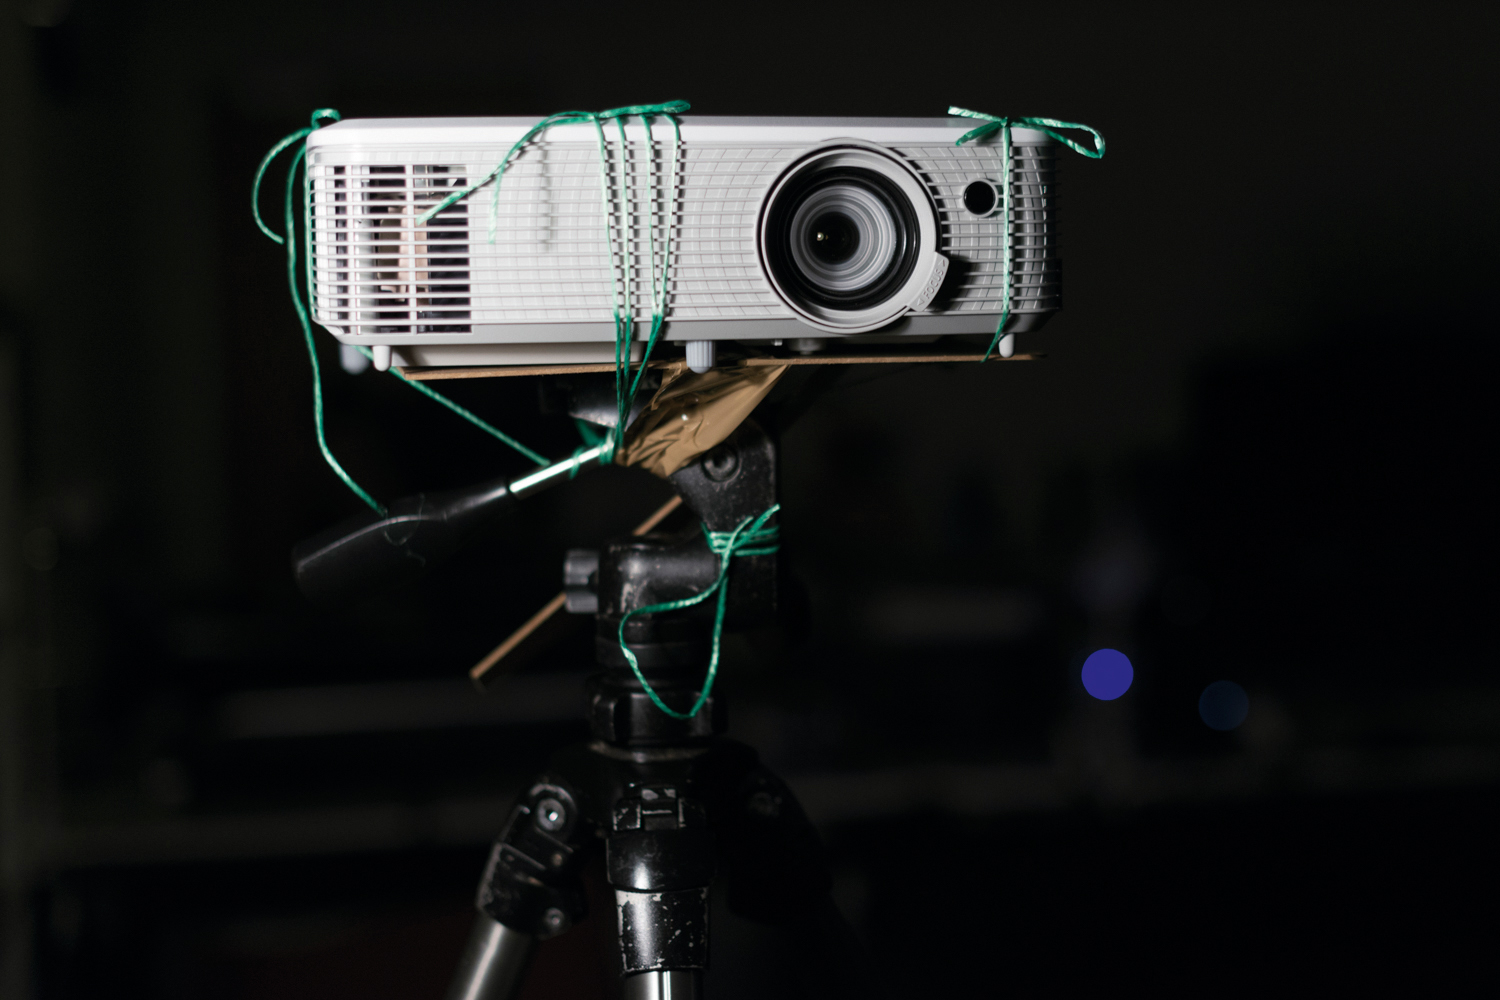
02 Set up the light
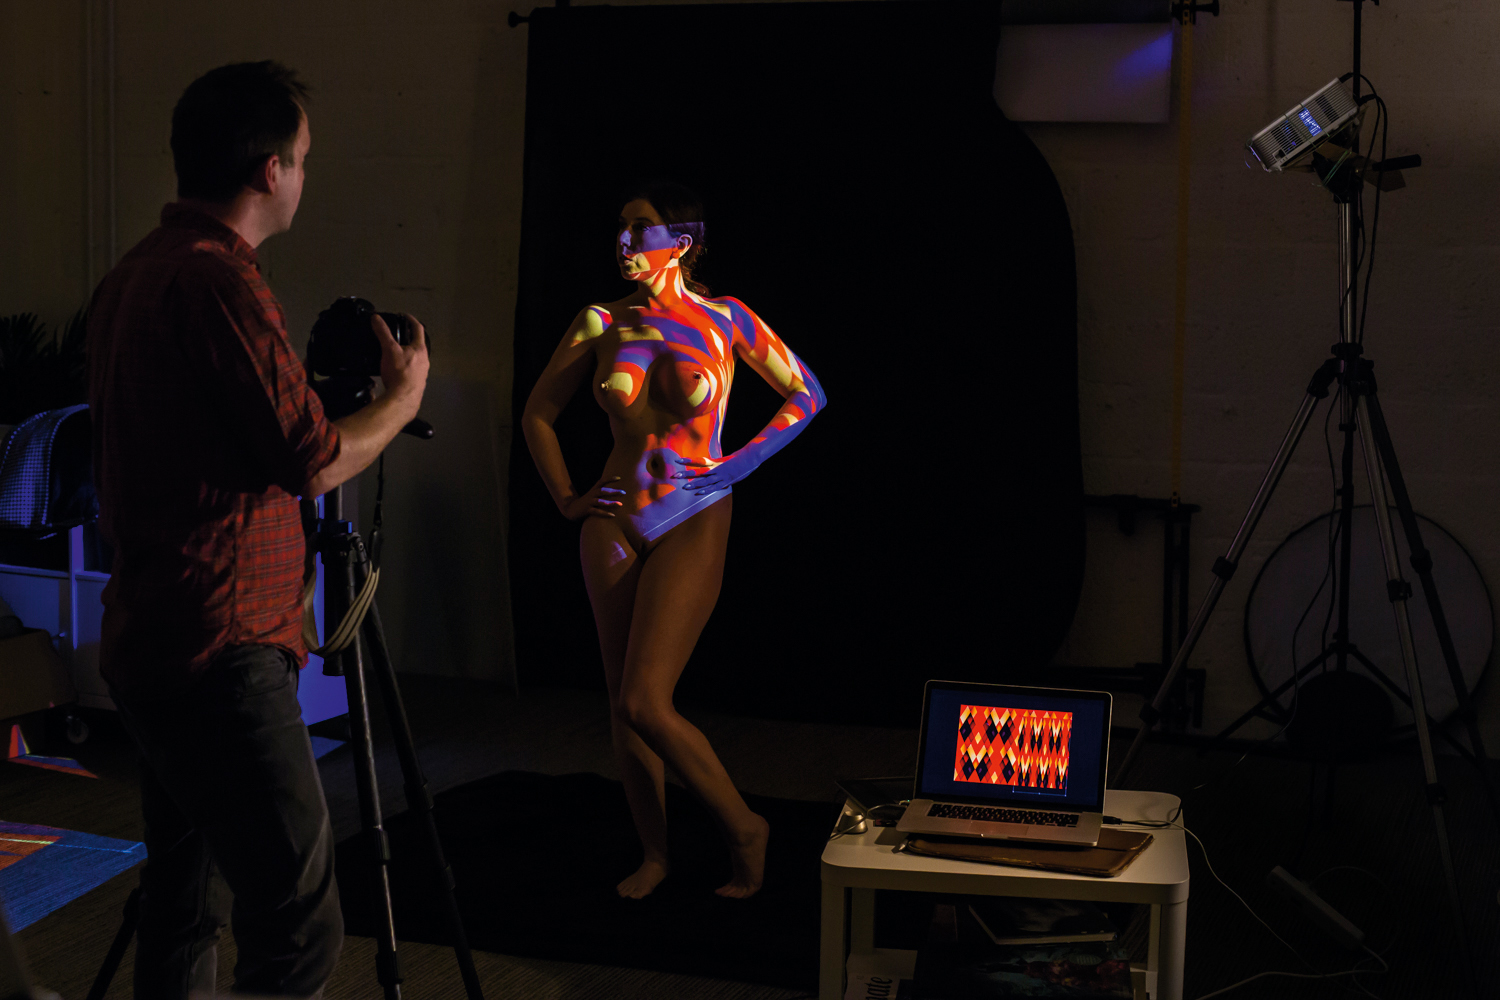
Attach your projector to a tripod or stand. Connect it to a laptop or transfer patterns via a USB stick. Turn the projector to its brightest setting, and experiment with contrast or viewing modes. We set ours to Gaming mode for greater contrast.
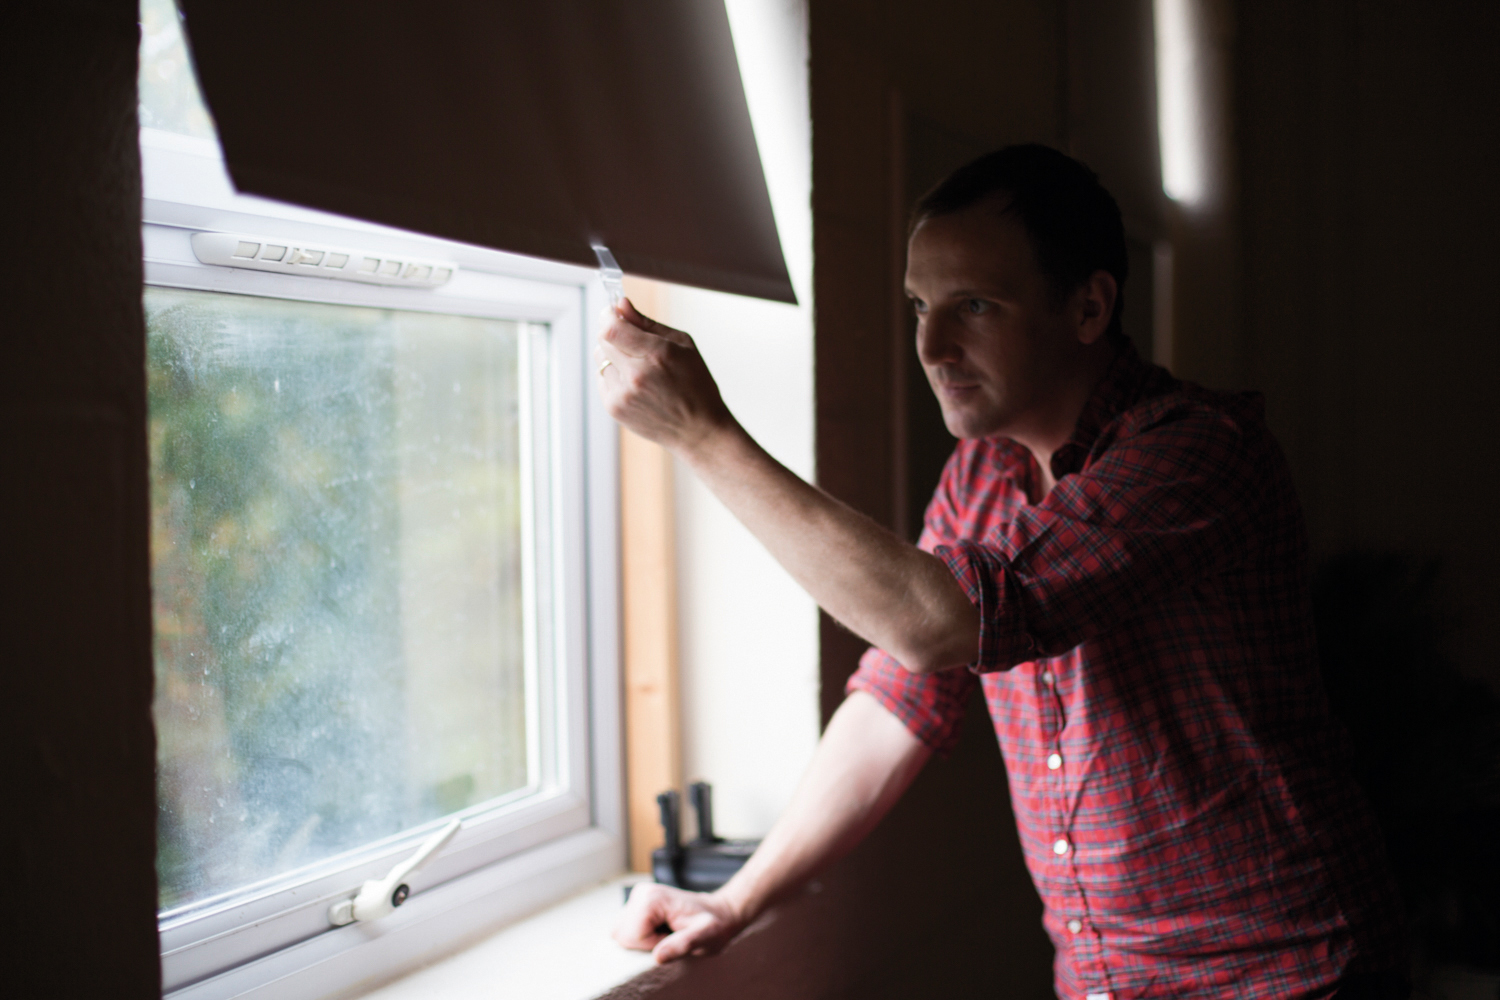
03 Darken the room
To get the brightest, most contrasty image from the projector, make the room as dark as possible and use a dark backdrop. This makes projected patterns stand out. The further away from the subject it is, the easier it is to keep the background dark.
04 Set to manual
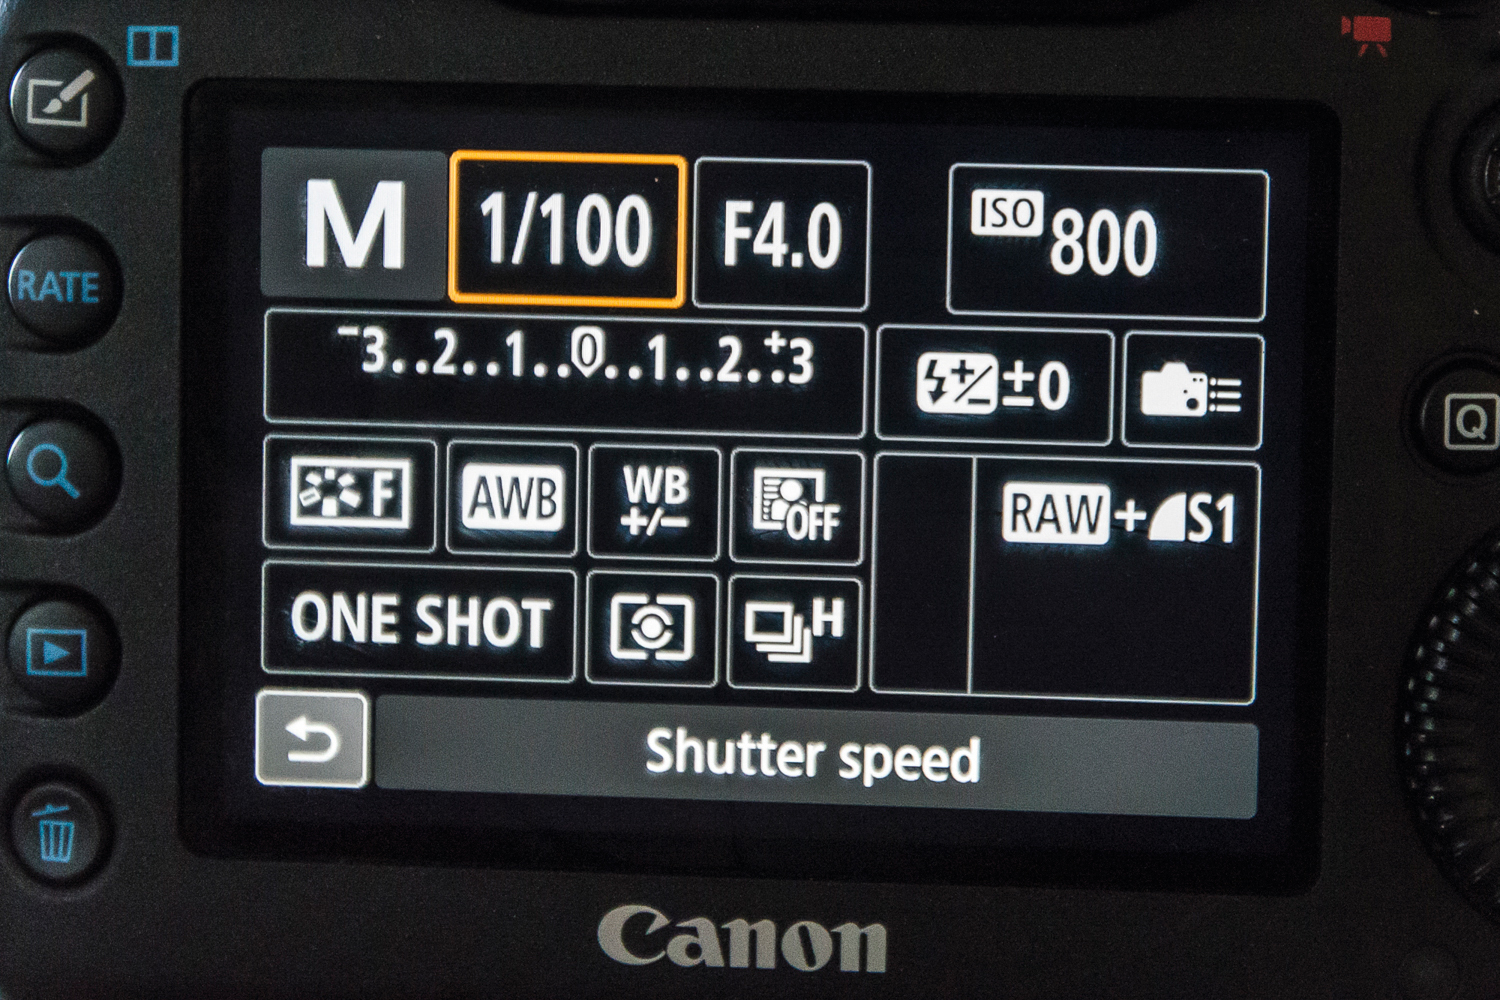
Don’t rely on your camera’s metering – set it to manual mode and take test shots to work out your exposure. Begin with an ISO of about 800 and a wide aperture like f/4 (a lens with wide maximum aperture is useful). Take some shots to work out the appropriate shutter speed.
05 Adjust the shutter speed
DLP projectors use a color wheel that spins, resulting in a range of colors, but photos of projections can result in ugly lines. Adjust your shutter speed to match the projector’s frequency, or multiples of it; try 1/50, 1/100 or 1/200 sec and adapt ISO.
06 Start shooting
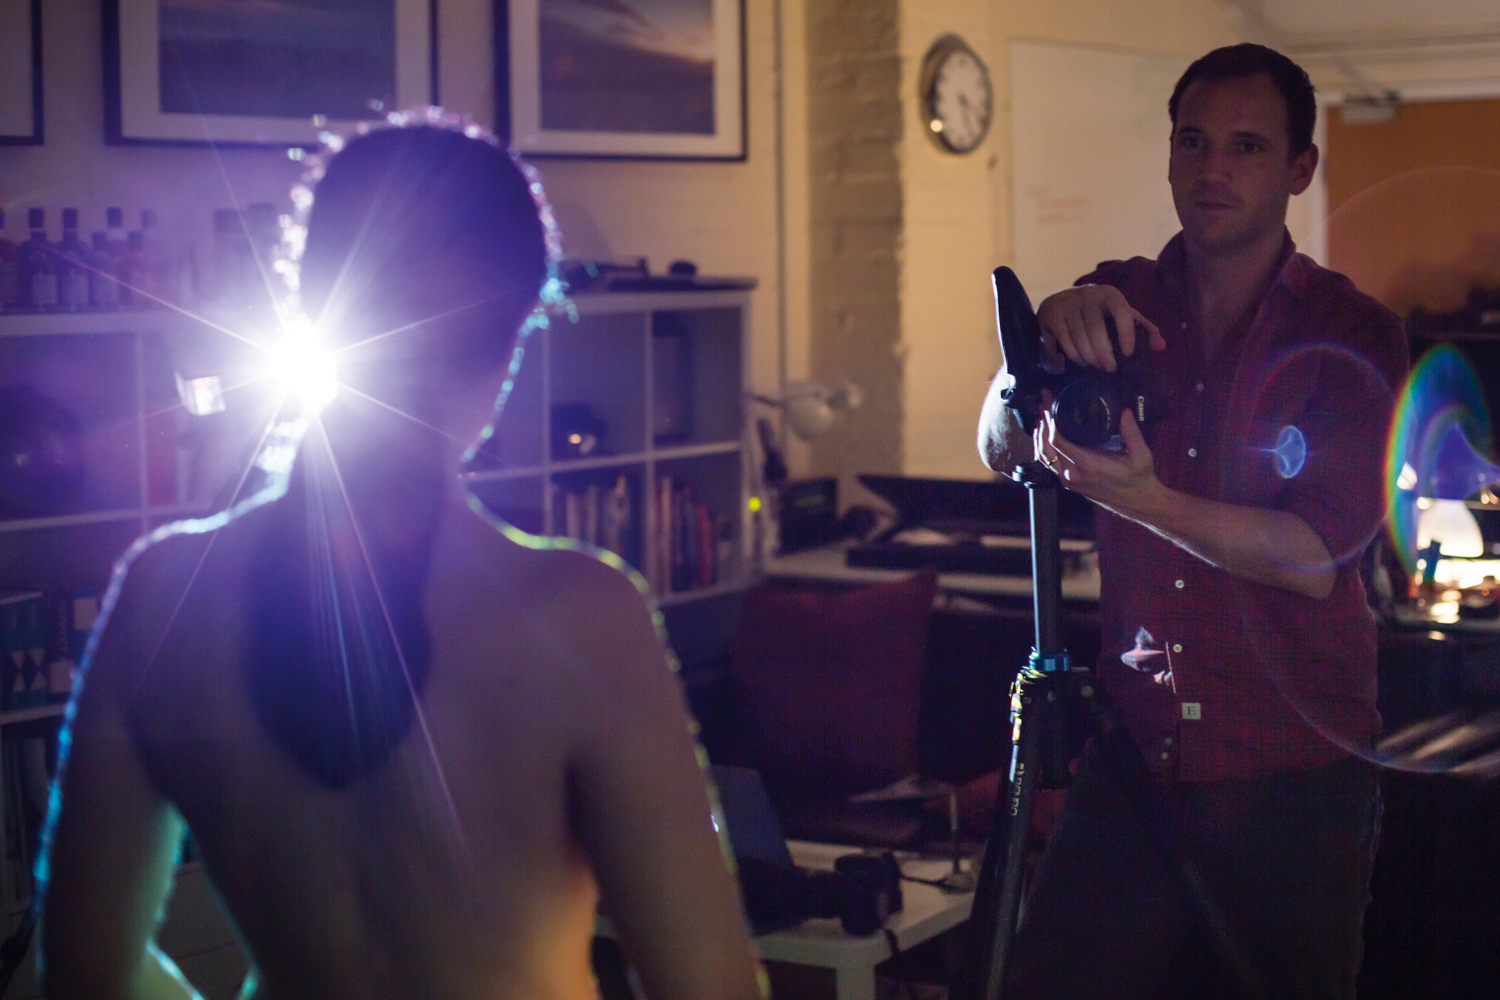
Adjust the position or angle of the projector as you shoot to match the pose, focusing the light properly after altering the position. Experiment with different patterns and poses, and also try zooming in or out of the patterns.
Project management
01 Projector choices
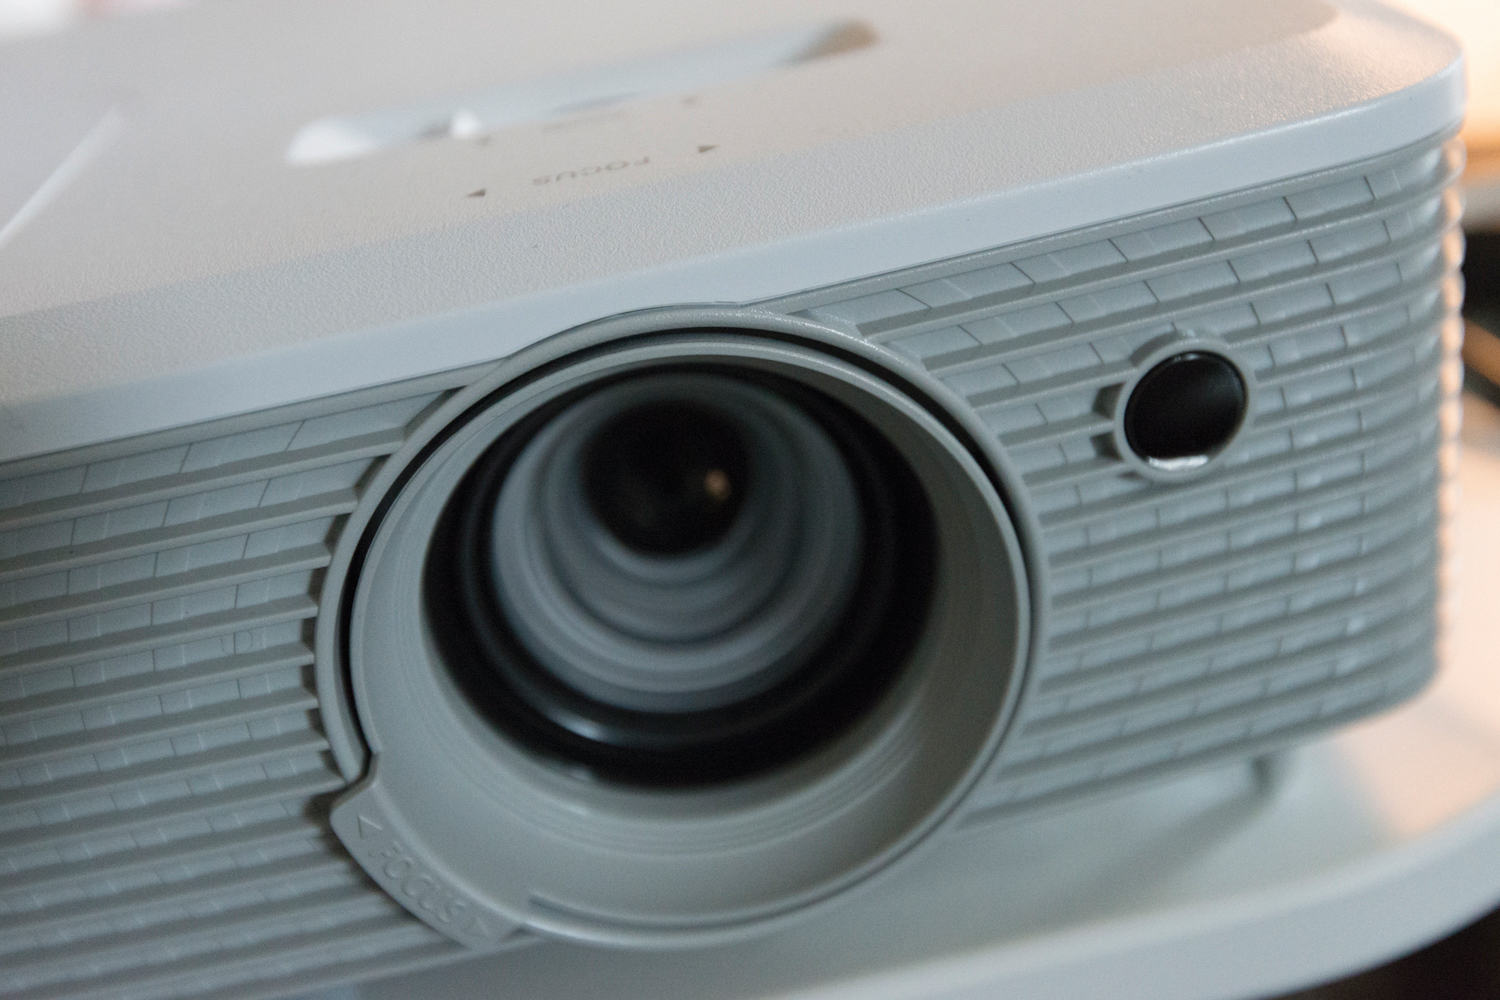
The most readily available projectors are digital light processing (DLP) models, used for watching films, games or for PowerPoint presentations. Our Optima projector is very bright, at 4000 lumens, and its 22,000:1 contrast ratio delivers bright highlights and deep shadows. The HD resolution means we can get a detailed projection.
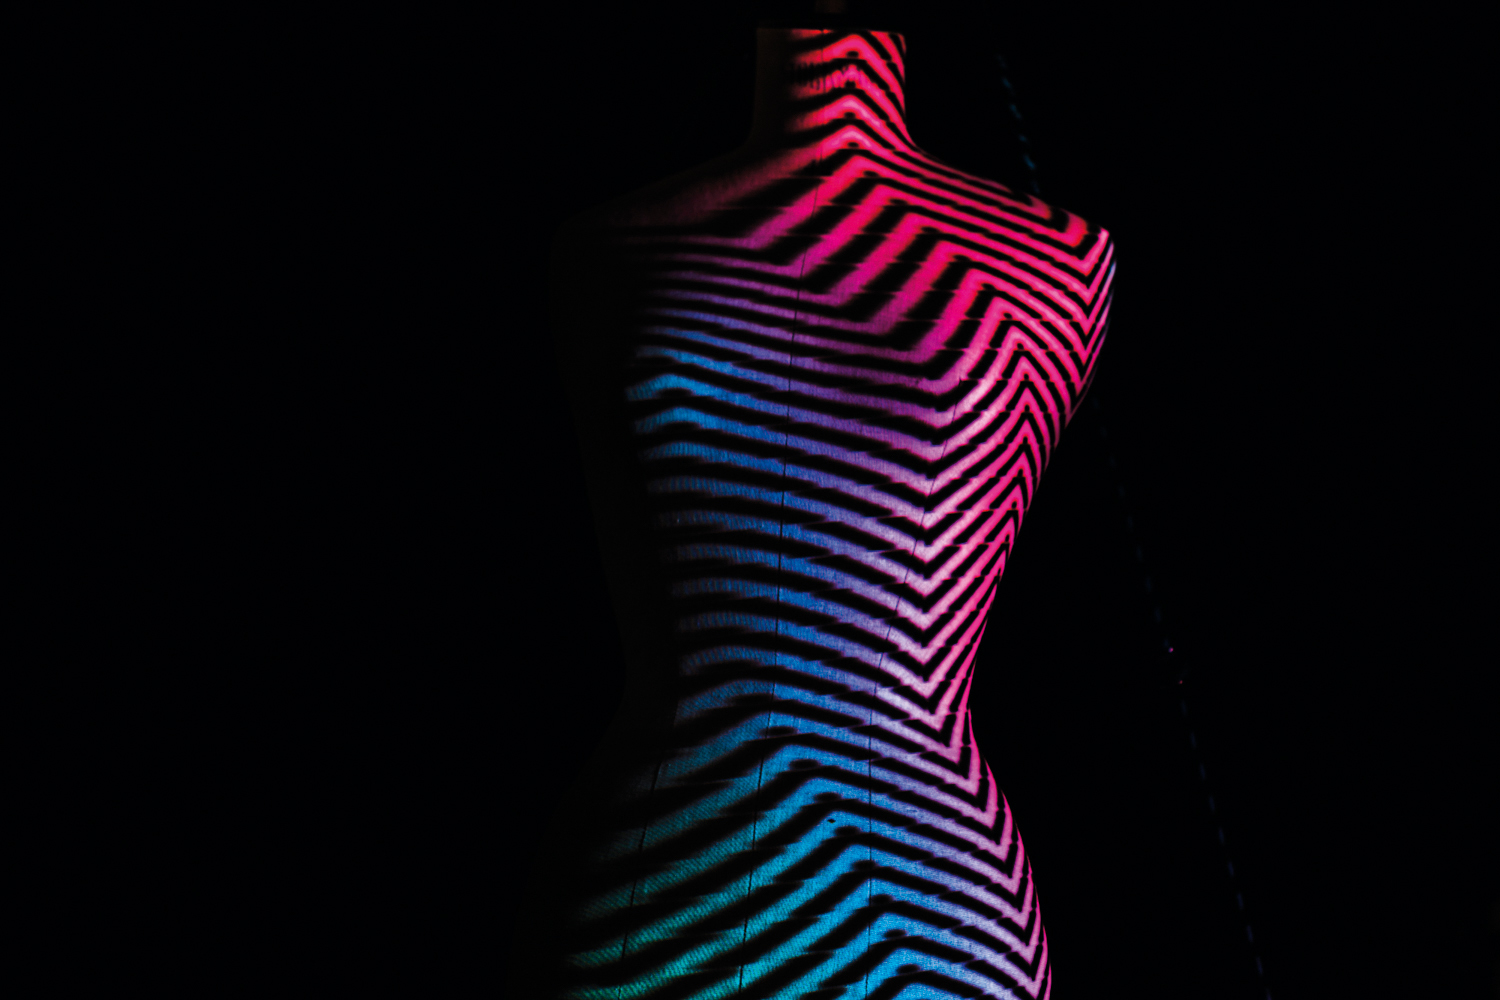
02 Practice on a dummy
It can be helpful to do a test shoot using a dummy. This enables you to work out the best projector settings, figure out the best way to transfer your projected patterns, and settle upon a correct exposure, without keeping your subject waiting.
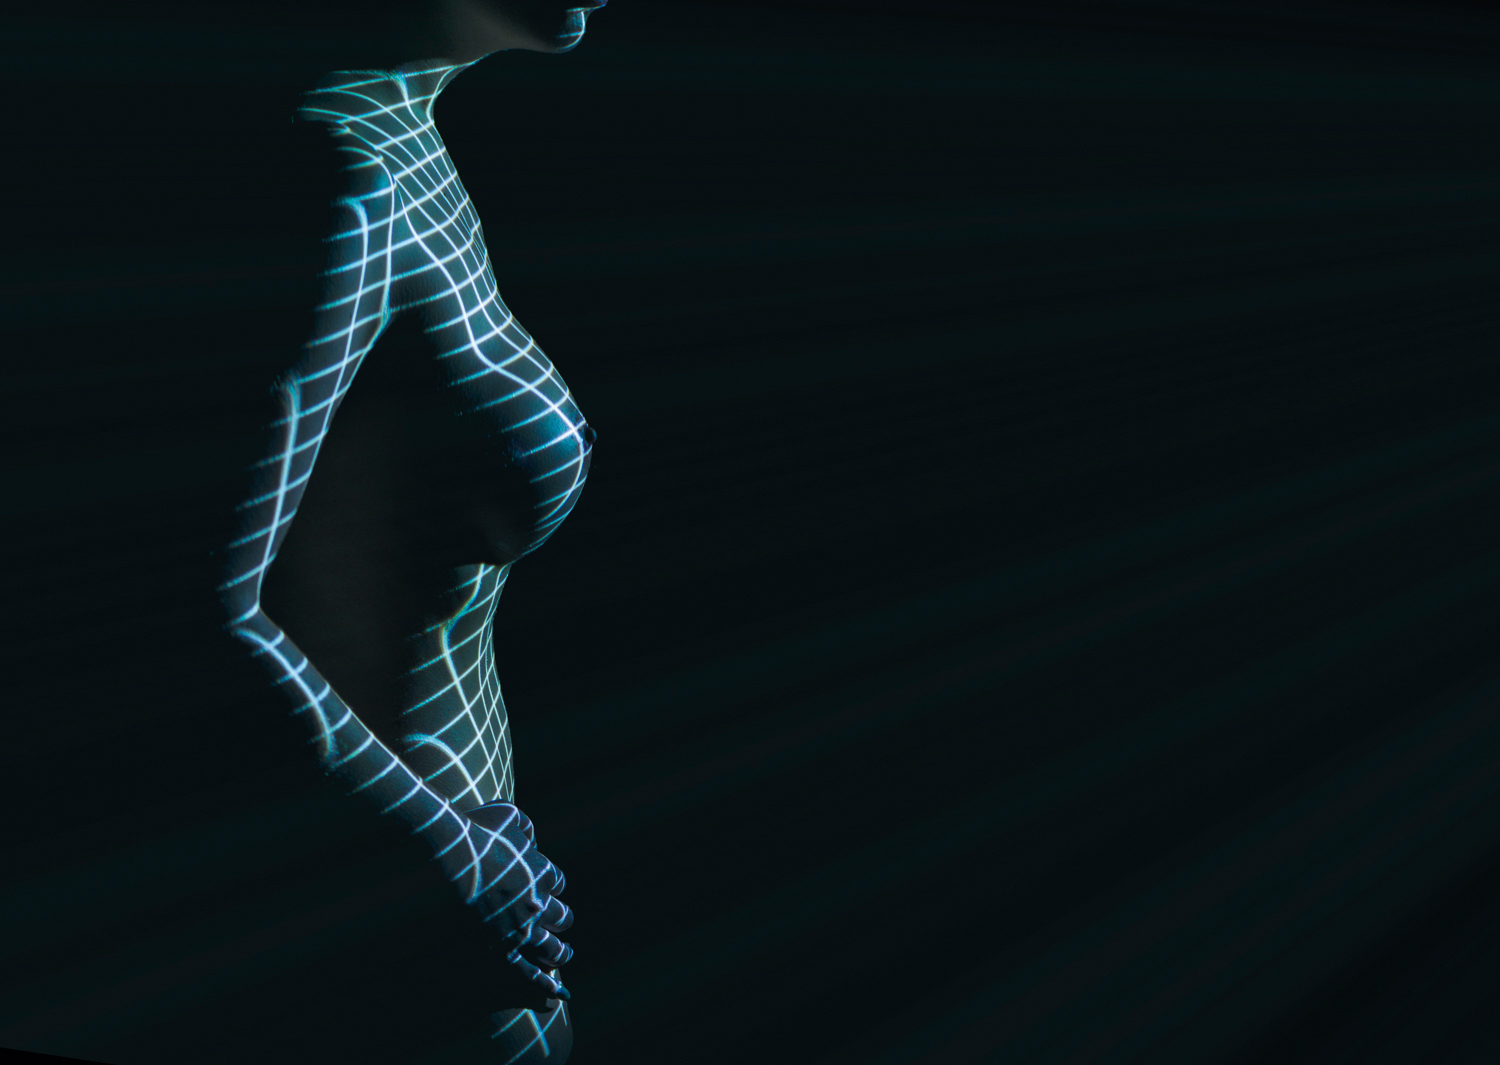
03 Direct the light
Just as with a normal portrait, directional lighting emphasizes the shape of the figure. So, rather than straight-on, place the light off to the left or right side, then pose your subject so that the light forms interesting pools of light and shade across the figure.
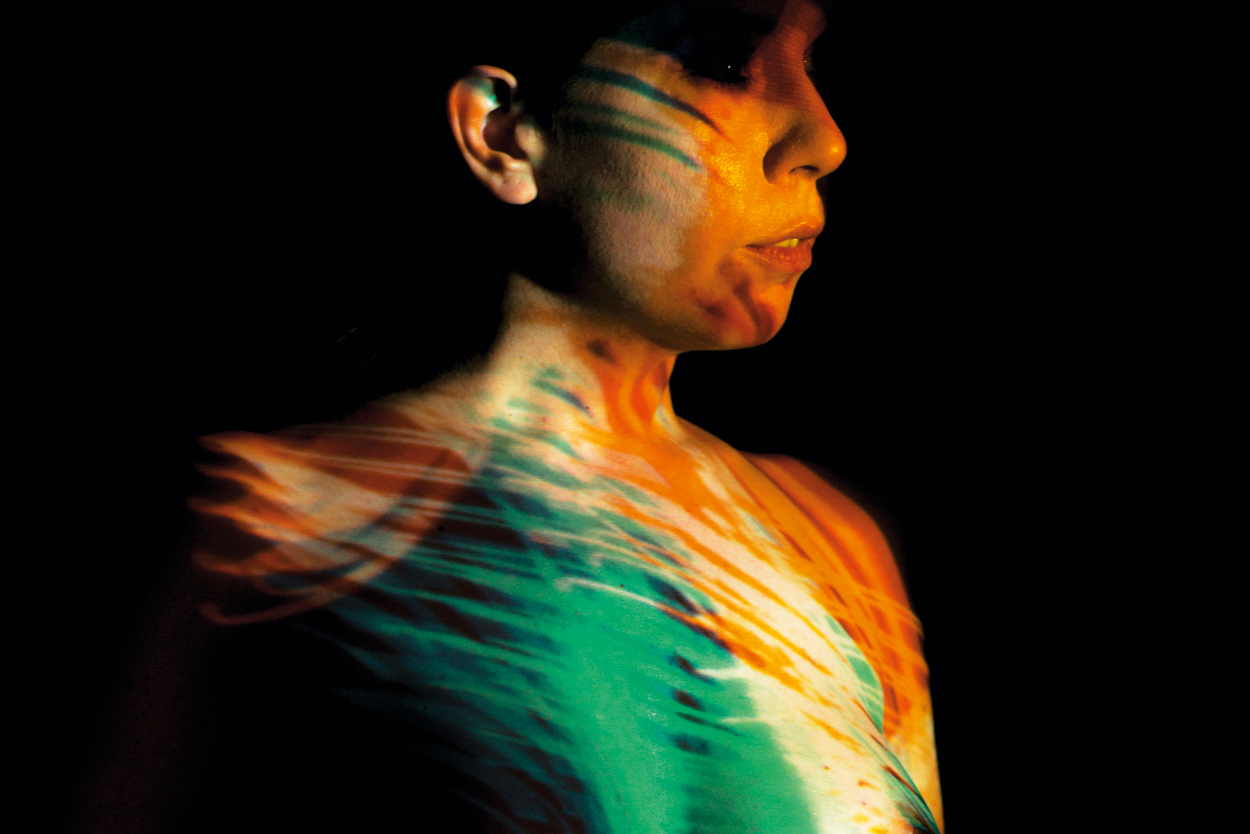
04 Paint with light
Connect the projector to a laptop and you can adjust the pattern in real time for the perfect position over your subject. You could even start painting on-screen, and the brush strokes will fall across your subject – body painting, without the mess!
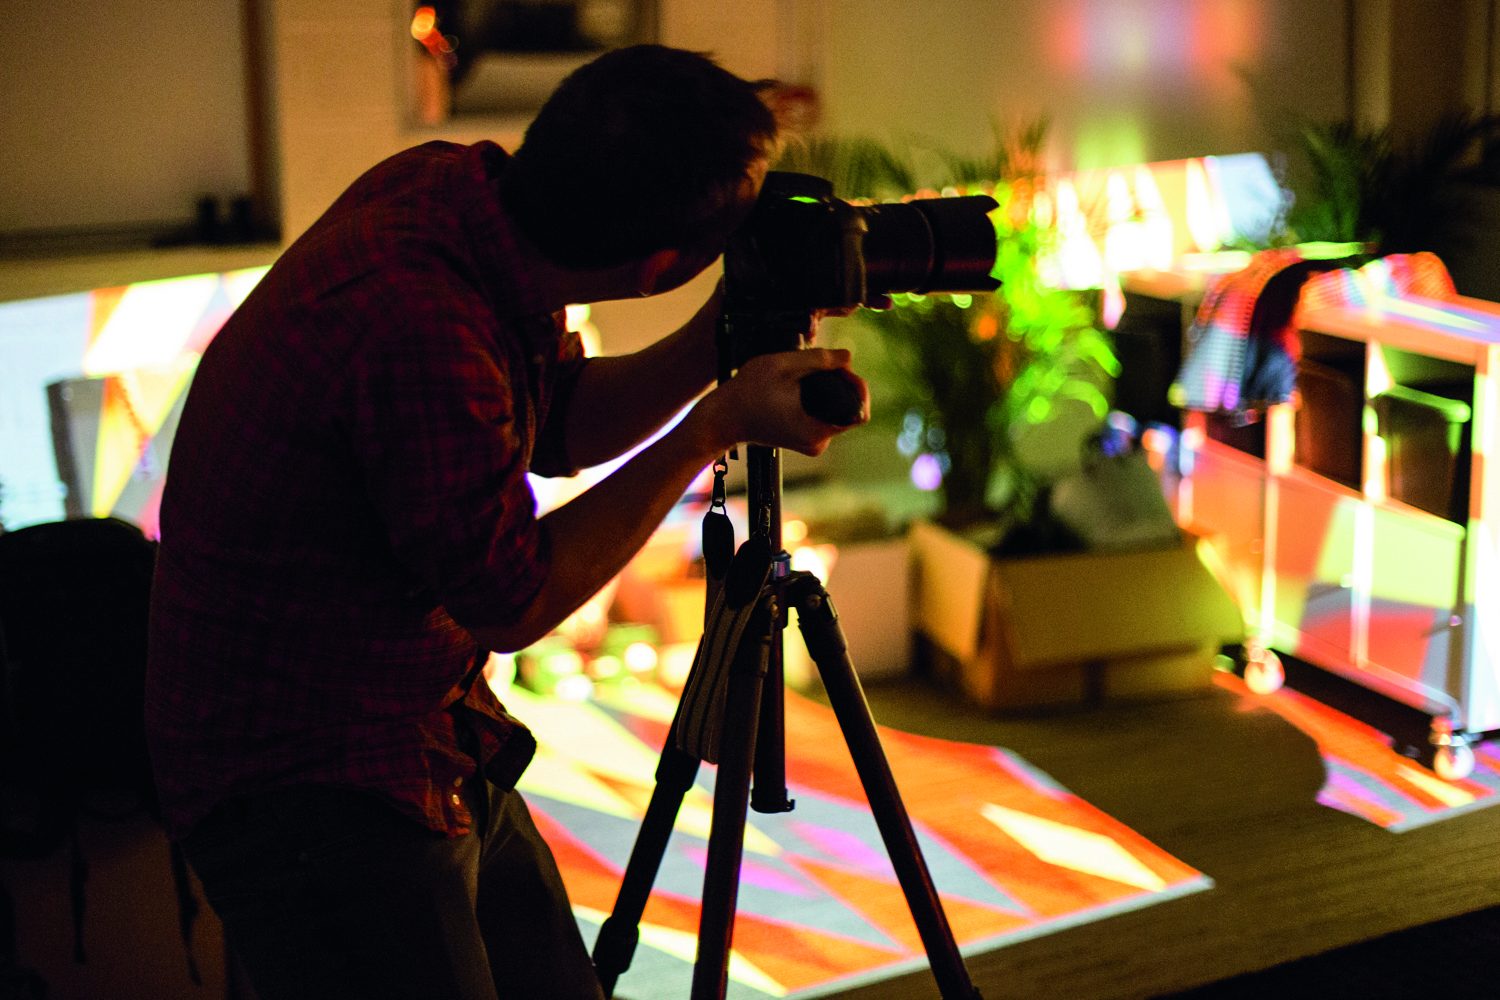
05 Use a Tripod
A tripod isn’t essential for this, but it can be useful in low-light conditions, because it prevents camera shake and enables you to shoot with lower shutter speeds, such as 1/50 or 1/100 sec. If your lens has stabilization, make sure it’s on, too.
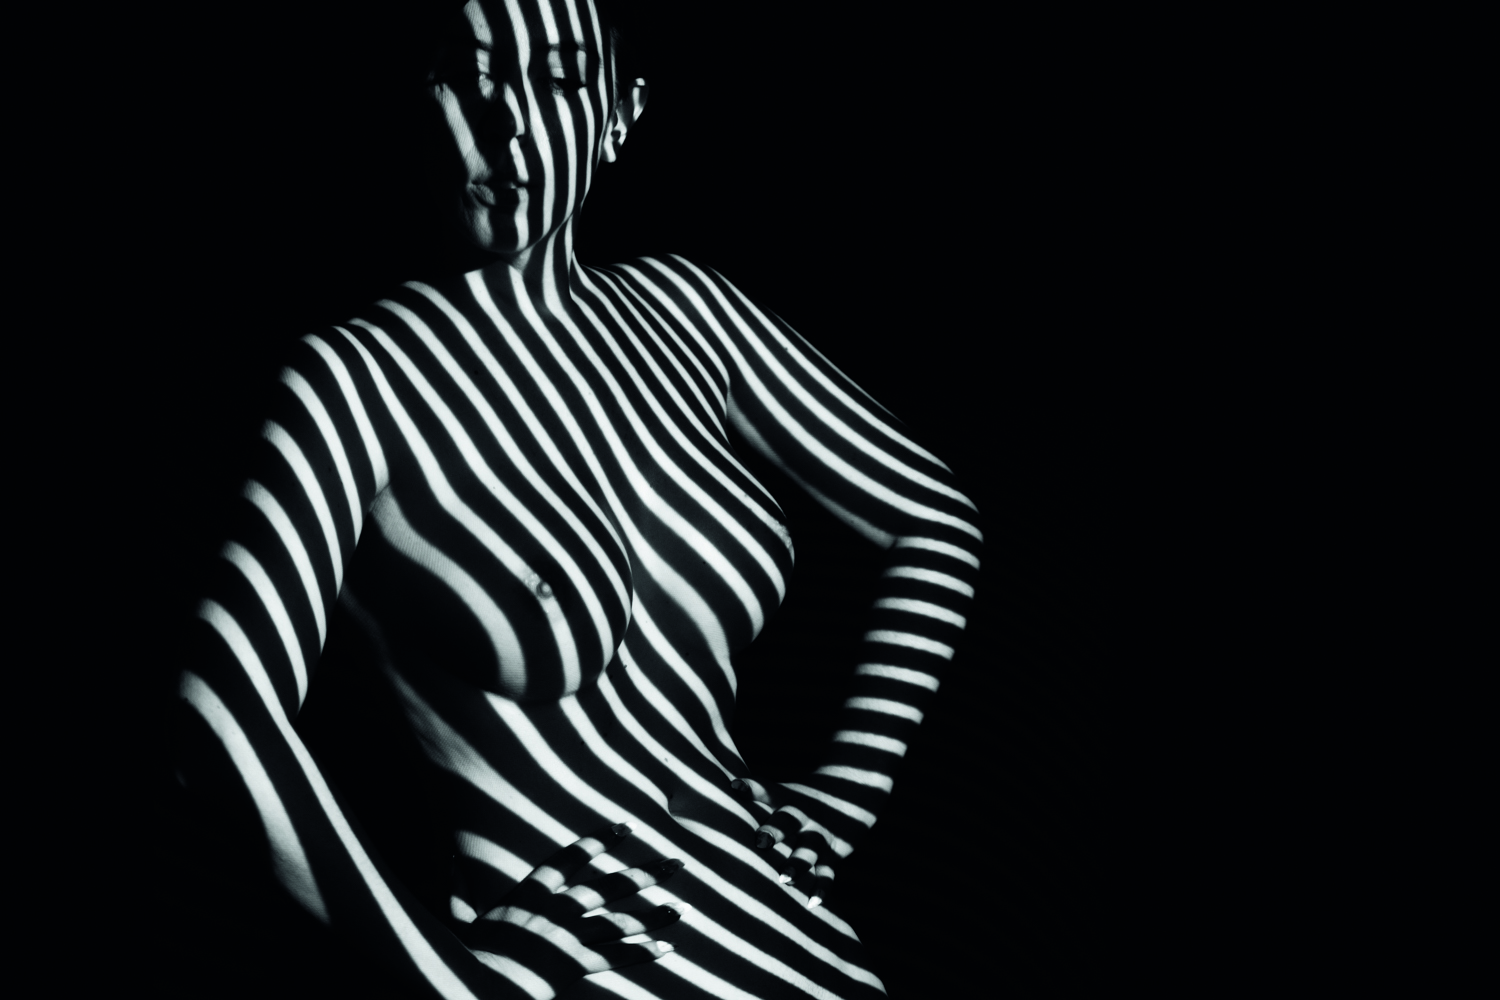
06 Posing and Framing
Posing a nude is just as important as the lighting. There are no rules, but it emphasizes the shape of the body if the subject moves their arms away from their sides. Small movements can have a dramatic effect on the way the pattern falls across the body.
PhotoPlus: The Canon Magazine is the world's only monthly newsstand title that's 100% devoted to Canon, so you can be sure the magazine is completely relevant to your system.
Read more:
The best projectors for photographers and videographers in 2020
Photography tips, video tutorials and techniques to take photos of anything
The best camera for photography: top cameras, whatever your skill level!
Get the Digital Camera World Newsletter
The best camera deals, reviews, product advice, and unmissable photography news, direct to your inbox!
The lead technique writer on Digital Camera Magazine, PhotoPlus: The Canon Magazine and N-Photo: The Nikon Magazine, James is a fantastic general practice photographer with an enviable array of skills across every genre of photography.
Whether it's flash photography techniques like stroboscopic portraits, astrophotography projects like photographing the Northern Lights, or turning sound into art by making paint dance on a set of speakers, James' tutorials and projects are as creative as they are enjoyable.
He's also a wizard at the dark arts of Photoshop, Lightroom and Affinity Photo, and is capable of some genuine black magic in the digital darkroom, making him one of the leading authorities on photo editing software and techniques.


