Watch video: Home photography ideas – Have a ball, with a Lensball
Photography projects at home
• Home photography ideas
Useful home photography kit
• Best tripods
• Best lighting kits
• Best reflectors
• Best macro lenses
Allow us to take you through the looking glass, by showing you a fresh new way to shoot your landscapes and other images. We all love to shoot in the great outdoors, but there are only so many ways to take traditional landscapes.
However, by adding an optically clear glass ball to the equation – such as those made by specialist companies like Lensball – you can unlock new ways to shoot stunning vistas, creative still life images, striking portraits and more.
Due to physics, when you take a photograph of a glass ball, the image inside it will be flipped upside-down. Back at your computer you can choose to leave it as it is, flip the entire picture upside-down, or select the circular image in the ball and rotate that alone by 180º so both the ball and surroundings are in the correct orientation.
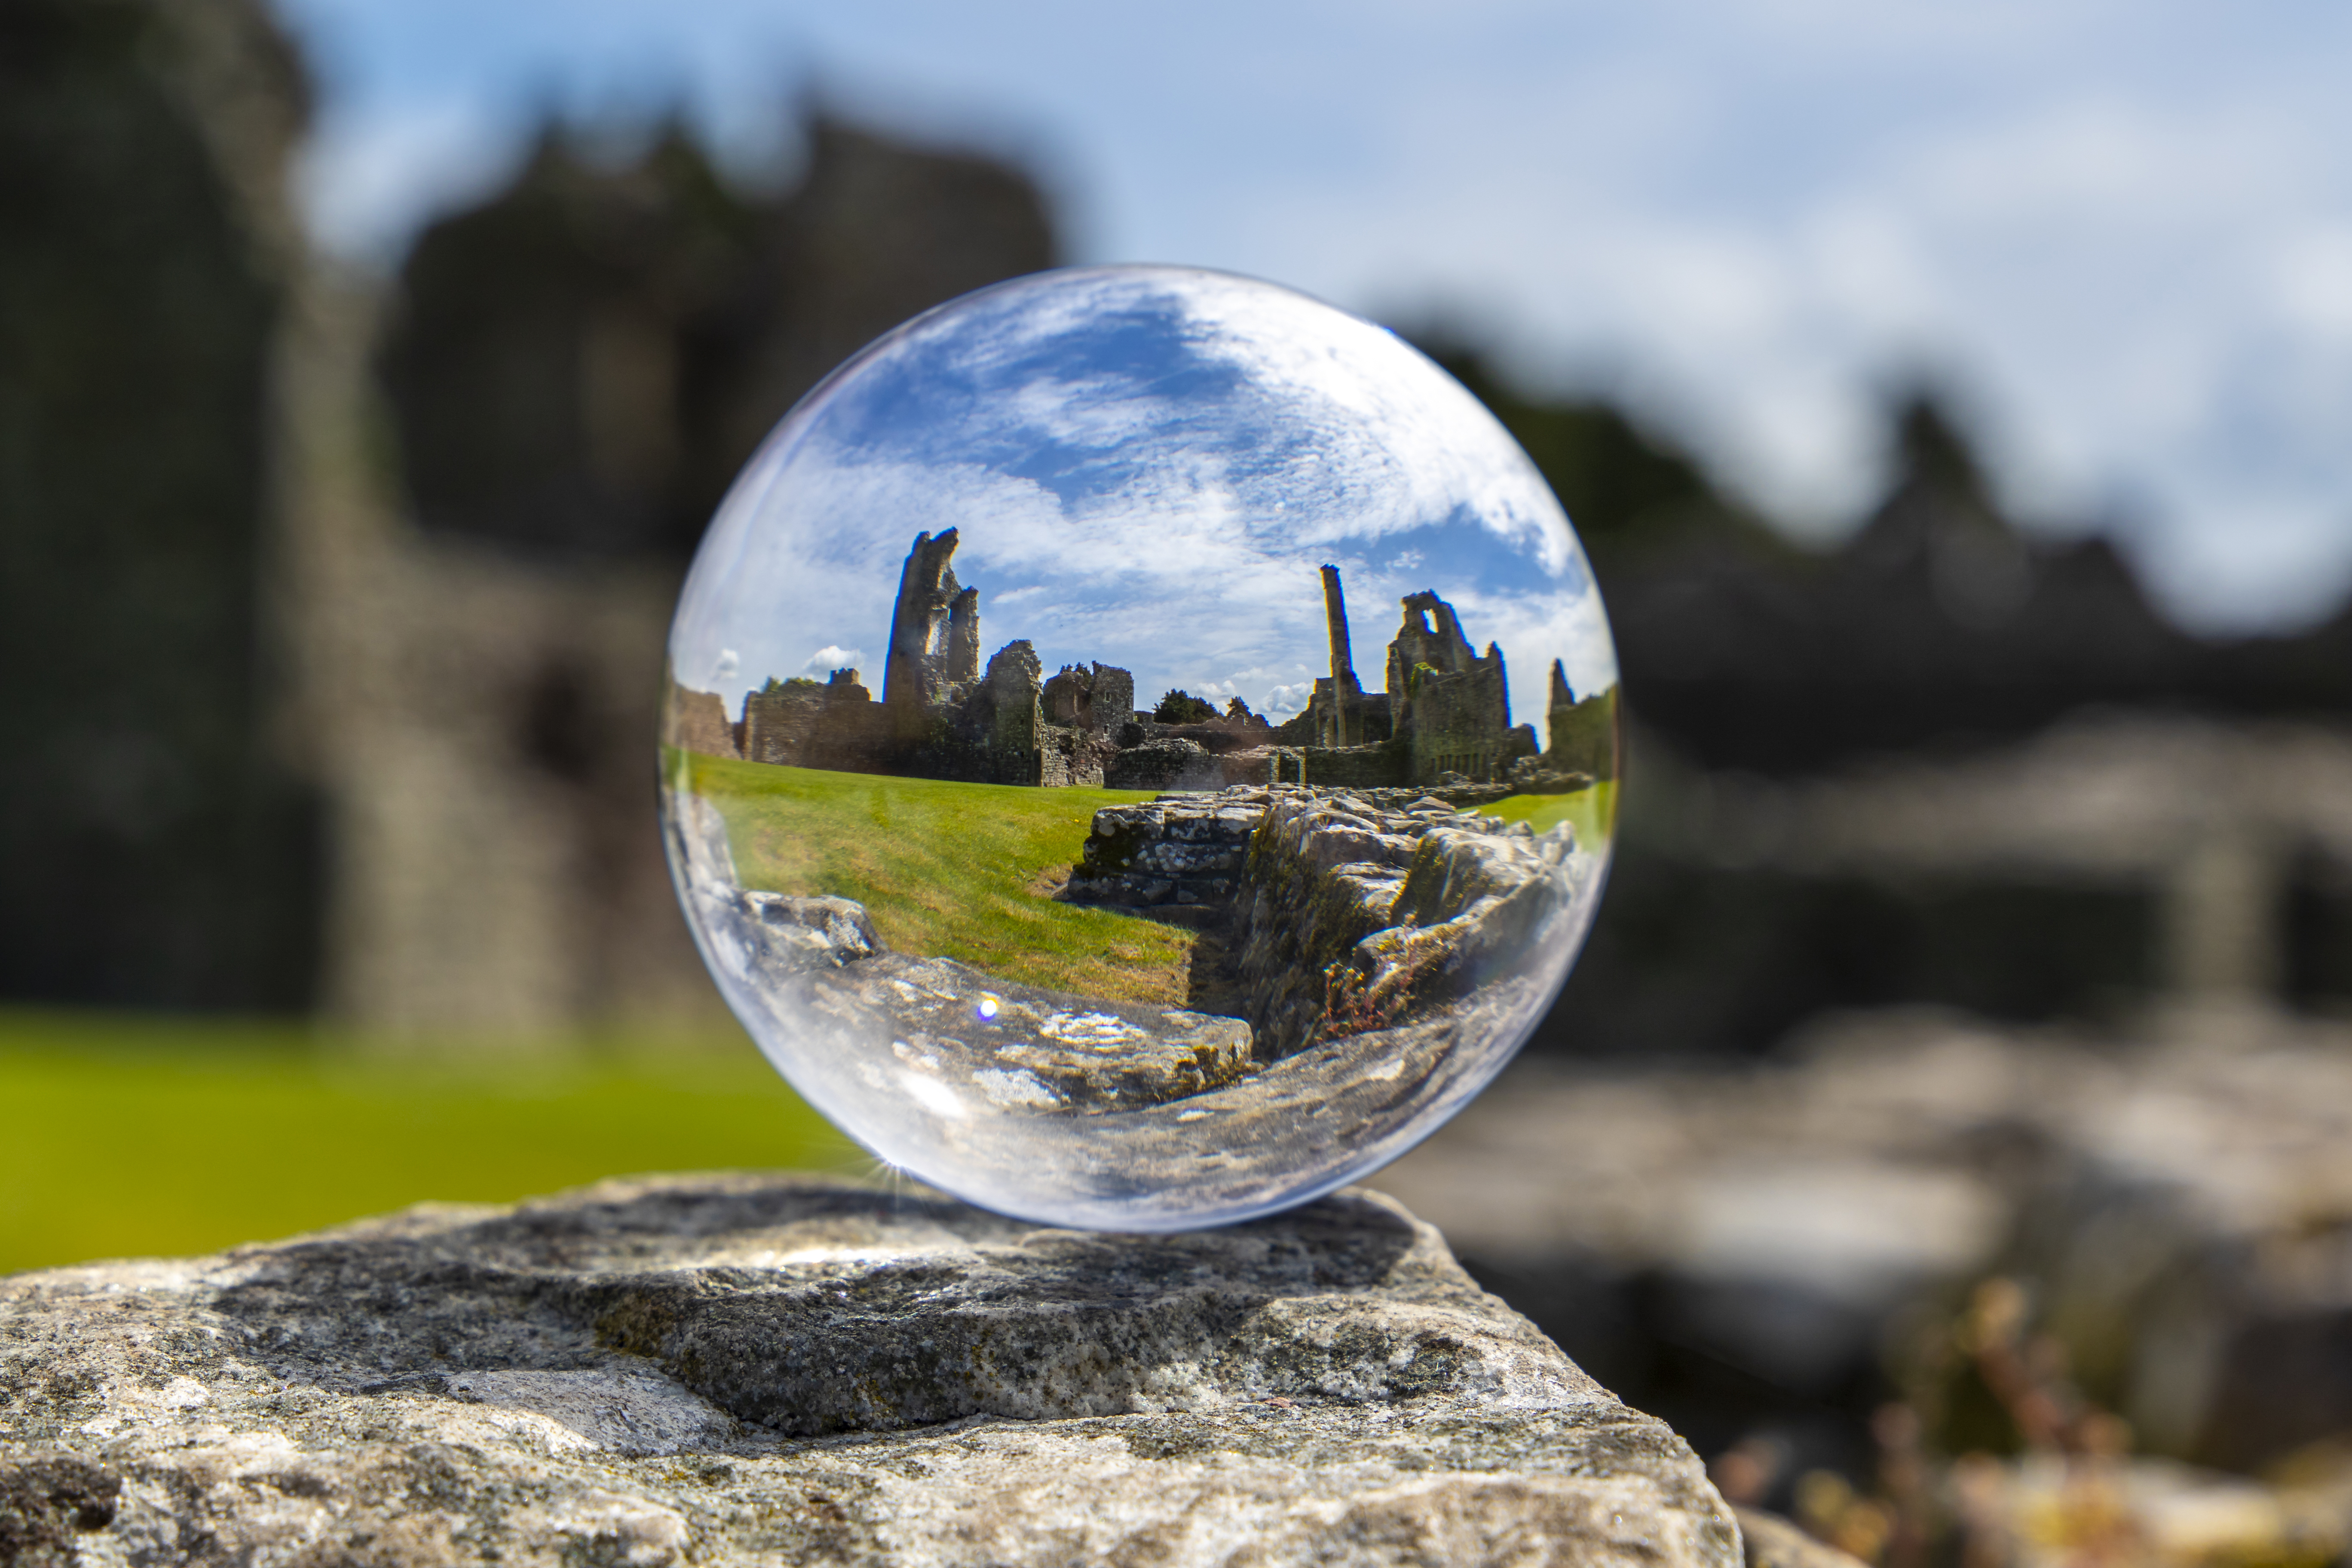

The latter method looks particularly striking, and we’ll go into detail to show you how to do this in step by step. You can achieve this technique by using basic kit, provided that you have a glass ball – all you need is a camera with a kit lens like an 18-55mm or a 24-105mm. You can use a tripod if you like, but this isn’t essential.
You can either shoot at the wide end, and get really close to the ball to capture the surrounding scenery better, or you can go further back and zoom in with the longer end to make it easier to blur the background out.
• Best online photography courses
How to use a Lensball
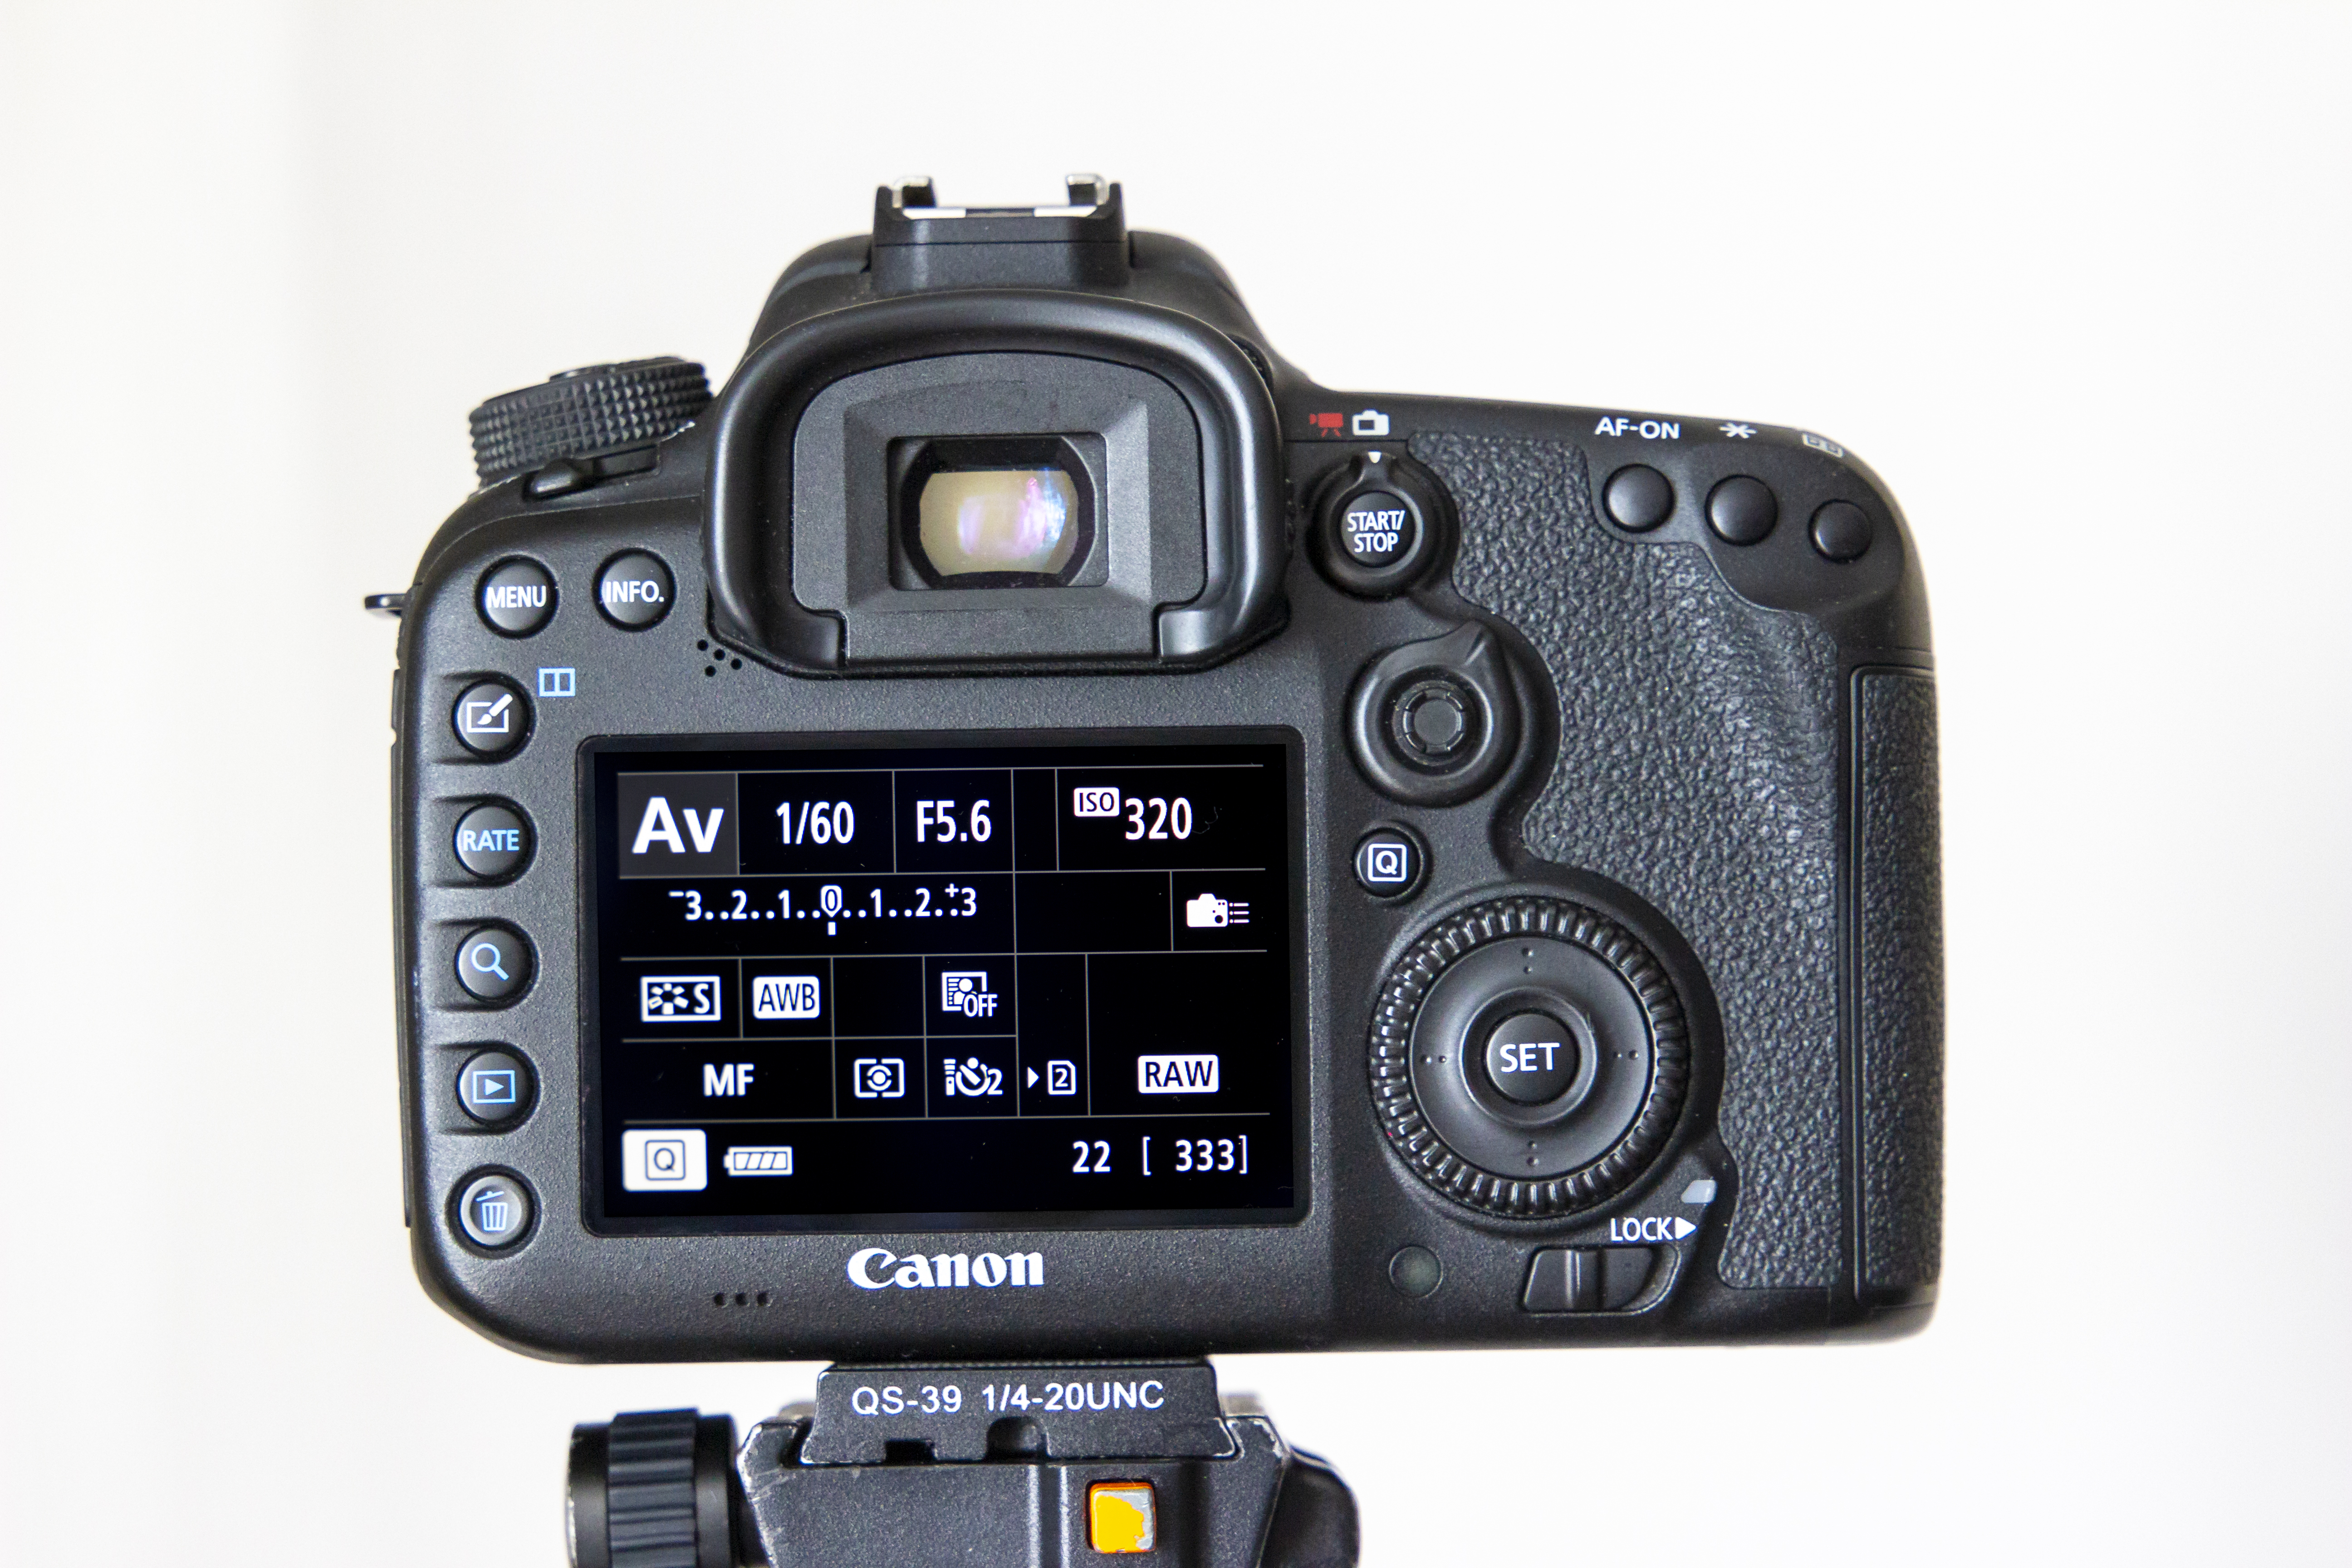
01 Dial in the right settings
Set your camera to aperture priority and dial in an aperture of f/5.6 to blur the background or f/22 to keep it sharp like we did, then tweak the ISO until you get a shutter speed of 1/60 sec or faster.
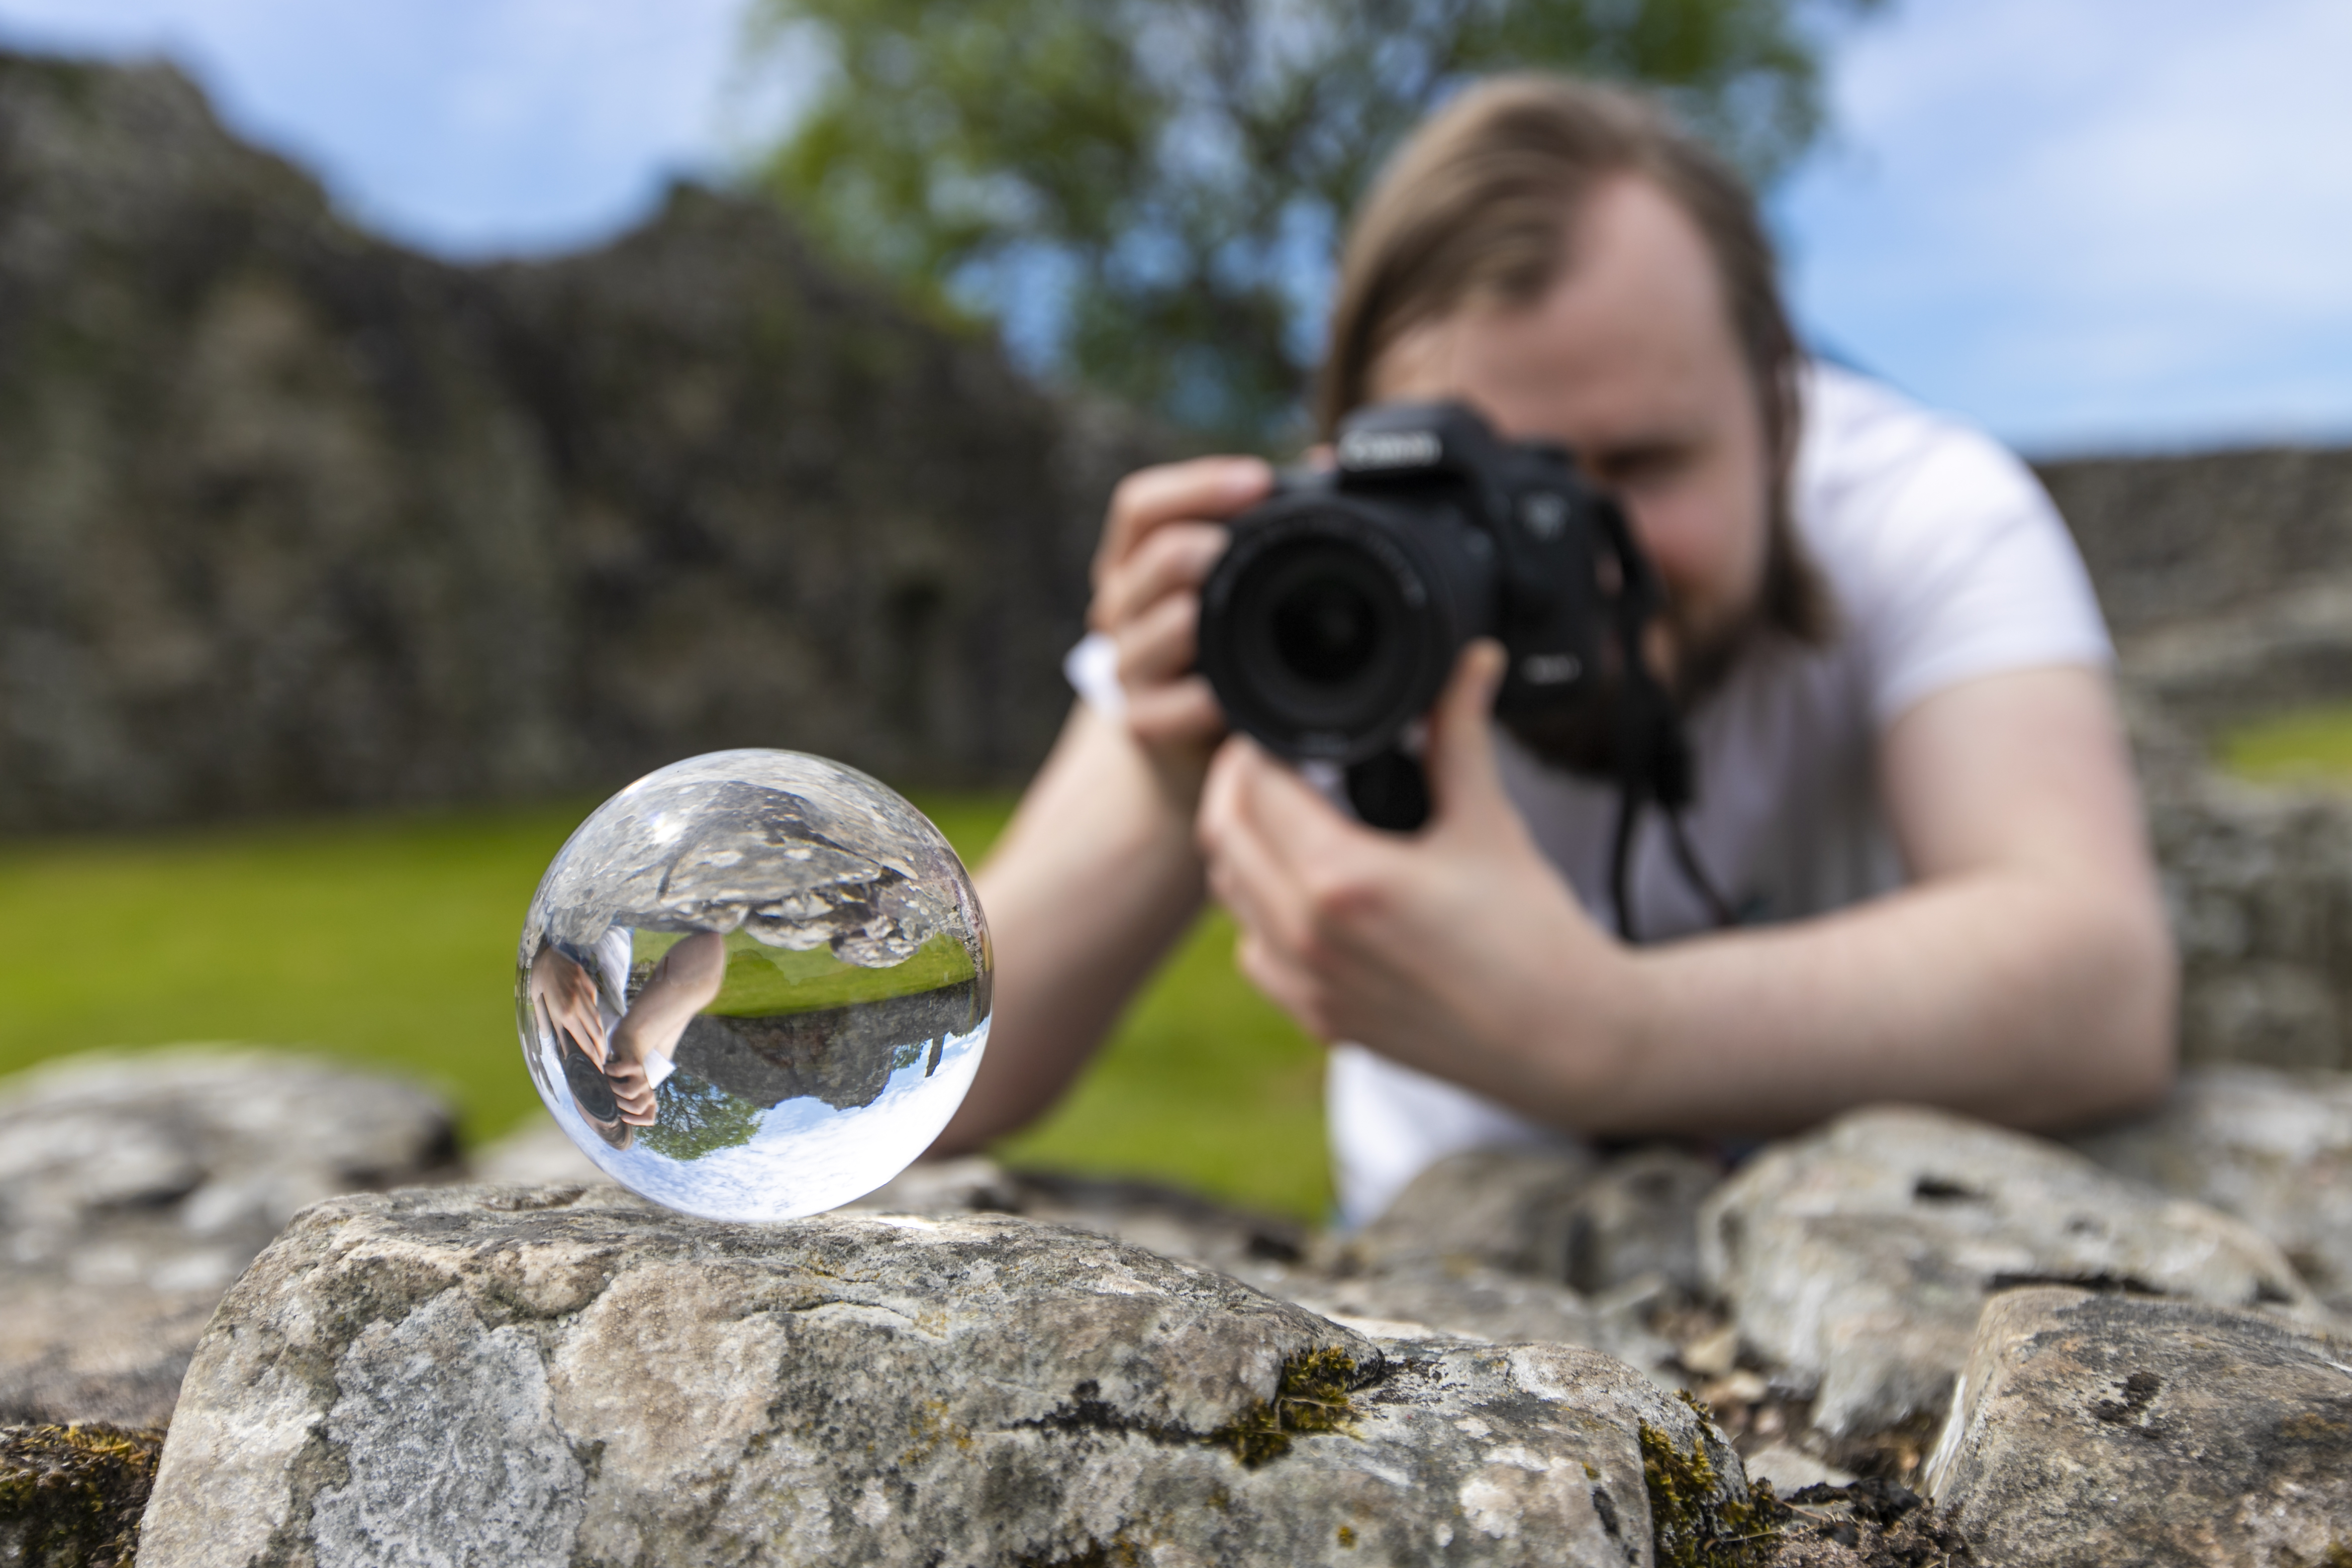
02 focus and take the shot
Place your Lensball on some prominent foreground that doesn’t obstruct the view of the sphere, being careful not to leave fingerprints on it. Focus on the landscape inside the ball and press the shutter to take the shot.
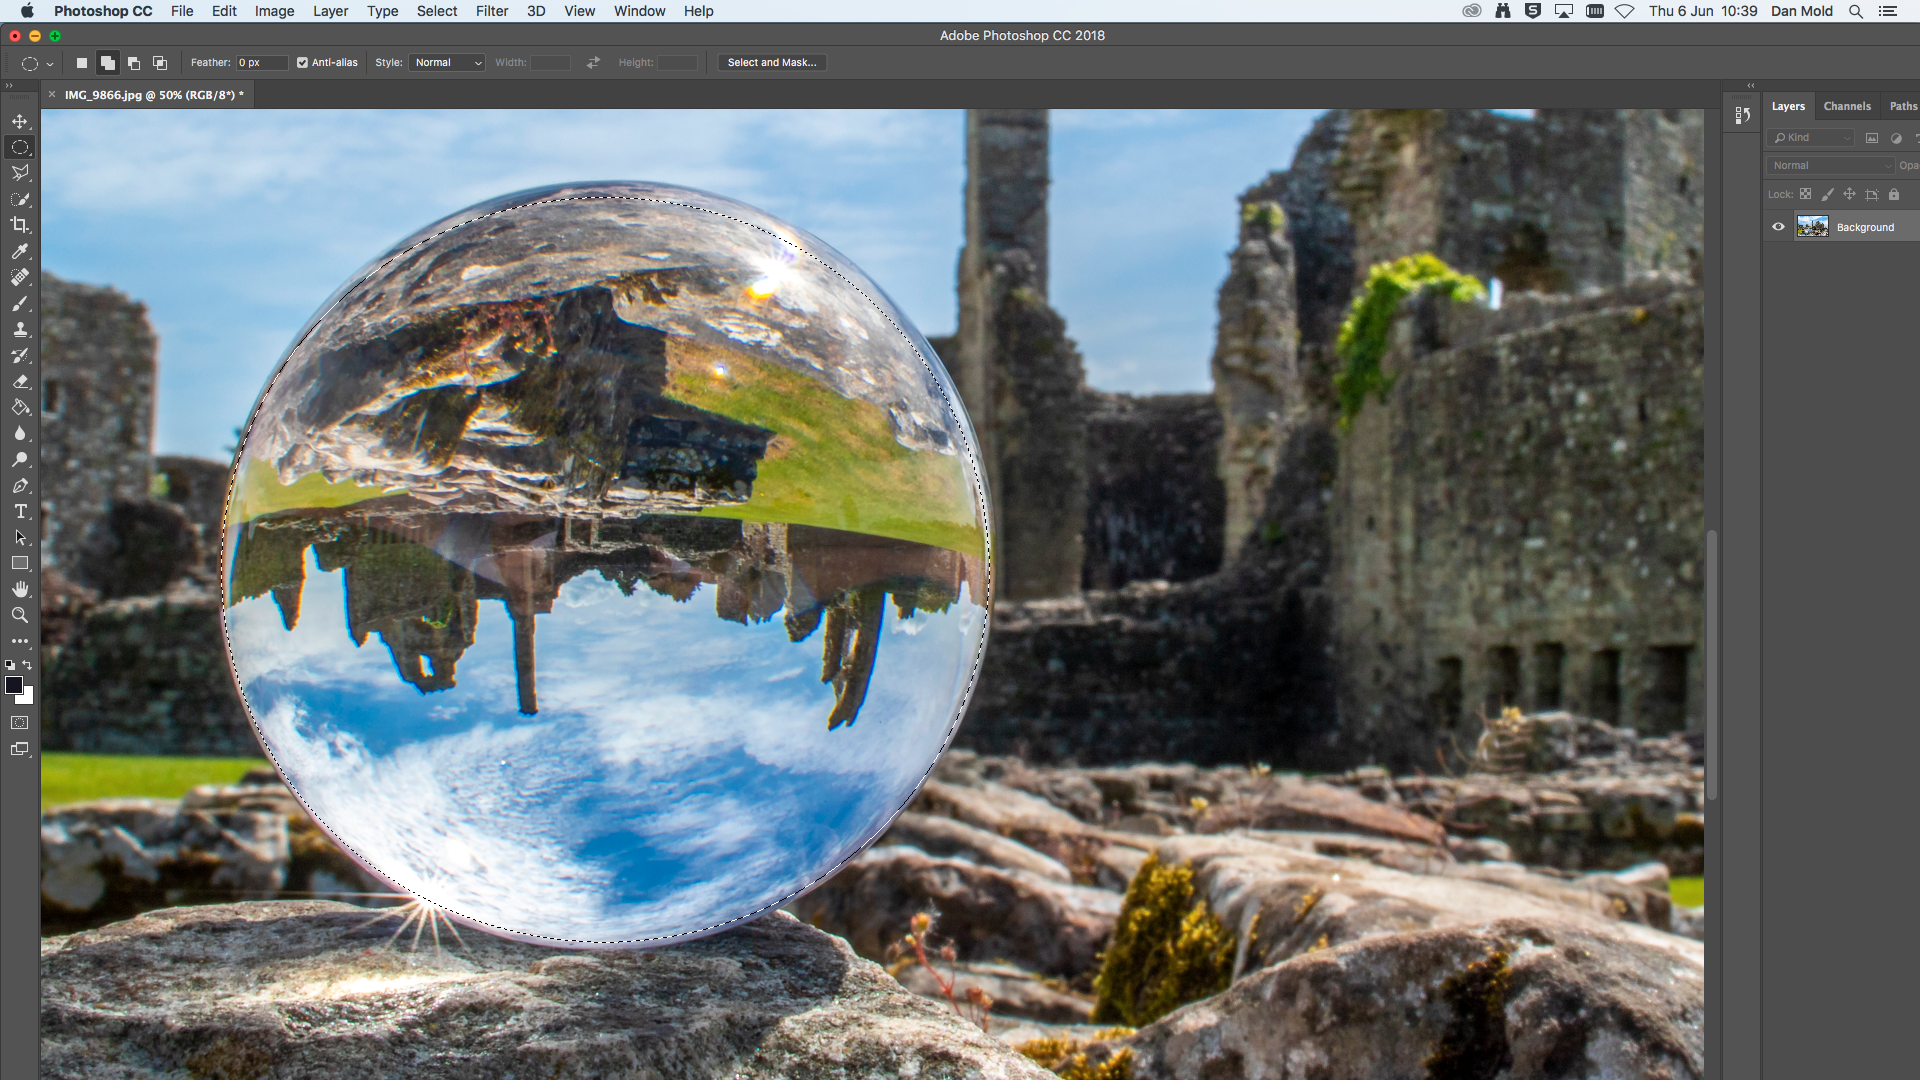
03 make a rough selection of the ball
Open your picture into Photoshop or Elements and grab the Elliptical Lasso tool from the Toolbox and drag your cursor over the Lensball to make a rough selection of the sphere.
04 fine-tune the selection
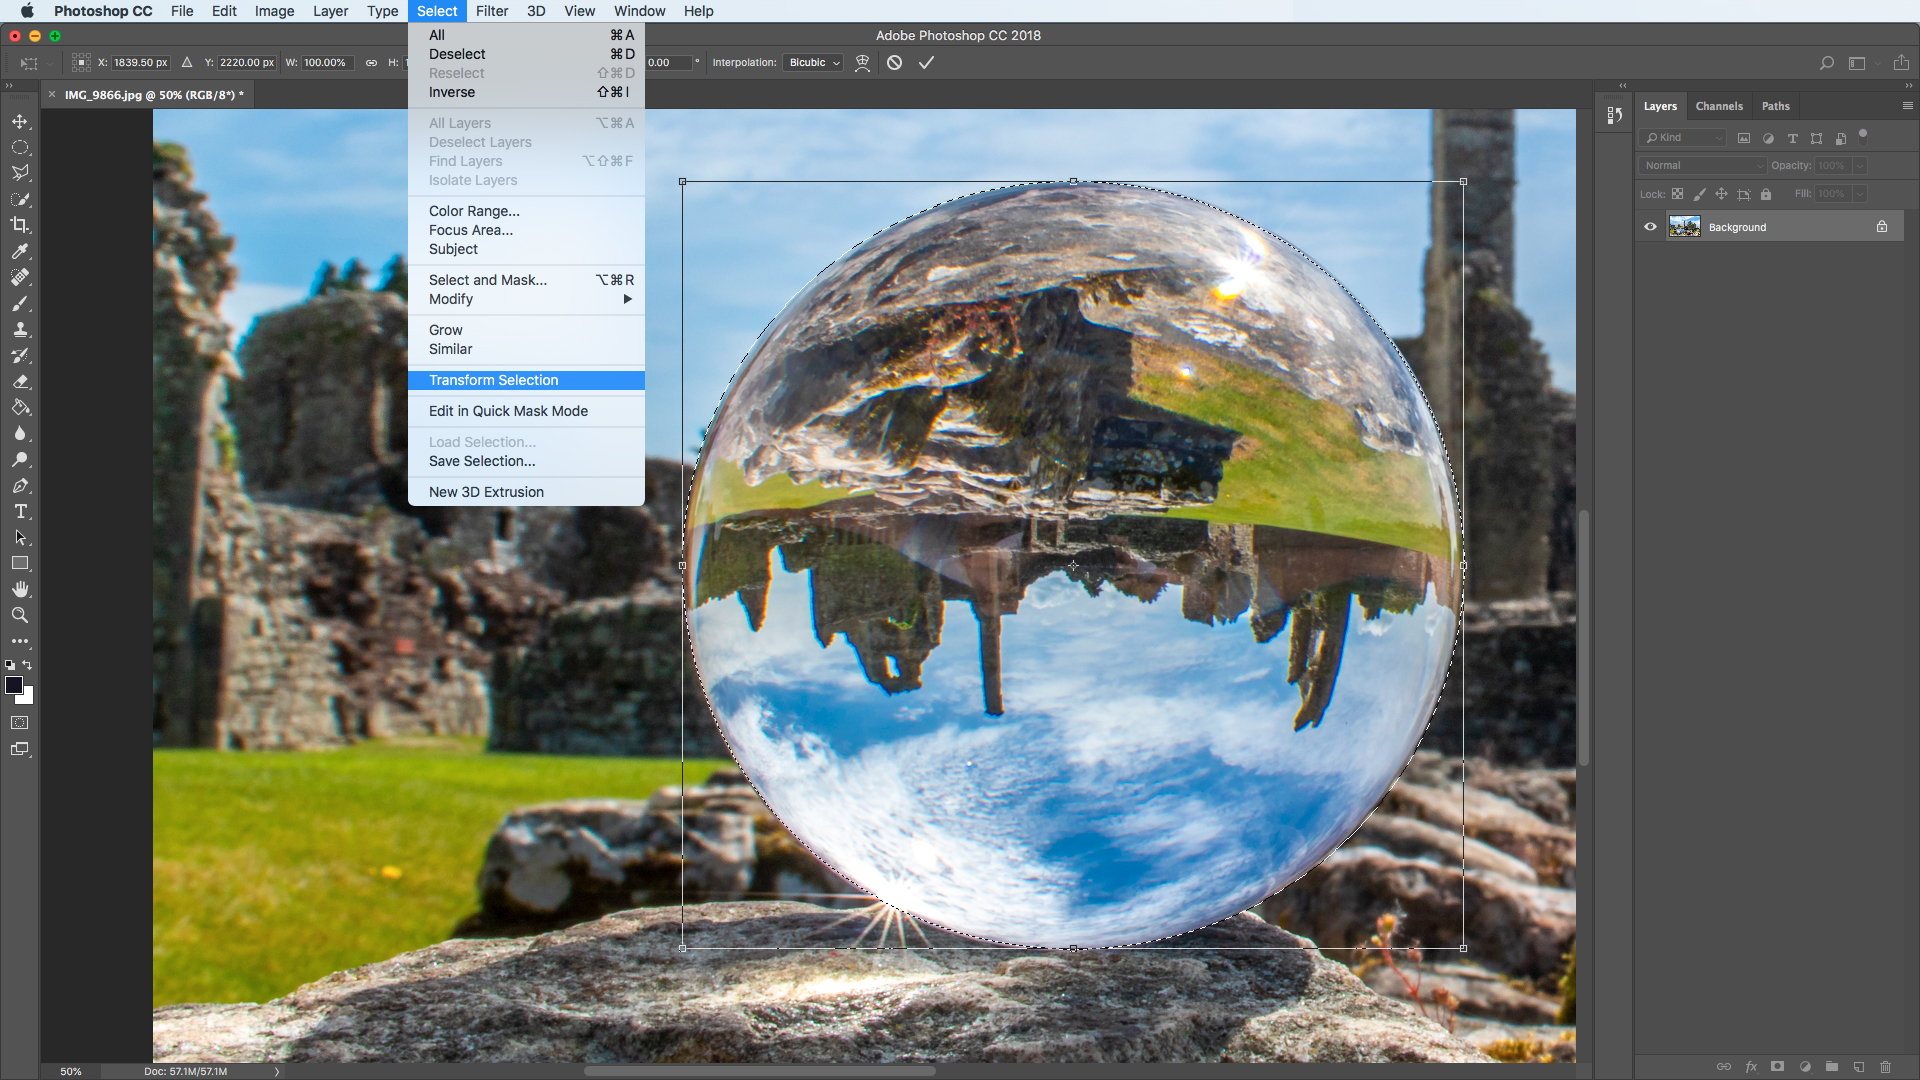
Go to Select > Transform Selection and drag the handles of the bounding box so that the selection lines up perfectly with the outside edge of the lens ball. Hit Enter when you’re done to finalize the selection.
05 feather the edges of the selection
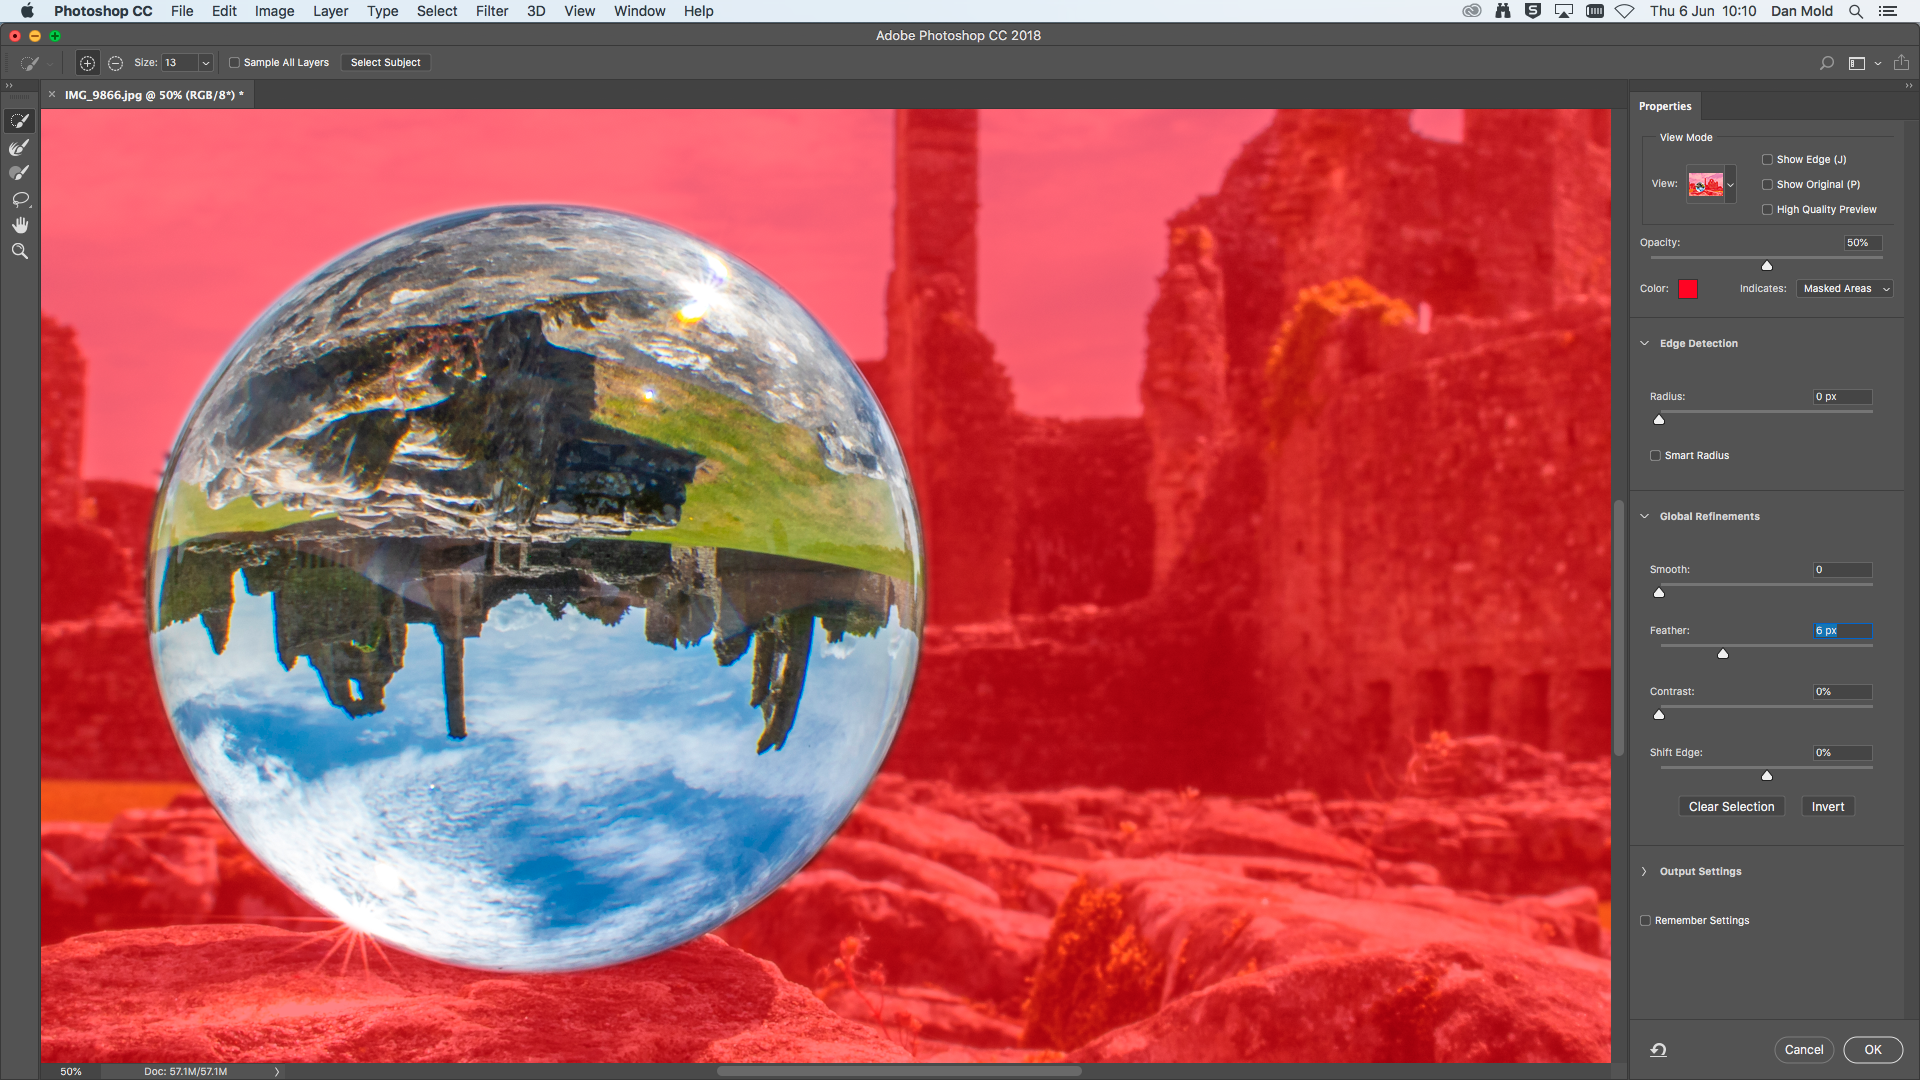
Go to Select > Select and Mask and change the view mode to Overlay so you can clearly see what you’re doing and then tweak the Feather slider to soften the edge slightly. We used a value of 6px and hit OK.
06 flip the image
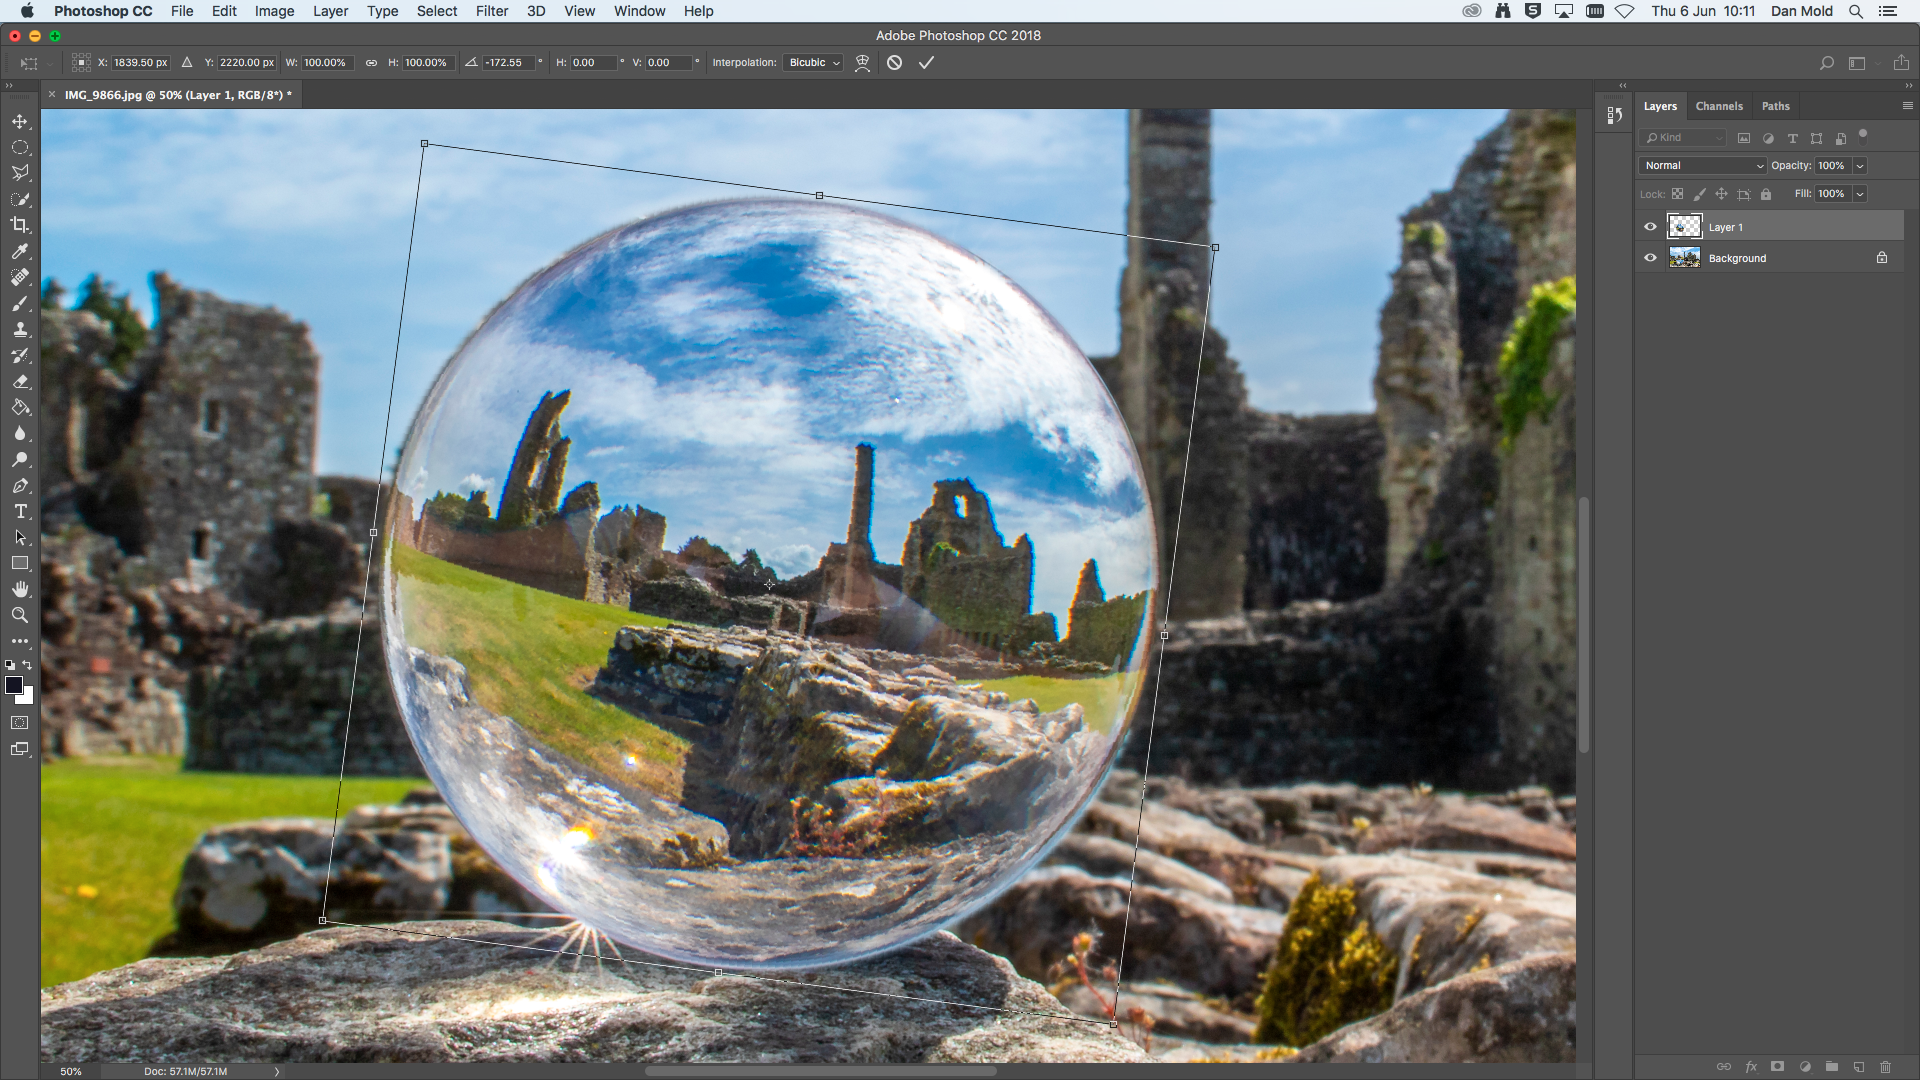
Press Ctrl / Cmd + J to punch the selection on to a new layer and hit Ctrl / Cmd + T to put it into Free Transform Mode. Hover your cursor over an outside corner and drag it round, rotating until it’s the right way up.
PhotoPlus: The Canon Magazine is the world's only monthly newsstand title that's 100% devoted to Canon, so you can be sure the magazine is completely relevant to your system.
Read more:
16 essential landscape photography tips
The best Lensbaby and Lomography lenses: the best funky effects lenses
Home photography ideas: Use a prism to shoot dazzling images
Get the Digital Camera World Newsletter
The best camera deals, reviews, product advice, and unmissable photography news, direct to your inbox!

Deputy Editor on PhotoPlus: The Canon Magazine, Dan also brings his technical wizardry and editing skills to Digital Camera World. He has been writing about all aspects of photography for over 10 years, having previously served as technical writer and technical editor for Practical Photography magazine, as well as Photoshop editor on Digital Photo.
Dan is an Adobe-certified Photoshop guru, making him officially a beast at post-processing – so he’s the perfect person to share tips and tricks both in-camera and in post. Able to shoot all genres, Dan provides news, techniques and tutorials on everything from portraits and landscapes to macro and wildlife, helping photographers get the most out of their cameras, lenses, filters, lighting, tripods, and, of course, editing software.

