Home photography ideas: How to make a sunprint in just 30 minutes
A sunprint is a simple creative project that's perfect for kids or adults to learn about cyanotypes
Photography tips for how to make Sunprints from everyday subjects
Time needed: 30 minutes
Skill level: Beginner
Kit needed: Sunprint paper • Printed photos or interesting objects
Watch the video: learn how to make a sunprint
As the seasons change and the sun reappears, use the boost in light to create your very own homemade Sunprints. It is a great project to do at home in the garden - and it is also something that you can do with children of all ages when they are off school.
First things first, what on earth are Sunprints? Put simply, Sunprint is a special type of photographic paper that’s based on the cyanotype process, and it’s sensitive to the sun. You can pick it online or from craft shops.
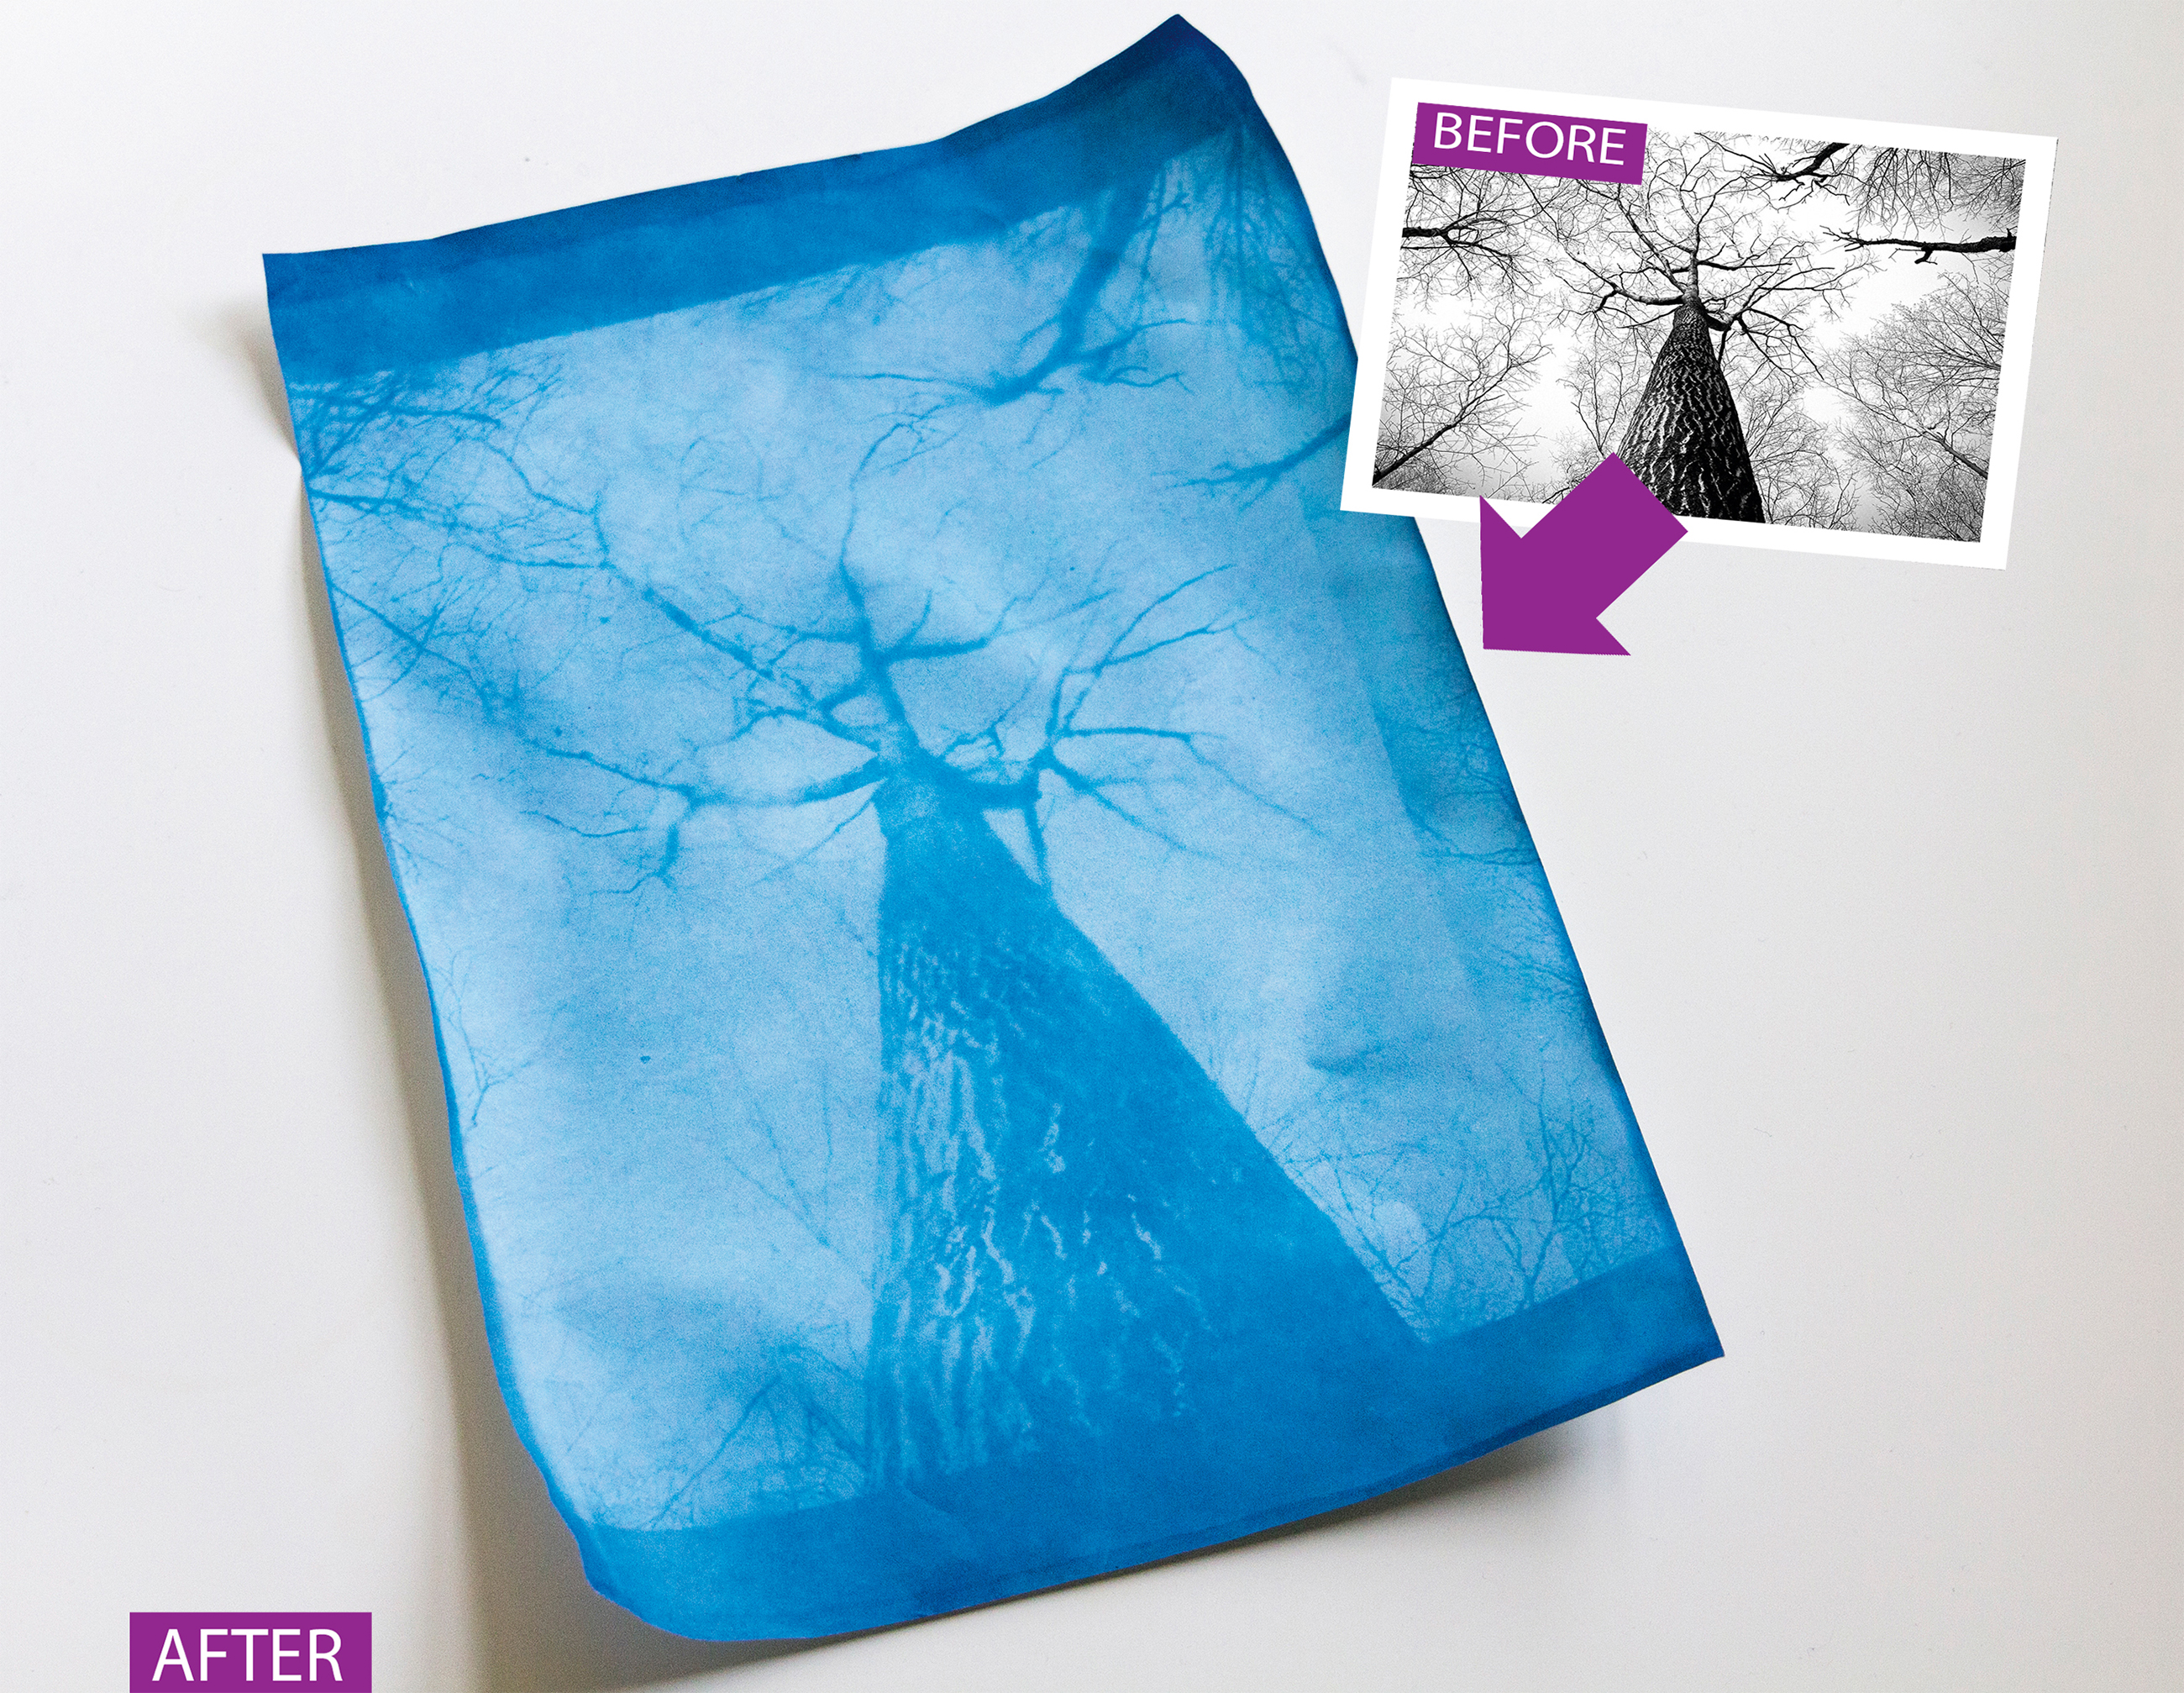
When you expose it to bright daylight, areas that block the sun’s light show up in white, and the rest of the paper turns a vibrant blue. These blue prints have bags of character. You can either make prints of physical objects straight onto the paper, or transfer images taken on your DSLR via a transparency sheet, which is the method we’re demonstrating here.
• Get more Home photography ideas
• 10 best online photography courses
The beauty of this project is its simplicity. You don’t need a darkroom, any fancy kit or extensive knowledge of film processing to get going. Plus, unlike traditional photo prints, Sunprints can be made without any photo chemicals at all, so they’re really great to try out with enthusiastic kids who have art and science projects.
See how you can transform your own digital pictures to authentic homemade photo prints using this quick-and-easy process. All you need is a little bit of sunshine, water and imagination. Expose, develop, then rinse the paper in water, and watch – as if by magic – a beautiful long-lasting image begin to appear.
FIRST STAGE: Prepare your image
You’ll need a negative version of the photo you want to turn into a Sunprint
01 PICK YOUR SHOT
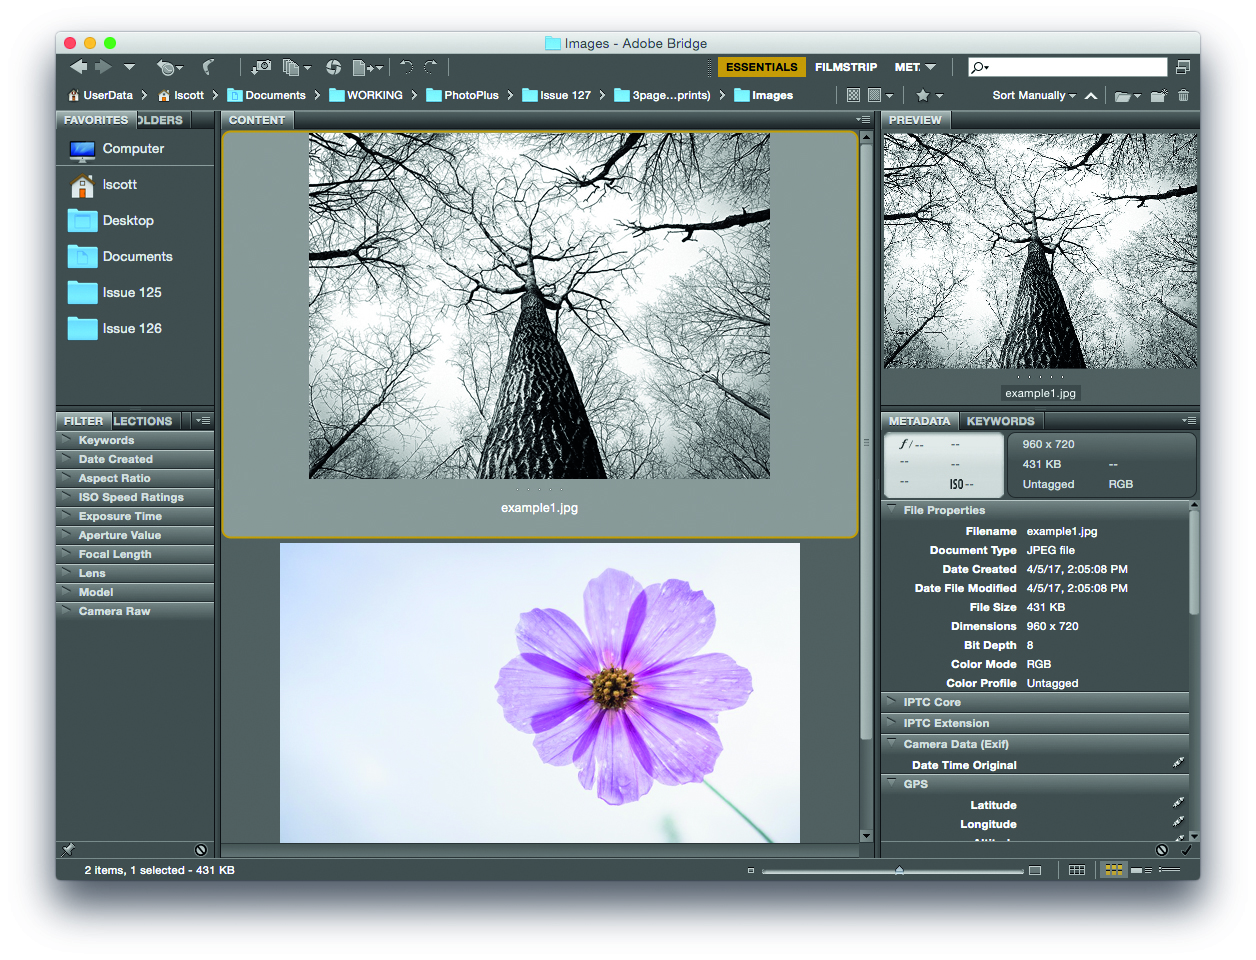
First, decide what photo(s) to try out. Generally, high-contrast scenes work best, as the final result will only be in a blue monochrome. Images that are already in black and white lend themselves well to the technique. Avoid complex photos and those that rely on lots of tonal details.
02 TURN IT AROUND
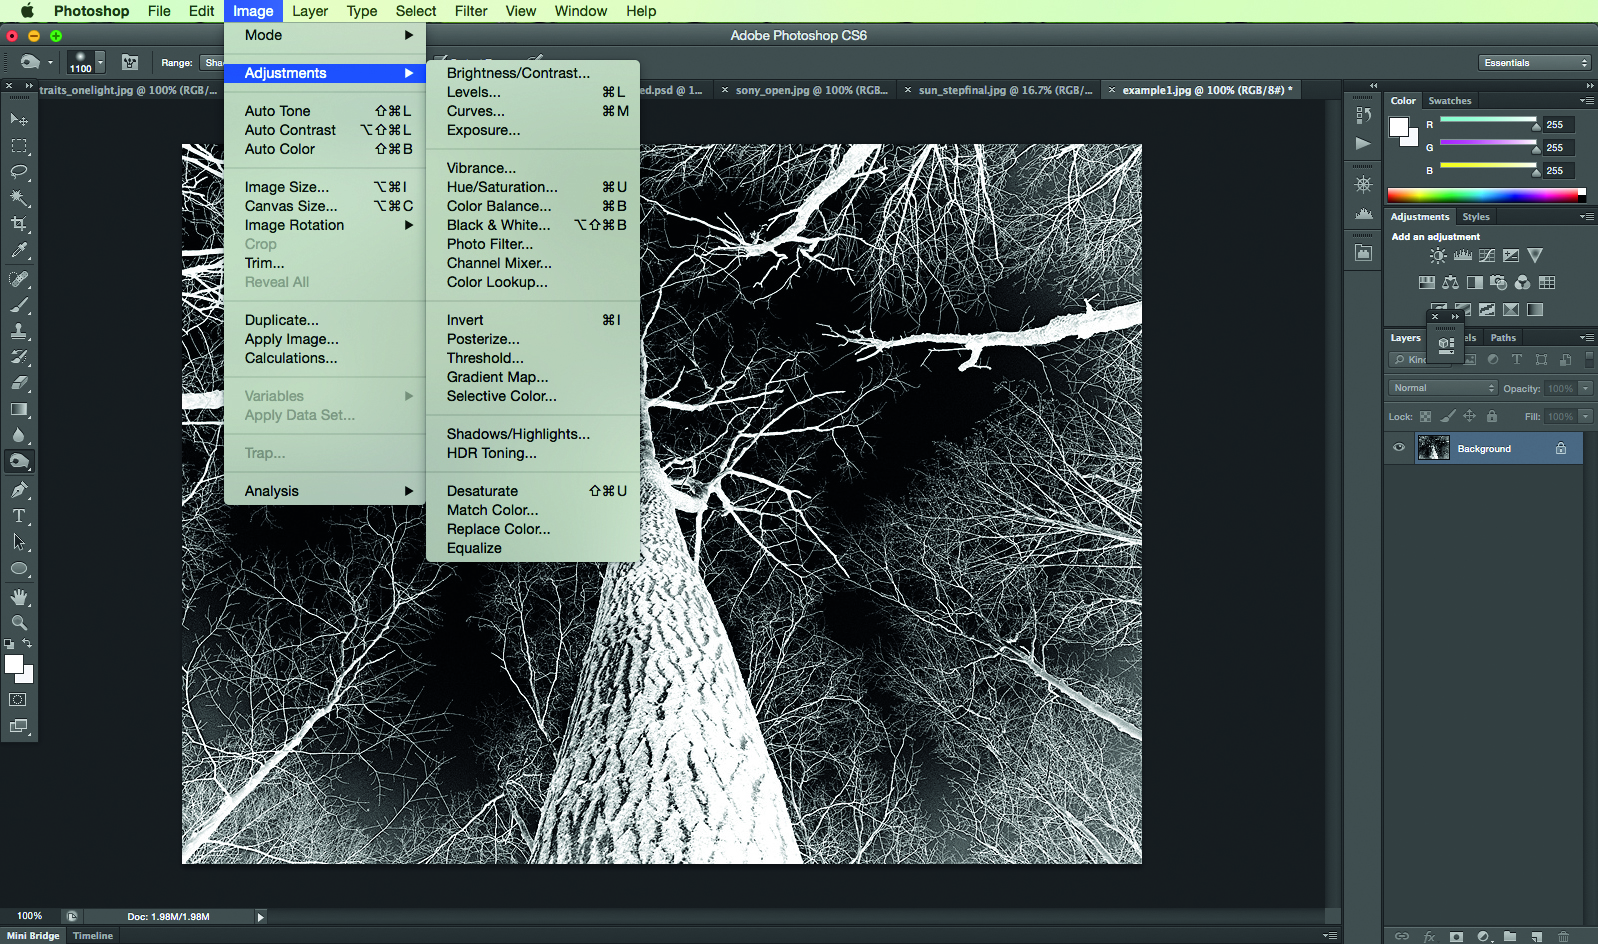
In Photoshop (or similar editing software), convert your digital image to greyscale mode, and invert the tones by going to Image>Mode>Greyscale, then Image> Adjustments>Invert (or hit Cmd/Ctrl+I). You might want to boost the contrast of the negative a little before you proceed.
03 PRINT IT OUT
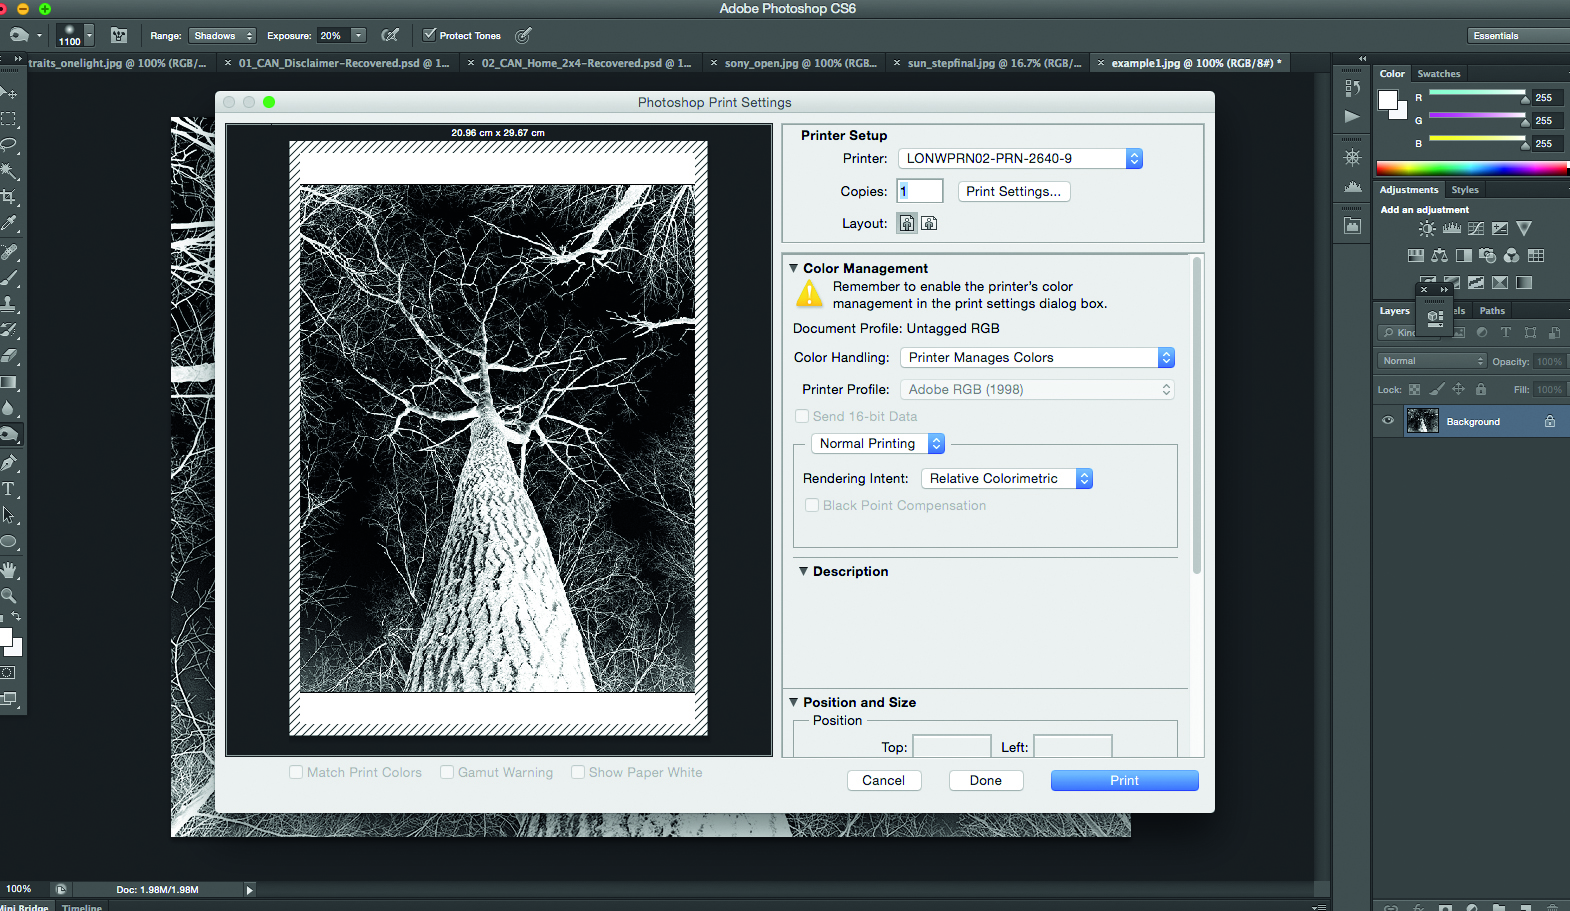
Print your image out at the same size you want it to be on your Sunprint paper. Printers can be pesky, so this might take a few tests and tweaks to the layout options. Use standard rather than fancy photo paper, and if possible, print your images in black and white or greyscale.
HEAD OUTSIDE: Soak up the sunshine
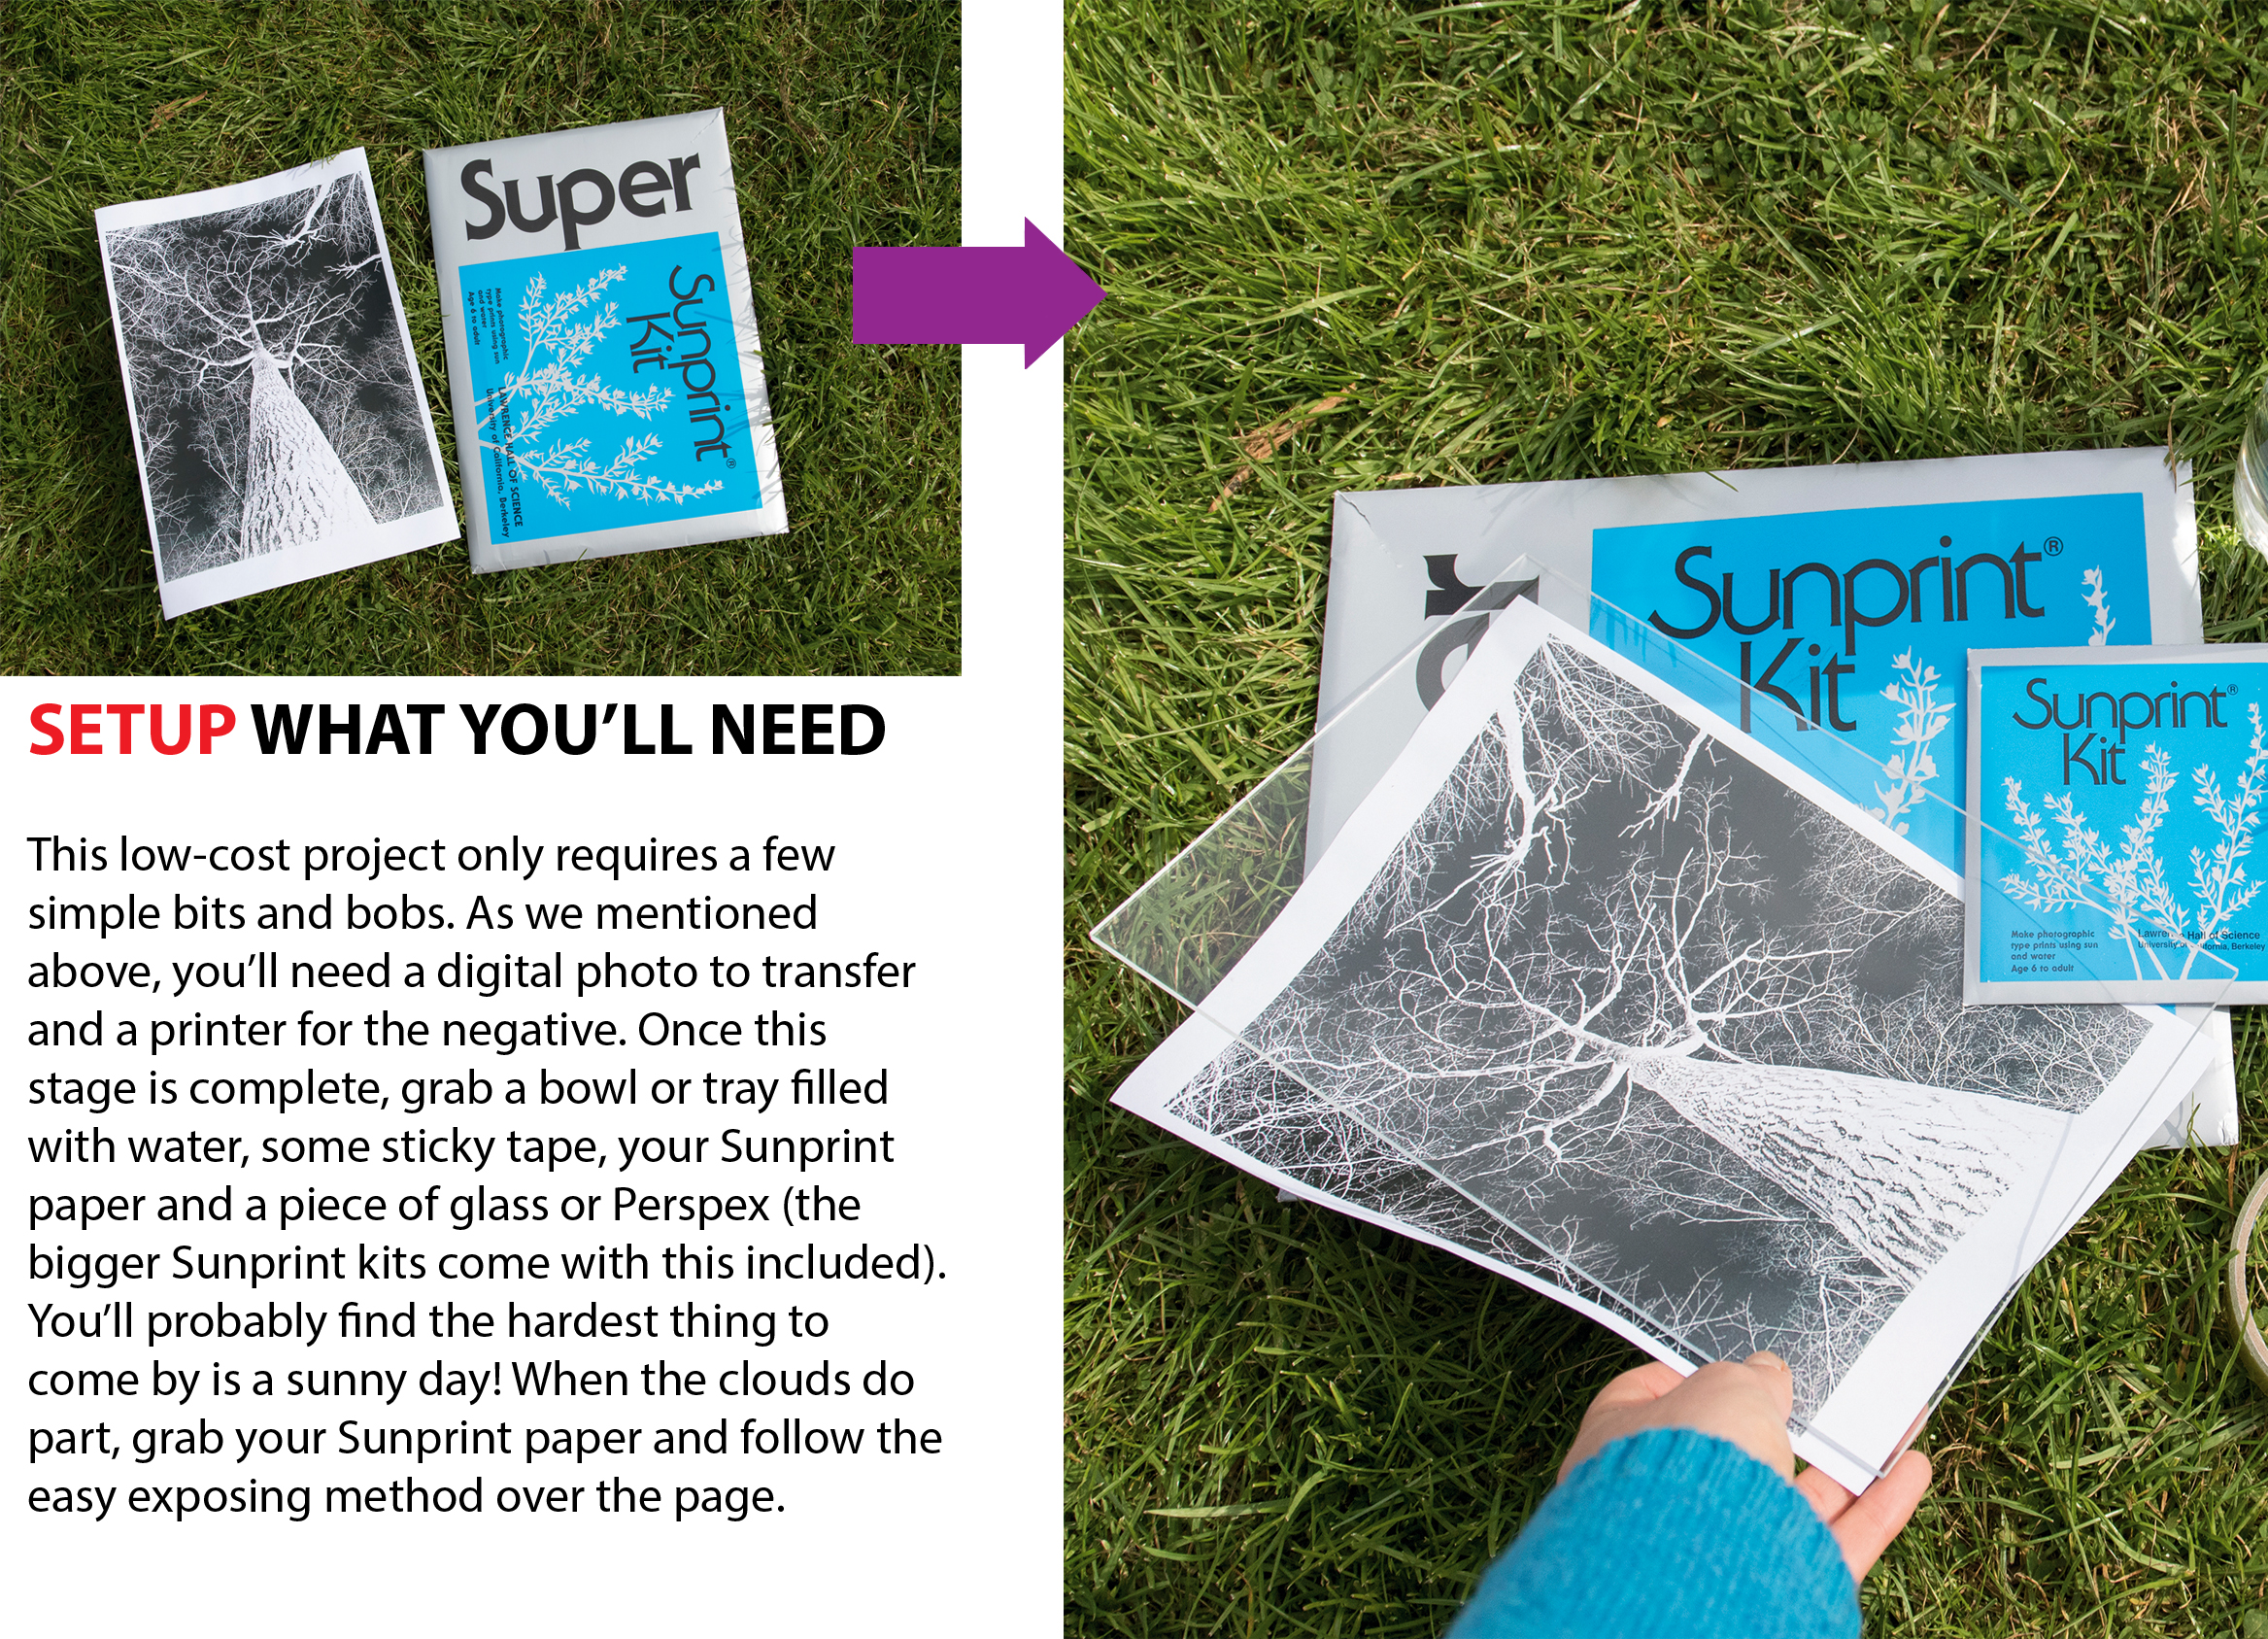
You only need a few household items to get started on this project
STEP BY STEP: Expose the paper
Follow this simple method for unusual homemade prints
01 GATHER SUPPLIES
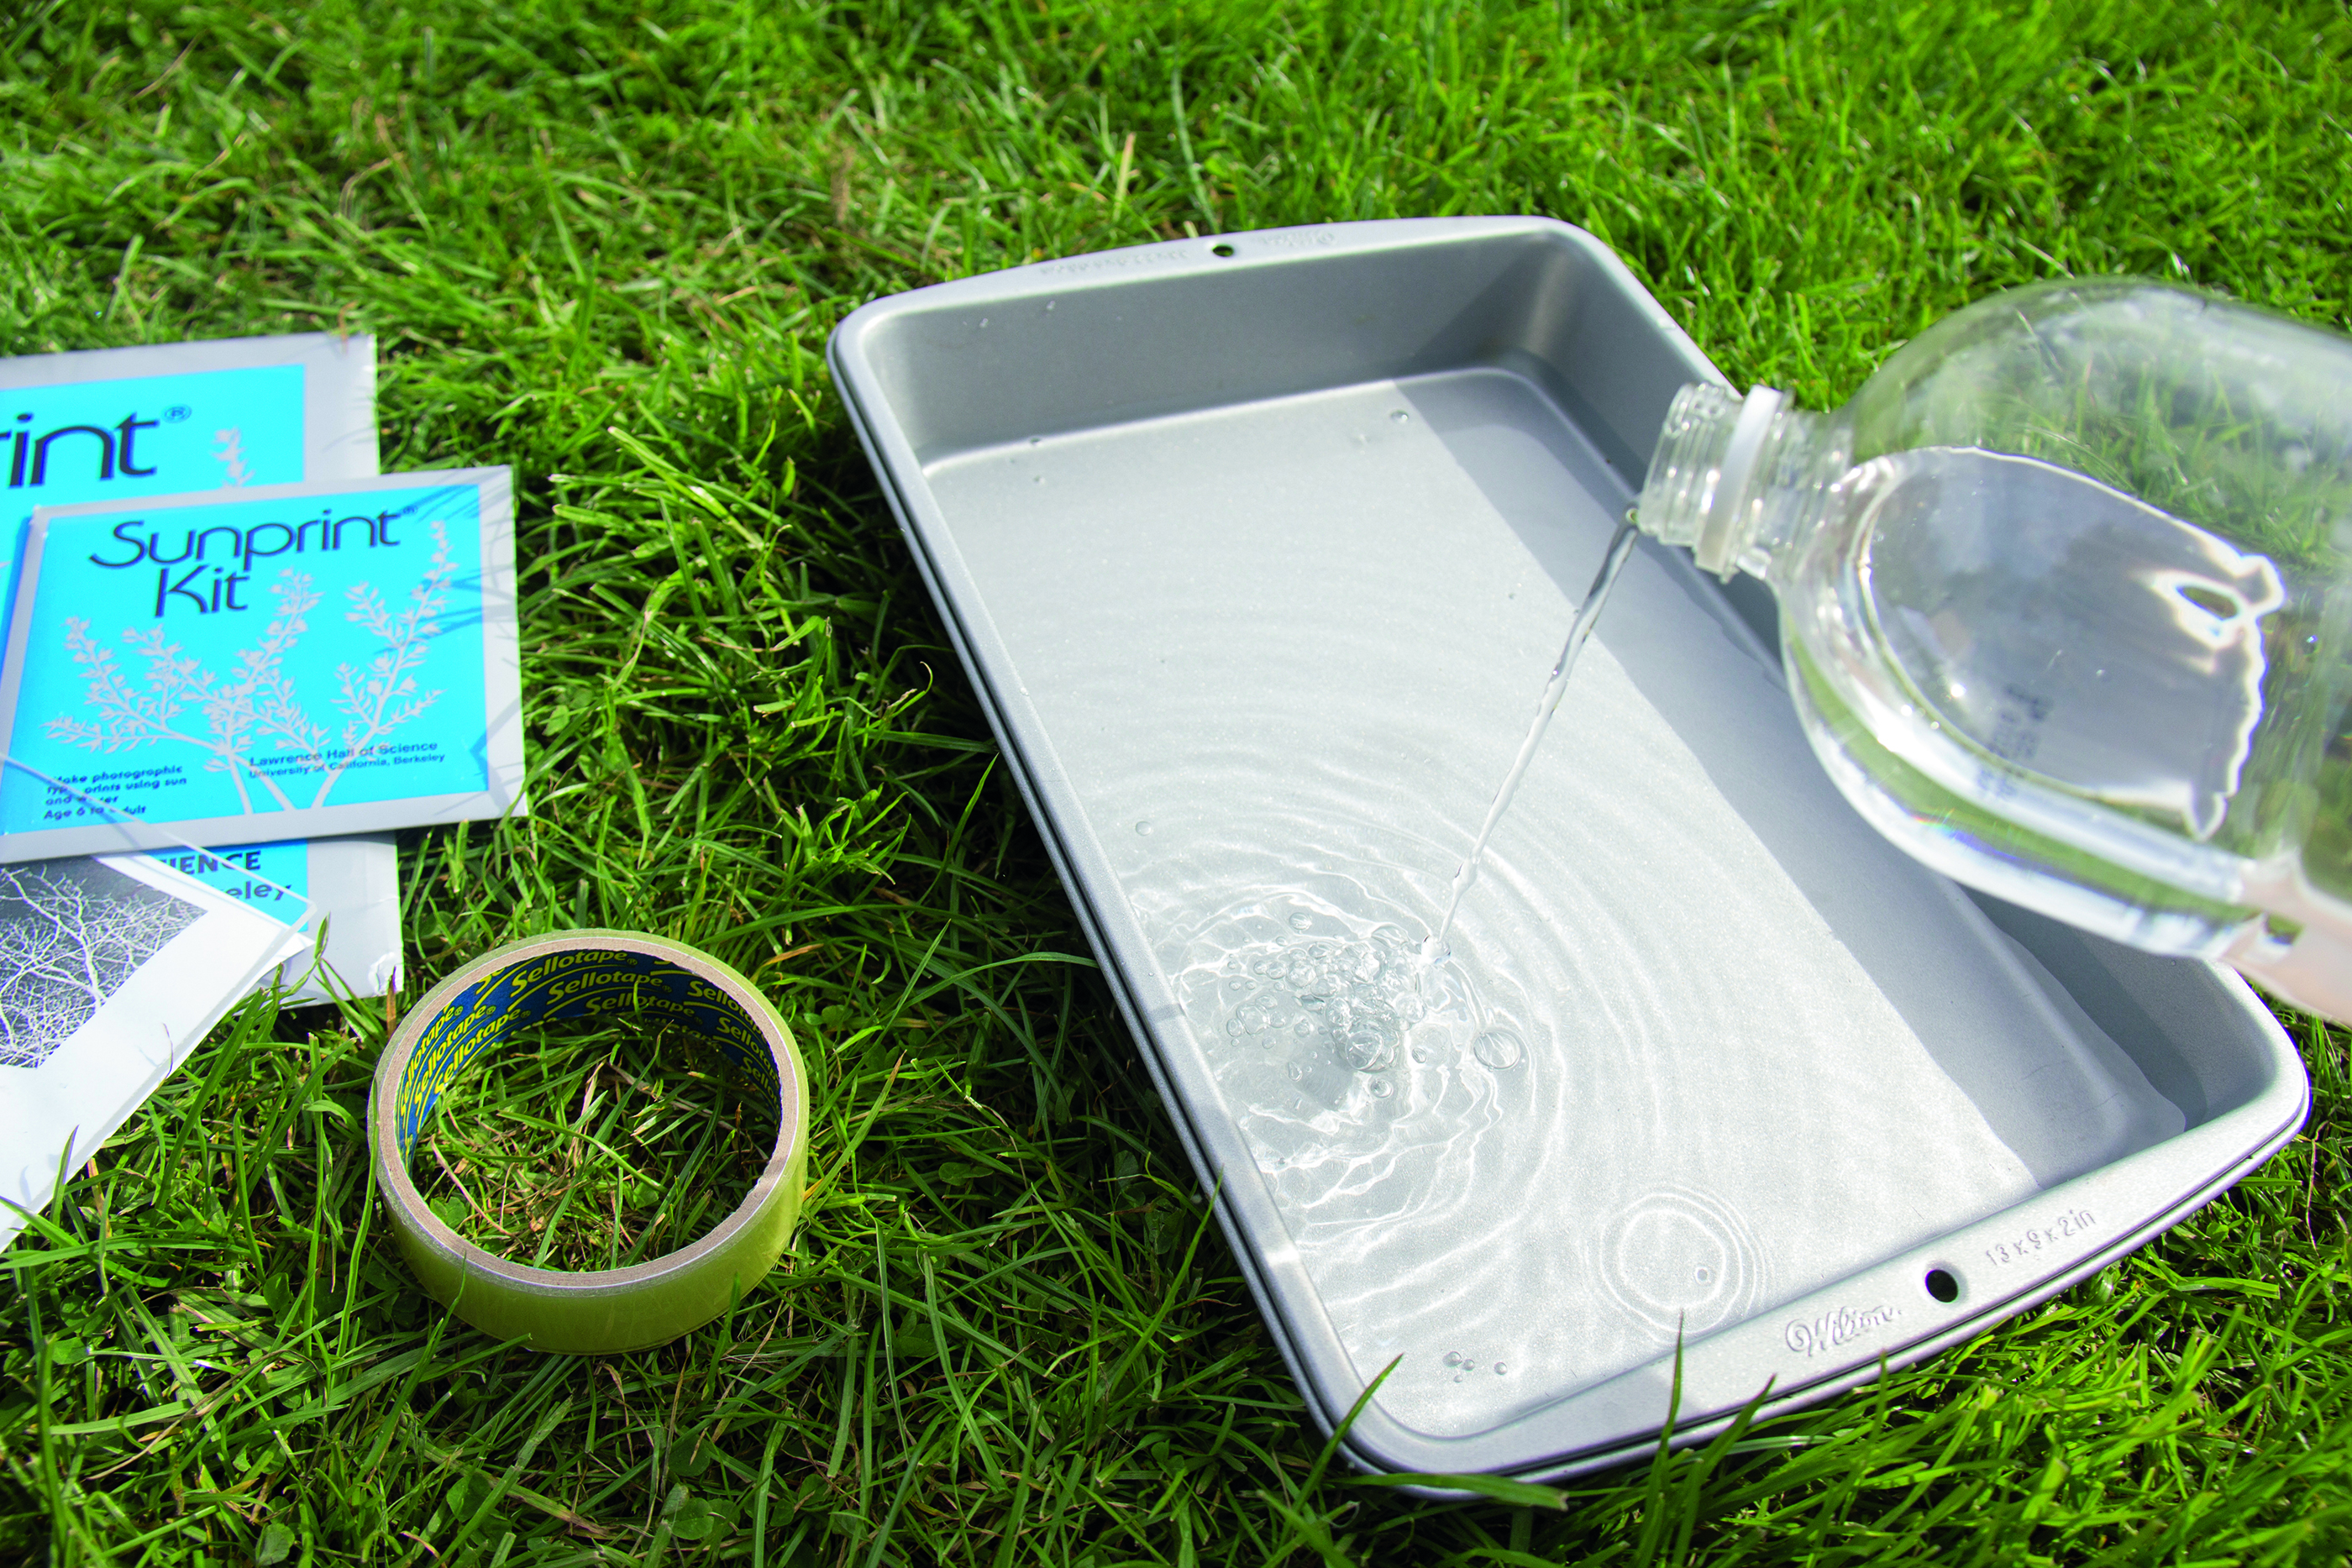
Fill up a developer container with water and set it to one side. Grab some Sunprint paper, roughly matching its size with your negative. If your kit doesn’t have Perspex, use glass from a cheap photo frame.
02 IN THE SHADE
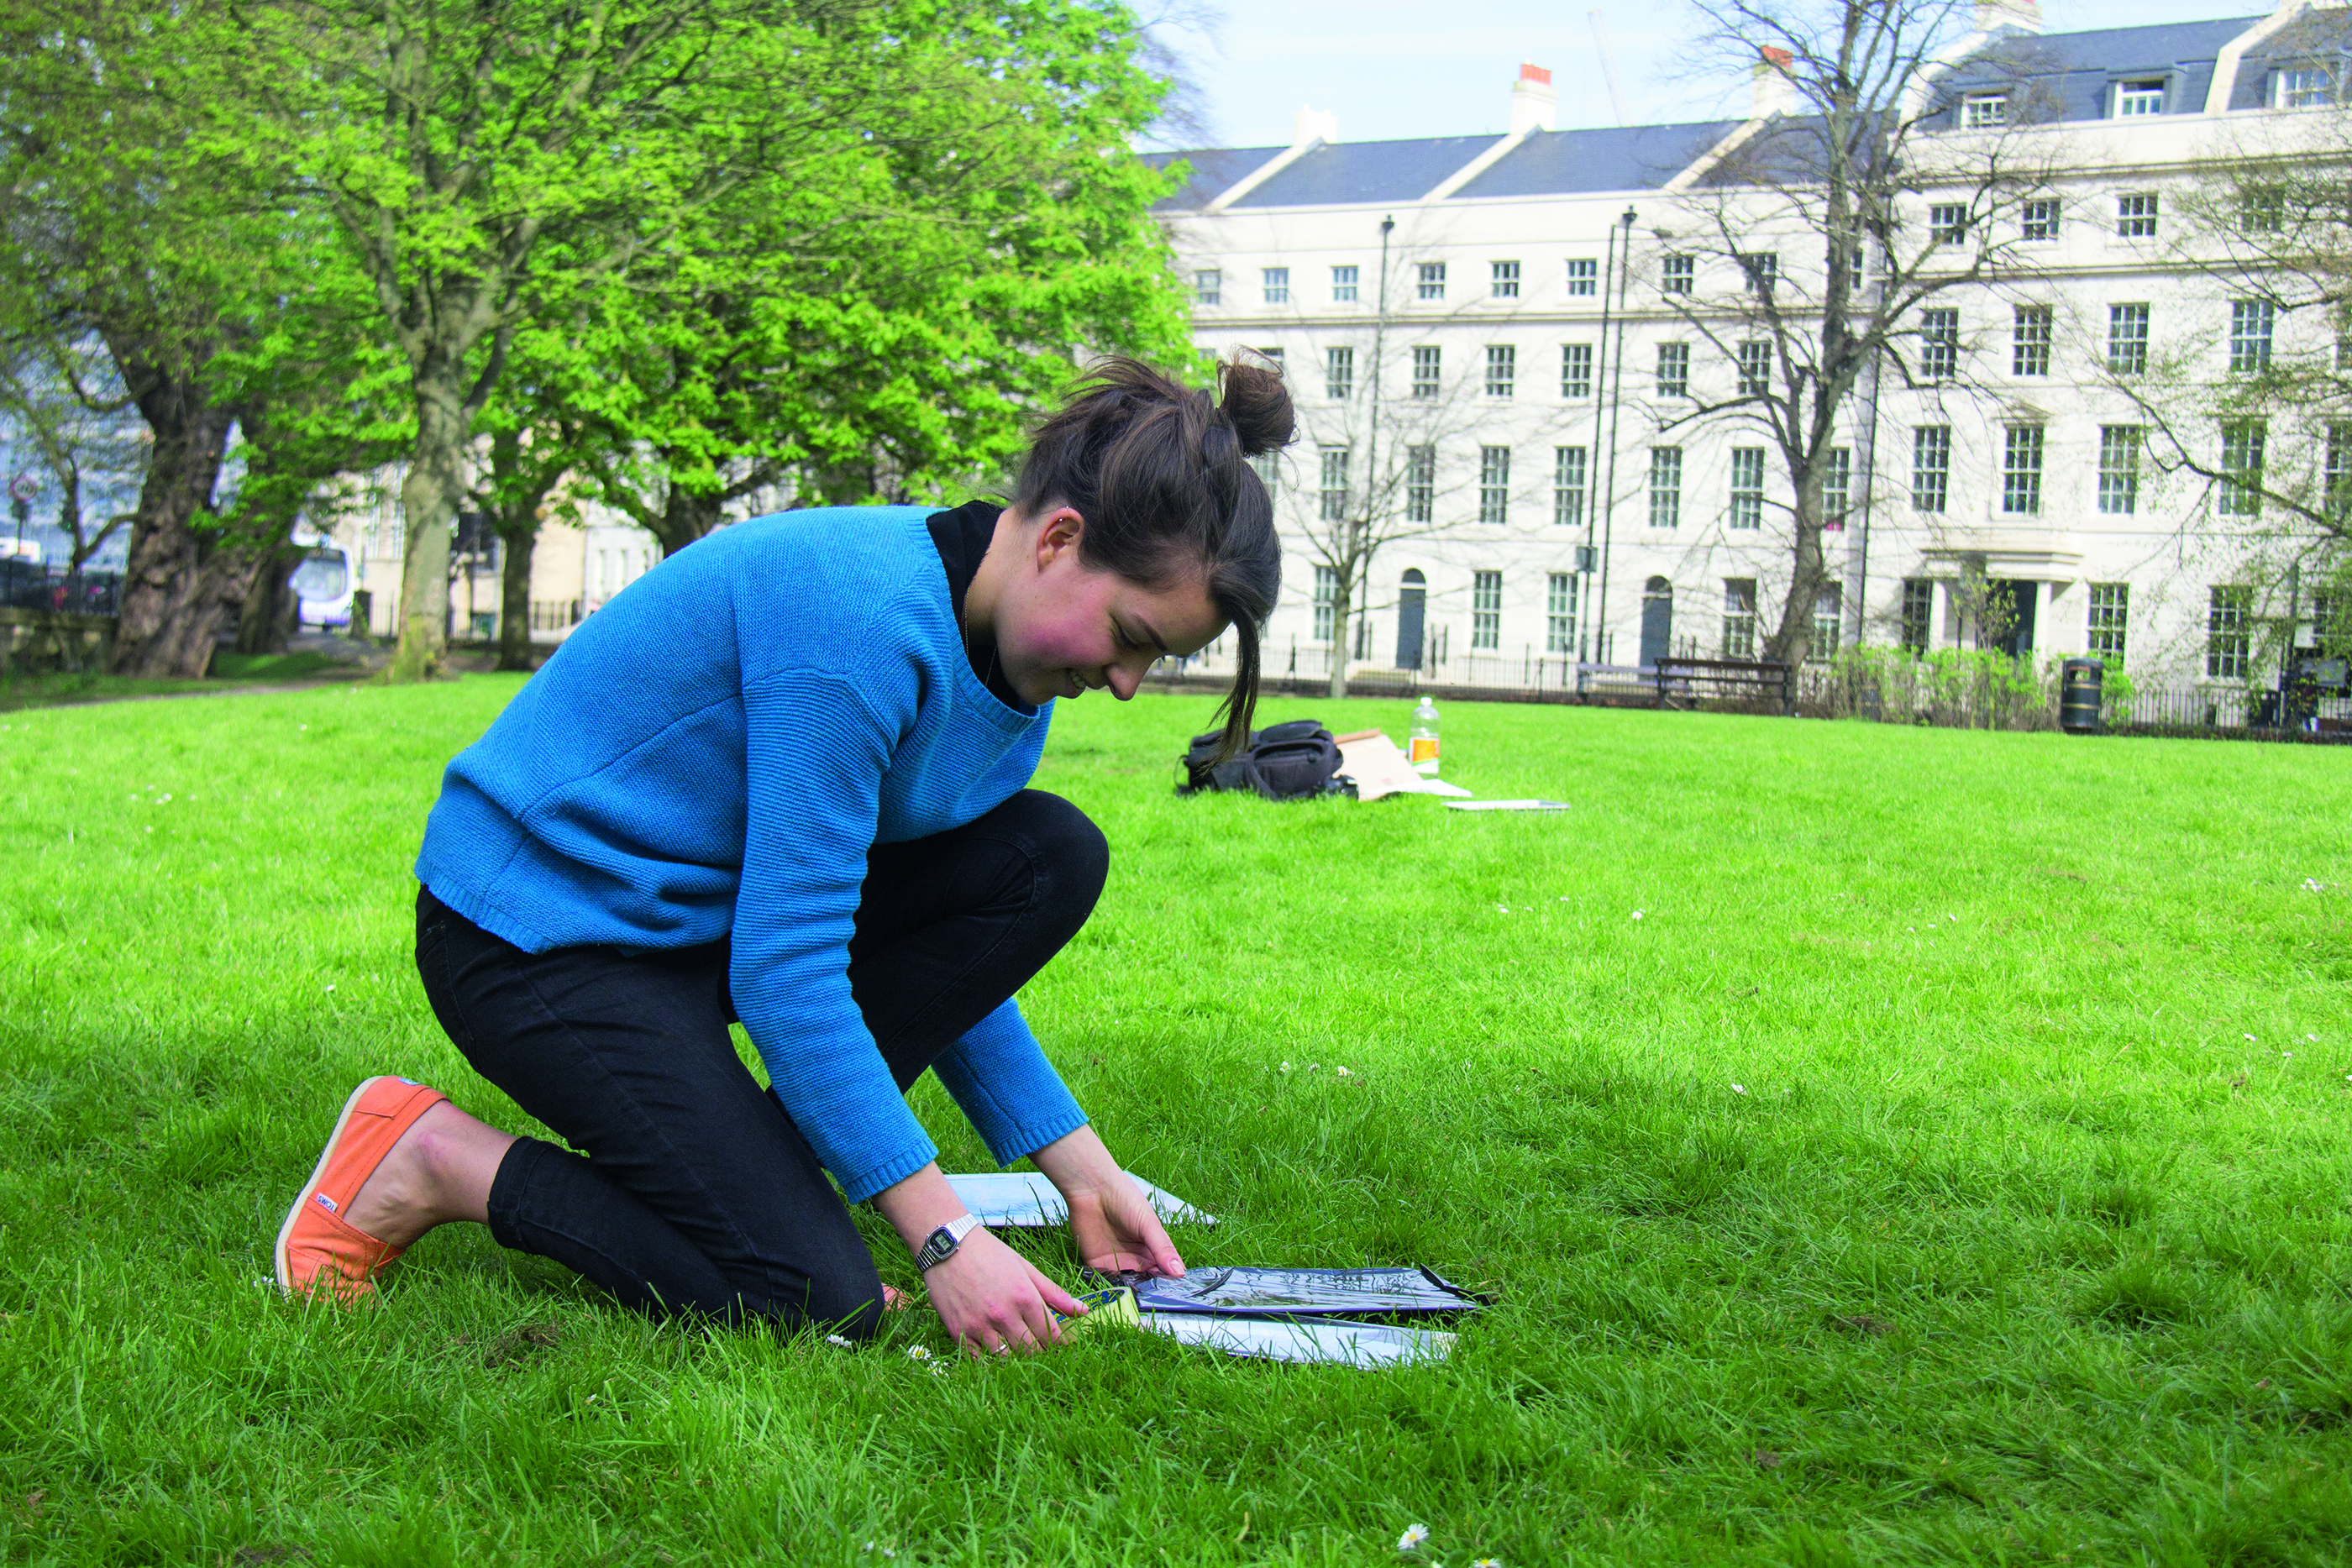
The blue chemicals embedded in Sunprint paper are sensitive to ultra-violet light. It’s important to set up your prints inside or out of direct sunlight, otherwise the paper is likely to start exposing too quickly.
03 PREPARE THE PHOTO
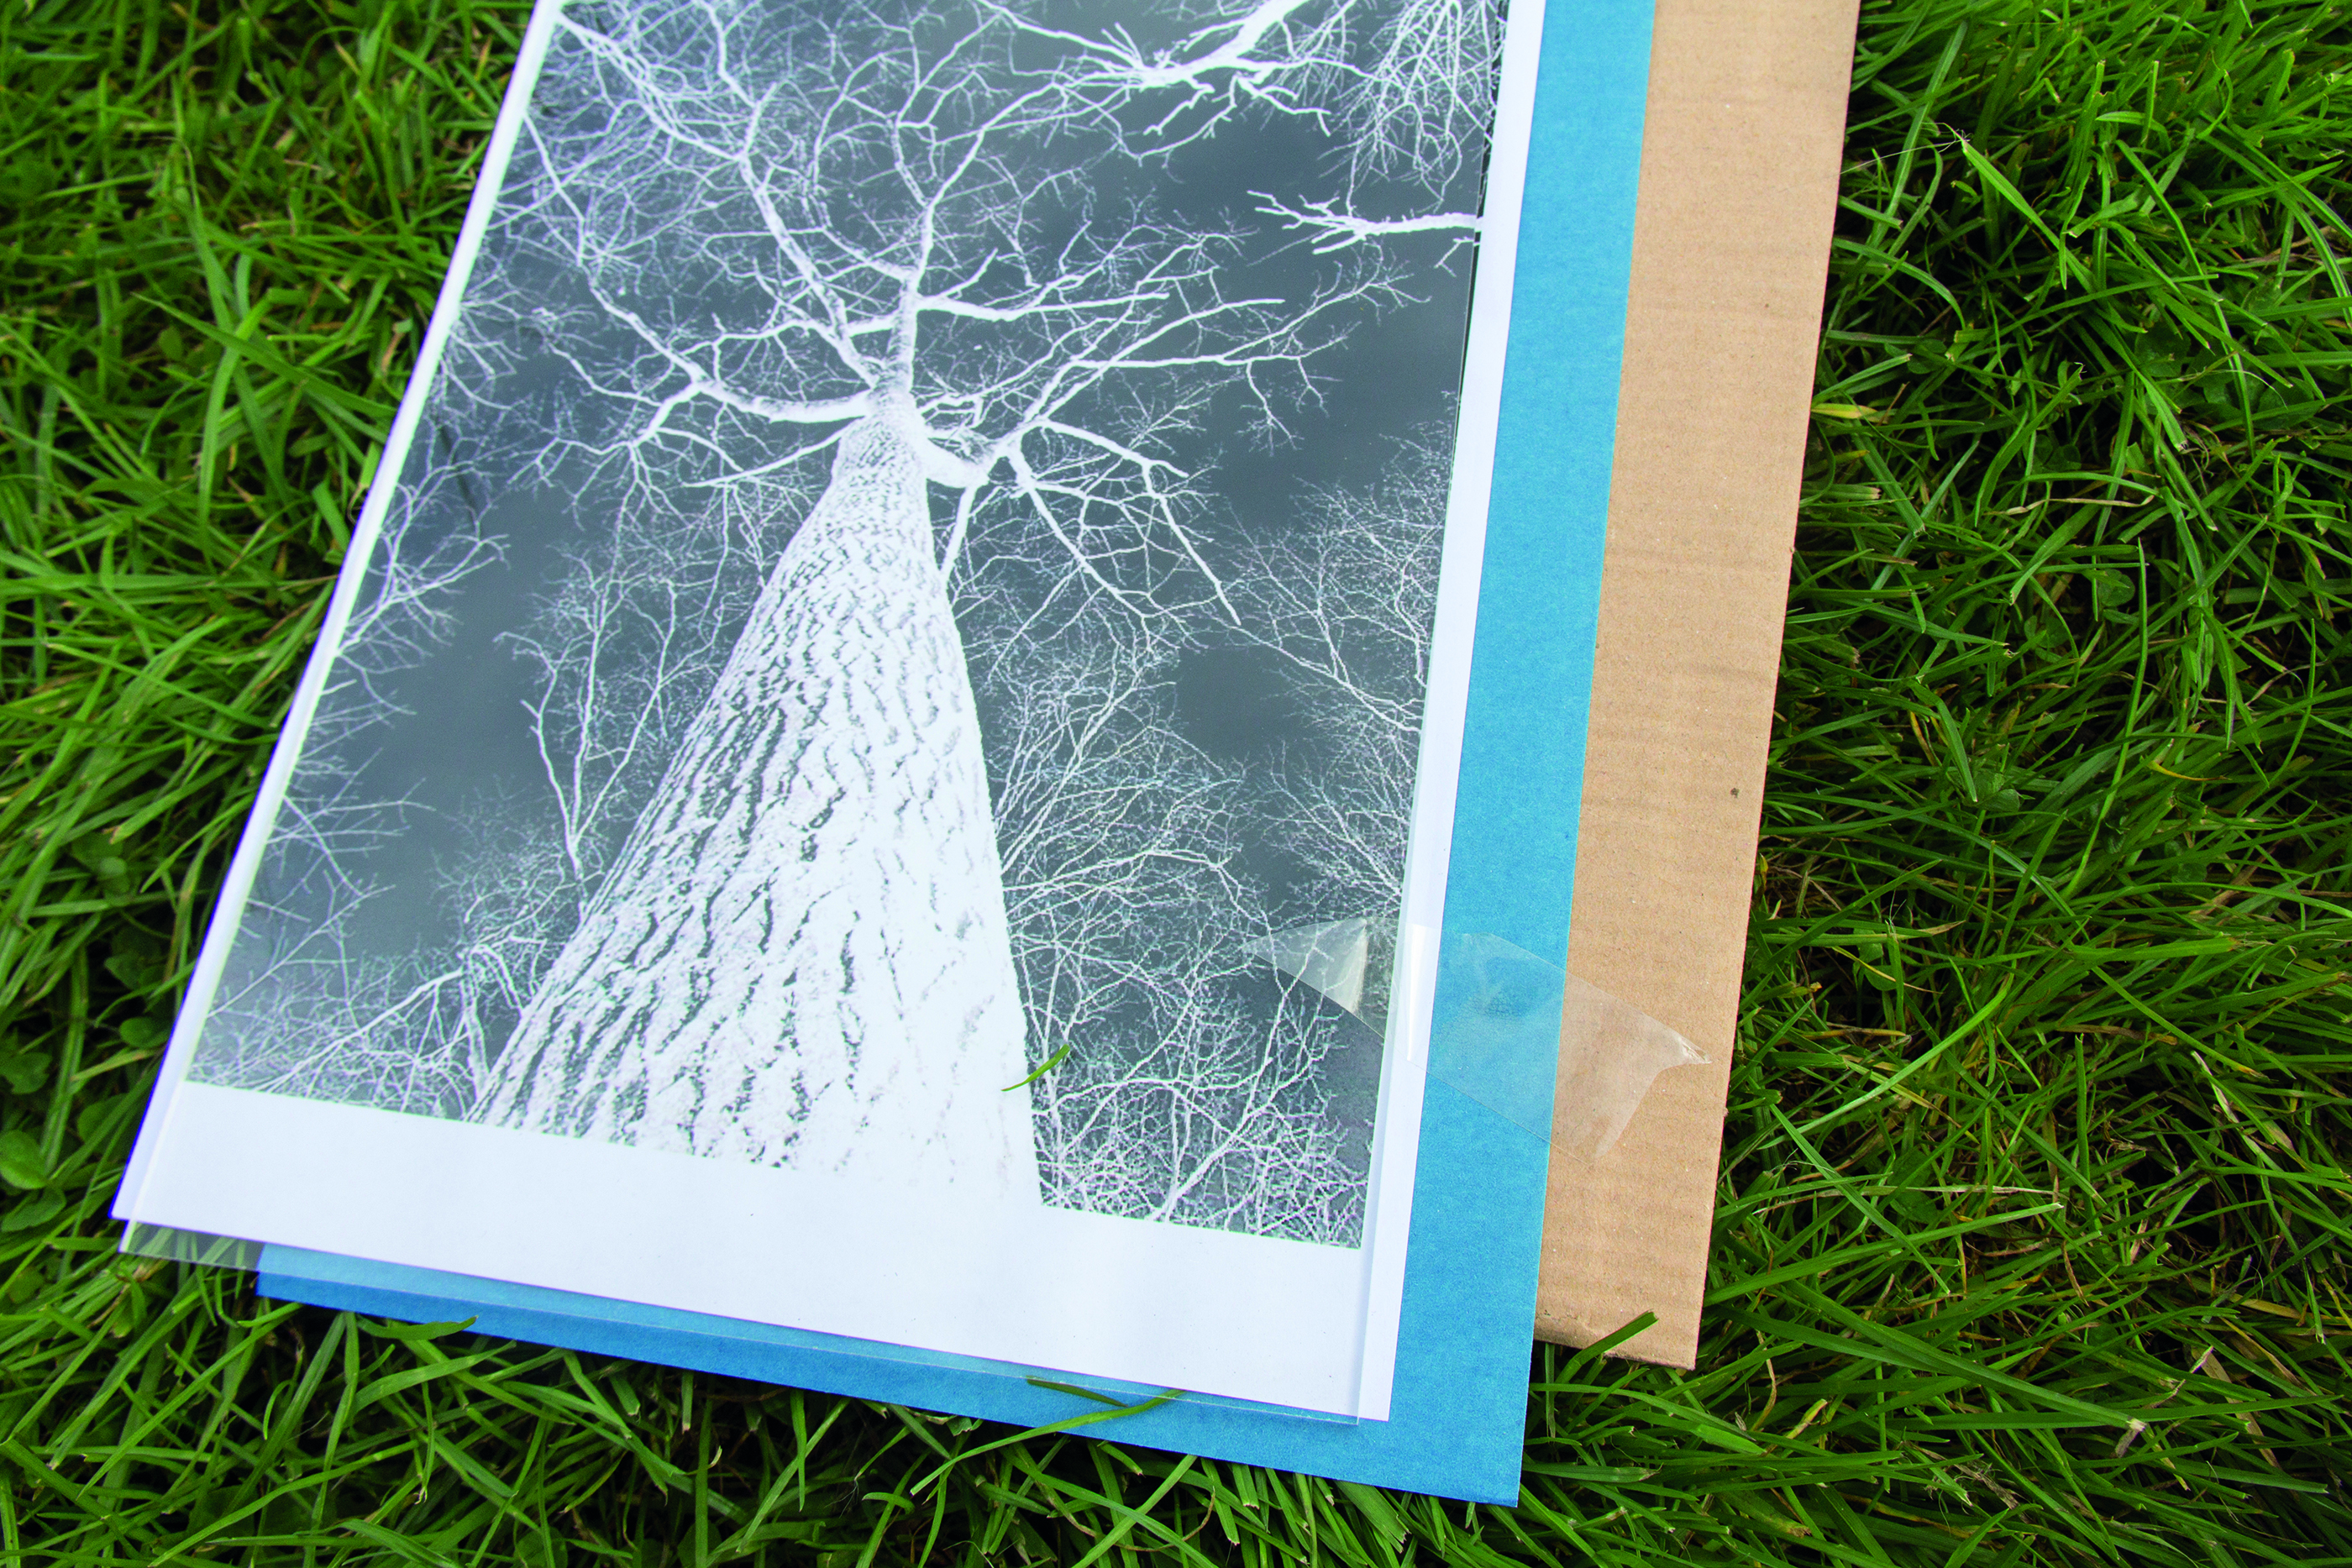
Place your negative on top of the Sunprint paper (blue side up). Line up the glass, negative, Sunprint paper, and a piece of cardboard, then use a few bits of tape to secure it together and stop it sliding around.
04 SUNBATHE YOUR PRINT
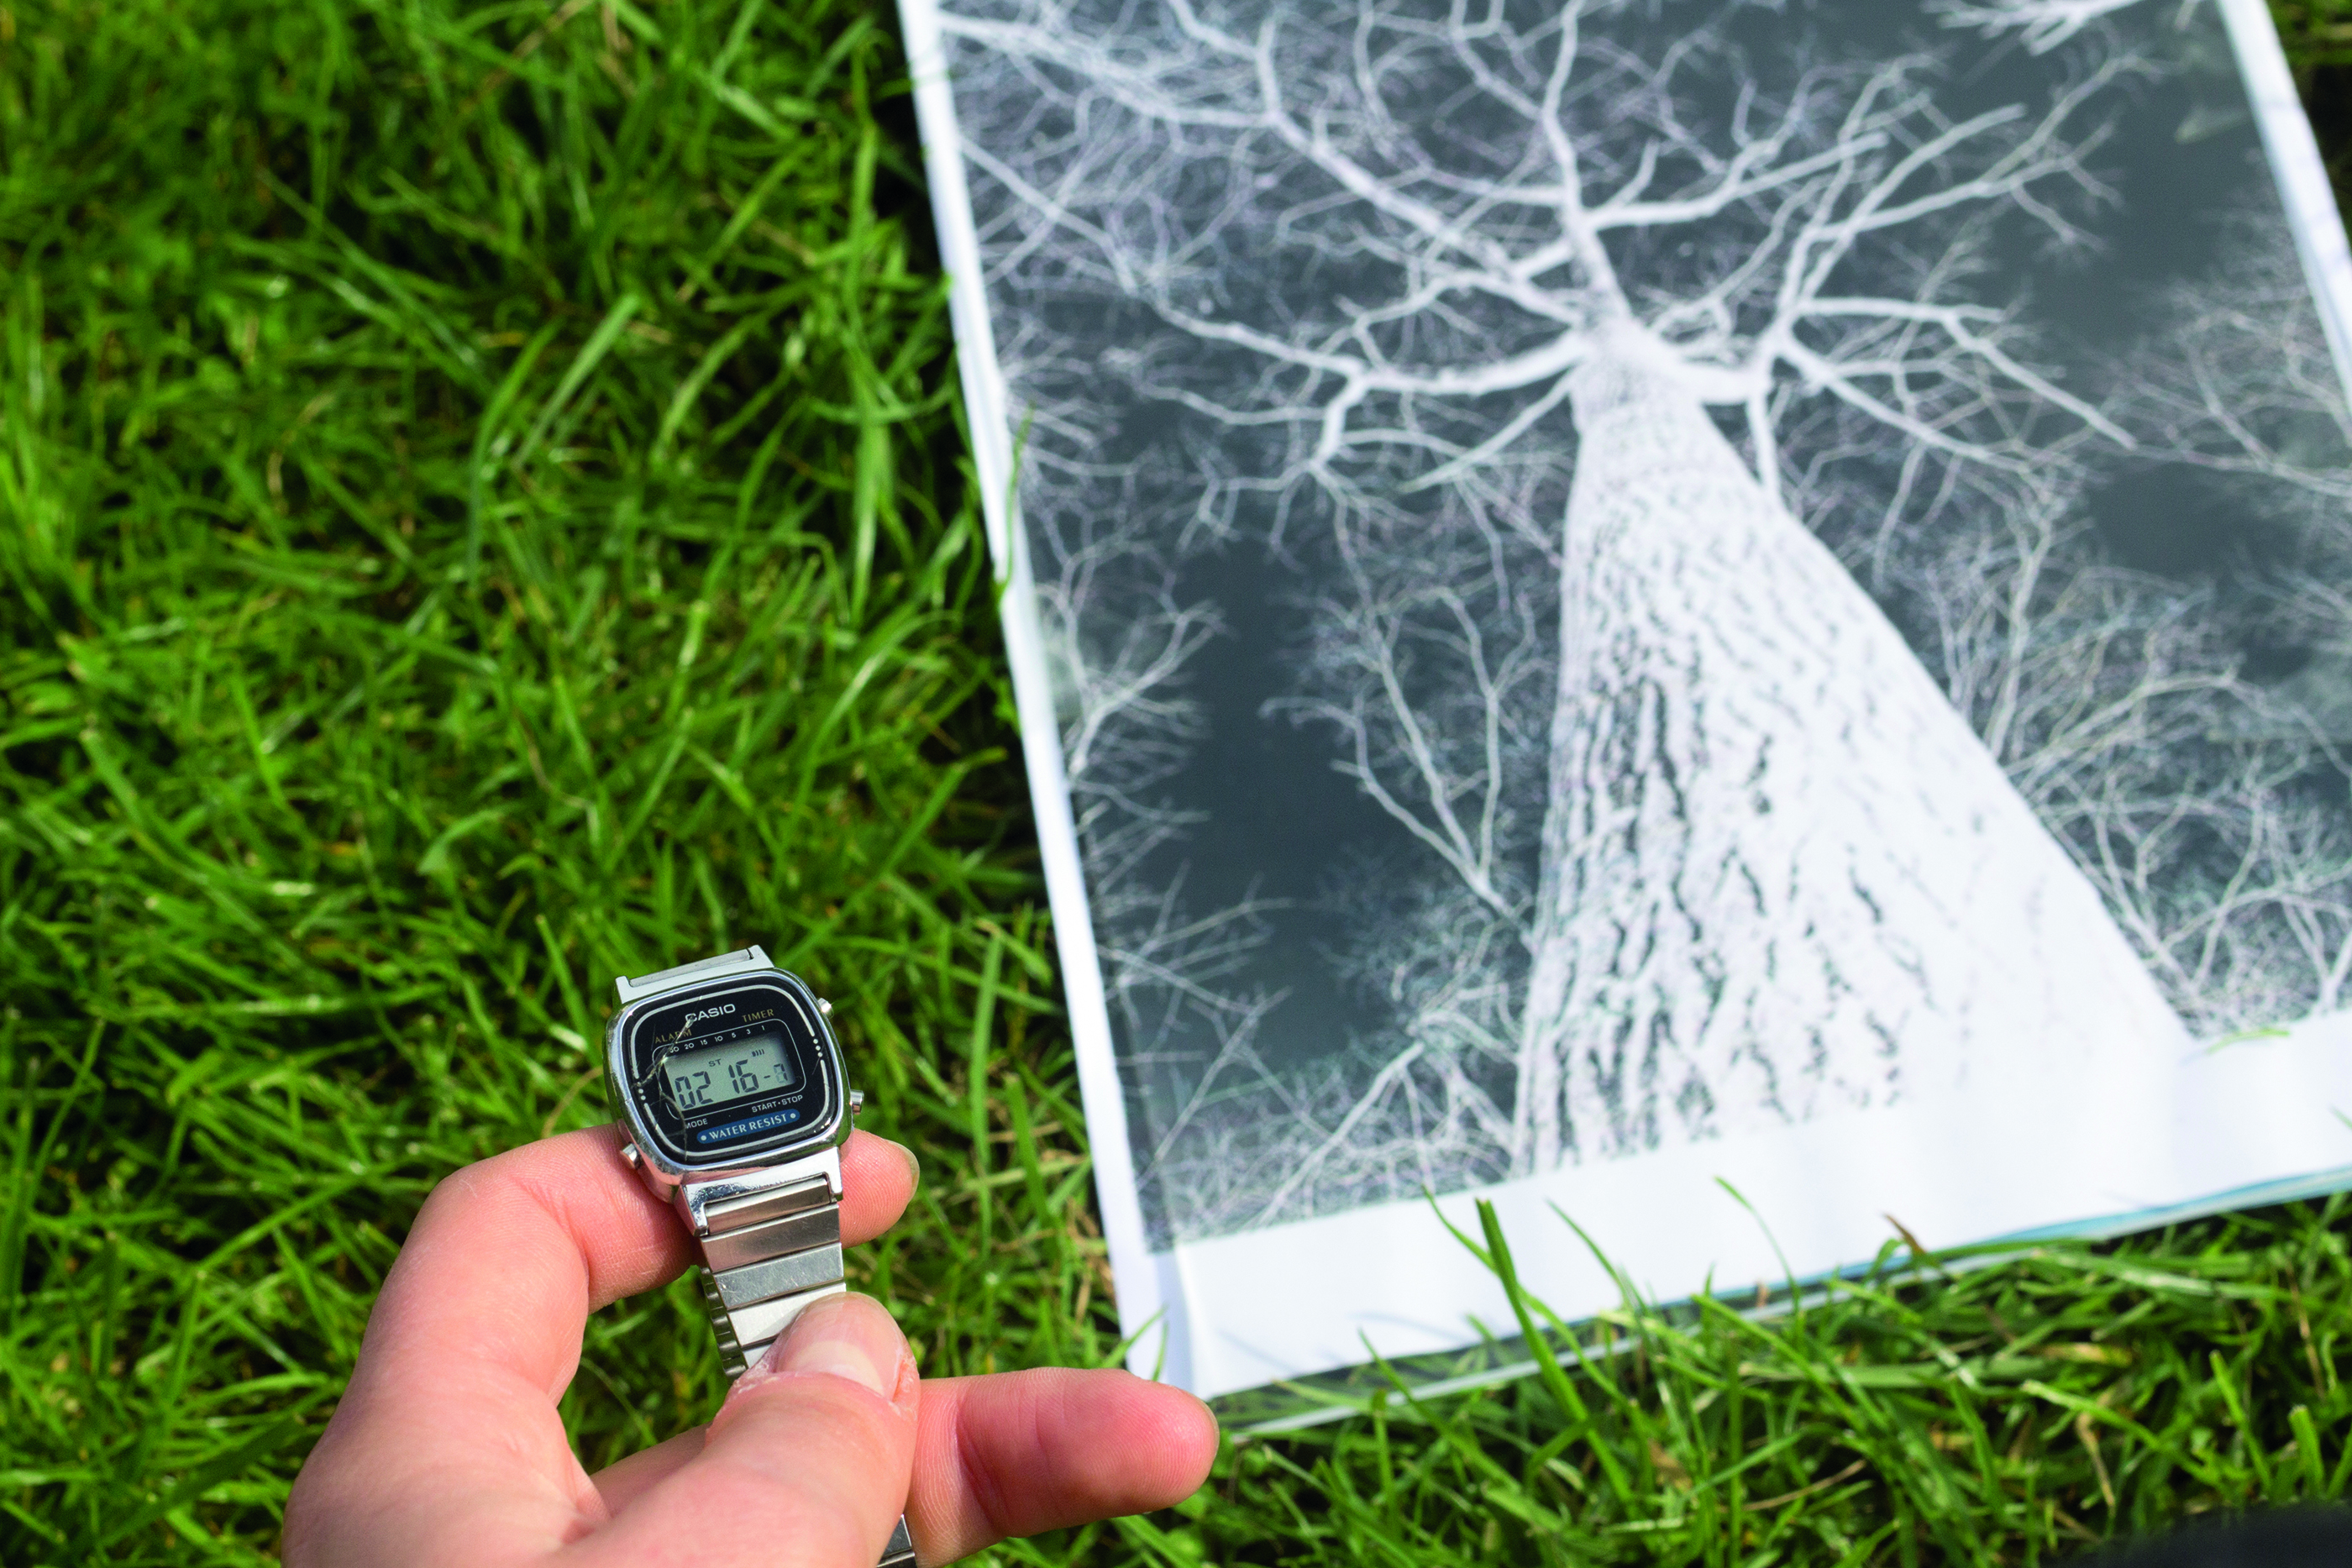
Let the print bask for about 20 minutes, and check the exposure of the paper by lifting a corner back from the frame. When the edges are white, it’s fully exposed. On a cloudy day, it might need an extra five minutes.
05 HIT THE WATER
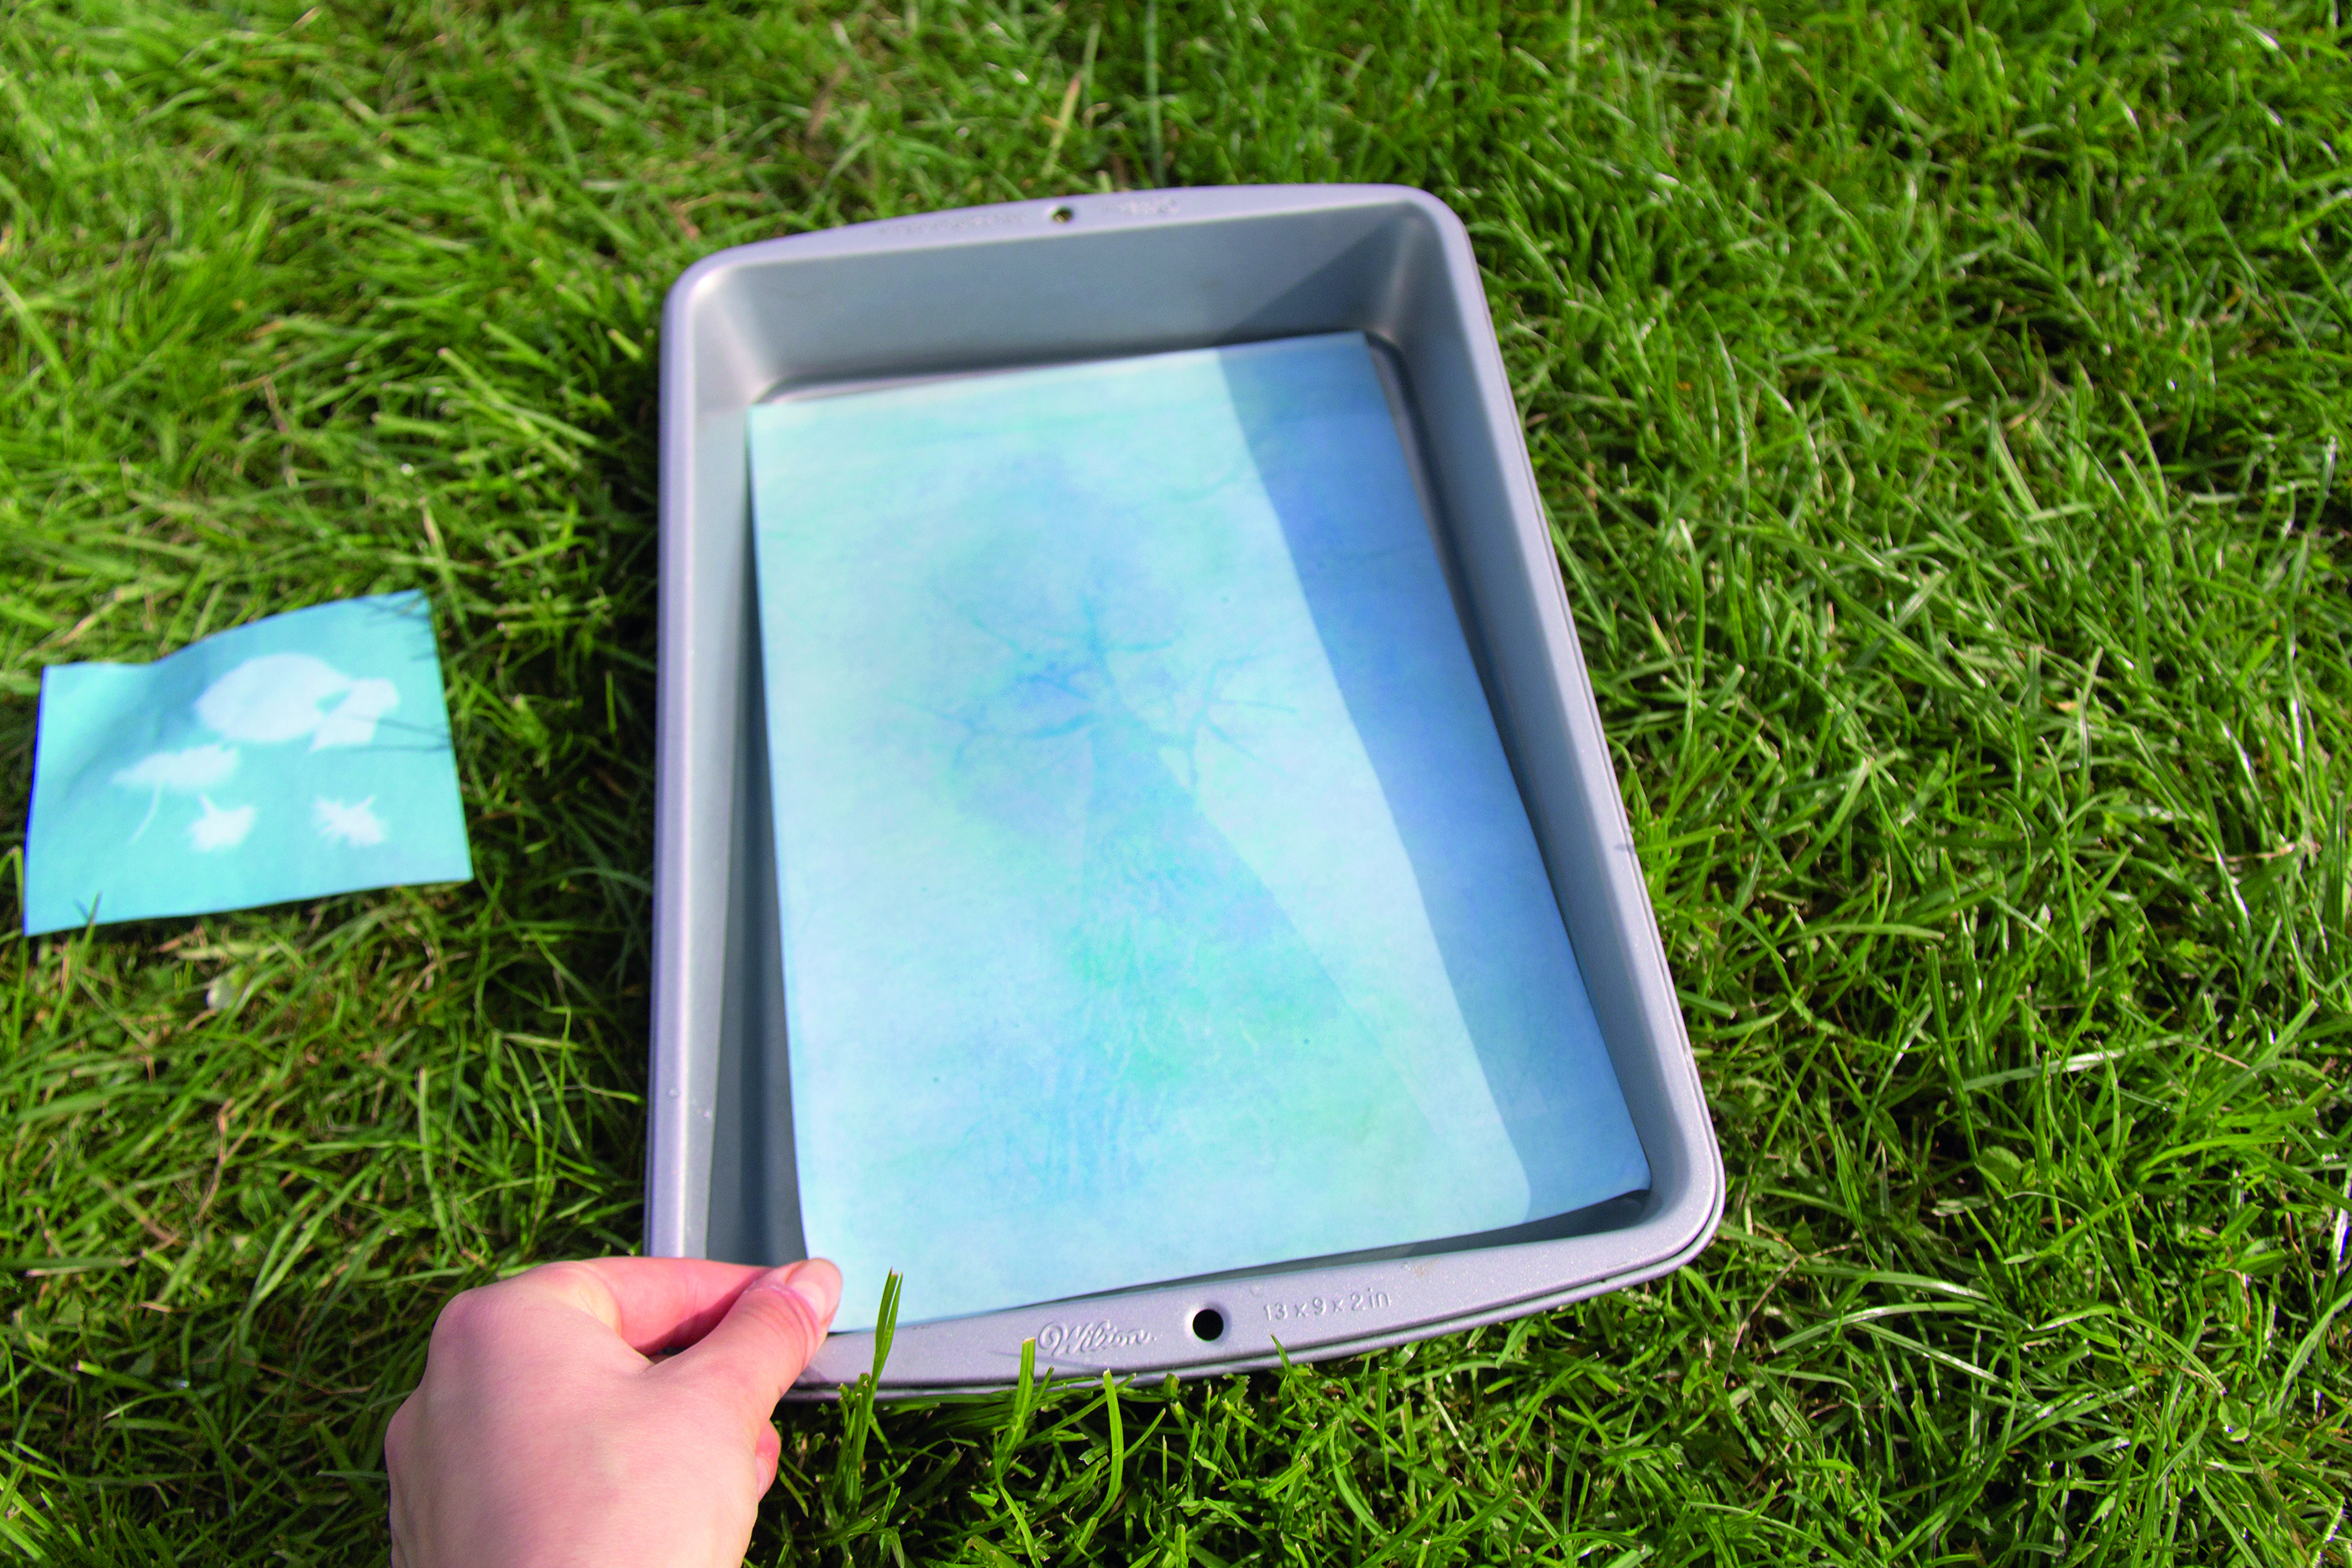
When there’s a clear imprint of your image on the paper, rinse your Sunprint. Take it off the back of the glass and place it into the water tray. It’ll change from a negative to a positive before your eyes.
06 SEE THE MAGIC
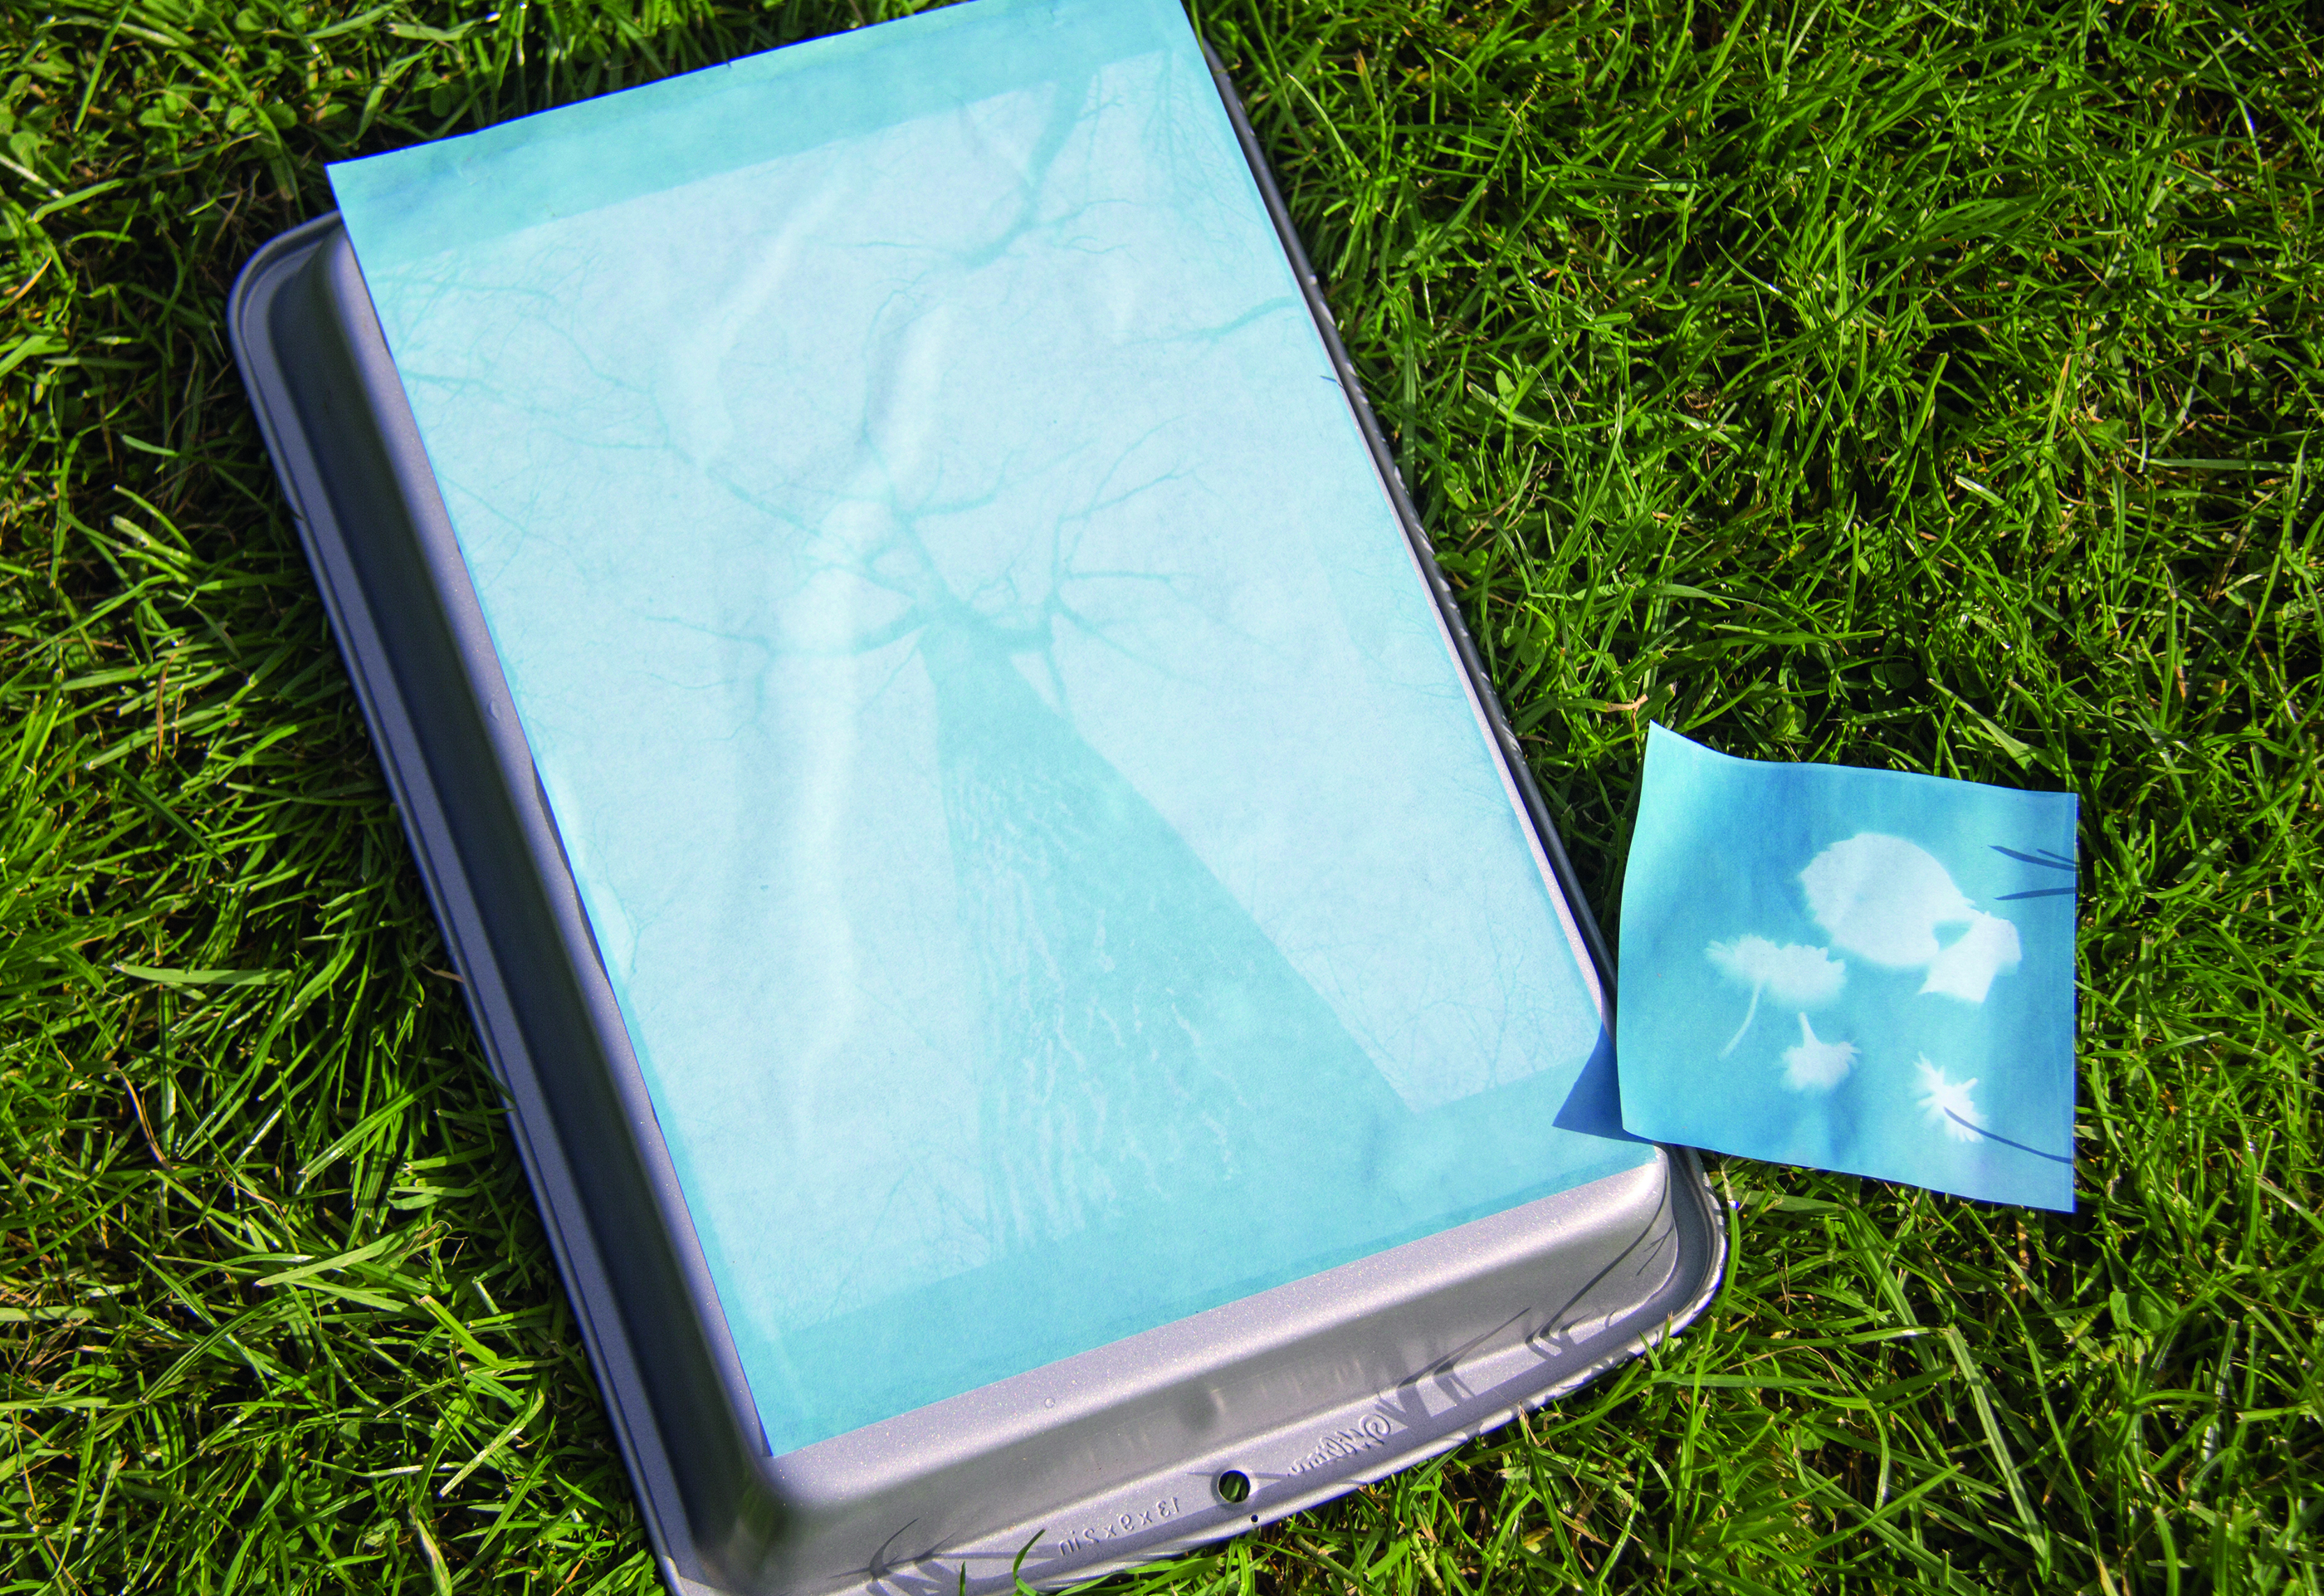
Take your print out of the water after a few minutes and let it dry naturally. The colours will deepen as the paper dries. Avoid touching the surface of the paper and, ideally, peg it up or lie it flat somewhere. Voila!
ALTERNATIVE APPROACH: USE OBJECTS
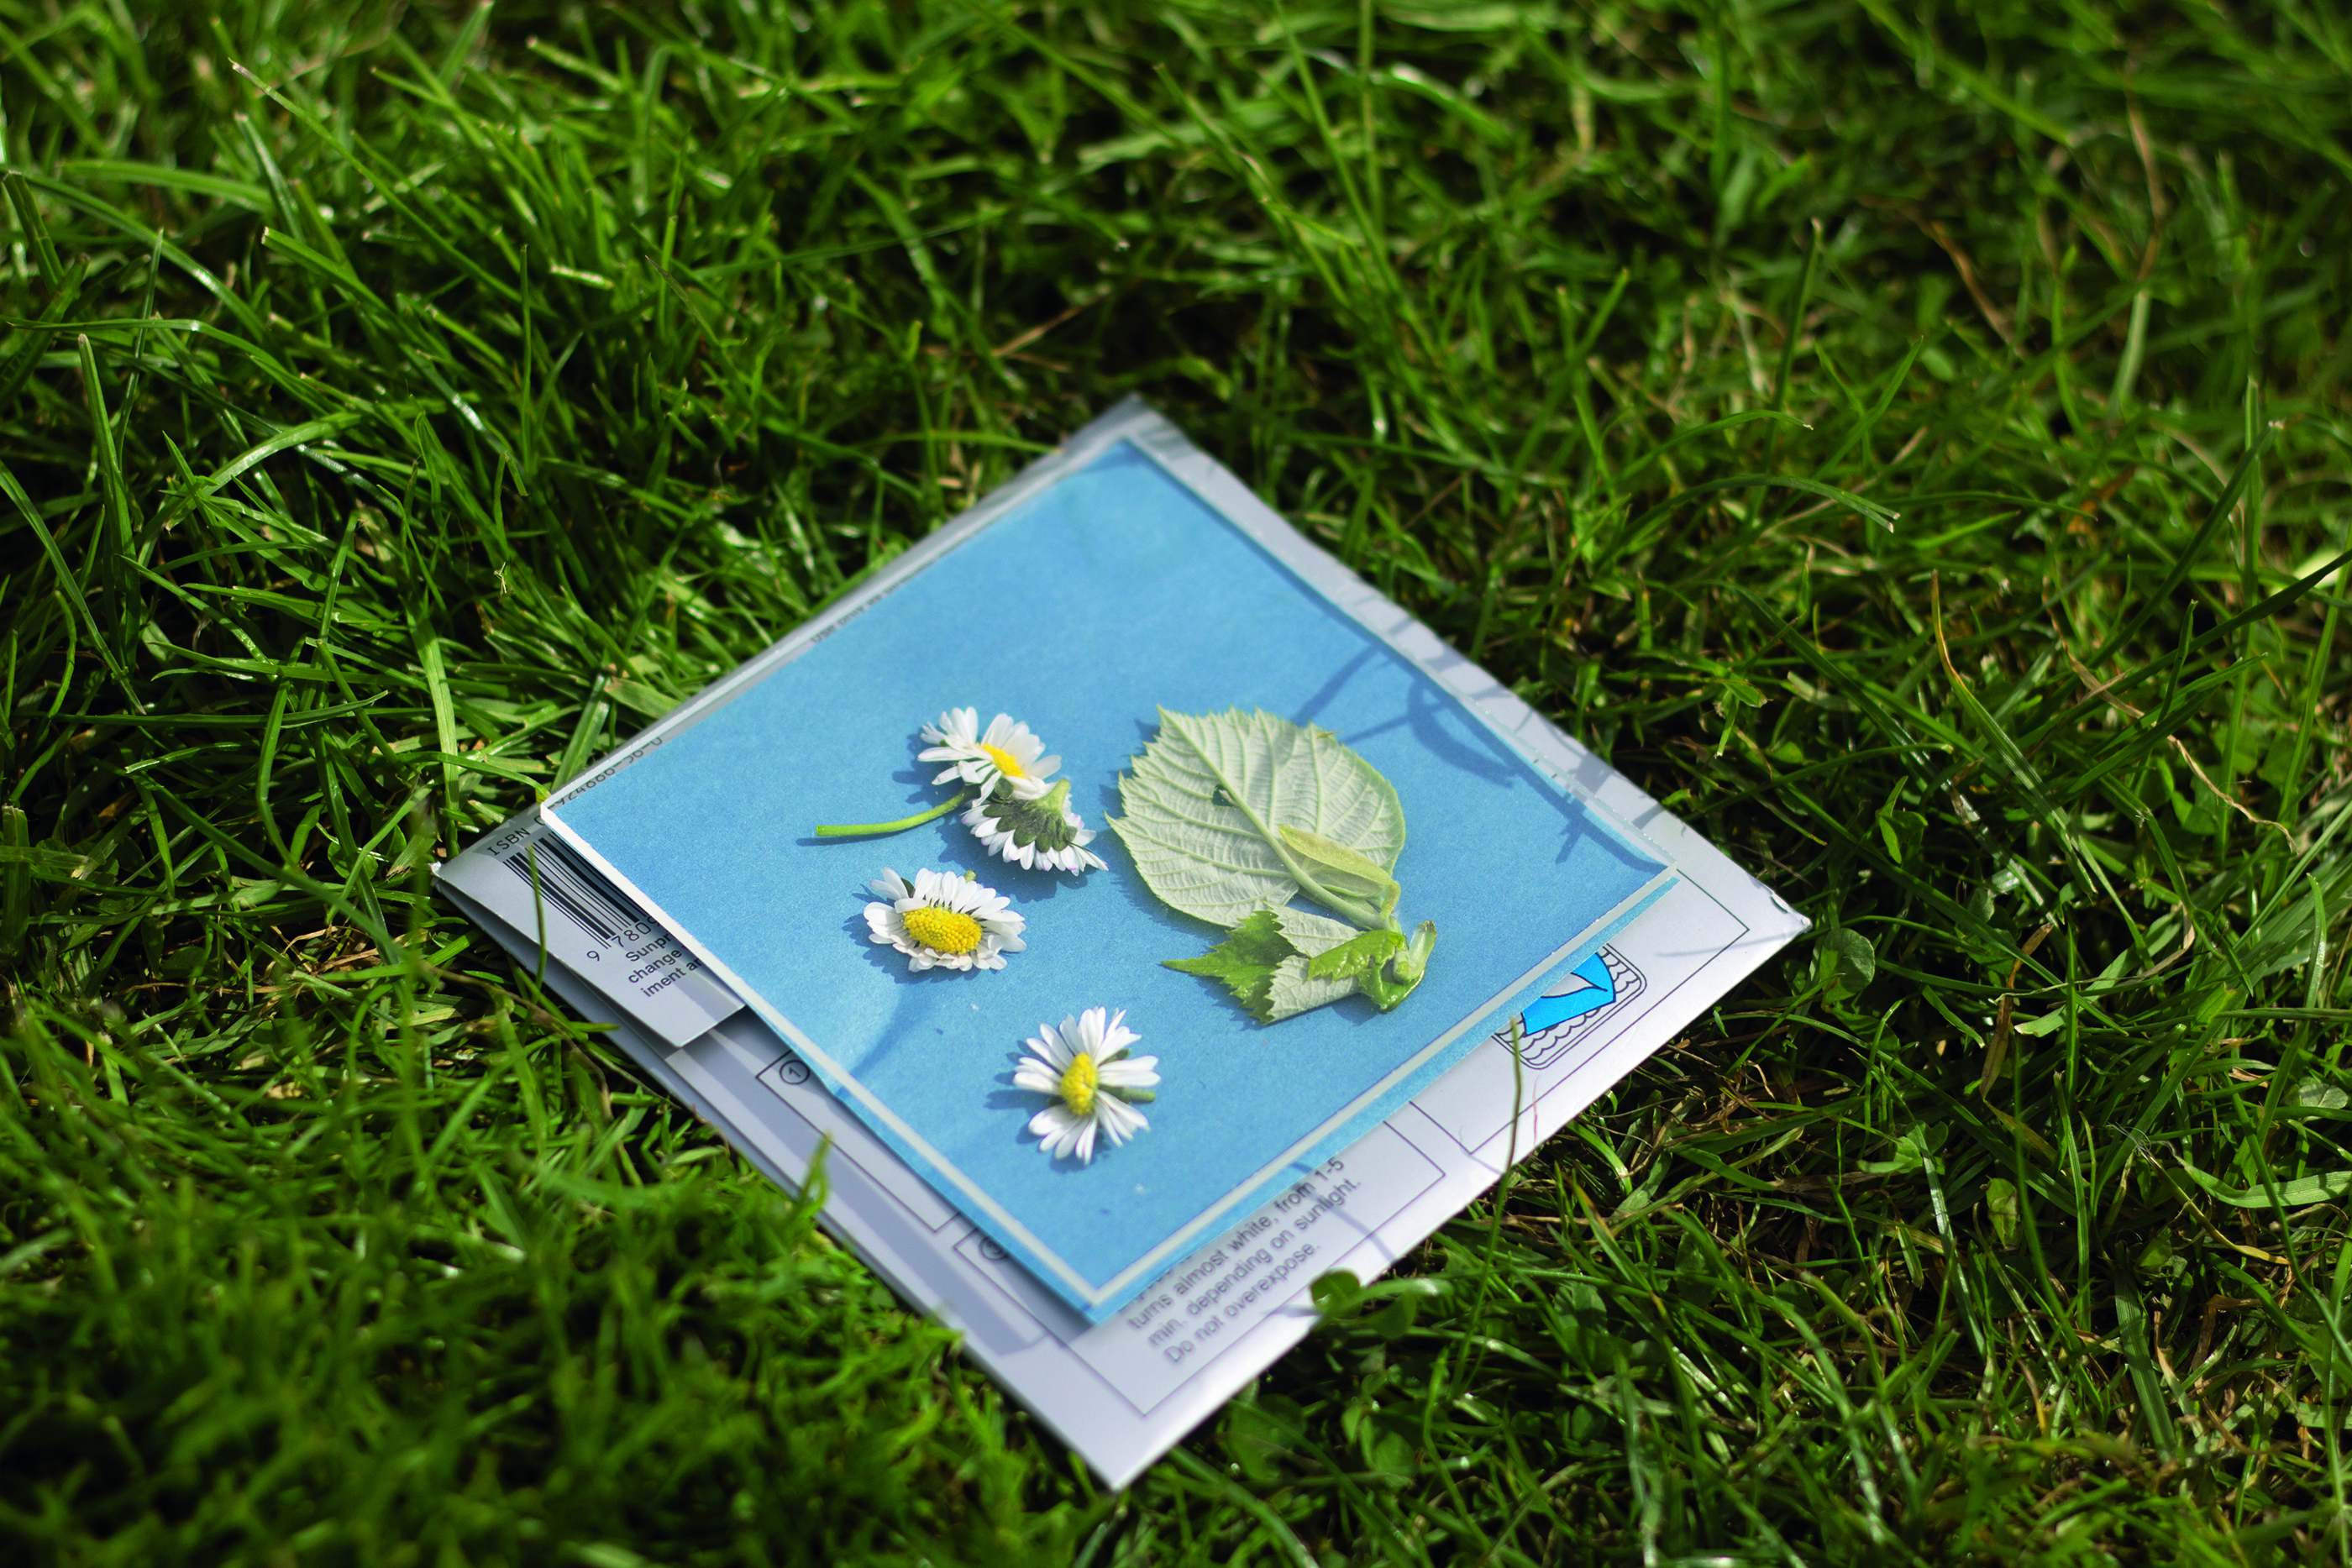
Why not try placing flat objects, such as feathers and leaves, directly on to the Sunprint paper? Flatten your favorite objects between the paper and the acrylic or glass sheet, then follow the same exposing and developing method. The exposure time needed will be much shorter, as the sunlight won’t have to penetrate any paper.
Read more
Photography for kids – 10 ideas for kids to shoot
Home photography ideas: Capture flower photos outside with a DIY studio
Home photography ideas: Digitize slides and prints using your camera
Get the Digital Camera World Newsletter
The best camera deals, reviews, product advice, and unmissable photography news, direct to your inbox!

Lauren is a writer, reviewer, and photographer with ten years of experience in the camera industry. She's the former Managing Editor of Digital Camera World, and previously served as Editor of Digital Photographer magazine, Technique editor for PhotoPlus: The Canon Magazine, and Deputy Editor of our sister publication, Digital Camera Magazine. An experienced journalist and freelance photographer, Lauren also has bylines at Tech Radar, Space.com, Canon Europe, PCGamesN, T3, Stuff, and British Airways' in-flight magazine. When she's not testing gear for DCW, she's probably in the kitchen testing yet another new curry recipe or walking in the Cotswolds with her Flat-coated Retriever.
