Home photography ideas: Landscape lighting using a drone!
Take your landscape photography to the next level by painting your vista with LED lights attached to a drone
Watch video: Home photography ideas – Landscape lighting using a drone!
Photography projects at home
• Home photography ideas
Useful home photography kit
• Best tripods
• Best lighting kits
• Best reflectors
• Best macro lenses
Capturing beautiful landscape photography is a fantastic way to make the most out of your drone. However, while camera drones can capture fantastic landscape photography by themselves, there's actually another way you can make use of them for stunning photos.
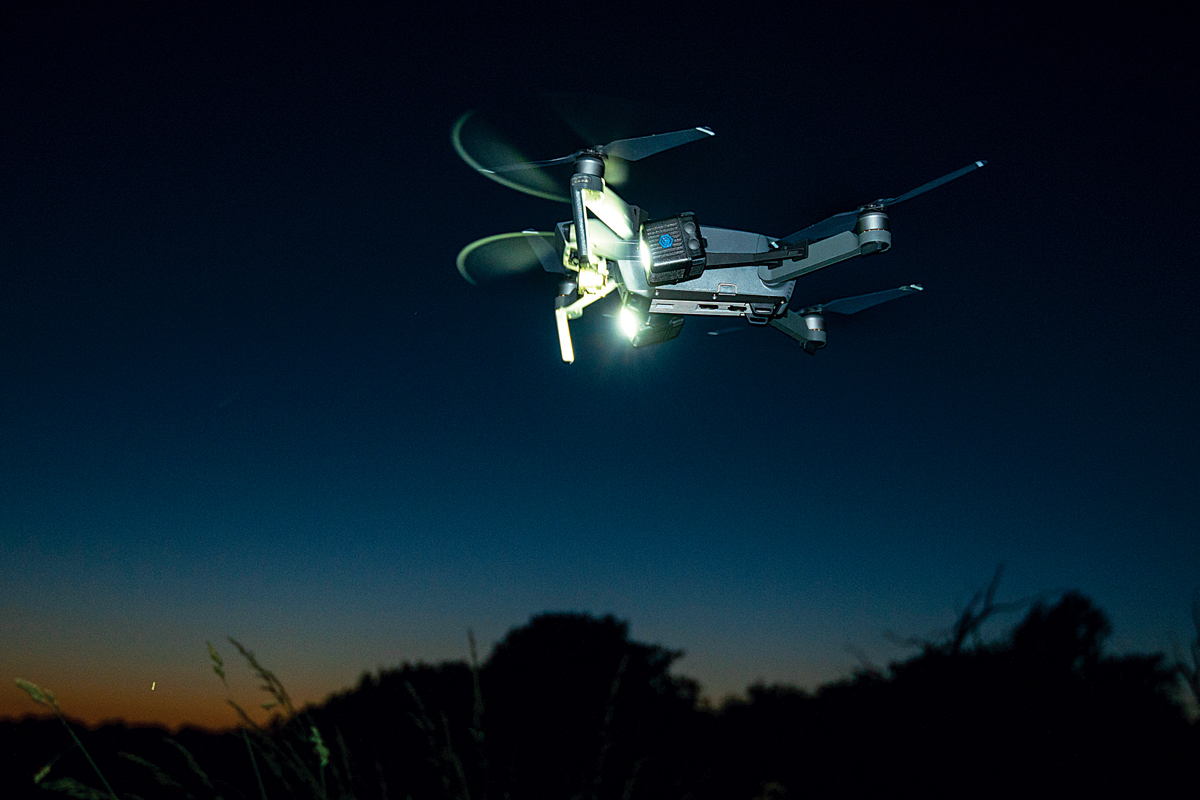
By strapping a couple of high-powered LEDs to a drone we can transform it into a highly mobile lighting rig, capable of spotlighting outdoor scenes and subjects from airborne angles for incredible landscape photography.
Not only does this open up all kinds of interesting photo opportunities – from long exposure ‘drone trails’ to otherworldly ‘flying saucer’ lighting – it also means we can pair the aerial prowess of a drone with the (vastly superior) capture quality of our DSLRs.
In this project we’ll explain how it’s done. Obviously this is something that's best attempted at dusk or after dark, as this is when the LEDs will make a real difference – and when the ethereal lighting will look most effective.
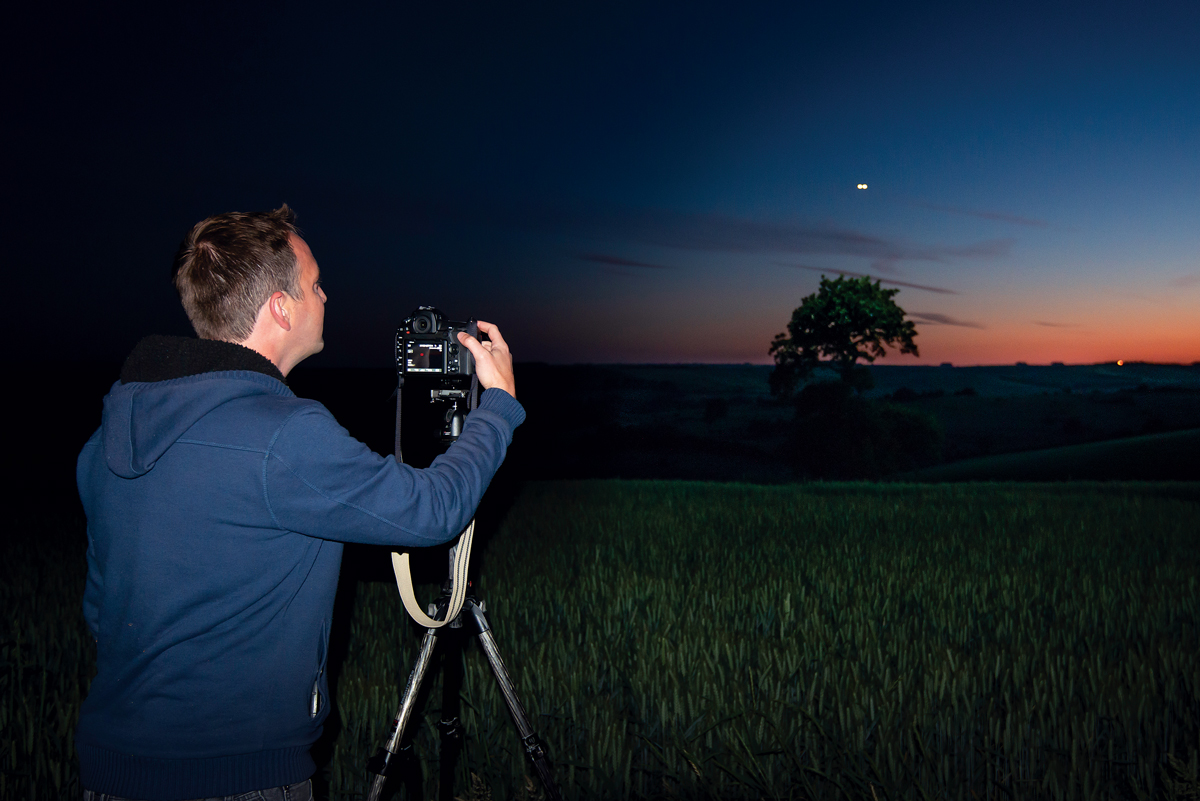
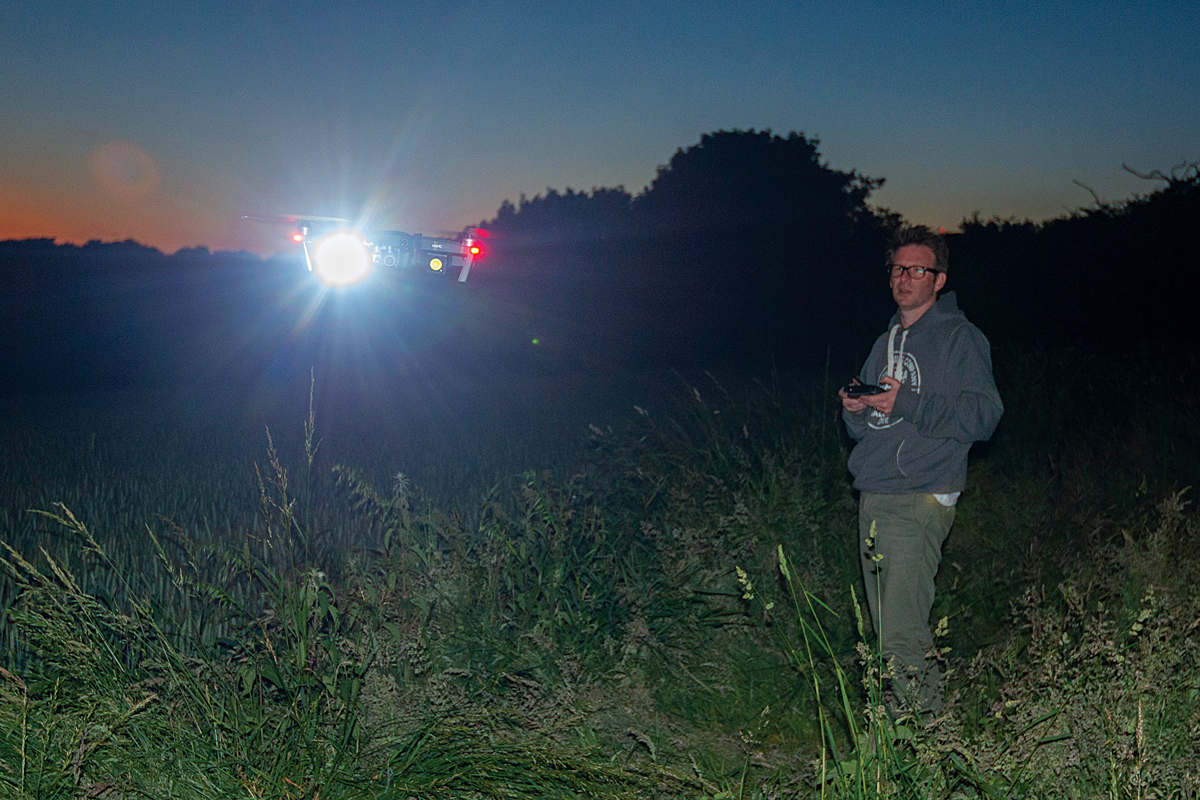
We opted to shoot at dusk in this instance. As the sun drops below the horizon the colors in the sky can become beautifully vivid, but the foreground remains in deep shade. By flying the drone over the top of the tree and shining the lights on the grass in front, we were able to light up the foreground while still keeping the distant sky vivid and colorful.
• Read more: Best camera drones
The best camera deals, reviews, product advice, and unmissable photography news, direct to your inbox!
Capture landscape photography with a twist
01 Choose a location
A lone tree makes for a strong, stark shape against a twilight sky. Flying a drone in low light means the obstacle avoidance capabilities are limited. So use an open spot where there’s less chance of clipping a tree branch or wires.
02 The drone
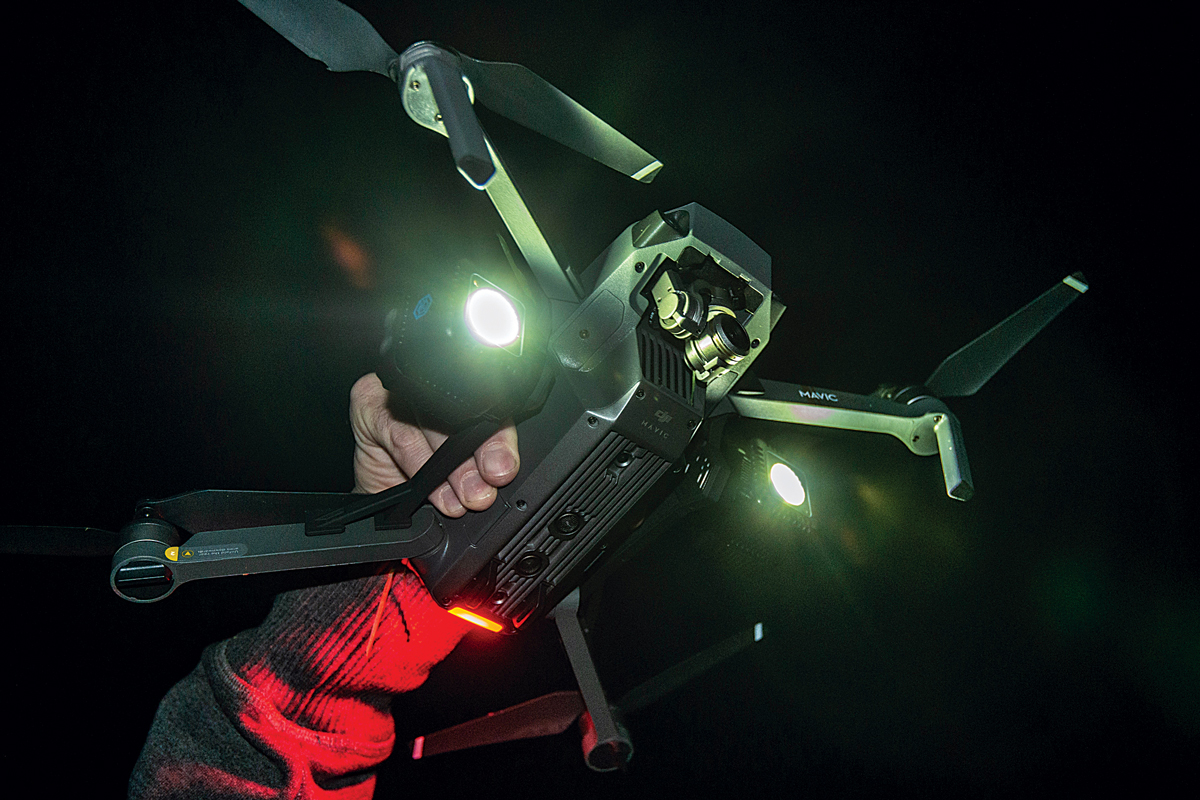
We’re using a DJI Mavic Pro quadcopter to light our scene; it’s one of the best consumer drones. Importantly, it’s capable of carrying two Lume Cube LEDs with ease – a task smaller, lighter drones would struggle with.
03 Light sources
Our light source is two Lume Cube LEDs. You could use any LED (or even a lightweight Speedlite) but the Lumes are a good choice as they’re very bright, they can be controlled via an app and there are dedicated mounts for drones.
04 Varying angles
We can light our scene from any angle, but we are restricted as we can’t pull the lights too far away from the scene or they’ll be too weak. A top-down angle to the light gives our landscape scene an otherworldly feel.
05 Tripod
Shooting in low light means that a tripod is essential. With an exposure time of 10 secs here, we can fly the drone around the scene to paint with light. We can also shoot several frames in alignment and then piece them together later.
06 Twilight
After the sun dips below the horizon the sky can often display intense colors, so we chose a westward view to capture them. The light fades quickly so you’ll need to shoot fast – especially if you intend to blend several frames.
Light painting with a drone!
01 Flight times
Most drones have a flight time of around 20-30 minutes before the battery runs out (it’ll then return to home, not drop out of the sky). So it’s a good idea to get a spare battery or two – you don’t want to run out of juice and miss out on shots at a crucial moment.
02 Pulling extra weight
The dedicated mount we used enabled us to fix two Lume Cubes to the drone. Whatever lights you use, consider the weight and centre of gravity of the drone. The extra weight will shorten the flight time – it reduced ours by about 10 minutes, giving us 17 minutes.
03 Clever lighting
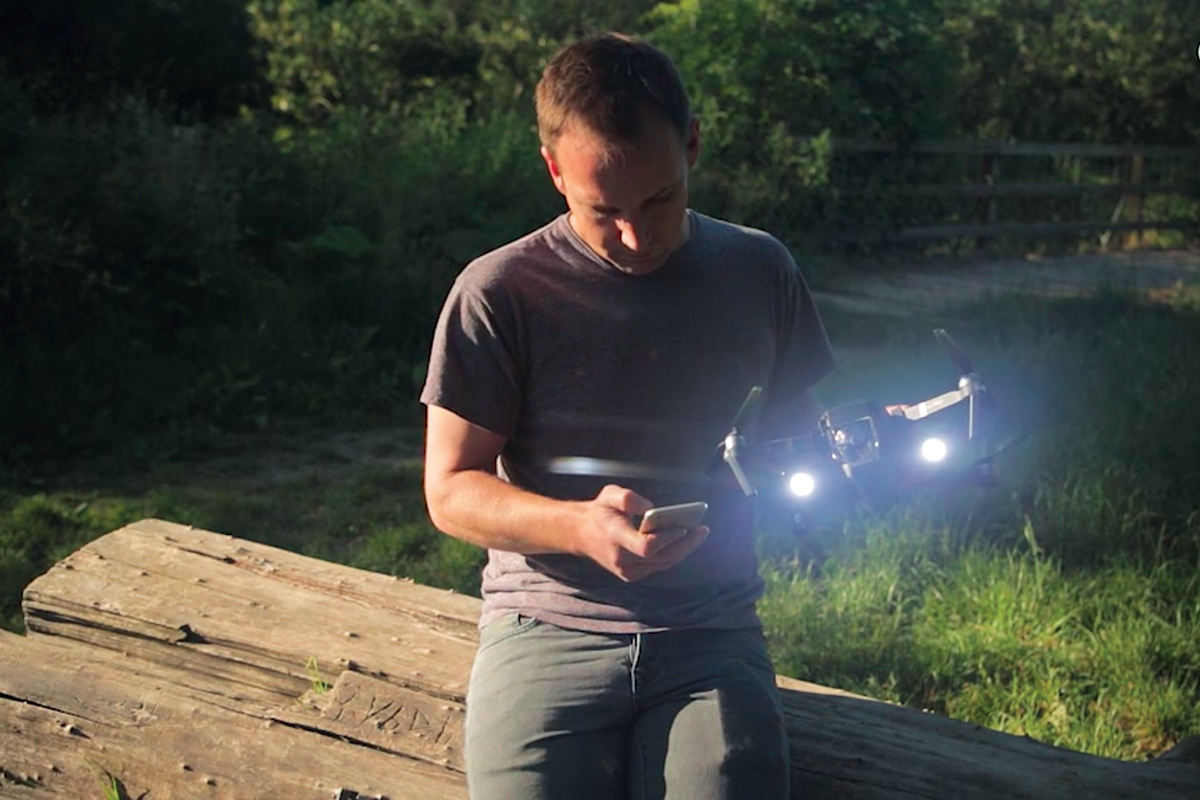
The Lume Cubes can be connected to your phone via Bluetooth and then controlled with an app, enabling you to turn them on and off. They can also be set up to strobe, so it’s possible to use them in optical slave mode in combination with a speed light if you choose.
04 Intelligent flying
It helps to have a friend fly the drone so you can focus on the shot. To assist with the flying, many drones feature intelligent flight modes that enable you to orbit around an object, lock on and track with a moving subject, or set and follow waypoints through the sky.
05 Set up your camera
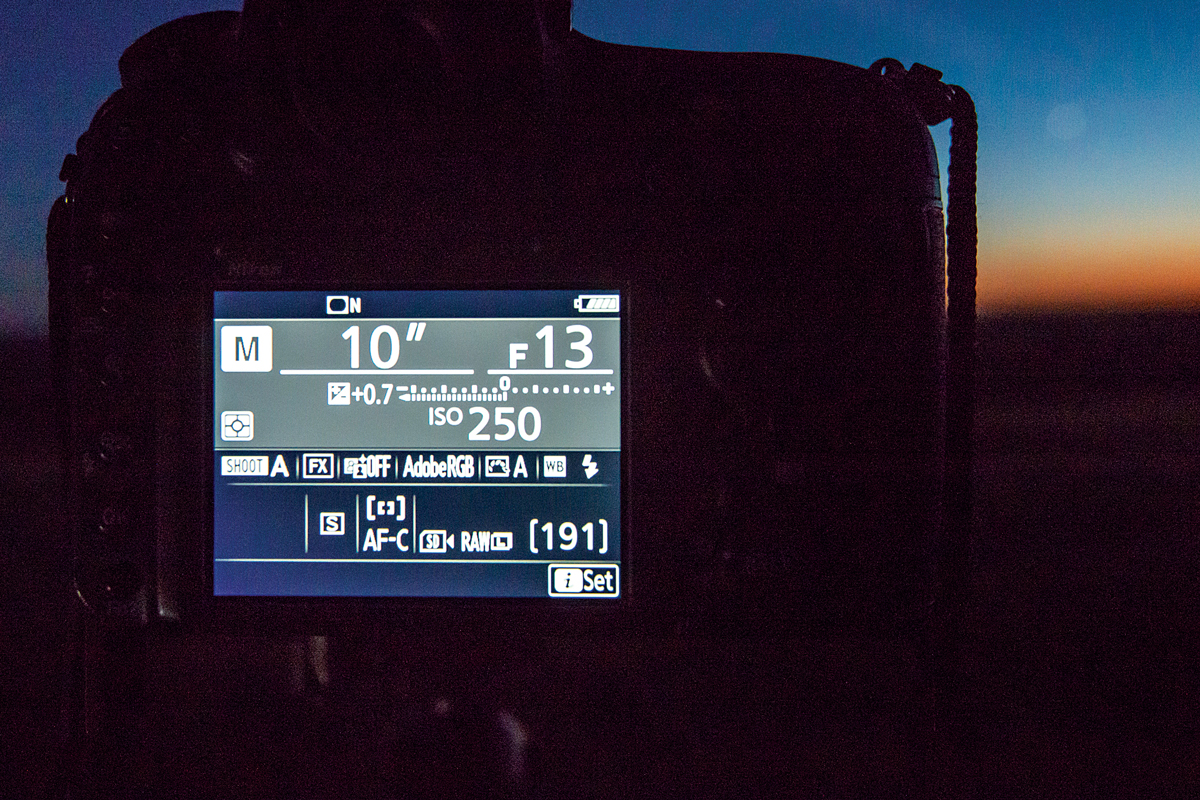
With an exposure time of 10 secs we can ‘paint with light’ by moving the drone around the scene. It doesn’t matter if the drone enters the frame during the shot, as it’s easily removed by replacing it with a clean area from another frame. The ideal settings will depend on the brightness of your LEDs and the strength of the daylight. Shooting at dusk here, we’re in Manual mode at 10 secs, f/11 and ISO250. Manual mode enables us to keep our exposure consistent as we fire off frames. Don't forget to mount your camera on a tripod for optimum stability throughout your capture.
N-Photo: The Nikon Magazine is a monthly publication that's entirely dedicated to Nikon users. For the best news, reviews, projects and more, subscribe to N-Photo today!
Read more:
The best drones for beginners: drones that keep it safe and simple
The 10 best camera drones: these are the best drones for photography
The best DJI drones: we pick the best drones from the best-known maker
The lead technique writer on Digital Camera Magazine, PhotoPlus: The Canon Magazine and N-Photo: The Nikon Magazine, James is a fantastic general practice photographer with an enviable array of skills across every genre of photography.
Whether it's flash photography techniques like stroboscopic portraits, astrophotography projects like photographing the Northern Lights, or turning sound into art by making paint dance on a set of speakers, James' tutorials and projects are as creative as they are enjoyable.
He's also a wizard at the dark arts of Photoshop, Lightroom and Affinity Photo, and is capable of some genuine black magic in the digital darkroom, making him one of the leading authorities on photo editing software and techniques.
