Home photography ideas: learning how to light interiors
Hone your property photography skills by perfecting your ability to use flash to balance lighting
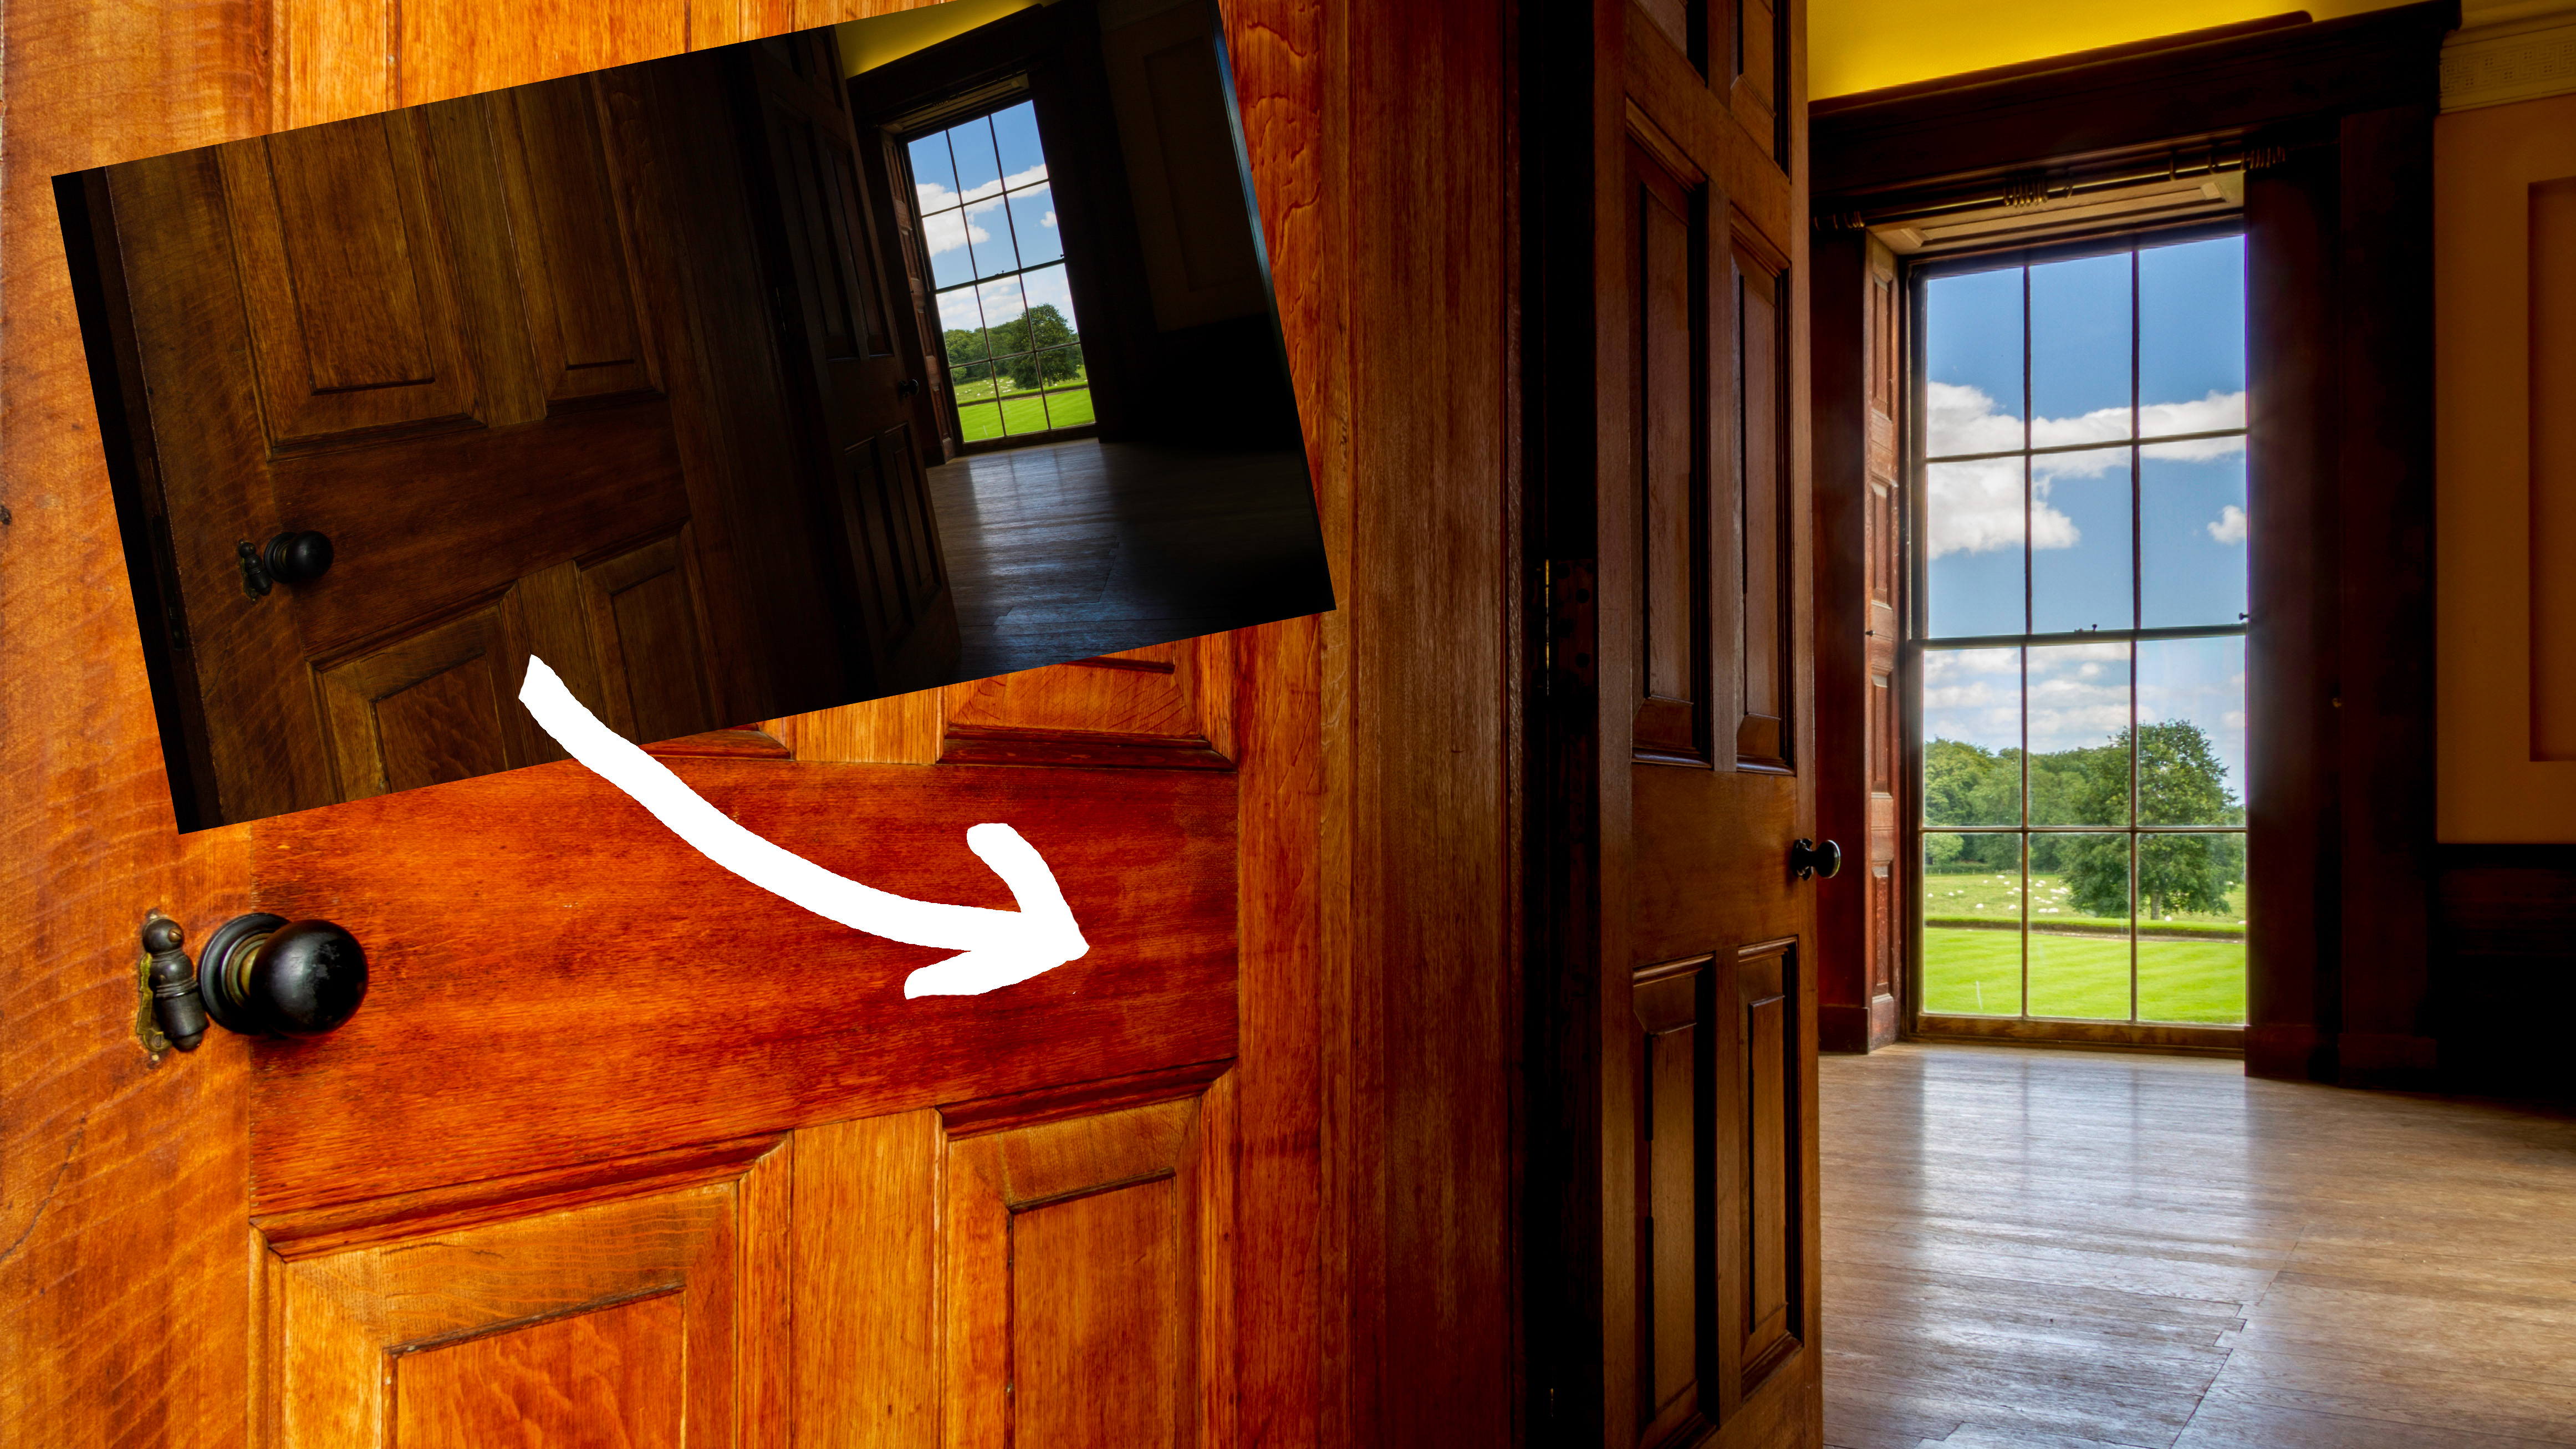
One of the biggest challenges of interior photography is balancing exposure with outside lighting conditions. When shooting buildings for commercial clients, whether the subject is a house, office or other business property, images of the inside almost always look more impactful when the view outside of a window is visible.
Photography projects at home
• Home photography ideas
Useful home photography kit
• Best tripods
• Best lighting kits
• Best reflectors
• Best macro lenses
However, since light levels are significantly lower inside, the required exposure will often render windows large blocks of burned out white highlights. One potential solution is to bracket exposures and use HDR software to blend multiple frames, for a wider dynamic range. The disadvantage of this approach is that, without care, the tone mapping procedure can introduce an unrealistic effect, enhance noise and produce blending artifacts and edge halos.
An attractive alternative is to use off camera flashes for added interior illumination. By precisely calculating exposure settings for outside light and strategically placing flashguns inside, shadows can be lifted, whilst holding exterior highlights. The position of the flashes and how the emitted light blends with the natural window light both contribute greatly to the success of your images.
Read more: Photography tips
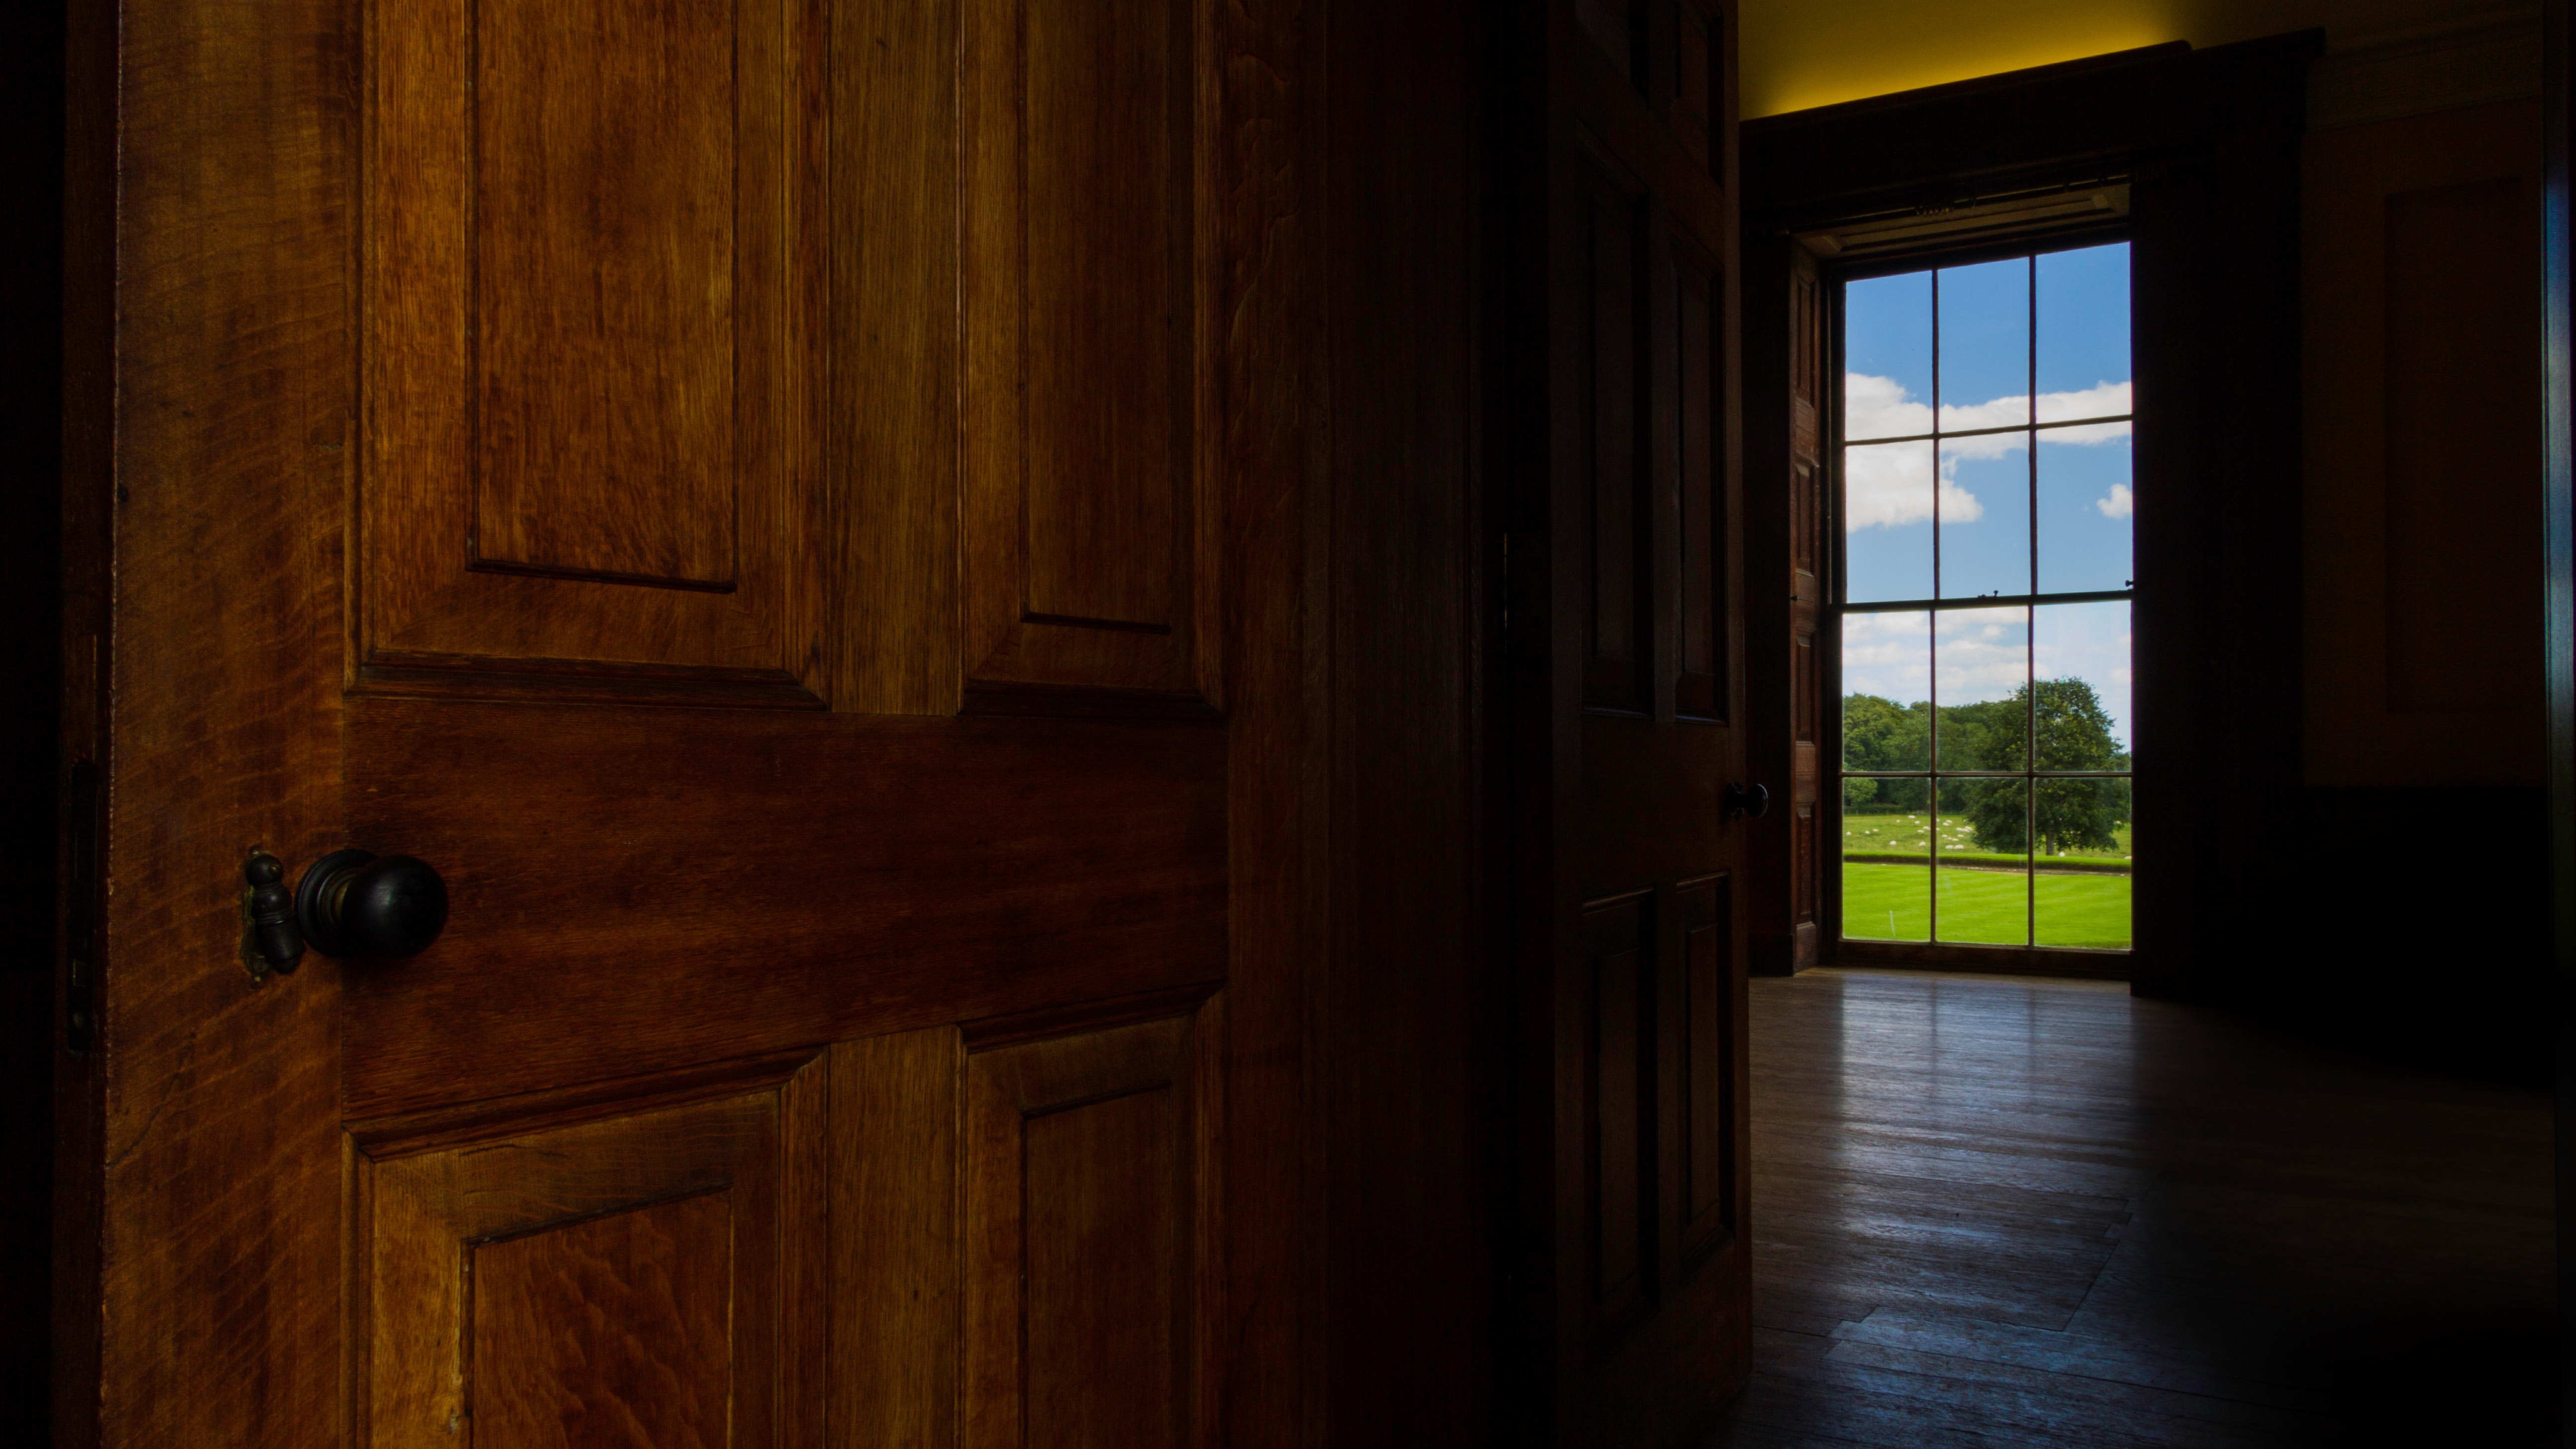
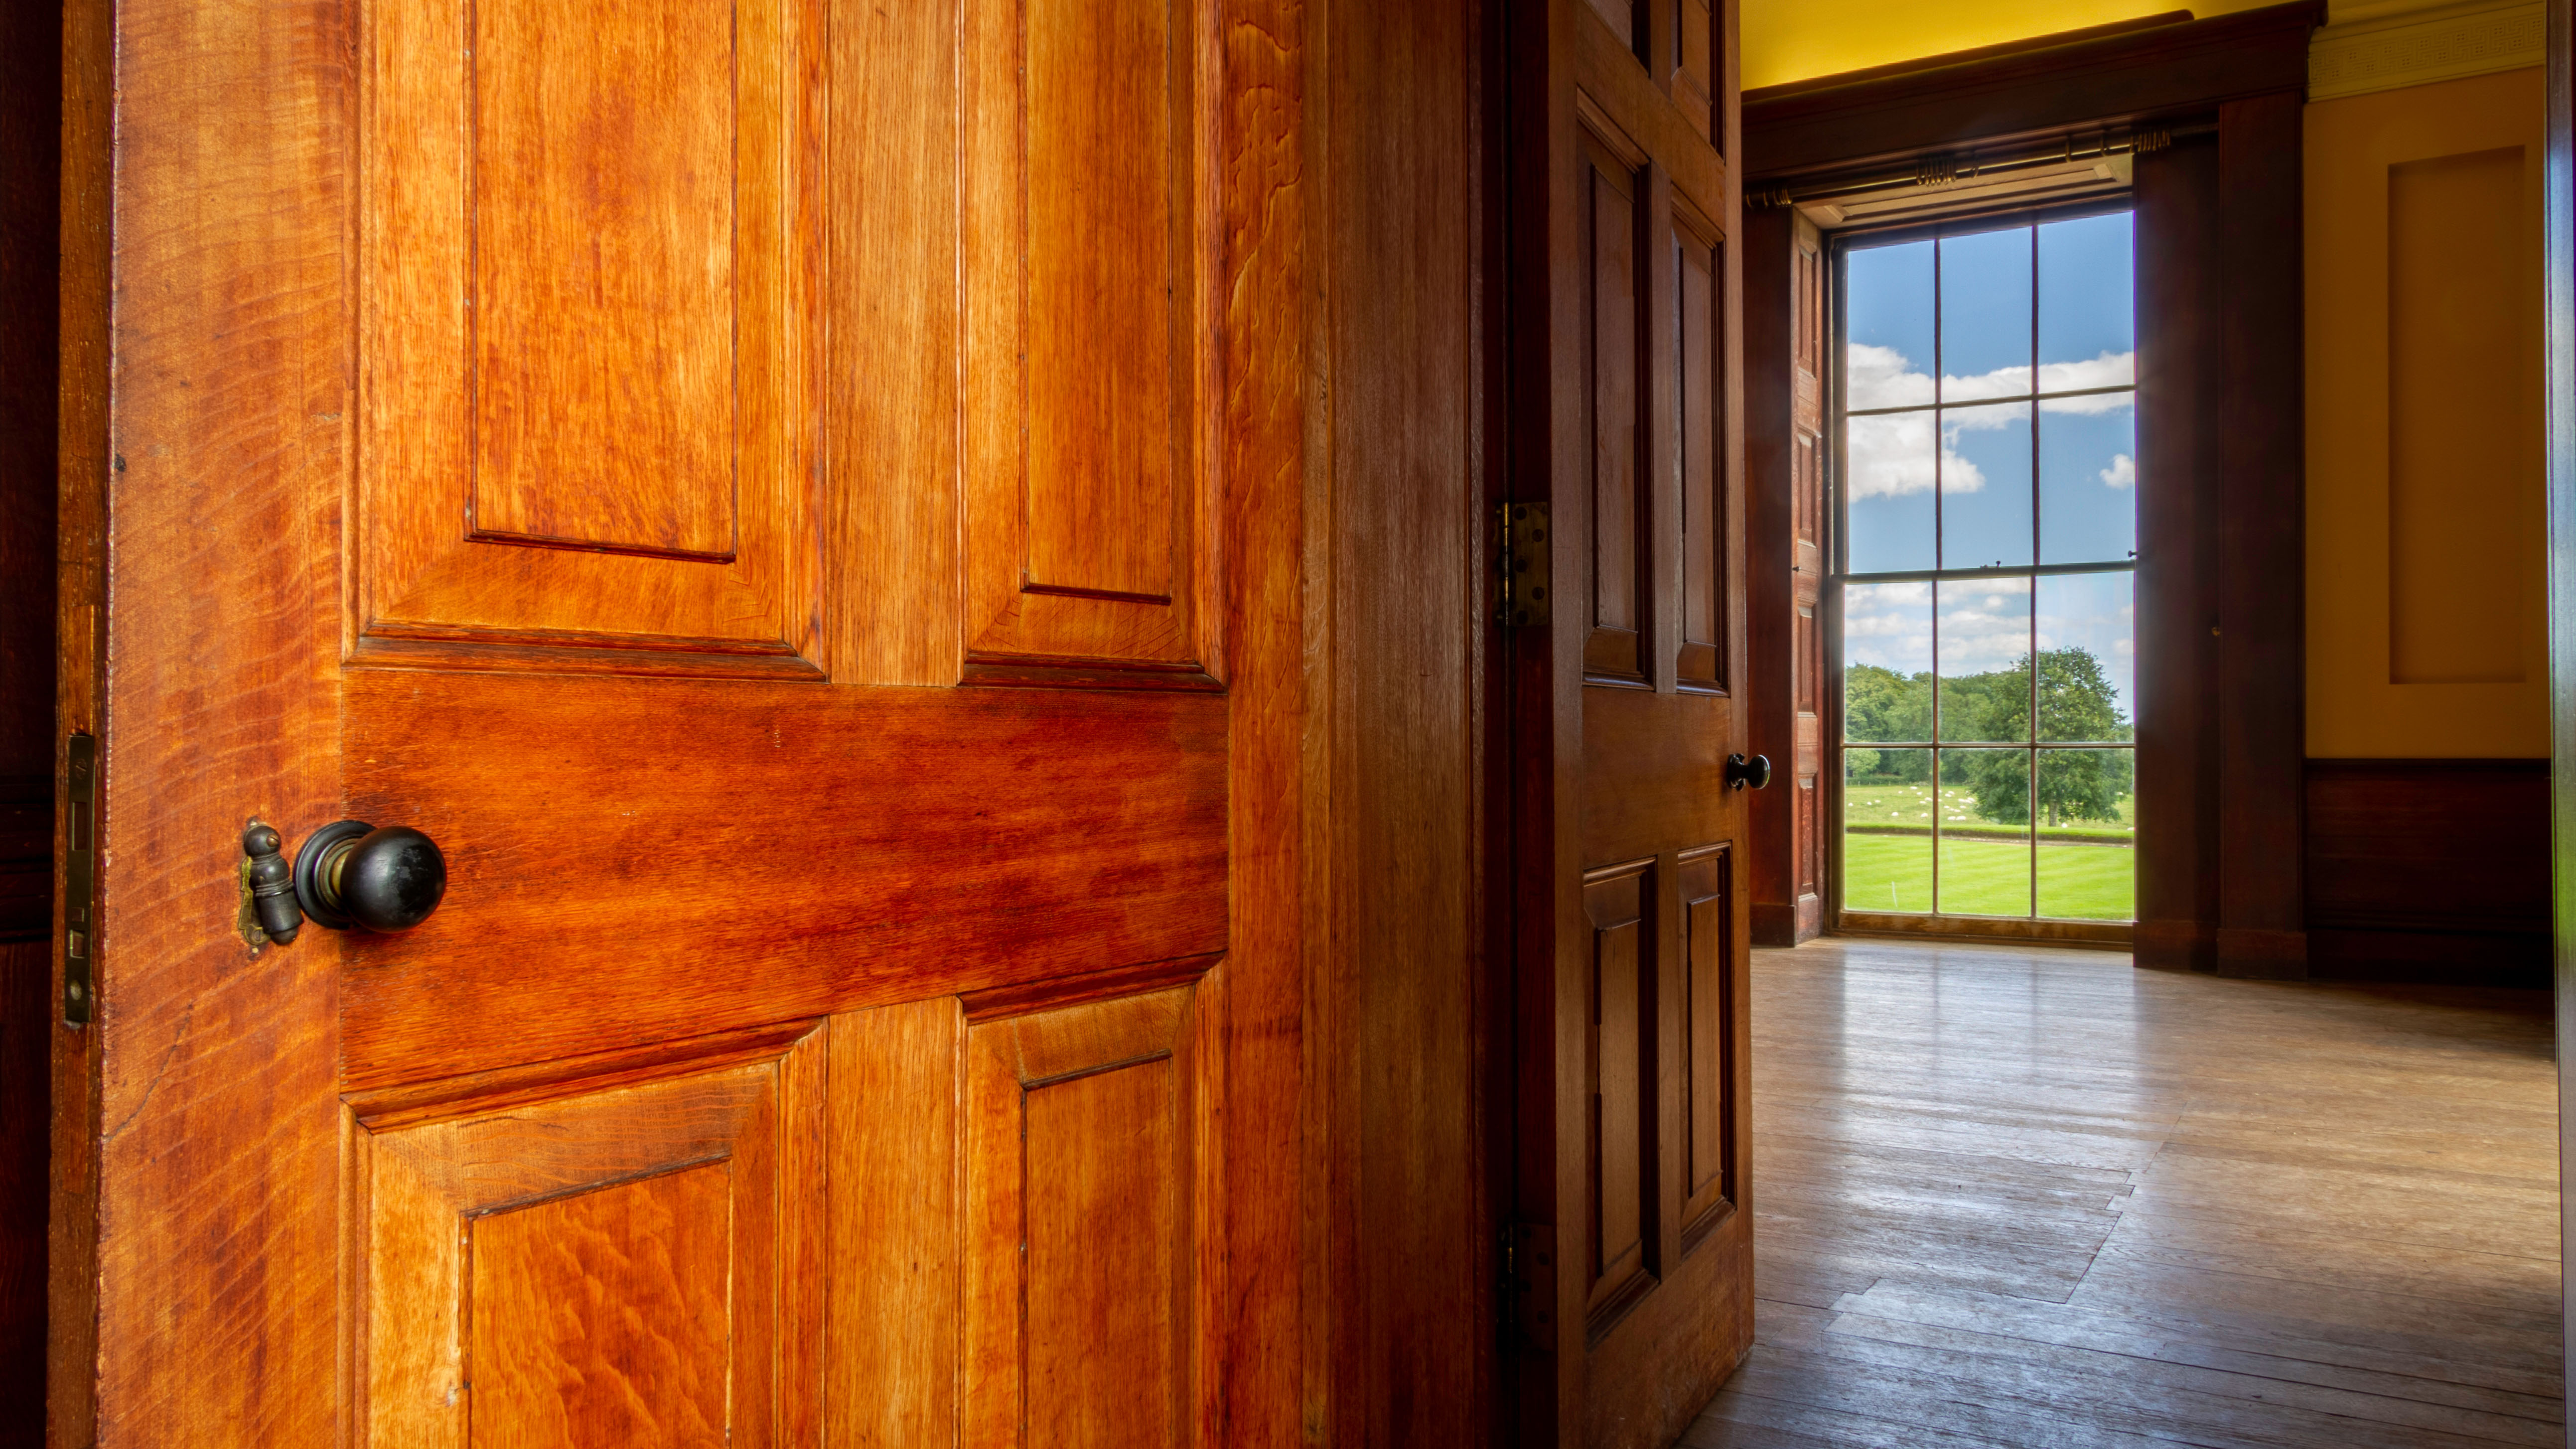
Here we explore how to work with multiple light sources for images with exceptional depth, but free from identifiable processing technique signatures, which may otherwise detract from the impact of the subject.
1. Set up wireless system
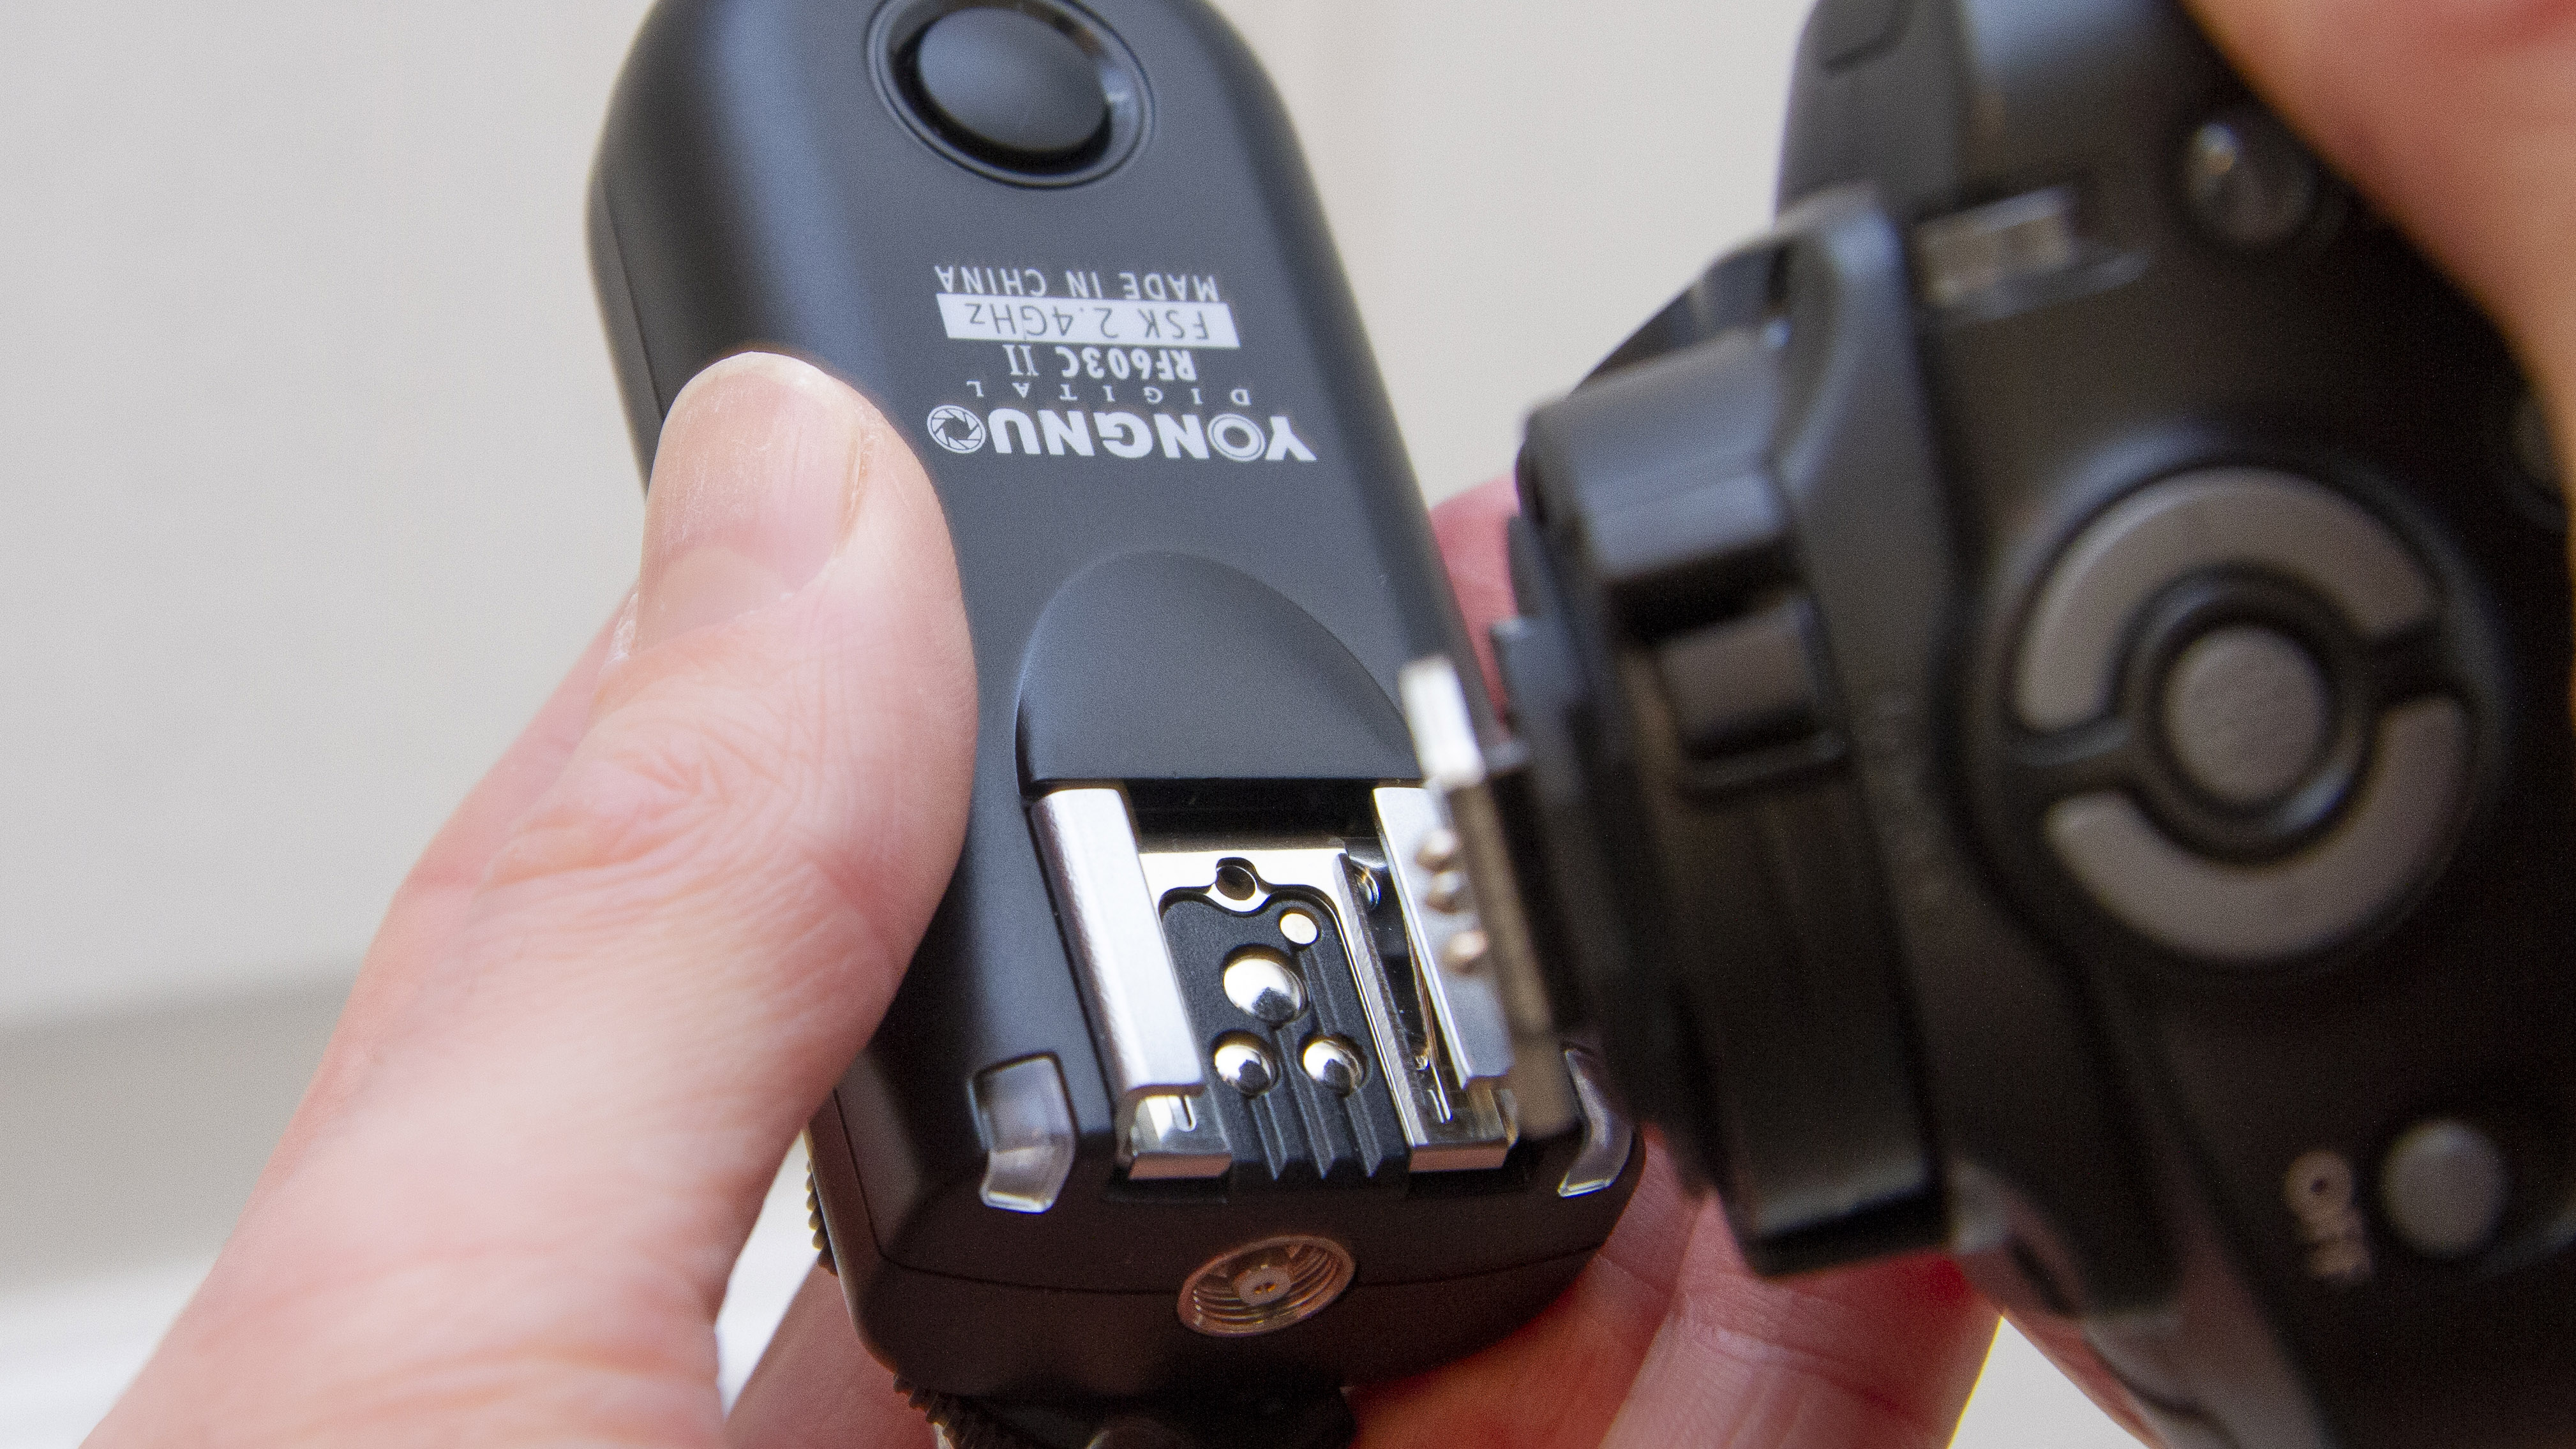
In order to light the scene correctly we’ll need the freedom to move the flashes at will. Attach radio triggers to your flash units as these will prove more reliable than line-of-sight triggering.
f3The best wireless flash triggers
2. Test your flashes
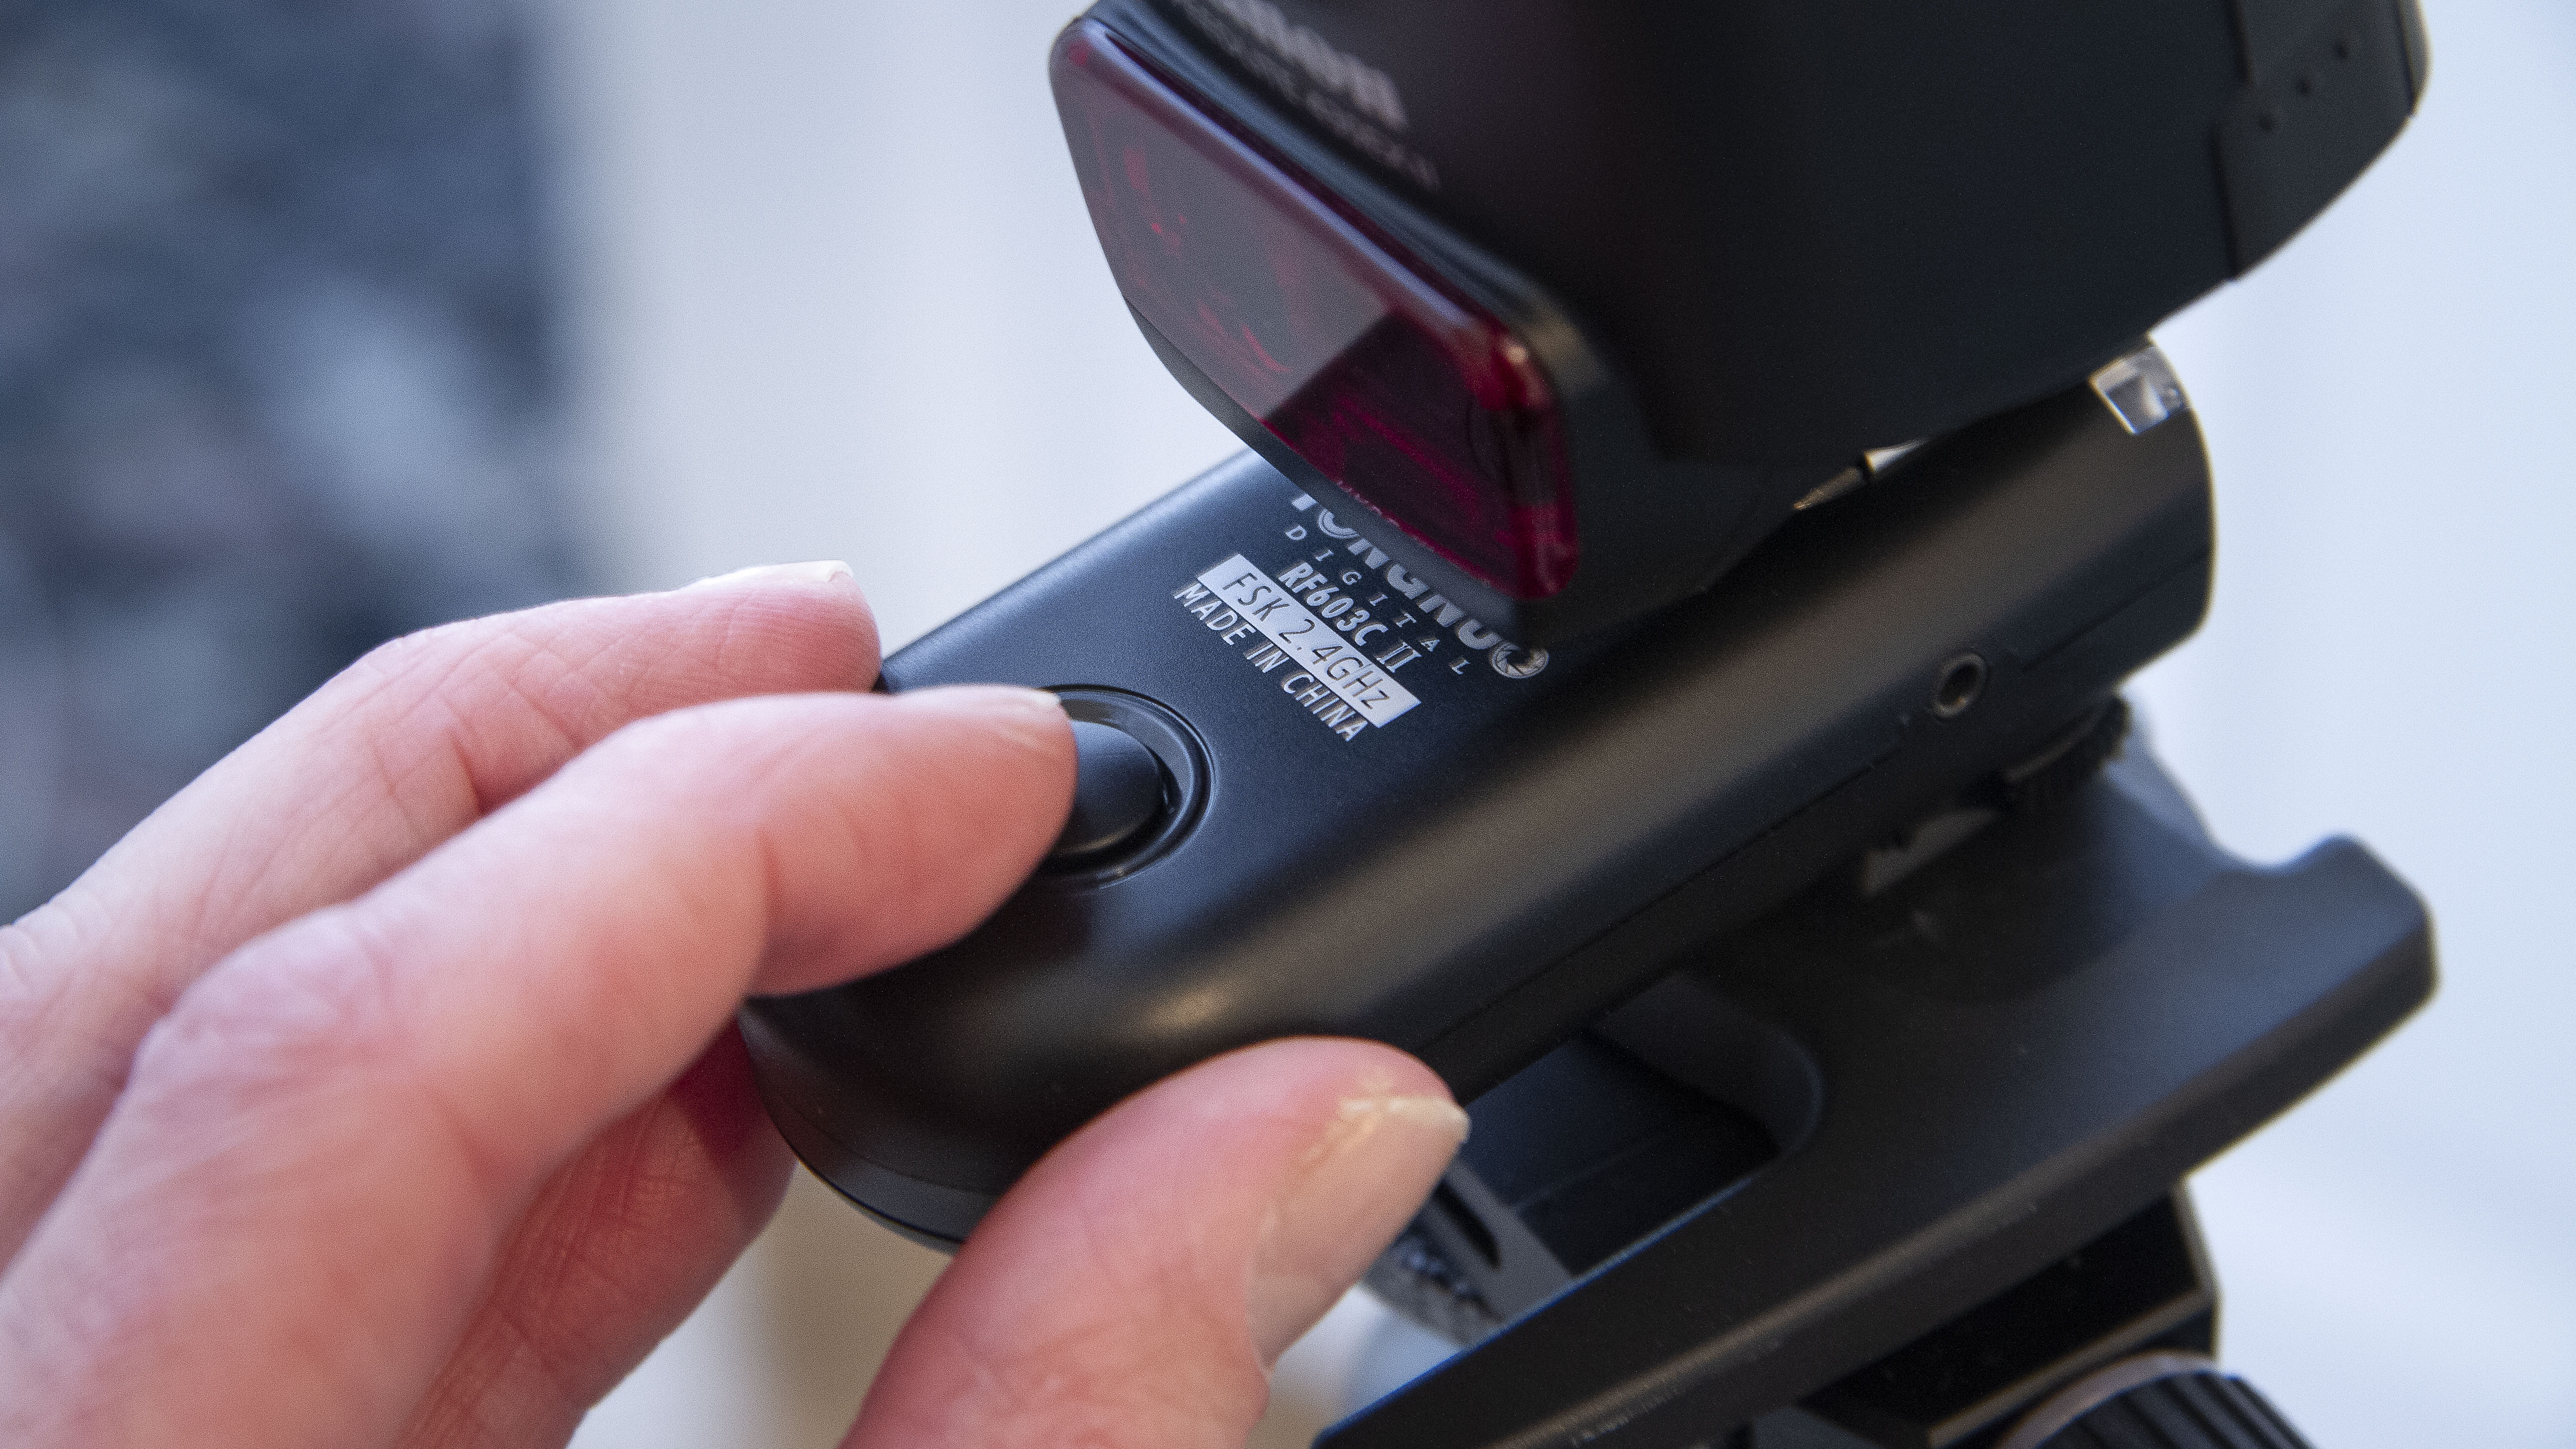
To ensure all of your wireless flash units are set up correctly use the test button to check each unit has been assigned the same channel and group. If one does not fire, reset these parameters using the flash’s menu or the controls on the triggers themselves.
3. Position your lights
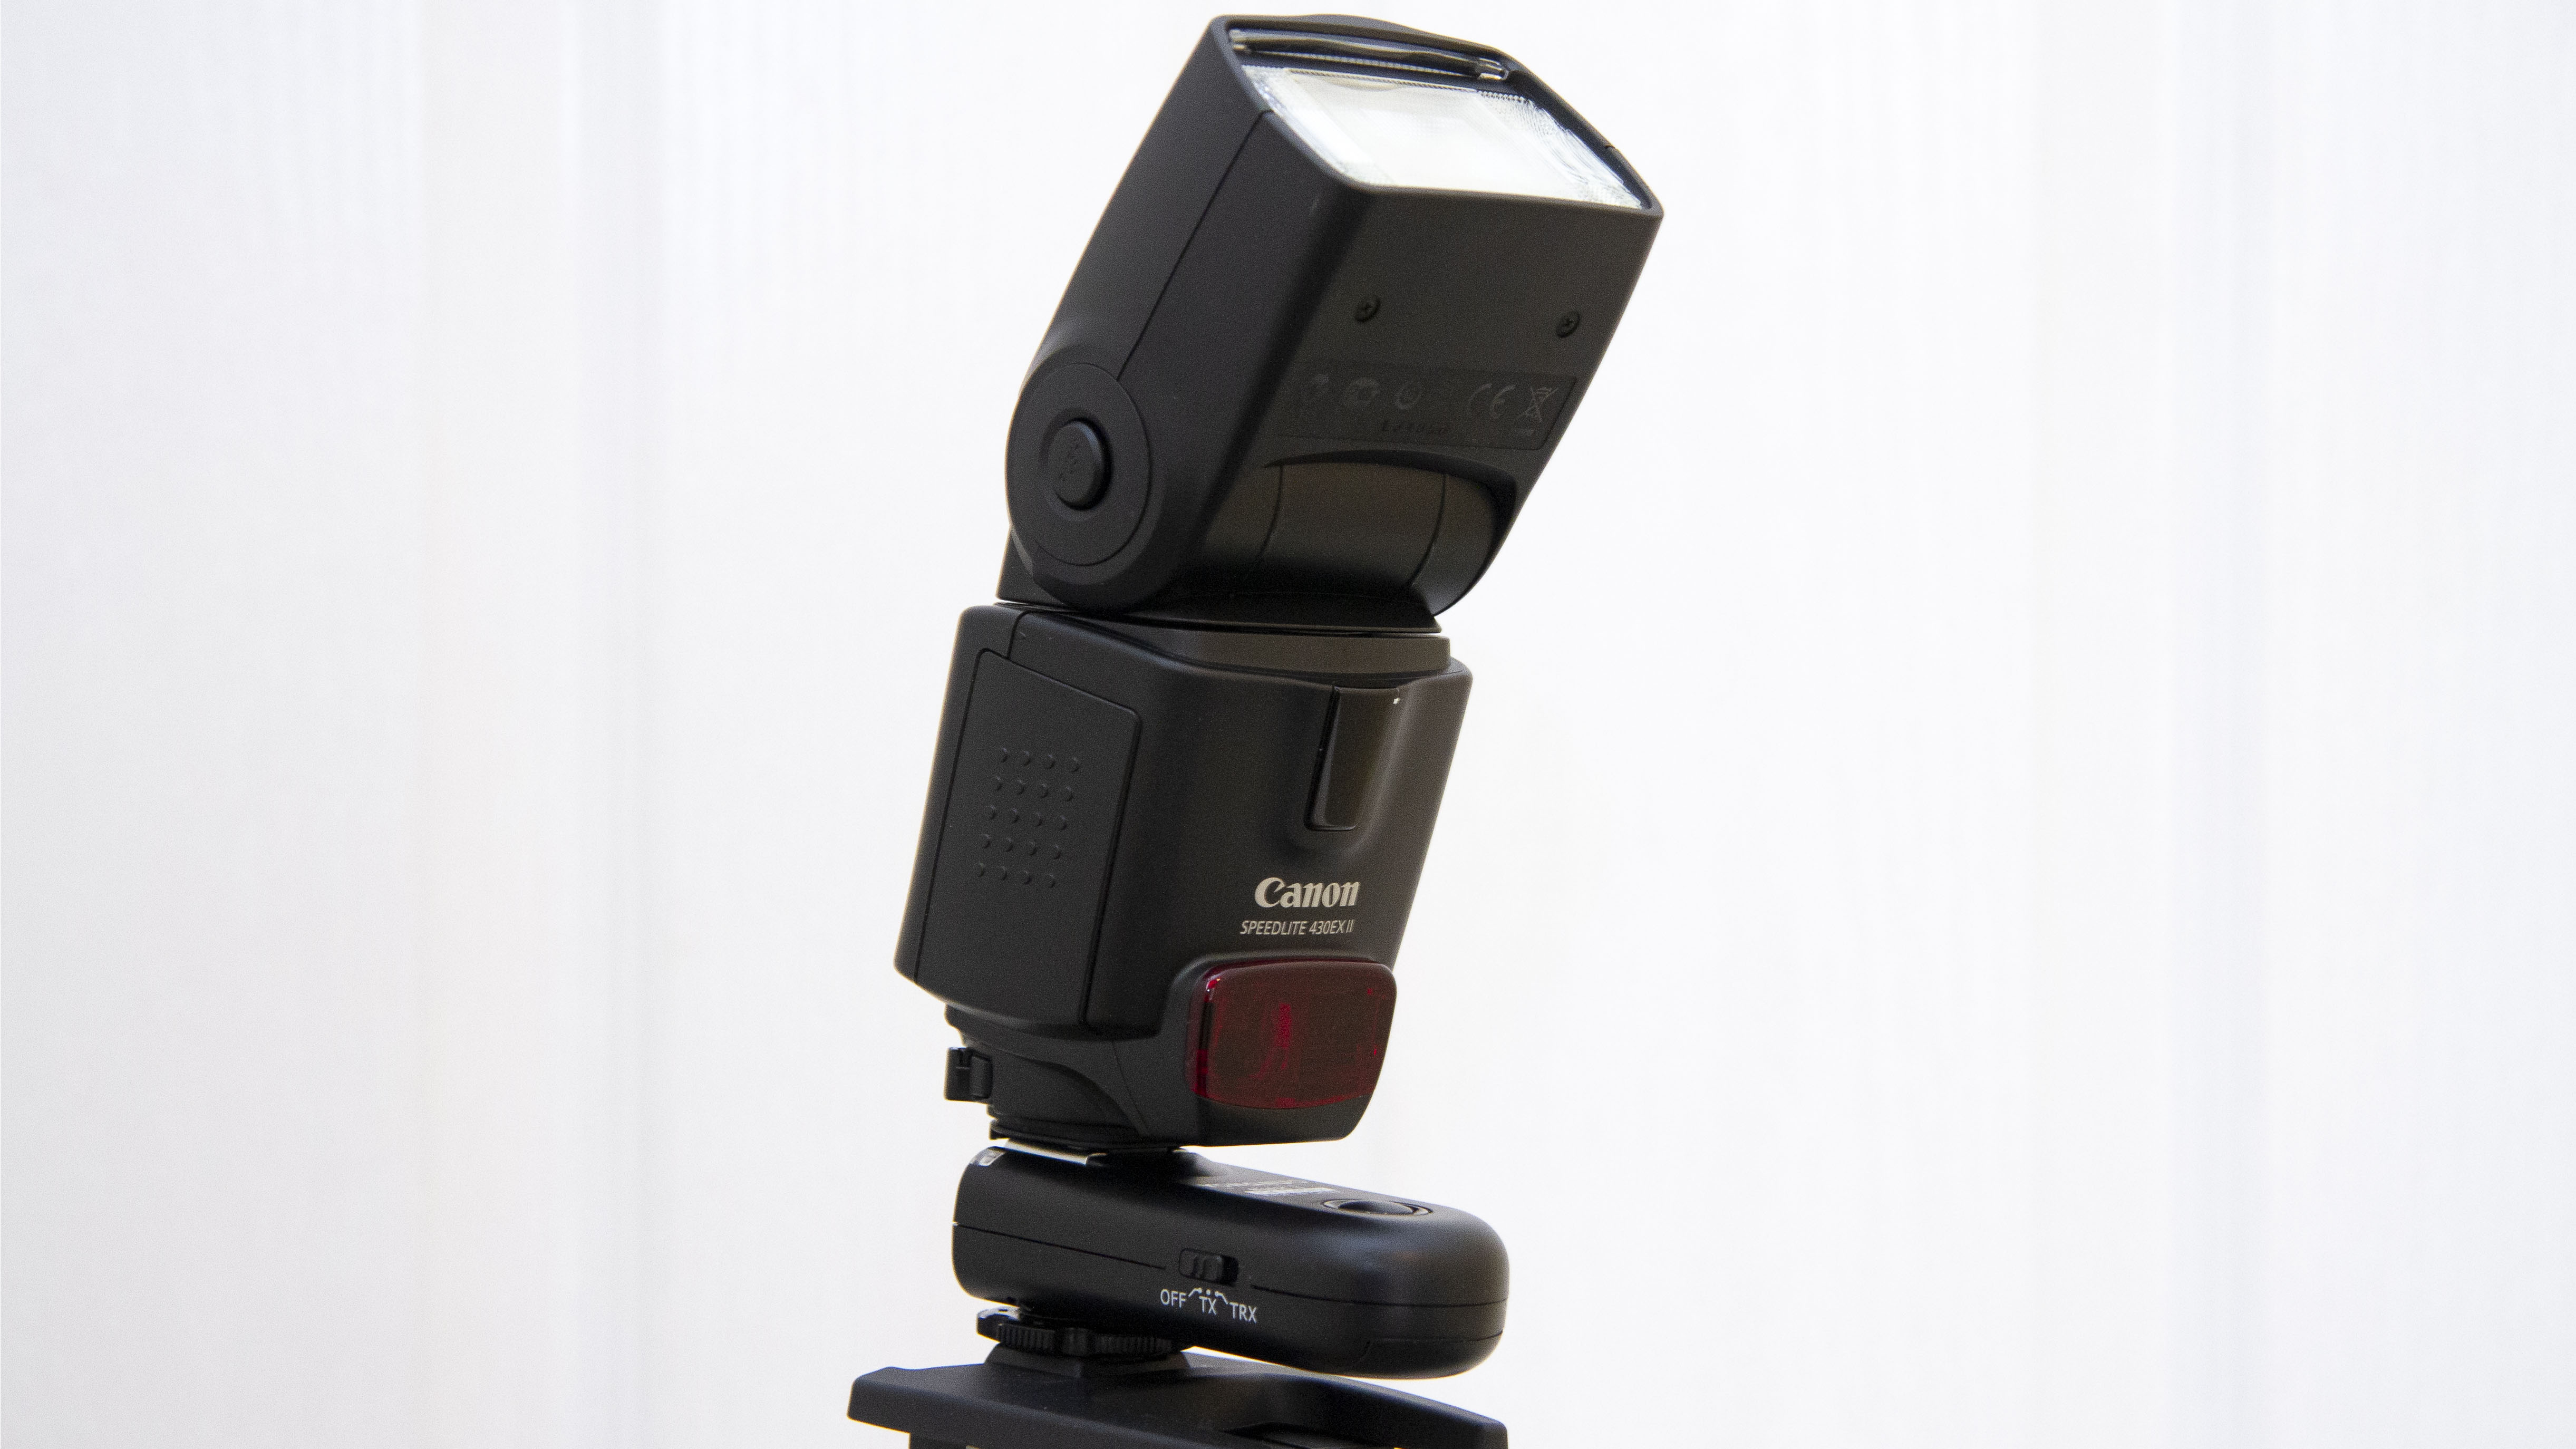
Place one flash at either end of a room, with the head aiming up at 45°, to bounce light across the space. If you have another flash, place this out of frame, aiming towards the window to fill in shadows.
4. Set base exposure (for outside)
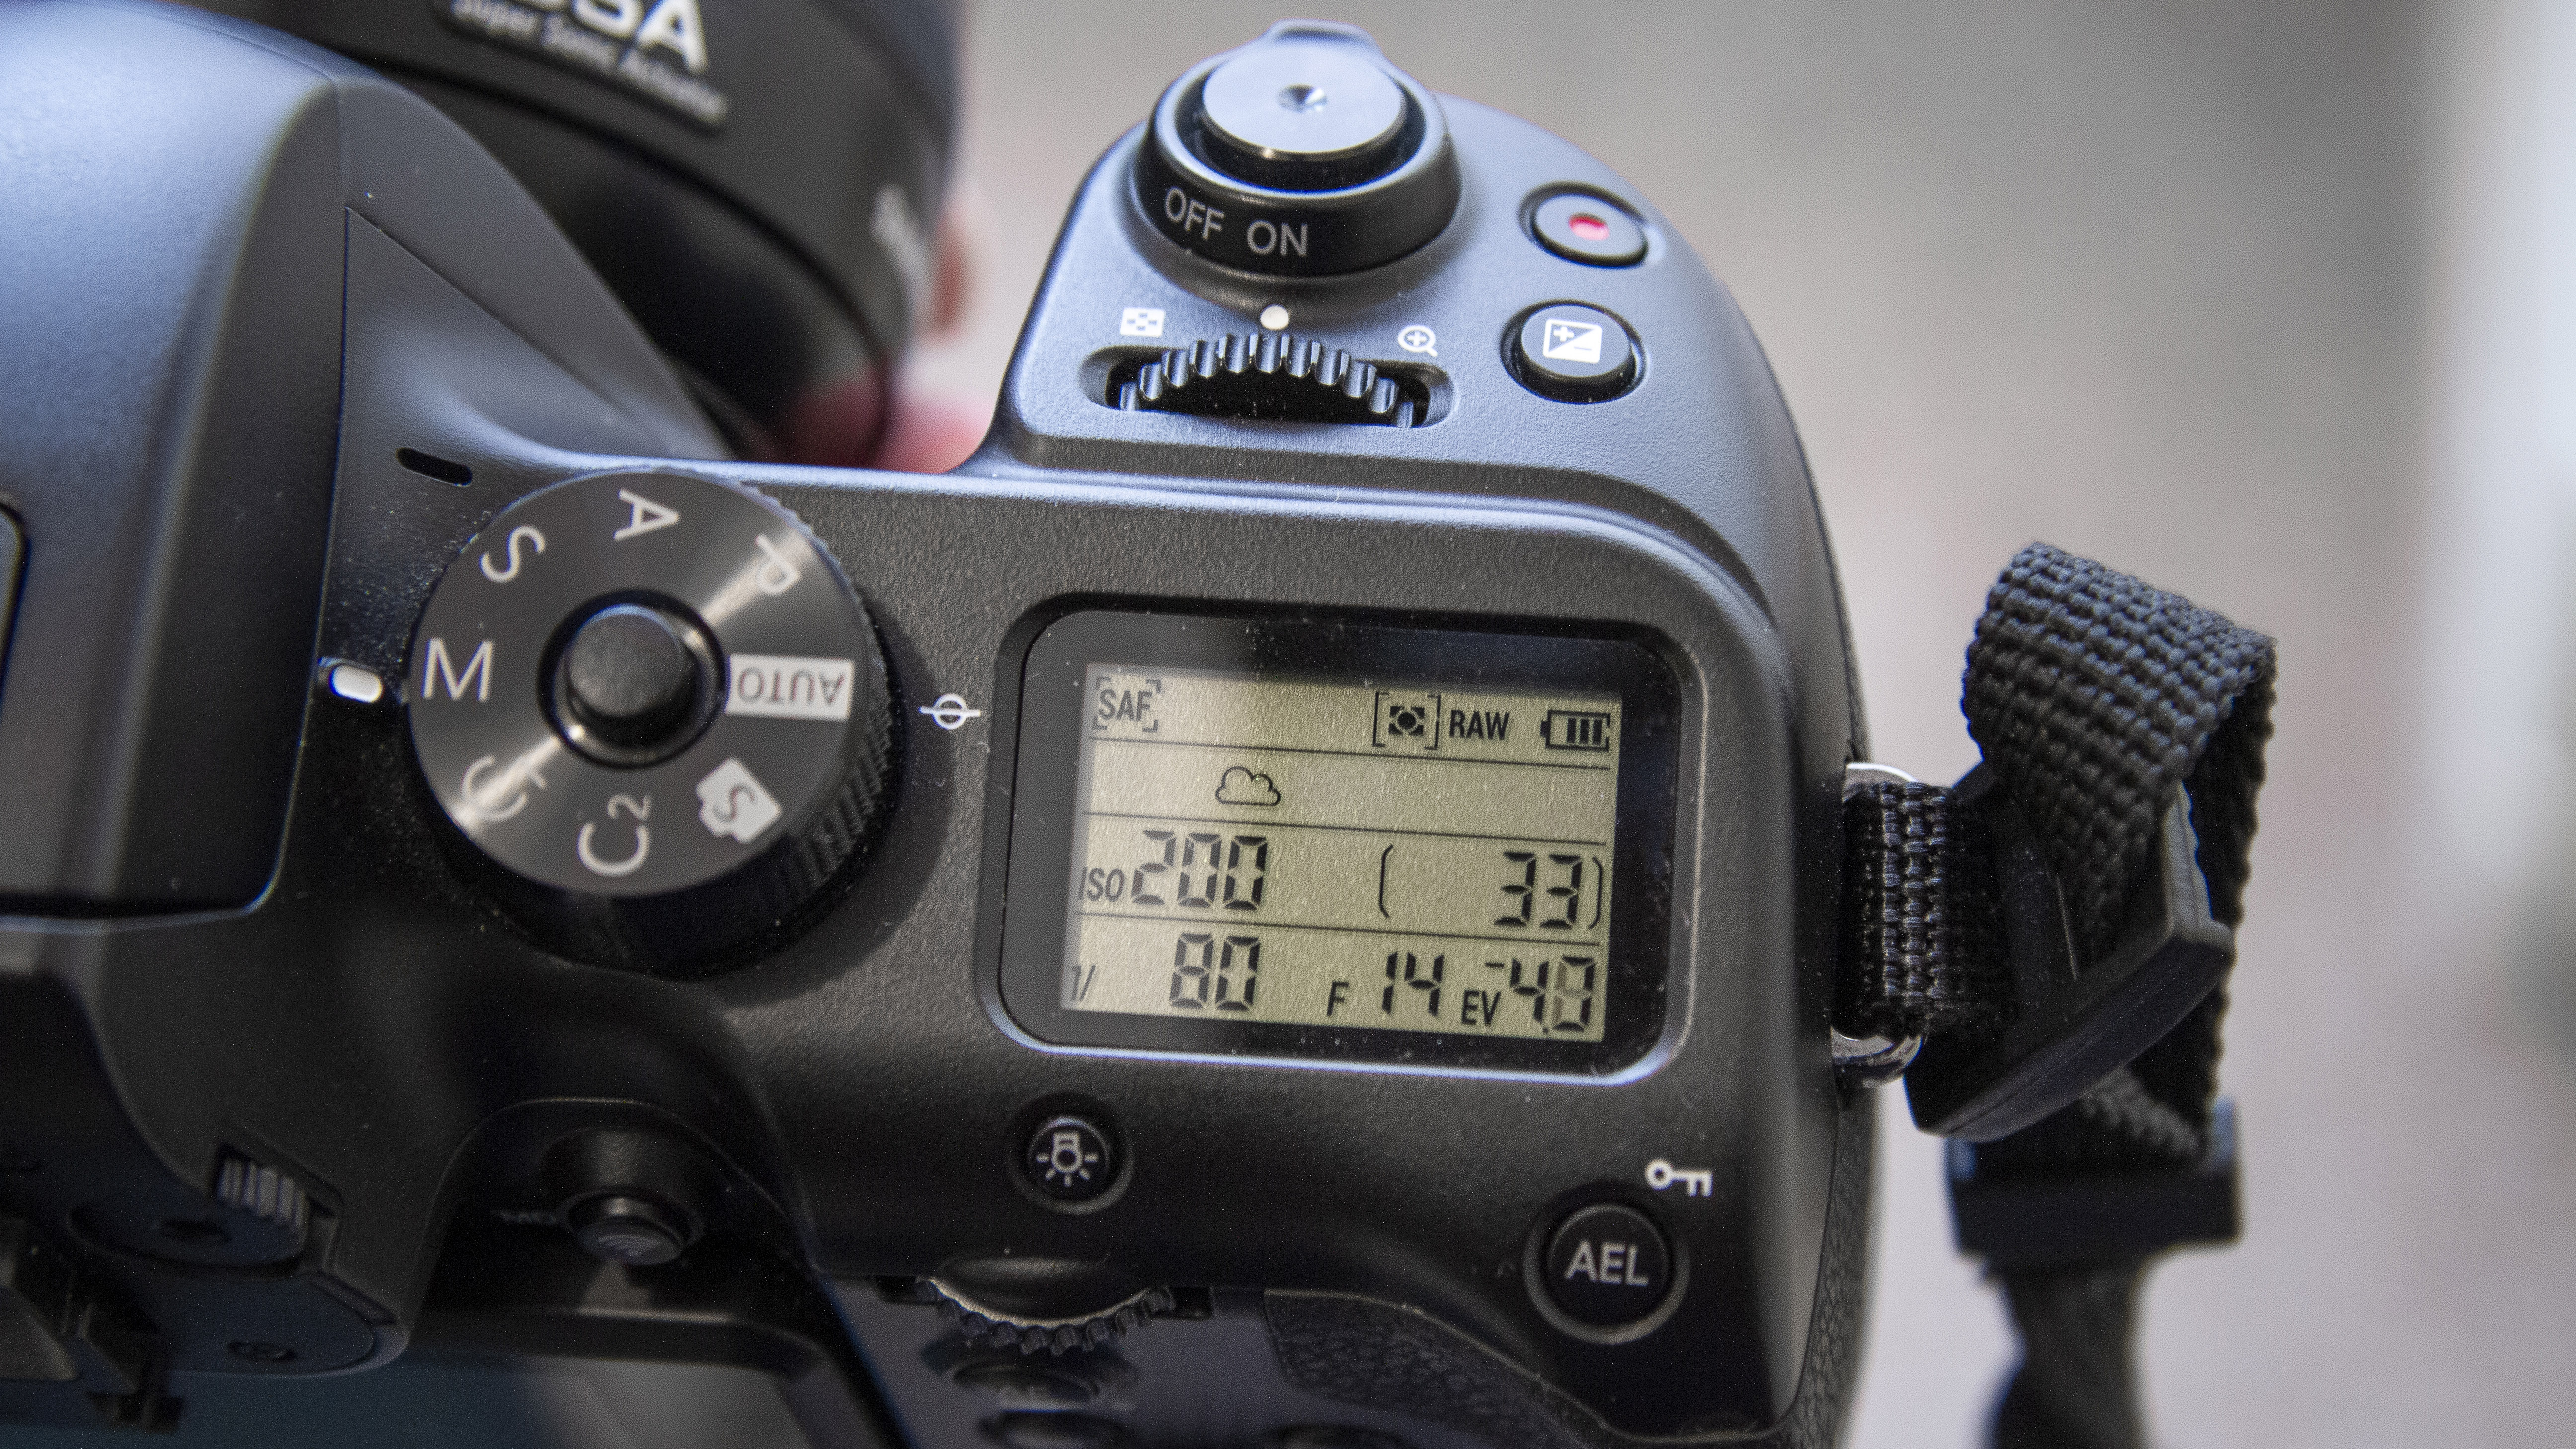
Take a meter reading from the scene outside the window, then push this to just before highlights lose detail. This maximises the possible interior brightness to reduce native contrast as much as possible.
5. Assess balance
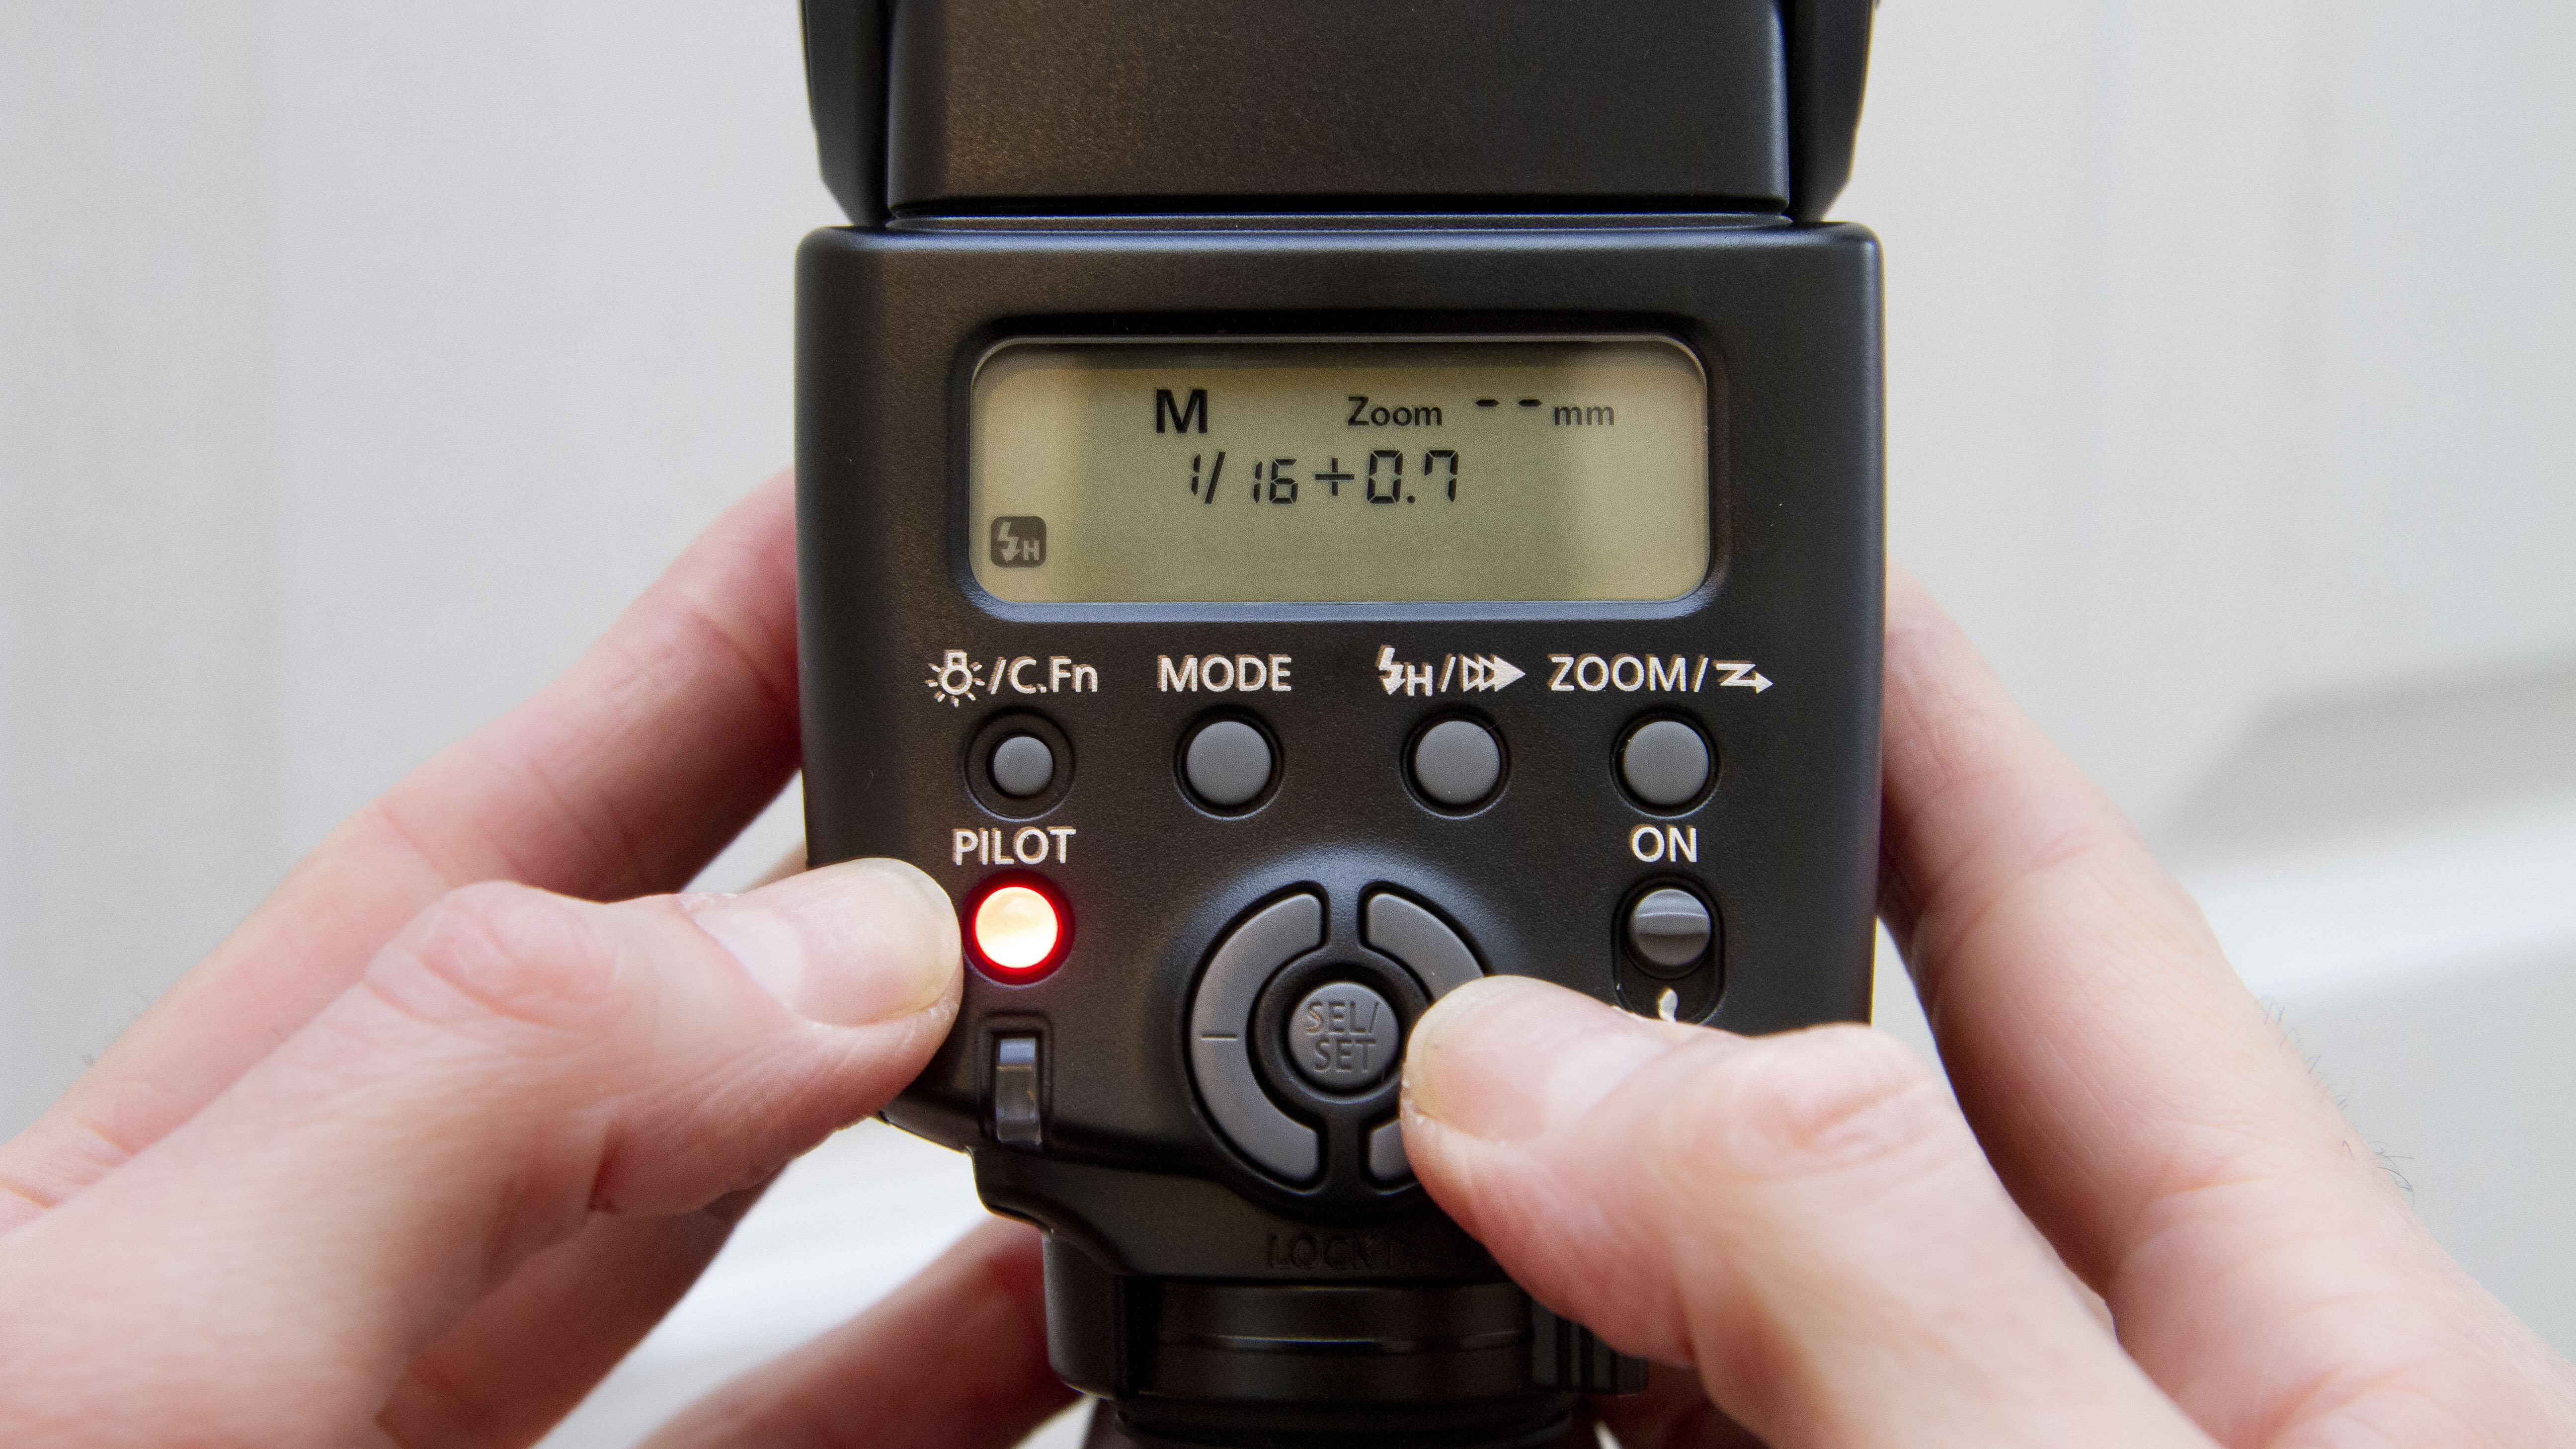
Take a test shot and determine if the balance of natural light and flash is optimal. If the interior space is still too dark increase the flash power in ⅓ stop increments until contrast is desirable.
6. Alter light spread
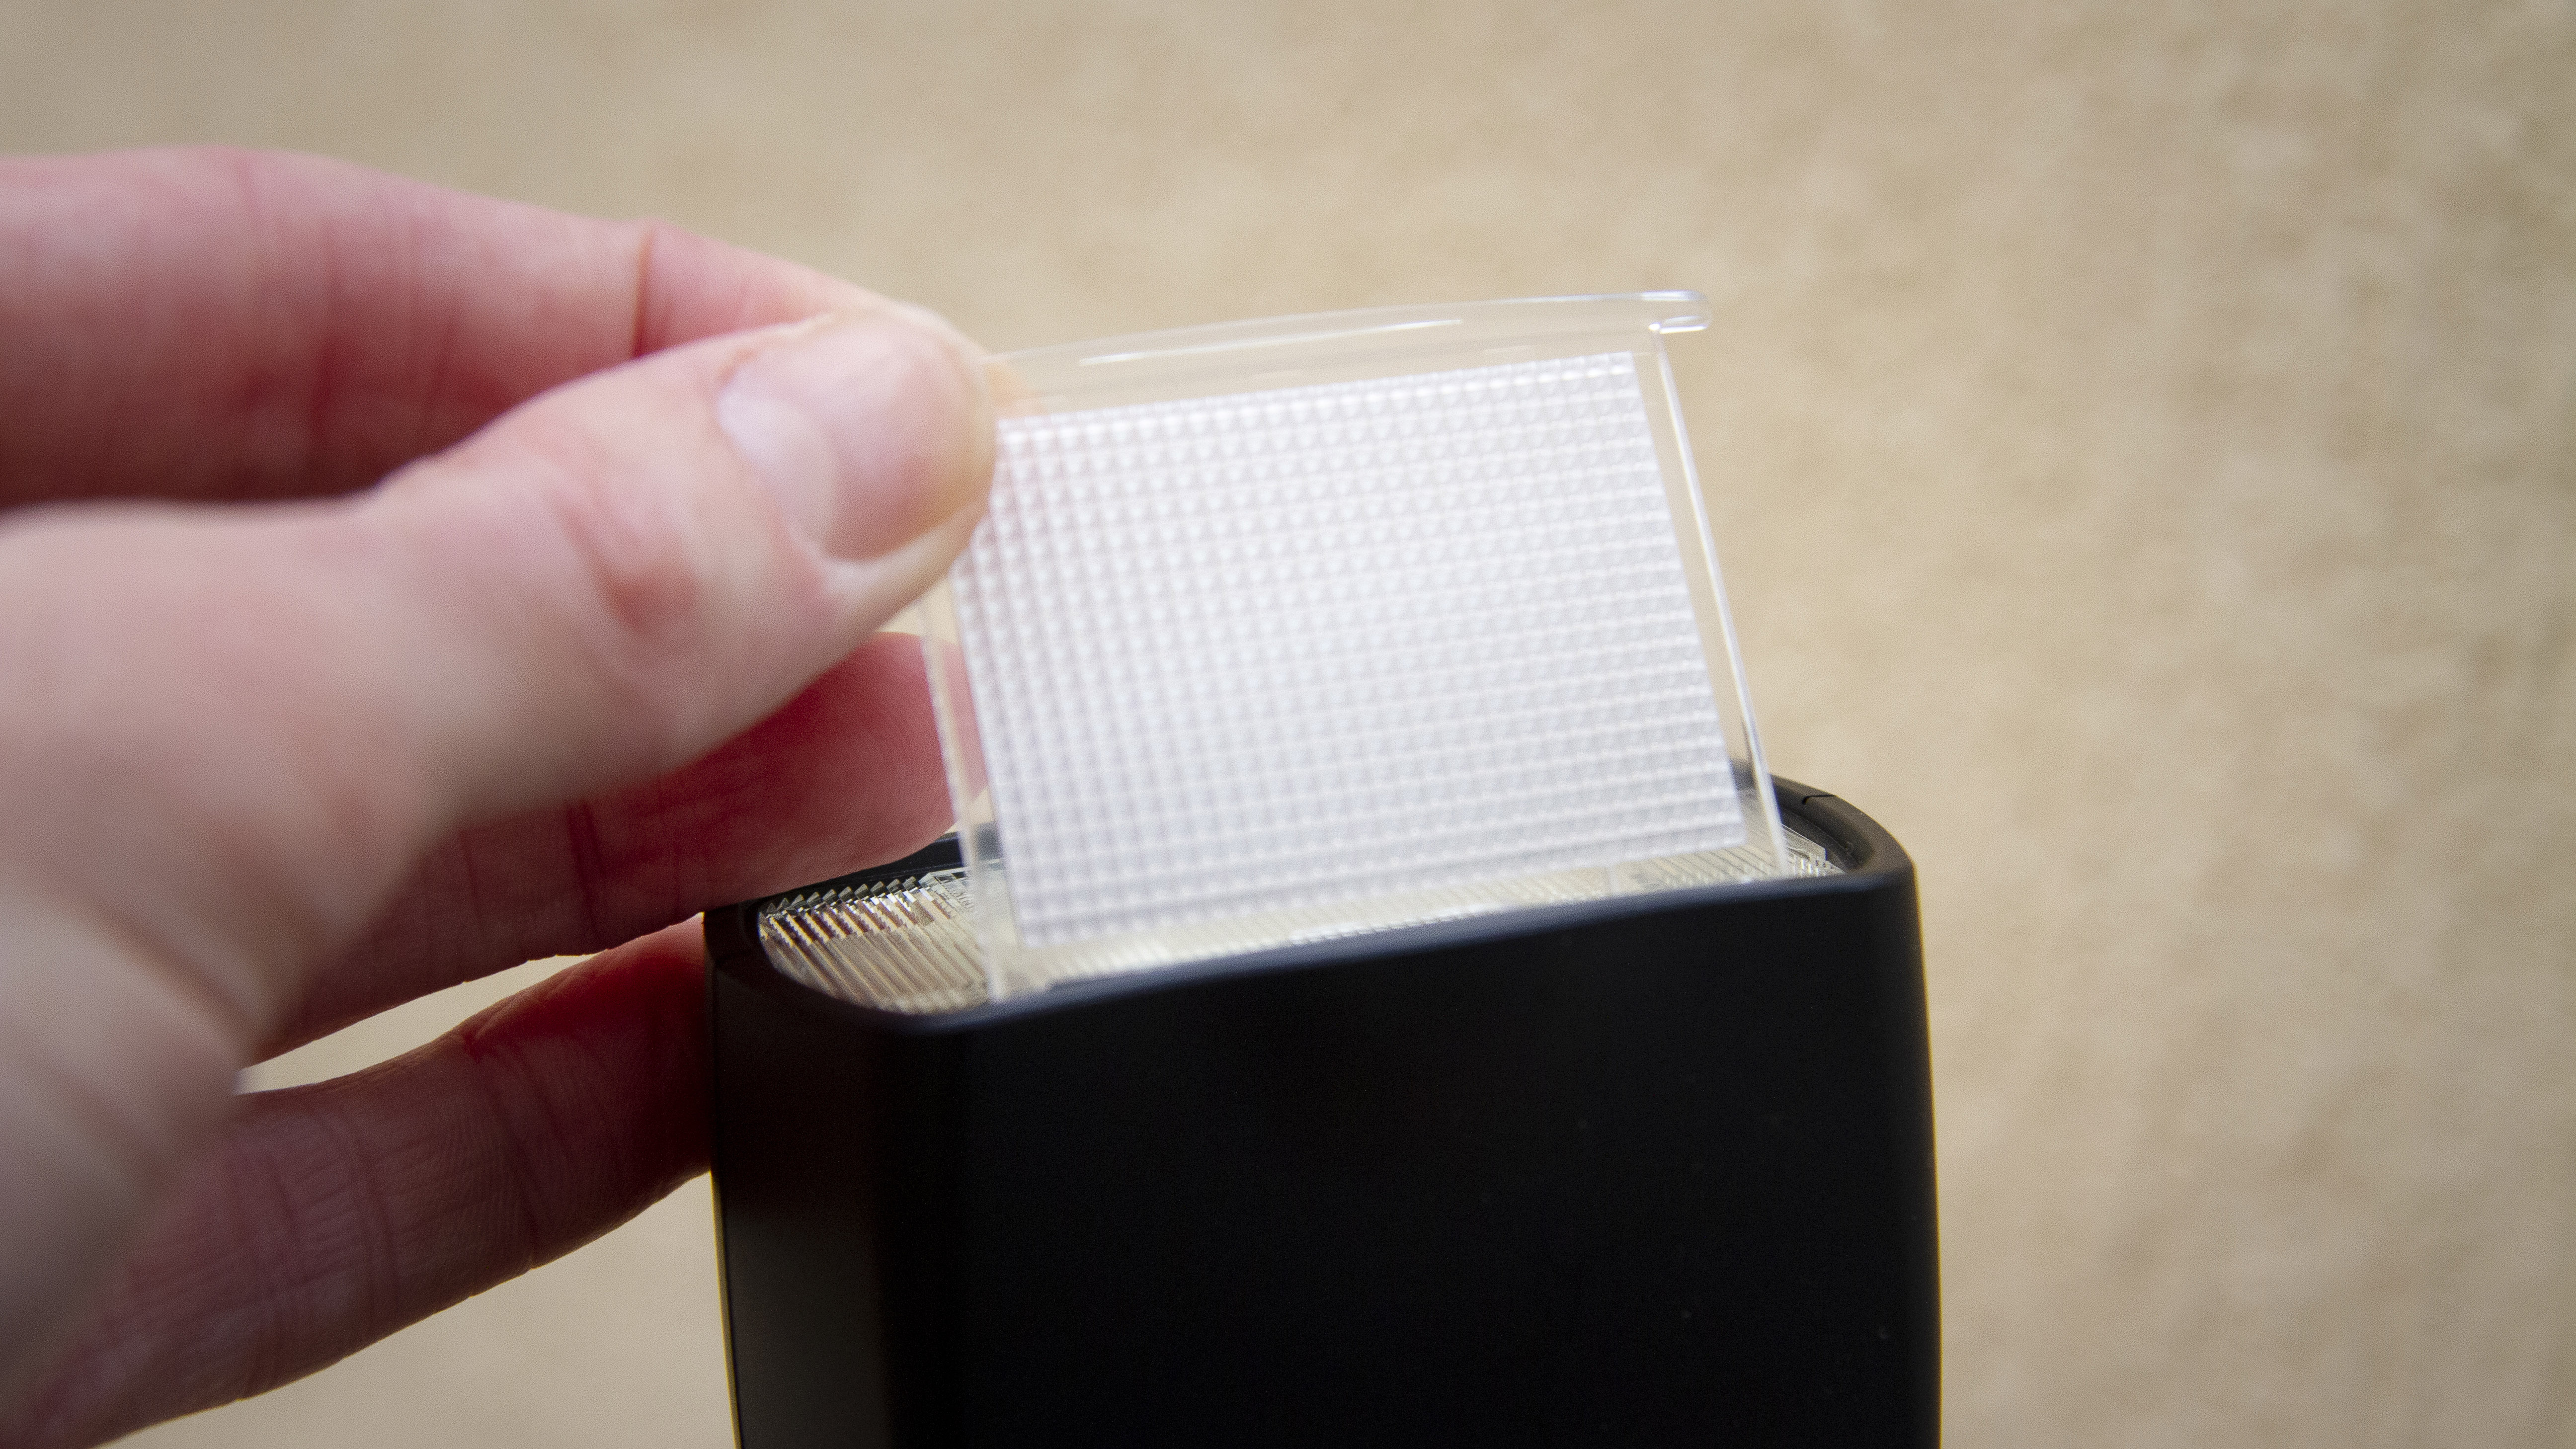
Finally, try varying the zoom of the flashes and the addition or removal of diffusers or wide panels, to experiment with light spread. A tighter beam can highlight important areas but appear less natural.
Read more:
Home photography ideas: How to take great photos of hamsters
The best lenses for food photography in 2020: make your supper the star
The best camera for kids in 2020: family friendly cameras for all ages
Get the Digital Camera World Newsletter
The best camera deals, reviews, product advice, and unmissable photography news, direct to your inbox!
Digital Photographer is the ultimate monthly photography magazine for enthusiasts and pros in today’s digital marketplace.
Every issue readers are treated to interviews with leading expert photographers, cutting-edge imagery, practical shooting advice and the very latest high-end digital news and equipment reviews. The team includes seasoned journalists and passionate photographers such as the Editor Peter Fenech, who are well positioned to bring you authoritative reviews and tutorials on cameras, lenses, lighting, gimbals and more.
Whether you’re a part-time amateur or a full-time pro, Digital Photographer aims to challenge, motivate and inspire you to take your best shot and get the most out of your kit, whether you’re a hobbyist or a seasoned shooter.
