Home photography ideas: Make a splash with high speed and flash
Have fun with your flashgun and create splashing fruit shots with minimal fuss
Watch video: Home photography ideas – Make a splash by using flash
Photography projects at home
• Home photography ideas
Useful home photography kit
• Best tripods
• Best lighting kits
• Best reflectors
• Best macro lenses
High-speed photography is a fantastic way to capture some spectacular effects. A popular subject is capturing a shot of fruit splashing into liquid; freezing the moment that an object breaks the water’s surface makes for stunning splash photography.
The setup may look complex, but all that’s required is a little bit of preparation beforehand, some photographic and flash know-how, and a great deal of patience! We used a macro lens, but a standard zoom or even your kit lens will do the job.
Here we’ll show you how to create your own tabletop studio and set up your camera and flash to capture some high-speed action.
• 10 best online photography courses
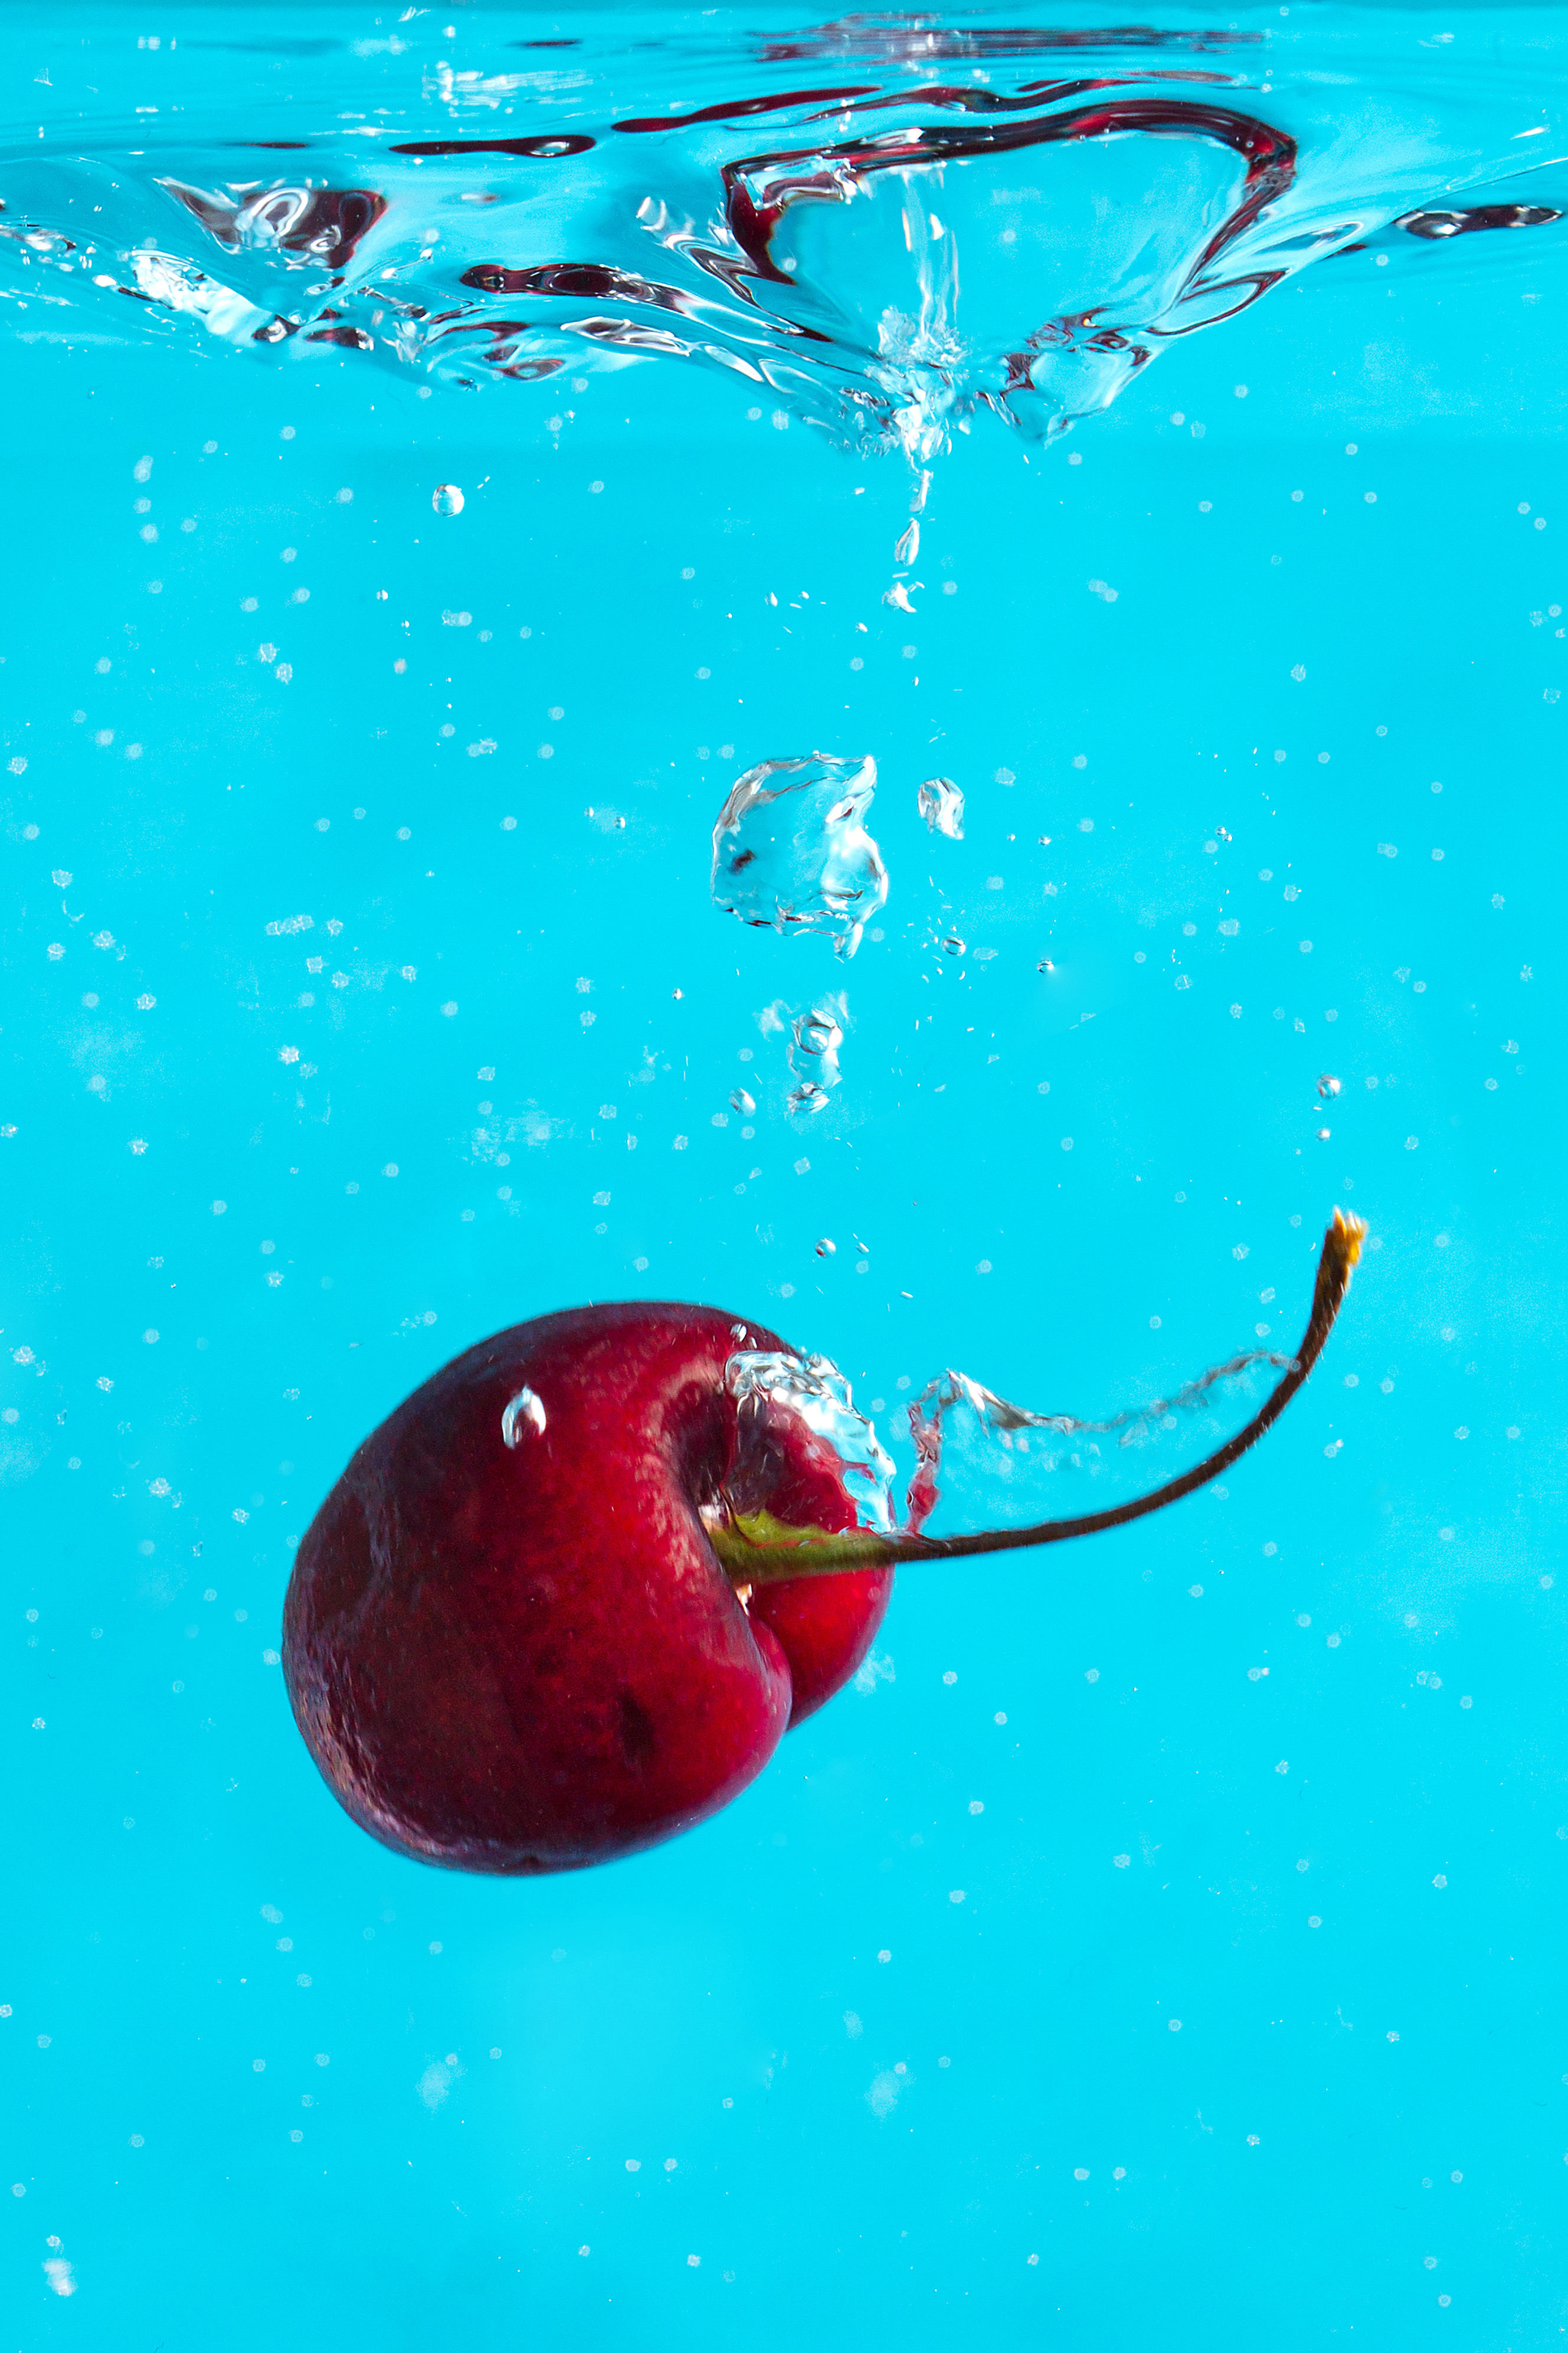
Our aim is to capture the cherry just after it has broken the surface of the water, but before it sinks to the bottom of the container. And in order to freeze the action at the exact moment that the cherry splashes, we’ll be using off-camera flash.
By illuminating the fruit splashing from the side, we’ll achieve more depth and dimension to the subject – and we'll also avoid any nasty looking shadows, or the light revealing unwanted reflections or imperfections in the glass.
This isn’t an exact science, so getting the timing right is a bit of an experiment. So what are you waiting for? Grab some fruit and let’s get started!
01 Manual for full control
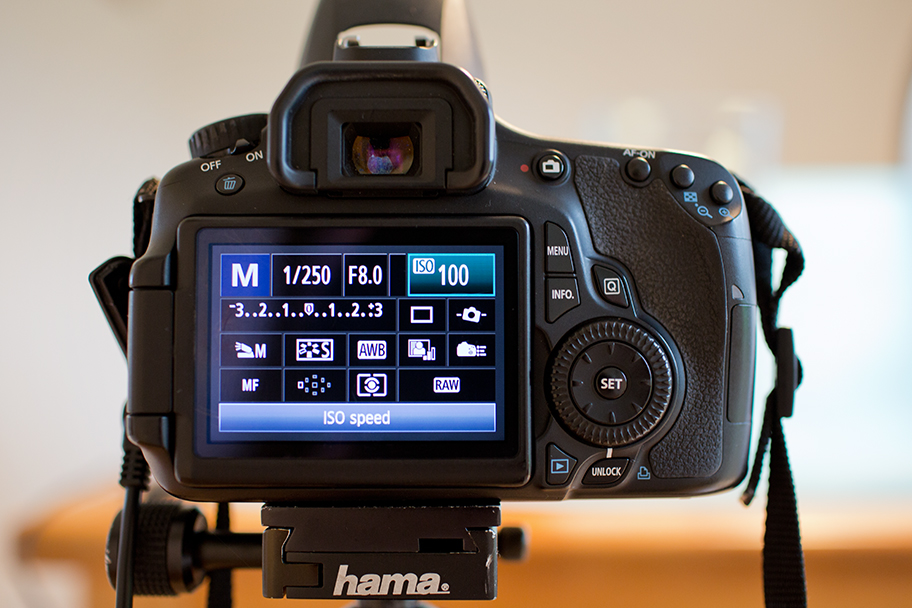
In manual mode, set your shutter speed to its maximum flash sync speed (usually 1/180-1/250 sec, depending on your camera). Set a narrow aperture, such as f/8, for a good depth of field and keep your ISO as low as possible for noise-free shots.
02 Master plan
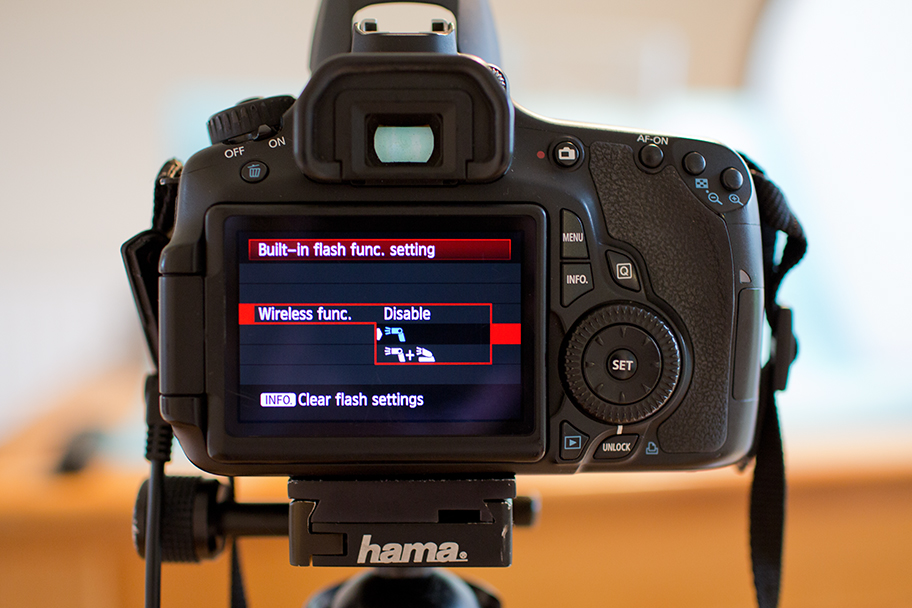
You can obviously use a set of remote triggers to fire your strobe, but if your camera has a pop-up flash then this can serve the same purpose. To set the pop-up flash as the master, we're going to the flash control settings menu and enabling Flash Firing. Then we select Built-in Flash Func, then in the Wireless Func menu we'll select the option to trigger the off-camera flash only.
03 Set the Slave
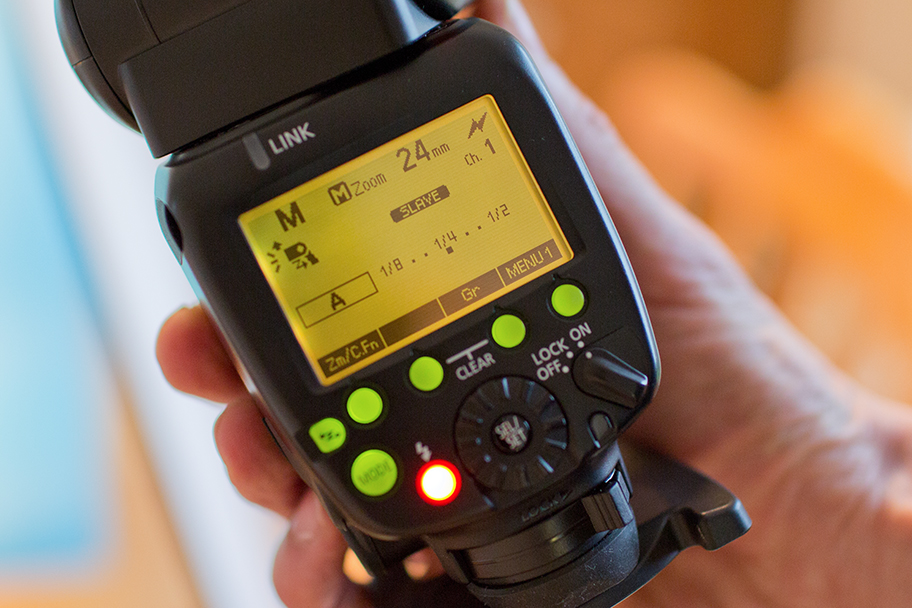
Again, if you're using a set of triggers you don't need to worry about this. If you're using your pop-up flash as the master, though, set your flashgun to its slave wireless setting and the same channel as camera. Select manual flash power and you can adjust the output via the camera’s flash settings menu; we started with 1/4 power.
04 Pre-focus
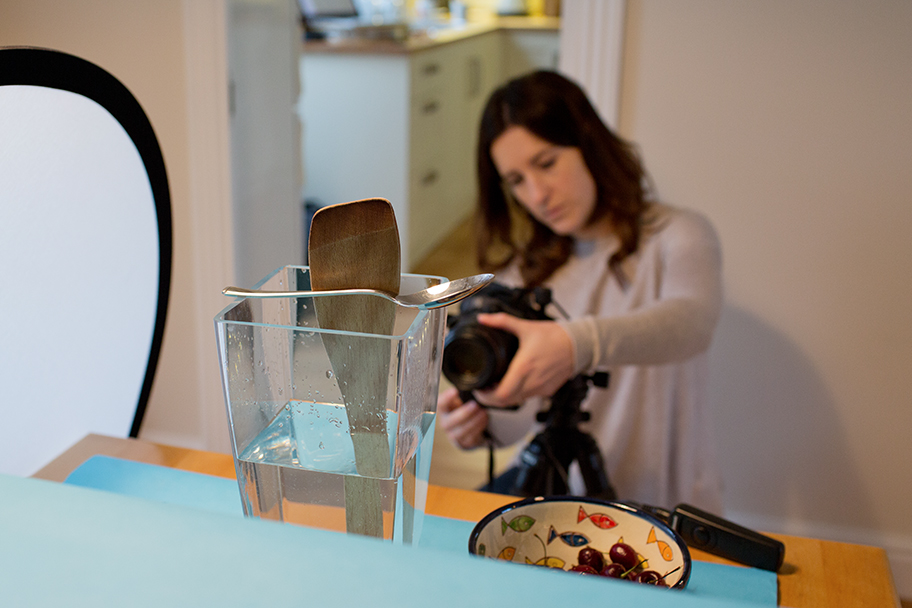
Grab a spoon and submerge it in the water, roughly where your subject will fall, and pre-focus – now switch your lens to manual focus to lock the focus. It may take a couple of attempts to achieve accurate results.
05 Diffuse the light
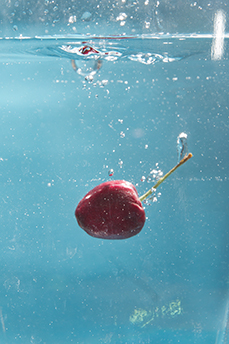
Clear surfaces, like glass, can be a challenge to shoot as they’re so reflective. If you fire a burst of flash in the direction of the glass container, you’ll capture lots of imperfections in the glass – and plenty of fingerprints and dust, despite cleaning it before you started. Position your reflector’s translucent diffuser panel between the setup and off-camera flash to soften the light.
Read more:
More home photography ideas
The best flashgun in 2020: the best strobe units for Canon cameras, Nikon & more
The best macro lenses in 2020: get closer to your subjects than ever before!
Get the Digital Camera World Newsletter
The best camera deals, reviews, product advice, and unmissable photography news, direct to your inbox!
Hollie Latham-Hucker is a former Technique Editor of PhotoPlus magazine. With a degree in Design Photography from the University of Plymouth, she is currently working as the Technique Editor of Amateur Photographer.


