Watch video: Home photography ideas – Water drop photography
Photography projects at home
• Home photography ideas
Useful home photography kit
• Best tripods
• Best lighting kits
• Best reflectors
• Best macro lenses
Ever wondered how to create those water drops that seem to magically hang in mid-air? It’s not Photoshop trickery – you just need some simple ingredients to concoct your very own droplet shot.
The principle is simple: by releasing a droplet of liquid into a bowl filled with water, you can create a perfect spherical splash effect with concentric ripples that propagate outwards.
With your camera set to the sync speed of your flash gun, it’s not the shutter speed that freezes the water droplet but the flash of light. A typical burst of flash lasts between 1/30,000 and 1/1,000 sec, which is much faster than any shutter speed.
It’s all in the timing; you’ll need to fire the shutter a fraction of a second after releasing the water drop. This comes with practice… and luck. You’ll need to set high-speed continuous shooting mode and fire plenty of frames before you get the perfect shot.
You can get experimental with food coloring and different liquids, such as oil or milk, but let’s keep things simple and start off with good old H20 for now…
• Best online photography courses
The best camera deals, reviews, product advice, and unmissable photography news, direct to your inbox!
Drip feeding
01 Get set up
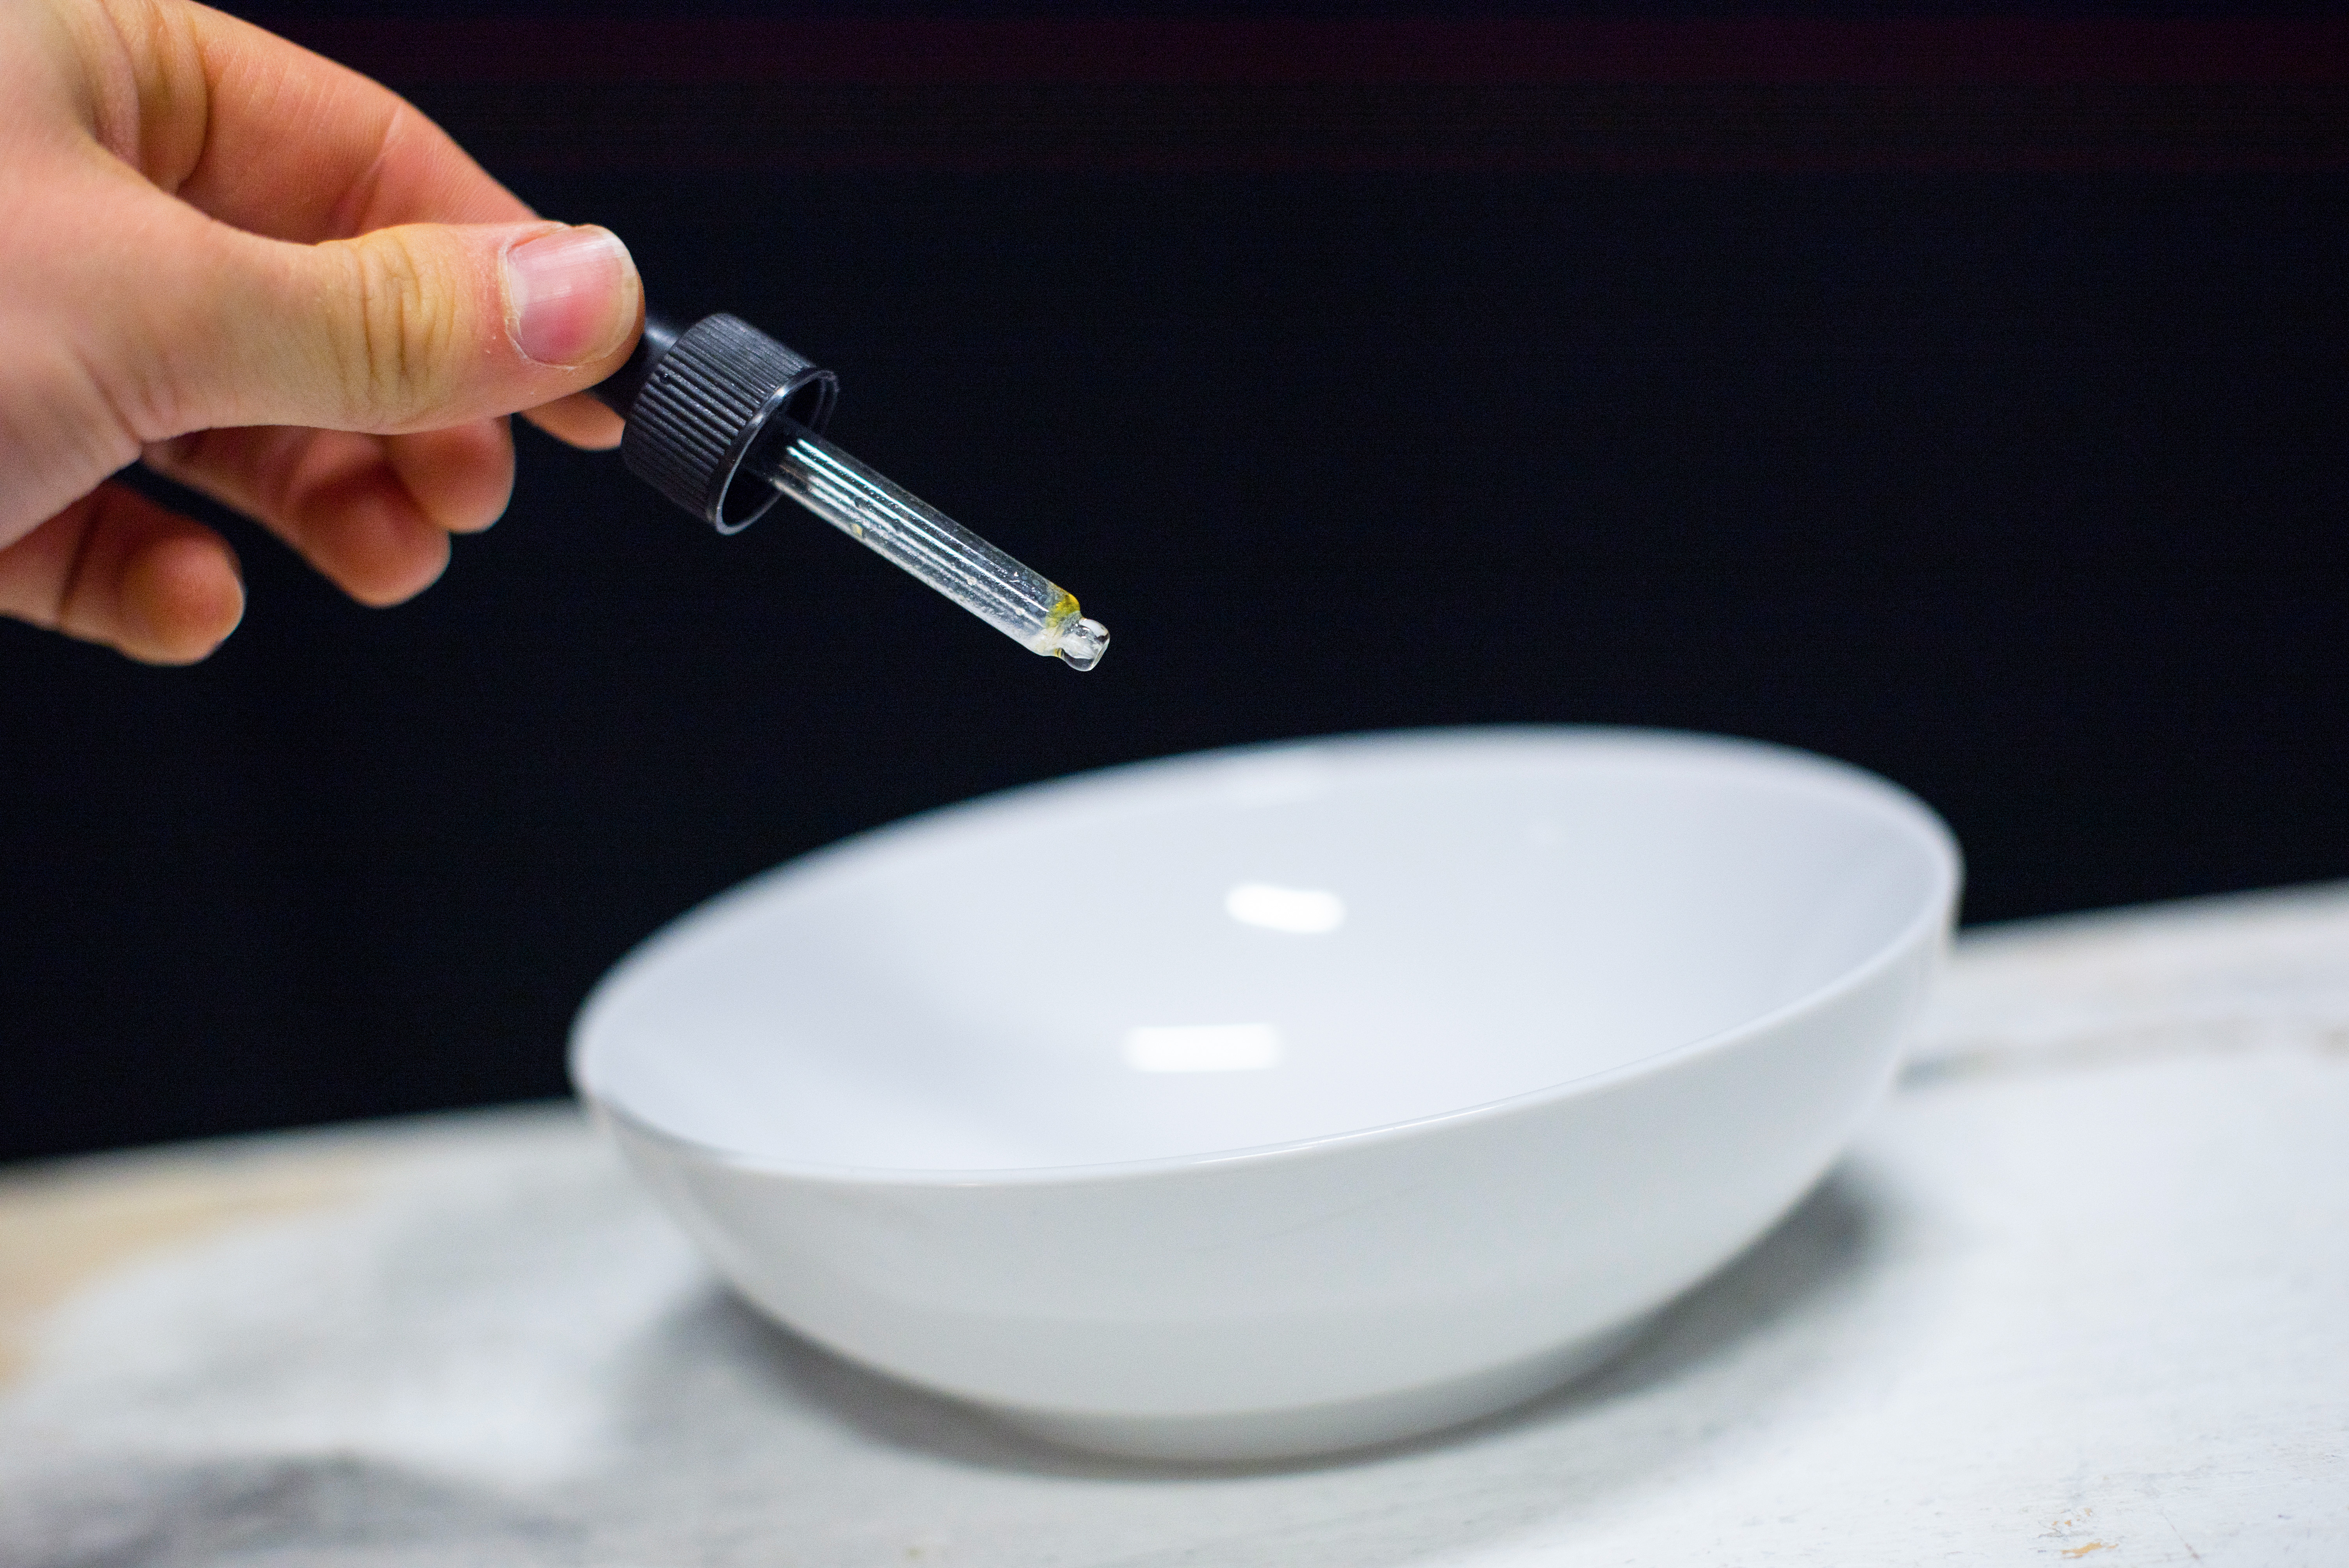
You’ll need a bowl or dish to hold the water, as well as a pipette or eyedropper to squeeze liquid out a drop at a time. The height at which you hold your pipette will determine the shape and size of your water drop, so experiment with different elevations and see what you prefer.
02 Add some flash
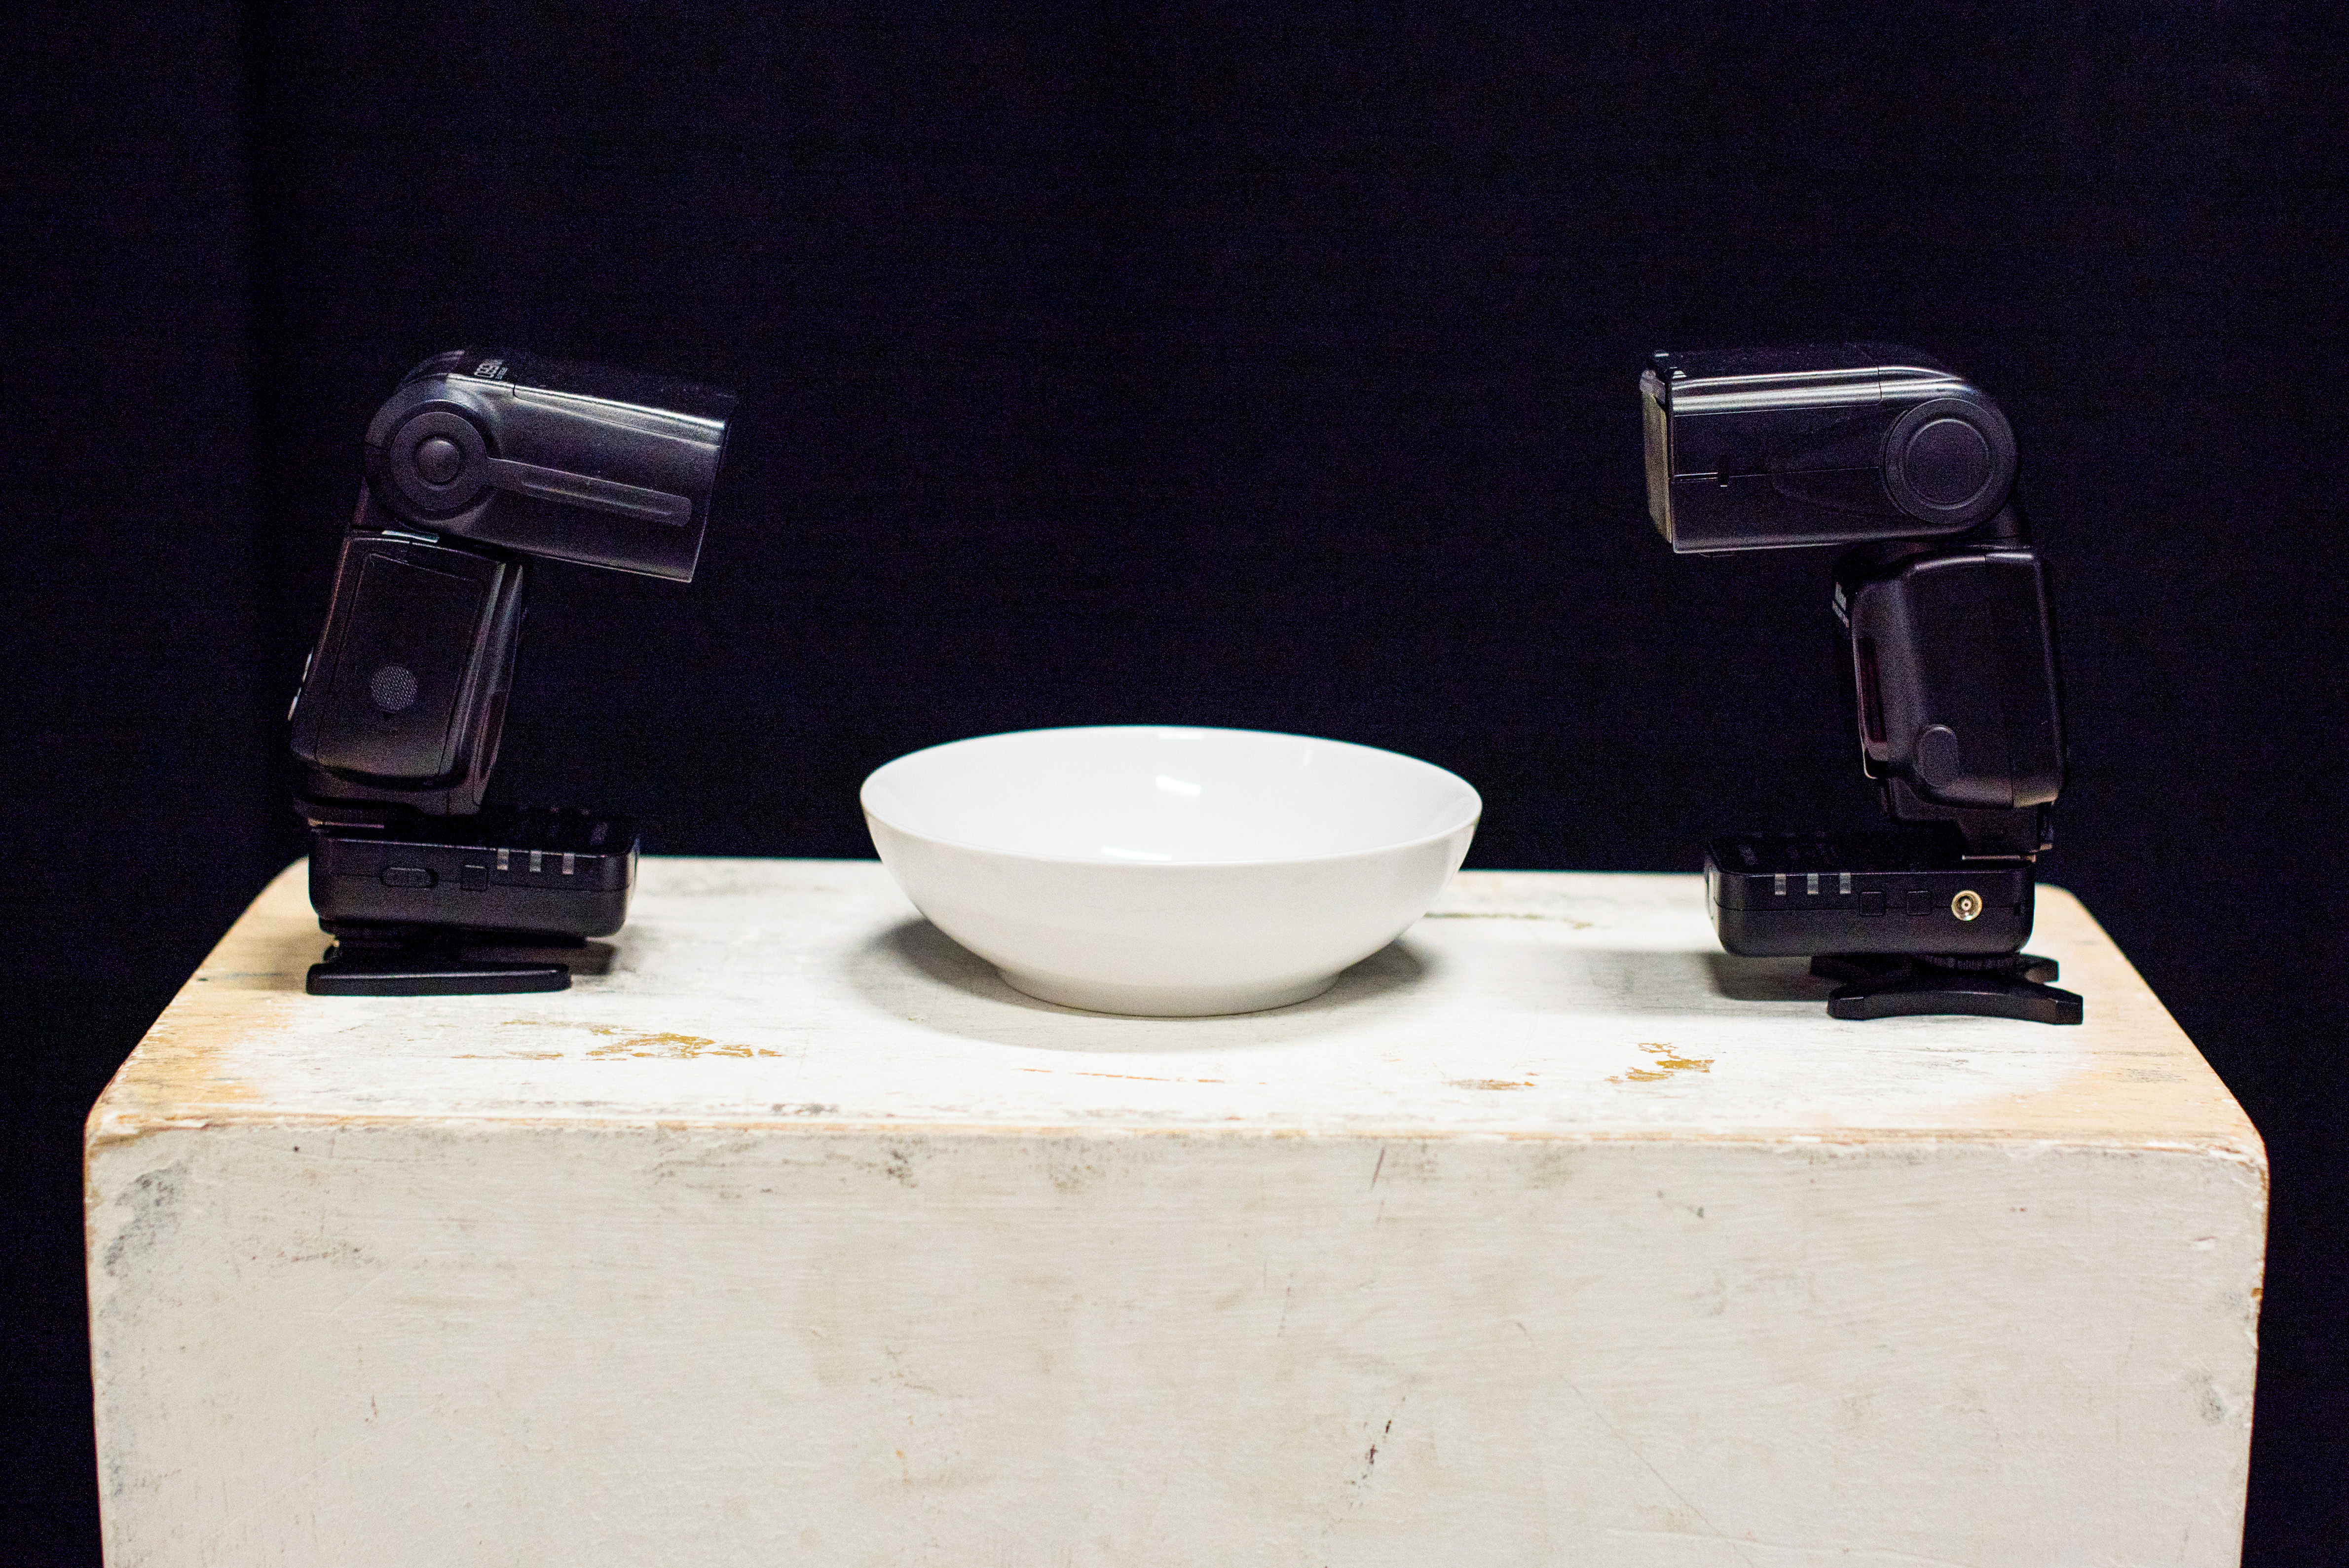
The key to good water drop photography is to place a flash either side of the bowl, firing across the end of your lens (so it’s wise to use a lens hood to prevent flare from spoiling your shot). This gives shape and form to your splash, making it seem like a sculpture in your final shot.
03 Angle your camera
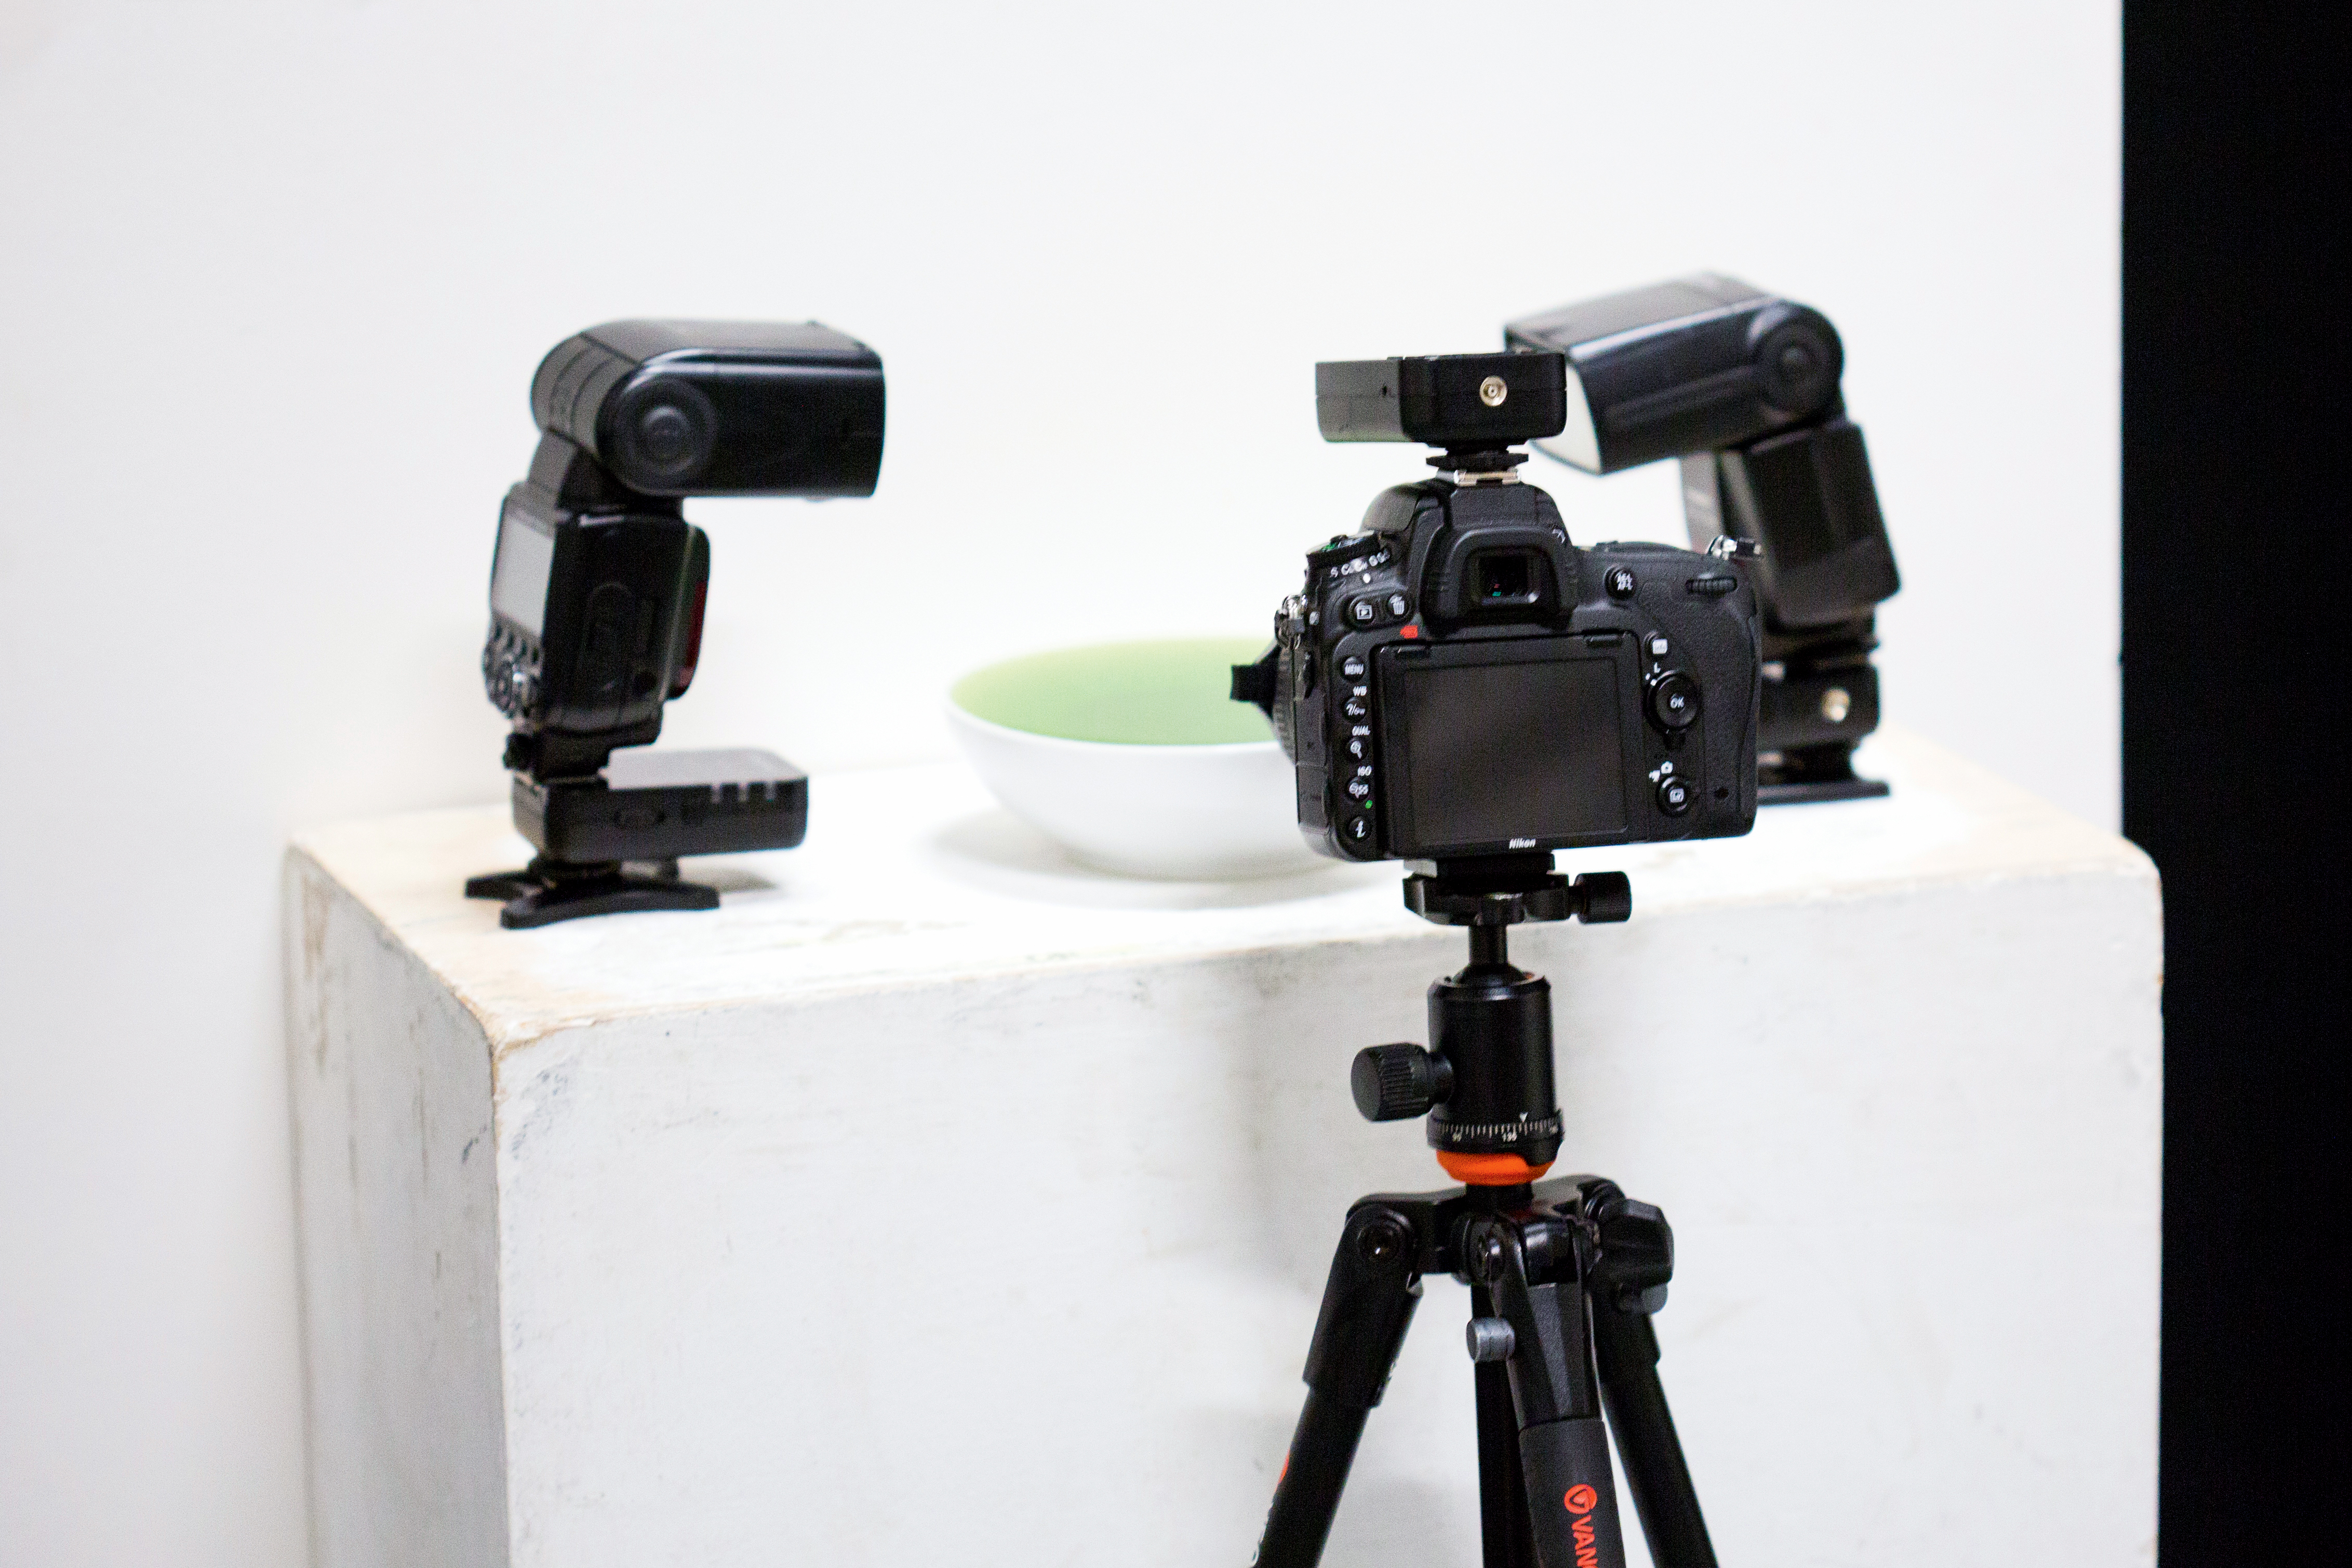
Mount your camera to a tripod and line it up with the dish of water so that you have a slight downwards angle across the surface of the water. This angle helps to eliminate the edge of the bowl in the background, which would otherwise be a distraction in your composition.
04 Lock the focus
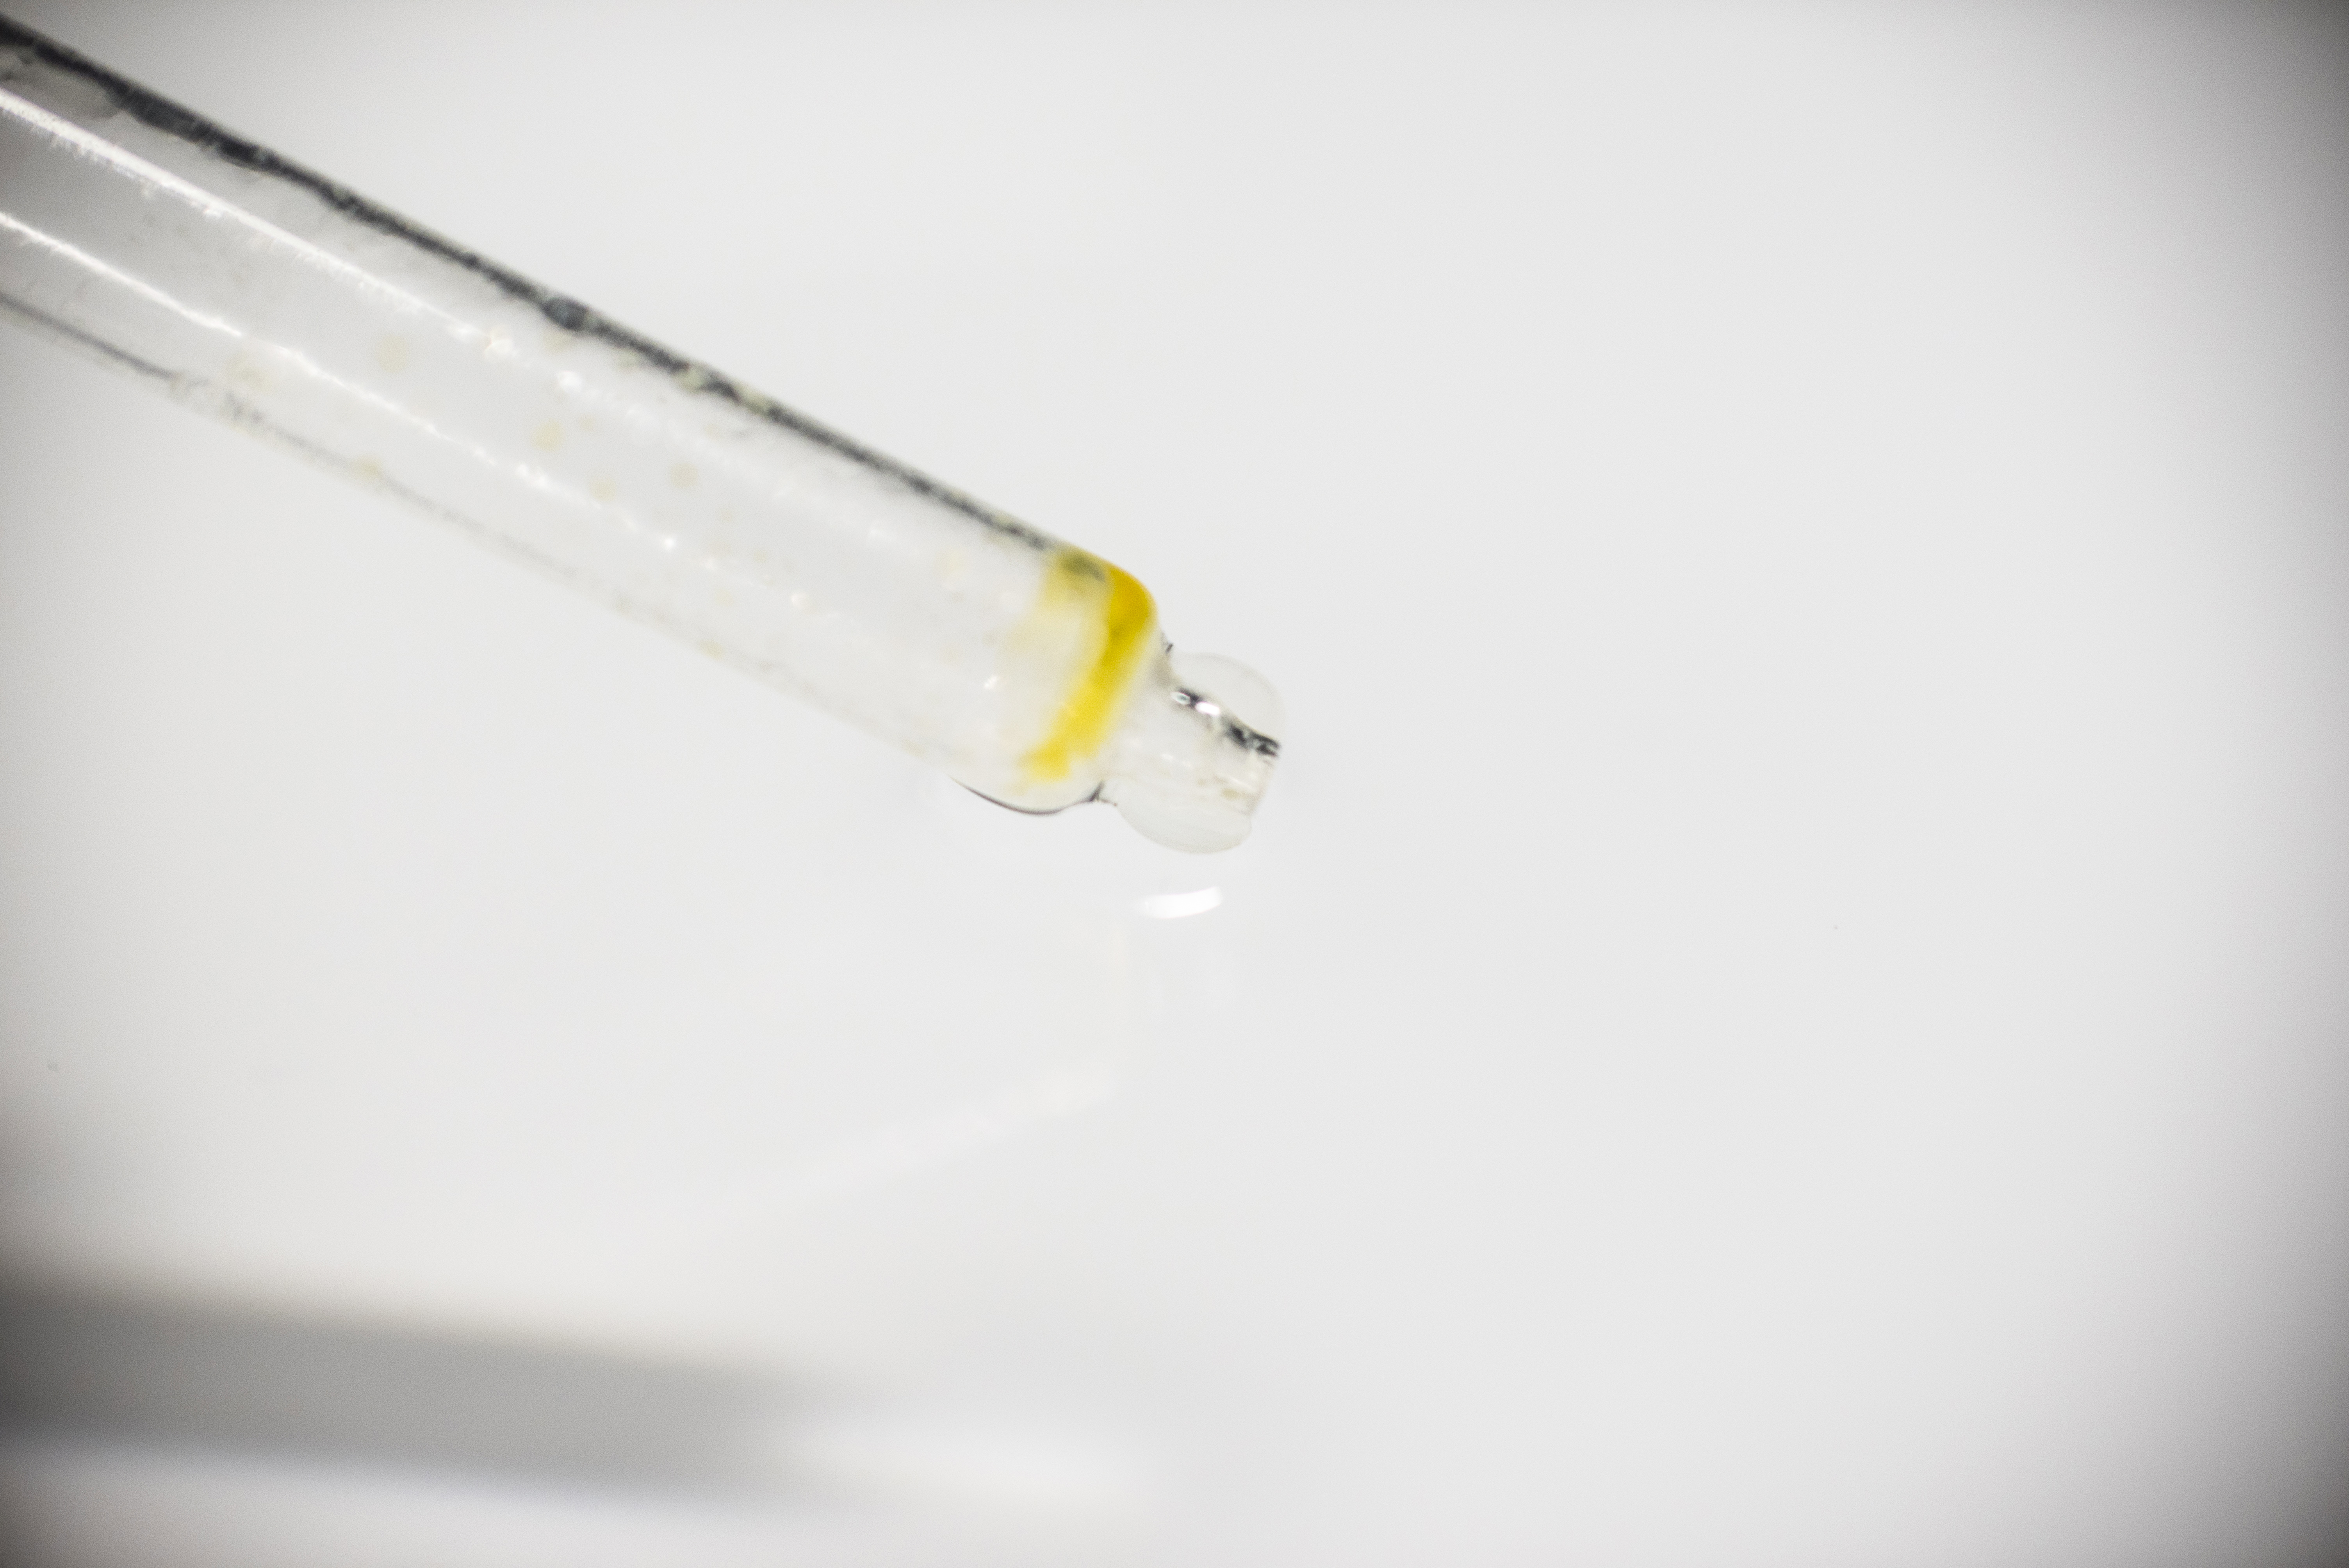
Zoom in until your entire frame is filled with water. Place the pipette in the centre of the bowl and using autofocus to focus on the pipette until it’s sharp. Then slide the AF switch to the manual focus position to avoid the camera attempting to focus each time you take a shot.
05 Set the exposure
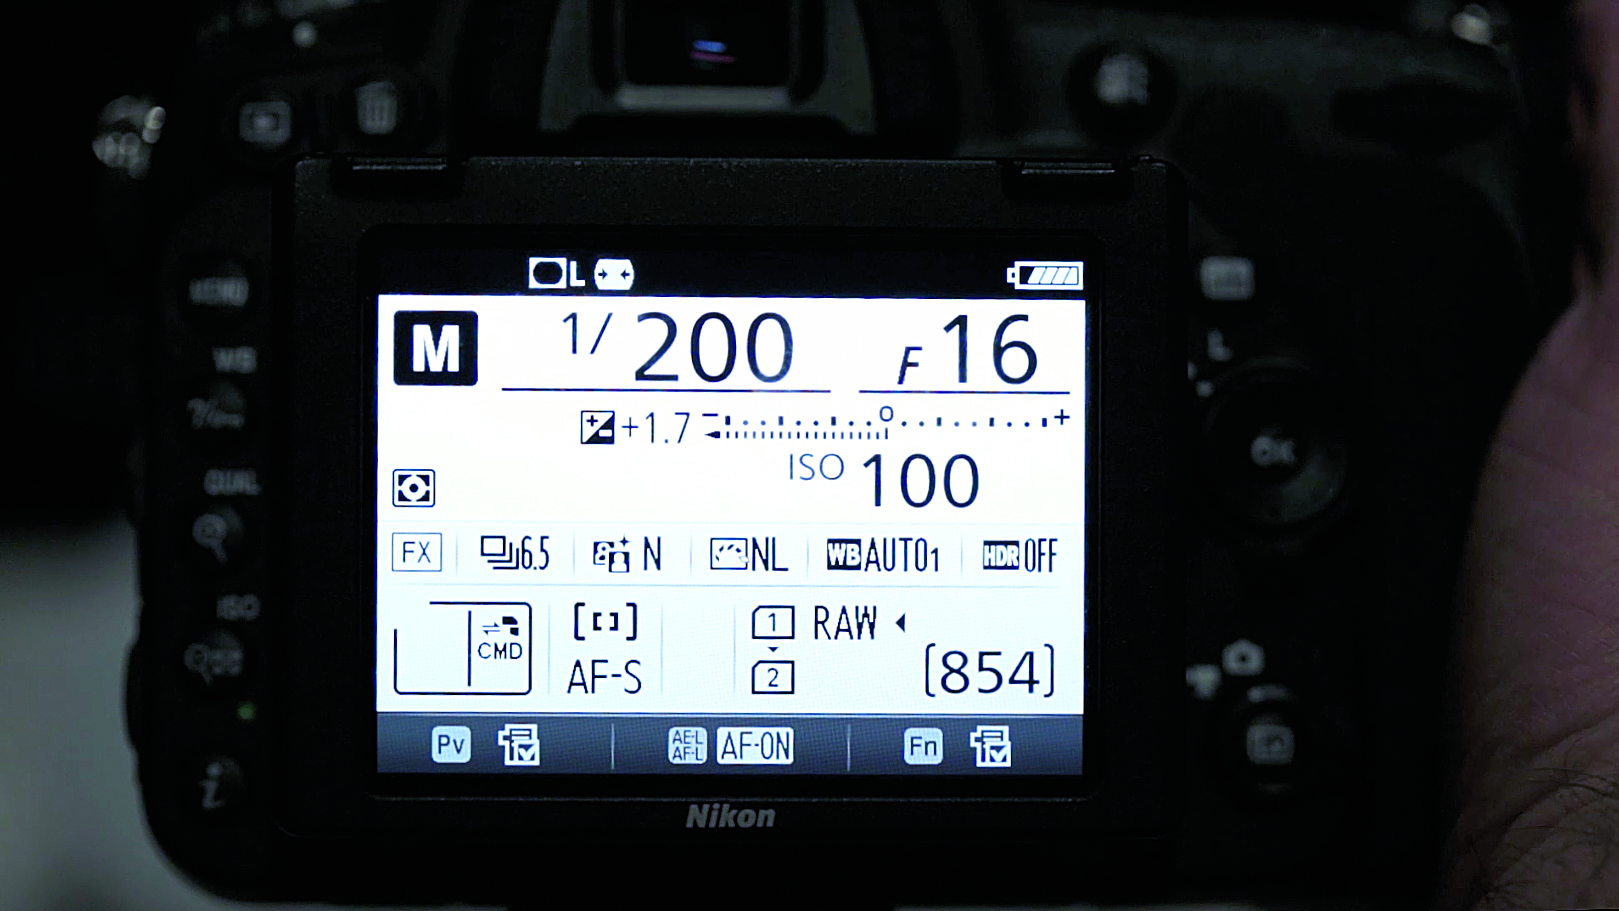
A macro lens will enable you to focus closely on the droplet. In manual mode we set an aperture of f/16 for increased depth of field, a 1/200 sec shutter speed to match the flash sync speed, and ISO100 to minimize noise.
06 Time it right
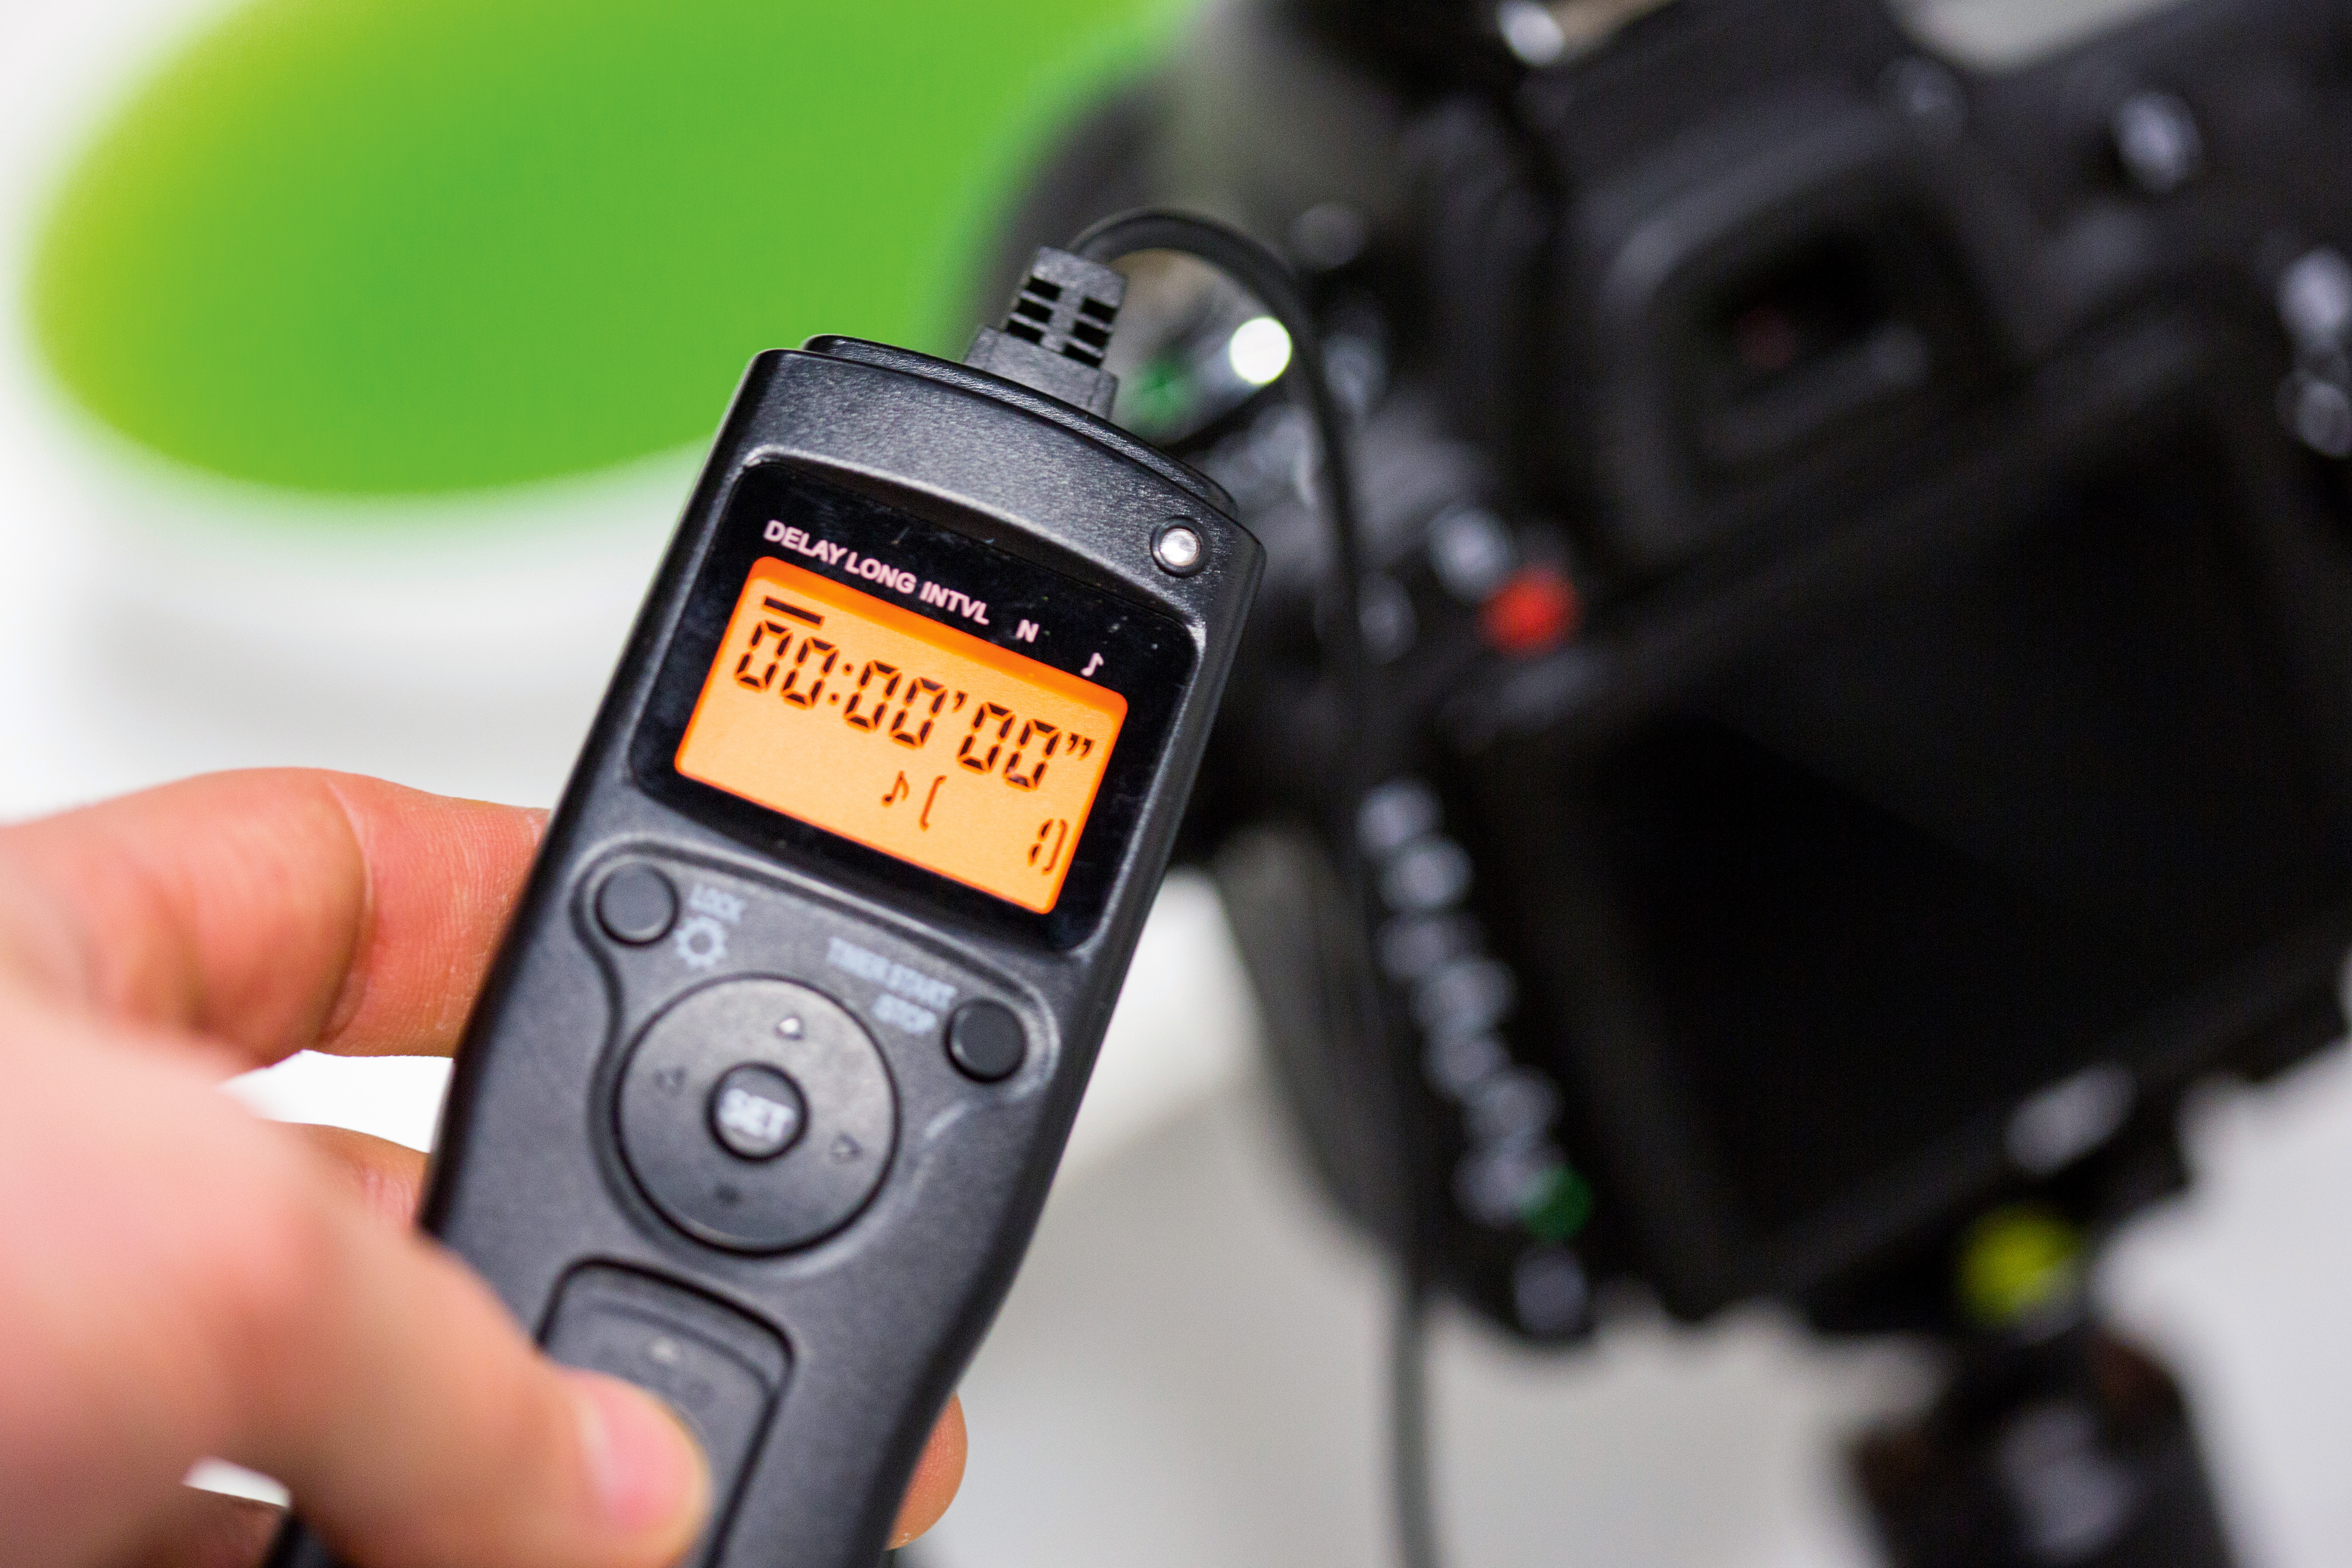
Using a remote shutter release gives you the ability to be further away from your camera body. This is helpful if you’re shooting by yourself, so you can trigger the shutter at the precise moment that you simultaneously release the water drop. Otherwise it's good to get someone to help, otherwise it can be tricky working with the self-timer.
N-Photo: The Nikon Magazine is a monthly publication that's entirely dedicated to Nikon users. For the best news, reviews, projects and more, subscribe to N-Photo today!
Read more:
The best macro lenses in: get closer to your subjects than ever before!
Best ringflash for macro photography
5 things to know before buying a macro lens
N-Photo: The Nikon Magazine is a monthly publication that's entirely dedicated to Nikon users. As a 100% independent magazine, you can be assured of unbiased opinion from a trustworthy team of devoted photography experts including editor Adam Waring and Deputy Editor Mike Harris.
Aimed at all users, from camera newcomers to working pros, every issue is packed with practical, Nikon-specific advice for taking better photos, in-depth reviews of Nikon-compatible gear, and inspiring projects and exciting video lessons for mastering camera, lens and Photoshop techniques.
Written by Nikon users for Nikon users, N-Photo is your one-stop shop for everything to do with cameras, lenses, tripods, bags, tips, tricks and techniques to get the most out of your photography.
