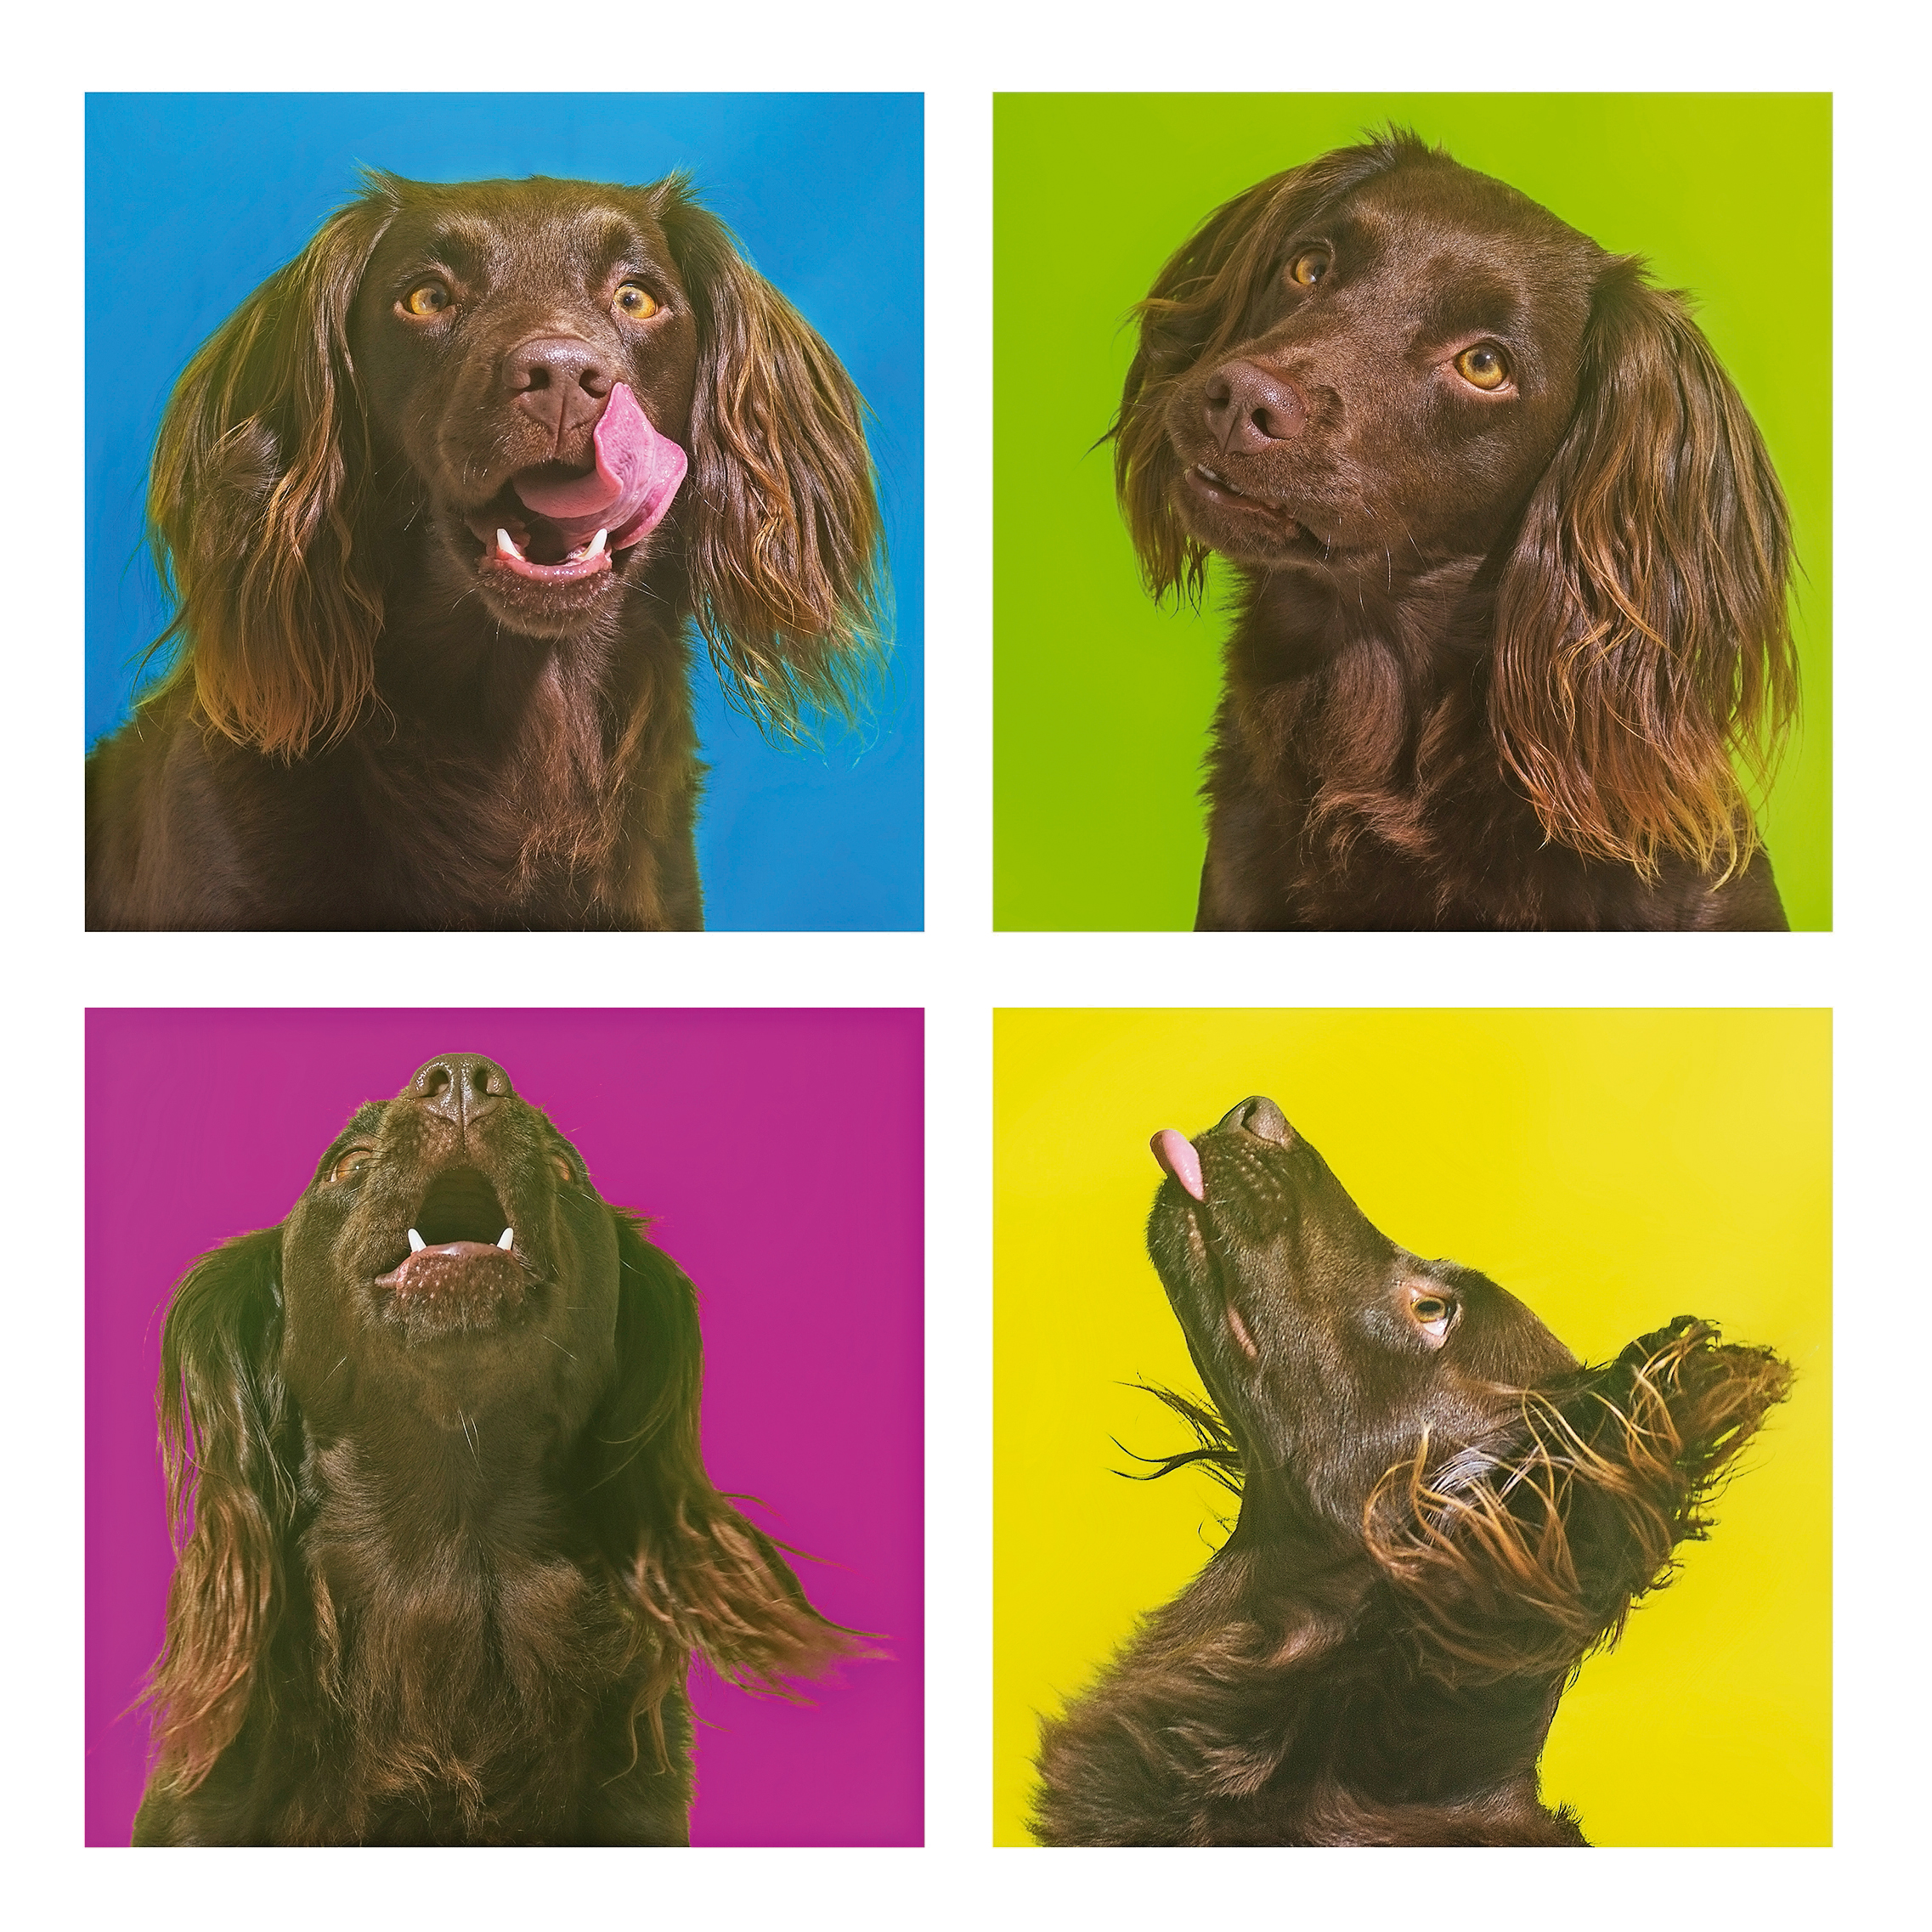
It's International Dog Day! Try shooting some 'pup art' pet portraits
Celebrate International Dog Day by shooting some pop art-inspired pet portraits of your pooch
The best camera deals, reviews, product advice, and unmissable photography news, direct to your inbox!
You are now subscribed
Your newsletter sign-up was successful
Watch video: Shoot some 'pup art' pet portraits for International Dog Day!
Photography projects at home
• Home photography ideas
Useful home photography kit
• Best tripods
• Best lighting kits
• Best reflectors
• Best macro lenses
Today is International Dog Day, and what better way to show off your love for your pooch than taking some 'pup art' pet portraits!
In this home photo project, we'll help you capture the character of your furry four-legged friend. When it comes to indoor shots, however, you face a number of challenges. The first is light – it’s likely that you won’t have enough of it to capture pin-sharp shots handheld.
Article continues belowAnd, just as with portraits of people, the front-on light from your DSLR’s pop-up flash or a flashgun mounted on your camera’s hot shoe can be too harsh; it can cause ‘pet-eye’, the animal equivalent of red-eye (it’s usually greenish in color), and may even frighten your subject.
• Best online photography courses
Another challenge is that your doggy subject probably won’t want to sit still for long; capturing engaging expressions can prove tricky too, as often it’ll happen so quickly that you’ll miss the shot. Finding a clutter-free backdrop for your shoot can also be difficult.
So in this project we’ll show you how to set up a simple DIY studio, and show you some easy off-camera flash techniques that will enable you to use a fast shutter speed to capture fleeting movements or expressions. By positioning the flash to one side and using a reflector to bounce light back into the shadows you can produce more even lighting – and take more flattering shots of your precious pooch.
The best camera deals, reviews, product advice, and unmissable photography news, direct to your inbox!
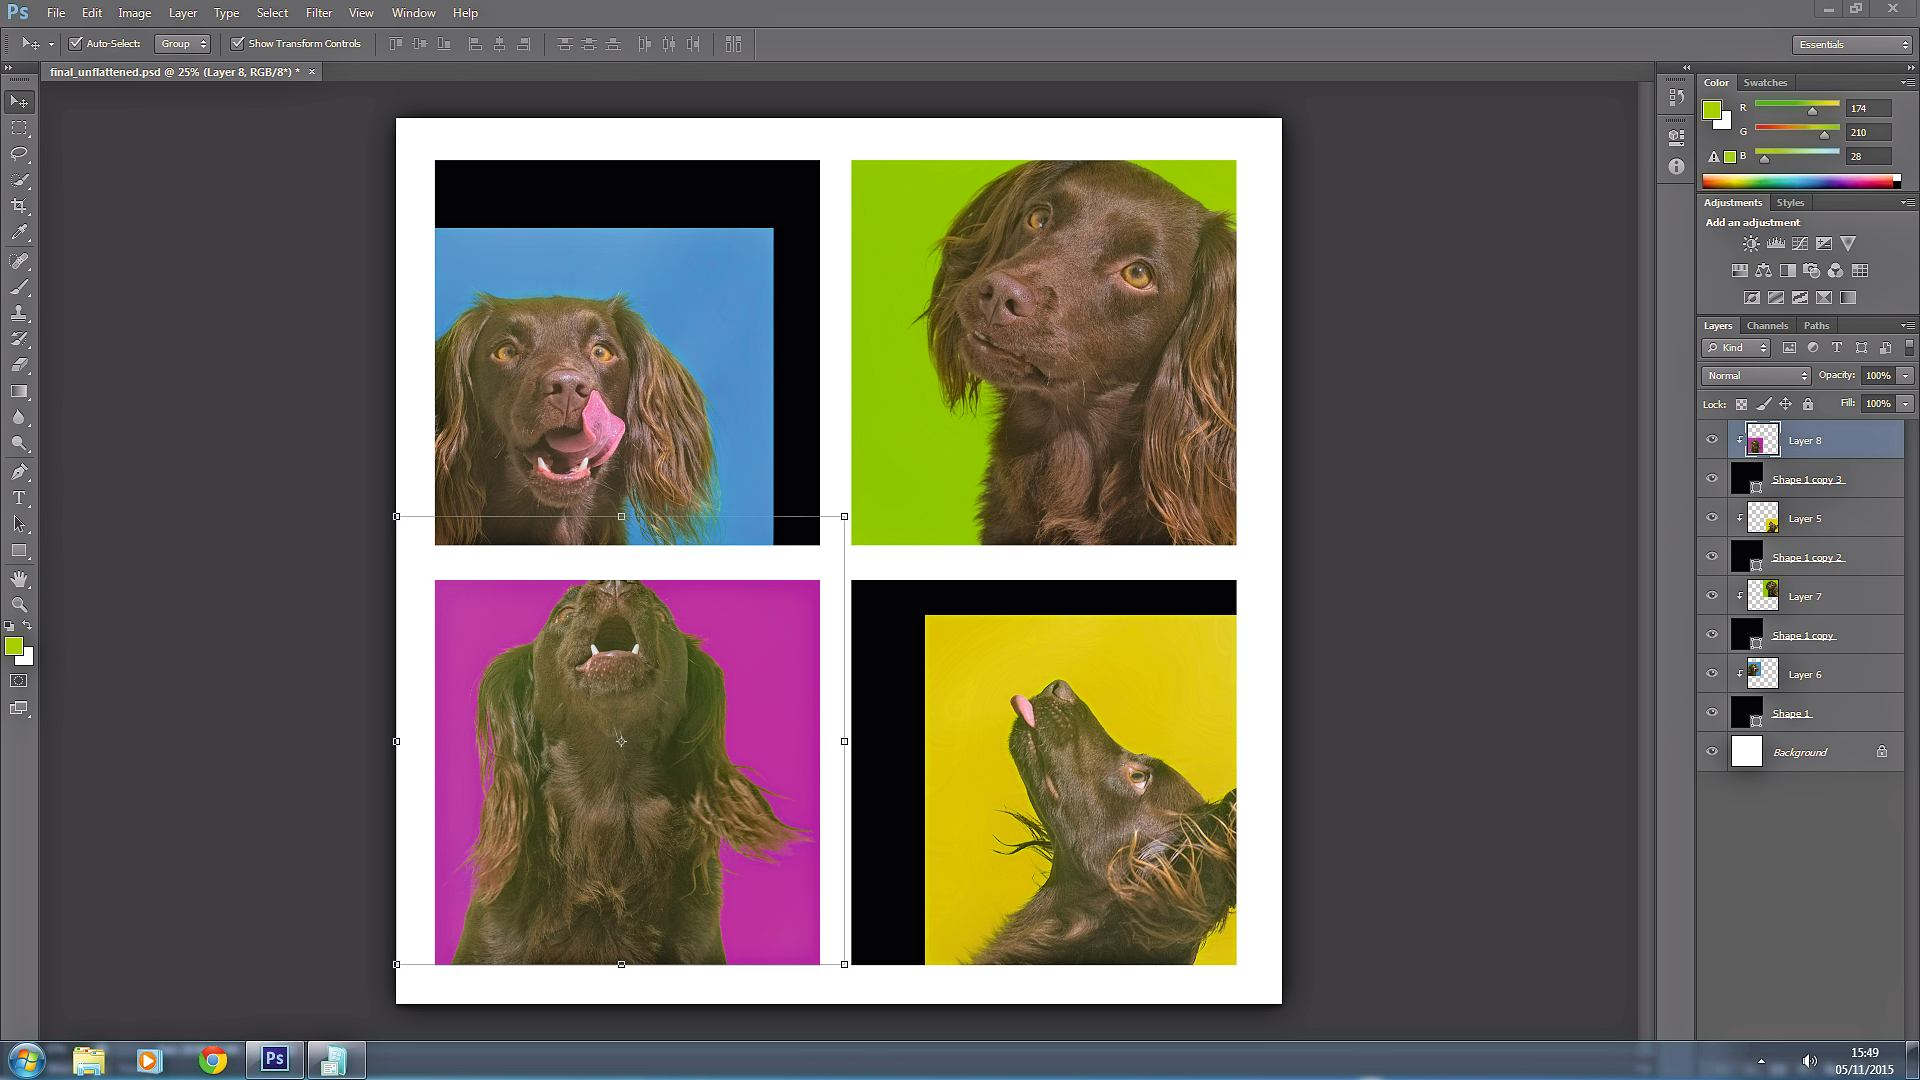
Then learn how to use Photoshop to combine multiple portraits into a four-way pop art pet picture.
Create a simple home studio
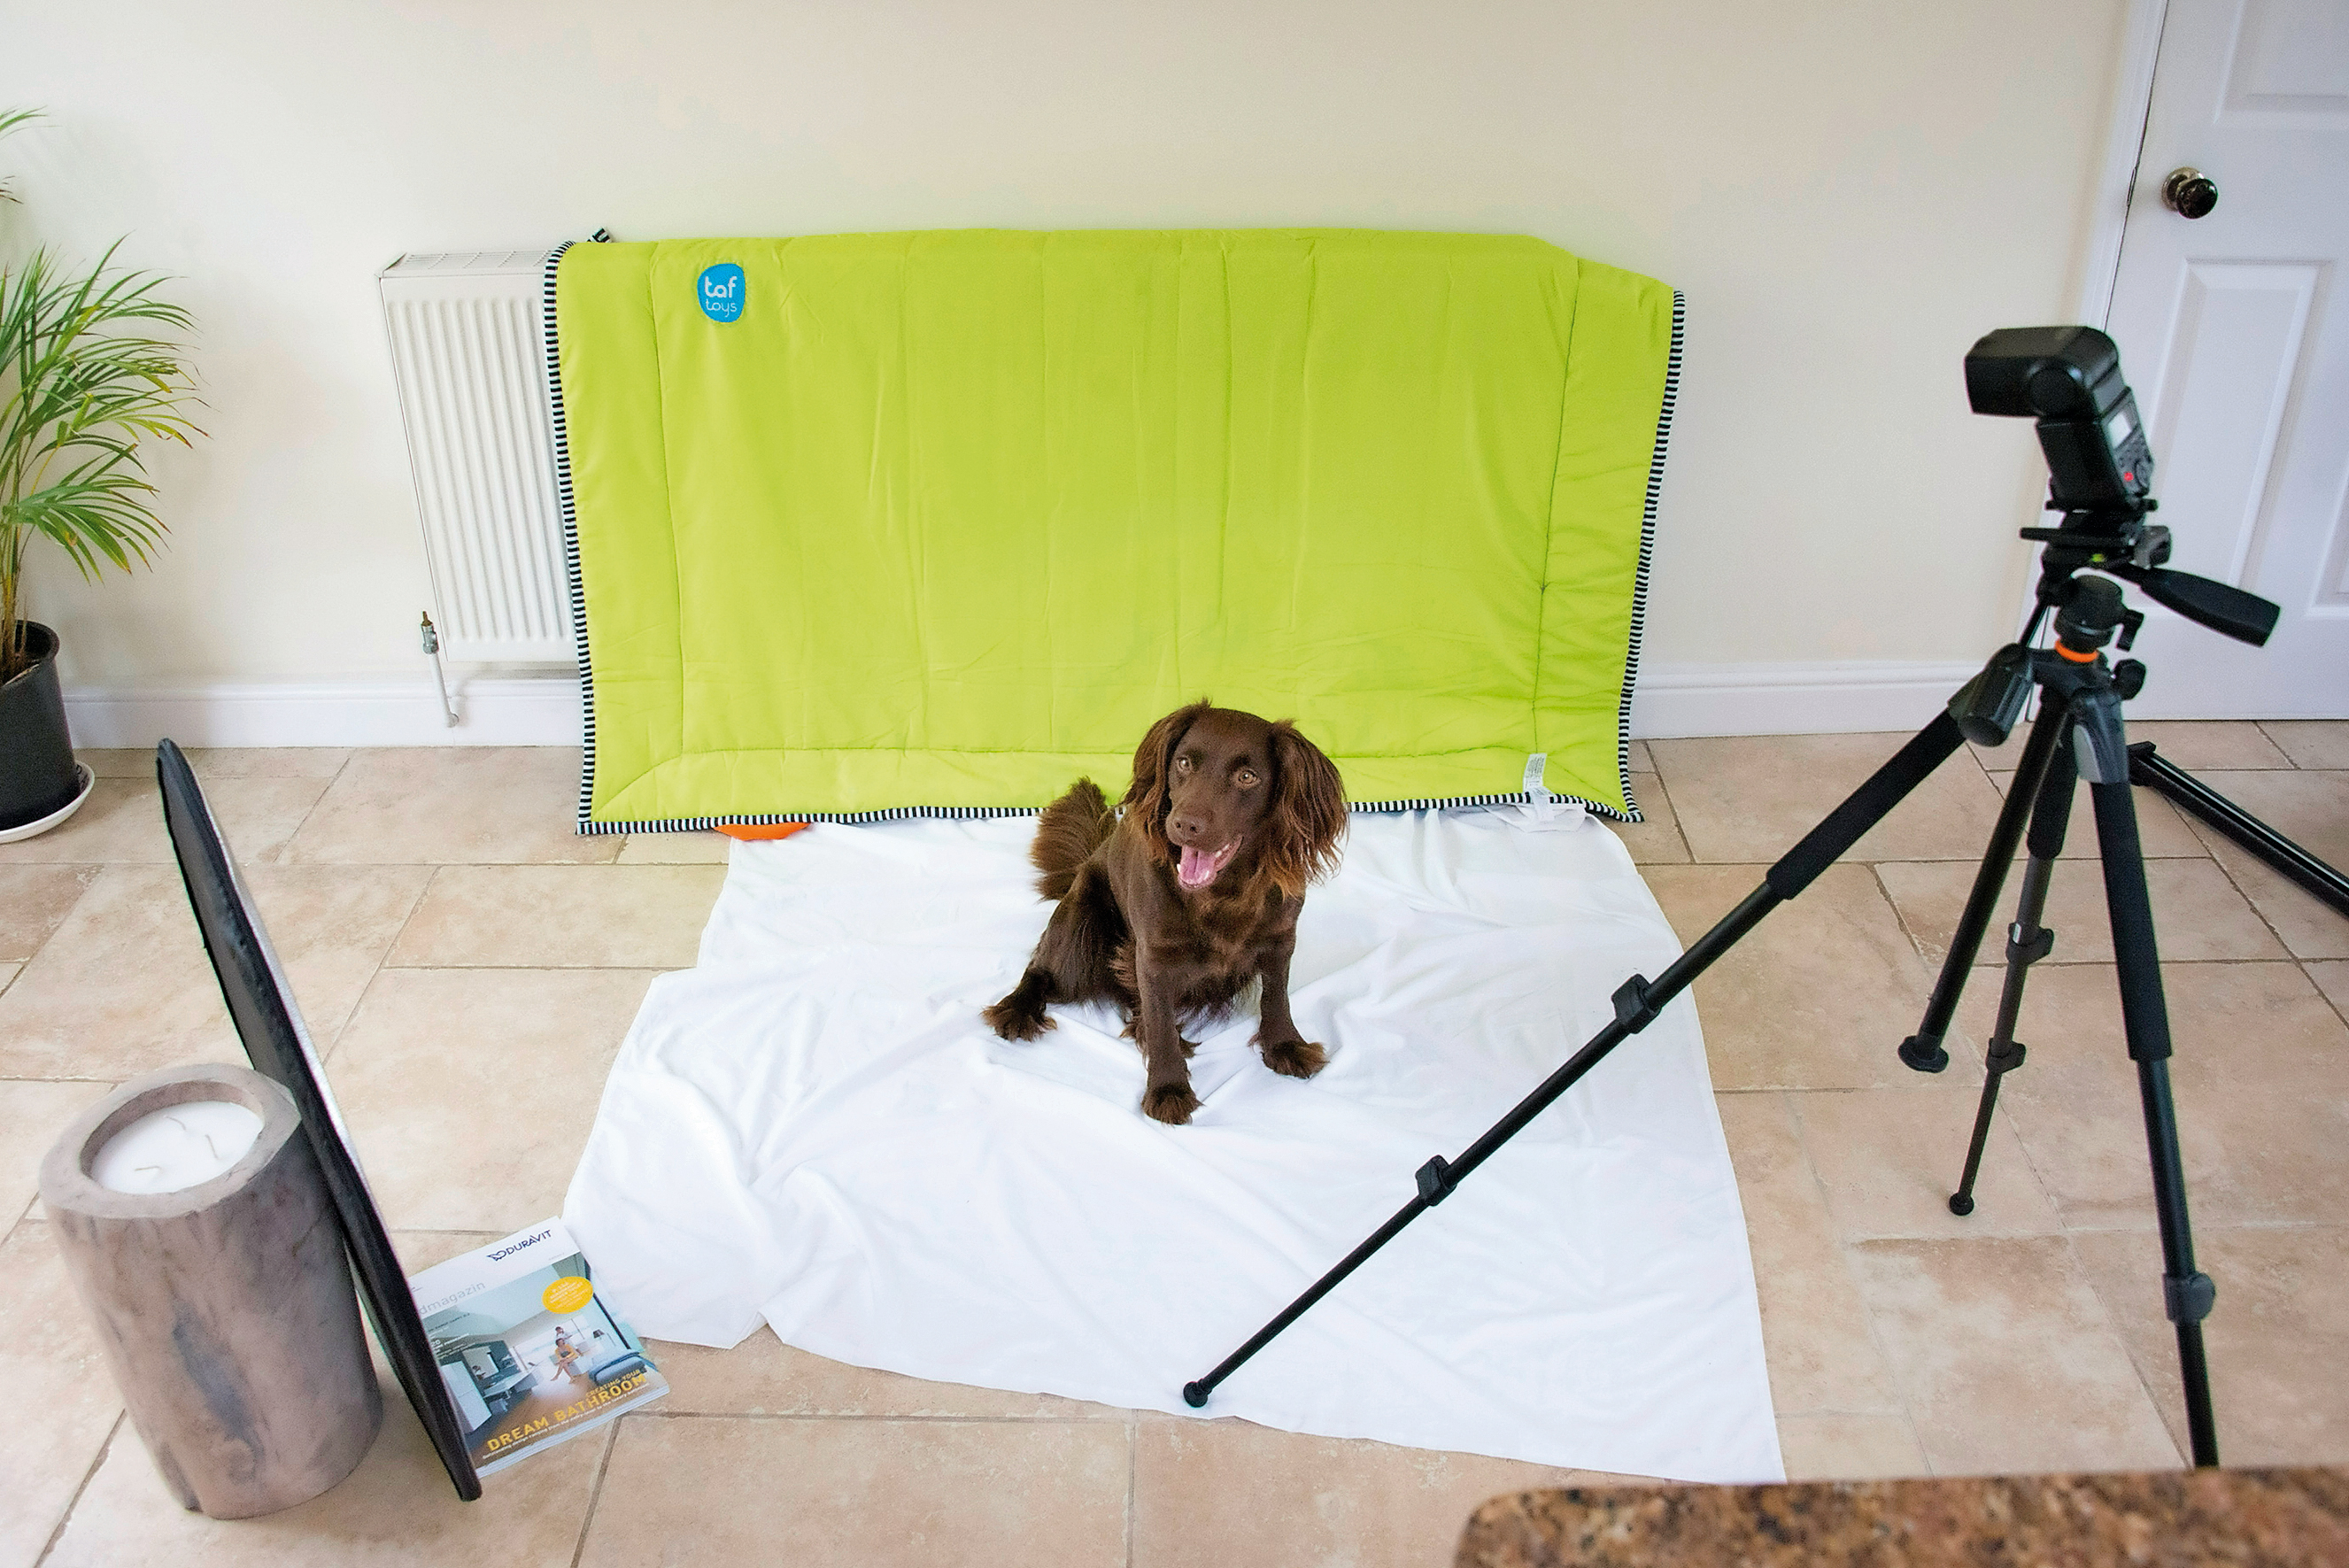
01 Set up the backdrop
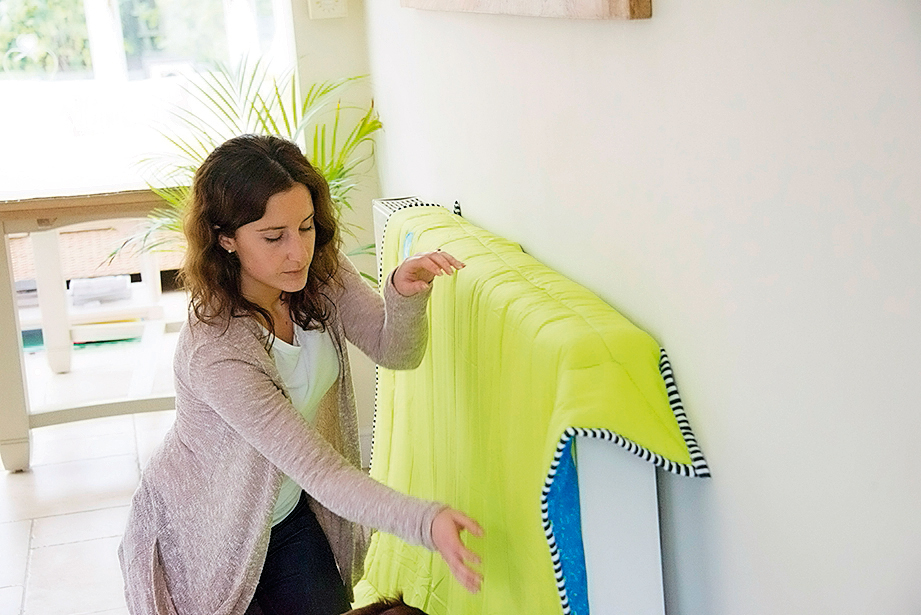
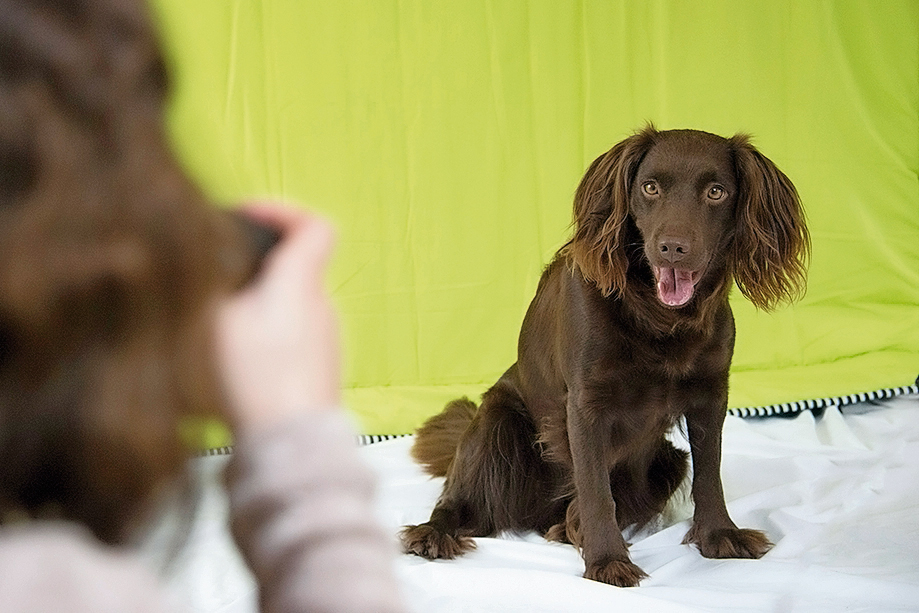
For the best results you’ll want a plain, clutter-free backdrop that contrasts with your subject. We arranged an old white bed sheet, both as a backdrop and for our subject to sit on; later on we hung up a piece of coloured material to create a different look.
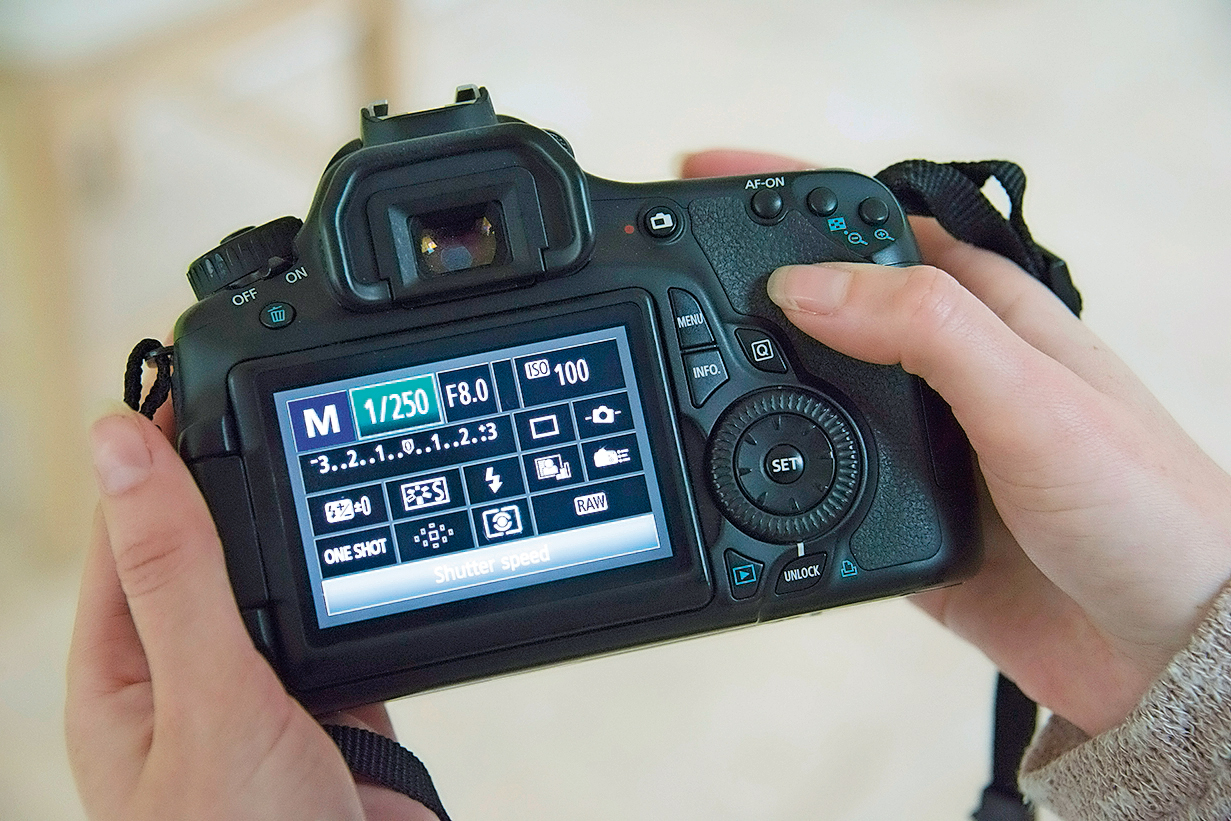
02 Shutter speed and aperture
Select Manual mode and set a shutter speed no faster than your camera’s top sync speed, which is normally 1/200 or 1/250 sec. To ensure that both of your pet’s eyes and nose are in focus, set a medium aperture, such as f/8, for a good depth of field.
03 Wireless flash control
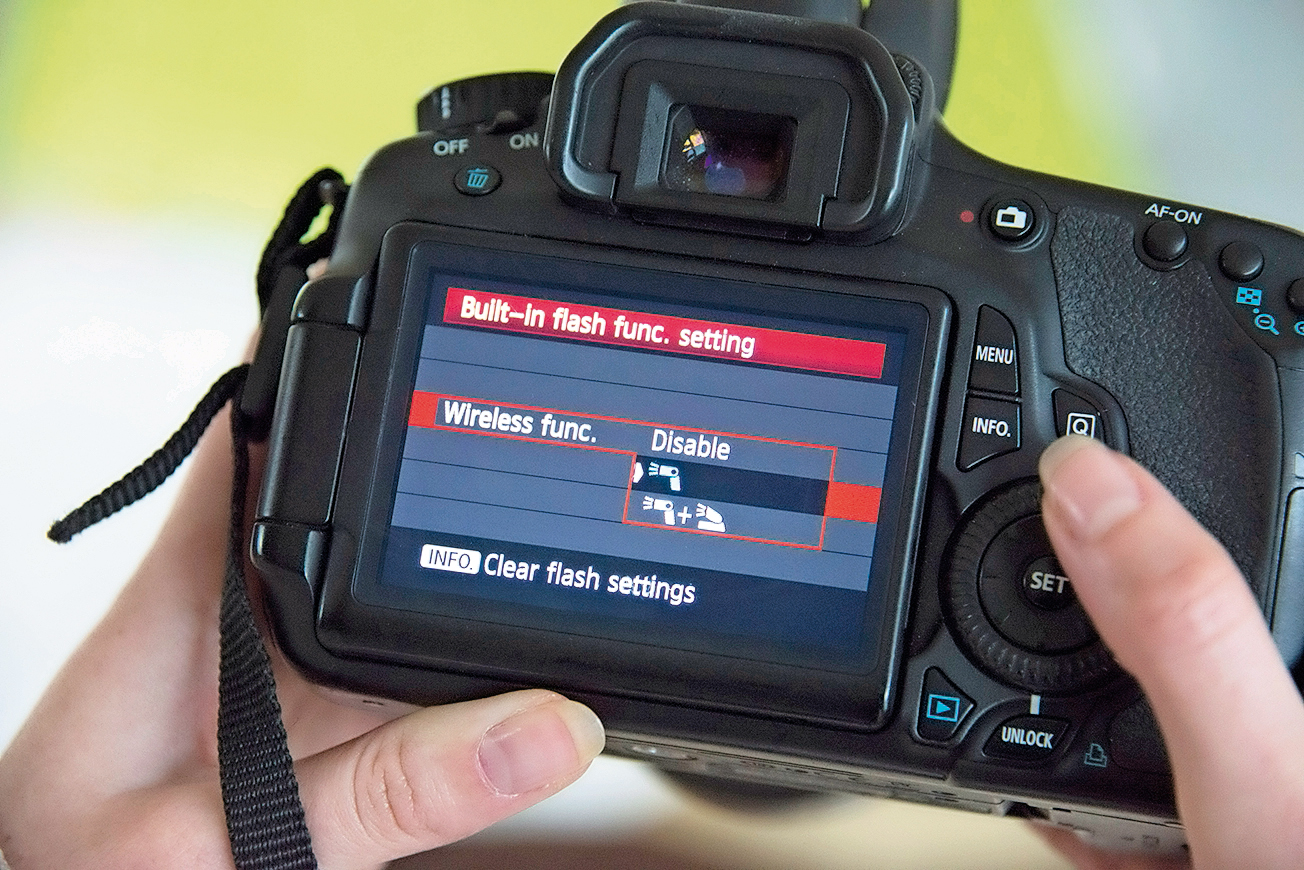
Go to Flash Control settings in the first shooting menu. Ensure flash firing is enabled, select Built-in Flash Func and set Flash Mode to Manual. Scroll down to Wireless Func and select the first option, so that only the external flashgun will affect the exposure.
04 Flash settings
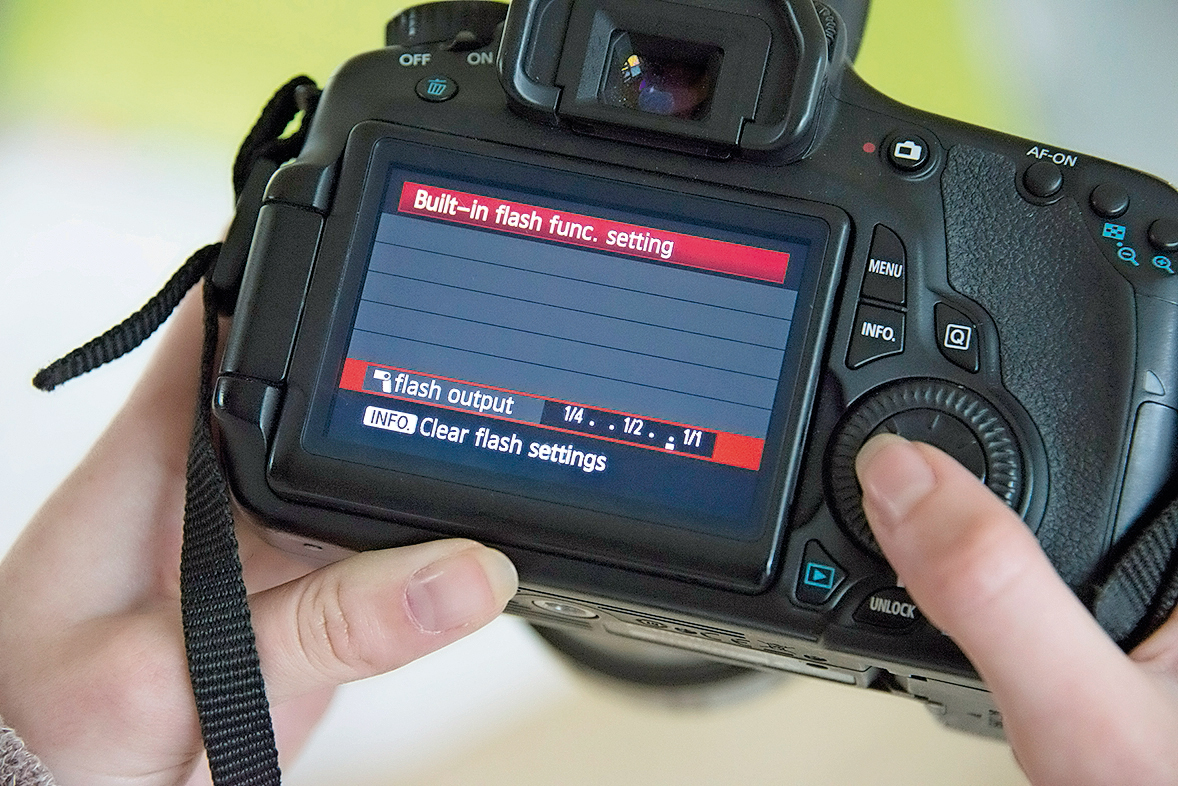
Select Flash Output to set the external flash power; your camera’s pop-up flash will fire a pre-flash to trigger the flashgun. Set your flashgun to Slave mode and ensure it’s set to the same channel as your DSLR; you’ll see this in the Built-in Flash Func menu settings.
05 Set up the flashgun
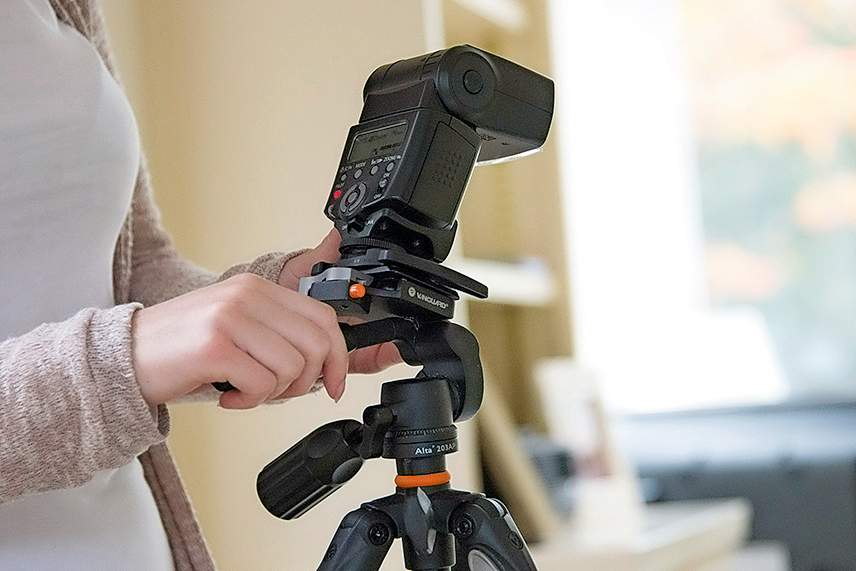
Open your pop-up flash, then adjust the flashgun so the head is pointing towards the subject and the sensor is pointing towards your camera. Take a few test shots, and experiment with the position and power of the flash to get the best results.
06 Keep your subject happy!
Photographing dogs poses similar challenges to photographing children. They have a short attention span, so it’s best to work in short bursts. You’ll get more engaging shots if they’re happy and relaxed, so don’t be too firm with your commands!
Now create pet pop art in Photoshop!
07 Make a grid
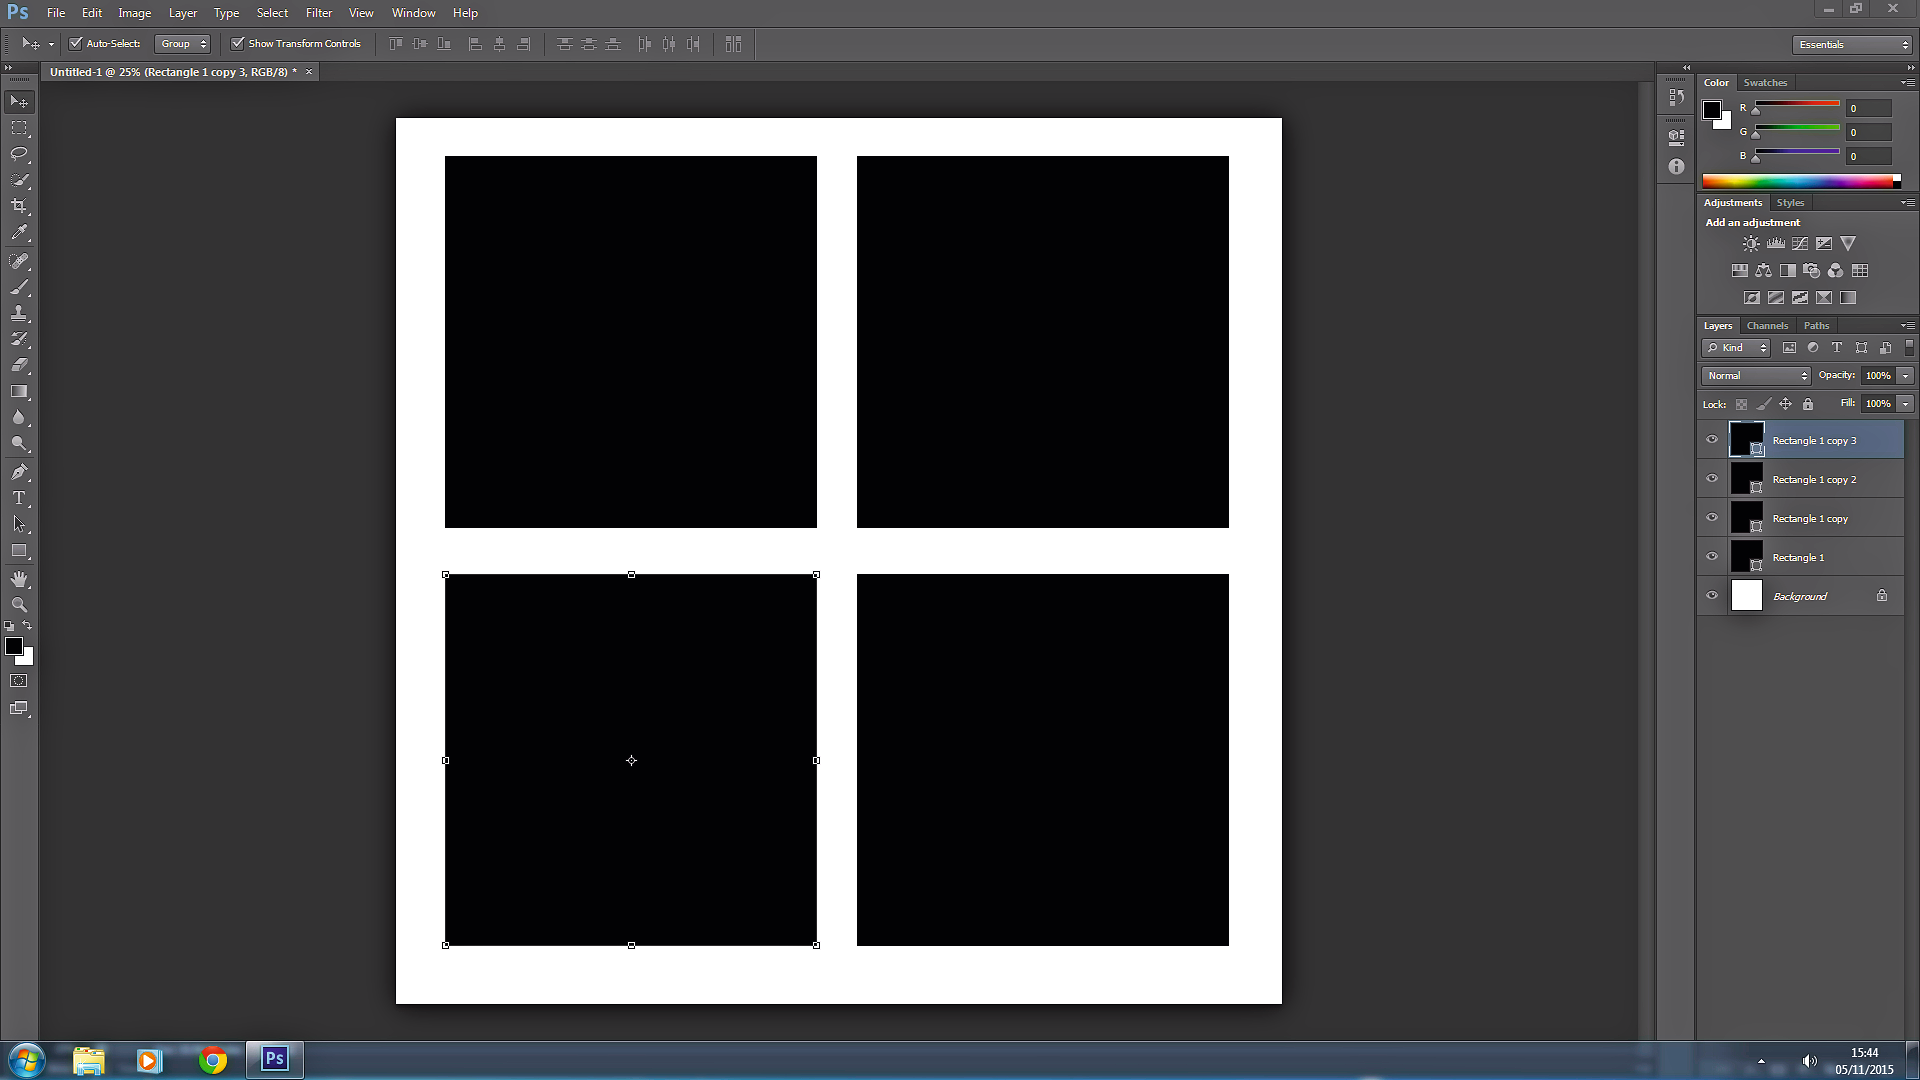
Now learn how to produce pet portraits with a difference by changing the background colour in Photoshop of your images. Go to File>New and create a document with a height and width of 30cm. Take the Rectangle tool, and Shift-drag to create a square shape layer. Take the Move tool, Alt-drag the shape layer to make three copies, and position them as shown.
08 Select the background
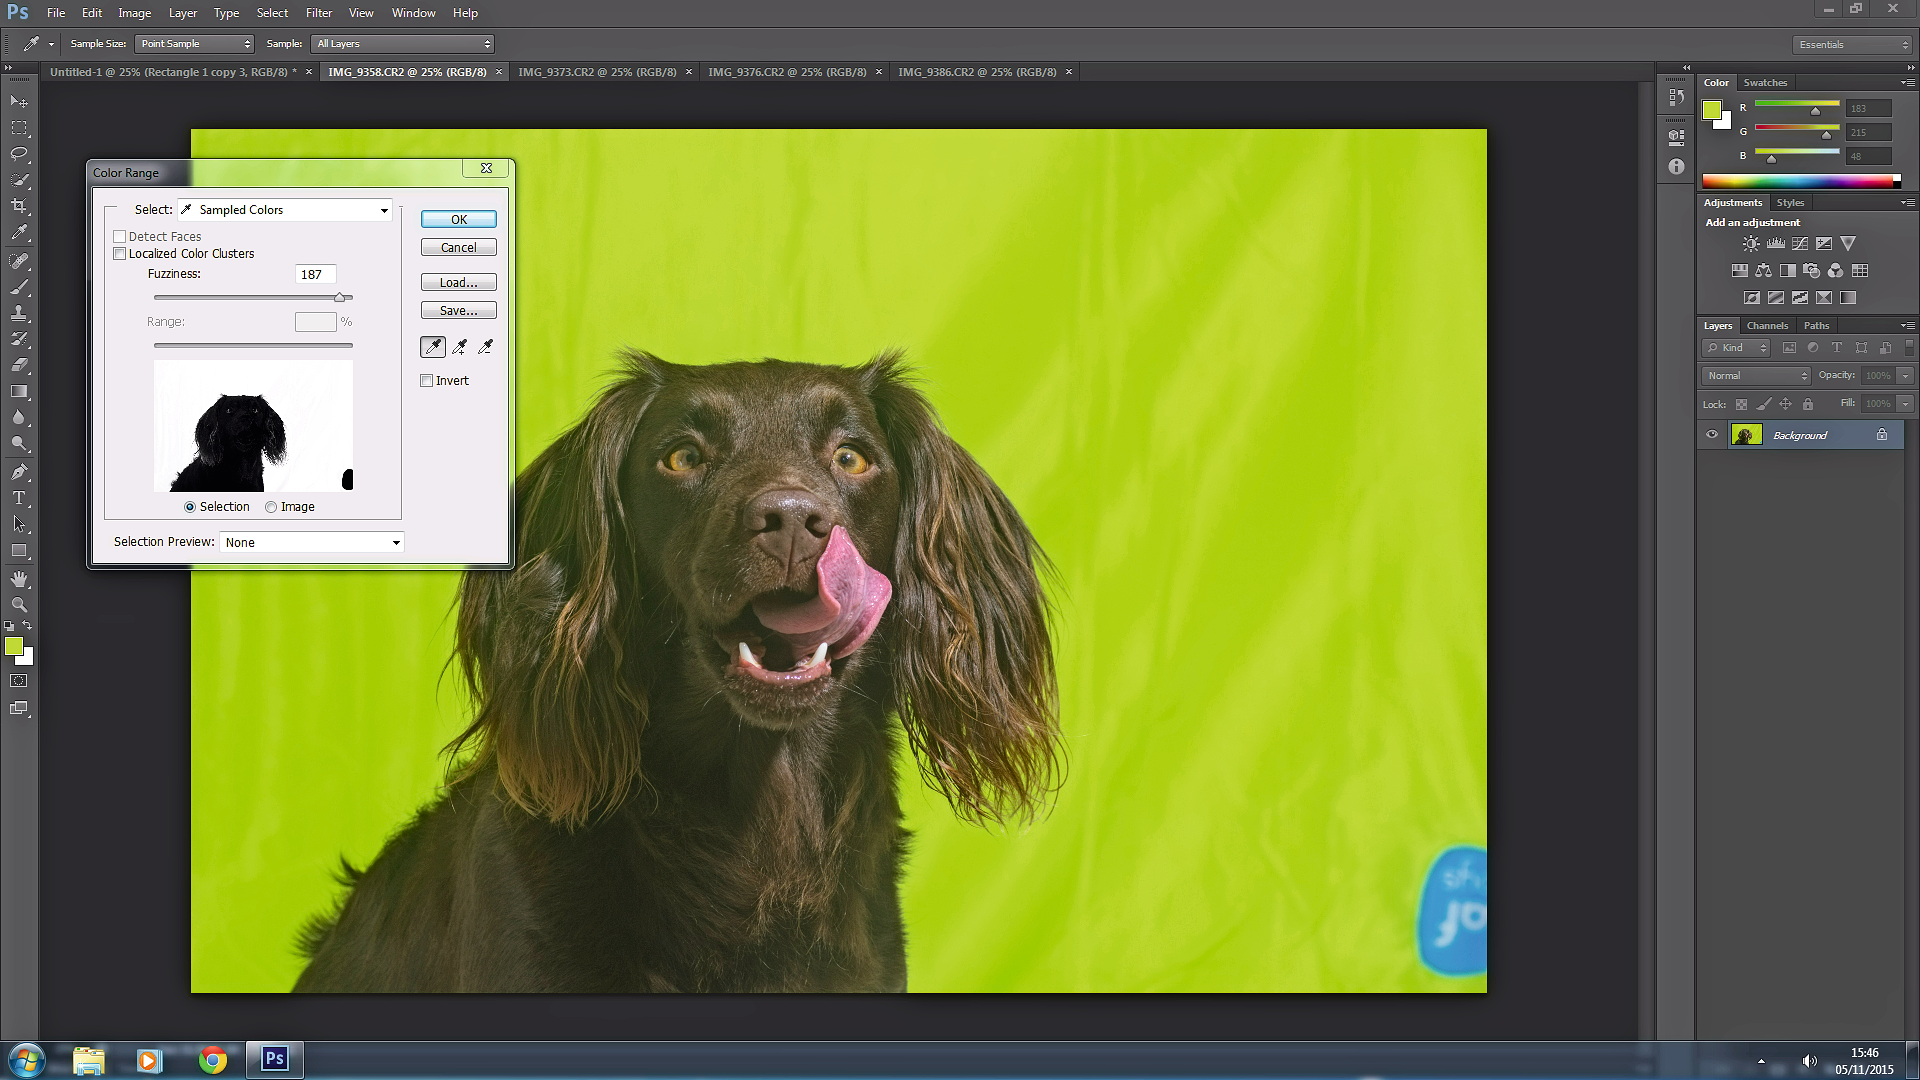
Open four portraits, and select the first one. To select the background, go to Select>Colour Range, click in the backdrop and adjust the Fuzziness slider until the entire area is selected (it’ll turn white in the preview). Copy the selection, and paste it into a new layer.
09 Tidy and adjust colour
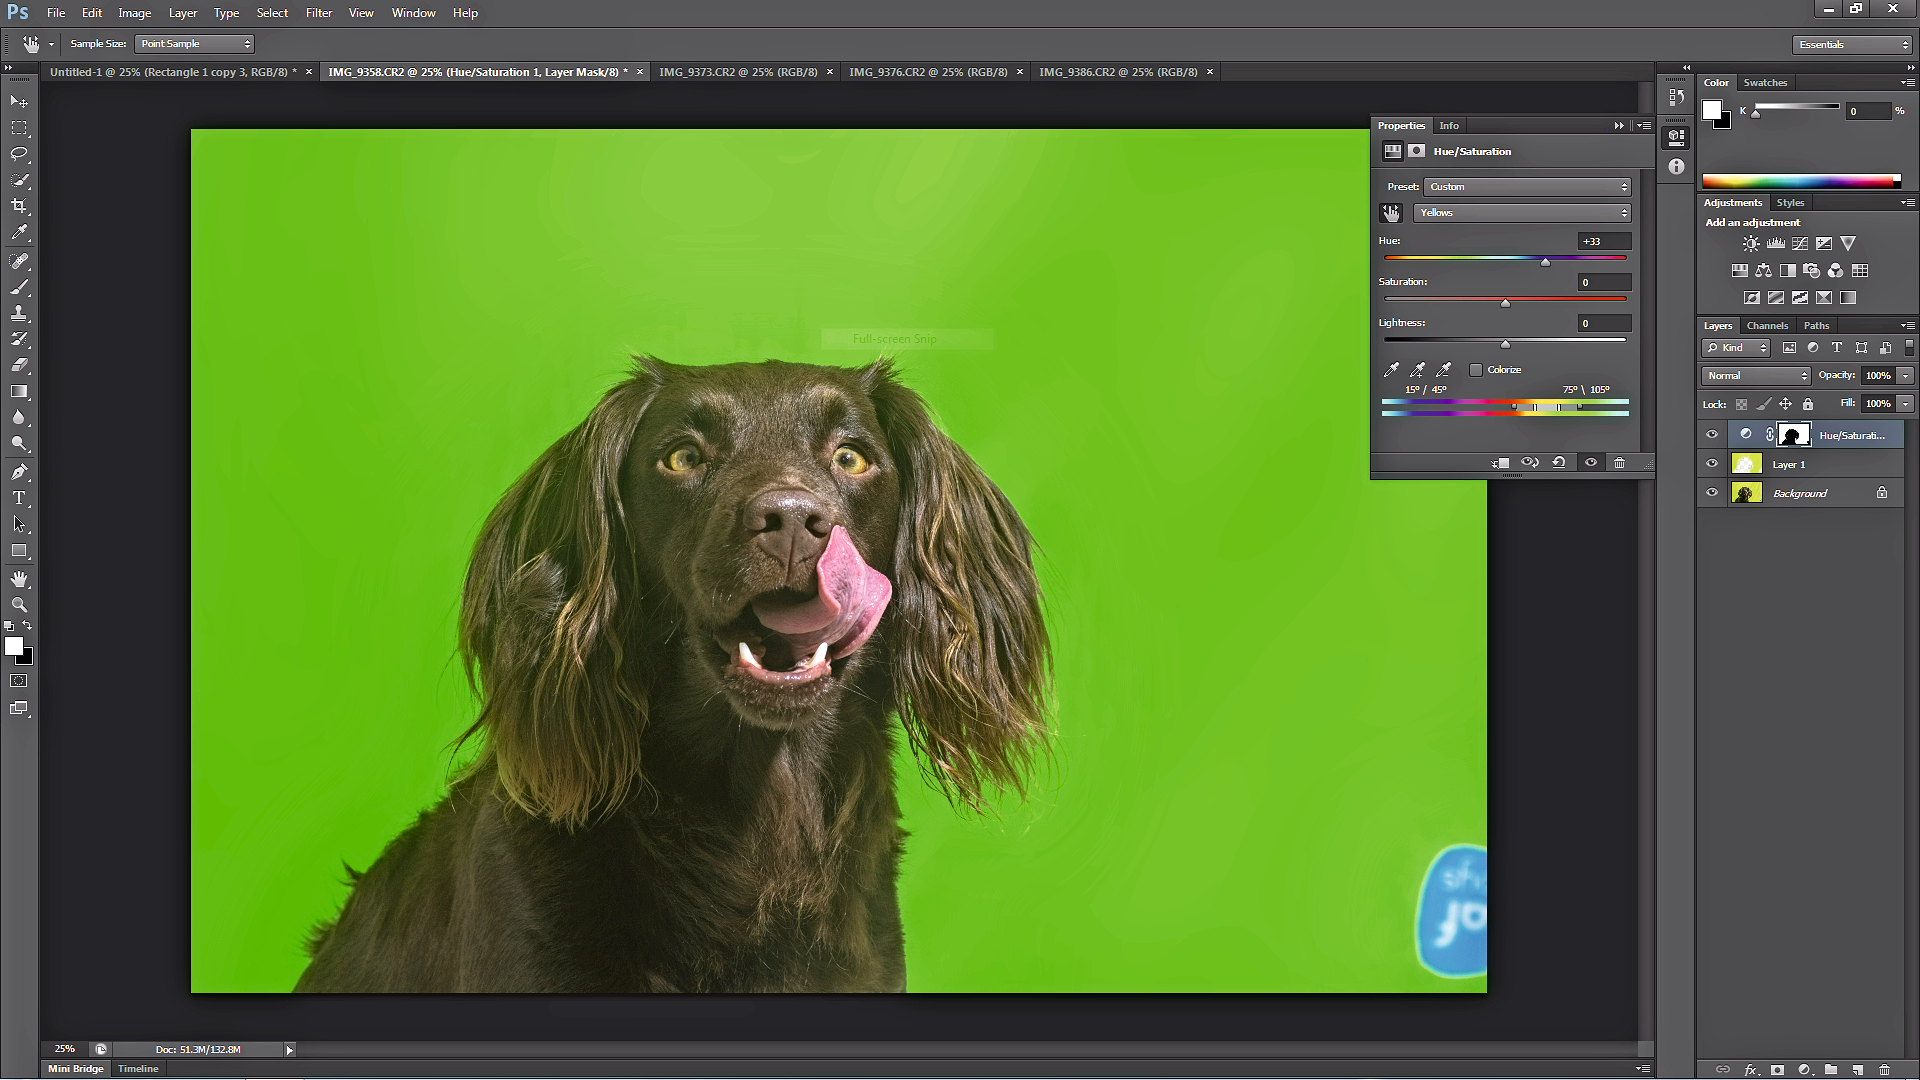
Ctrl-click the new layer’s thumbnail to load the outline of the backdrop as a selection. Go to Filter>Blur> Gaussian Blur and increase the Radius to blur creases in the backdrop. Add a Hue/Saturation adjustment layer, and adjust the Hue slider to change the colour.
10 Position on grid
Flatten the image, copy it and paste it into the grid document. Position and resize the layer, then move it above the corresponding square layer in the Layers panel and Alt-click the line between the two layers to create a clipping mask. Repeat for the other images until you end up with a pop art pet picture similar to ours!
Read more:
The best lenses for food photography in 2020: make your supper the star
The best books on food photography in 2020: whet your appetite for photography
10 food photographers you should follow while in lockdown
Hollie Latham-Hucker is a former Technique Editor of PhotoPlus magazine. With a degree in Design Photography from the University of Plymouth, she is currently working as the Technique Editor of Amateur Photographer.
