Watch video: Home photography ideas – Abstract shots with household objects
You don’t always have to stray far from home to take a great picture – which is great news, in our current situation! So we’re going to prove that there’s a whole plethora of creative opportunities in your kitchen drawer, just waiting to be explored. With a roll of gift wrap and a metal spoon you can achieve amazing abstract results.
You’ll need some wrapping paper with a repeating pattern, such as the polka dot paper we've used. We recommend sticking to wrapping paper rather than tissue gift wrap, which can be torn easily and is also usually folded so has creases in it. If you’re struggling to find a pattern you like, you could always create and print off your own design – an A3 print would be large enough for the technique.
• Get more Home photography ideas
• 10 best online photography courses

You’ll need a camera with creative modes, such as a DSLR or an EOS M/R mirrorless model, and while it is perfectly possible to get results with a kit lens, you can get even closer to accentuate the effect with a macro lens. If you’re thinking about purchasing a macro lens, be sure to look for one with a 1:1 reproduction ratio. This means it’s a ‘true’ macro lens as you’ll be able to shoot your subjects at life-size.
When you’ve followed our step by step, be sure to experiment with other sizes of spoons as this will allow you to include more or less of the pattern in your reflection. Also try moving the spoon closer to you, or farther away, to change the depth of field. Here’s what you need to know to get started…
SET UP YOUR SETUP

01 Pick your paper
A repeating pattern like our polka dot design works well. Position a table next to a wall and tape the paper to the wall so that it hangs down and curves across the table to create a seamless background.
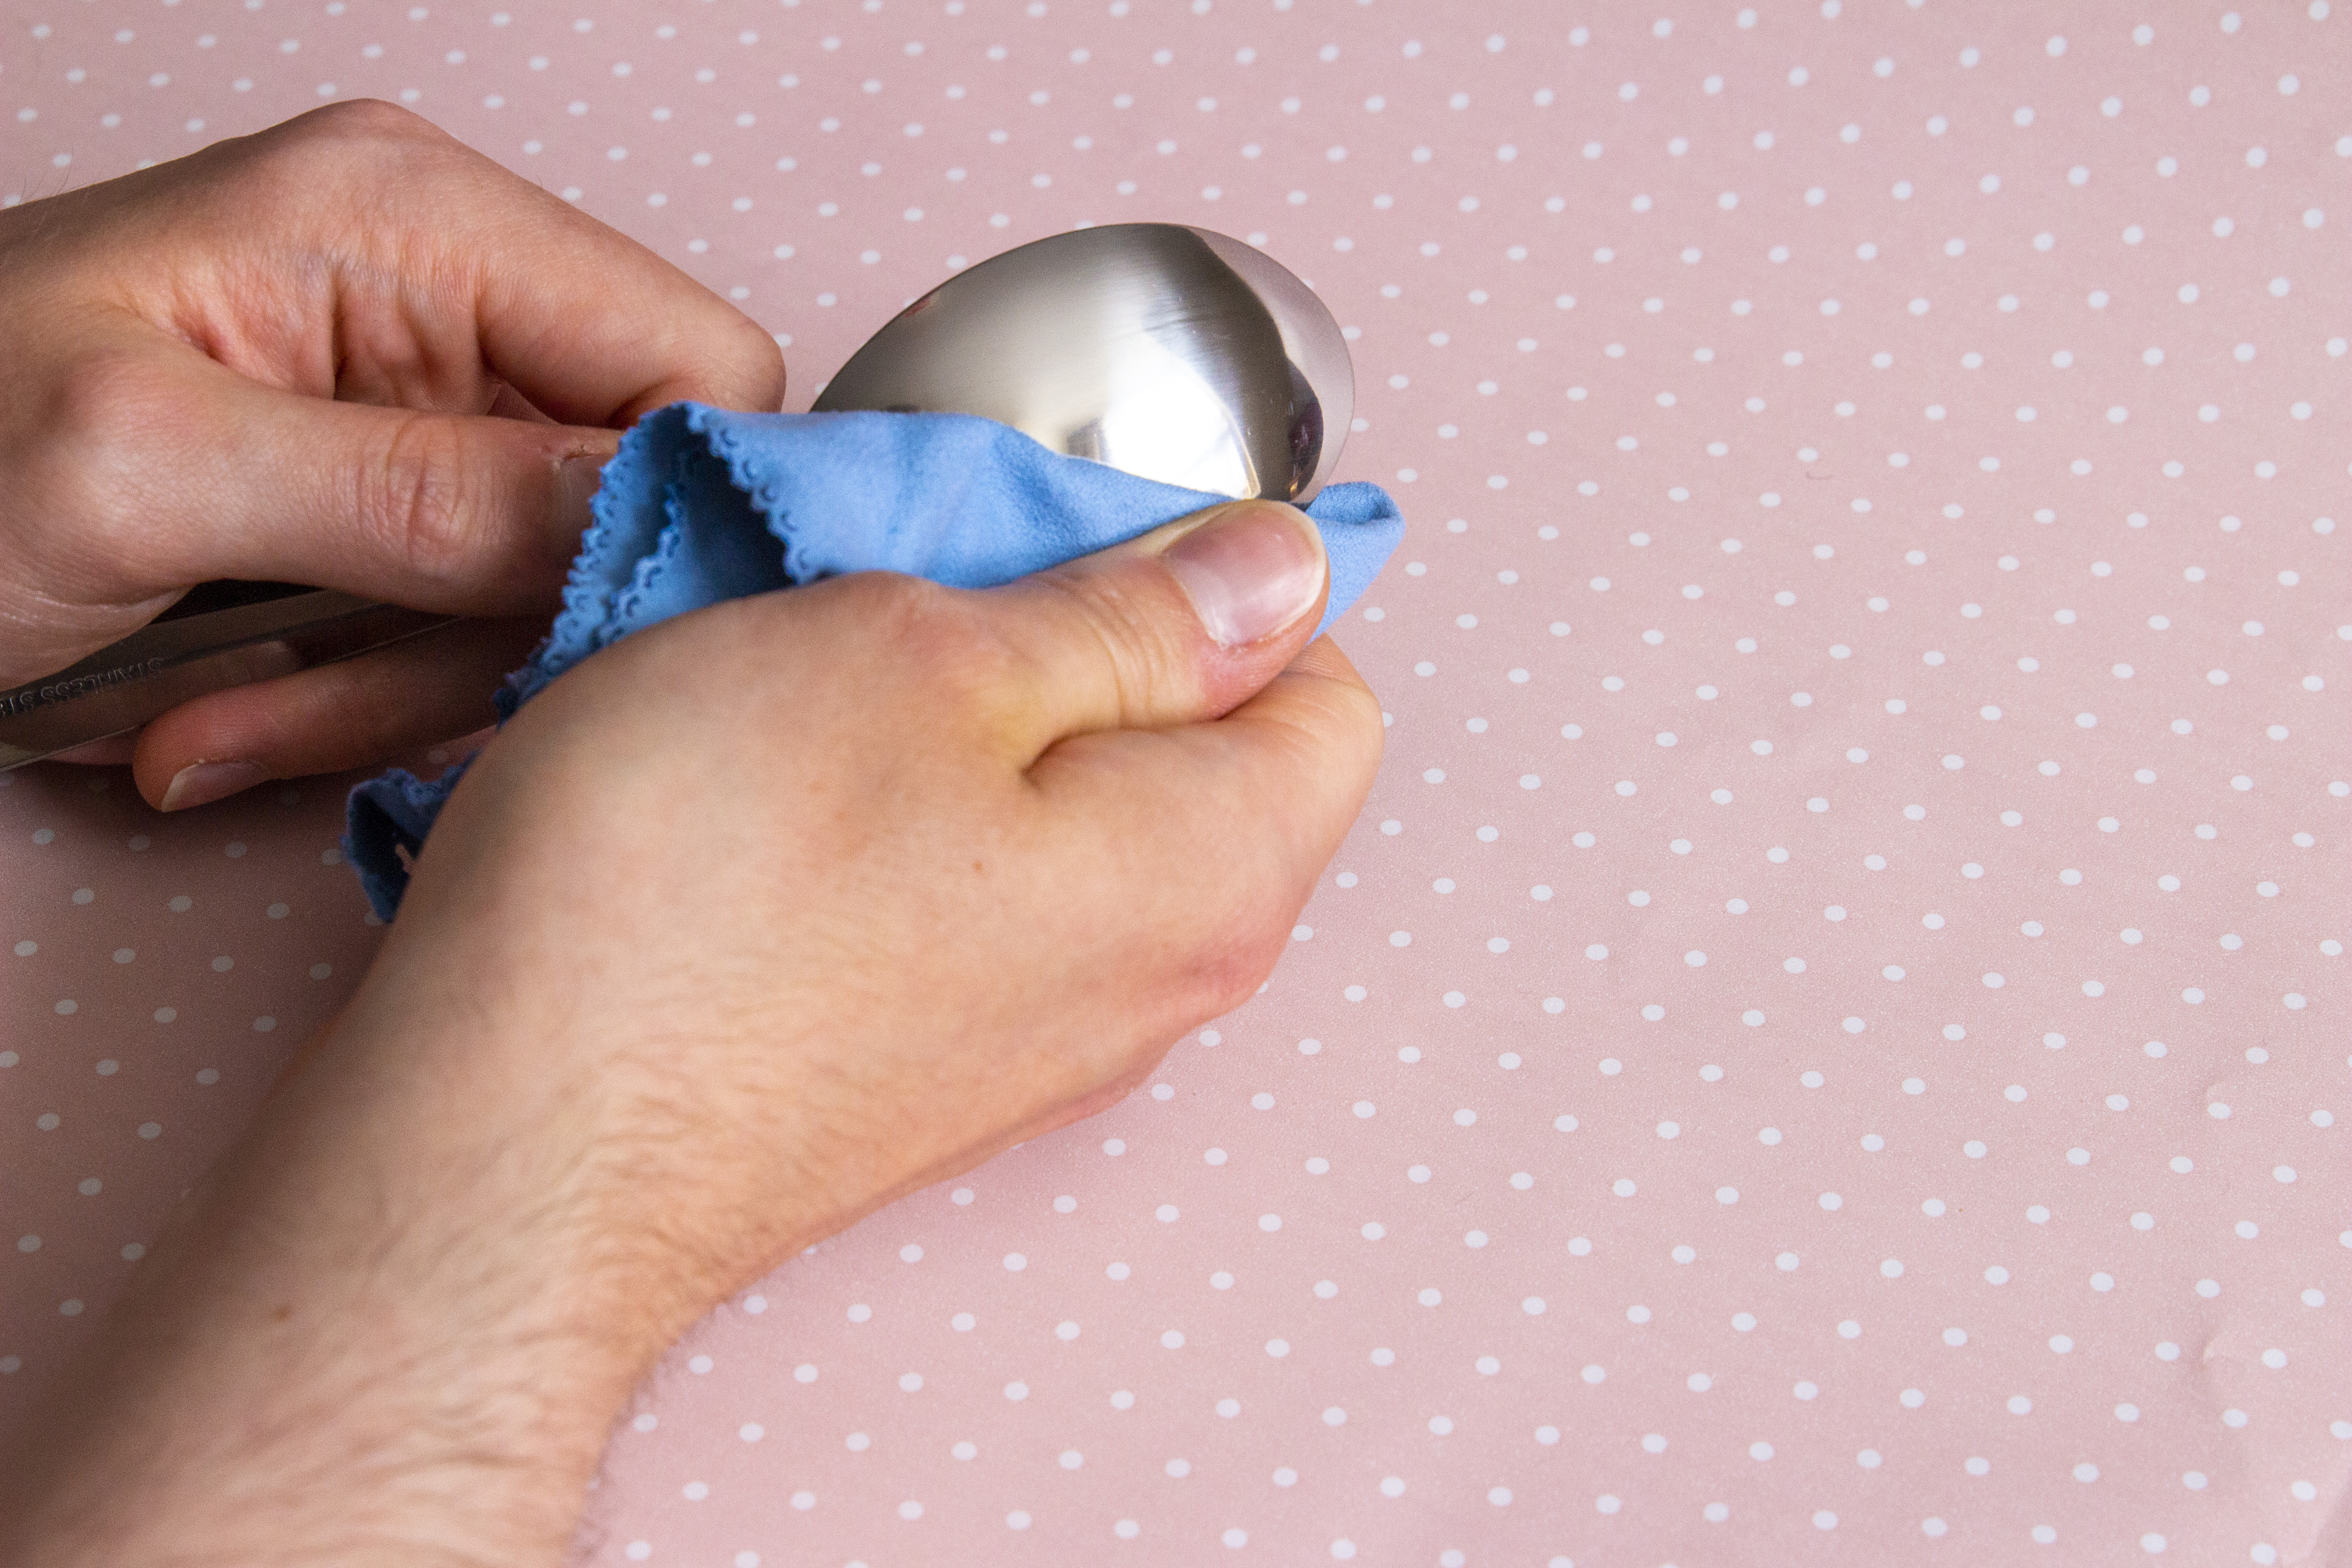
02 Buff your spoon
For the best reflections buy a new spoon so you don’t end up with loads of dings and scratches. Breathe on the spoon to create condensation and then buff it with a microfibre cloth to work it up to a mirror shine.
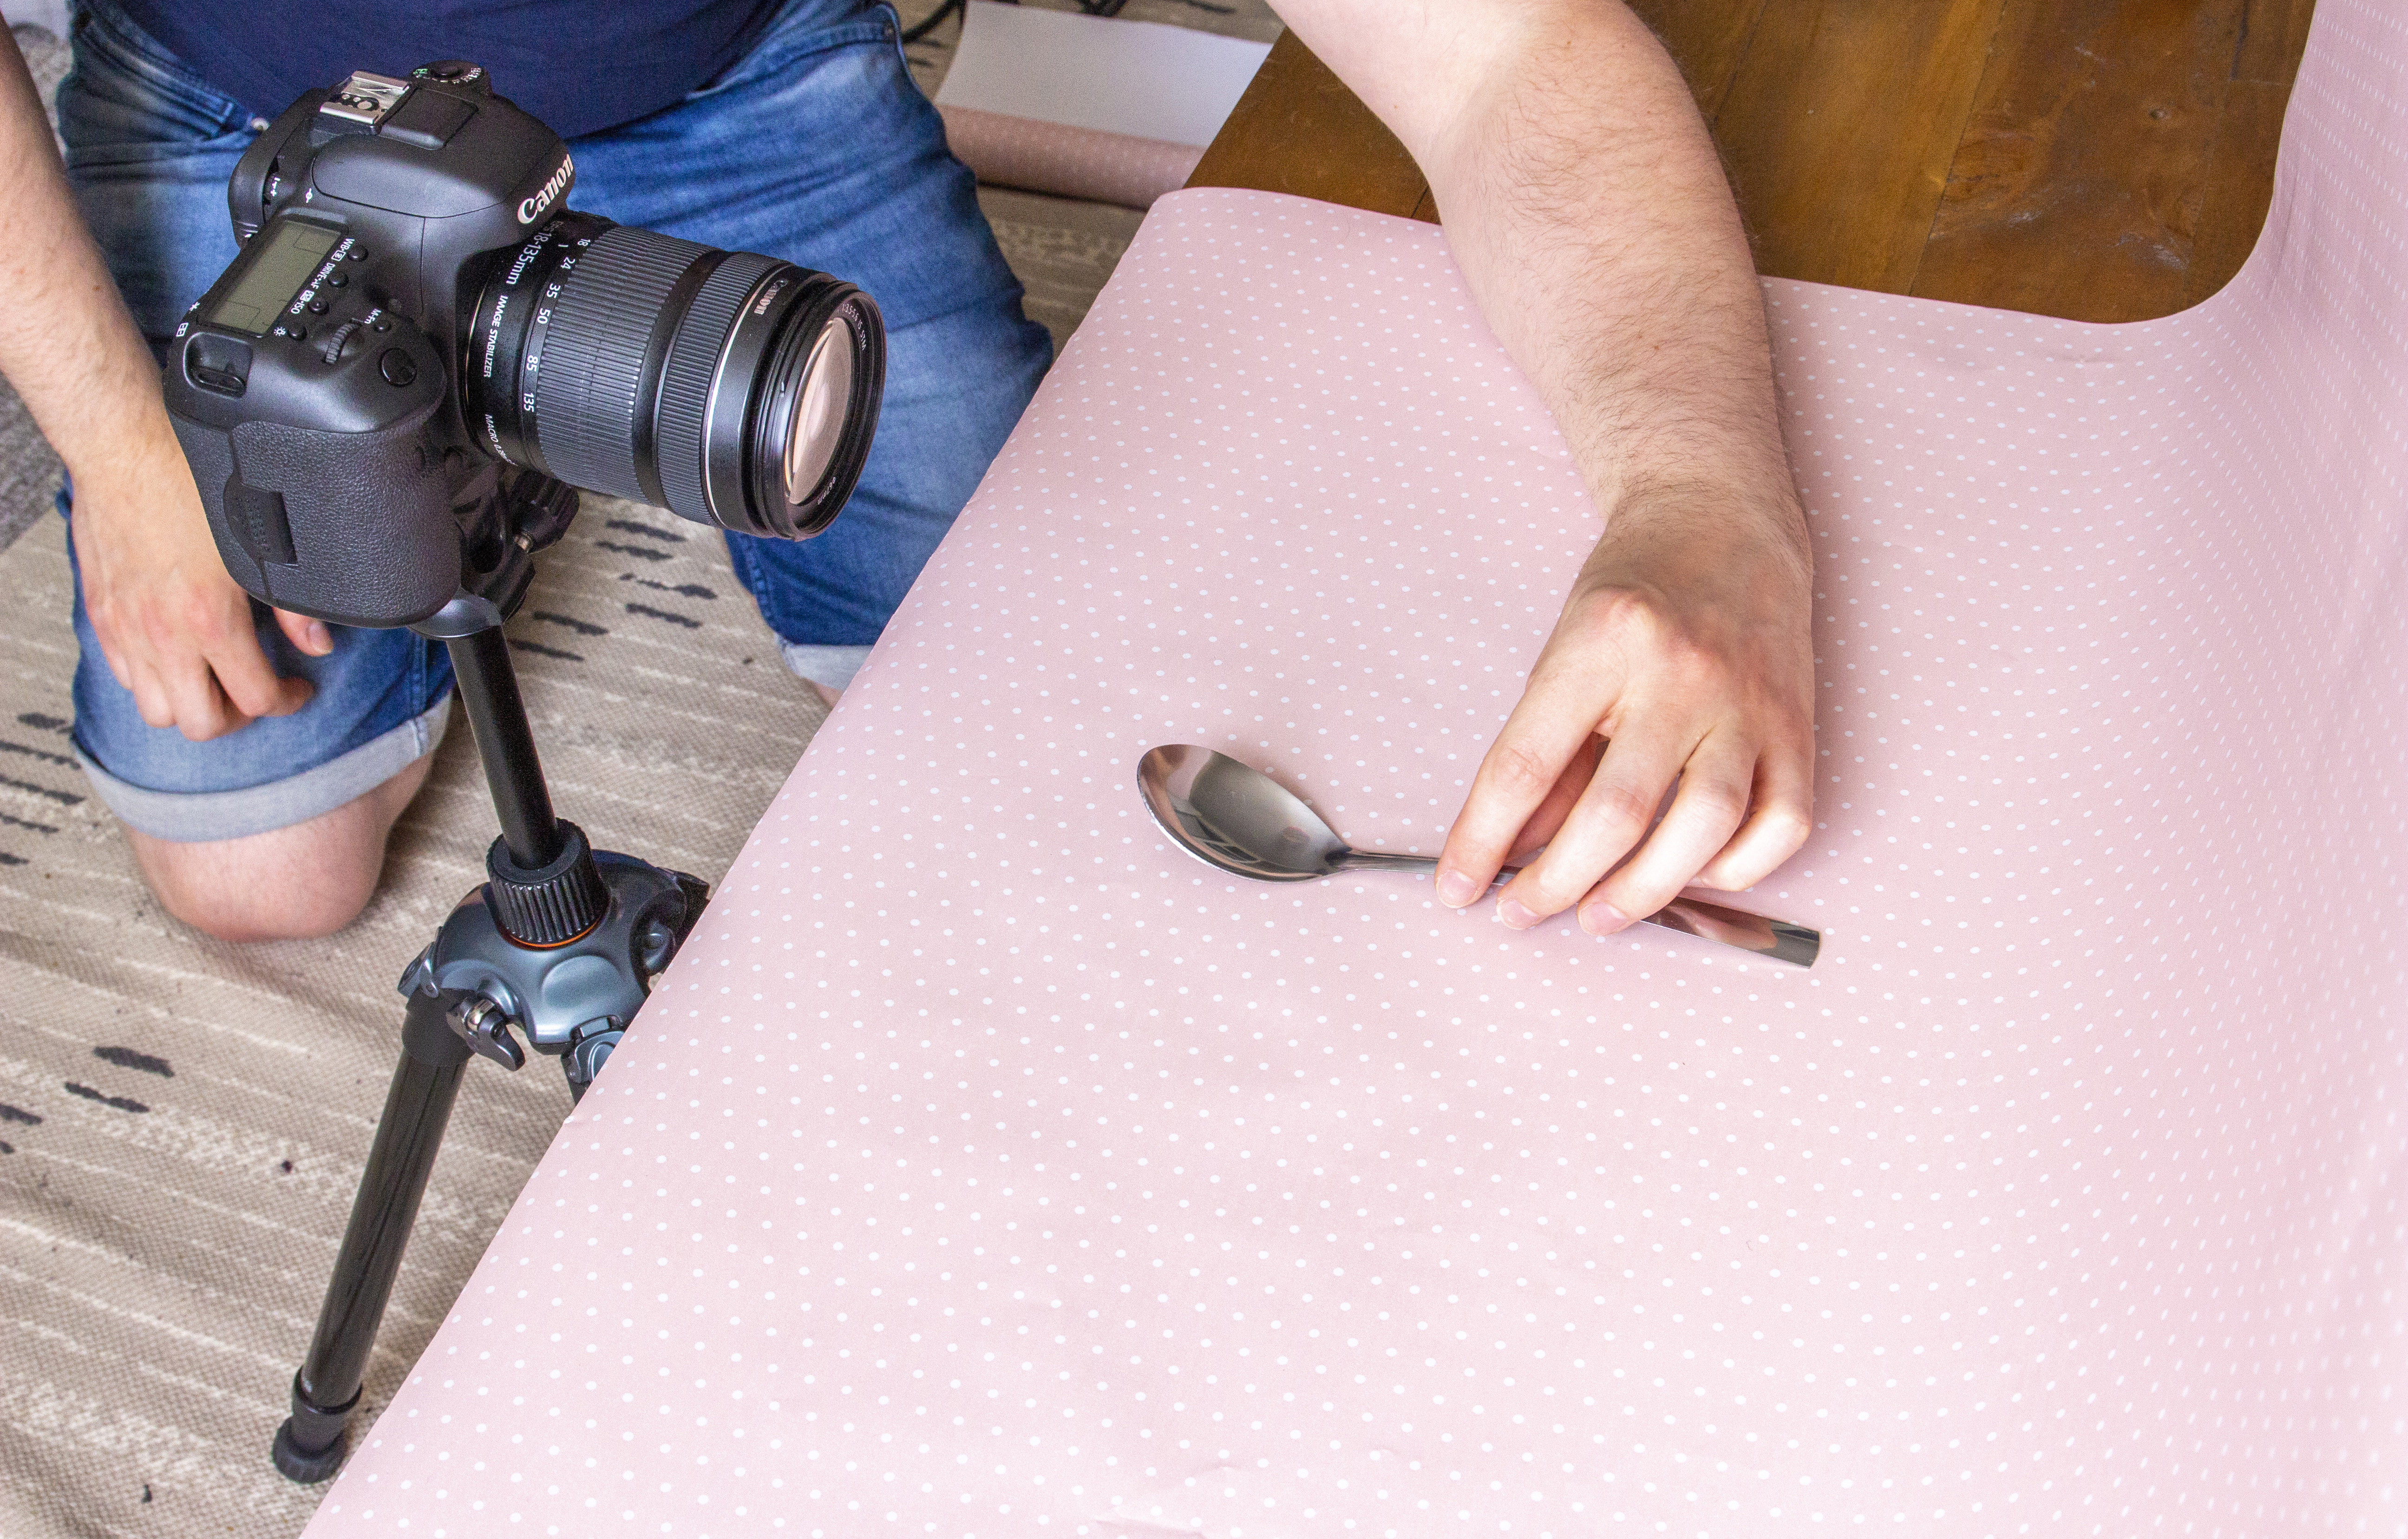
03 Place the spoon carefully
Holding the stem of the spoon, position it on the paper and make sure it’s perpendicular to your wall, so it’s dead-on to the camera. The closer it is to your camera, the easier it will be to blur the background.
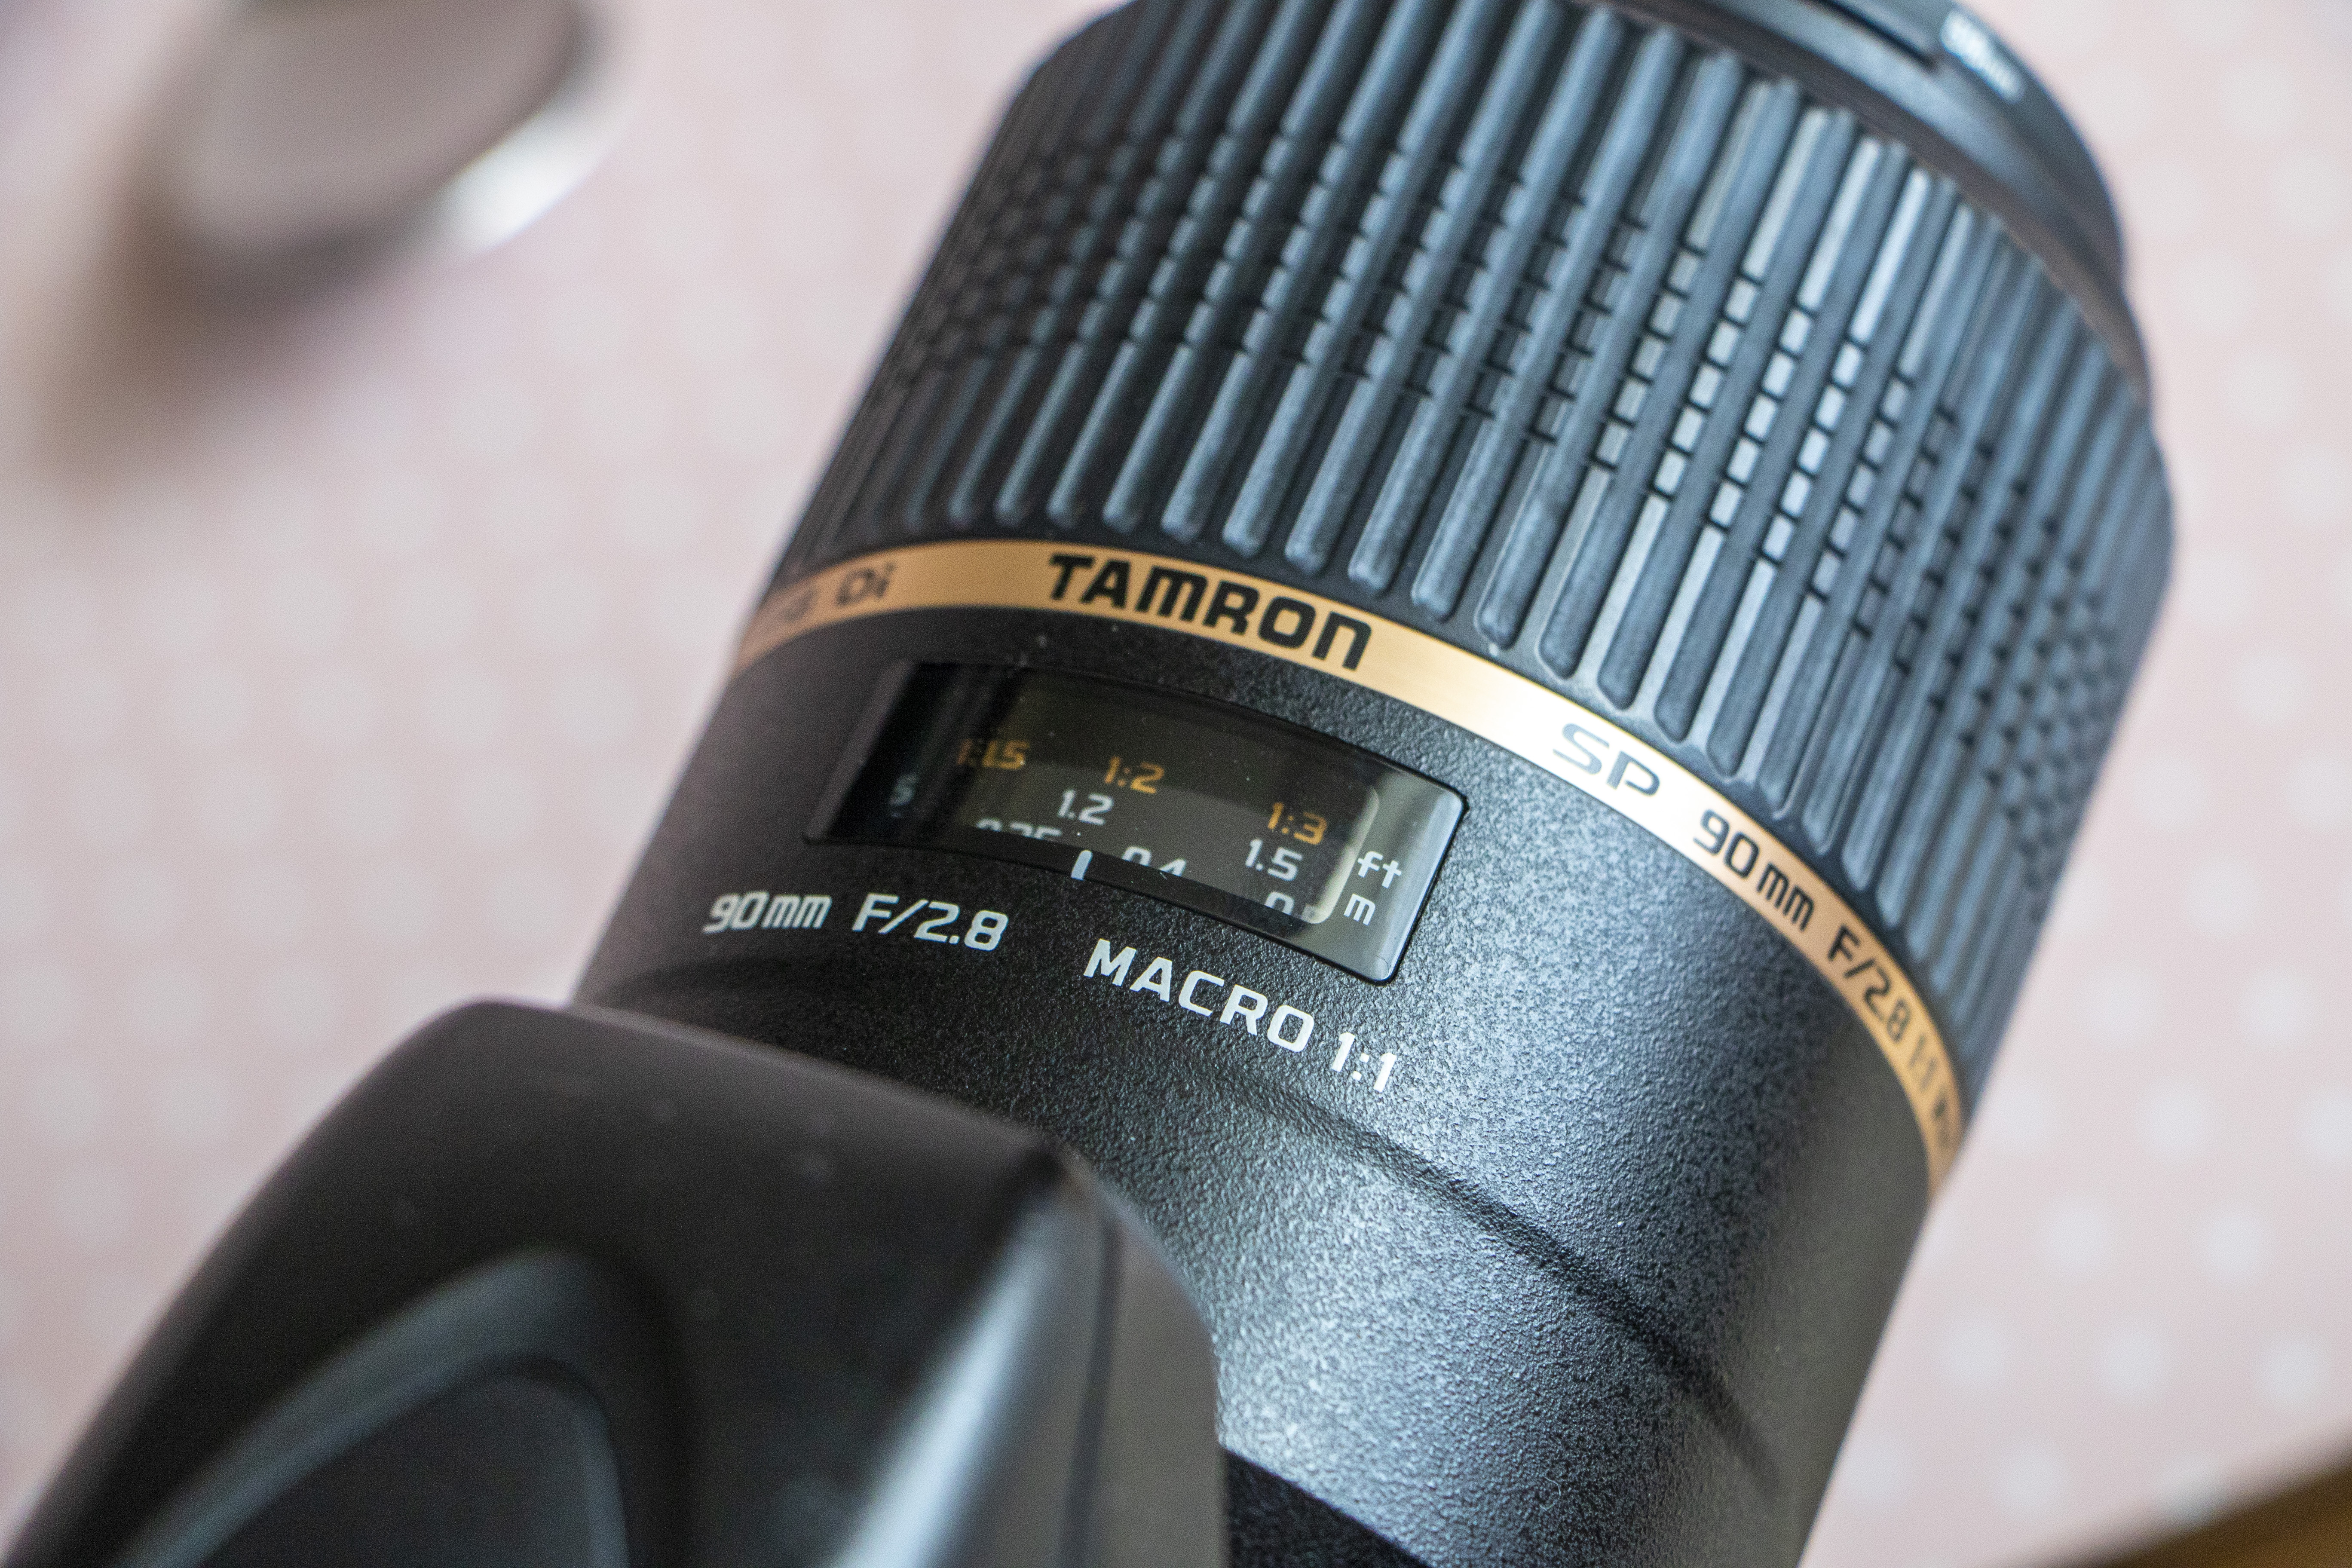
04 Compose and focus
With your camera on a tripod use a macro lens or the 55mm end of a kit lens, and get the camera level with the spoon. Go into Live View and hit the magnify button, then manually focus on the spoon.
05 Dial in the settings
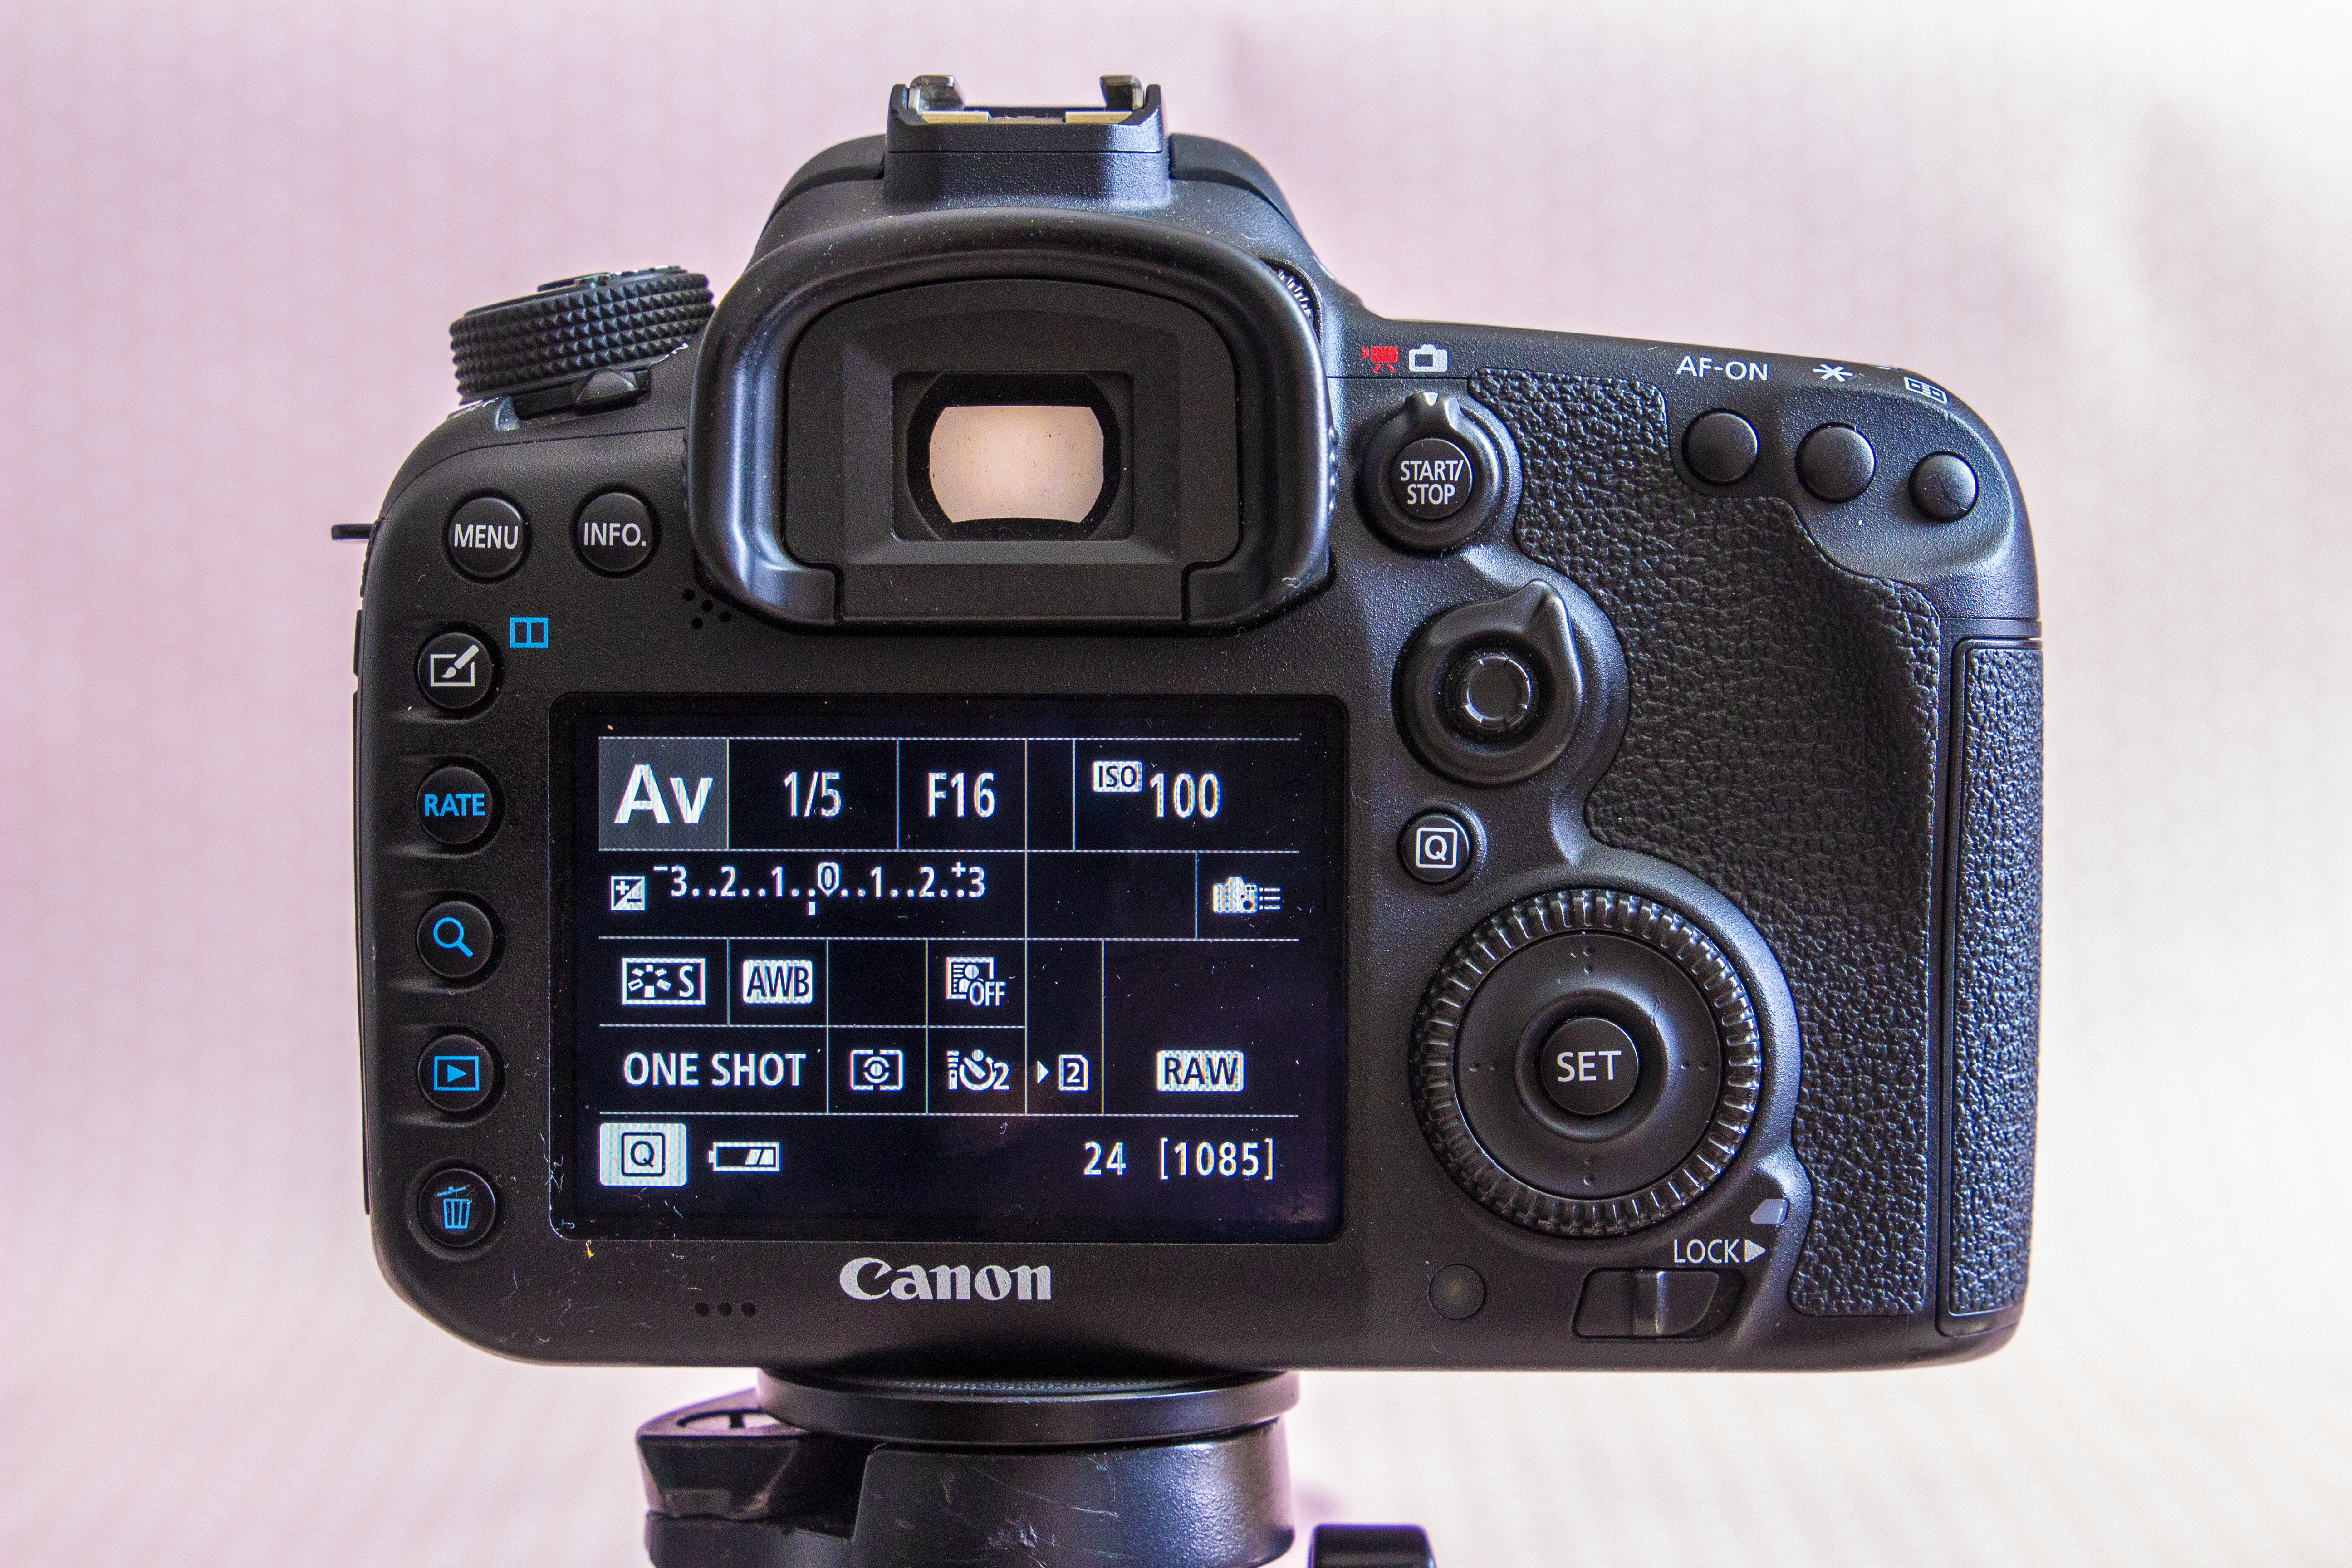
With the camera in aperture priority mode, set the ISO to 100, then choose a relatively small aperture of around f/16 to get some definition in the background. Turn on the two-second self-timer.
06 Achieve even lighting
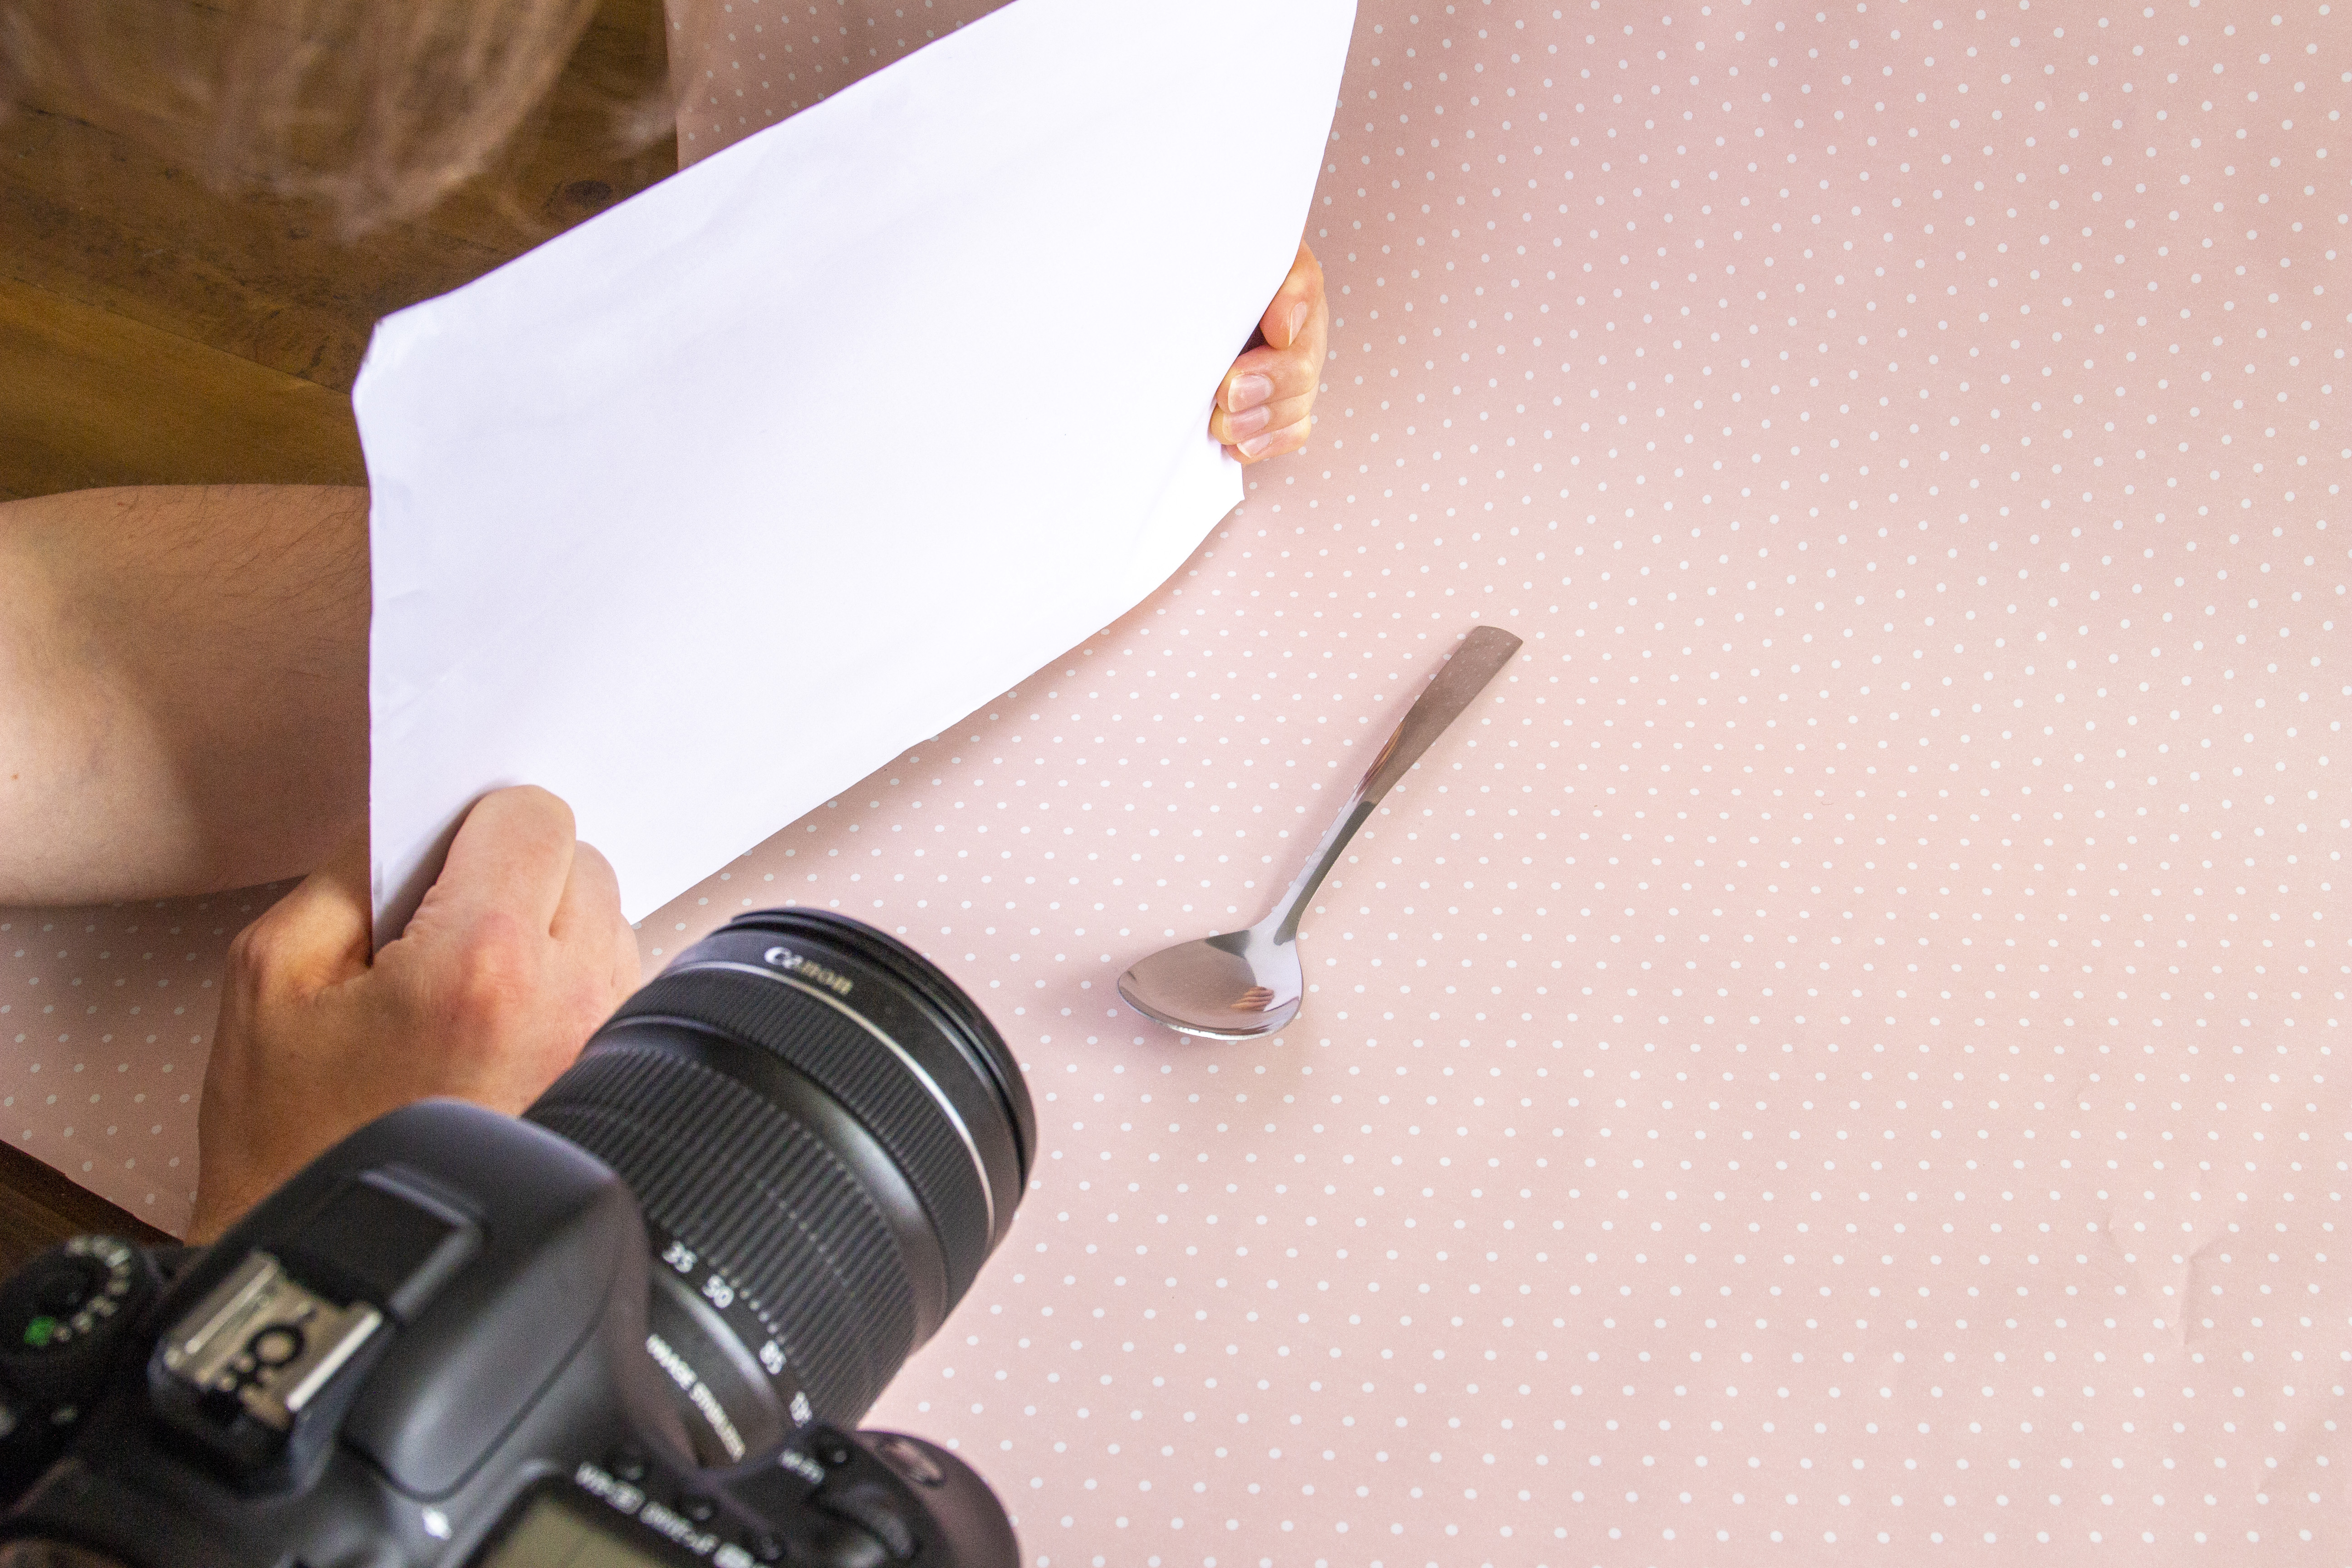
Shooting next to a window will cause directional lighting which can result in a harsh shadow. To diffuse this and create more even lighting, reflect light back in with a reflector or a white piece of paper.
• Best reflectors for photography
PERFECT YOUR PICTURE
01 Prop up the paper
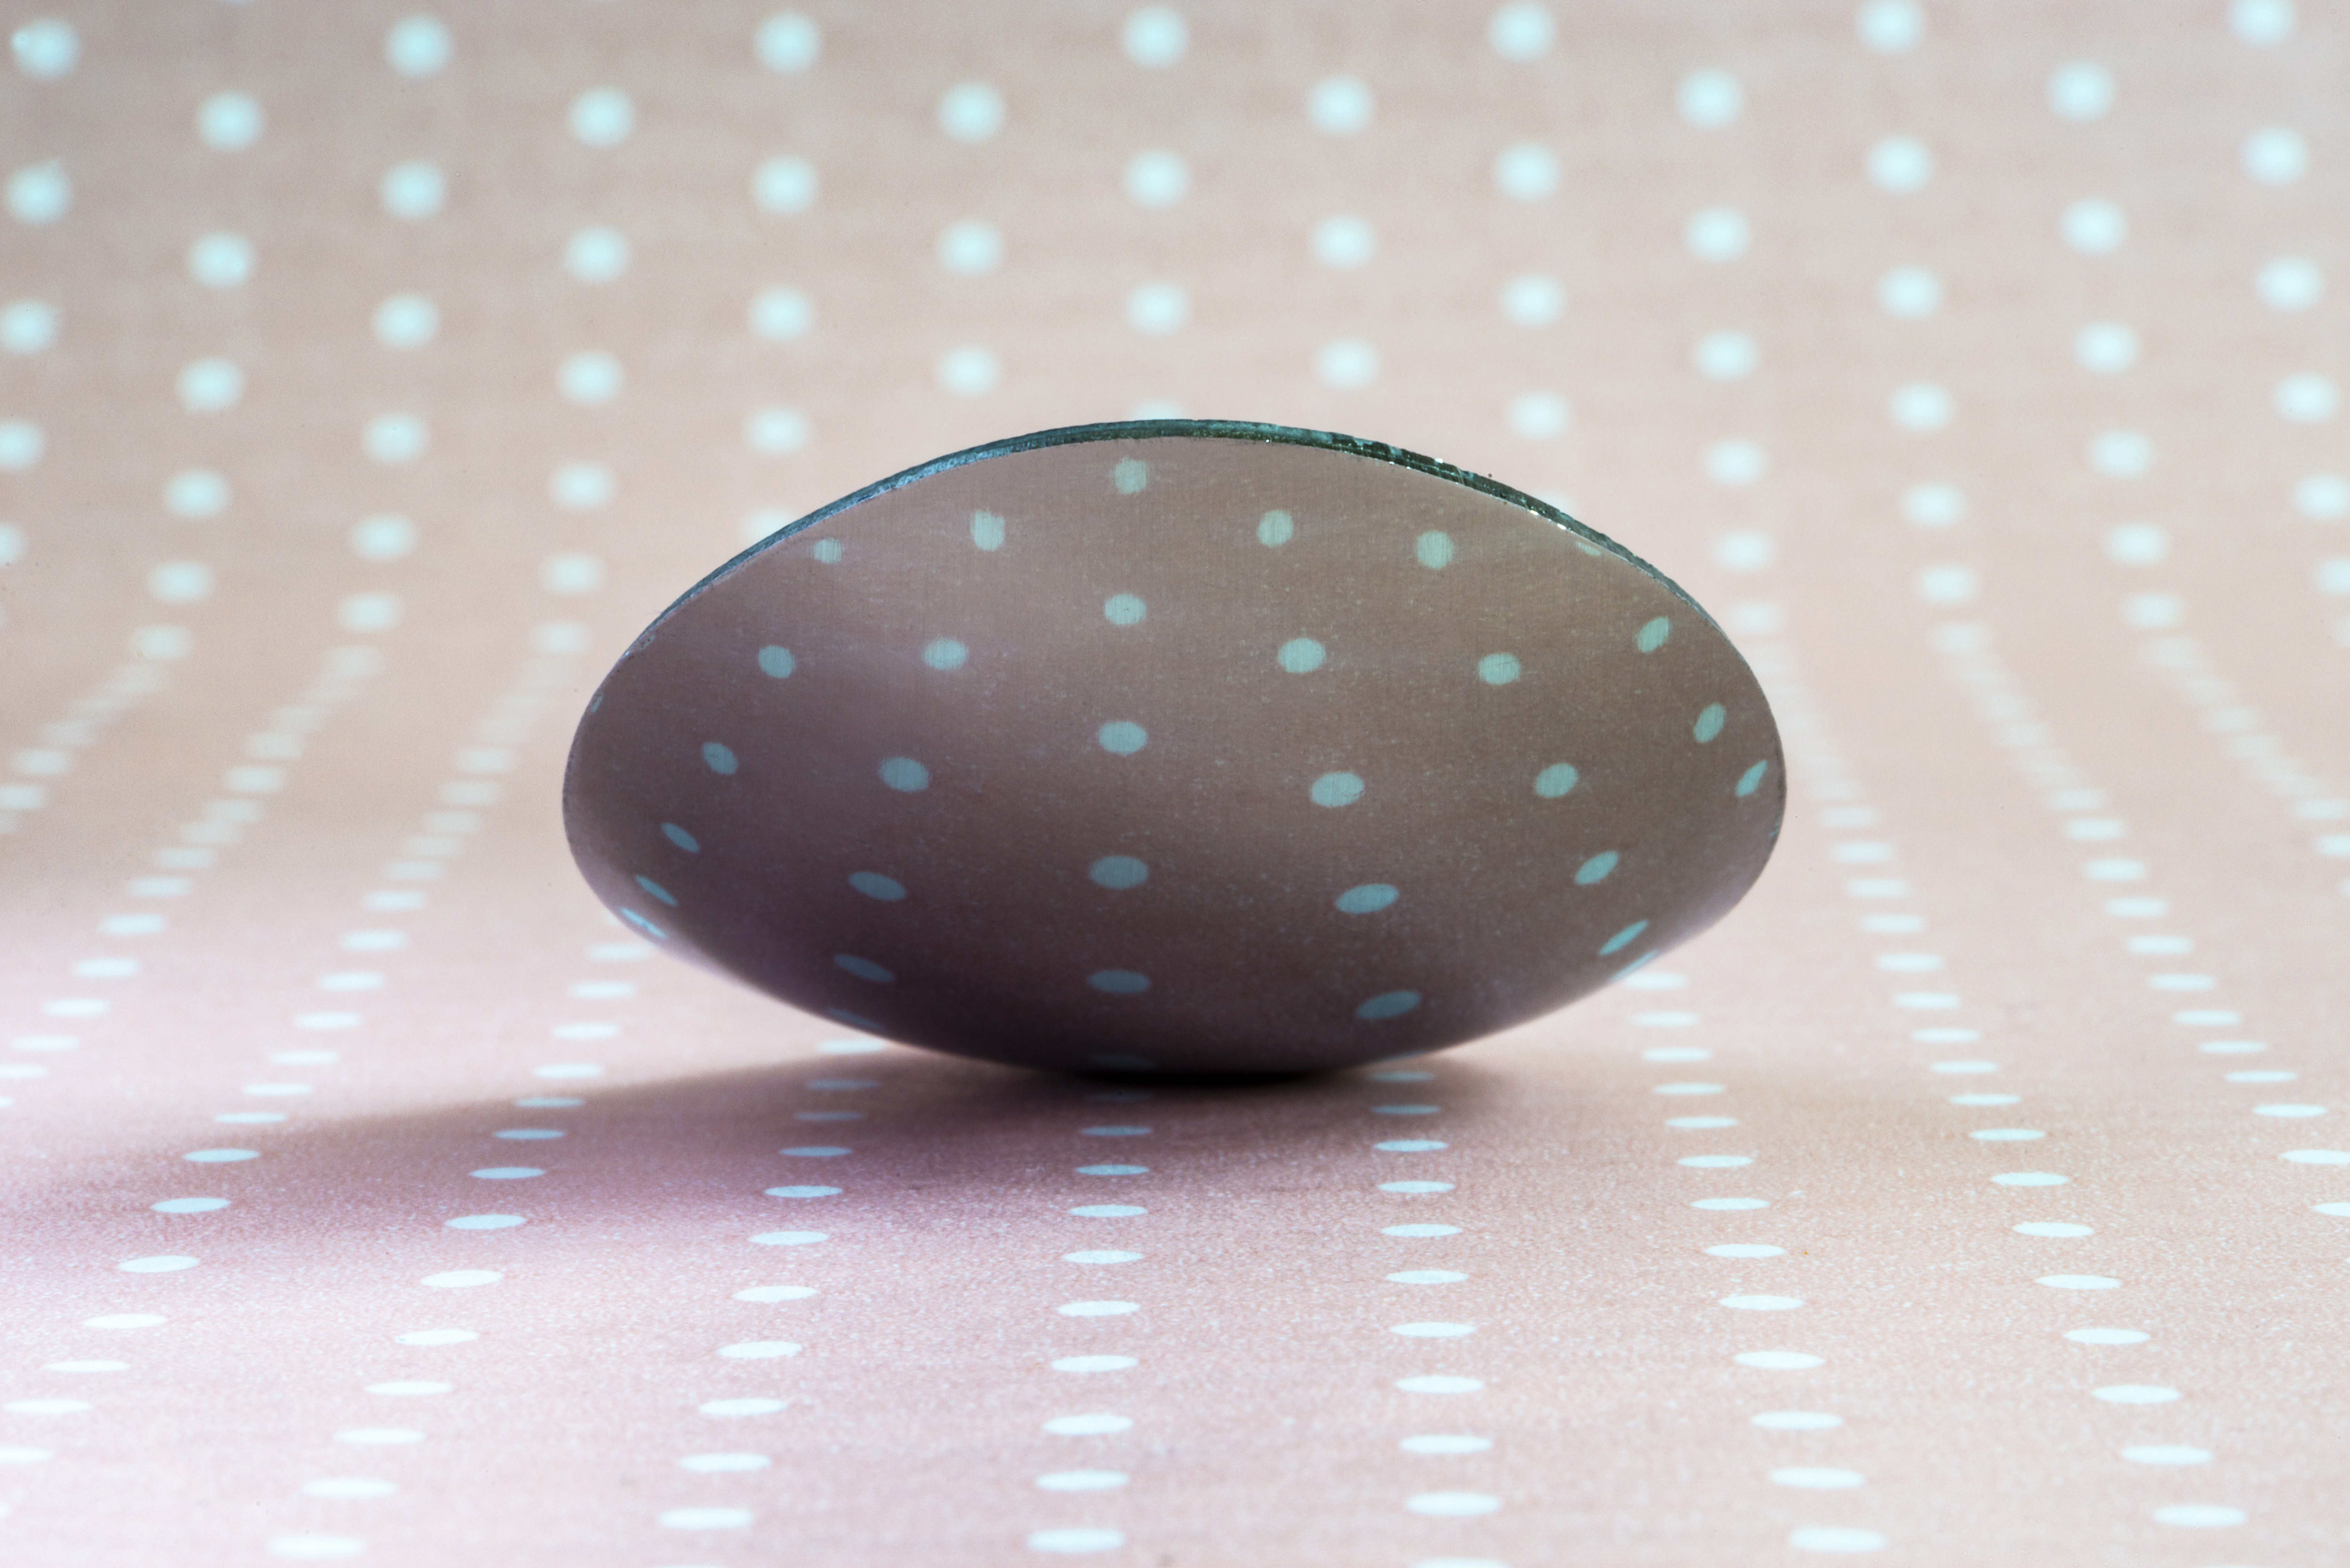
The trick is to curve the paper down the wall and across the table so that you get the pattern repeating in the backdrop. How much of the pattern ends up being recorded is down to the depth of field. Even a small aperture like f/16 will give a shallow depth of field when shooting macro, so you may want to set a higher f-number. Here, f/51 was used; we didn’t set f/51 on the camera, but choosing the smallest available aperture (f/32) and focusing the lens at 1:1 resulted in the smaller aperture being listed in the EXIF data.
Exposure: f/16, 1/5 sec, ISO100 and f/51, 1.6 secs, ISO100

02 Never miss a beat
Be careful with non-symmetrical patterns as these will appear upside-down if you lay the paper down the ‘correct’ way, facing the camera. Instead, flip it around so it’s backwards, the reflection in the spoon will then be the correct way up as shown in the image here with our colorful heart wrapping paper. Although eye-catching, this heart patterned wrapping paper was made from a very thin tissue paper. To keep it looking clean and bright, we laid down a sheet of white A3 paper below it to stop the brown table showing through.
Exposure: f/16, 0.5 sec, ISO100
03 Boost contrast
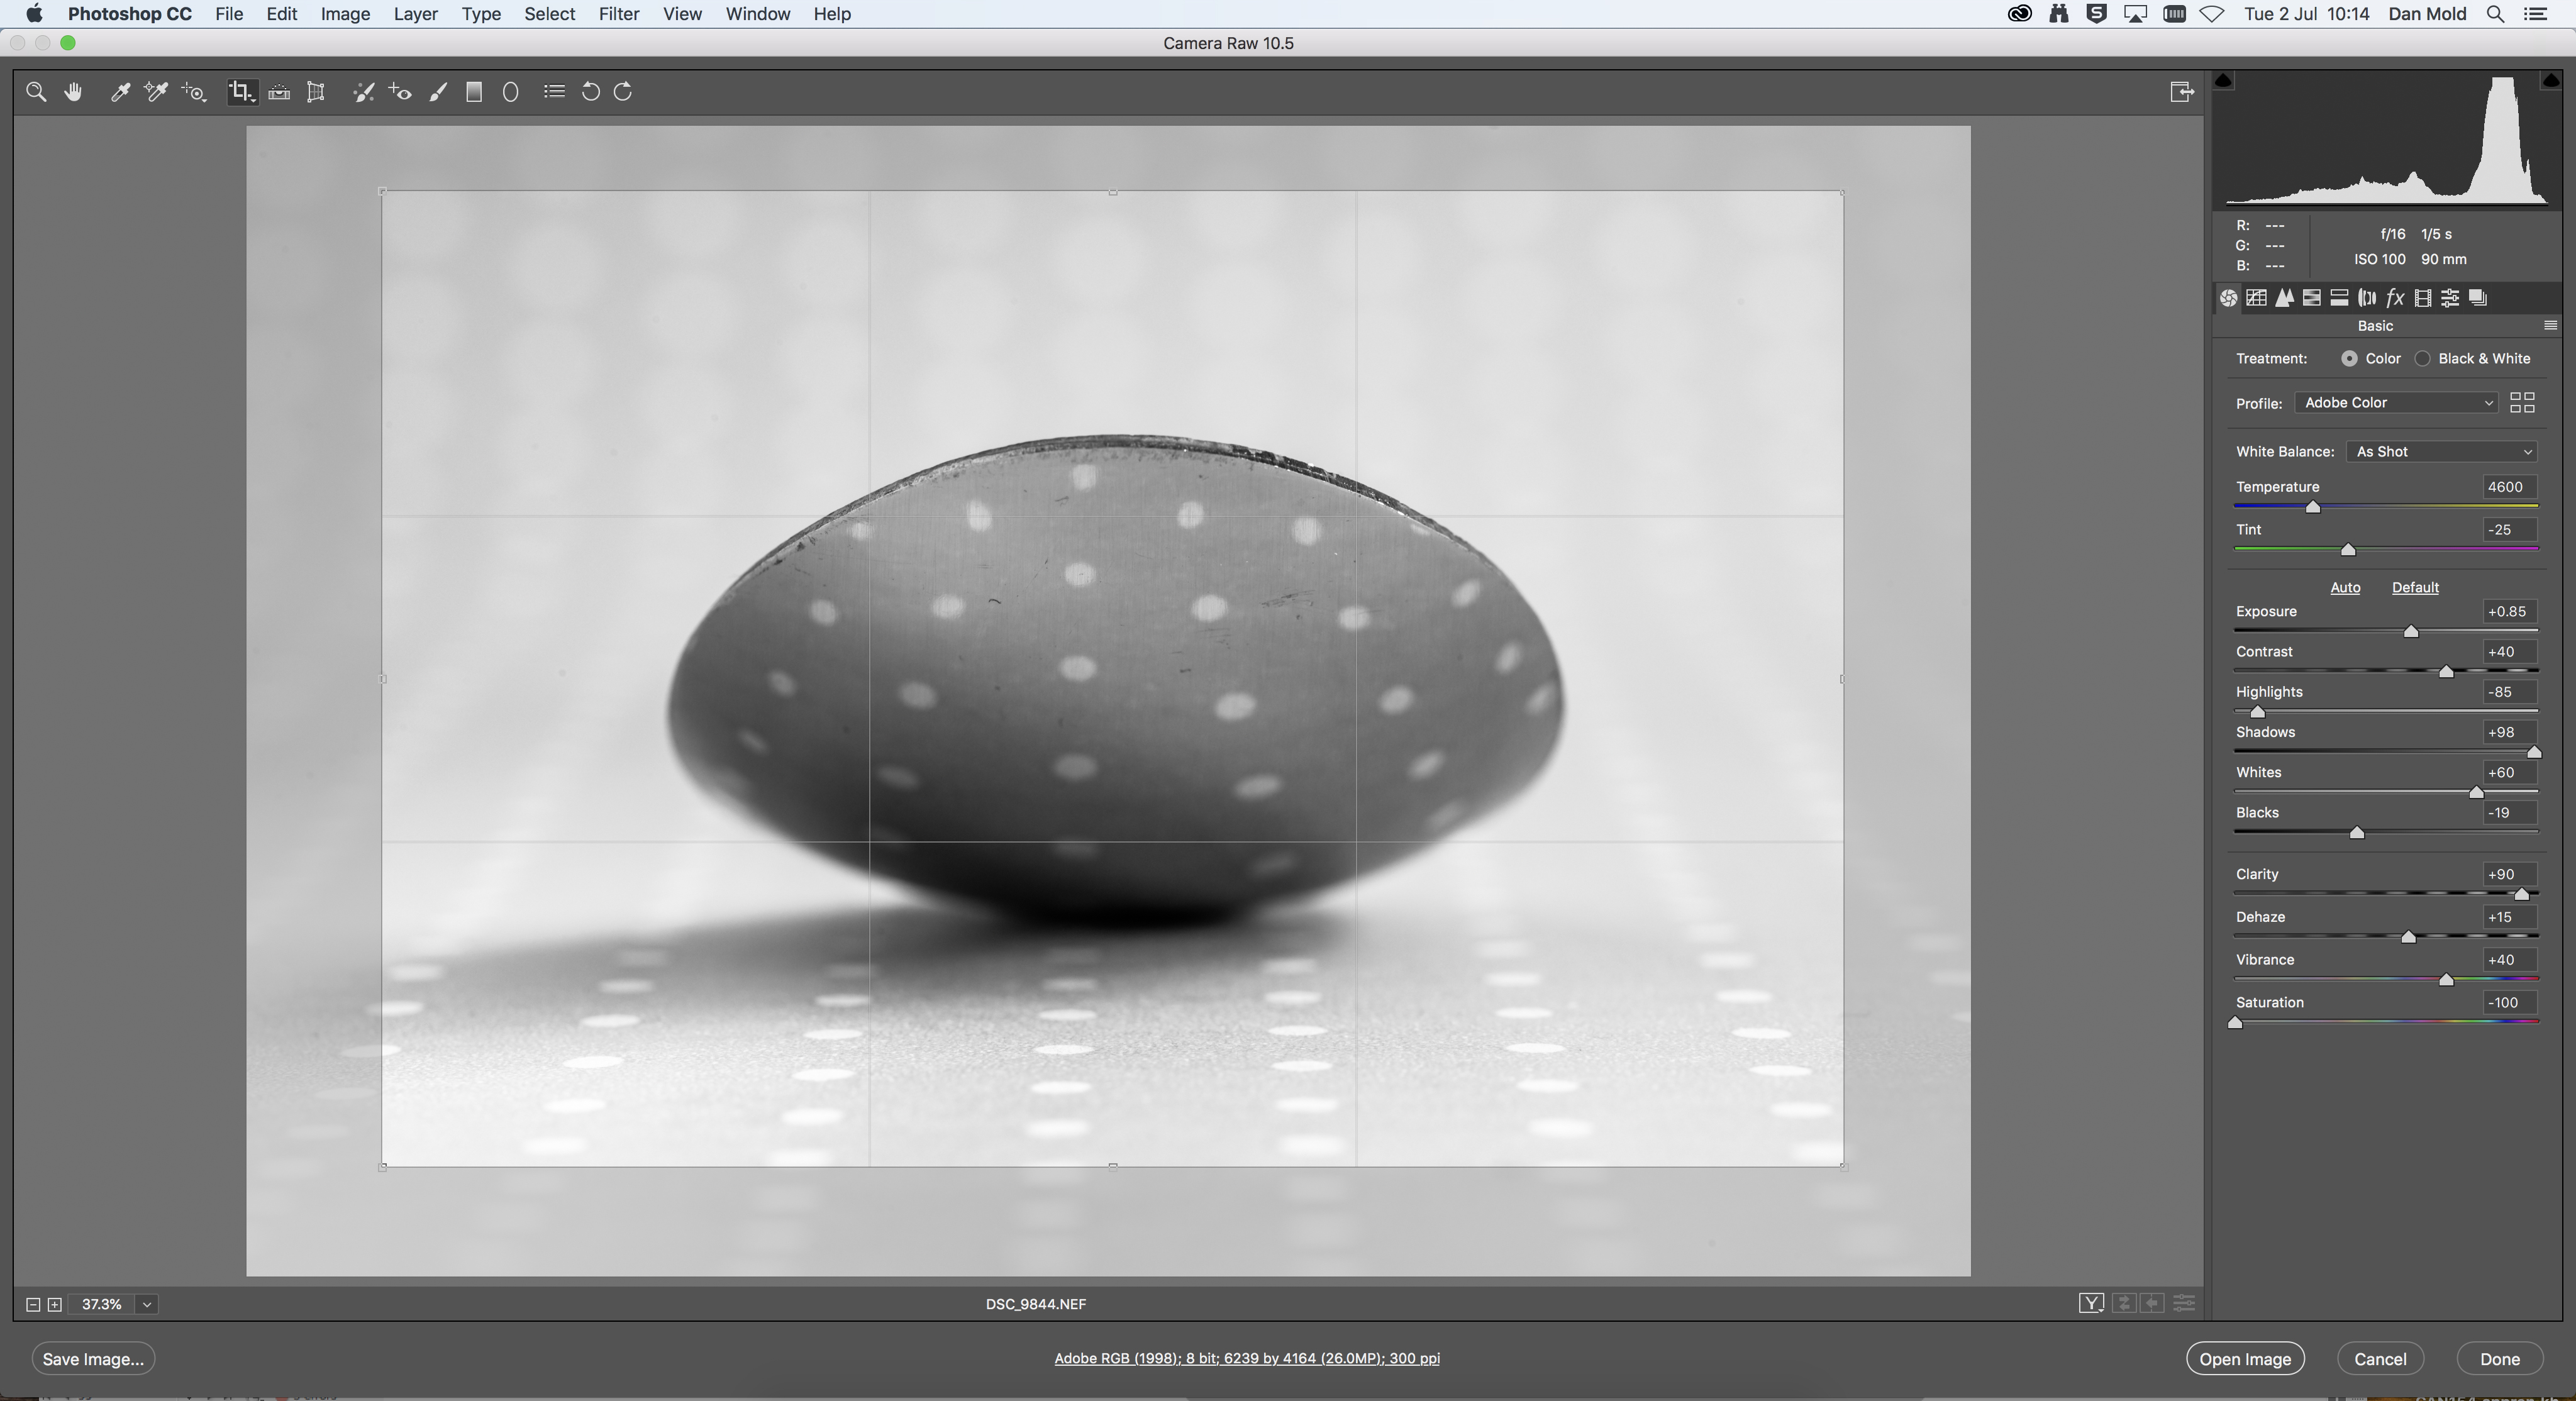
Drag your Raw image into Photoshop CC or Elements in order to open it into Adobe Camera Raw – alternatively import the Raw file into Lightroom and head over to the Develop module. In either programs you’ll have access to sliders on the right that let you adjust the contrast. We went for a mono conversion.
For this effect, set Saturation to -100, then push Contrast to +45 and Clarity to +90 to add some punch. Next up, we pulled the Highlights and Blacks down to the left and increased the Shadows and Whites by dragging them to the right to expand the dynamic range. When you’ve achieved some good punchy contrast hit Open Image in Photoshop or go to Photo>Edit In>Photoshop CC in Lightroom.
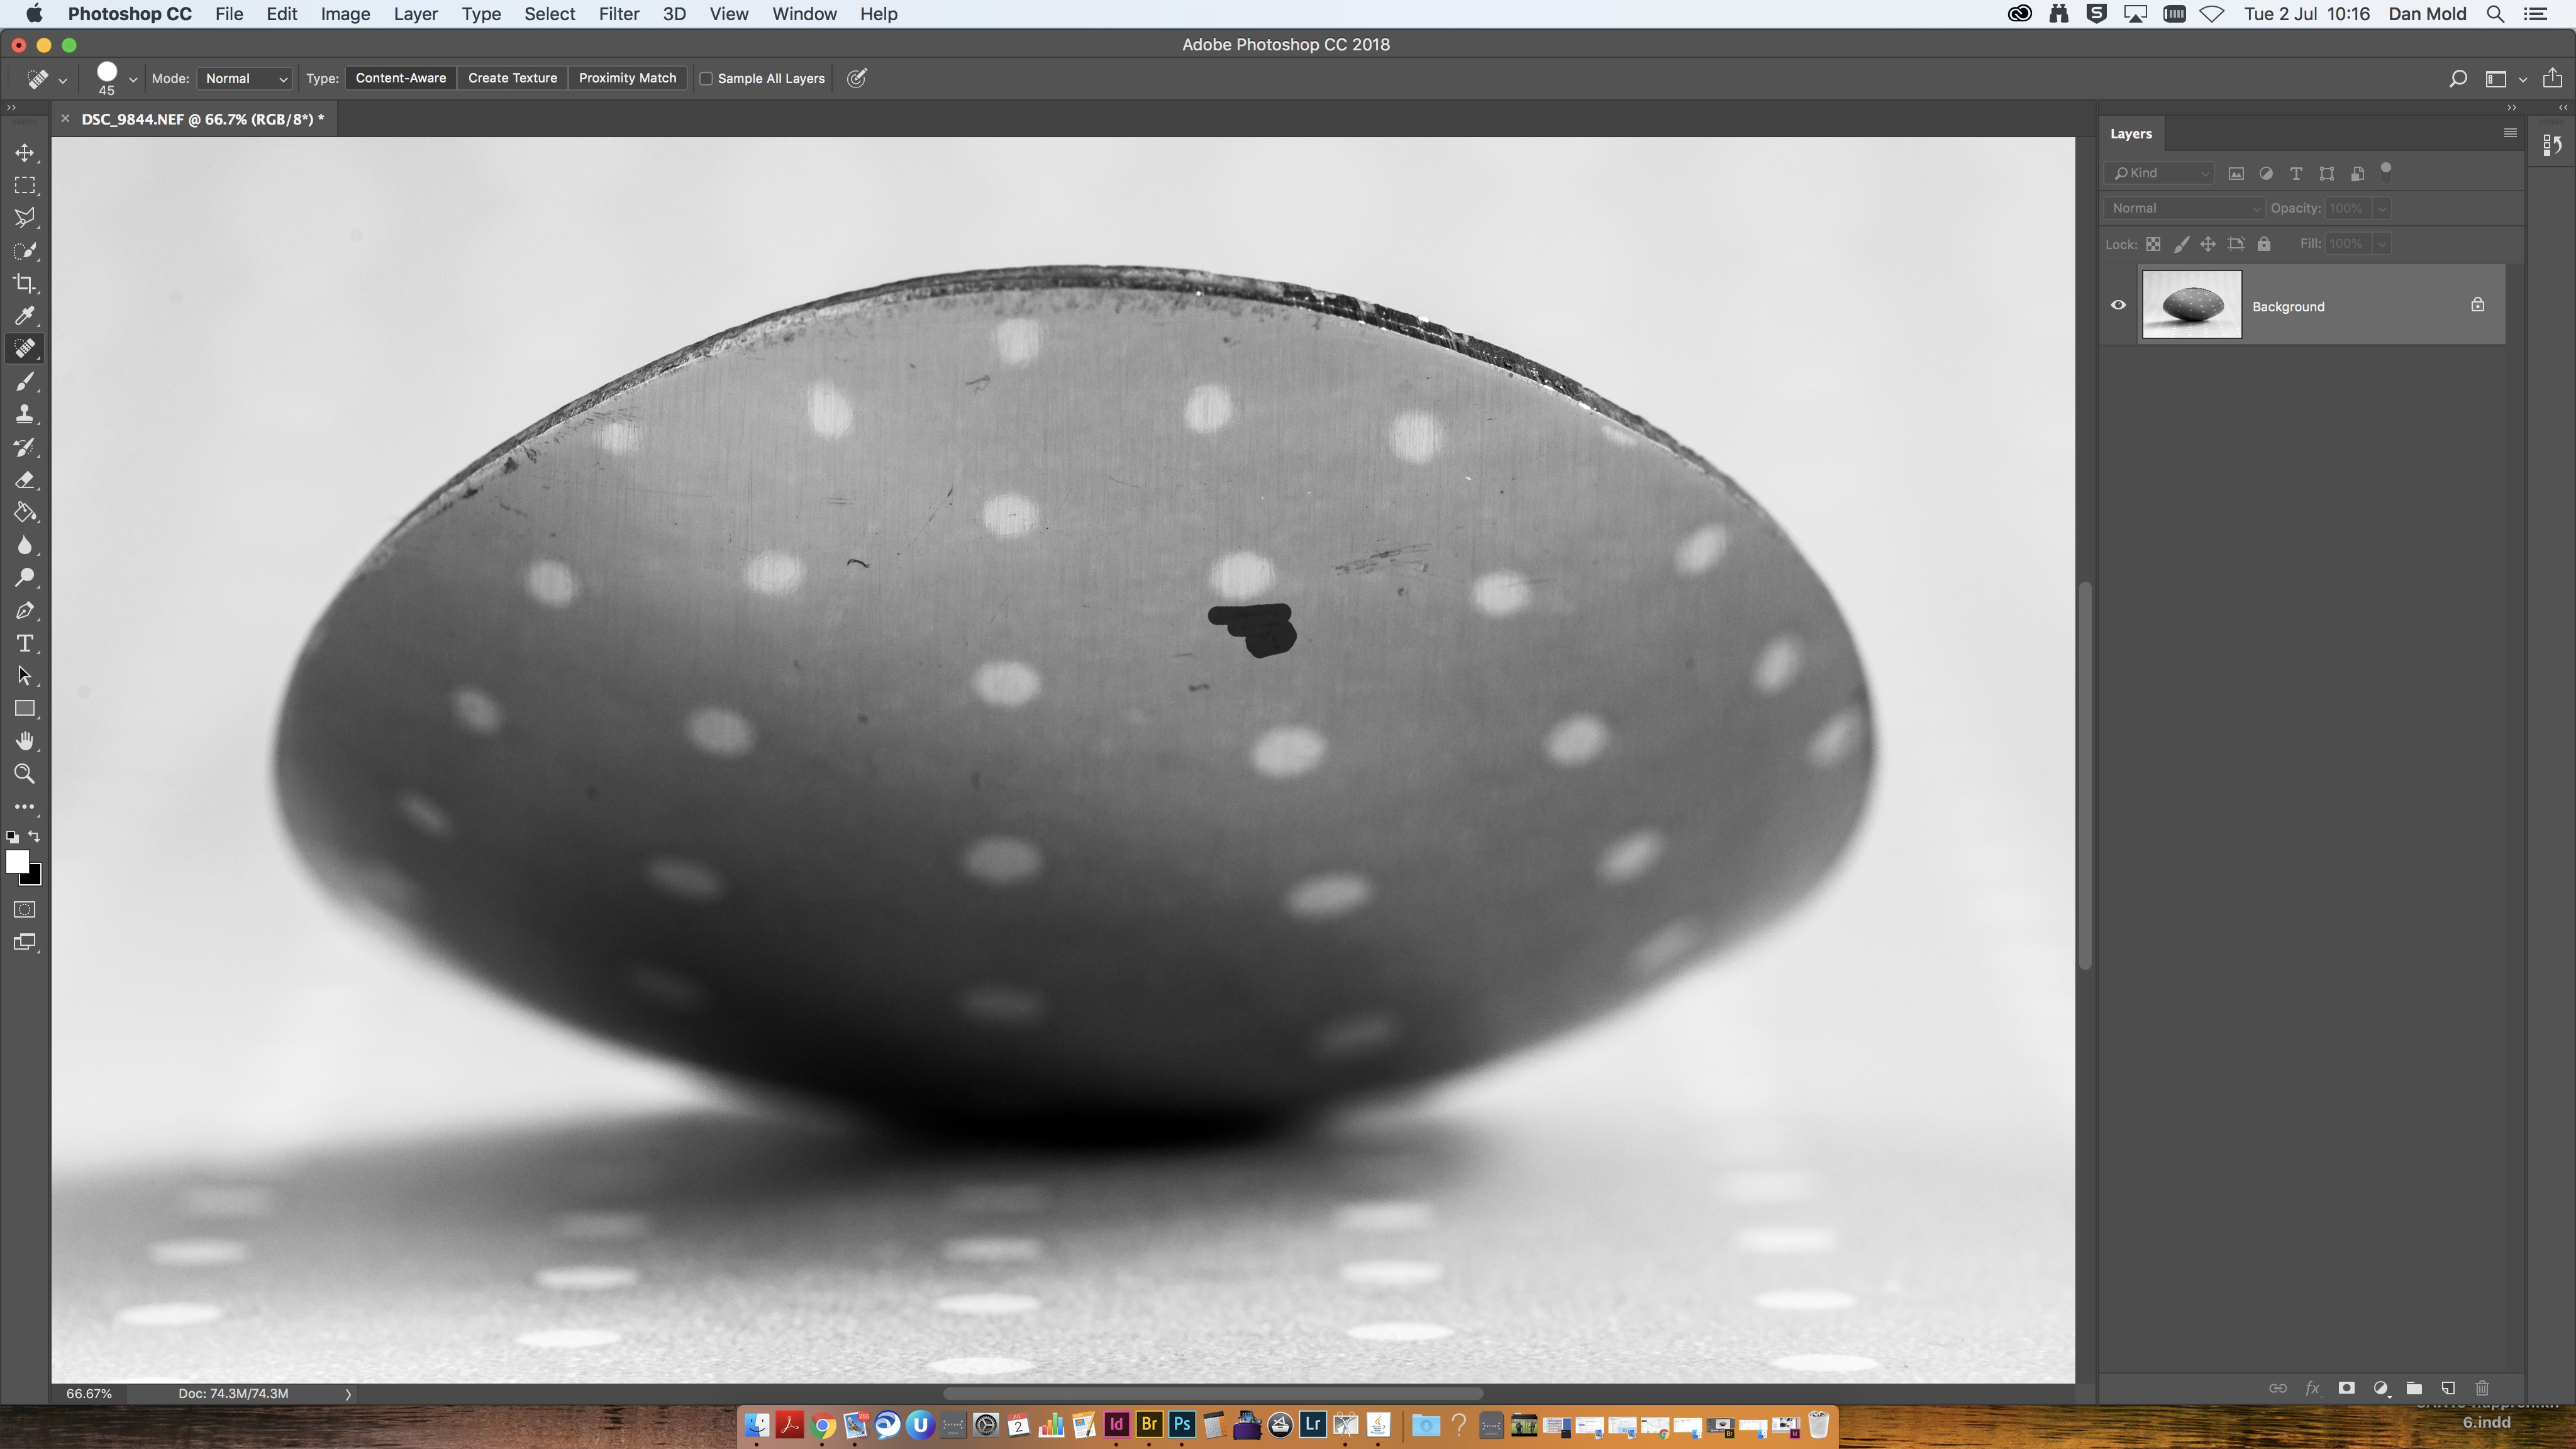
04 Remove scratches
The next step is to remove any little scratches or dings in the metal to make sure the spoon has a beautifully shiny mirror finish. The easiest way to do this is to grab the Spot Healing Brush tool from the toolbox and use the square bracket keys (‘[‘ and ‘]’) to resize your cursor. Make sure that it’s only slightly larger than needed to paint over the distraction.
Before you start editing your photograph it’s best practice to hit Ctrl/Cmd+J on your keyboard to duplicate your layer so that you’re not working on the original image. Then zoom in with Ctrl/Cmd+Plus and paint over all of the little imperfections in the metal to make it perfectly pristine, which gives a much more aesthetically pleasing end result.
Read more:
The best macro lenses in 2020: get closer to your subjects than ever before!
The best photo printing online: top services from around the web
The best photo printer 2019: desktop photo printers compared
Get the Digital Camera World Newsletter
The best camera deals, reviews, product advice, and unmissable photography news, direct to your inbox!

Deputy Editor on PhotoPlus: The Canon Magazine, Dan also brings his technical wizardry and editing skills to Digital Camera World. He has been writing about all aspects of photography for over 10 years, having previously served as technical writer and technical editor for Practical Photography magazine, as well as Photoshop editor on Digital Photo.
Dan is an Adobe-certified Photoshop guru, making him officially a beast at post-processing – so he’s the perfect person to share tips and tricks both in-camera and in post. Able to shoot all genres, Dan provides news, techniques and tutorials on everything from portraits and landscapes to macro and wildlife, helping photographers get the most out of their cameras, lenses, filters, lighting, tripods, and, of course, editing software.
