Home photography ideas: Shoot stunning fine art plant portraits in your garden
Create a studio-like effect using only natural lighting and careful exposure control for this pro technique
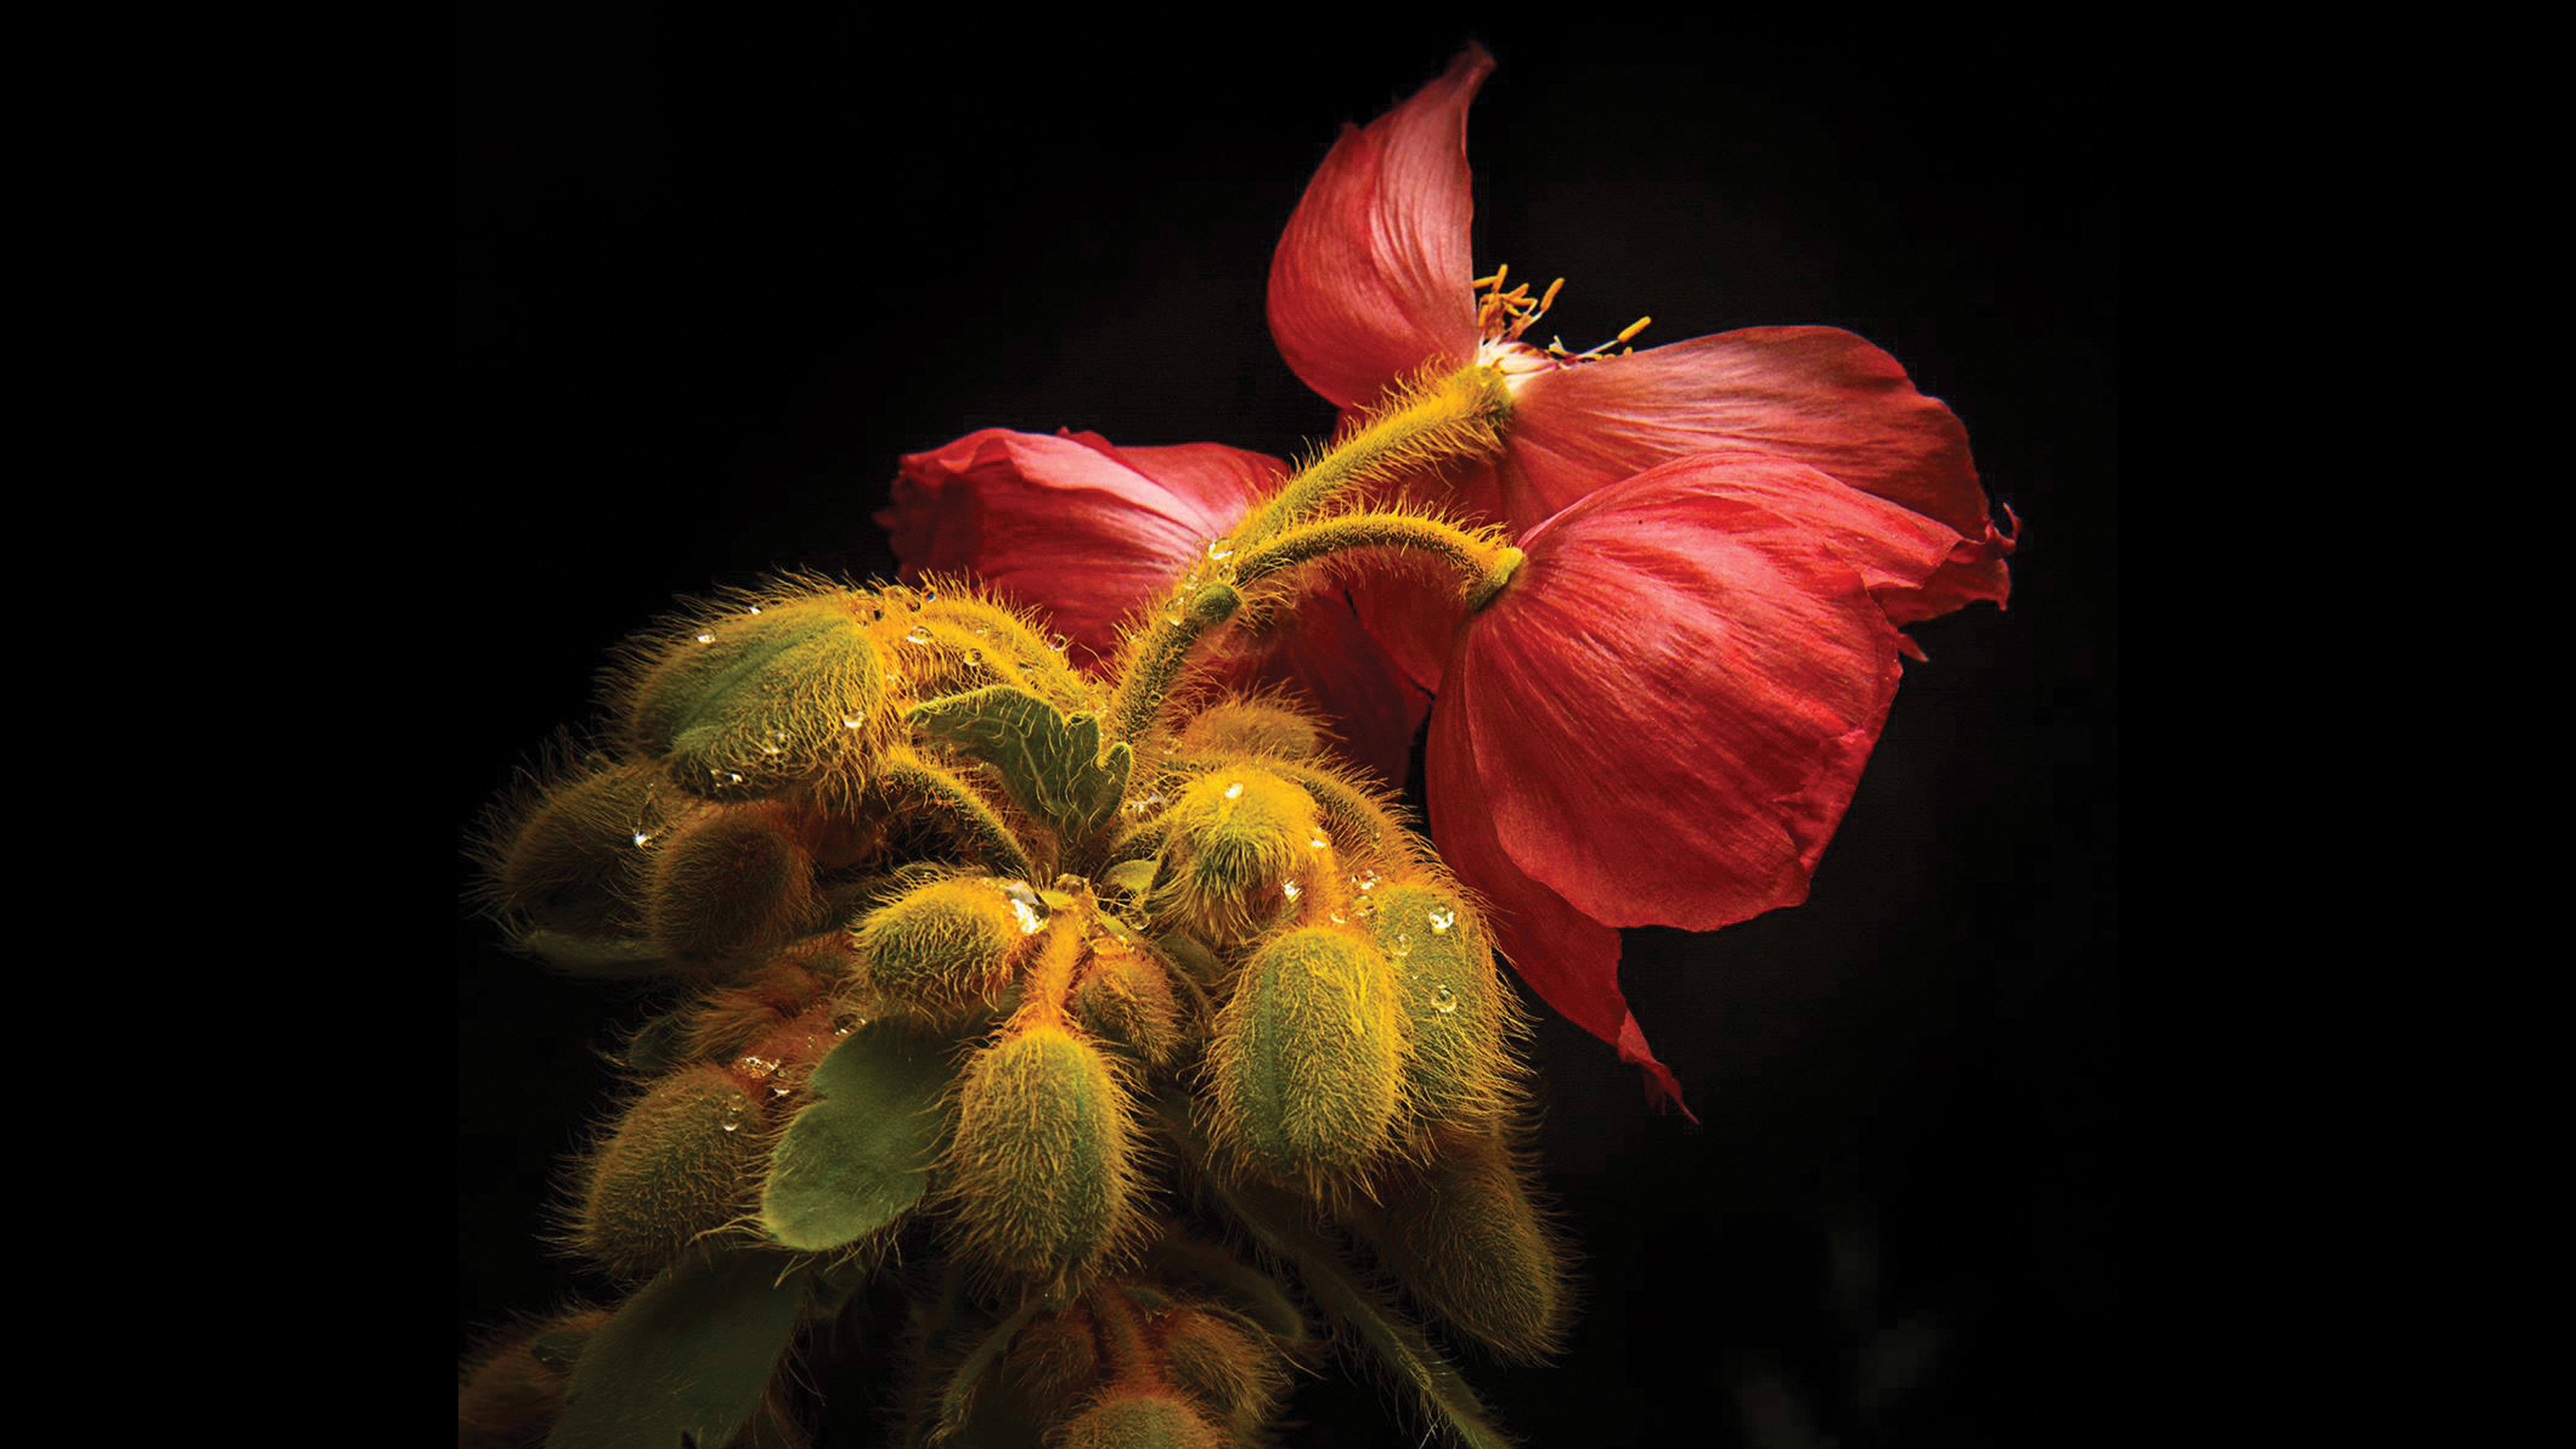
One of the advantages of shooting in a studio is that the photographer has full control over the intensity, direction and spread of light, allowing easy management of background detail.
Photography projects at home
• Home photography ideas
Useful home photography kit
• Best tripods
• Best lighting kits
• Best reflectors
• Best macro lenses
Furthermore, in a studio setting, seamless backgrounds can be used to produce a clean, distraction-free environment, ideal for portraits or still life subjects.
There are great benefits of natural light however – it is soft, directional and freely available. It therefore pays to be able to bring studio-like effects outside. The technique discussed here is a simple method of shaping light, by controlling where it spreads within the frame.
Read more: Photography tips
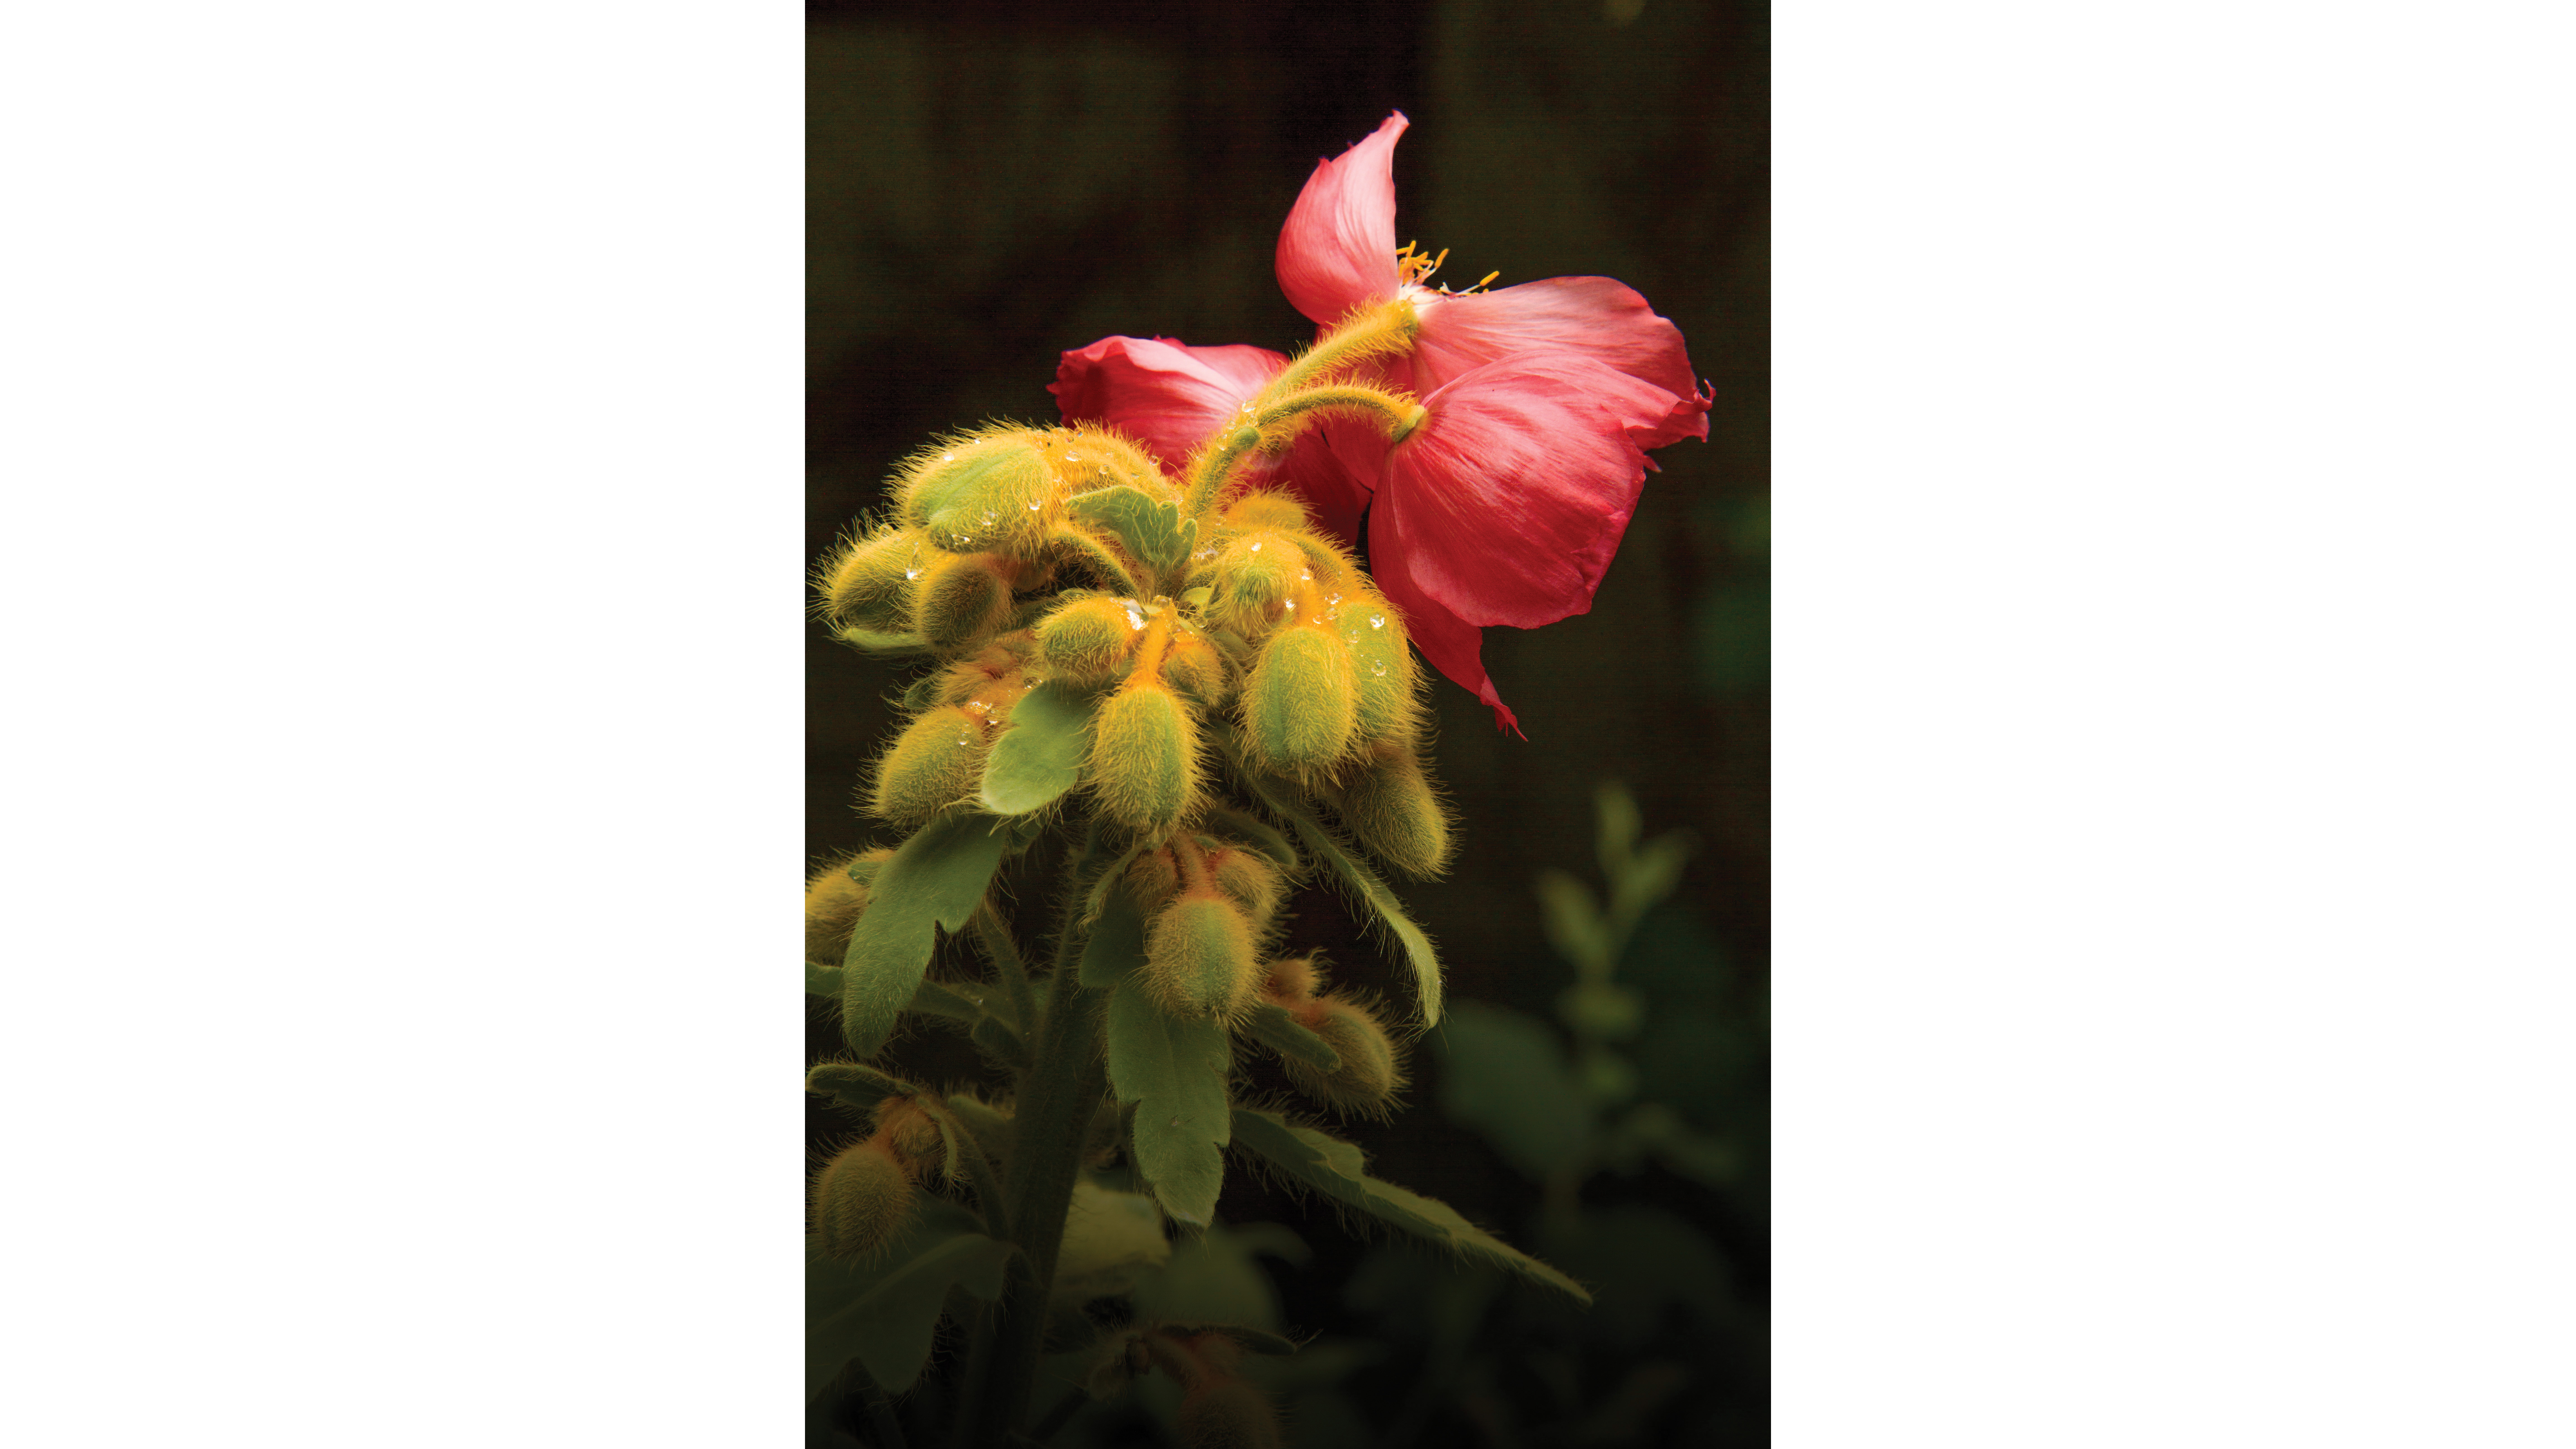

This is done by shooting in direct sunlight (slightly diffused by cloud cover where feasible) and using exposure controls to eliminate ambient light as much as possible. This generates a high-contrast, underexposed look, which approximates the appearance produced using strobe lights and a black background. Direct sunlight is best as the intensity will widen the exposure differences between the illuminated and shaded areas of the scene.
Try shooting in the mid-afternoon as this will place the sun high in the sky, but with some direction in the lighting. Precise metering will ensure that no highlight detail is lost and that the subject itself does not seem underexposed – only shaded areas will be noticeably darkened.
1. Pick a subject
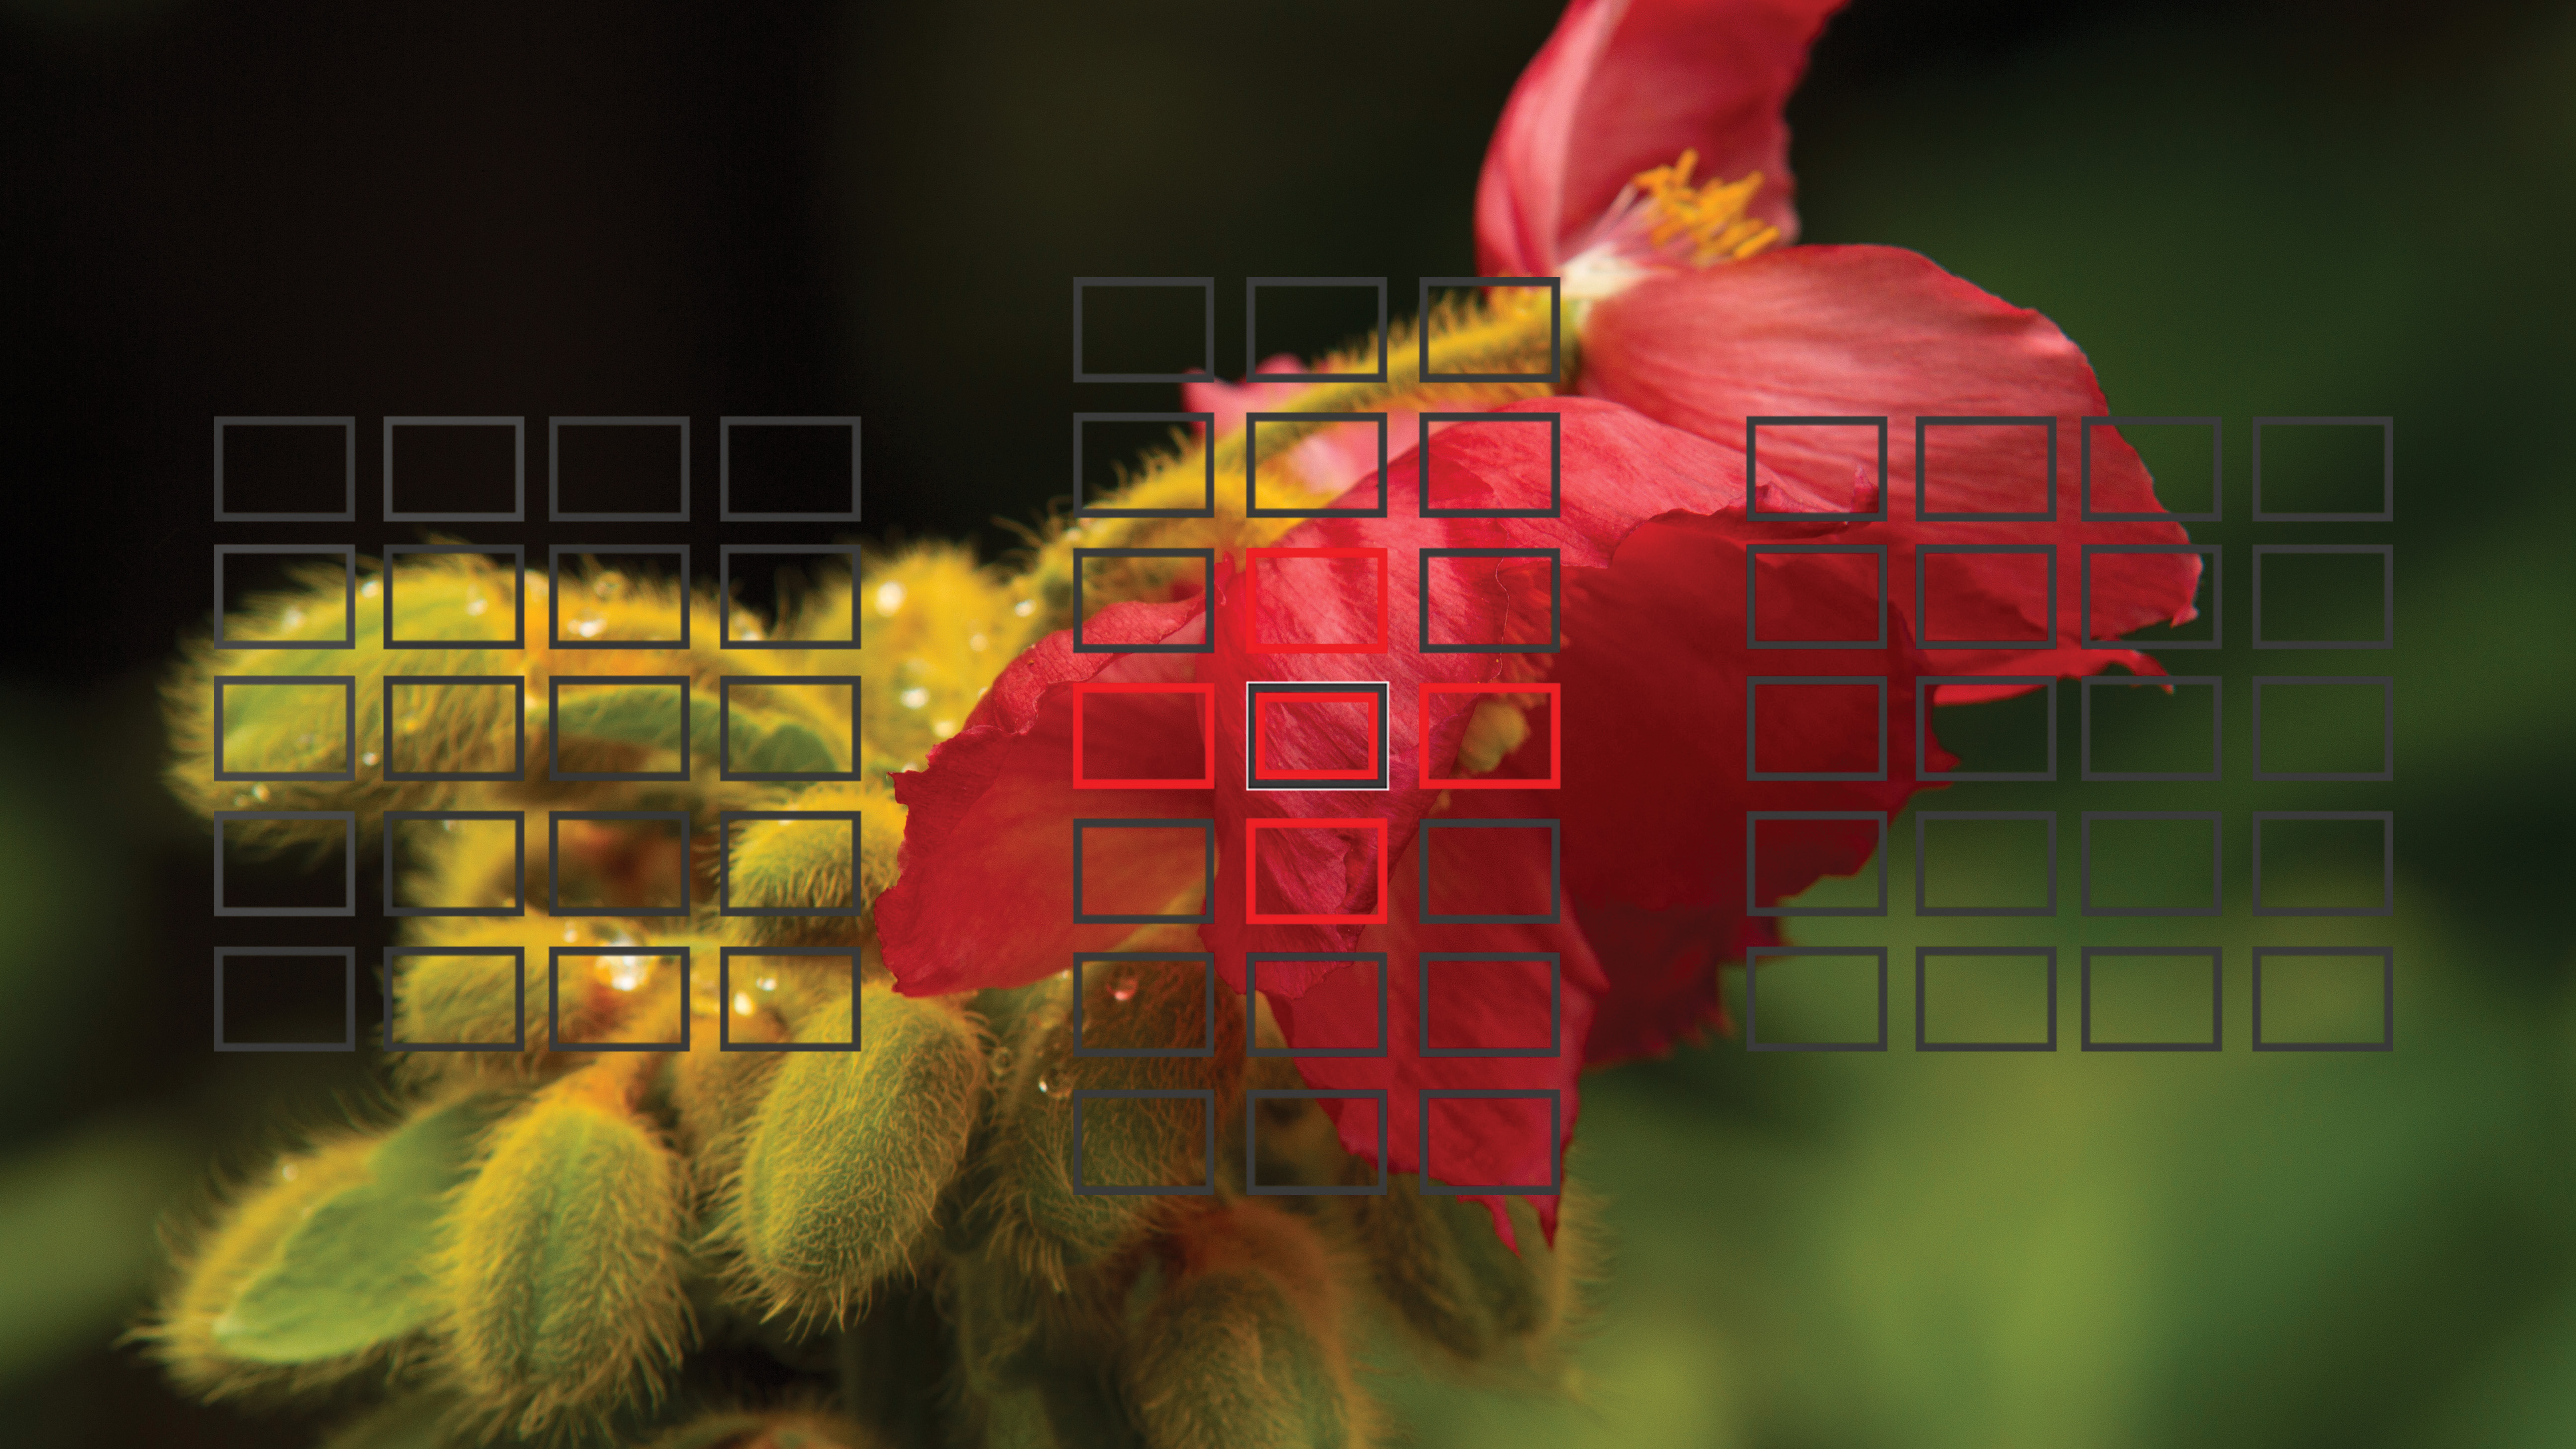
First you need to select a specimen that is well lit by natural daylight. Ideally the background will be more shaded, so that there is already contrast – for example, patches of light in woodland are perfect for this style of shooting.
2. Select aperture and ISO
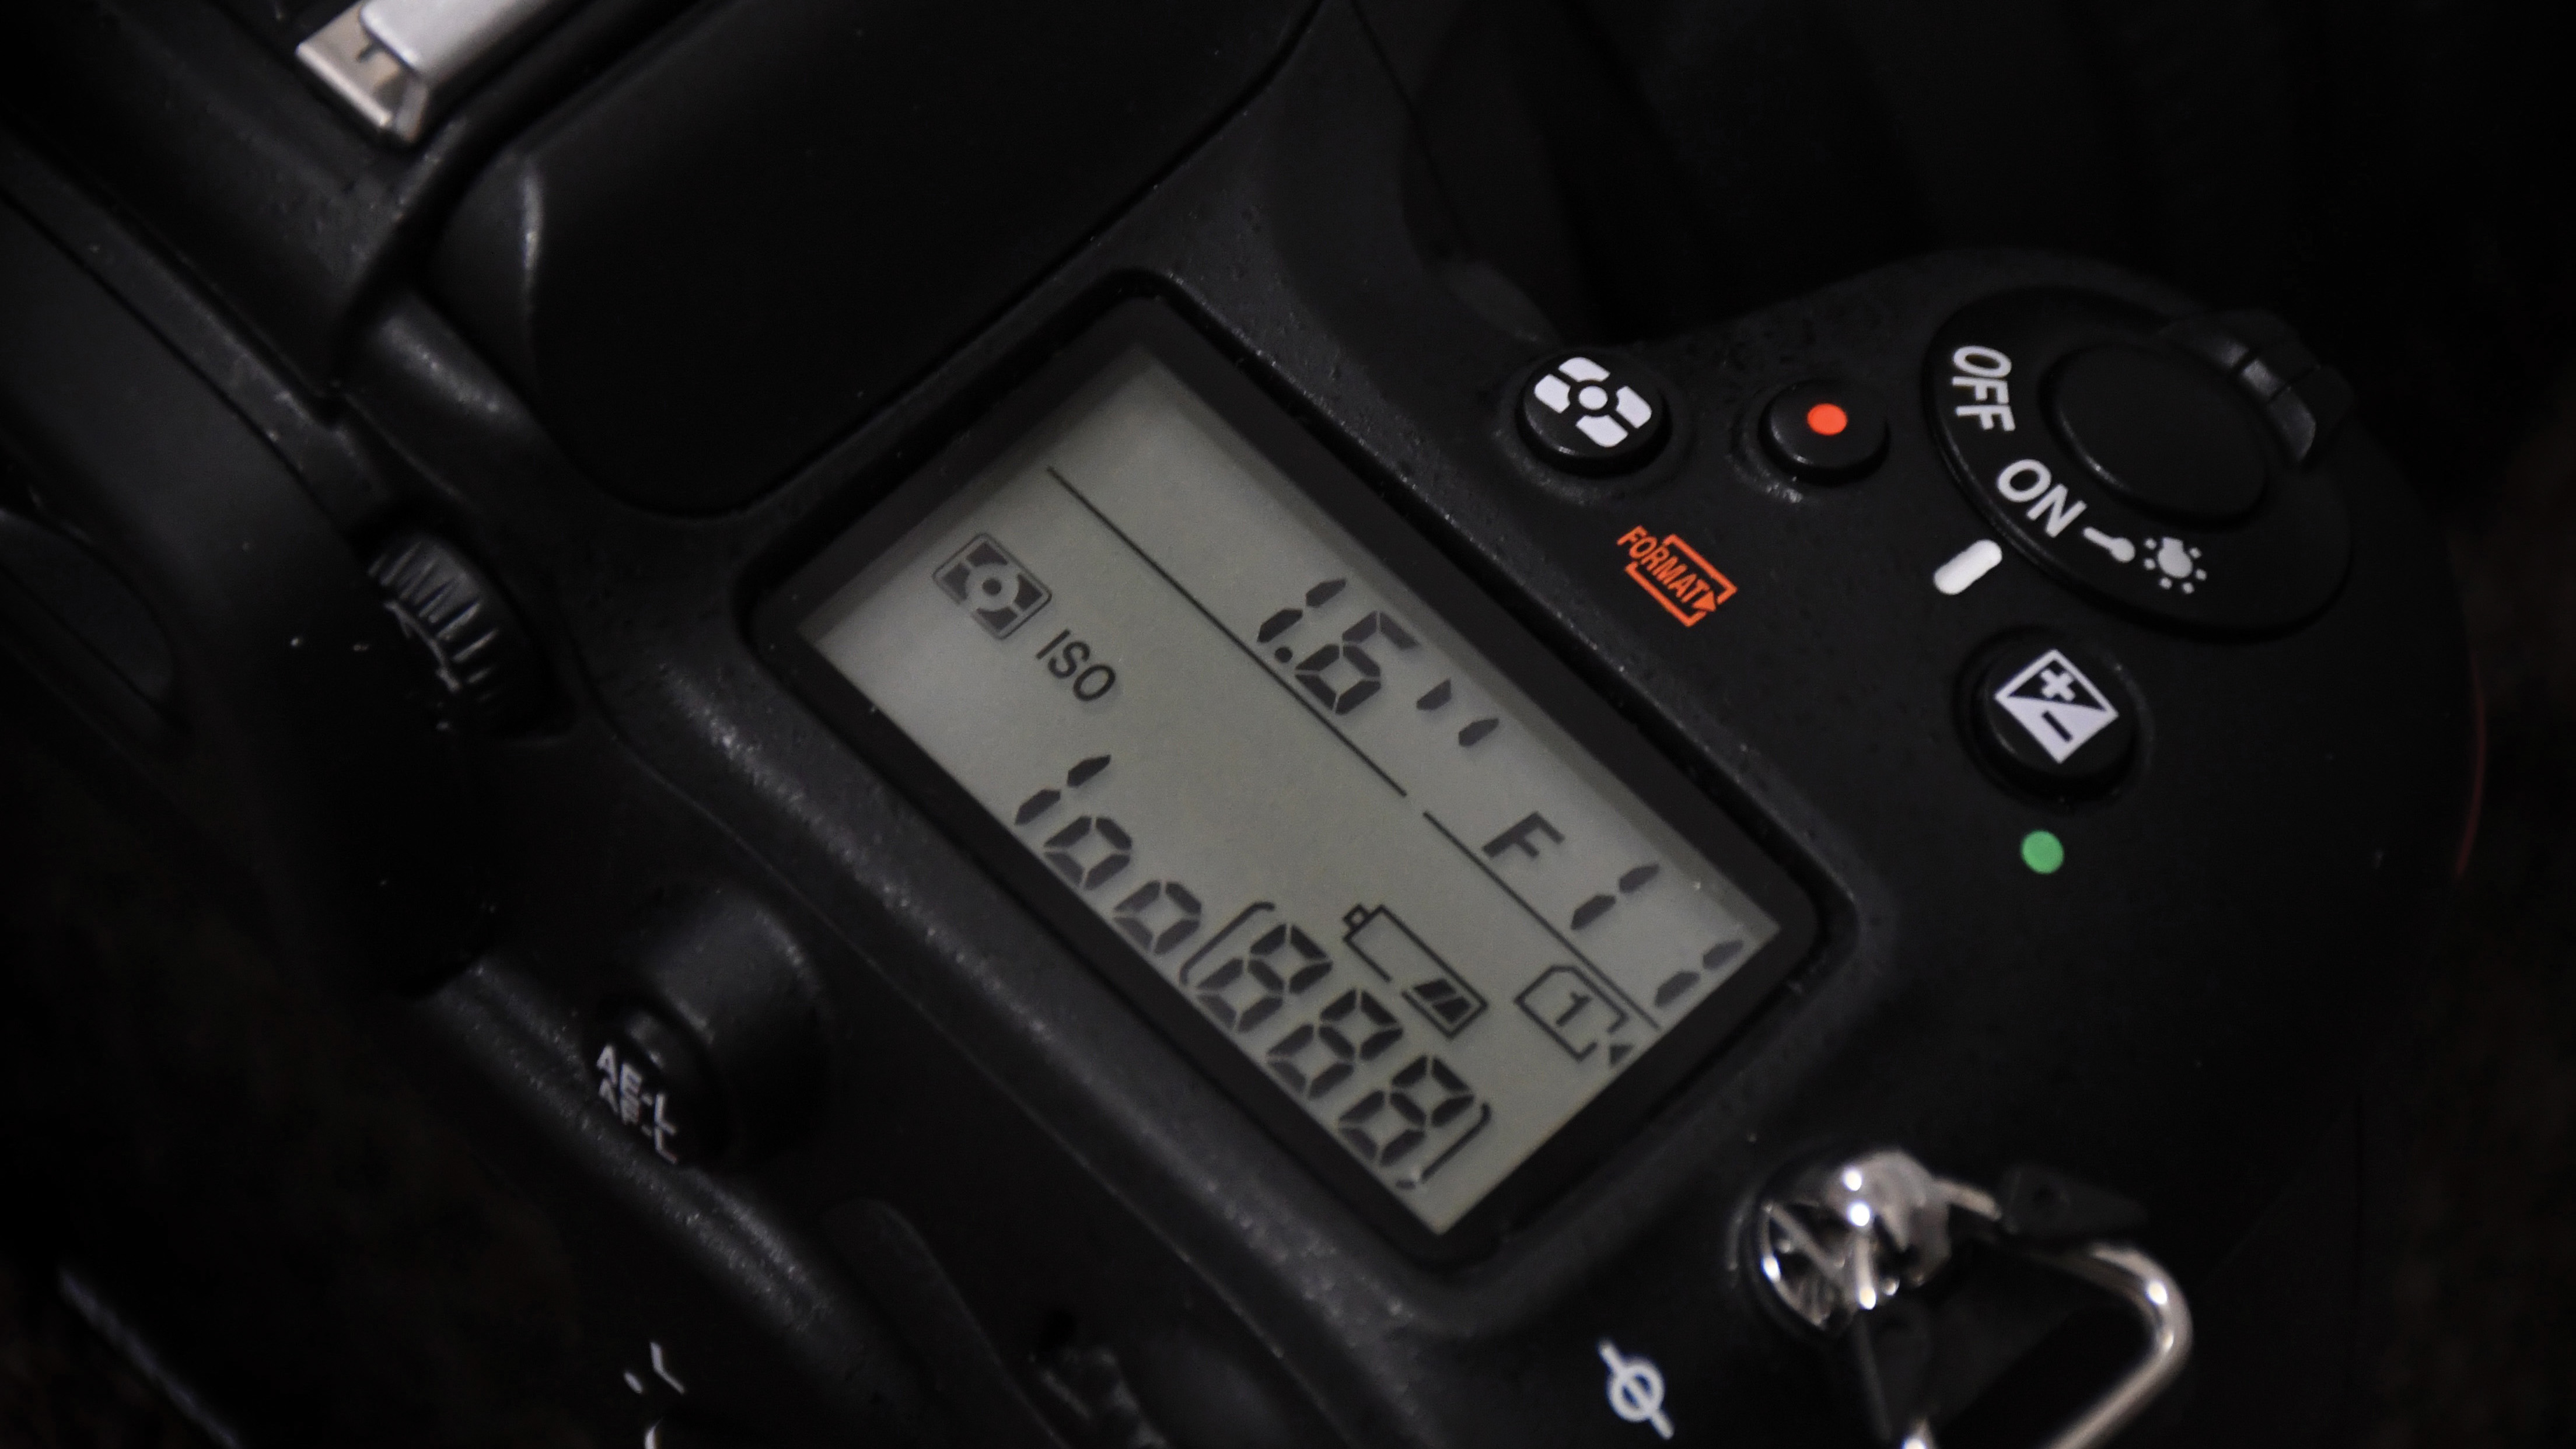
Choose an appropriate initial aperture for your subject, starting around f11. Ensure that you use the lowest ISO setting available to minimize ambient light capture, generating increased background contrast.
3. Meter from the highlights
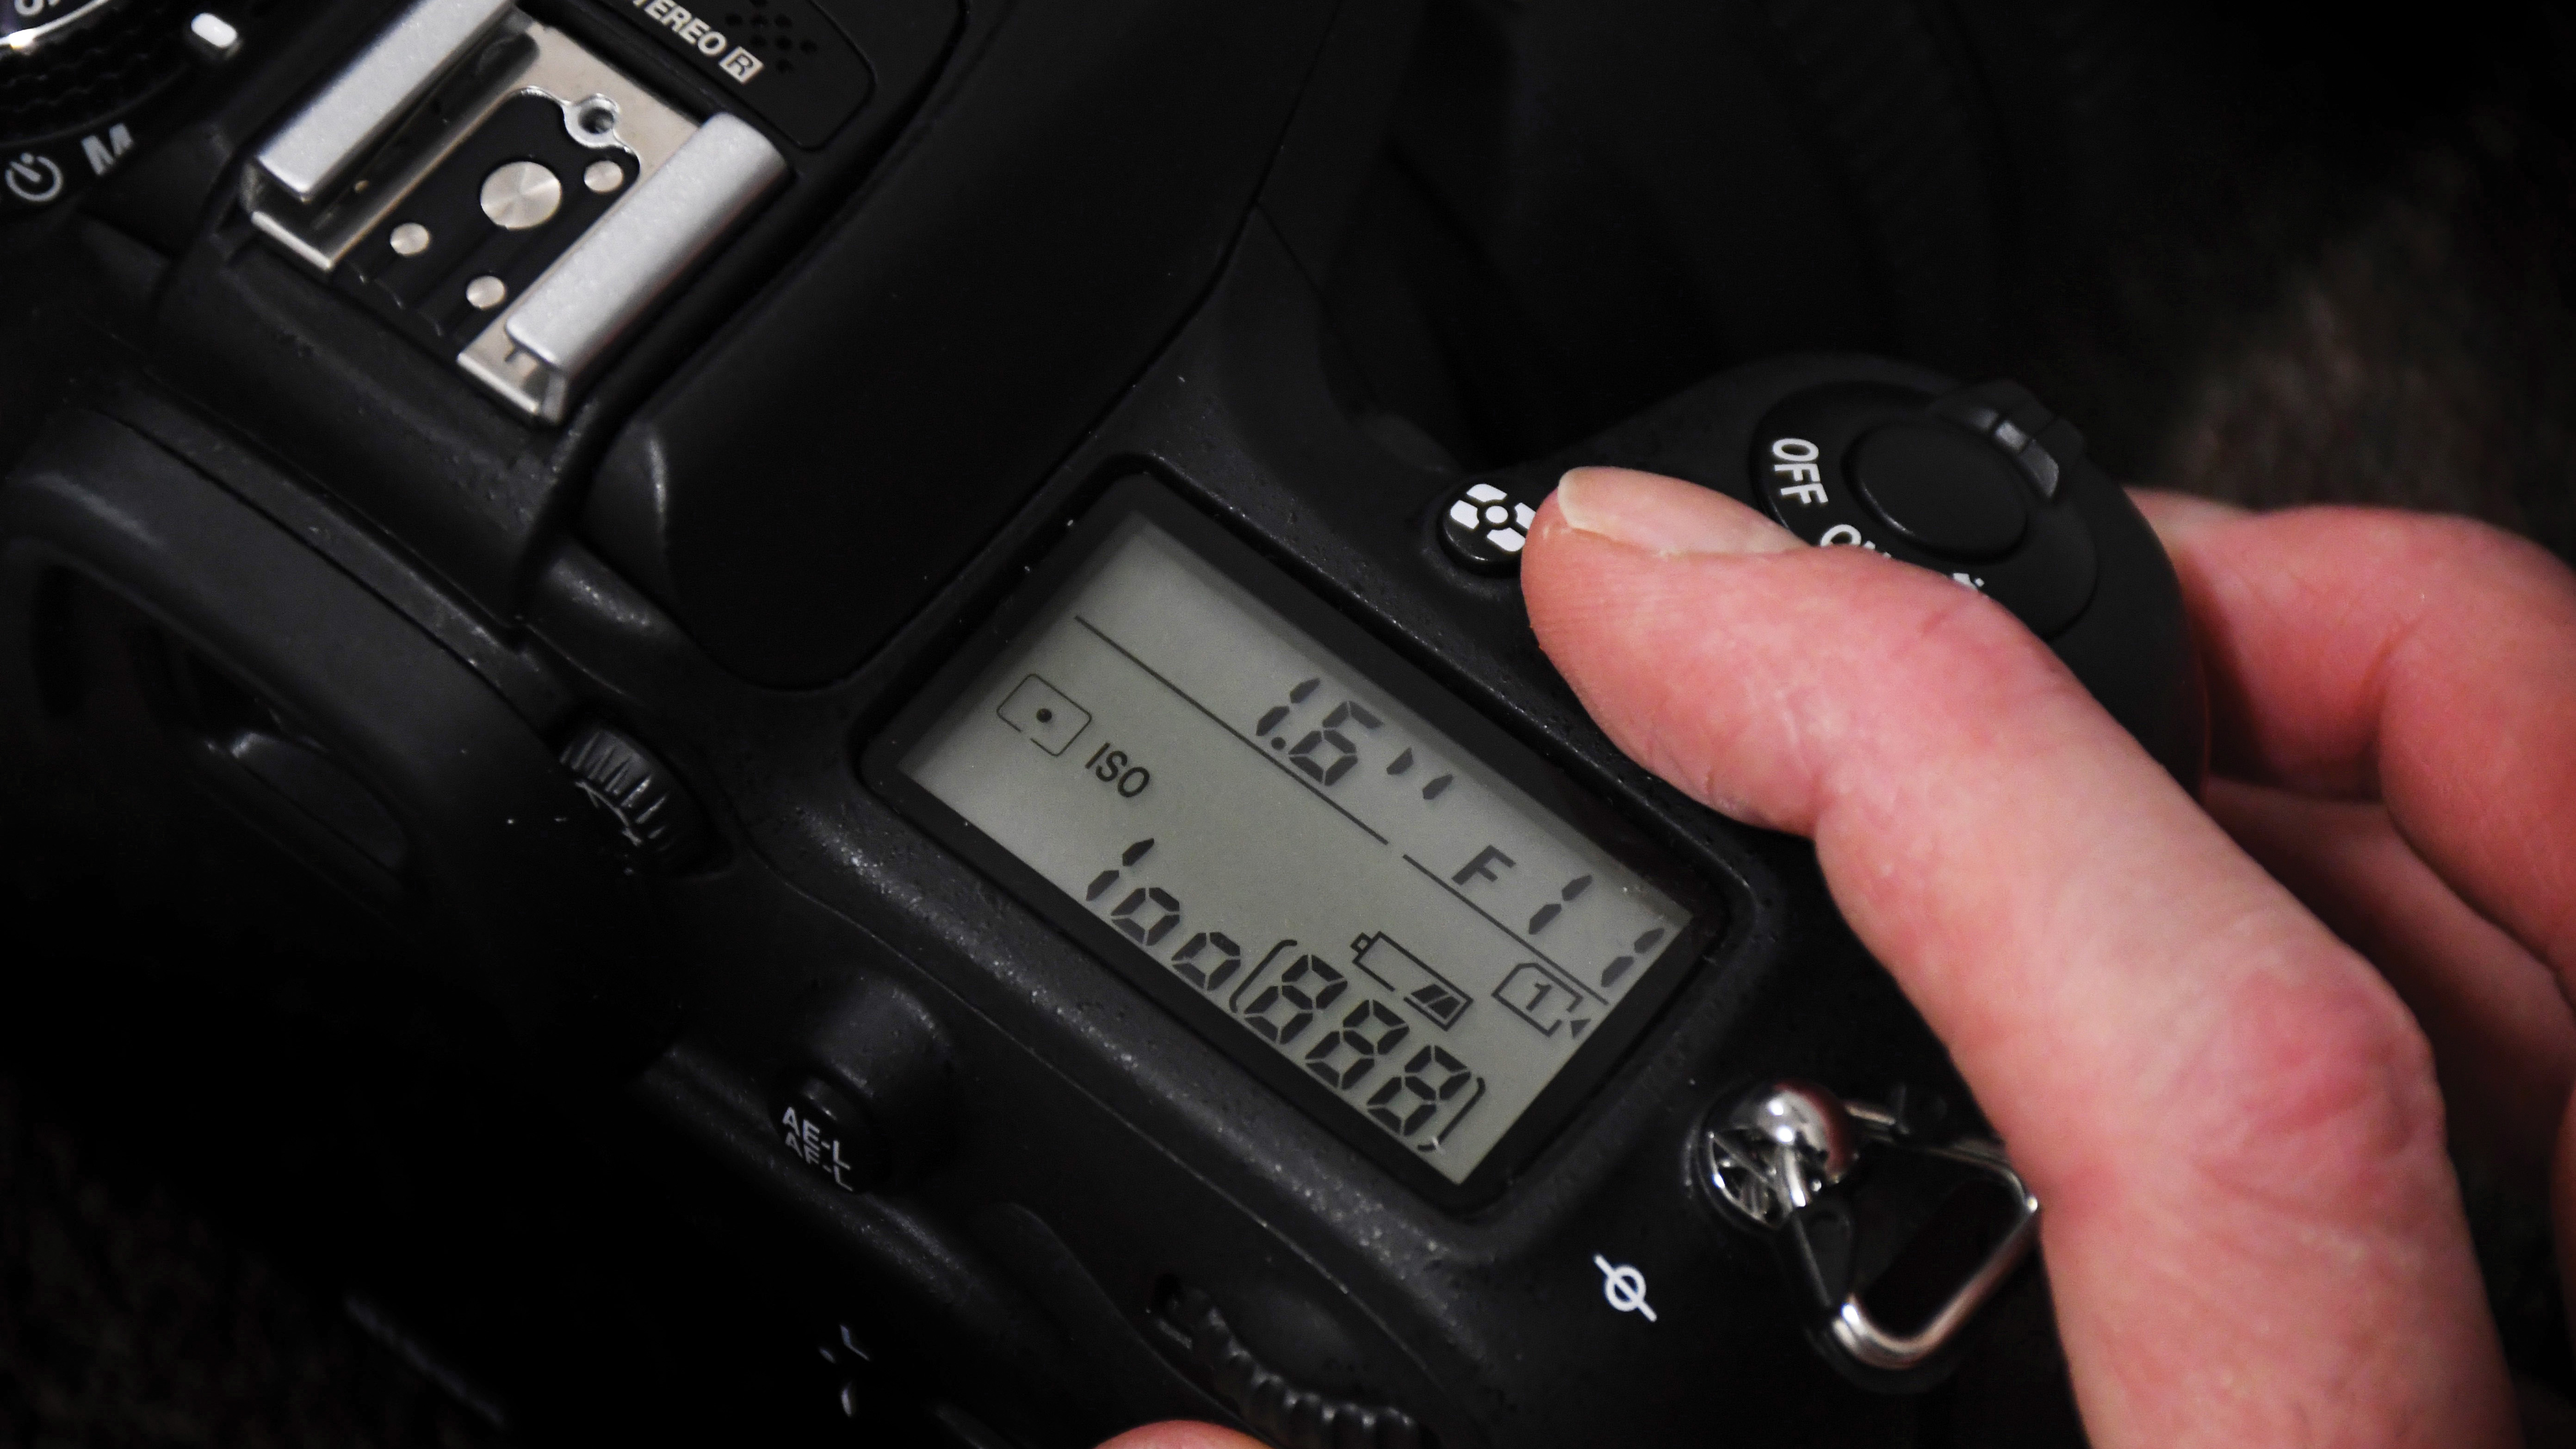
Use Spot metering mode and place your AF point over the brightest part of your subject, to calculate exposure from the highlights. Take note of the exposure settings that any of the P, A or S modes suggest.
4. Switch to Manual mode
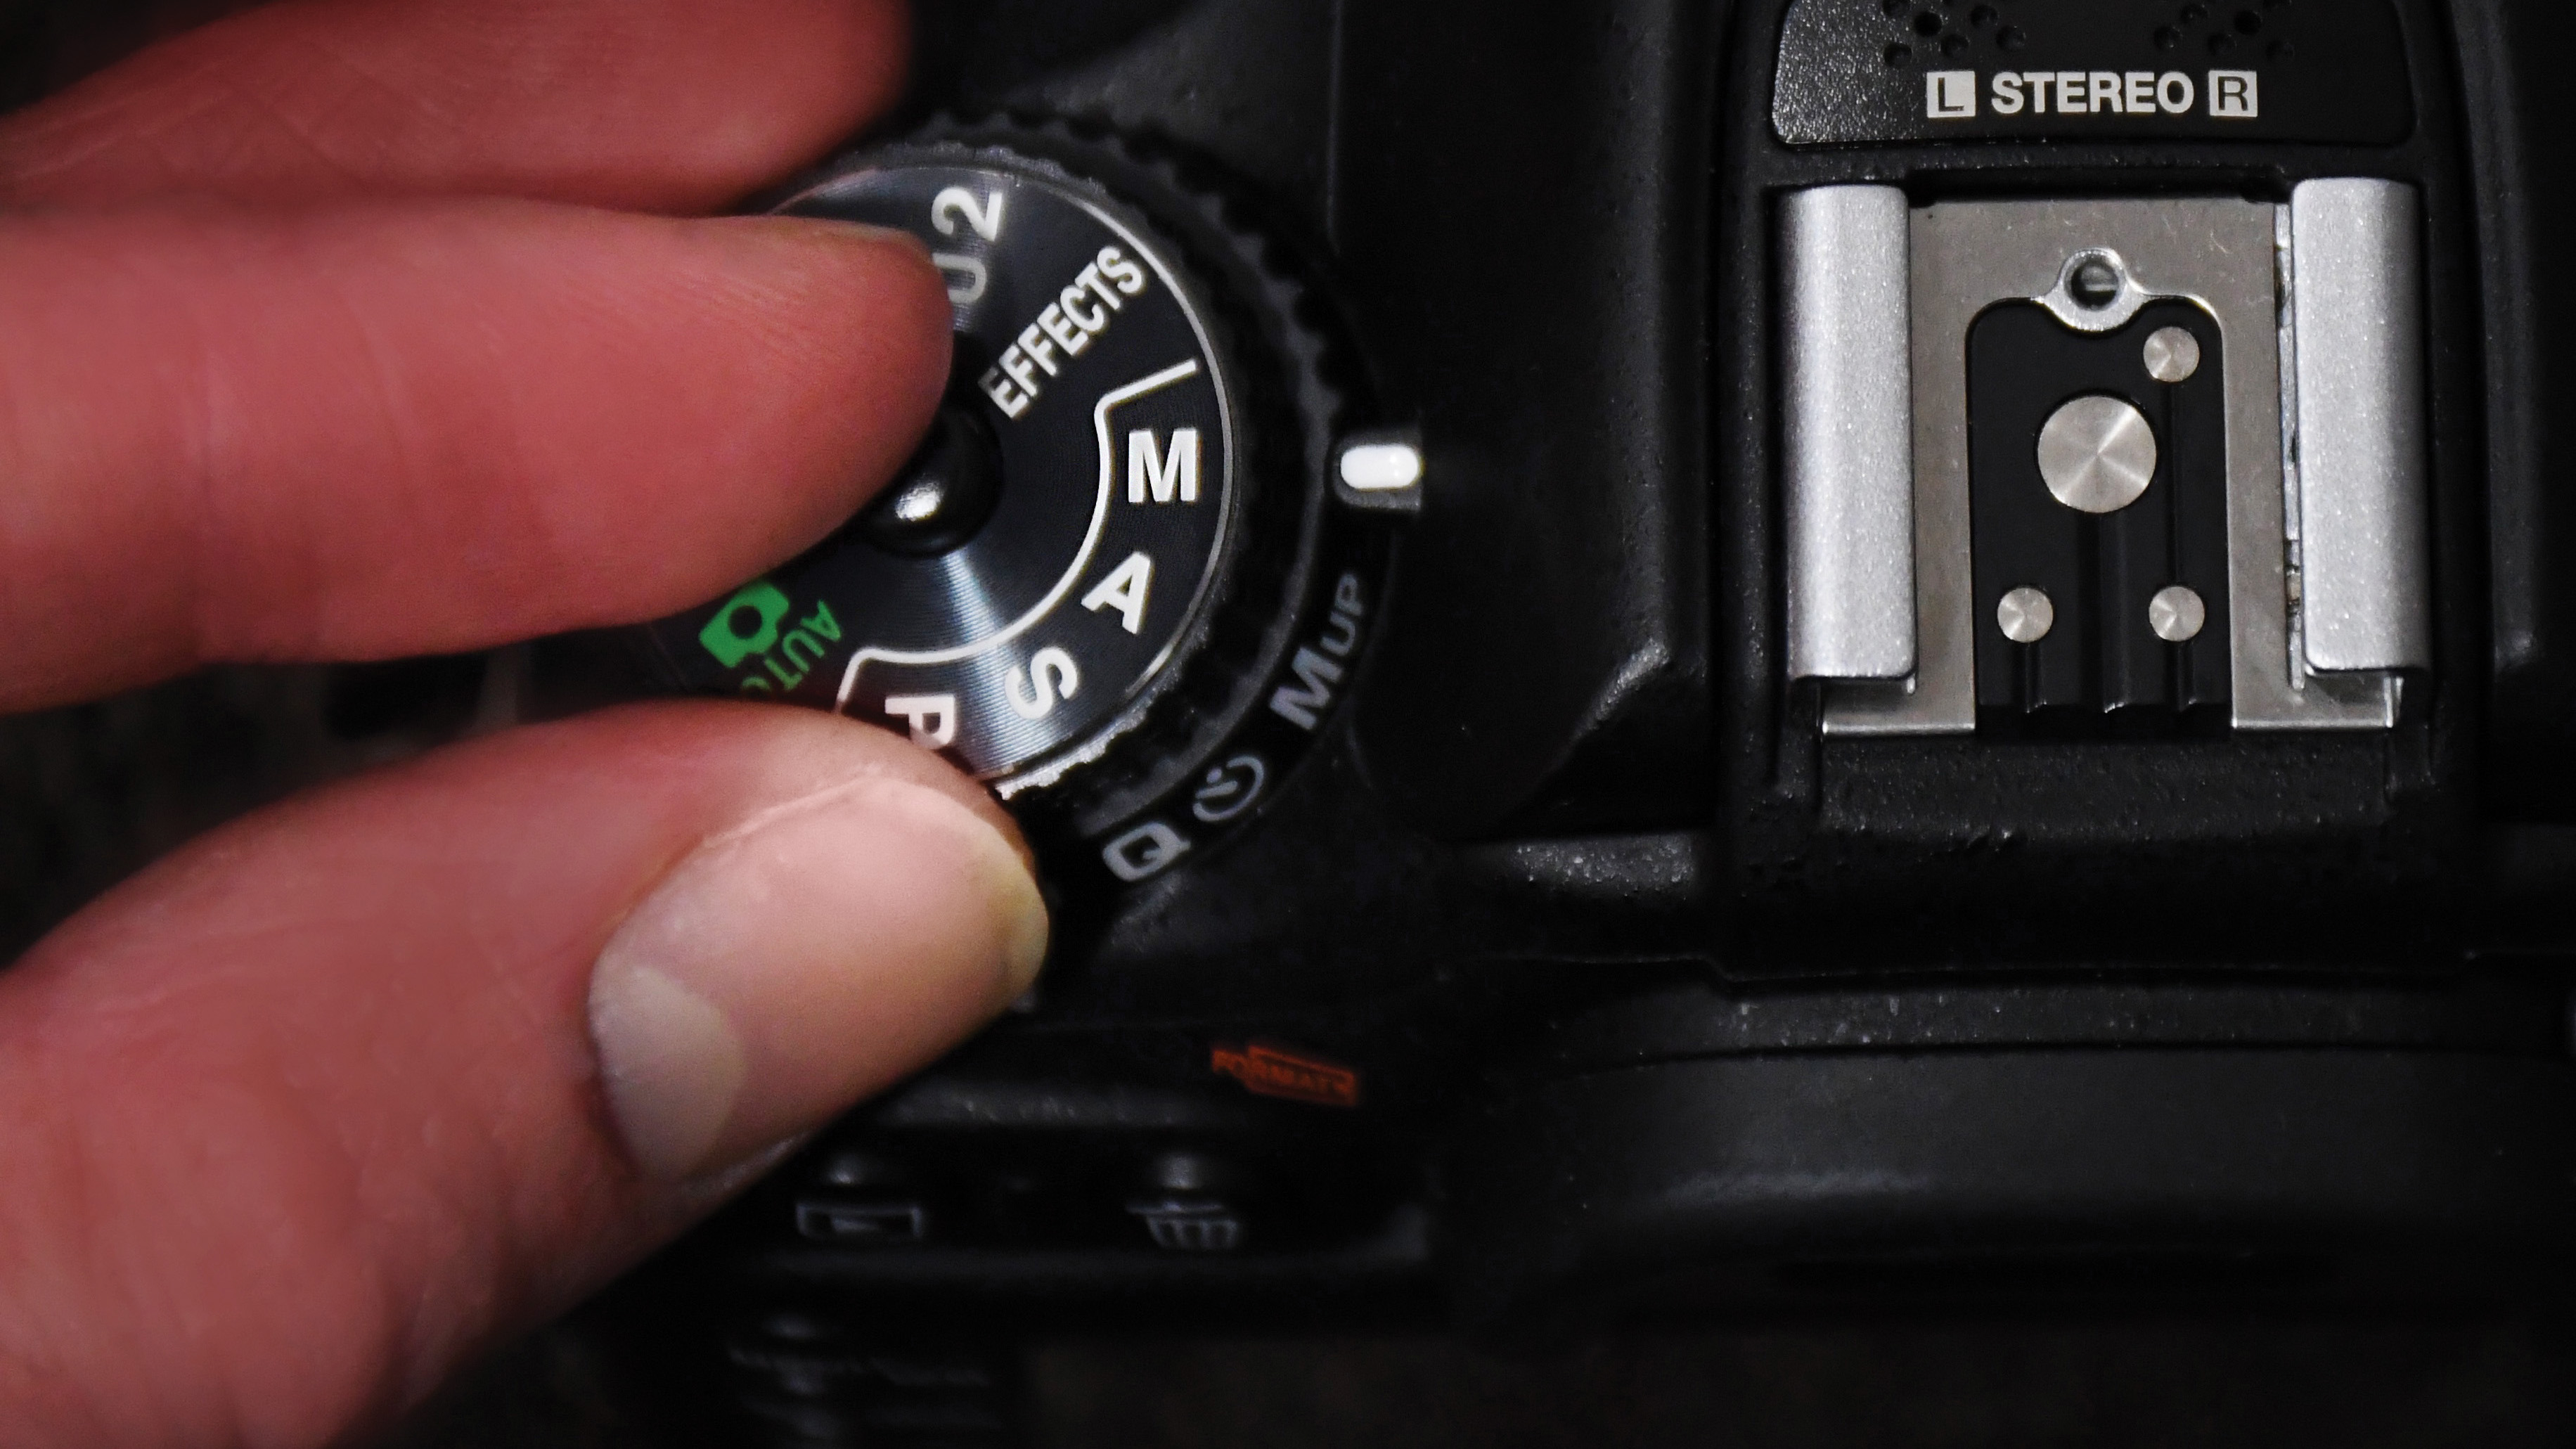
Set your camera to Manual and dial in the settings calculated in step 3. This will guarantee you have full control over the brightness of your shot and that exposure won’t change unexpectedly as you compose.
5. Increase shutter speed
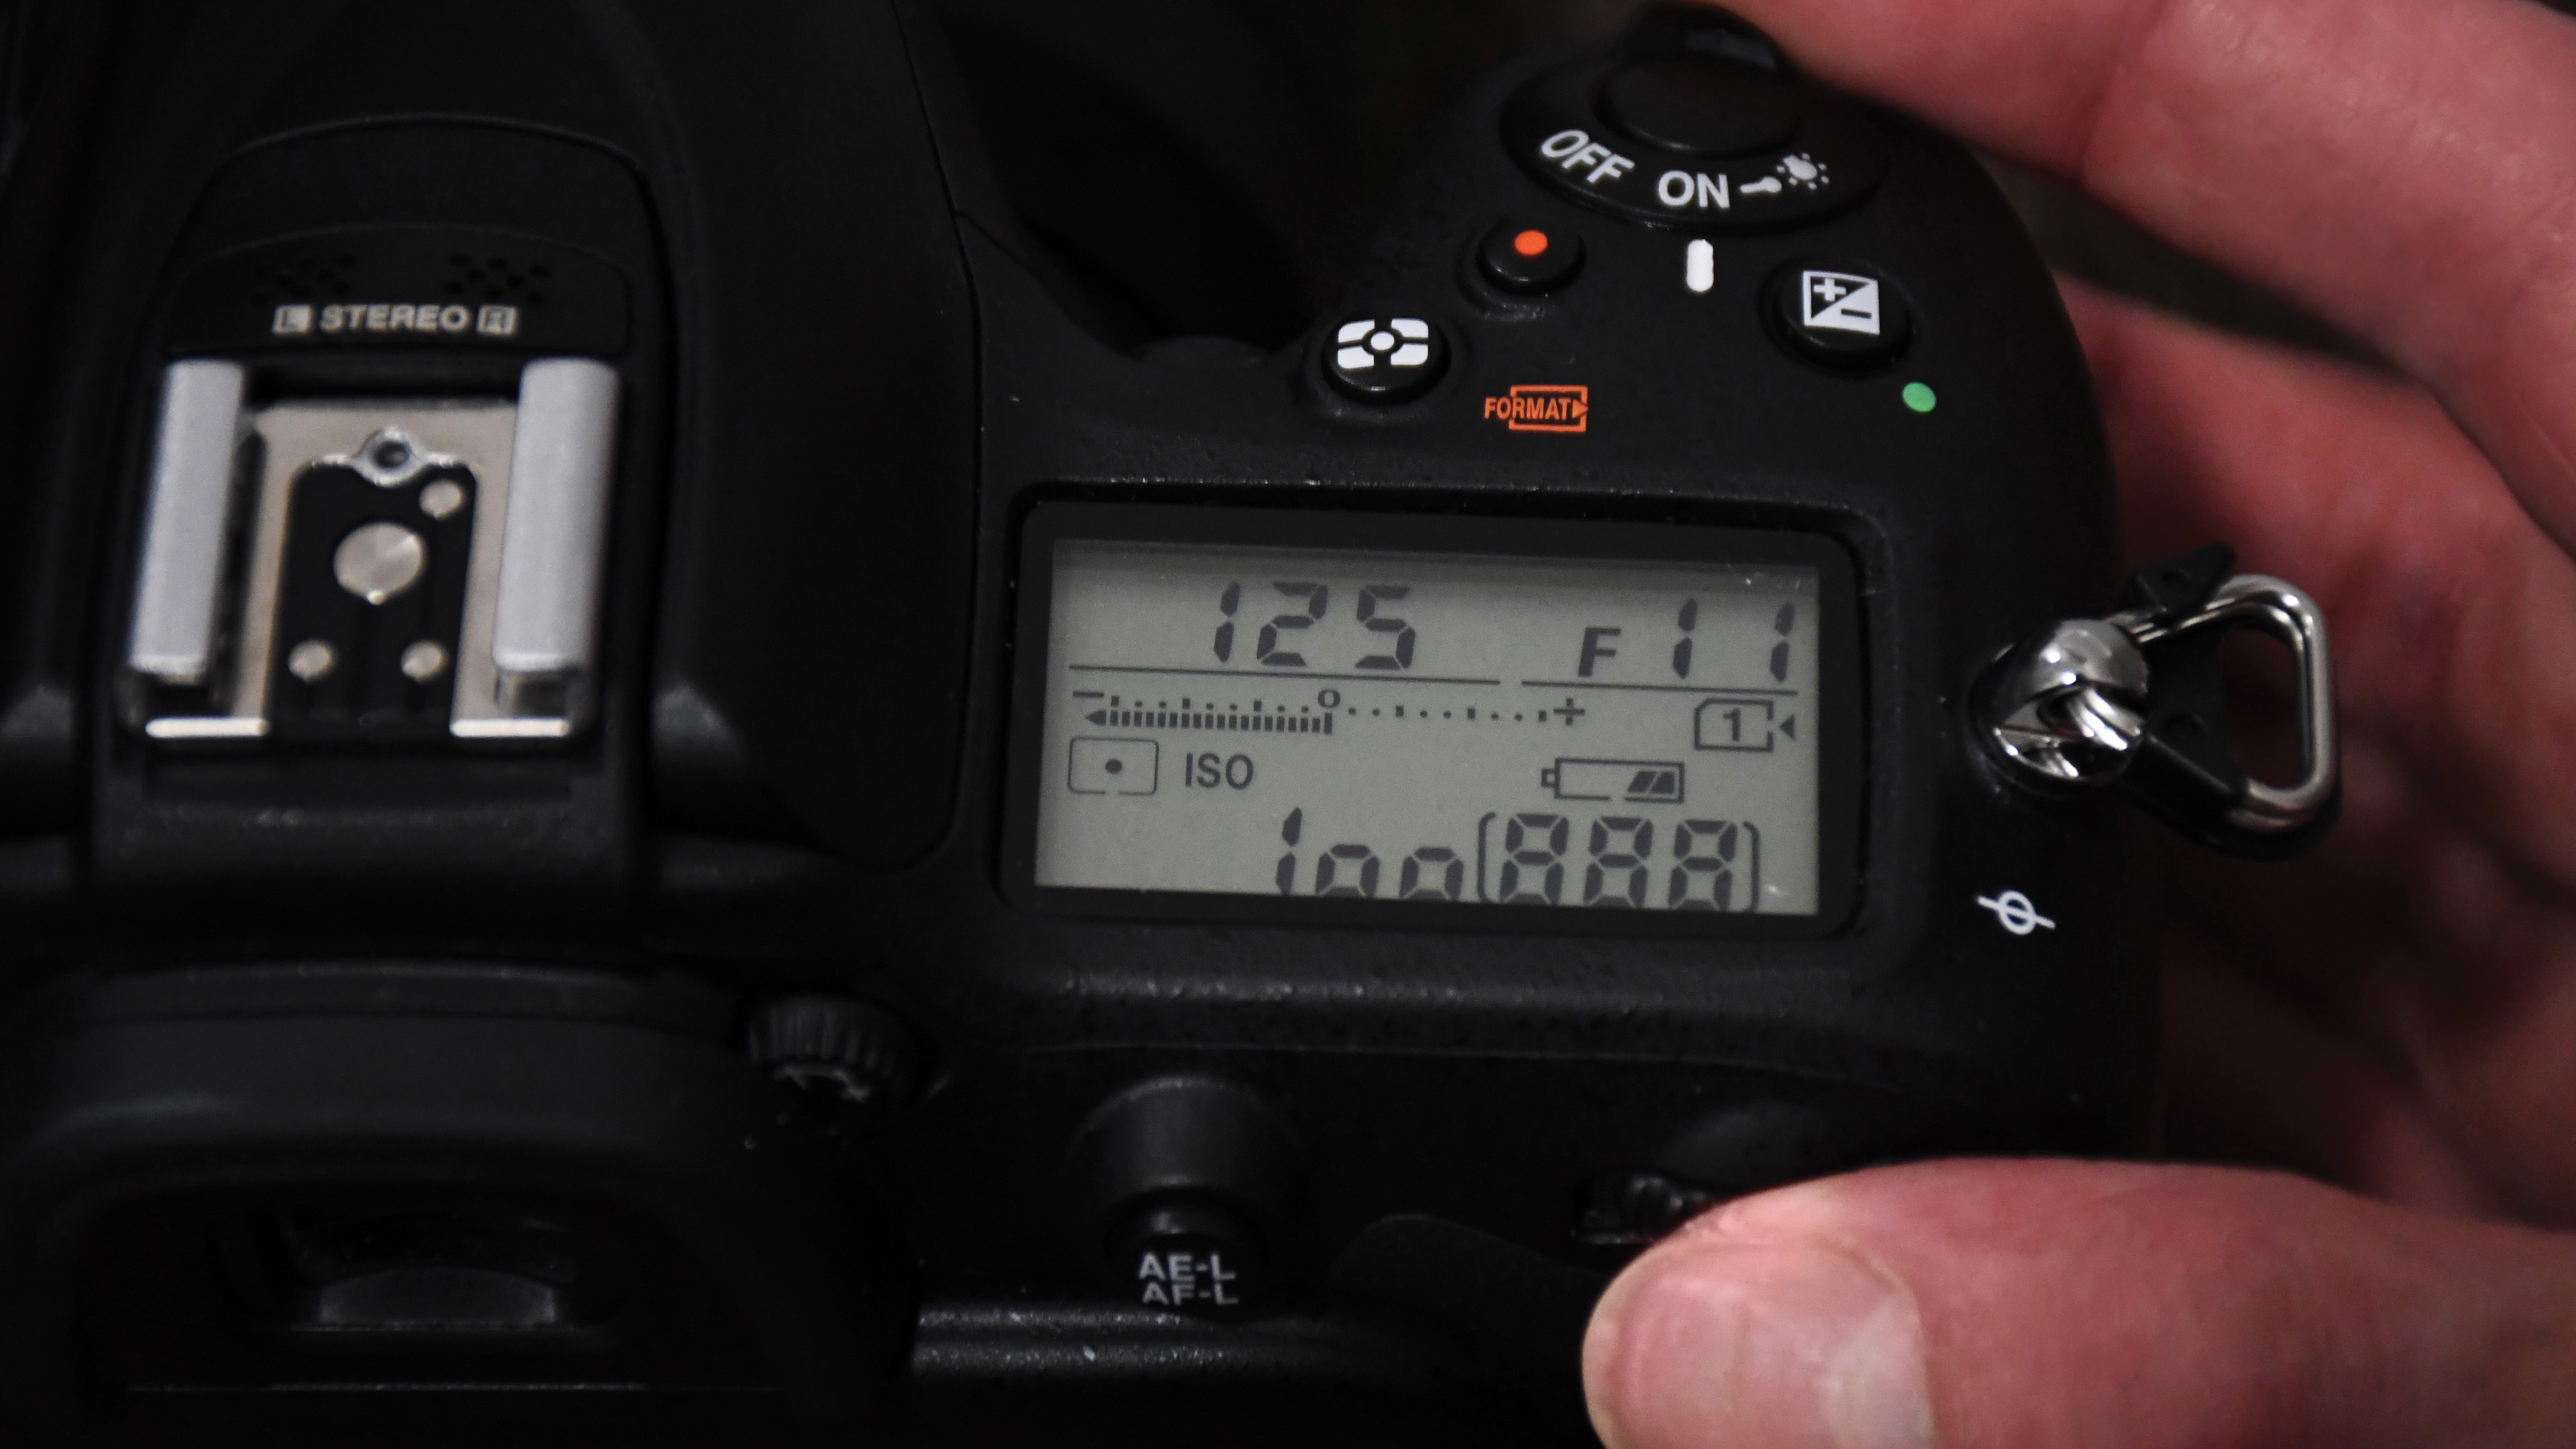
Next shorten your exposure by around one stop to underexpose the background and render it solid black – if your metered exposure was 1/125sec, increase this to 1/250sec etc. Leave f-stop and ISO fixed for now.
6. Customize settings
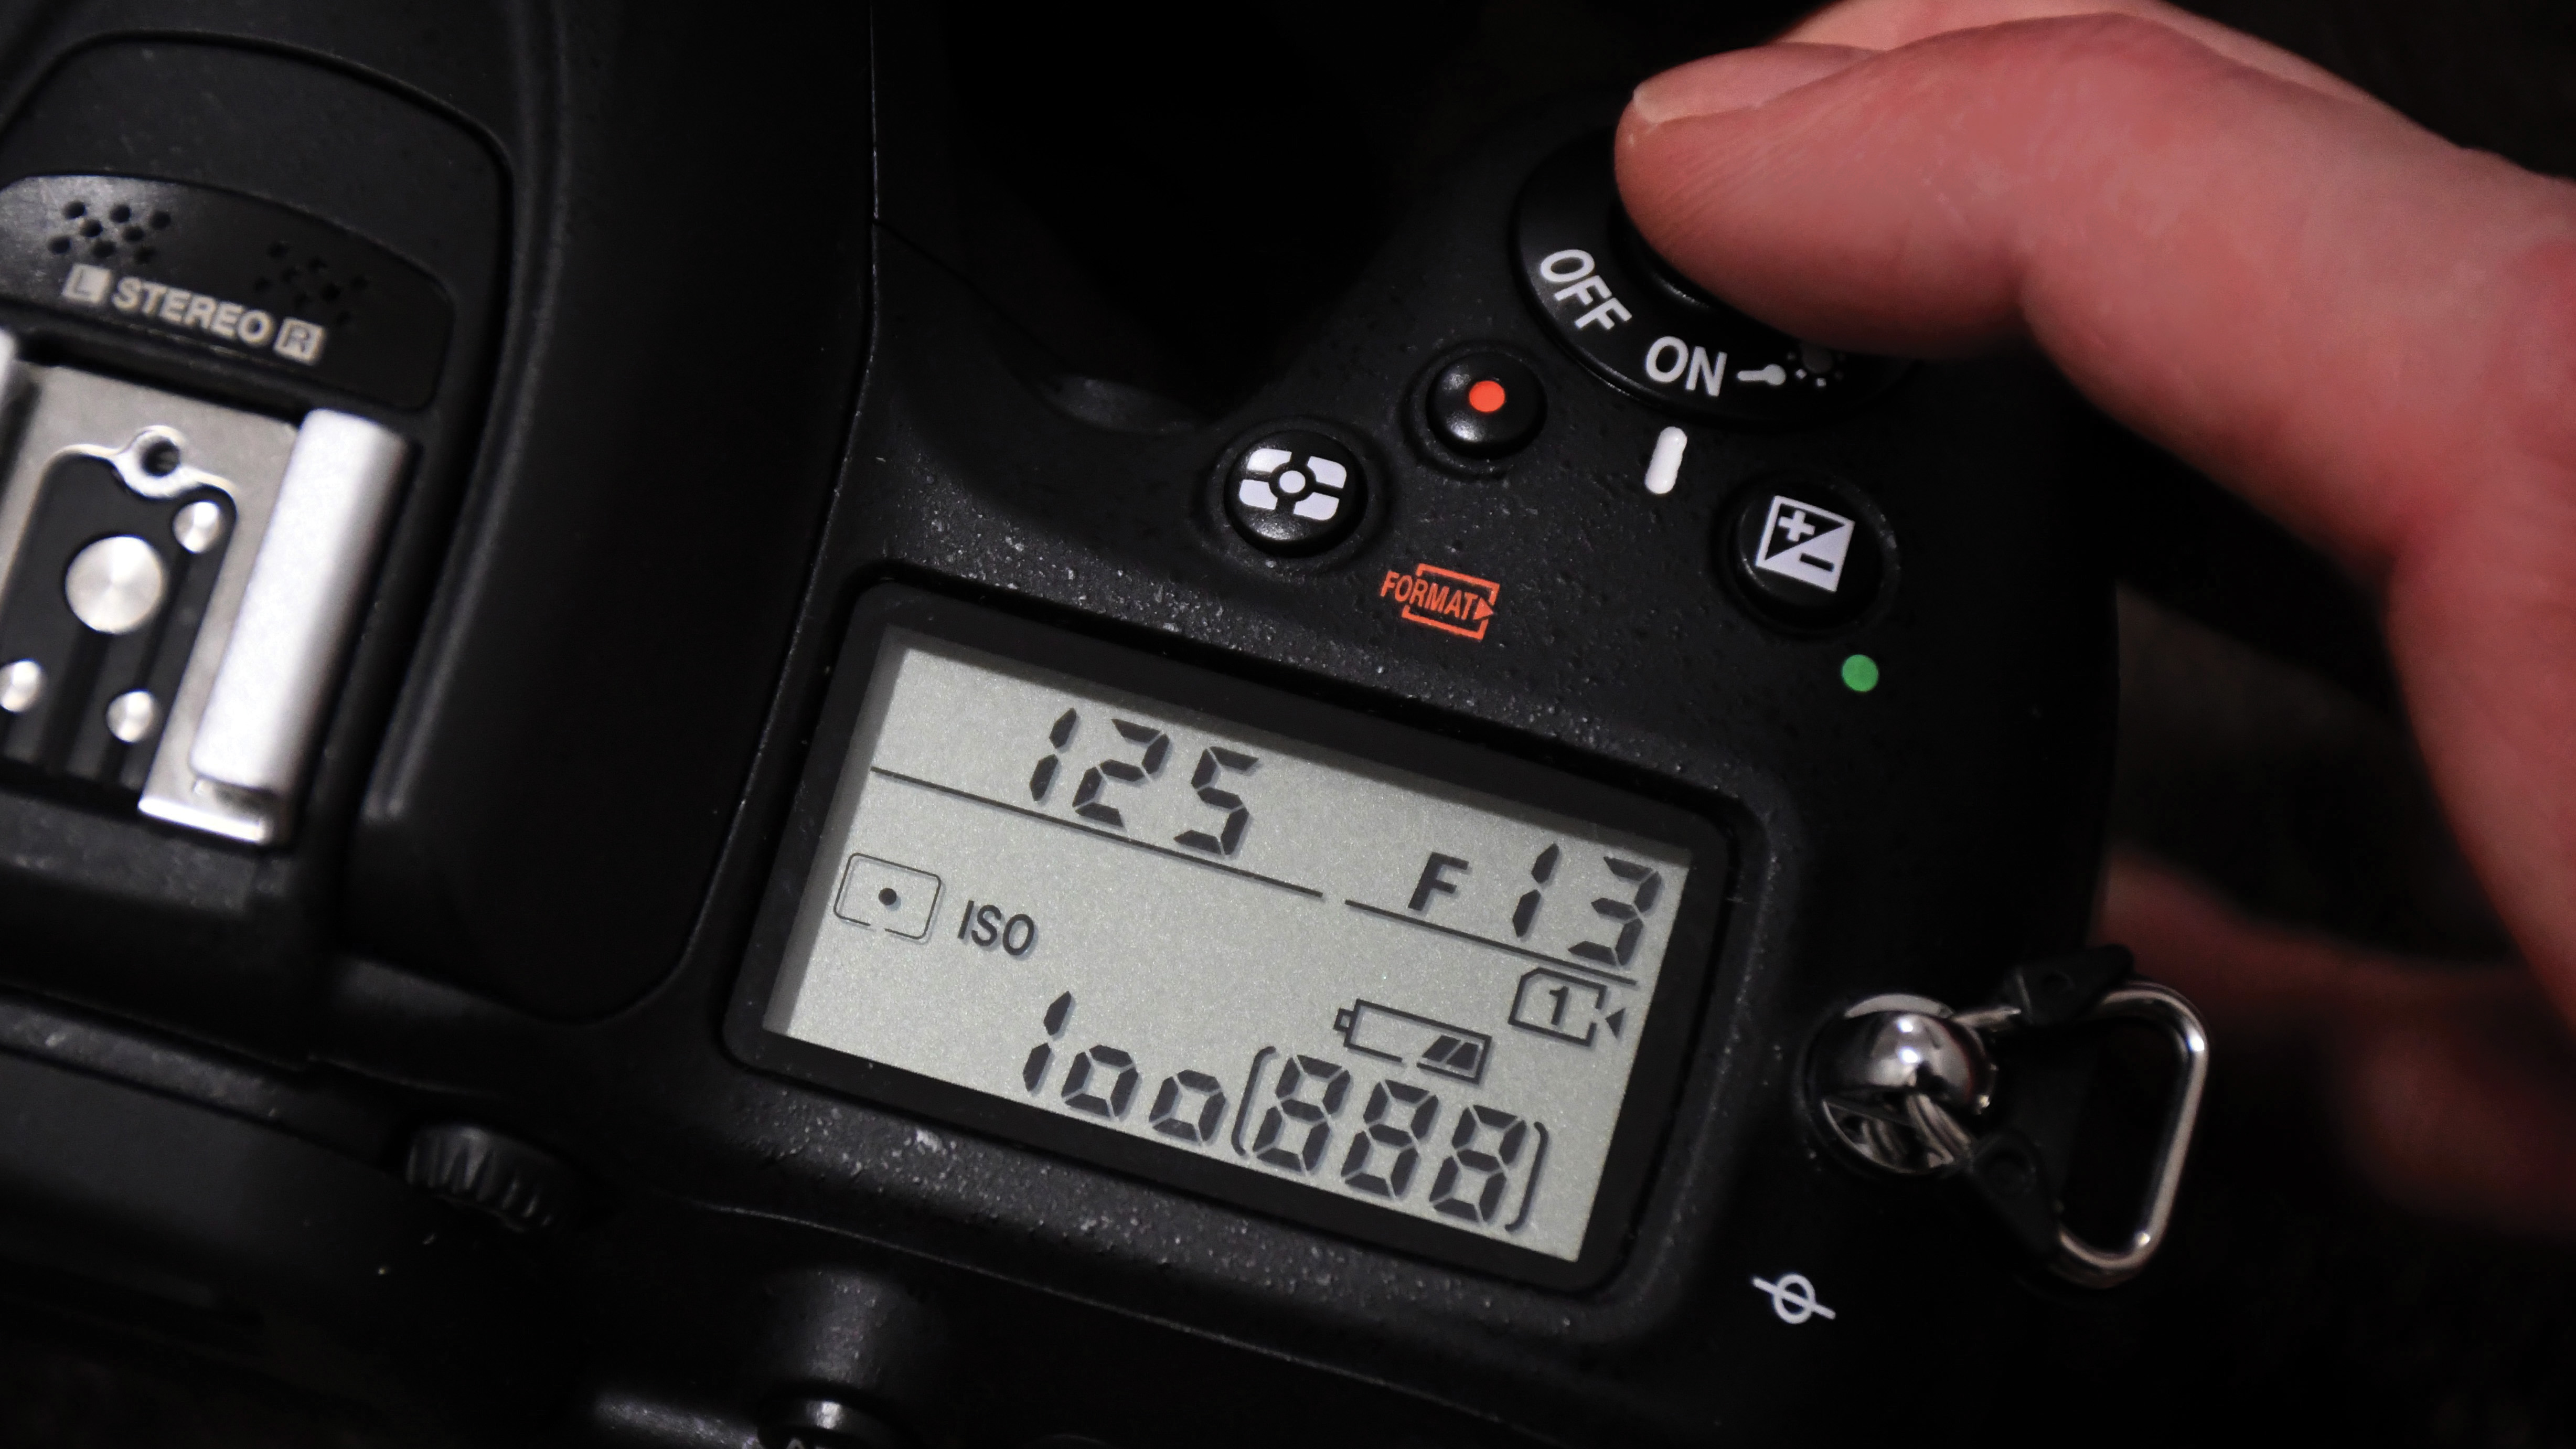
Shoot and review your image. If you need a darker background, increase exposure further in half-stop increments until you have a seamless background effect or alternatively, select a higher f-number.
Read more:
Home photography ideas: How to take great photos of hamsters
The best lenses for food photography in 2020: make your supper the star
The best camera for kids in 2020: family friendly cameras for all ages
Get the Digital Camera World Newsletter
The best camera deals, reviews, product advice, and unmissable photography news, direct to your inbox!
Digital Photographer is the ultimate monthly photography magazine for enthusiasts and pros in today’s digital marketplace.
Every issue readers are treated to interviews with leading expert photographers, cutting-edge imagery, practical shooting advice and the very latest high-end digital news and equipment reviews. The team includes seasoned journalists and passionate photographers such as the Editor Peter Fenech, who are well positioned to bring you authoritative reviews and tutorials on cameras, lenses, lighting, gimbals and more.
Whether you’re a part-time amateur or a full-time pro, Digital Photographer aims to challenge, motivate and inspire you to take your best shot and get the most out of your kit, whether you’re a hobbyist or a seasoned shooter.
