Watch video: Home photography ideas – Take minimalist photos in the kitchen
Photography projects at home
• Home photography ideas
Useful home photography kit
• Best tripods
• Best lighting kits
• Best reflectors
• Best macro lenses
To photograph in a minimalist way, we must first learn what it means to be minimalistic. Minimalism is defined as, “A movement in sculpture and painting, which arose in the 1950s, characterized by the use of simple, massive forms.”
Although we’re not sculpting or painting anything, we can extrapolate the conceptual values of this movement and apply them to our photography. For this shoot, we have to abide by the rule ‘less is more’, so that means taking everything that isn’t essential out of the frame.
We have the option of either physically removing it, or repositioning ourselves to frame out anything distracting. Some photographers assume that minimalism has to be shot in black and white, but that isn’t necessary. Whether it's color or monochromatic, any photo with minimal distractions from those simple forms counts as a minimalist image.
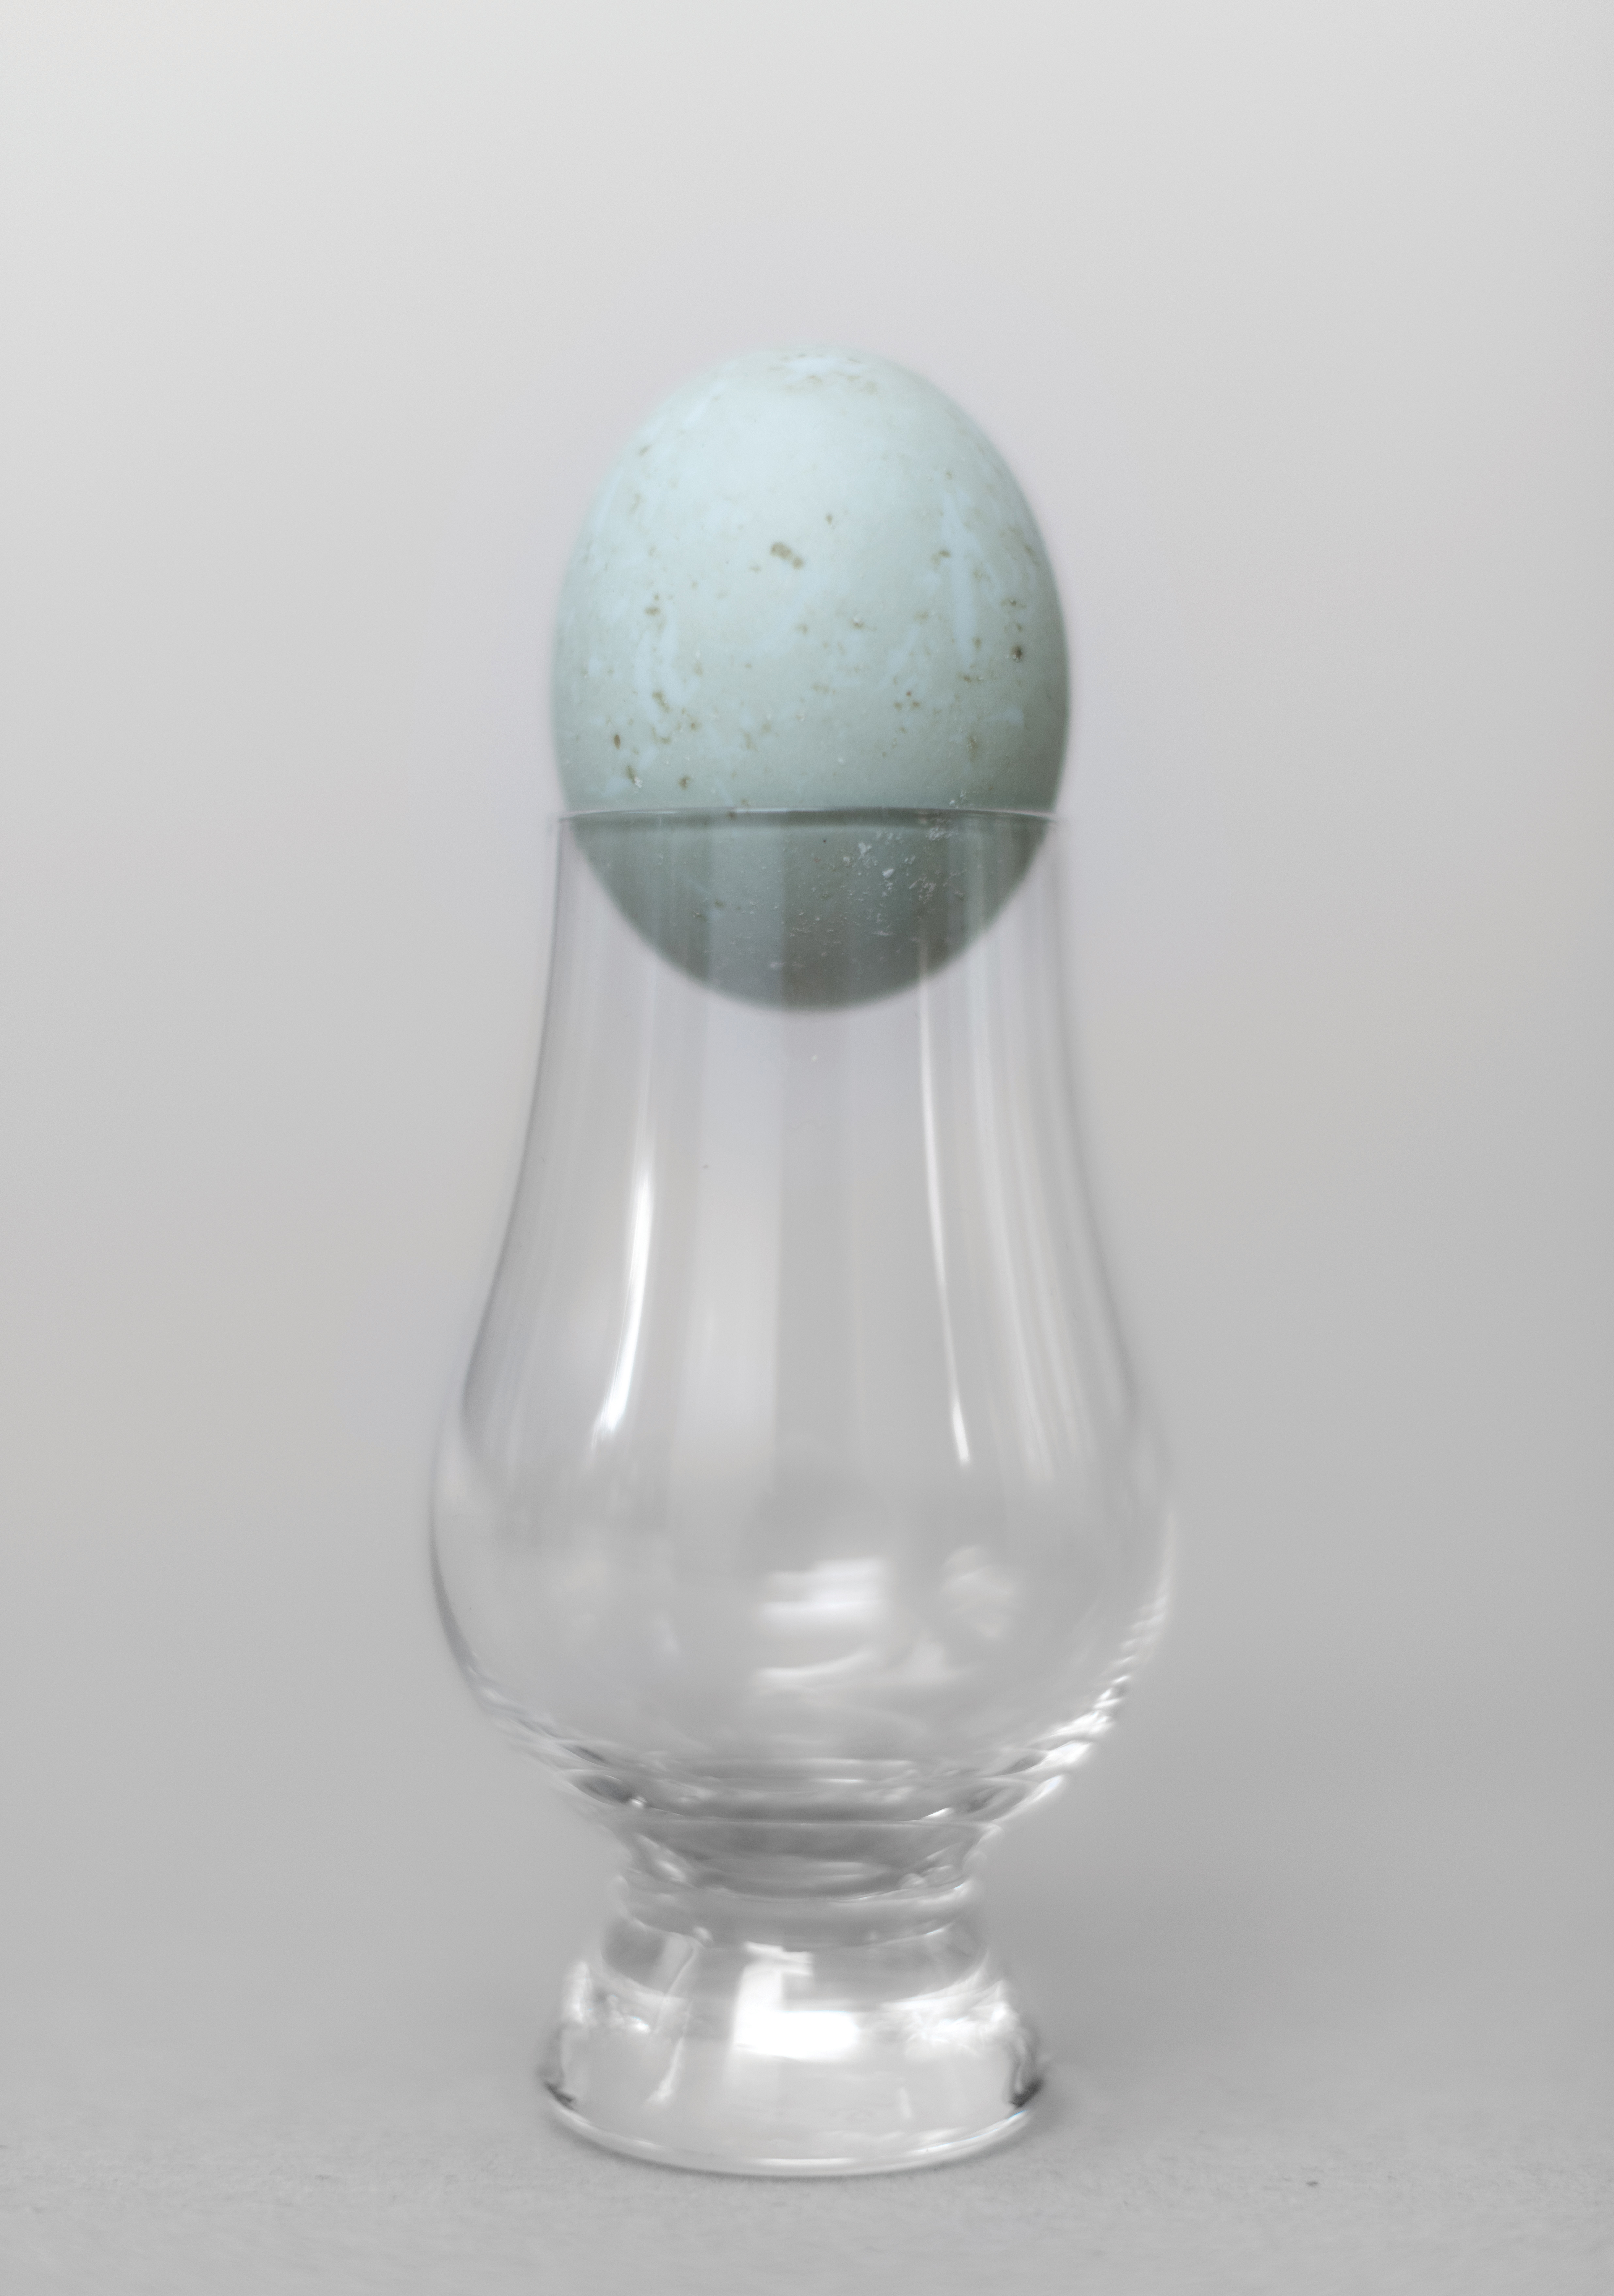
In this project, we’re going to look at some simple ways of exploring minimalism with things you already have access to. We’re experimenting with an egg, a glass and some cutlery, but any basic items will do – your kitchen is a goldmine of subjects.
Our camera settings will also help create the minimalist style, as we’ll be using a wide aperture to produce a shallow depth of field, and providing a soft-focus look. Let's see how to go about it…
• Best online photography courses
A simple recipe for minimalist success
01 Build your scene
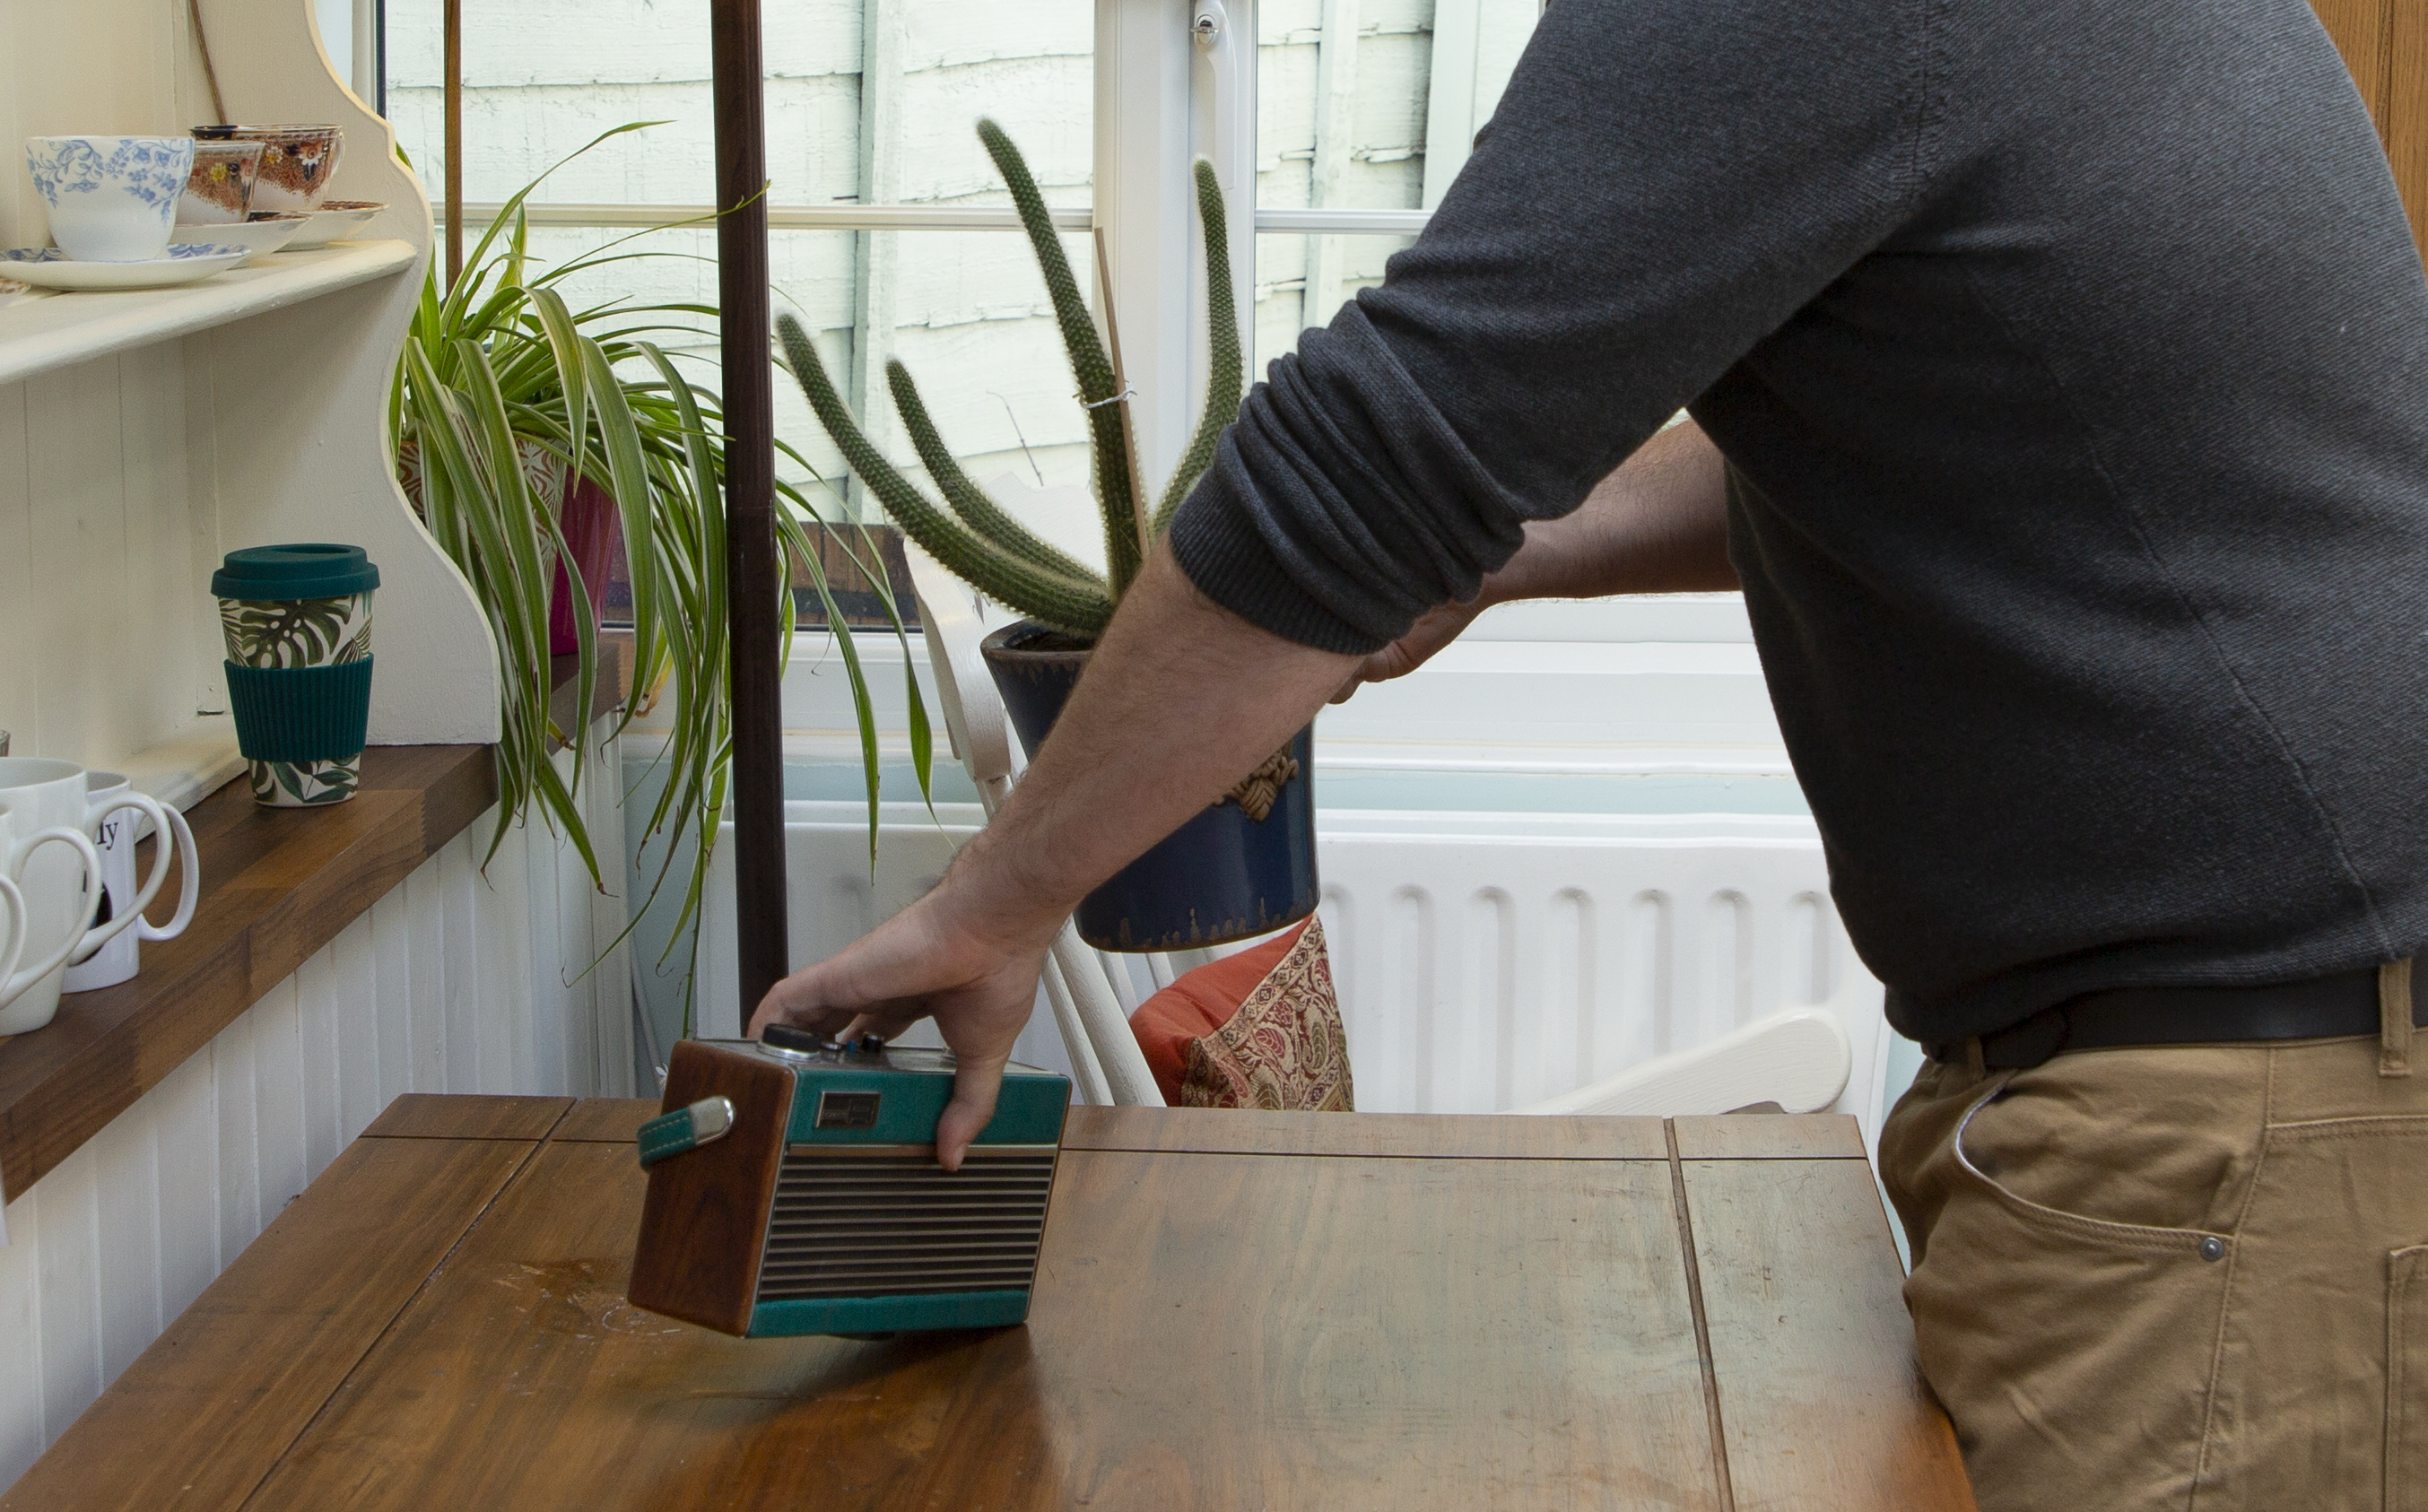
Remove any clutter from your shooting area. Place a sheet of grey (or the color of your choice) cardboard on your shooting surface, and prop another sheet behind it to act as a backdrop; our shallow depth of field should make the join look seamless. Compose the frame so that nothing else is visible.
02 Raid the kitchen
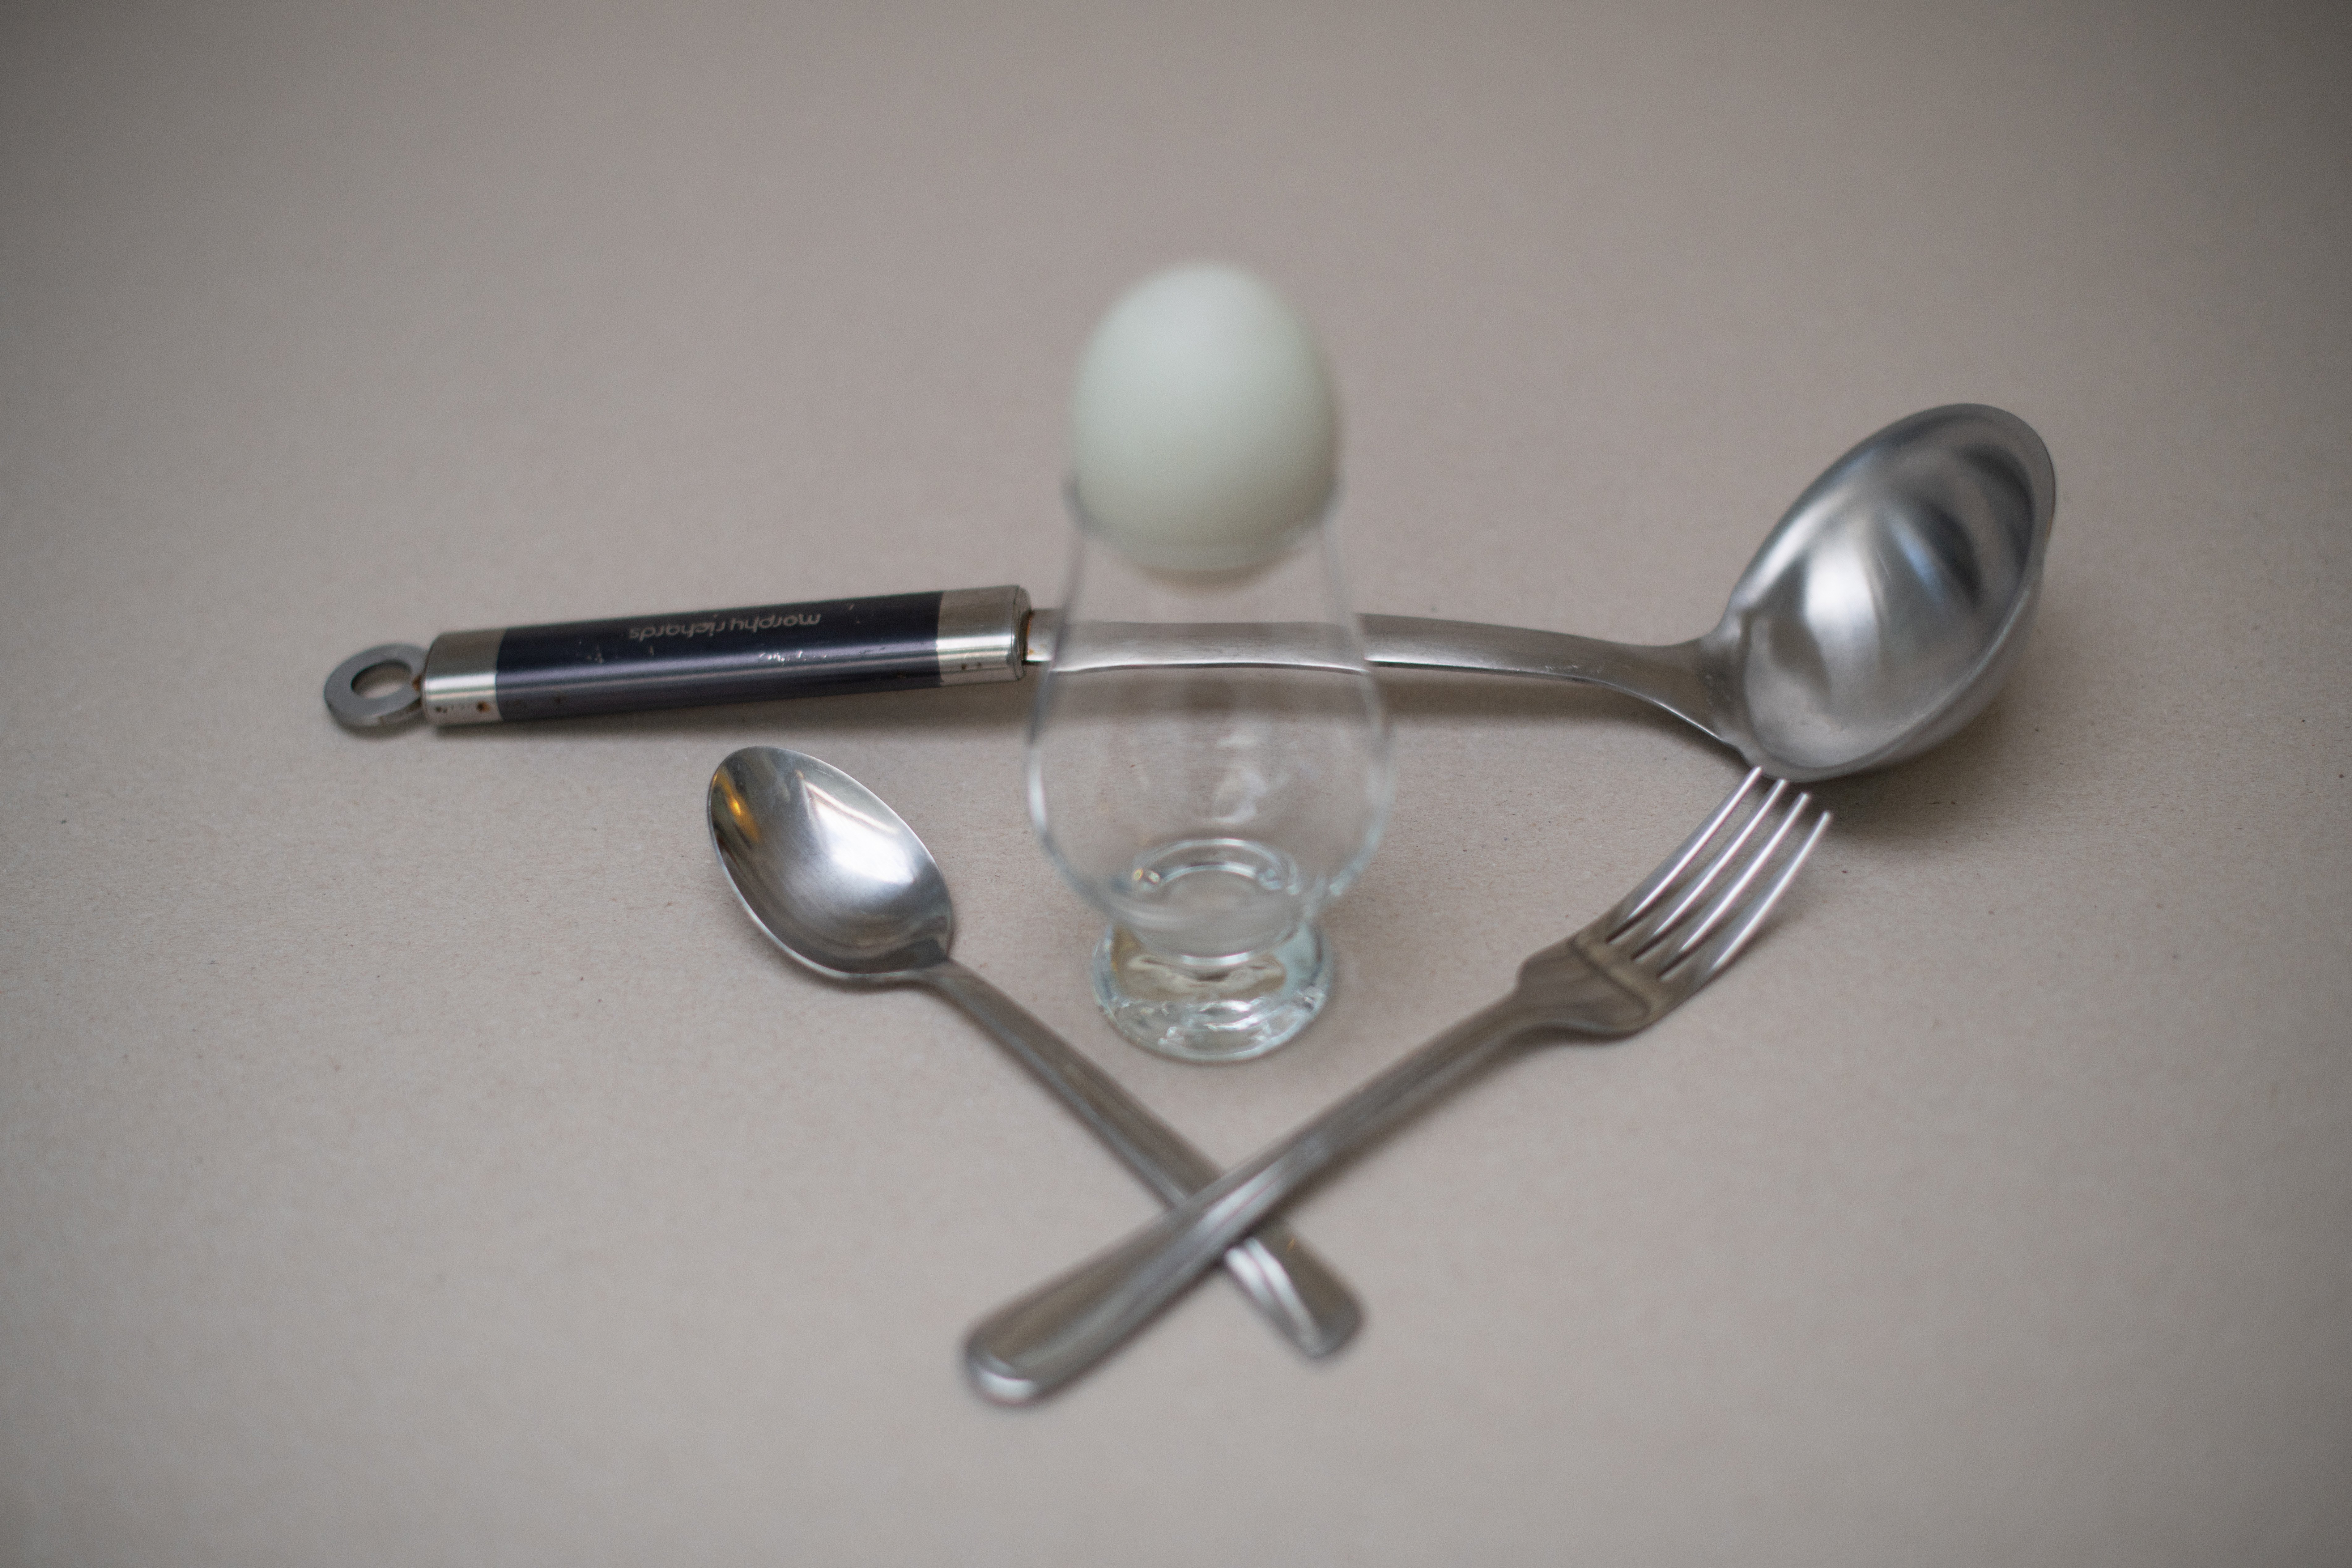
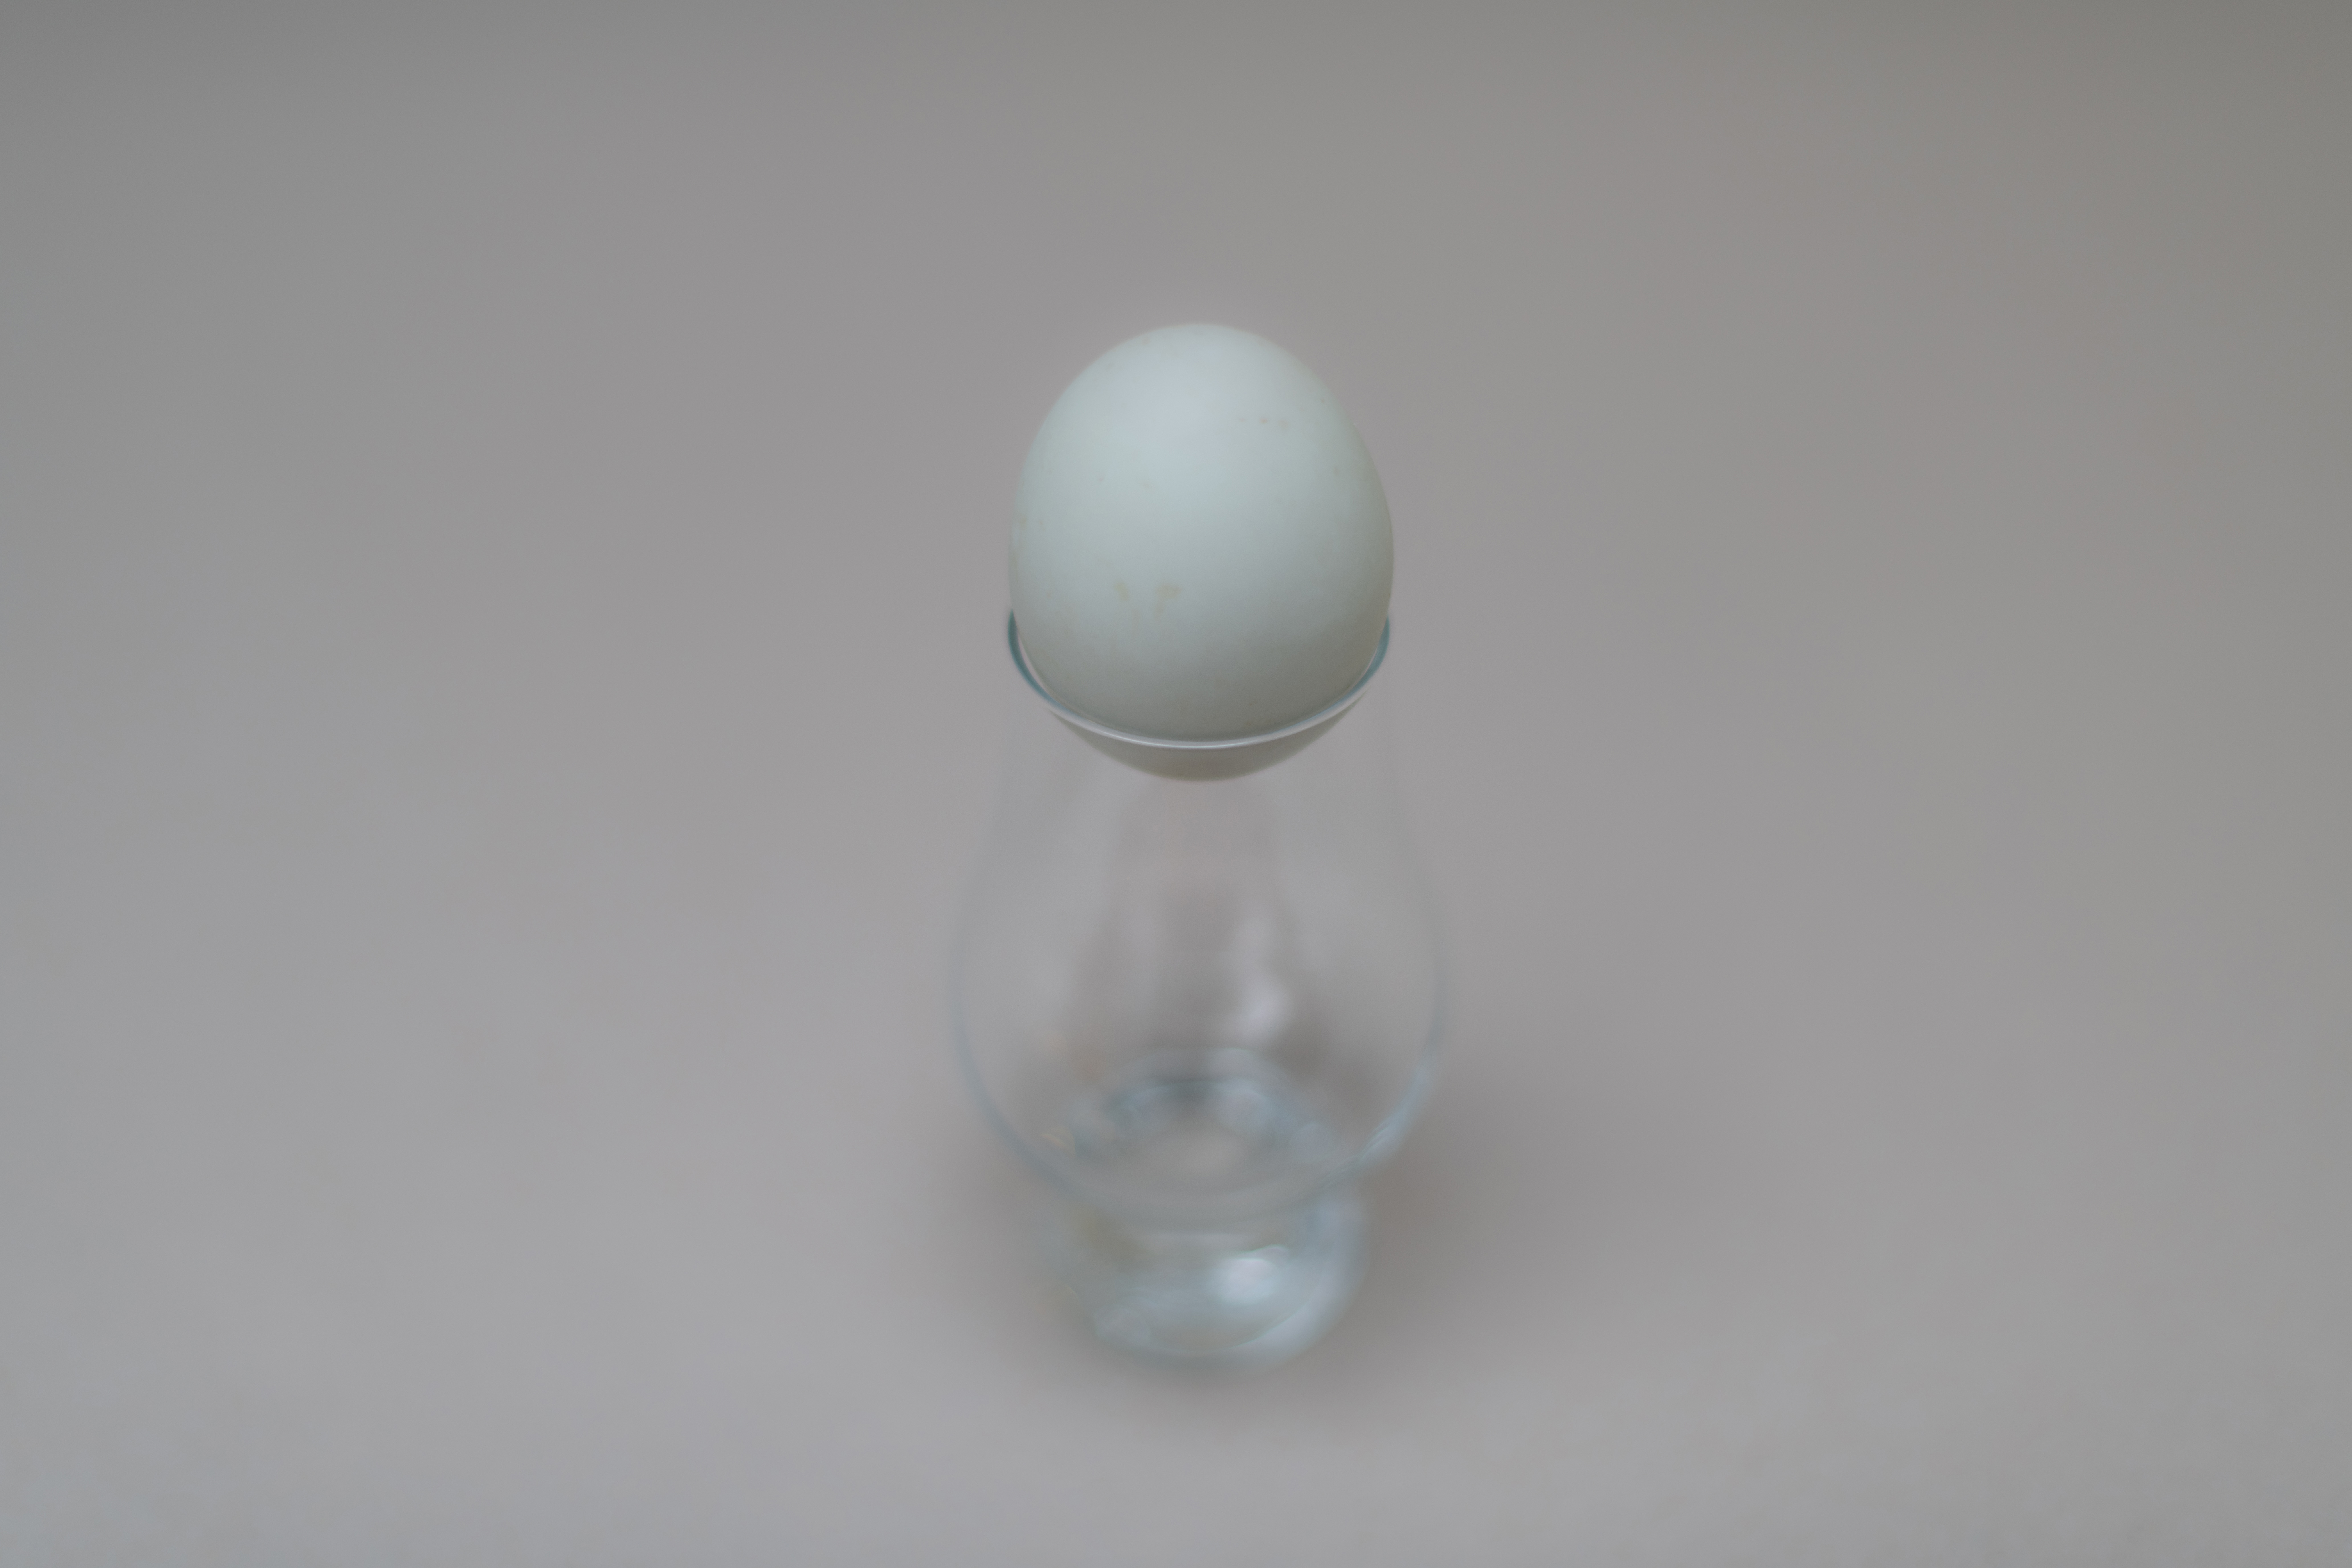
Crack open the kitchen drawers and use the utensils, food or even the foil. The trick is to use one or two things at a time; don’t try to cram everything into the shot at once. Look for objects that pair well together – for example, the curve of the egg matches the glass’ shape almost perfectly.
03 Set your mode
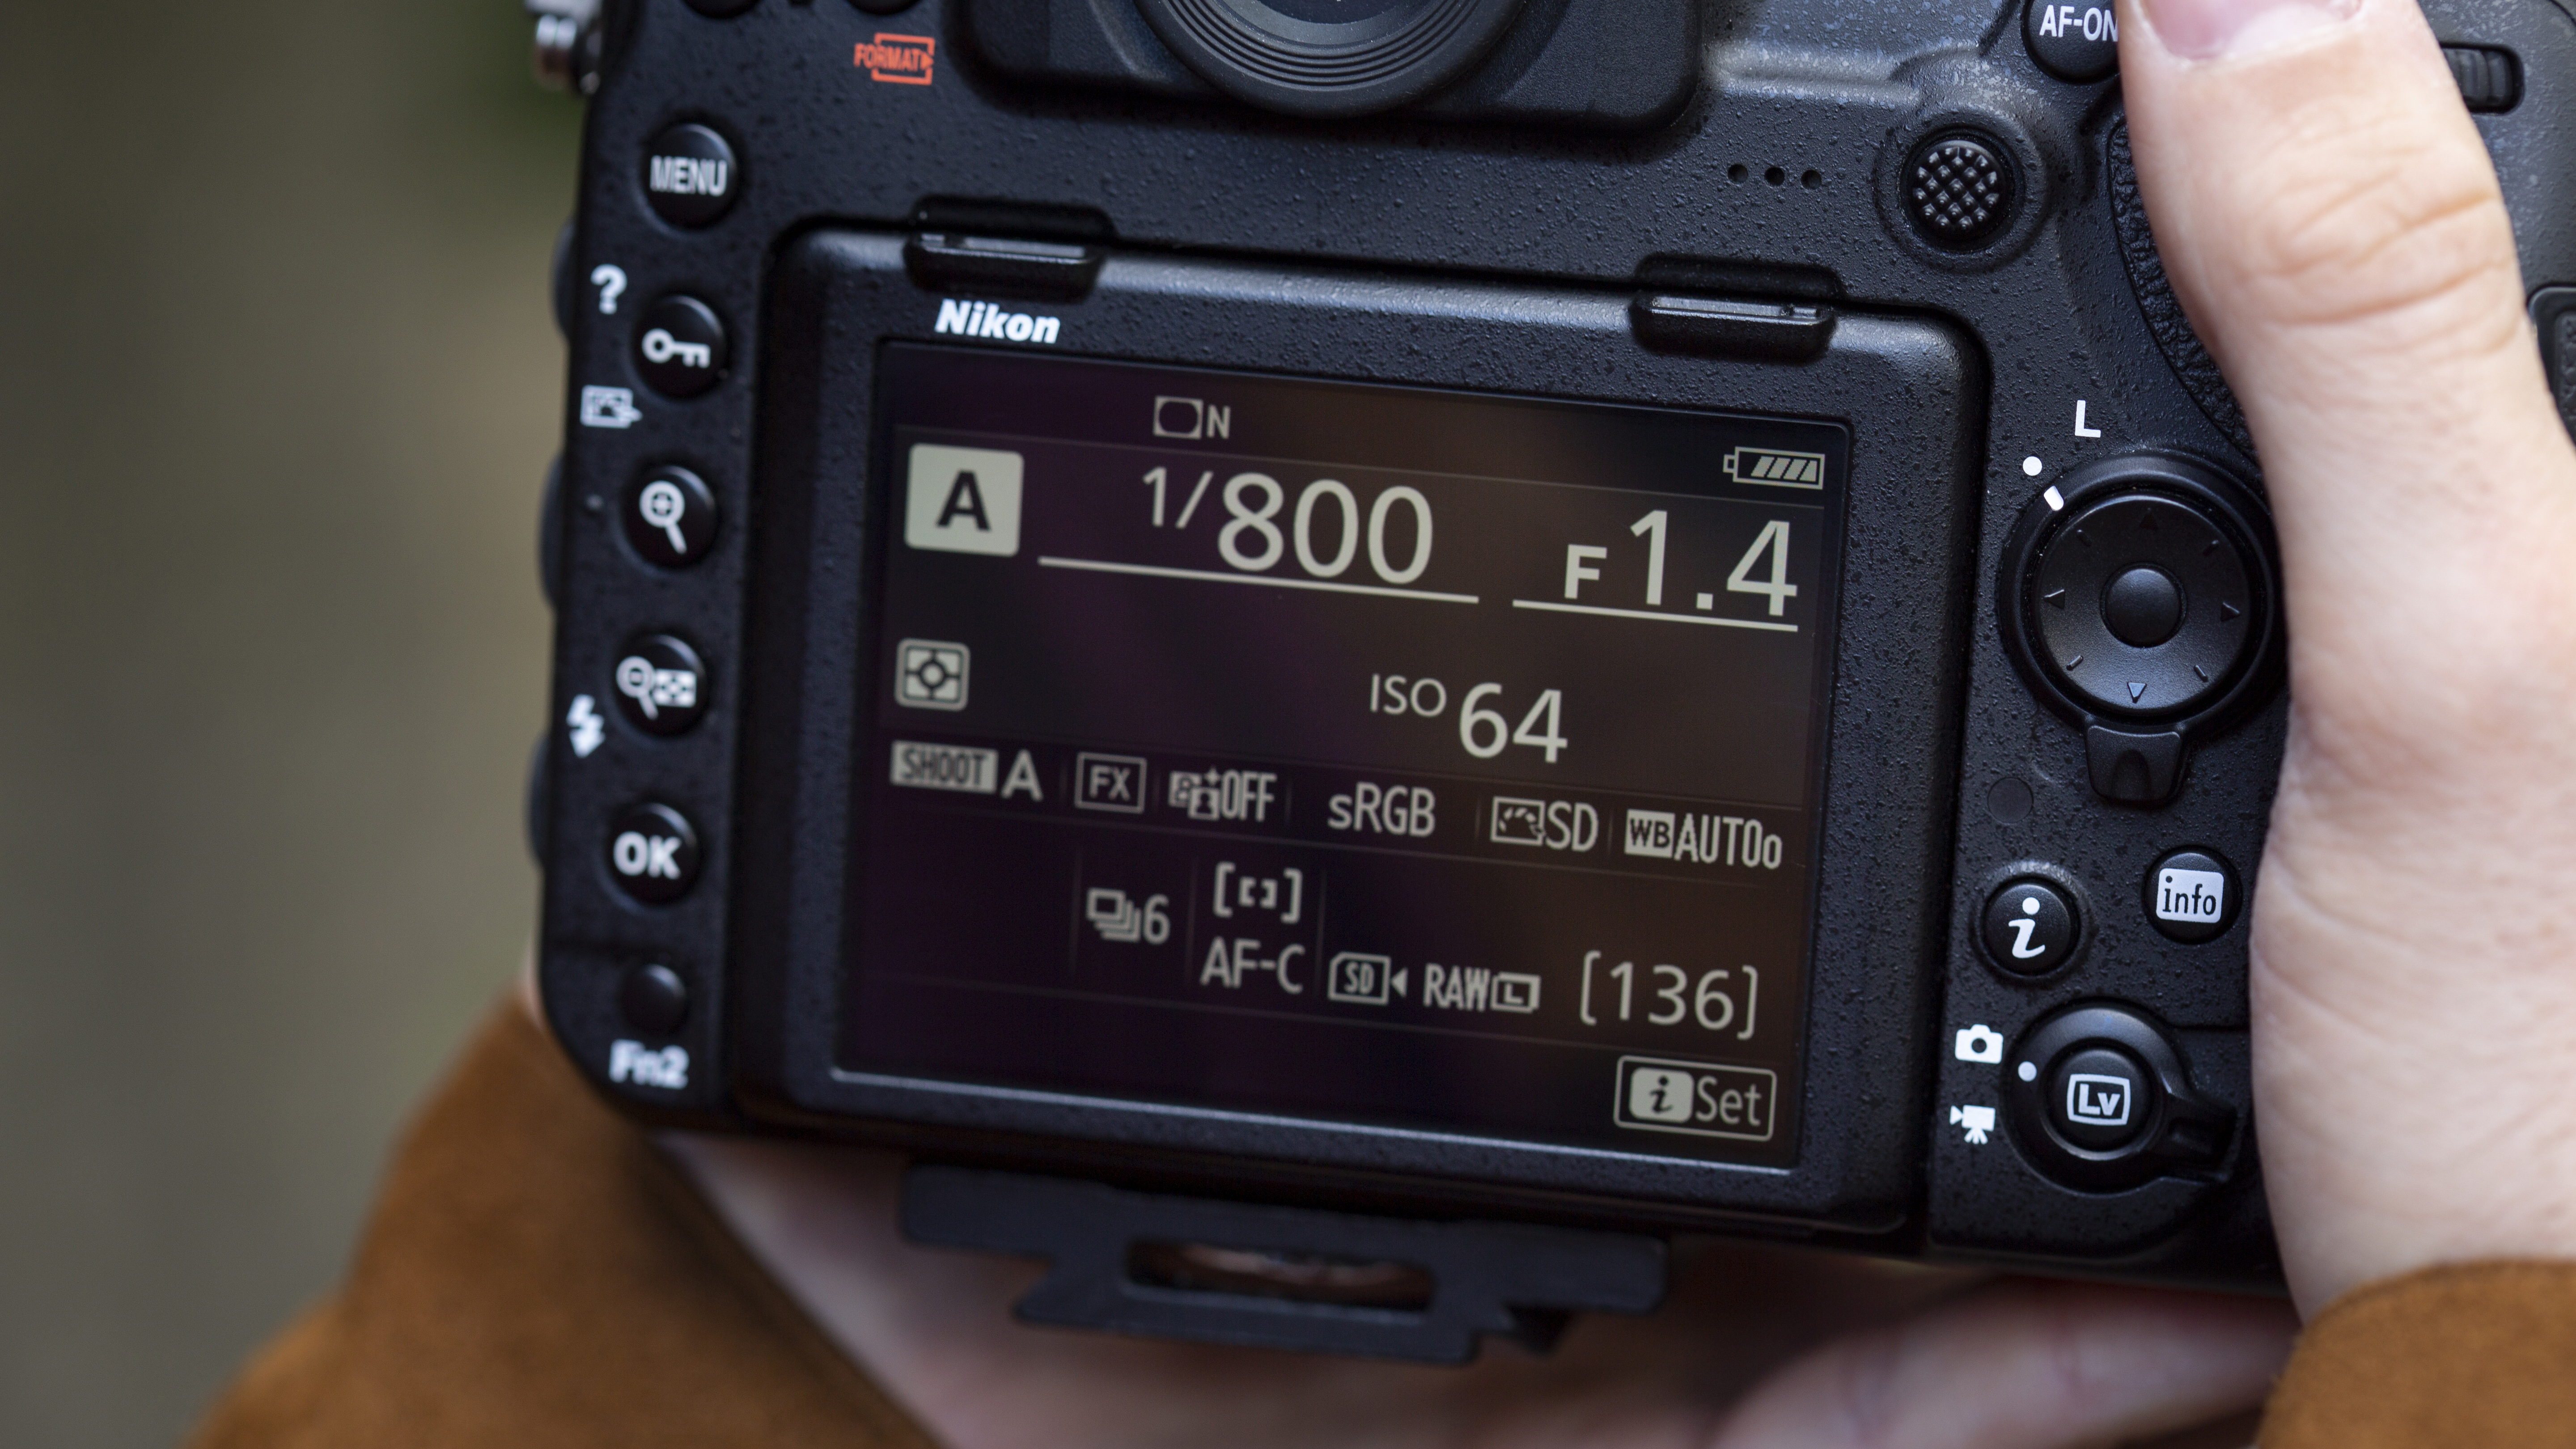
We can work in manual mode for this shoot without any problem. However, aperture priority enables you to concentrate on your subject and not worry about getting the settings spot-on. This is helpful when shooting with changing light levels, especially when working in natural light.
04 Open wide
For this project, it’s best to use a lens with a mid-to-telephoto focal length. Here we’re using a 50mm f/1.4 and shooting with the aperture wide open, to capture a shallow depth of field. With a little selective focus, even the edge of an egg placed in a glass forms graceful lines and gradated shadows.
05 Change your angles
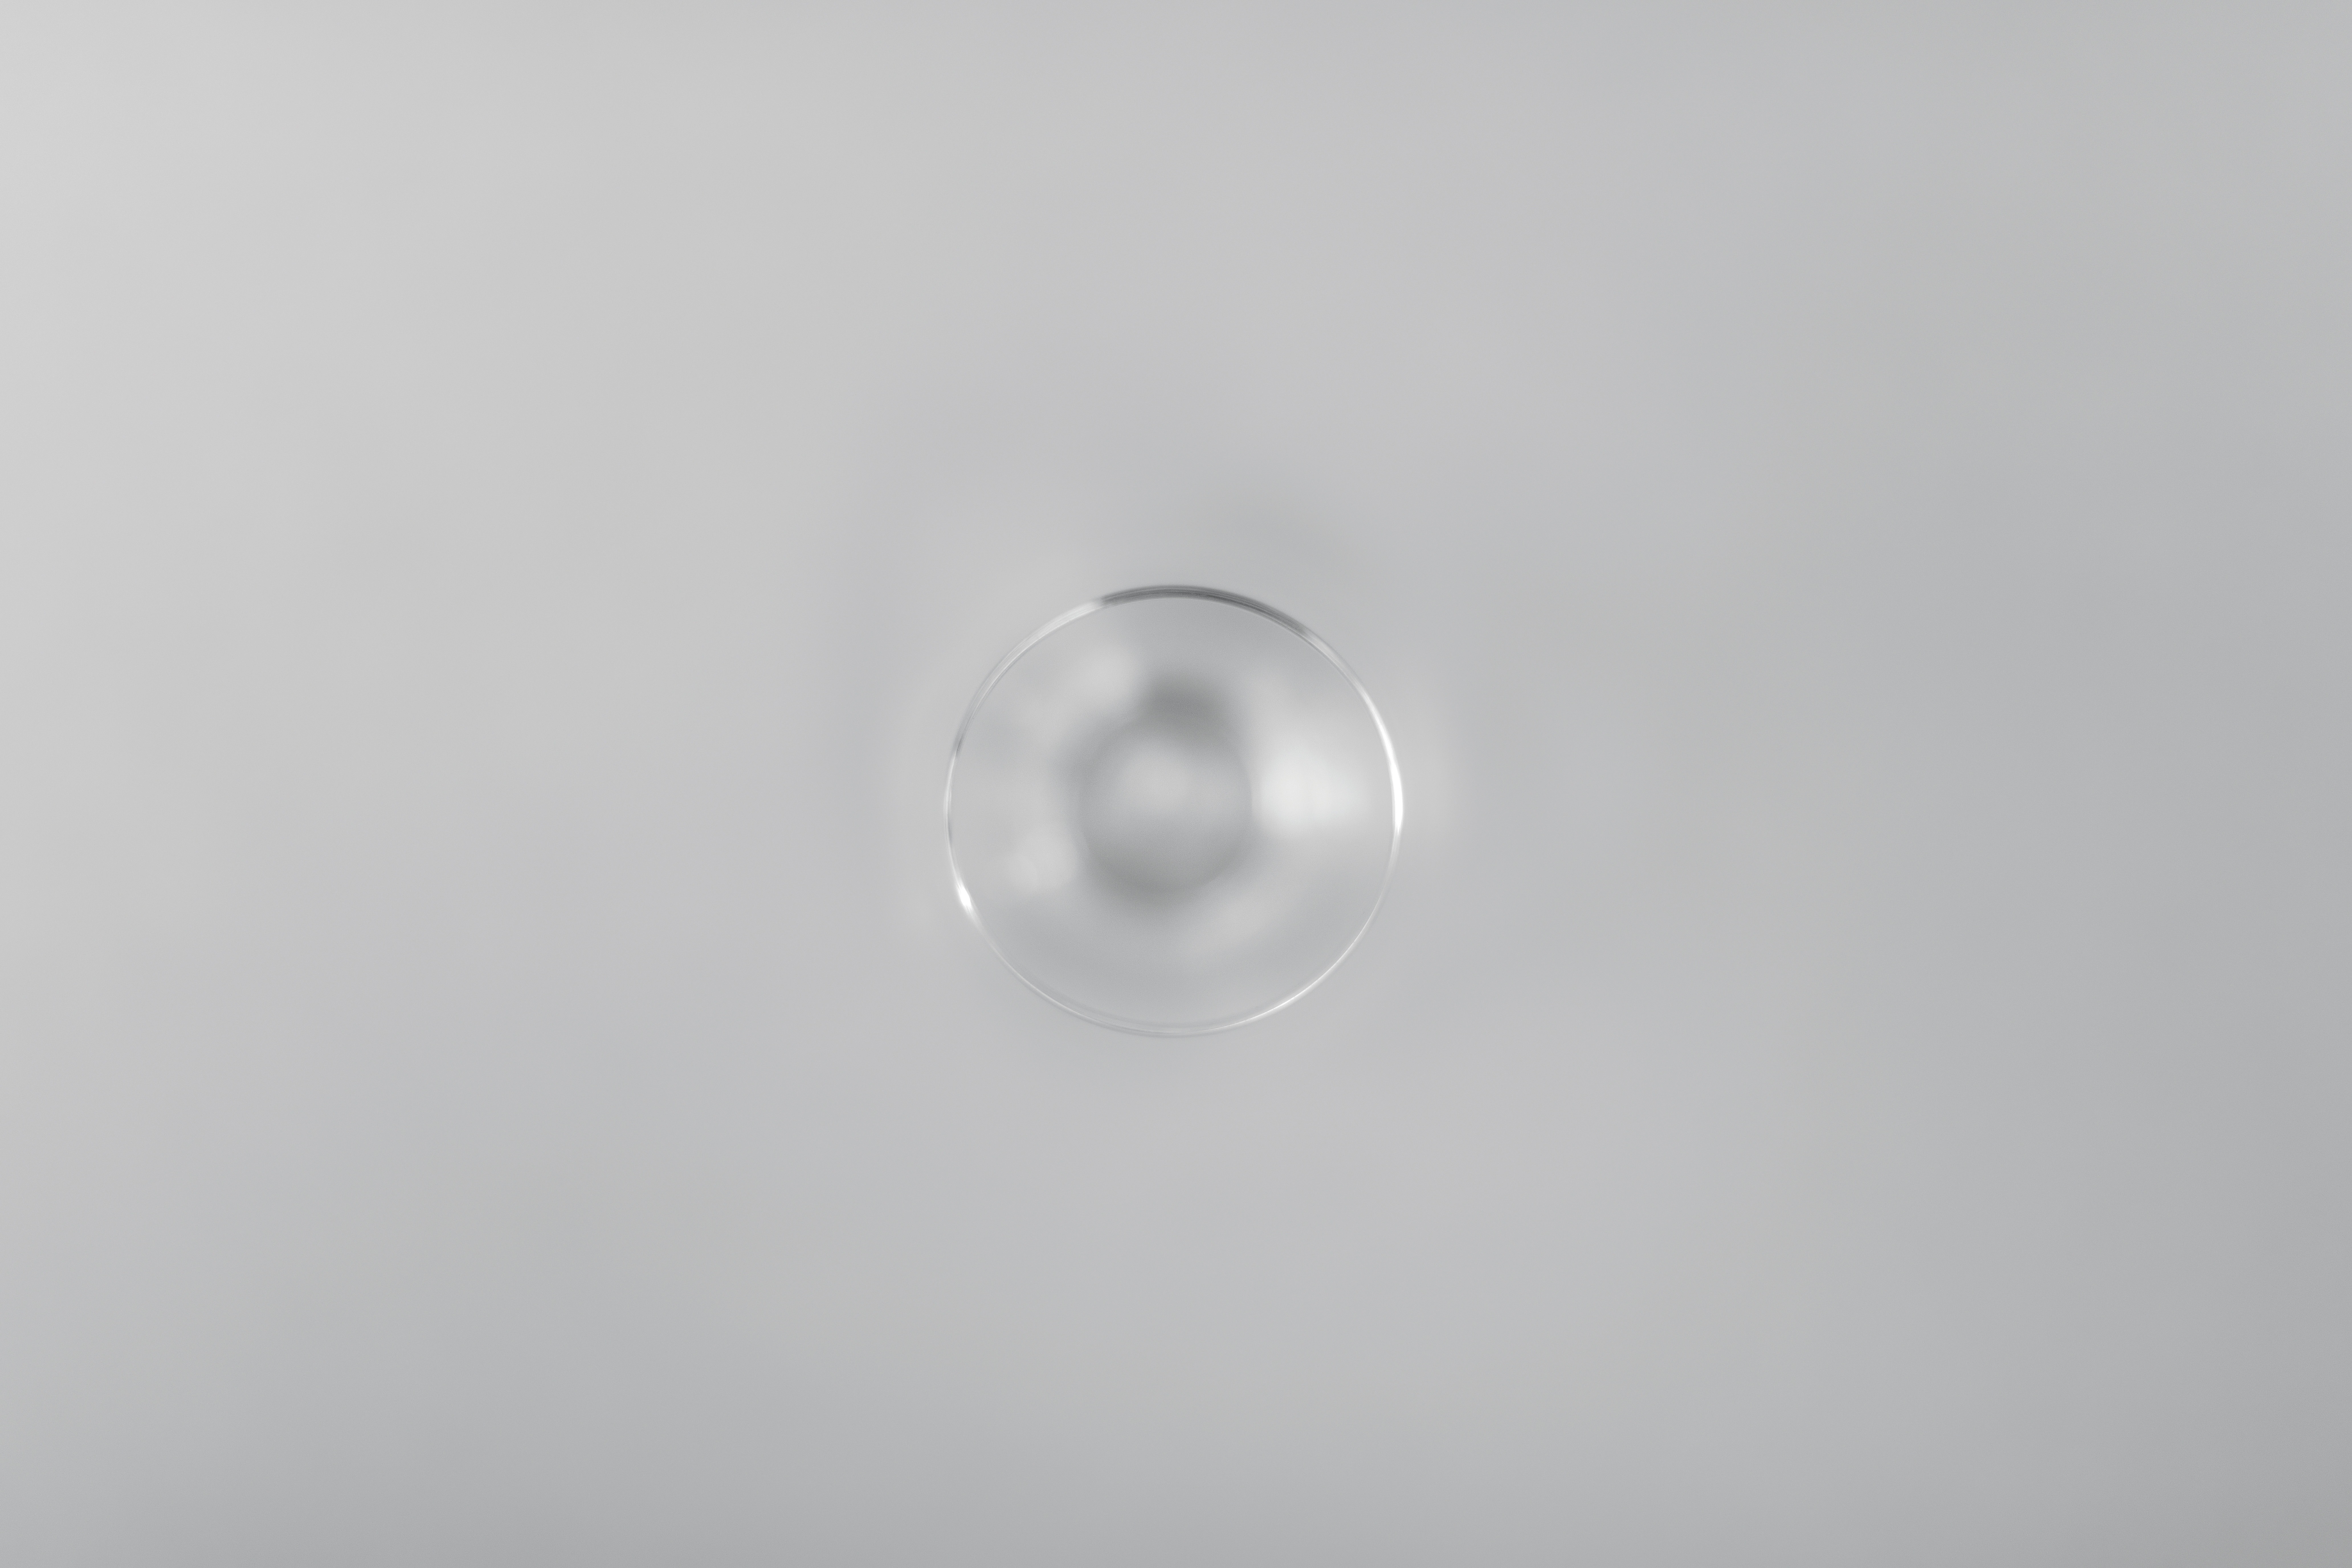
Don’t settle for a finished shot on your first attempt; take the time to explore every avenue before moving on. Here we shot the glass from above, before placing the egg on top.
N-Photo: The Nikon Magazine is a monthly publication that's entirely dedicated to Nikon users. For the best news, reviews, projects and more, subscribe to N-Photo today!
Read more:
The best 50mm lens: Which 'standard prime' is the right one for you?
Lensbaby Velvet 28 review – a soft focus, wide-angle AND macro lens
How to create a soft focus effect in Photoshop Elements
Get the Digital Camera World Newsletter
The best camera deals, reviews, product advice, and unmissable photography news, direct to your inbox!
N-Photo: The Nikon Magazine is a monthly publication that's entirely dedicated to Nikon users. As a 100% independent magazine, you can be assured of unbiased opinion from a trustworthy team of devoted photography experts including editor Adam Waring and Deputy Editor Mike Harris.
Aimed at all users, from camera newcomers to working pros, every issue is packed with practical, Nikon-specific advice for taking better photos, in-depth reviews of Nikon-compatible gear, and inspiring projects and exciting video lessons for mastering camera, lens and Photoshop techniques.
Written by Nikon users for Nikon users, N-Photo is your one-stop shop for everything to do with cameras, lenses, tripods, bags, tips, tricks and techniques to get the most out of your photography.
