Watch video: Home photography ideas – Use a prism to shoot dazzling images
Photography projects at home
• Home photography ideas
Useful home photography kit
• Best tripods
• Best lighting kits
• Best reflectors
• Best macro lenses
A simple prism is designed to split up the spectrum of white light into separate wavelengths. As white light passes through, we can see the visible spectrum of red, orange, yellow, green, blue, indigo and violet.
This spurred interest from the Romans and later various European scientists, most notably Sir Isaac Newton. After the establishment of spectroscopy in the 17th Century, there have been a variety of applications for prisms – one of the most common being, of course, photography.
Many DSLRs have a five-sided prism inside them; light enters through the lens, bounces off the mirror and then reflects through the pentaprism, before displaying in the viewfinder.
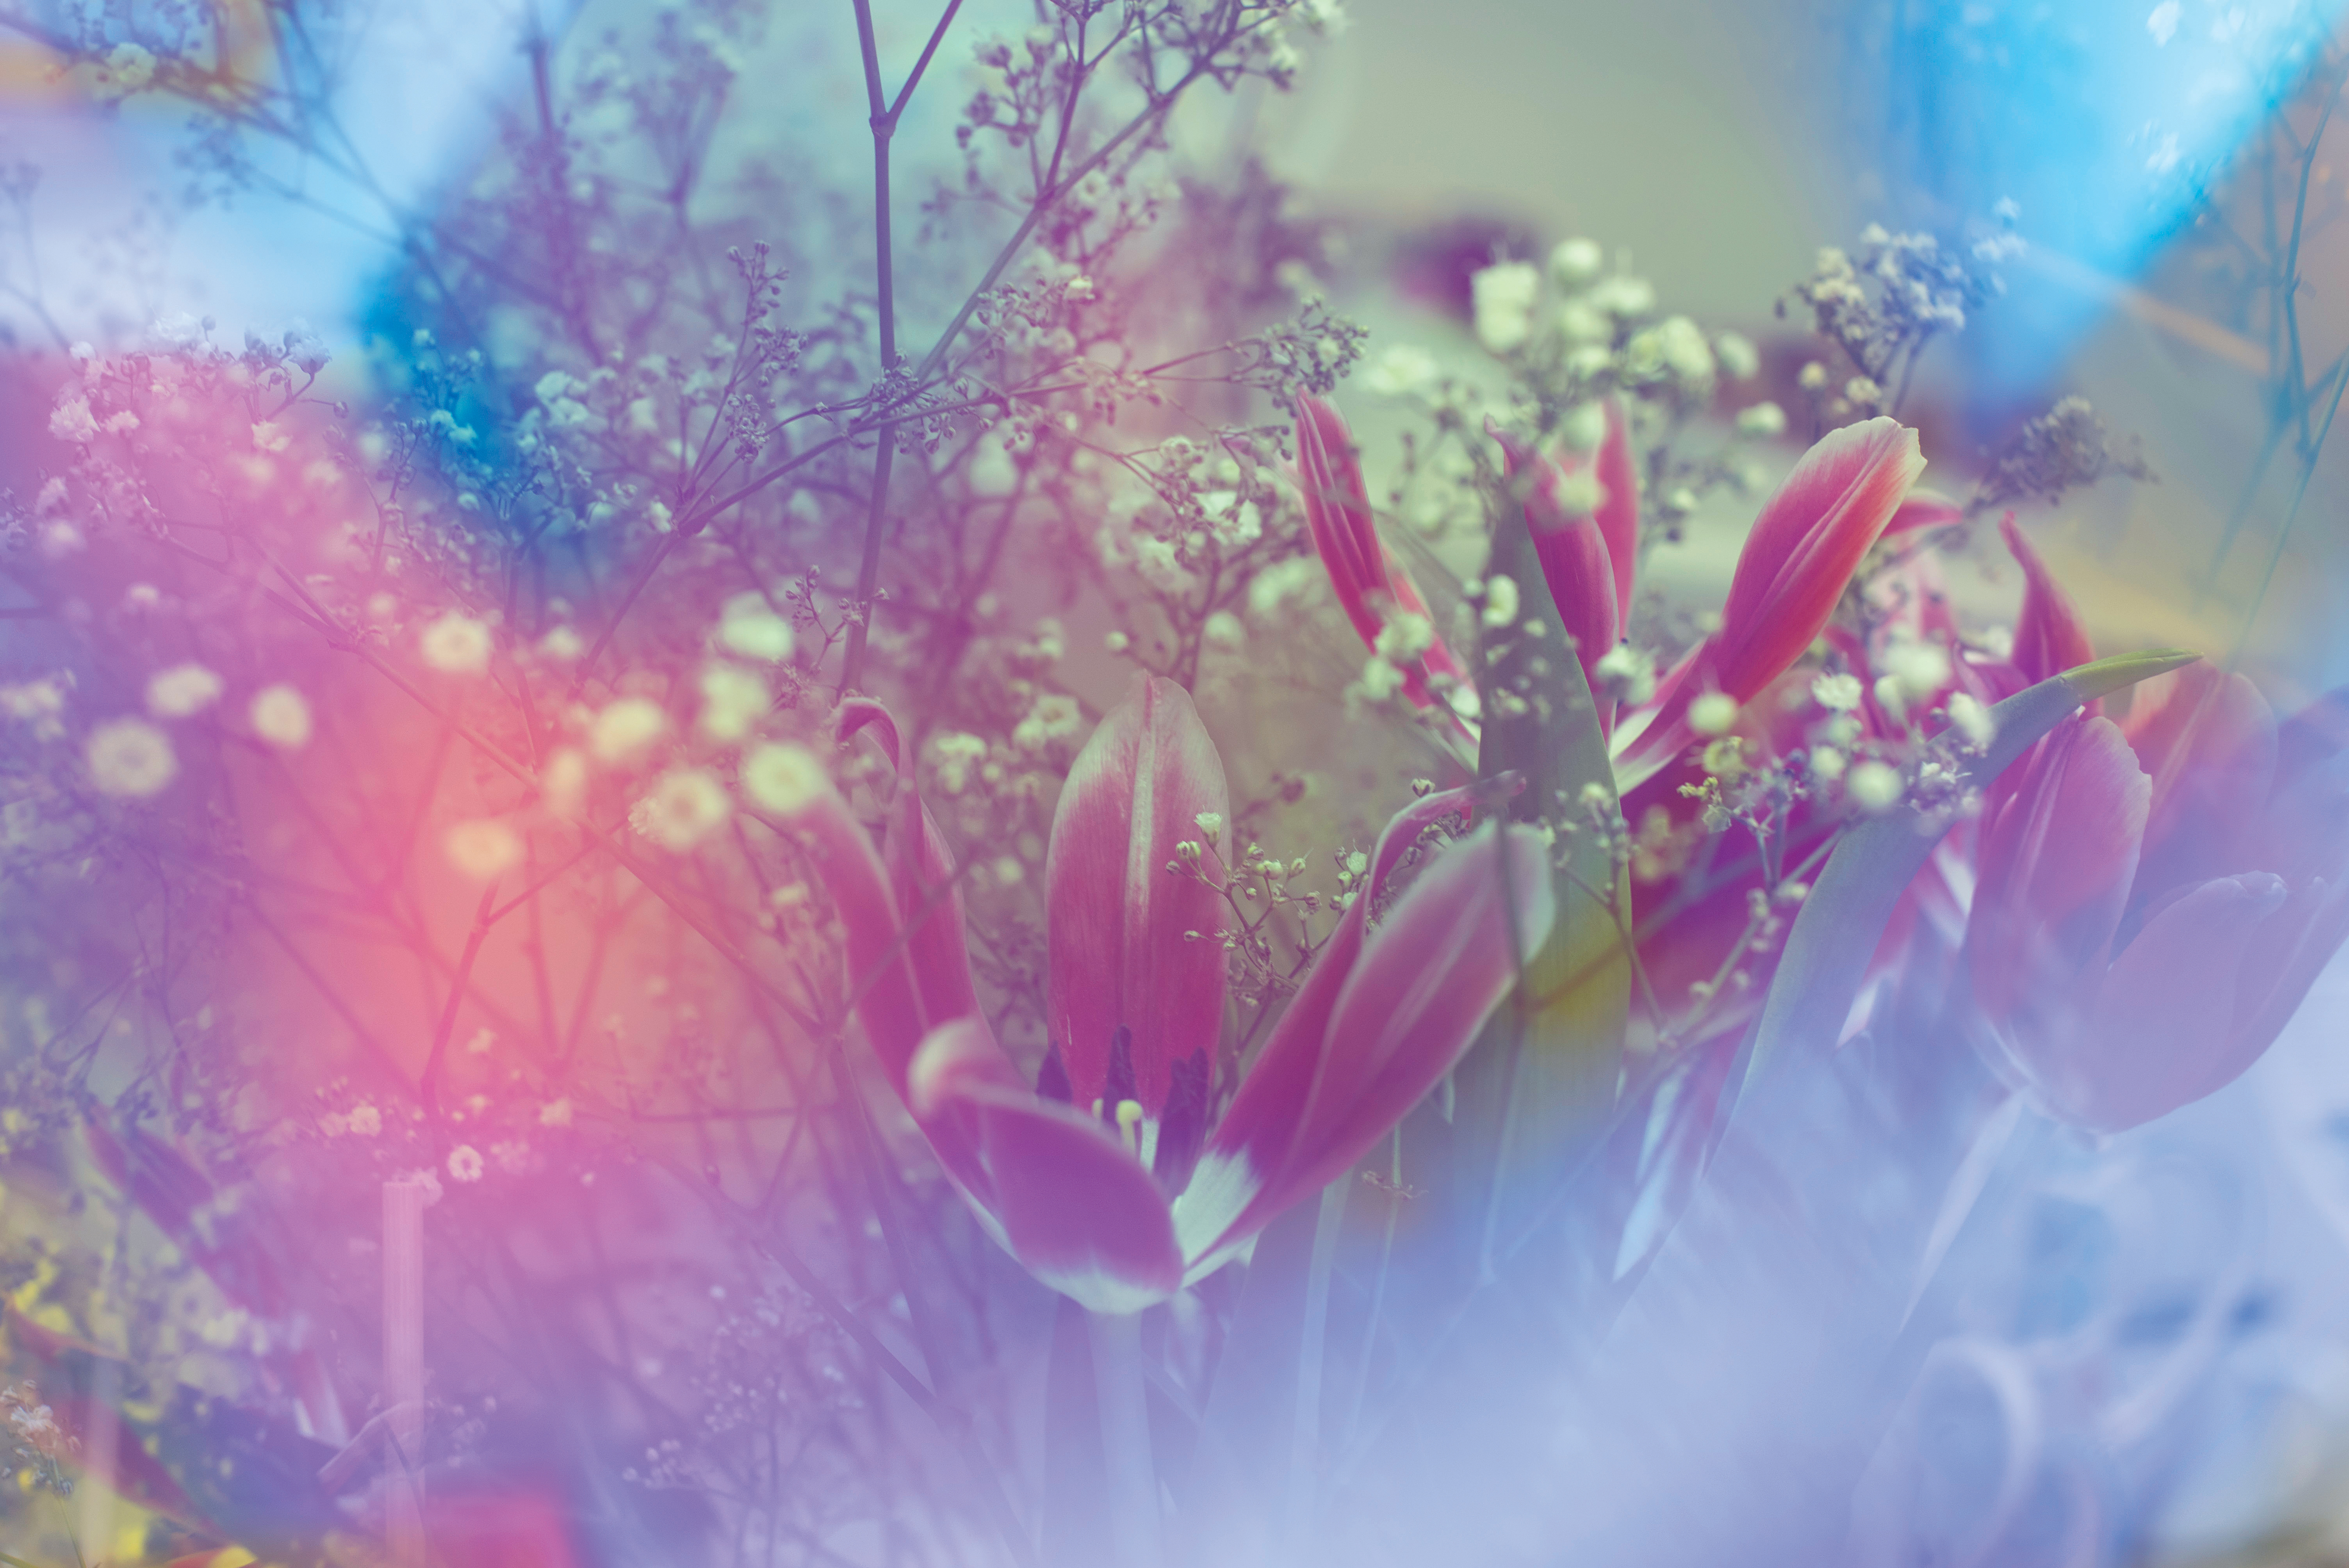
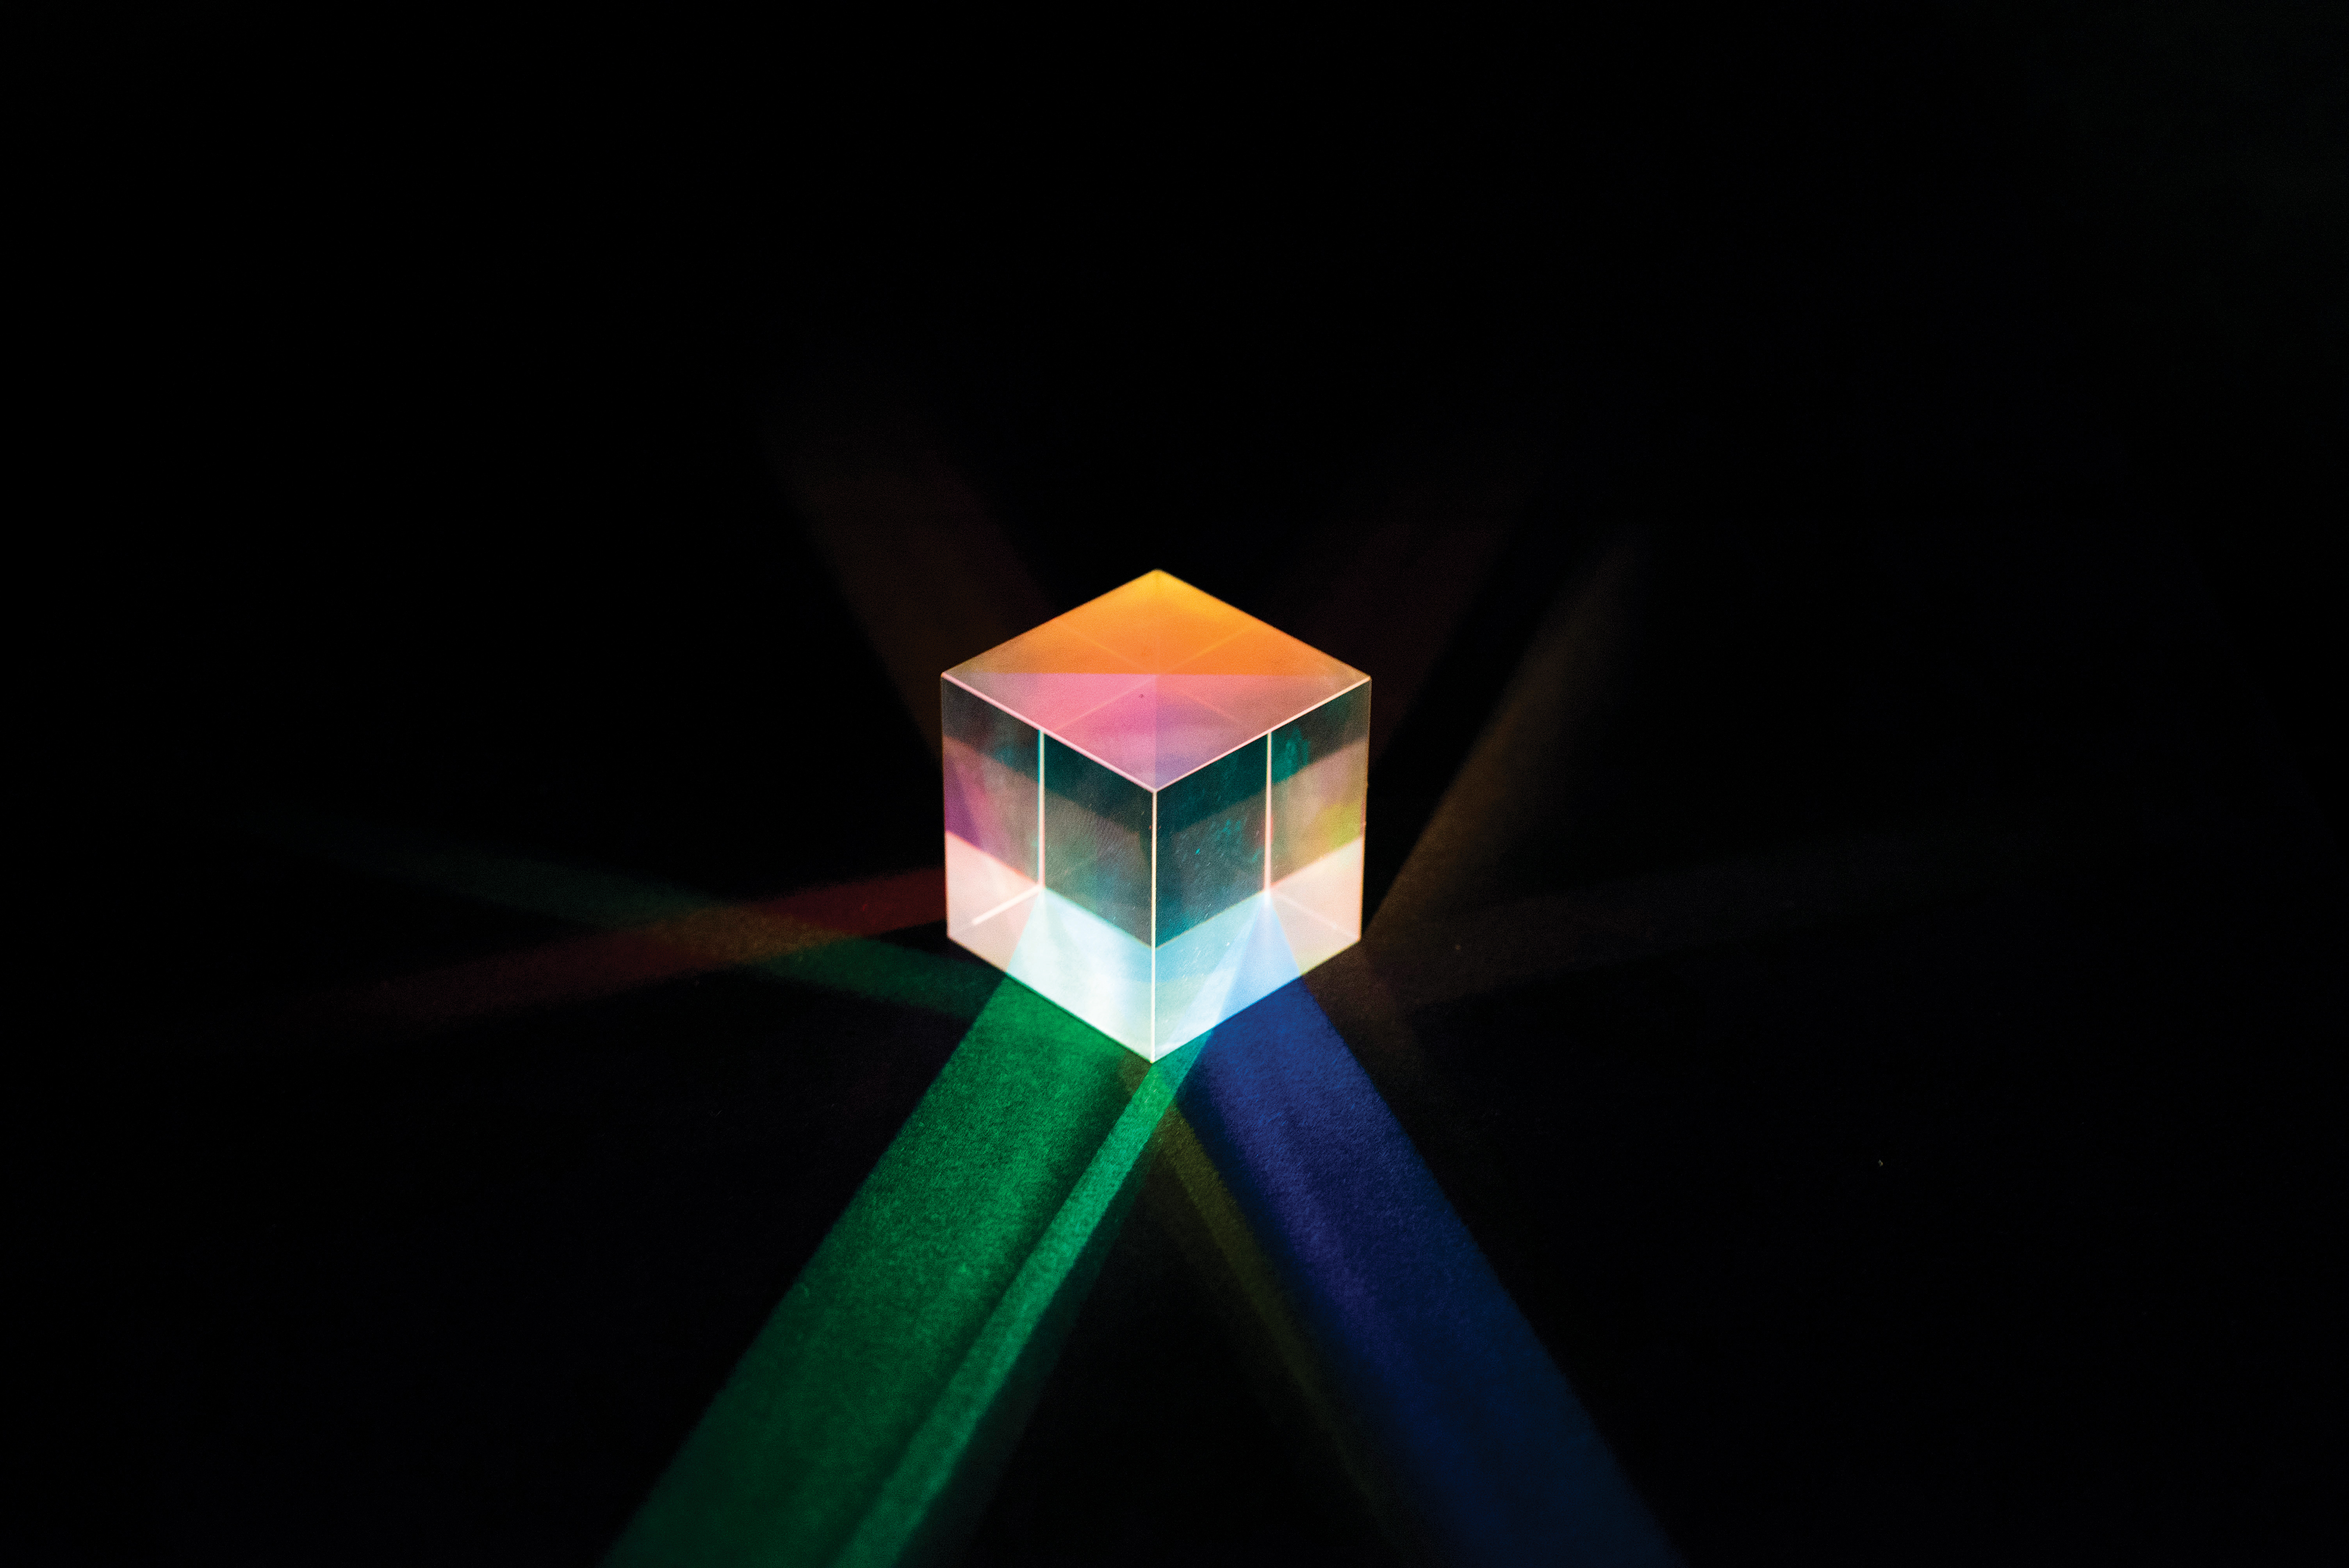
However, prisms don't only help us see what we’re shooting; we can also use them to create funky, creative distortions in front of the lens. They spread light, reflect the environment, and even add glare and flare to your shots. And obviously you can use them traditionally, and pass light through them in front of a dark background.
It’s surprisingly accessible for everyone to give this a go. If you don't already have one, you can pick up a prism online rather inexpensively – below are a couple of links, or you could try the Lensbaby Omni creative filter system with multiple prism attachments for artistic images.
How to use a prism for photography
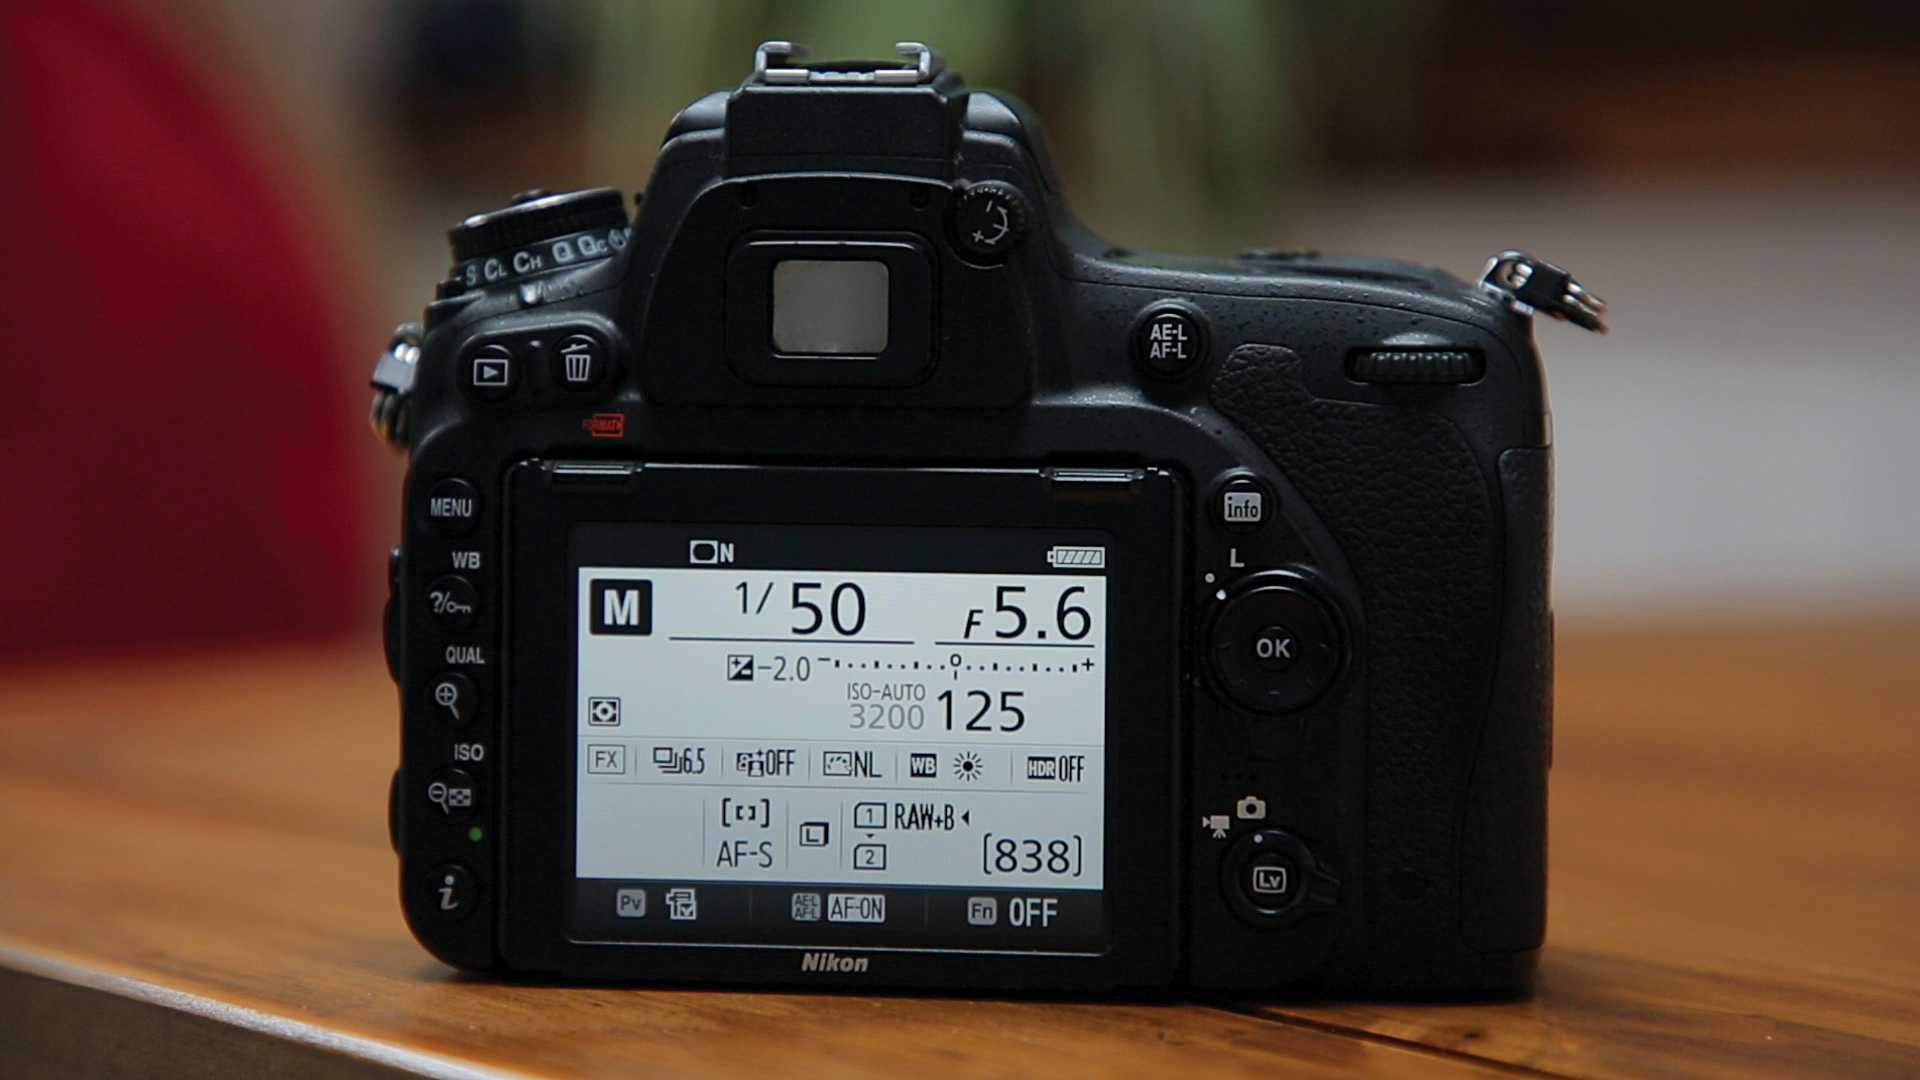
01 Go manual
Use manual mode to set your aperture to f/5.6 and Auto ISO, so that your camera will adjust the sensitivity depending on whether you’re shooting inside or outside. Shooting outside or in a bright location inside works best, because there are lots of light sources to reflect and refract.
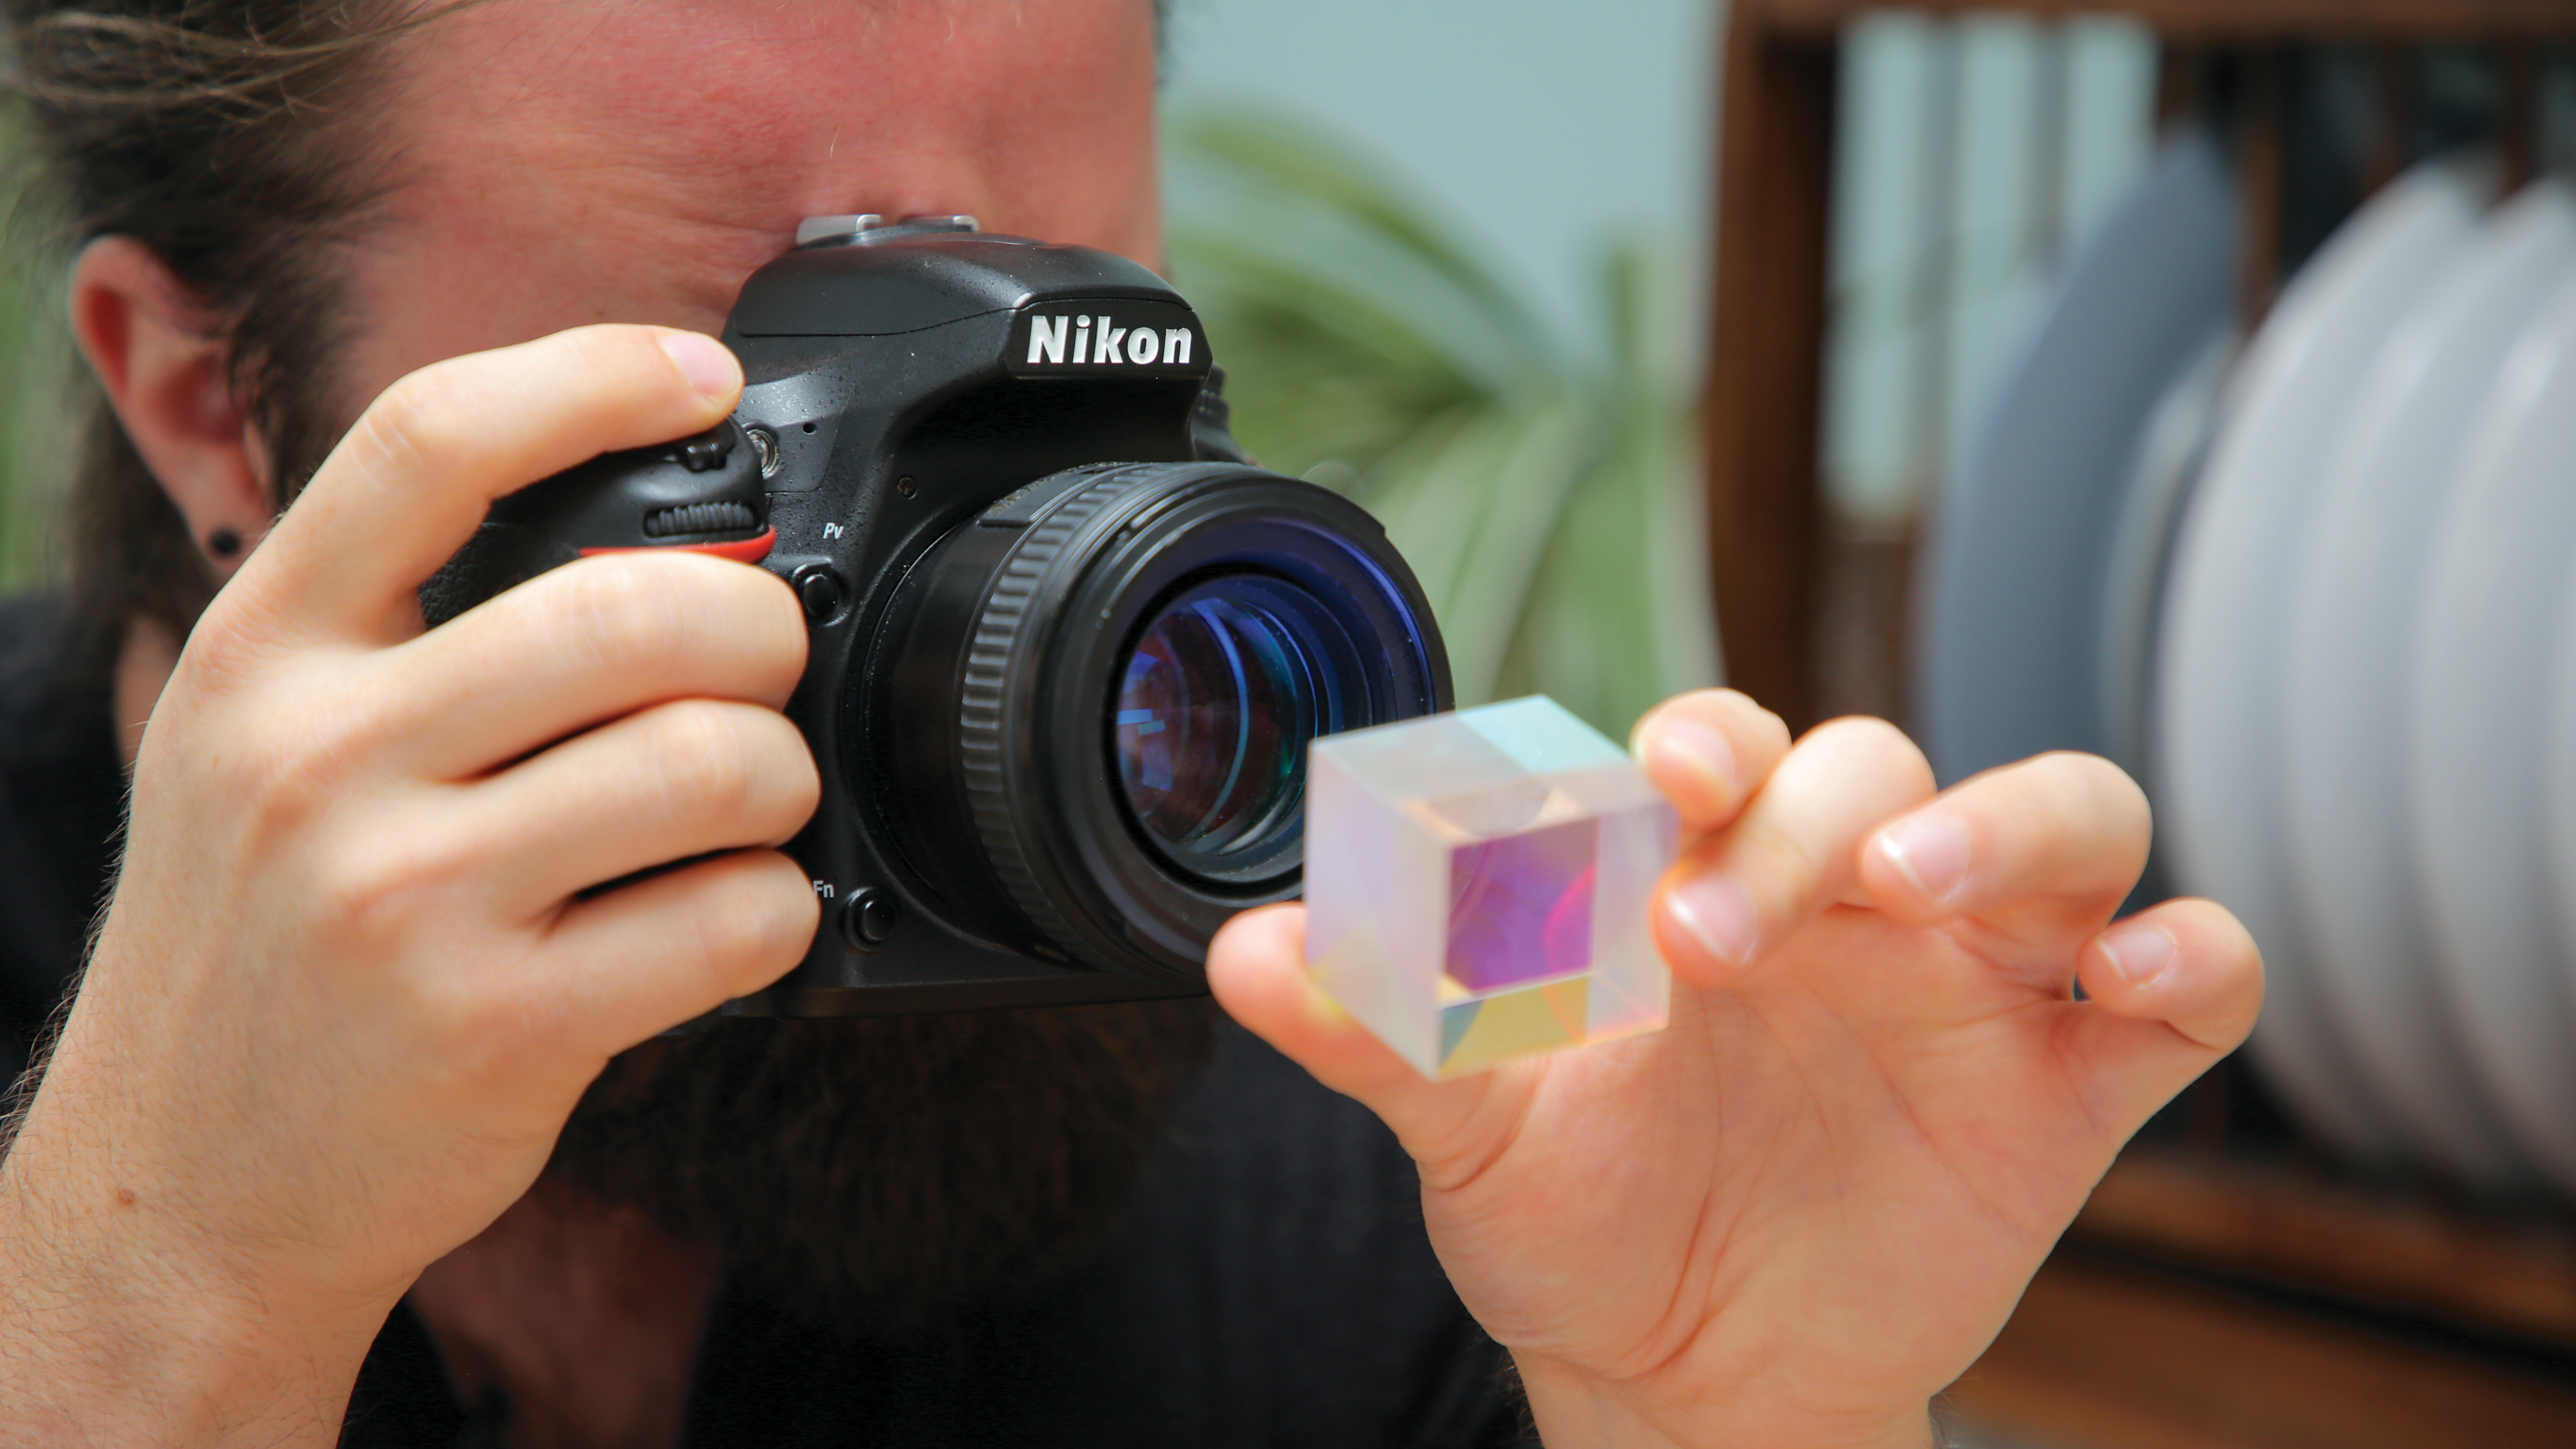
02 Framing up
When holding the prism in front of the lens for glare and flare, keep it close to the front element so that you can fill the frame to affect the entire scene. We found a focal length of around 50mm provided some of the most pleasing results, but don’t be afraid to experiment; you can get different sizes of prism and use alternative lenses to vary the effect.
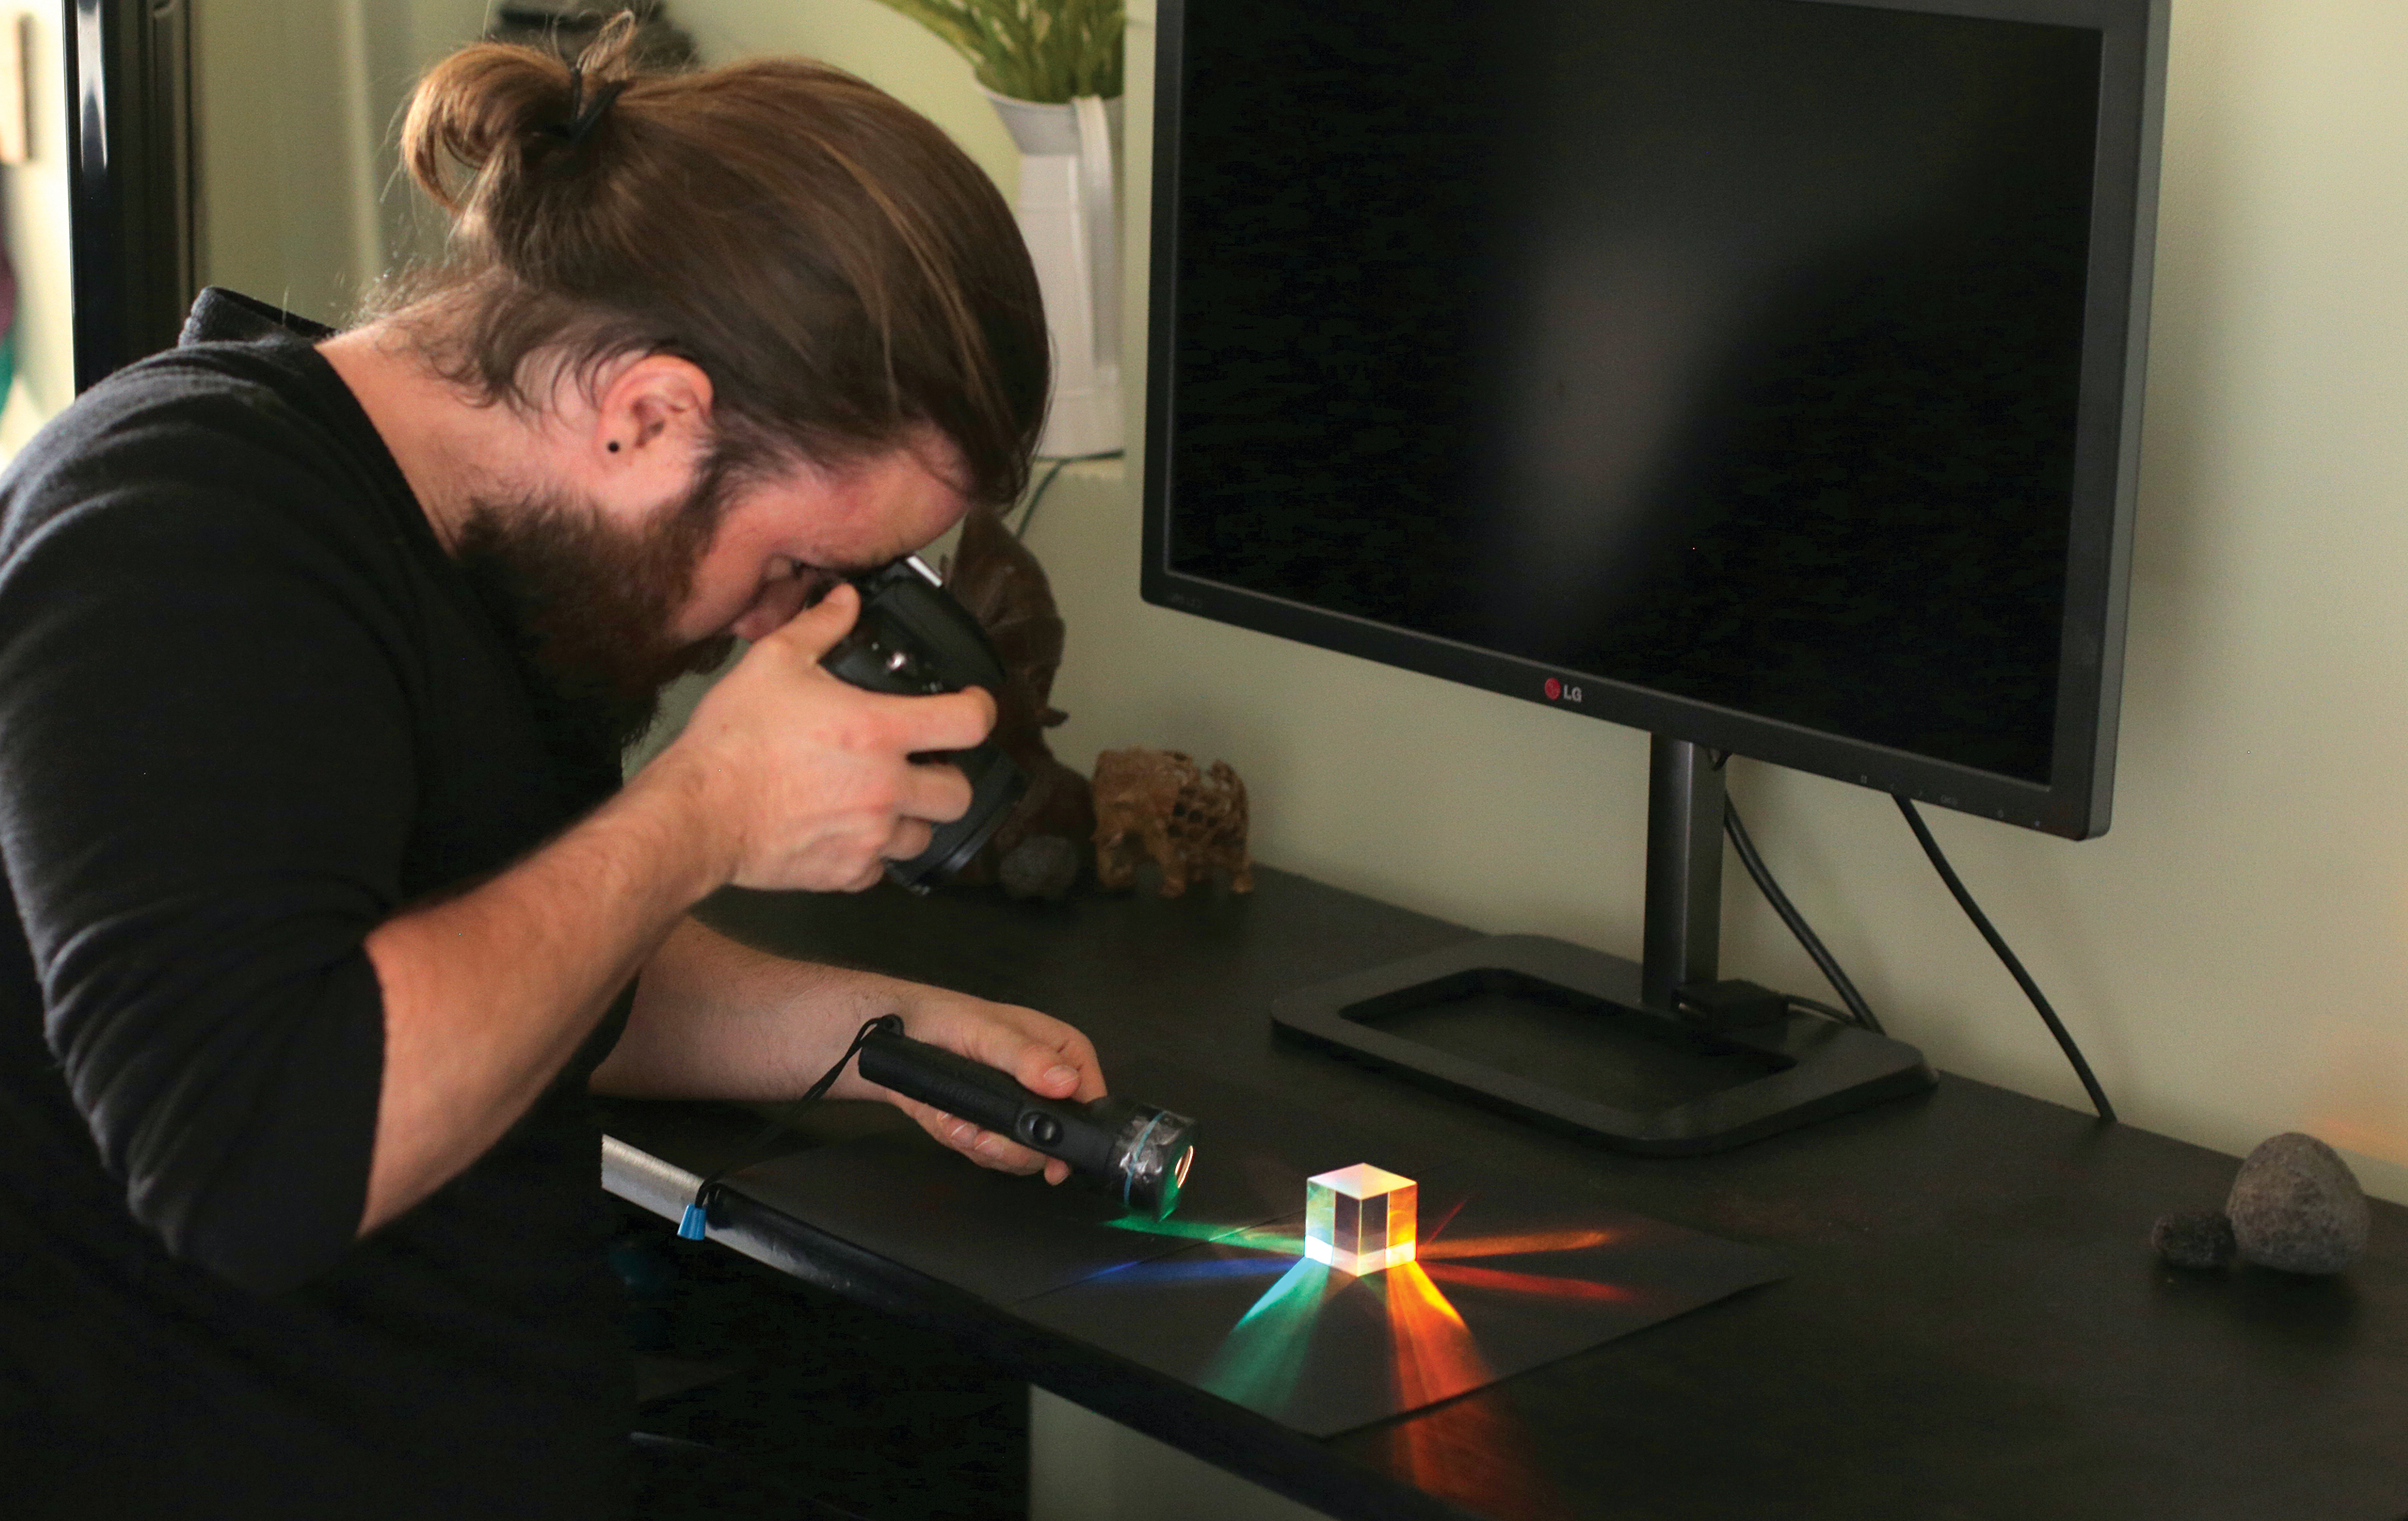
03 Shooting the spectrum
Perhaps you want to capture the light as it bends through the prism? If that's the case, get a plain and dark background, like a piece of card, to place your prism on and shine a light through with a torch (a phone torch will also do the trick). Just make sure that the area is dark so you can see the colors easily.
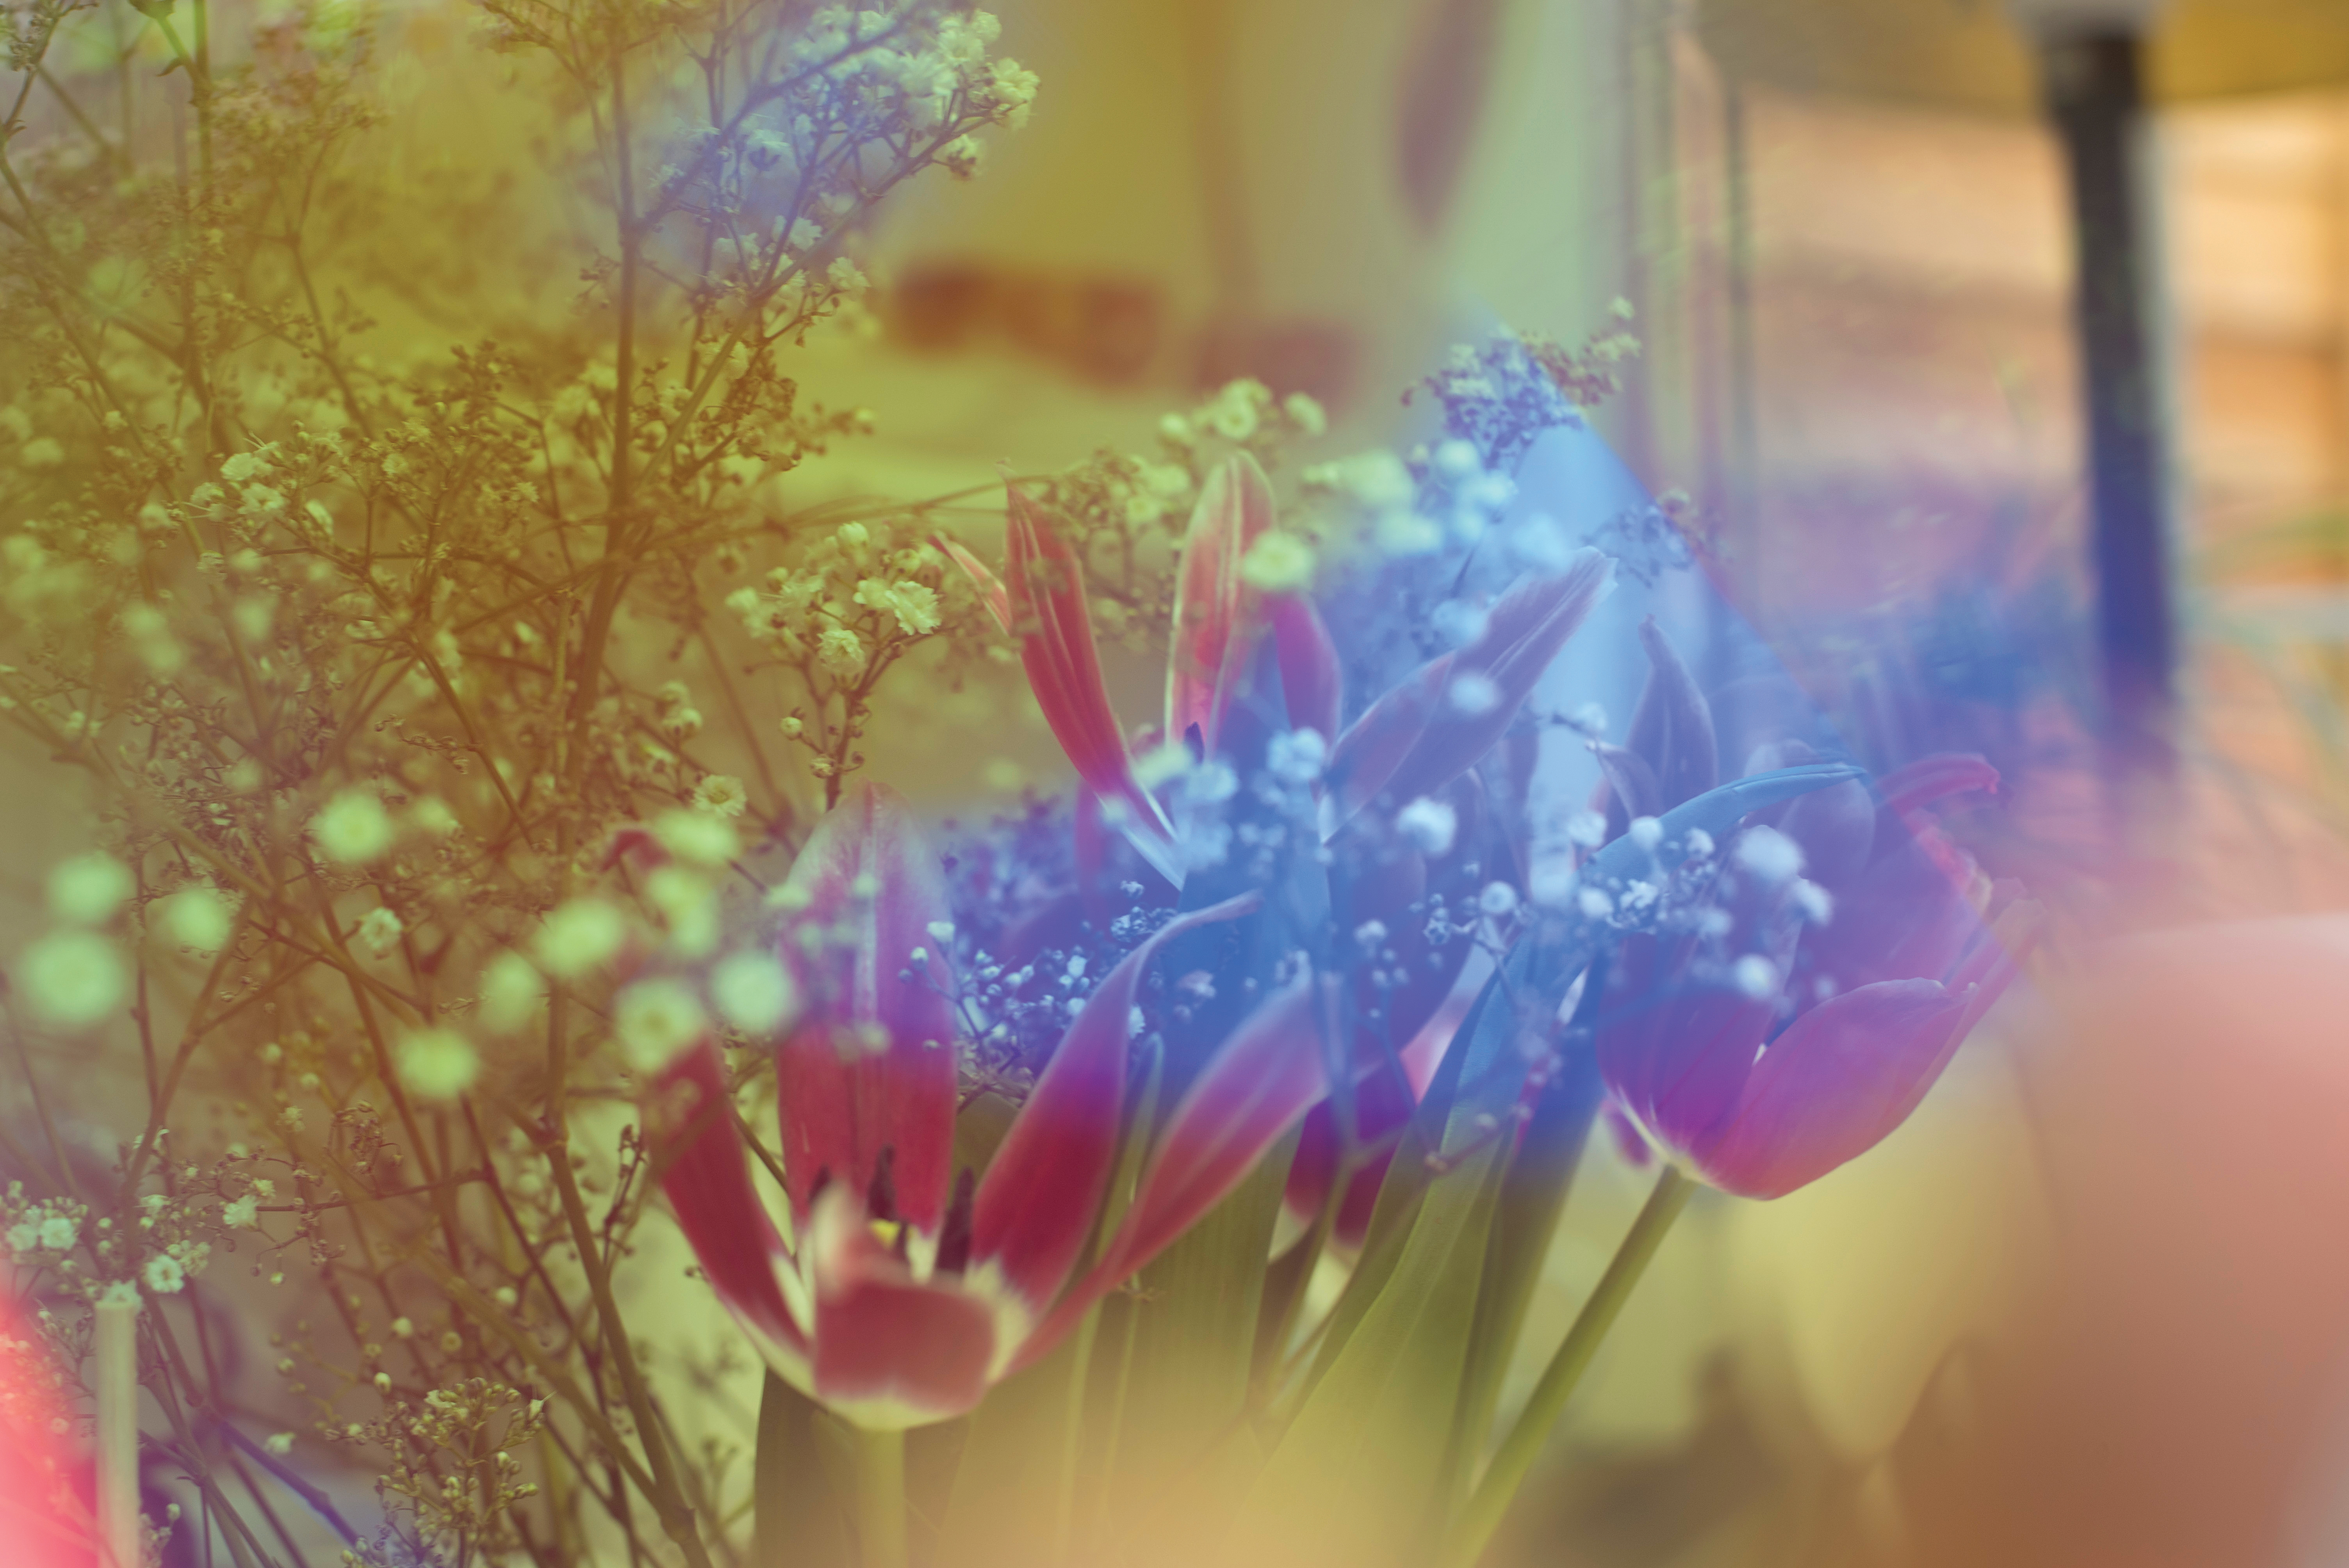
04 Experiment further
Now that you’re all set up, try playing with the prism in a variety of places, both light and dark. Portraits are fun to add glare and flare to, but other scenes can become ethereal when light is diffused widely to produce areas of spectral highlights. There is really no method to the madness here – experimentation is the key!
N-Photo: The Nikon Magazine is a monthly publication that's entirely dedicated to Nikon users. For the best news, reviews, projects and more, subscribe to N-Photo today!
Read more:
The best Lensbaby lenses: the best funky effects lenses
The best 50mm lens: Which 'standard prime' is the right one for you?
Lensbaby Omni adds more psychedelic flare to its box of funky effects
Get the Digital Camera World Newsletter
The best camera deals, reviews, product advice, and unmissable photography news, direct to your inbox!
N-Photo: The Nikon Magazine is a monthly publication that's entirely dedicated to Nikon users. As a 100% independent magazine, you can be assured of unbiased opinion from a trustworthy team of devoted photography experts including editor Adam Waring and Deputy Editor Mike Harris.
Aimed at all users, from camera newcomers to working pros, every issue is packed with practical, Nikon-specific advice for taking better photos, in-depth reviews of Nikon-compatible gear, and inspiring projects and exciting video lessons for mastering camera, lens and Photoshop techniques.
Written by Nikon users for Nikon users, N-Photo is your one-stop shop for everything to do with cameras, lenses, tripods, bags, tips, tricks and techniques to get the most out of your photography.
